“I love you gnome matter what.”
 Hello, this is Jennifer Long of Bee Sew Inspired, a professional doll and quilt pattern designer. I am excited to share with you today a fun and easy make – the Holiday Stuffed Gnome!
 I believe EVERYONE can create beautiful handmade items, which is why I try to give options in my patterns for the different styles of crafters.
This tutorial is given for the hand embroidery version, but the patterns include SVG cut files and/or digital embroidery machine versions!
You can also purchase the fully-illustrated Gnome Doll Pattern and Accessories in the Bee Sew Inspired Shop HERE.
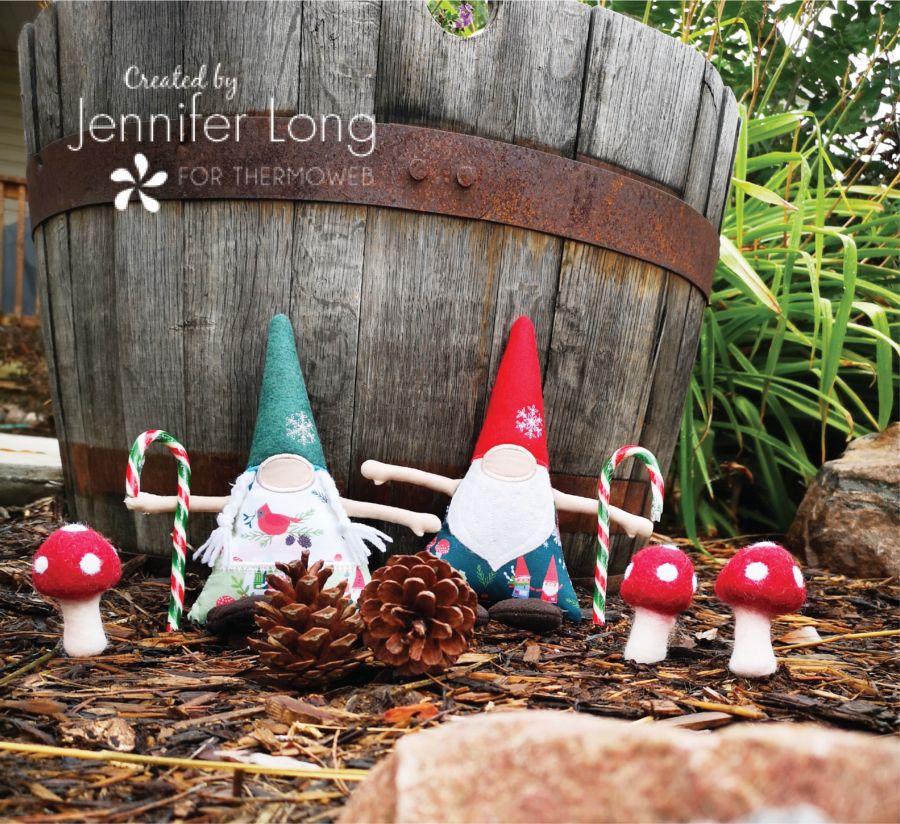
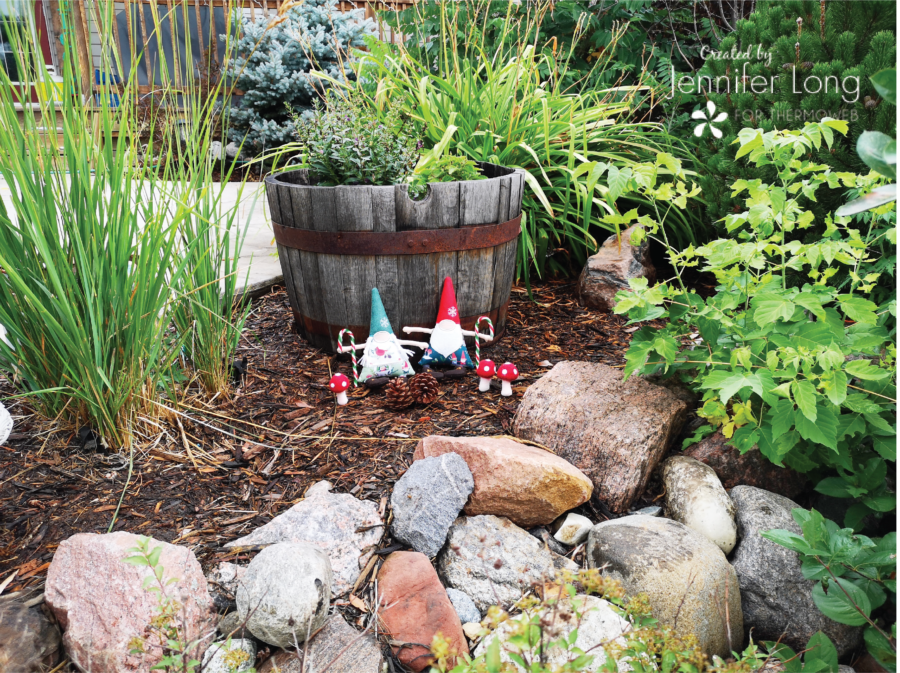
Gnomes are known as symbols of good luck. Originally, gnomes were thought to provide protection, especially of buried treasure and minerals in the ground. They are still used today to watch over crops and livestock, often tucked into the rafters of a barn or placed in the garden.

Beginner Friendly!
These Gnome Dolls are simple and fun to create. You can use them as shelf sitters, tree ornaments, toys and gifts. You will need about 1 hour per Doll to complete this project from start to finish!
What You Need:

Embroidery Threads in a variety of colors
Sewing needle
Applique and straight scissors
Freezer paper or tracing paper to transfer hand embroidery details
Small amount of Polyester Fiber Fill
Use the code “BEESEWINSPIRED” at Benzie Design checkout to receive 10% off your first Felt purchase!
Instructions:
1. Download the Gnome Winter Doll Pattern designed by Bee Sew Inspired. You can choose between the Free PDF Templates, Free SVG Cut Files or Full Pattern in the Bee Sew Inspired Shop.
Hand Embroidery PDF Pattern (which included PDF pattern, step sheet and optional SVG Cut files) If you are using a Cricut Maker to cut the felt shapes, make sure to use your rotary blade and set the fabric to felt.
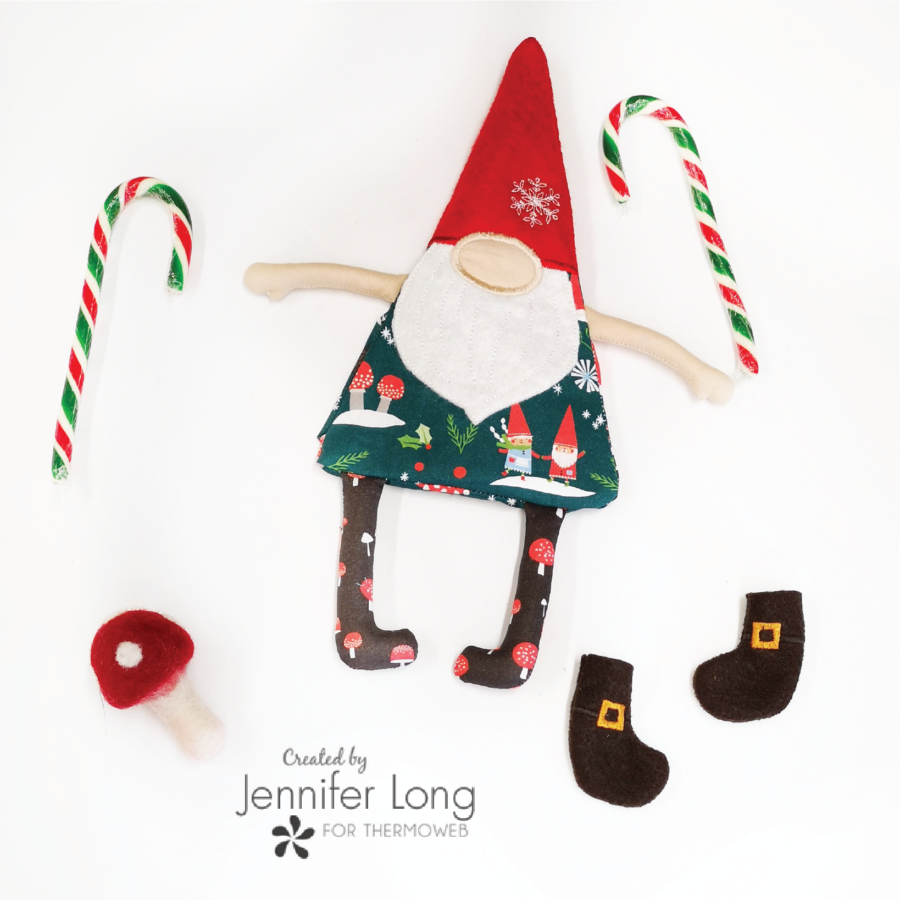
2. Cut the following:
Doll Main Body: Cut 2 from cotton fabric (front and back)
Legs: Cut 4 from cotton fabric (2 right & 2 left)
Arms: Cut 4 from cotton fabric (2 right & 2 left)
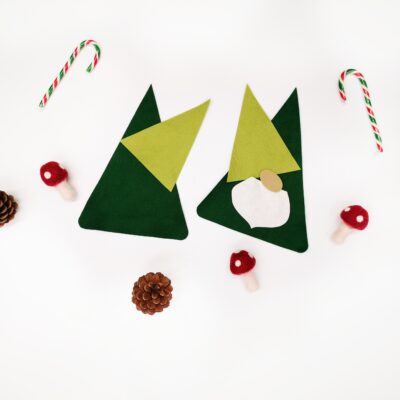
Hat: Cut 2 from felt
Beard: Cut 1from felt
Nose: Cut 1 from felt
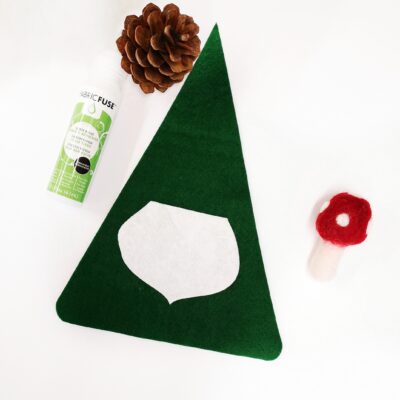
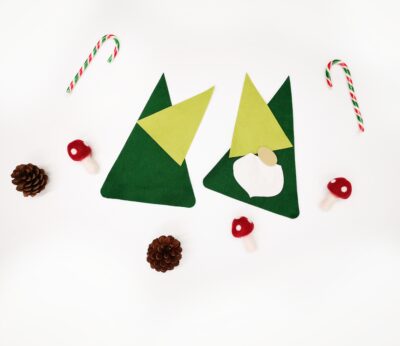
3. Lay out the pieces and mark the beard placement for the next step.
4. Applique Beard Instructions: Use a small amount of Fabric Fuse Quick Bond Fabric Adhesive, and dab a bit of glue on the backside of the beard. Press in place and let dry for 30 minutes.
4. Embroidery Instructions: Separate the embroidery floss into 3 strands. Using a blanket stitch (or satin stitch) stitch around the perimeter of the beard to tack down, Using a backstitch, stitch out the beard details (stands of hair).
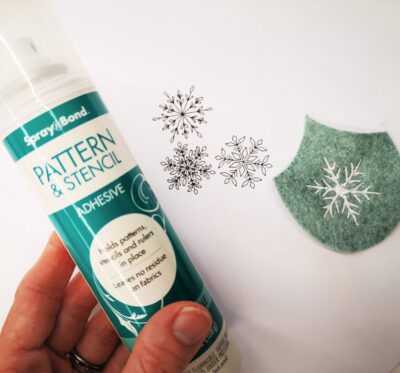
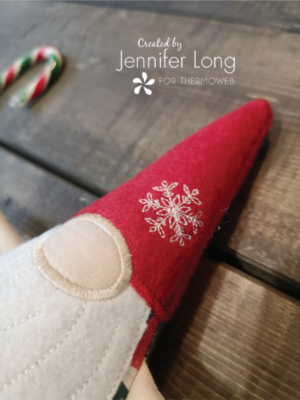
5. Next trace one of the snowflake shapes onto freezer paper or tracing paper. Using the SpraynBond Pattern & Stencil Adhesive, tack the traced shape to the front right corner of the front hat shape.
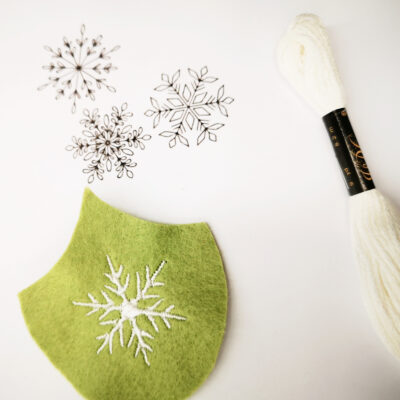
6. Following the stencil, stitch through both layers. Gently tear away the freezer paper/tracing paper.
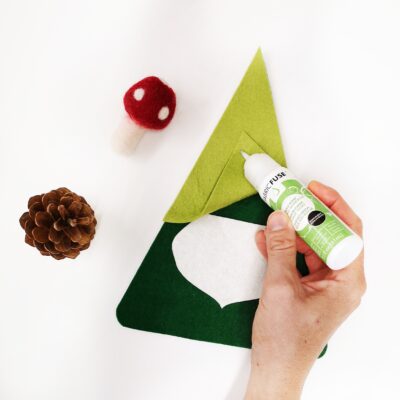
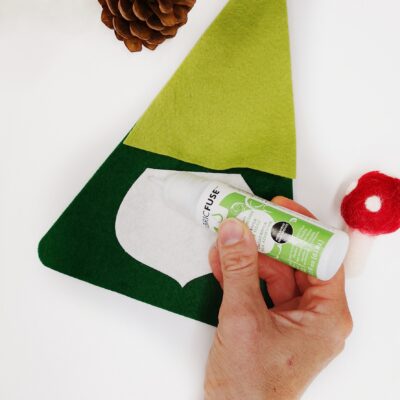
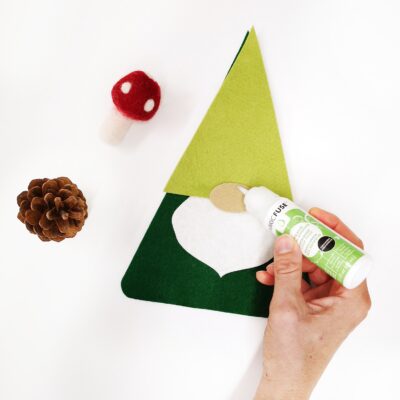
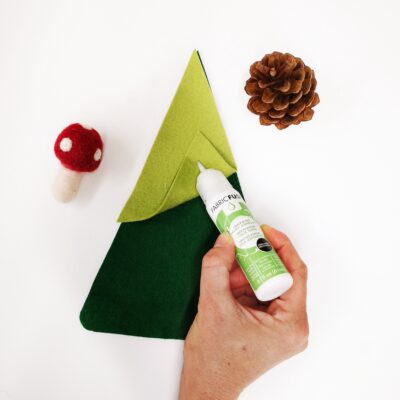
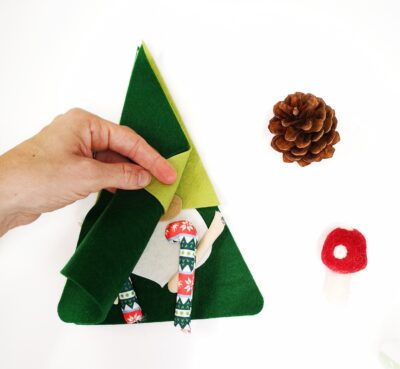
7. Next, arrange the front hat on the Gnome Doll front body. Using the Fabric Fuse Quick Bond Fabric Adhesive, line the backside of each piece with glue and then press in place. Let dry for 30 minutes.
8. Using a coordinating color of thread and a blanket stitch (or satin stitch), stitch down the edges of the hat where it meets the beard. Note the bottom hat edge should slightly overlap the beard edge.
9. Repeat the placement, fabric fuse and stitching for the Gnome nose.
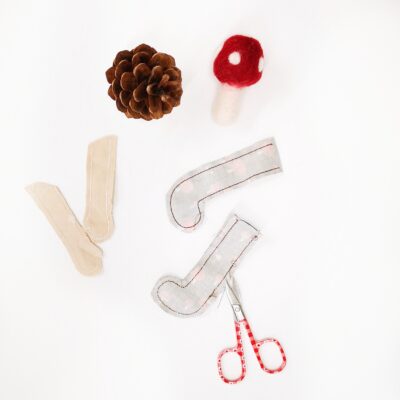
10. Prepare the limbs by sewing them together with right-sides together. I like to use my sewing machine for this part and a shortened stitch length.
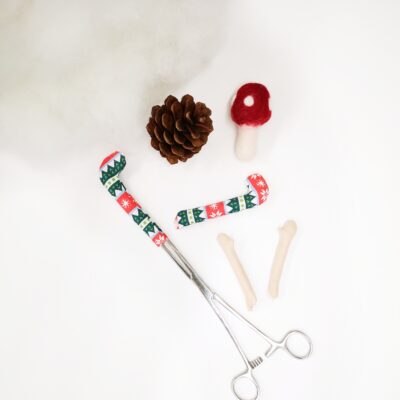
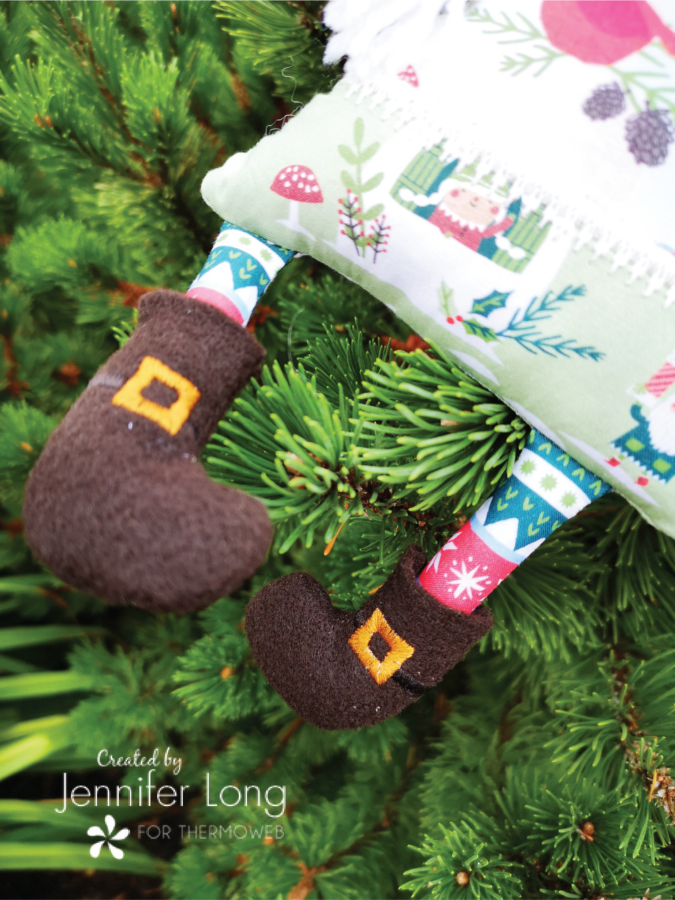
11. Snip the seam allowance around all the curves and edges and turn the limbs right-side out. Stuff firmly with polyester fiber fill and leave a good half-inch unstuffed at the top of each limb for easy assembly.
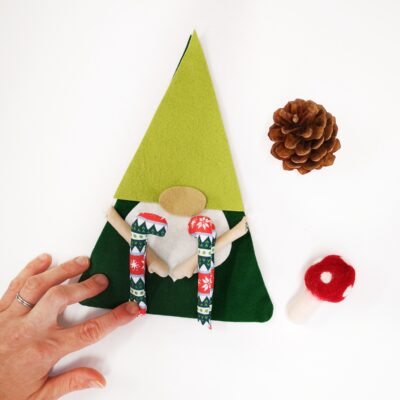
12. Pin all the limbs into position and secure them using a basting stitch.
13. Prepare the backing piece by sewing the top hat to the body piece as in Step 7 & 8.
14. Lay the prepared backing piece over the completed front body piece with attached limbs.
15. Stitch around the perimeter using your sewing machine and a shorter stitch length. Make sure to leave an opening for turning at the side,
15. Using a sharp pair of small scissors, make little snips around the edges and cut away the excess fabric a the corner tips.

16. Gently turn the dolls using the opening. Stuff firmly with polyester fiber fill and hand stitch the opening closed with a ladder stitch.
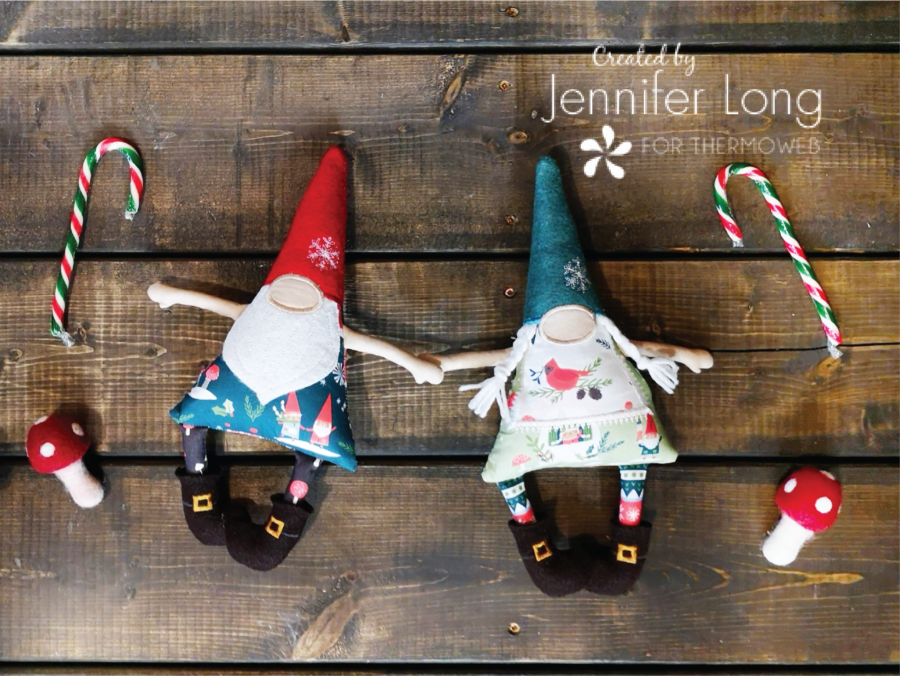
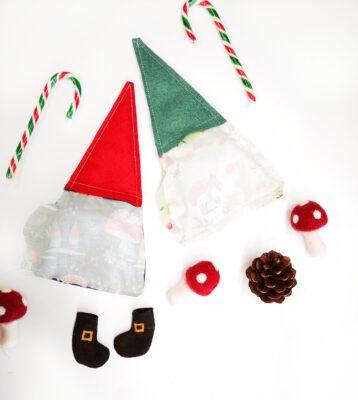
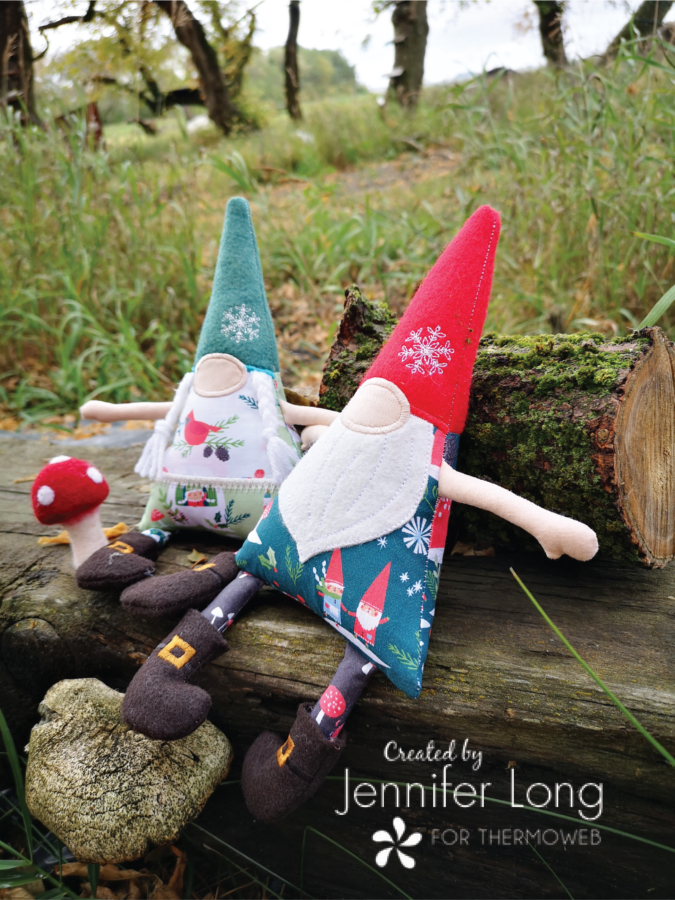
Your Gnome Winter Doll is now complete!
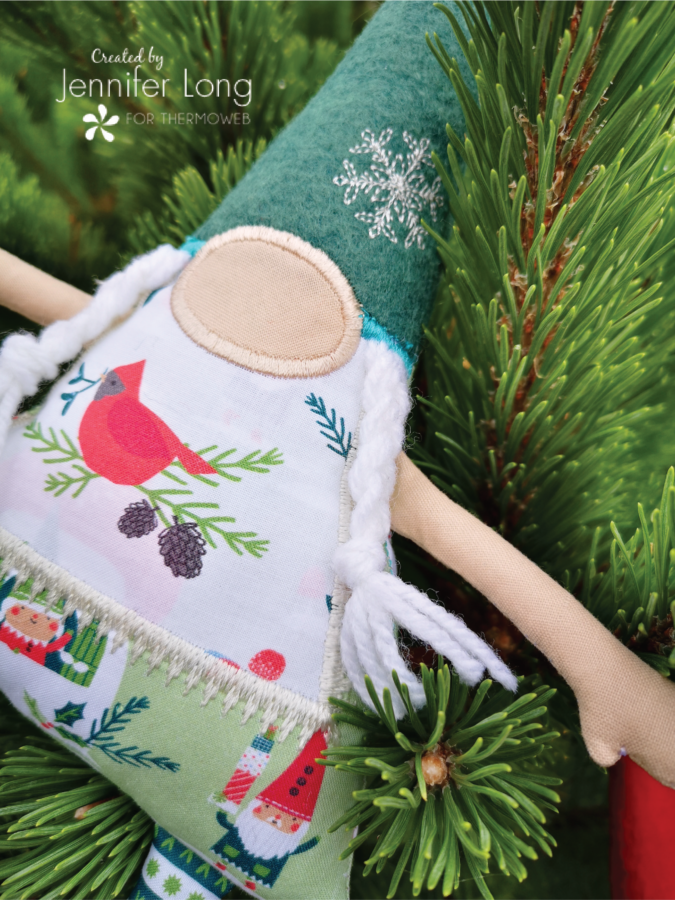
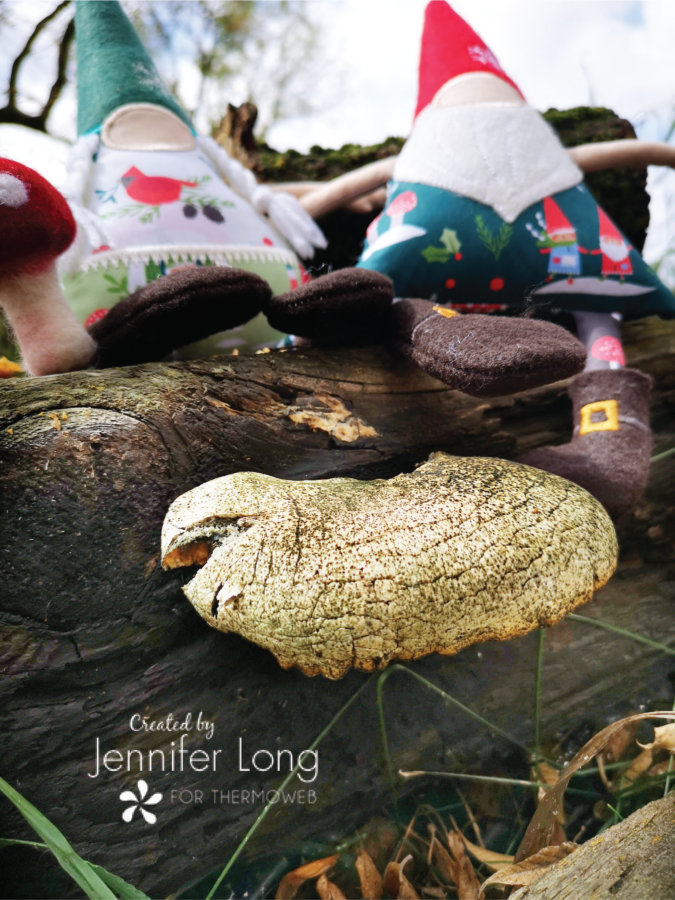
Use your Gnome Winter Doll as a tree ornament, display on the mantel or a super sweet shelf sitter. Thank you for sewing along with me today!
If you would like to sew along with me, come watch the free Tutorials on the Bee Sew Inspired YouTube Channel.
Thank you for stopping by! Even though it is just Fall, I am going to display my Gnome Dolls on my craft shelf!