ThermOWeb and Unity Stamp Co are at it again! There are five new Holiday designs of Unity Toner Card Fronts and they are stunning! I have a video showing off all five designs and three different coloring mediums with both classic and non-traditional color palettes!
Holiday Cards with Unity and Deco Foil
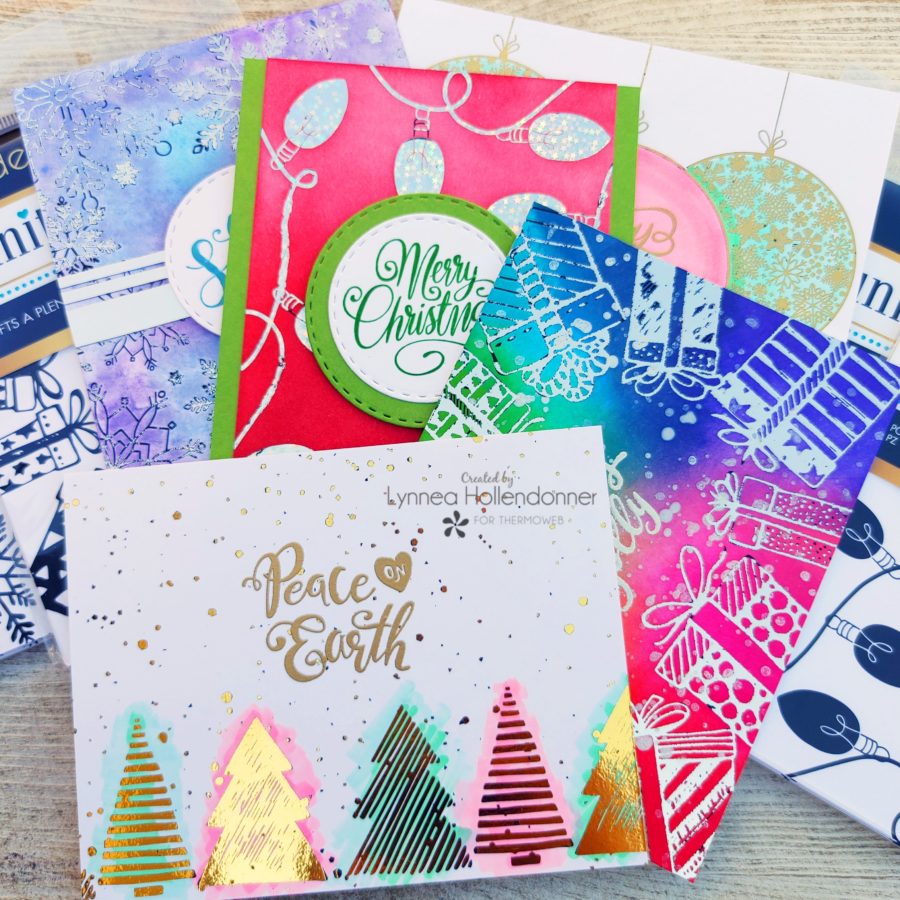
Holiday Cards with Unity and Deco Foil Video
[youtube https://www.youtube.com/watch?v=qMwTJFGFXbM%5D
Unity Toner Card Fronts are incredibly versatile. You can use just about any coloring medium with them. Today I used Copic Markers, watercolor, and ink blending – both dye inks and hybrid inks. I love that you can use what you already have in your stash! The Unity Toner Card Fronts are perfectly designed for ready to foil card fronts, but you can absolutely cut them up or embellish them and change your card designs!
Peace on Earth Card
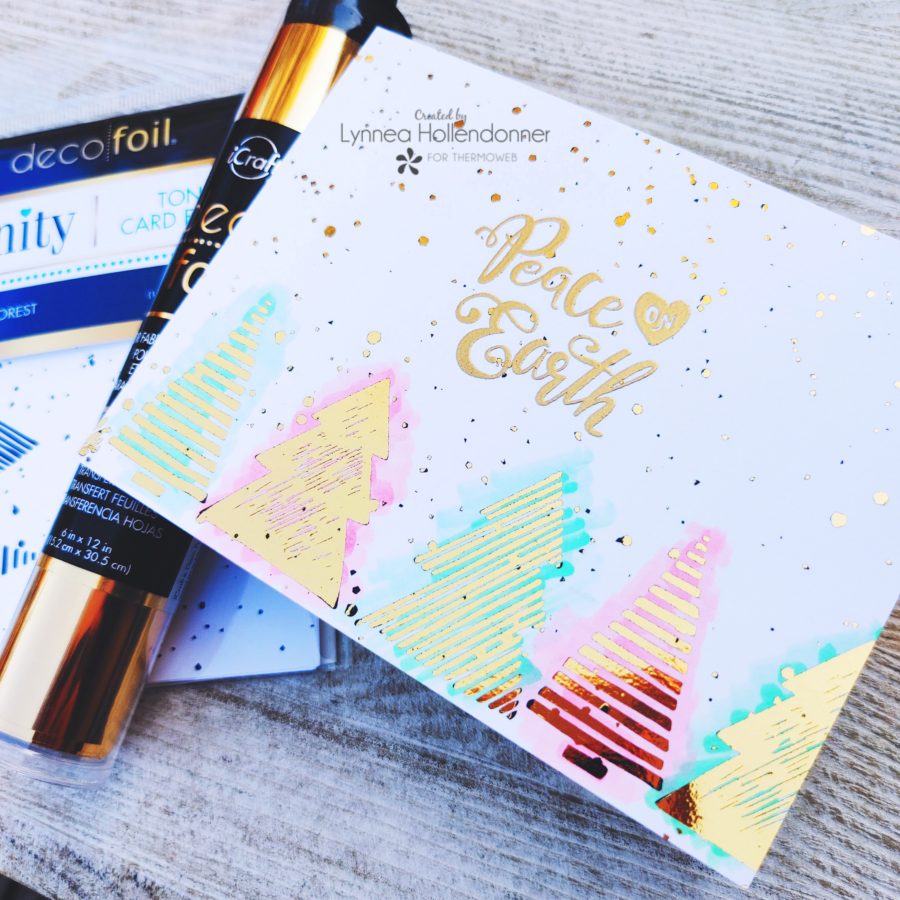
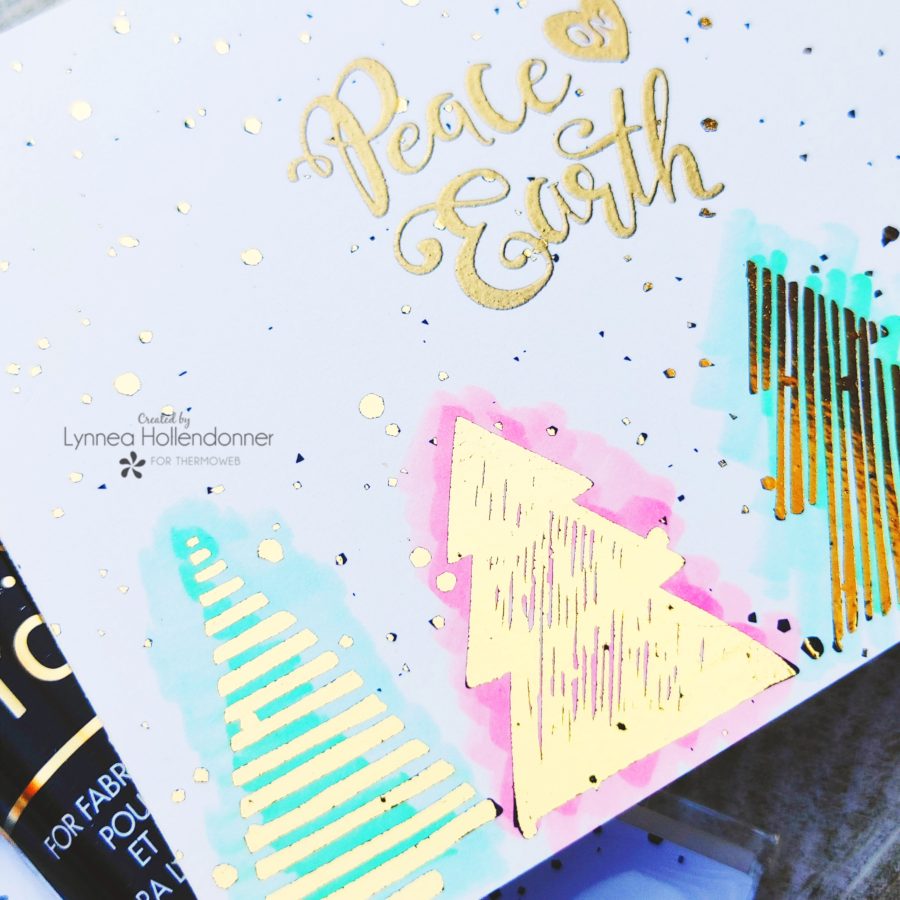
I added color to each of my Unity Toner Card Fronts before transferring foil to them, but you can absolutely foil first and add color after. It’s a personal preference in my opinion! Let’s start with the two Unity Toner Card Fronts that I colored with Copic Markers. The Unity Toner Card Fronts have a coated surface and I love how they take color! The Flurry Forest Unity Toner Card Front is one of my favorites. I love the chunky trees! I used two shades of pink and two shades of mint Copic Markers and quickly added color right over the toner.
Happy Holidays Card
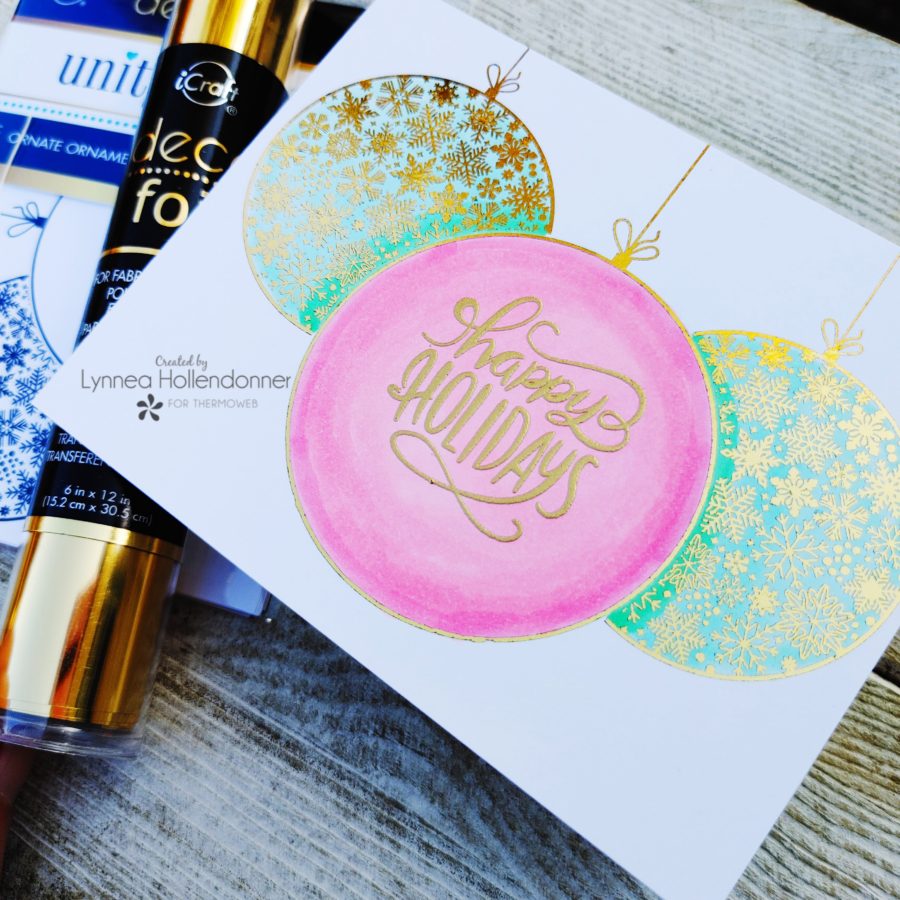
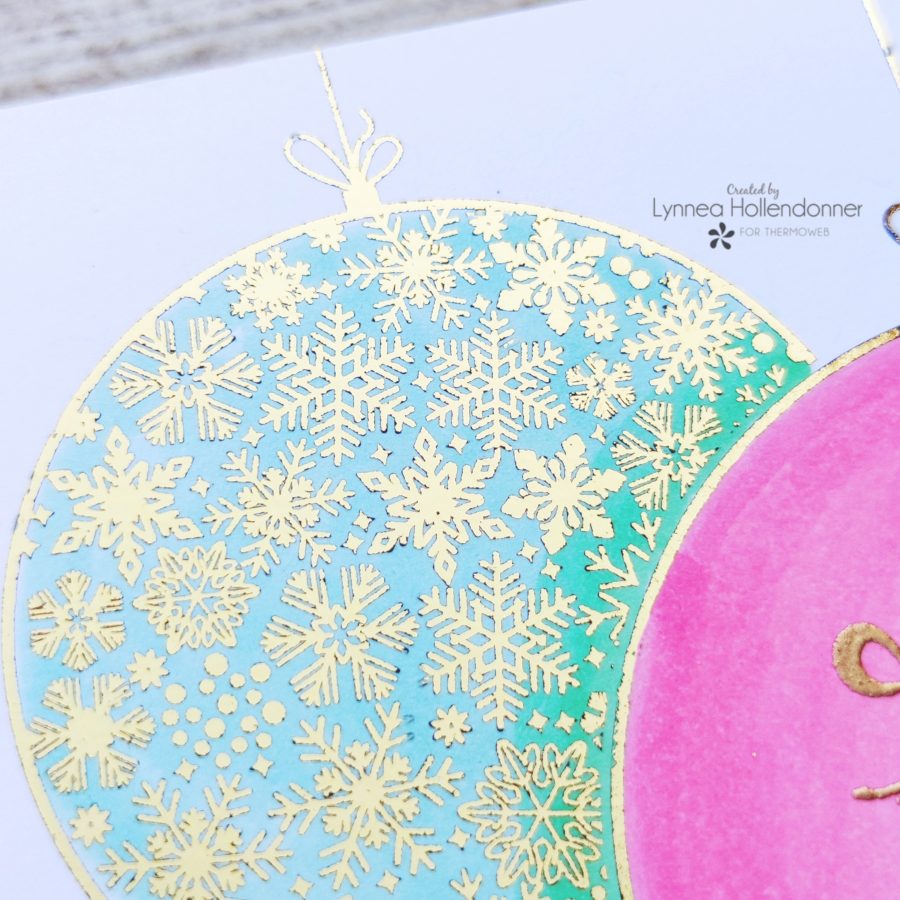
I colored the Ornate Ornaments Unity Toner Card Front with the same Copic Markers before I added Gold Deco Foil to each of the card fronts. When I use Deco Foil Transfer Sheets in my laminator I think it’s important to heat up my laminator really well. I turn on my laminator to the 5mil setting and let it heat up for about 20 to 30 minutes before use. I placed a piece of Gold Deco Foil that was slightly larger than the Unity Toner Card Front pretty side up onto the background and ran it through my laminator. You want to be sure that the reverse side of the foil makes contact with the toner in order for the foil to transfer. Then let the background cool and peel away the Deco Foil Transfer Sheet and see the beautifully foiled design!
Holly Jolly Card
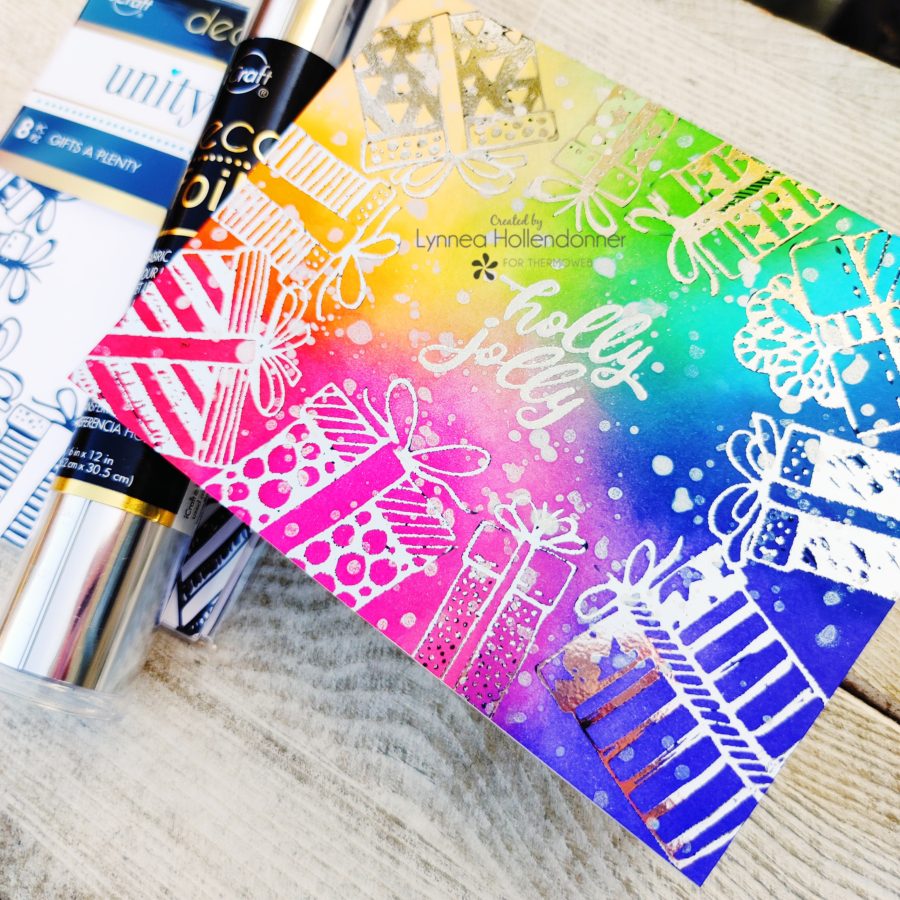
Let’s move on to some ink blending. This is probably my favorite way to add color to the Unity Toner Card Fronts. Remember that slick coating I mentioned before? It really helps with blending! I used some bright rainbow colors of dye ink for the Gifts a Plenty Unity Toner Card Front and they blend together beautifully! After I completed my ink blending I lightly buffed away any excess ink that may have sat on top of the toner. I cut a piece of a Silver Deco Foil Toner Sheet to be slightly larger than the background and ran it through my hot laminator (pretty side up!). I love the silver gifts against the rainbow ink!
Merry Christmas Card
Let It Snow Card
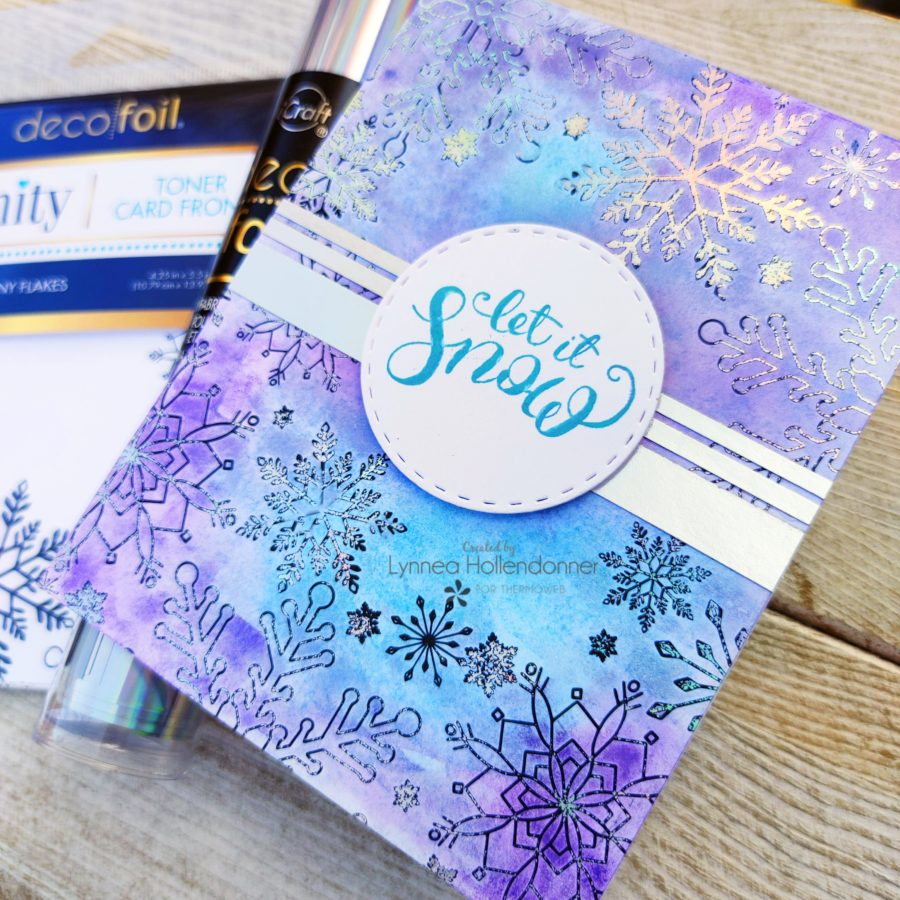
I’ve saved my favorite for last! I colored the Snow Many Flakes Unity Toner Card Front with shimmery watercolors. Although these card fronts are not made from watercolor cardstock I didn’t have any trouble blending watercolor on them. Once my panel was dried it was slightly warped, but the heat from the laminator not only transferred the foil onto the design, but it also flattened my panel! Bonus! I used Iridescent Deco Foil for my final design. I LOVE the shine!
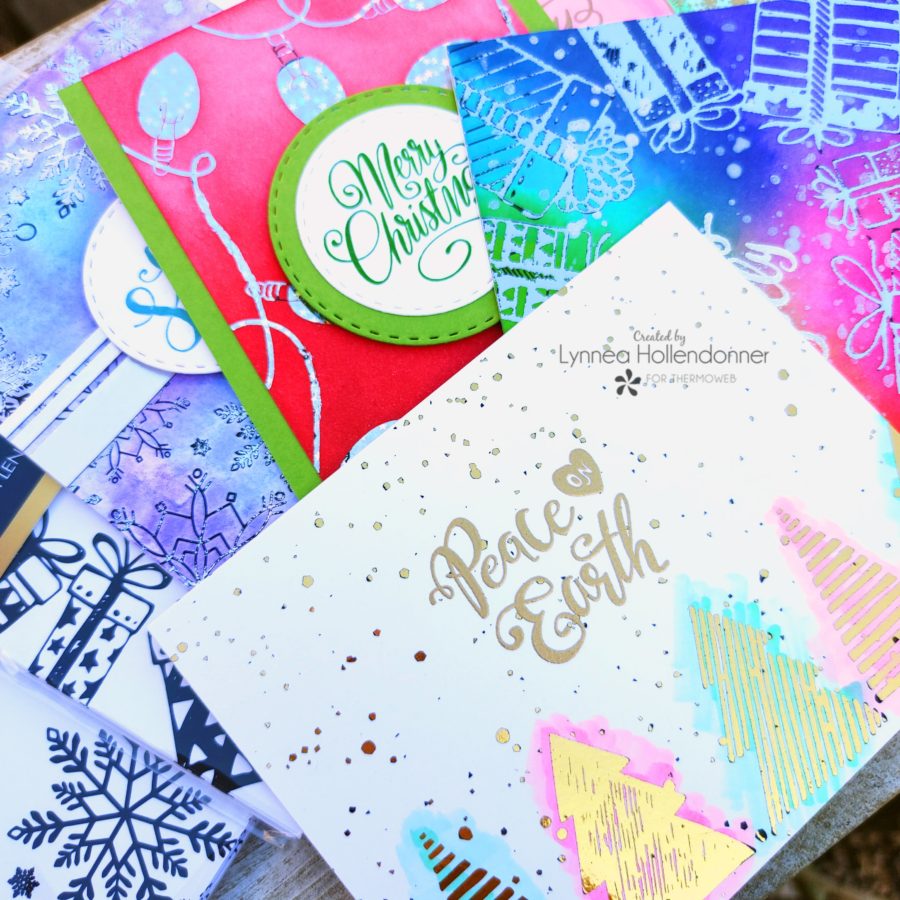
I kept each of the Unity Toner Card Fronts in their original form, but there are so many ways you could cut them or manipulate them into other designs! I used a sentiment from the Unity Stamp Co glimmering Greetings Stamp Set on each of the card fronts. I used both heat embossing and stamping onto die cuts to finish the Unity Toner Card Fronts into full card projects. I hope you’ve enjoyed this set of cards!
ThermOWeb Products Used –
Shop Deco Foil Transfer Sheets
Gold Deco Foil Transfer Sheets
Silver Deco Foil Transfer Sheets
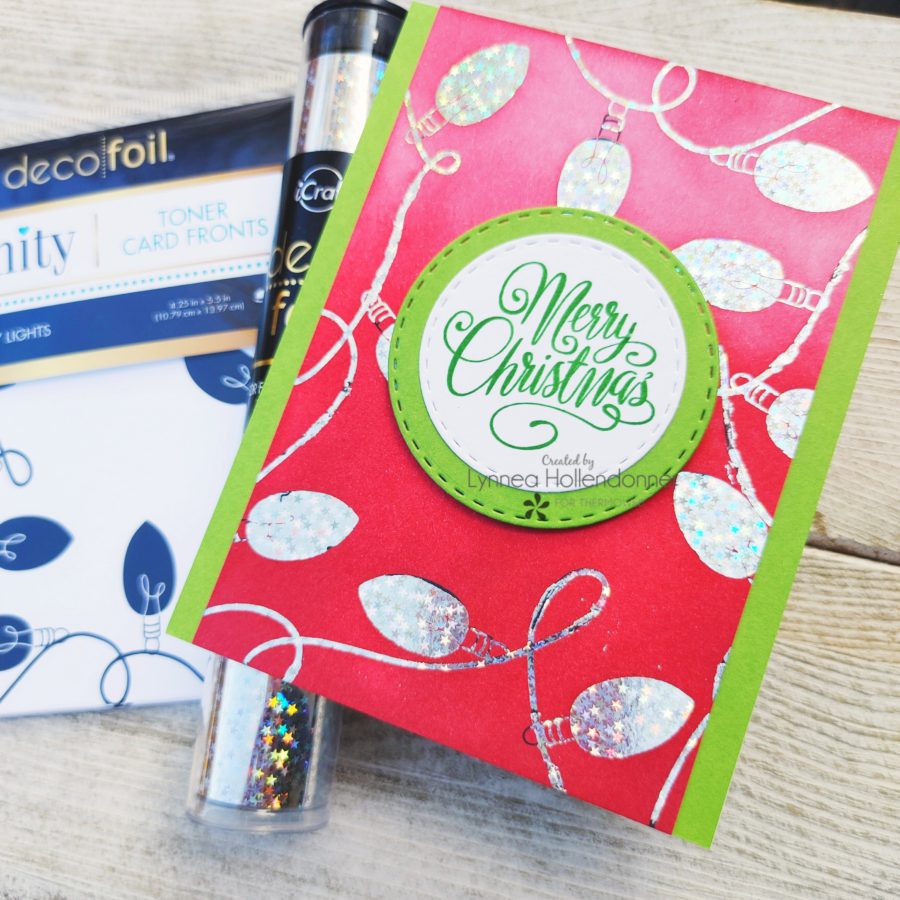
Silver Stars Deco Foil Transfer Sheets
Iridescent Deco Foil Transfer Sheets
iCraft Ultra Bond Liquid Adhesive
Unity Stamp Co Glimmering Greetings Stamp Set
