


Hello Therm-O-Web friends! I am so excited about today’s Hot Foil release. Look at that rainbow of colors! So many choices equal so many projects. I really enjoy using hot foil plates with my card designs. Today I am sharing some Holiday themed cards featuring the Twilight and Gold Stardust Hot Foils.
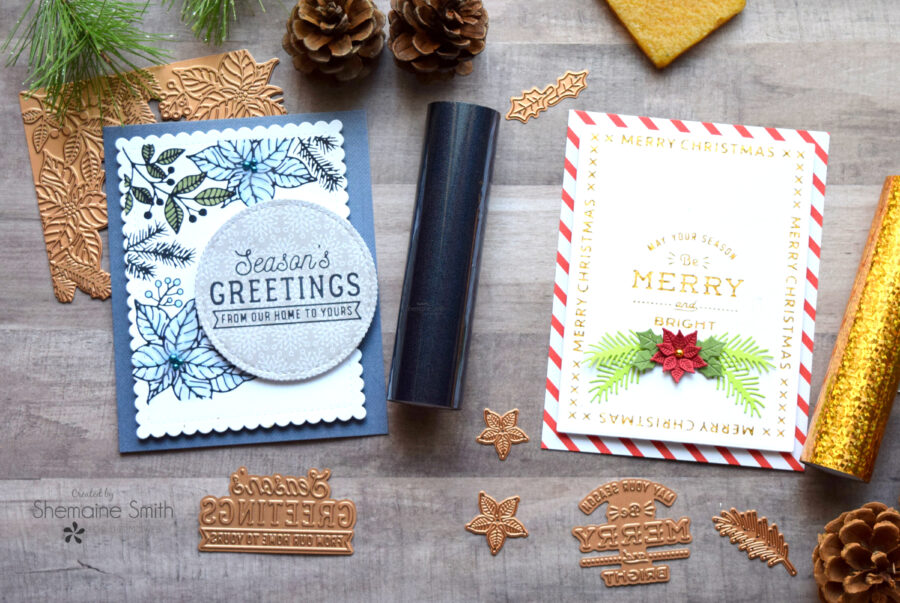
Holiday Greeting Cards with Hot Foils
Therm-O-Web Supplies:
iCraft Memory Tape Runner XL (50ft)
iCraft Removable Pixie Tape Roll, 1 in x 20
iCraft Adhesive Eraser XL, 2 in x 2.75 in
iCraft 3D Double-Sided Adhesive Foam Squares (White), 1/2 in x 1/2 in
iCraft UltraBond Permanent Dries Clear Adhesive Pen, 1 fl oz
Other Supplies:
Spellbinders Hot Foil Machine
Spellbinders Platnum 6 machine
Essential Christmas Greetings
Holiday Florals Background
Holiday Cards with NEW Deco Foil HOT Foils
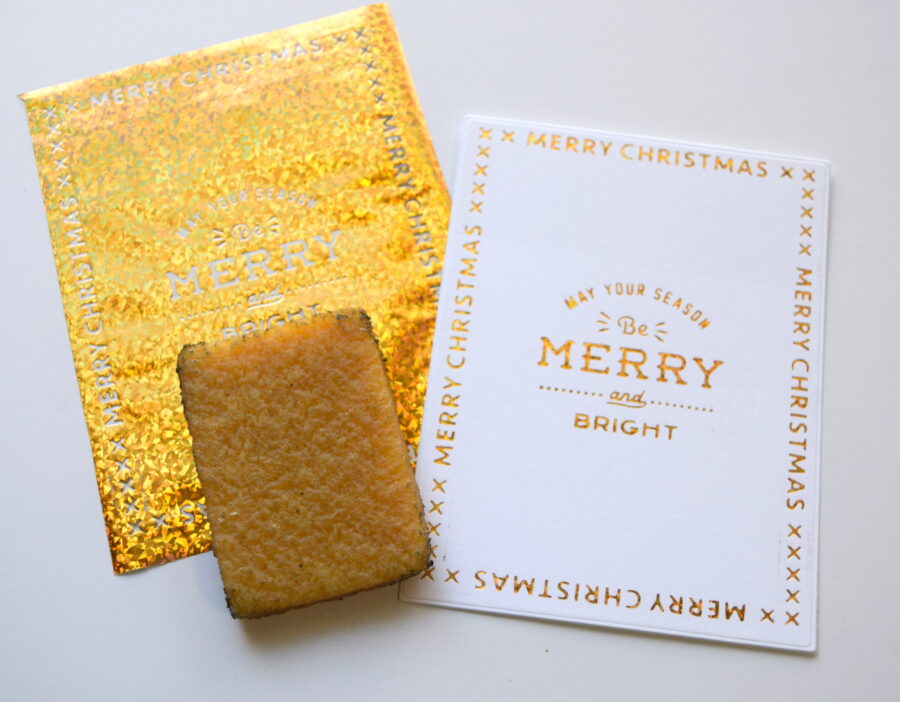
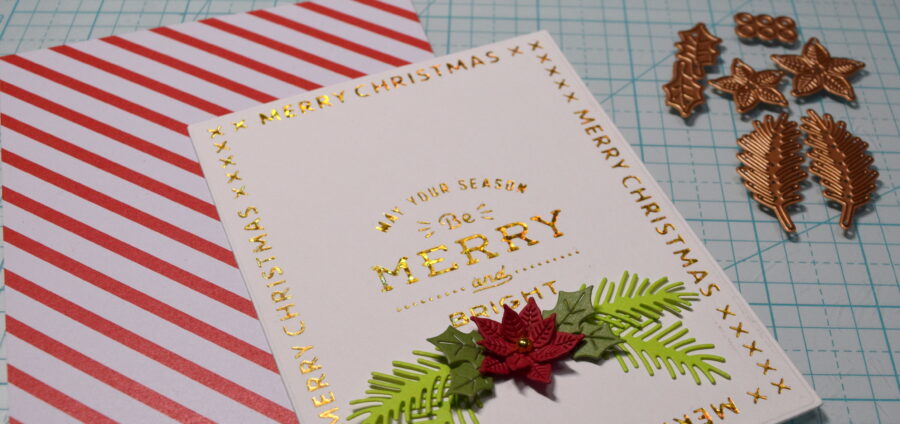
Using the Spellbinders Hot Foil plates and Glimmer machine I chose the Gold Stardust Hot Foil to create my card front. Using the foils is easy and fun. I match the die to the foil sheet and cut it to not waste any foil. Then I laid down the dies in the platform and place the foil dull side up. This is an important step. Then you place your cardstock over the foil and place the embossing plates over the top.

Next, you run pull the plate off the heating element and run it through your embossing machine. In this case, I also own the Spellbinders Platnum 6 machine so I ran it thru to emboss the design.
Next using a few different dies from Spellbinders I cut some embellishments.
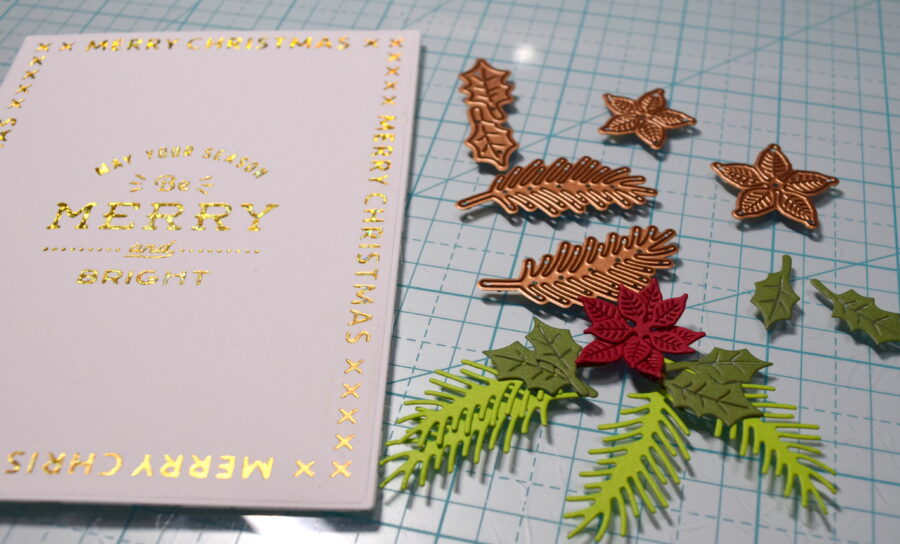
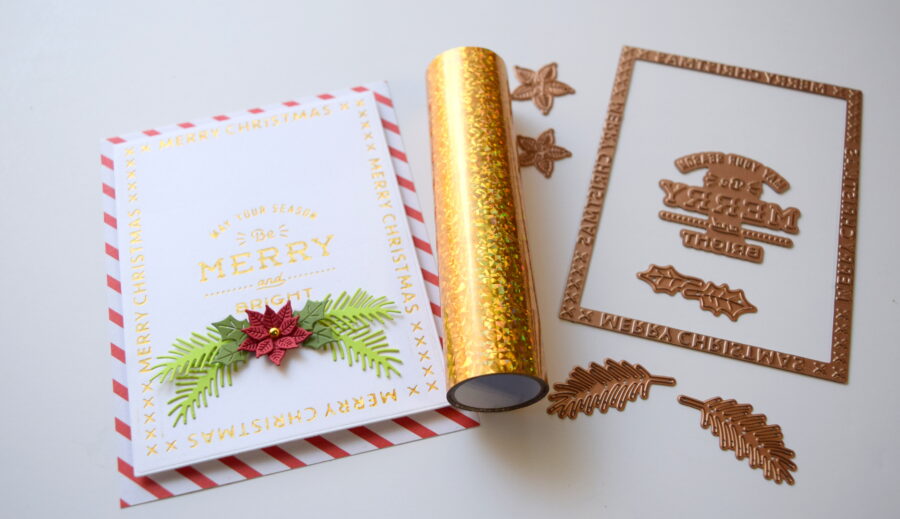
Using the Ultra Bond liquid adhesive, I adhered to the die-cut pieces on my card base.
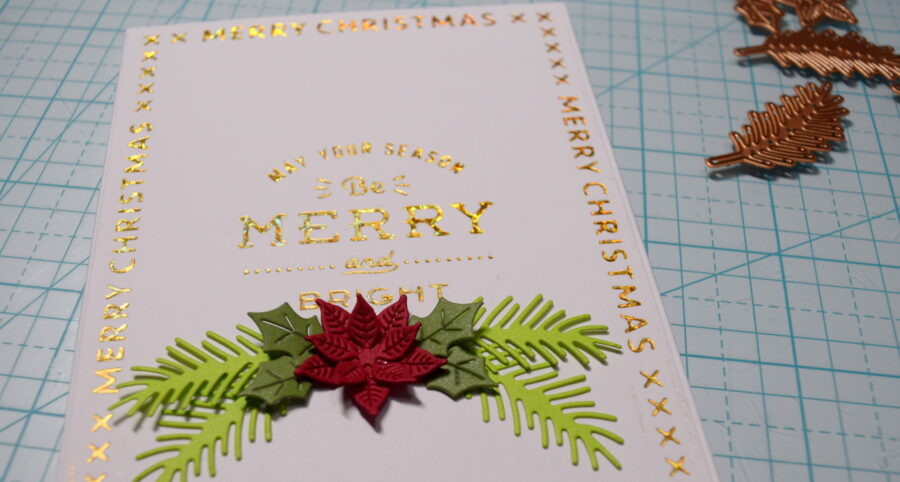
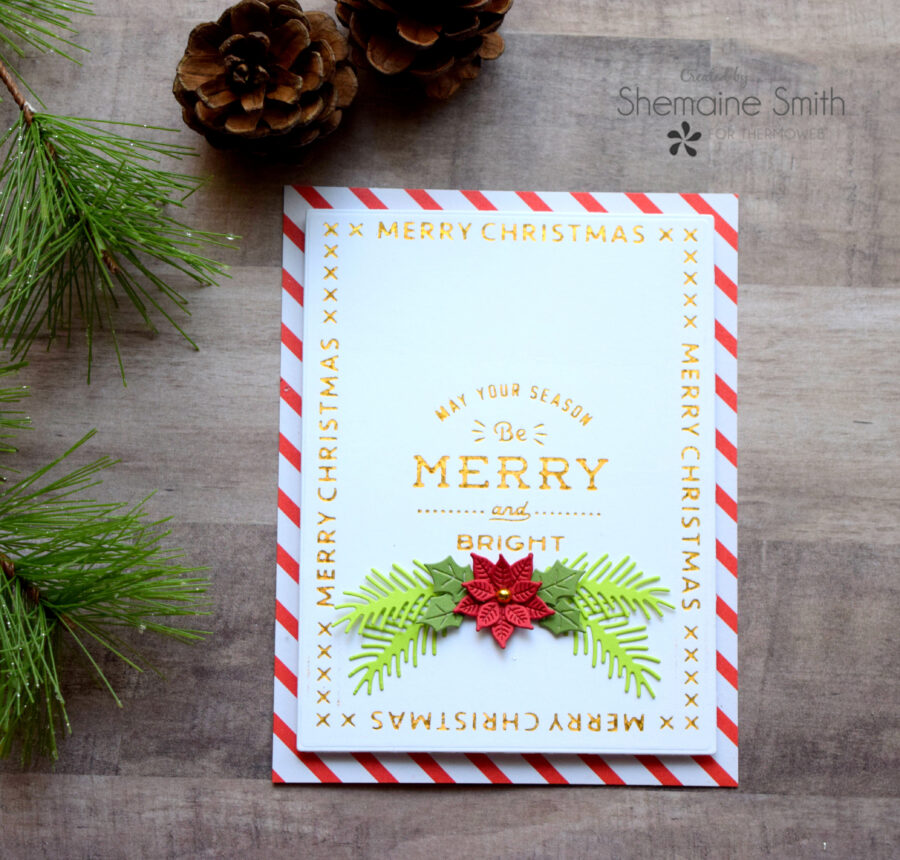
Next, I chose a candy cane striped patterned paper for my card base and then using our 3D foam squares, adhered the foiled layer to the card base.
Th finished result is a beautiful card that I was able to make in 15 mins.
For my second card, I repeated the same process with the hot foil dies, and this time I chose the Twilight Hot Foil to foil my sentiment on patterned paper instead of plain cardstock.
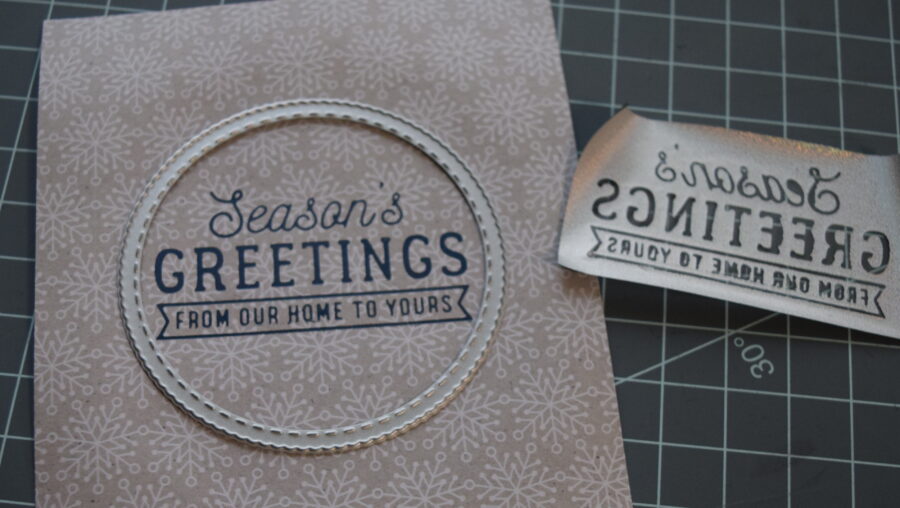
Using our adhesive remover tool I went over the sentiment to clean up any excess foil and give it a cleaner look.
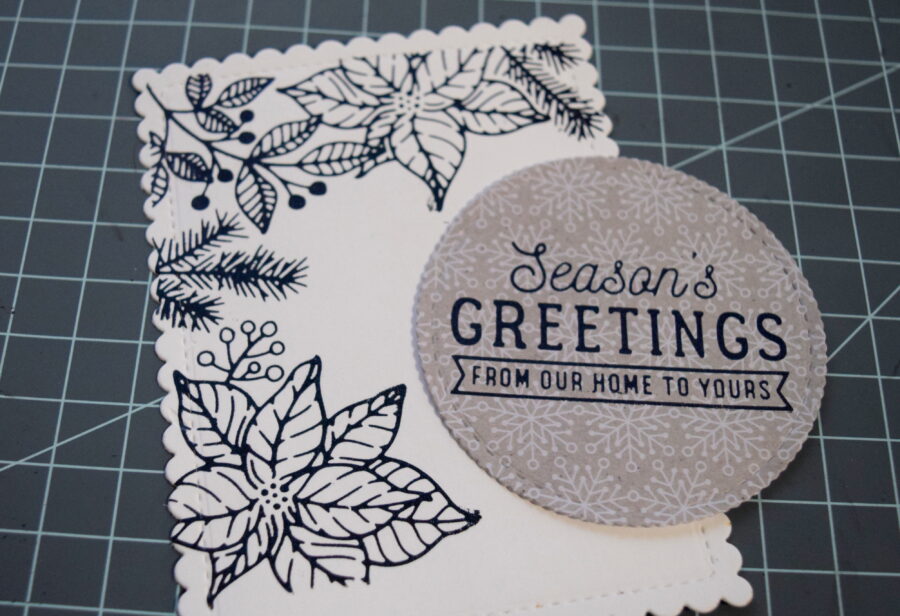
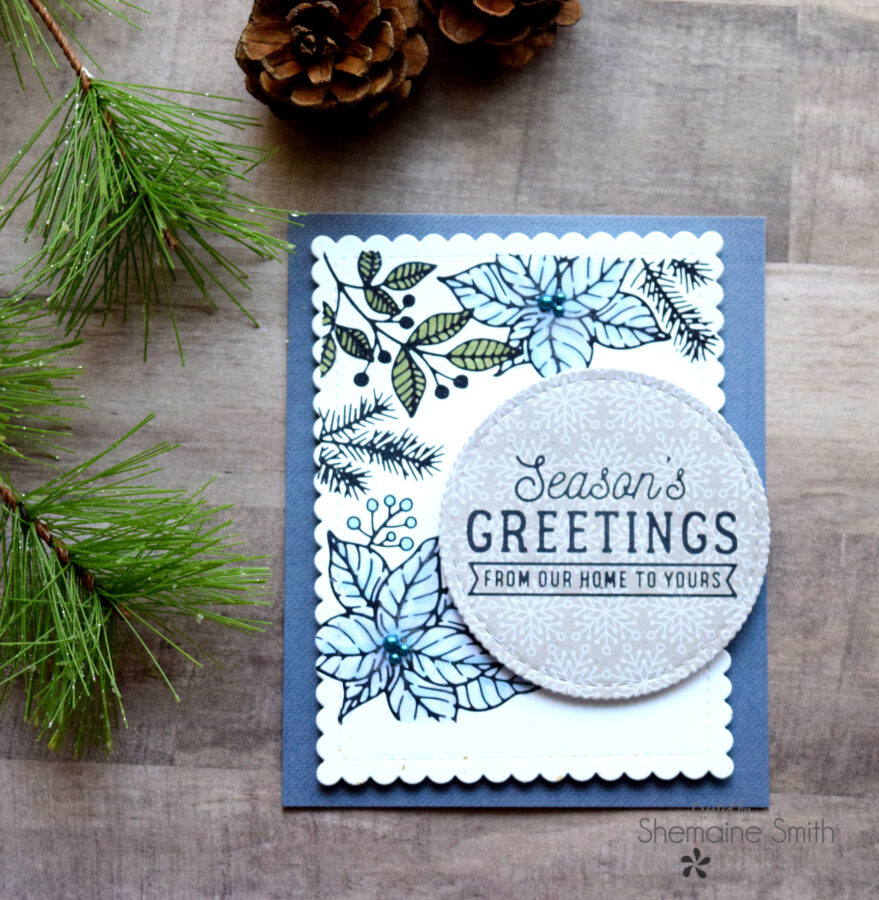
Using another Hot Foil plate, I created a background scene that I could color with Copic markers. I really enjoy making non-traditional colored holiday cards. So I colored the poinsettias in blues.
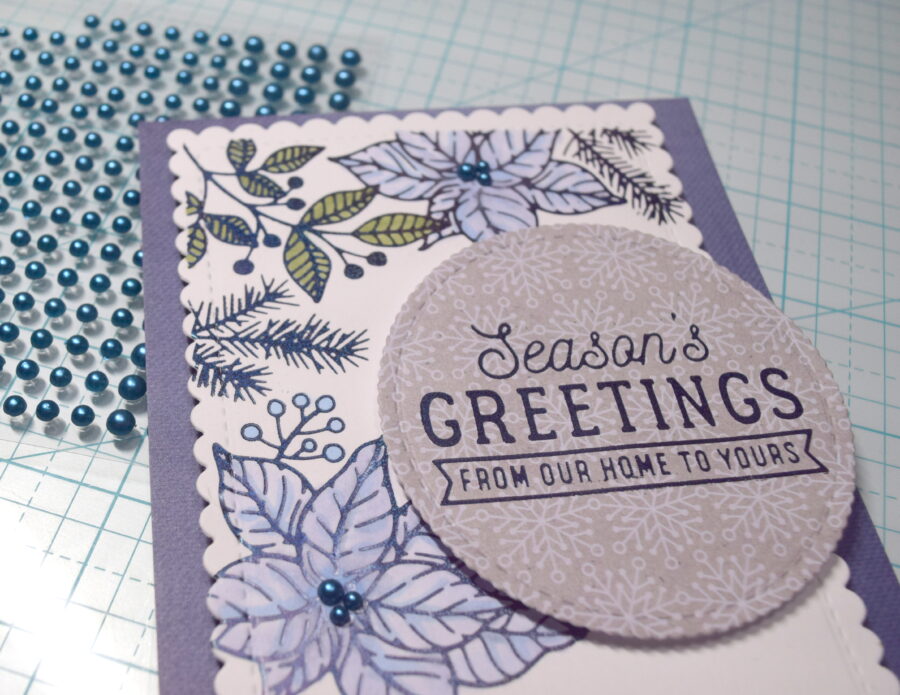
Using 3D foam squares I adhered the foiled die-cut layer to the card base to finish my card.
Thank you for stopping by today. I hope you’ll try our new Hot Foils with your next project! If you do, be sure and share them with us by using the hashtags #thermoweb and #thermowebhotfoils
Have a creative day! And don’t forget to join us TOMORROW NIGHT in our Facebook Group for a Facebook Live with Justin Atkins featuring the new HOT Foils.

And speaking of HOT Foils…now is the perfect time to stock up on these amazing colors with the Buy Three Get One Free Sale happening NOW! No coupon code needed…just shop on the Therm O Web website and load three foil colors in your cart and the fourth is free!
{S}