


 Hello Crafty Friends!!
Larissa here today sharing Six different Holiday Cards using the NEW Brutus Monroe Deco Foil and Toner Card Fronts!! SWOON!! These NEW Products are PERFECT for so many Occasions!! I just LOVE the Designs of the NEW Toner Card Fronts and the STUNNING Iridescent Shimmer of the Foil just makes me HAPPY!!

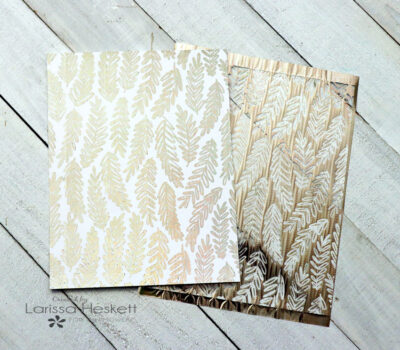
I’m using a combination of Regular Foiling and Negative Foiling to showcase how you can get MORE BANG for your Buck!! I for one LOVE to Foil, so I NEVER like to see the Negative Foil go to WASTE!! Therefore I try to USE every piece and Negative Foiling is actually one of my FAVORITE Techniques because it’s SO EASY and you can have a BLAST using different Color Combos together to get that CUSTOMIZED Design, which I think is SPECIAL!!
Holiday Cards with Brutus Monroe
Let’s get Started!!
Halloween Card with Brutus Monroe
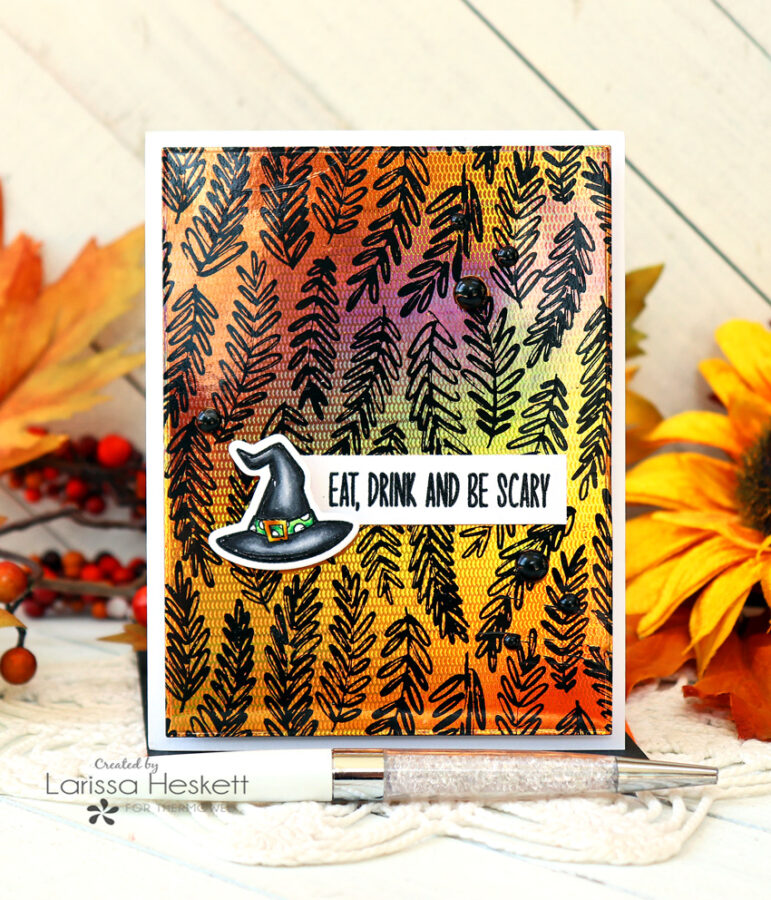
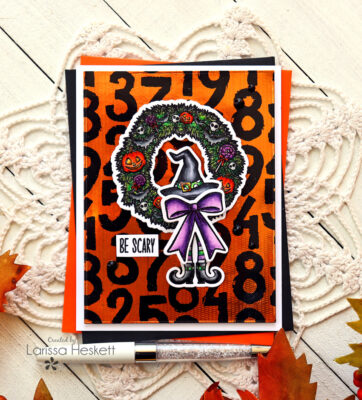
My first Card is a FUN Halloween Card!! I usually make Halloween Cards for the Teachers every year to hand out during the Halloween Parties at School!! It’s FUN to see them SMILE as it’s not normally a Holiday they get Cards for, and the NEW Products are PERFECT for Halloween Themed Cards!!
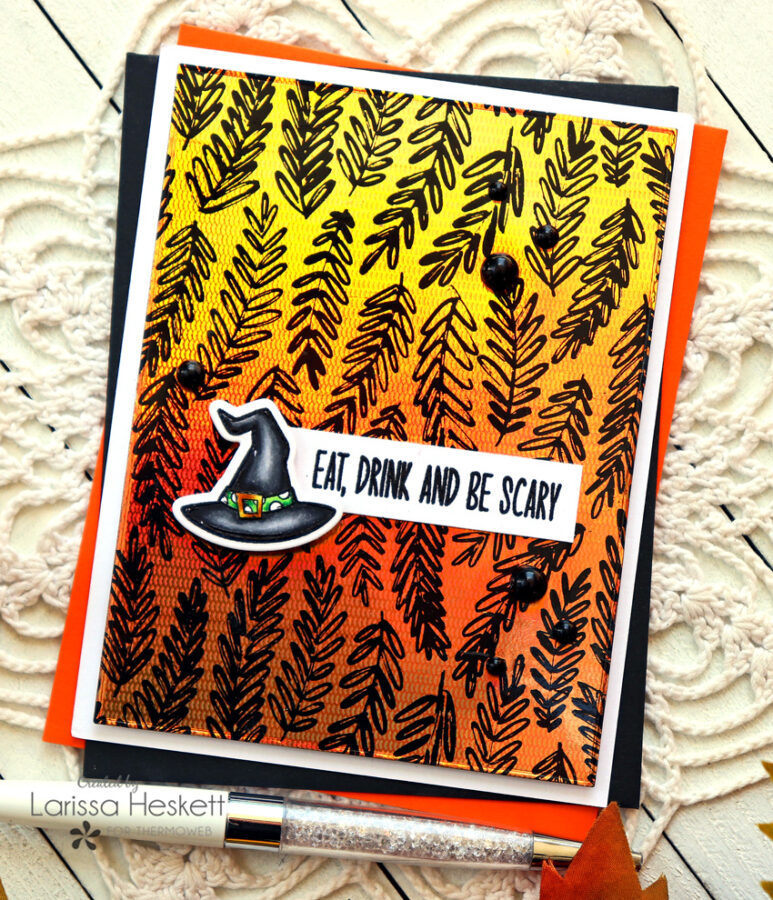
I Started by Stamping and Embossing the Witch Hat Image from the NEW Brutus Monroe Seasonal Wreaths Stamp Set!! SQUEAL!! This Set is AMAZING and there are SO MANY options when using it to create different Holiday Cards!! Then I used Copic Markers to Color in the Images!! Witch Hat: N0, N3, N5 & N8 YG03 & YG25 Y11 & YR23
Then I used the coordinating Die to Die Cut the Image out!!
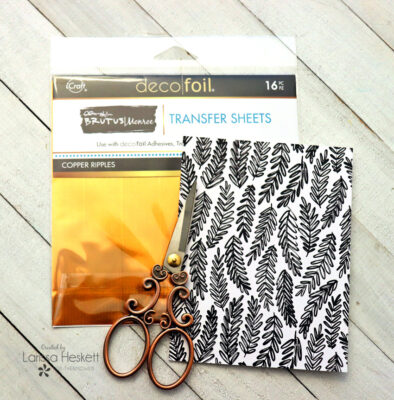
For the Card Panel I Started by Foiling the Toner Card Front from the BEAUTIFUL NEW Brutus Monroe Floral Fantasy, with the NEW Brutus Monroe Copper Ripples Deco Foil!!
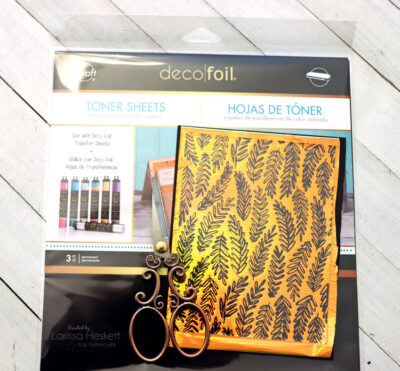
Then I used the Negative Foil Sheet and Laminated it to a Piece of Deco Foil Toner Sheets!! Then I Die Cut the Card Panel and added it to an A2 Cardbase using the iCraft 3D Foam Tape Jumbo Roll to add some Dimension!!
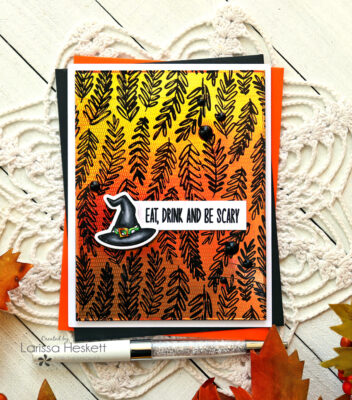
I Stamped and Embossed the Sentiment and adhered it to the Card Panel with some Ultra Bond Adhesive!! Then I adhered the Witch Hat with a Foam Square and added some Trinity Stamps Black Eyed Beads using the Zots Bling Adhesive Dots to finish off the Design!!
Negative Foil Halloween Card
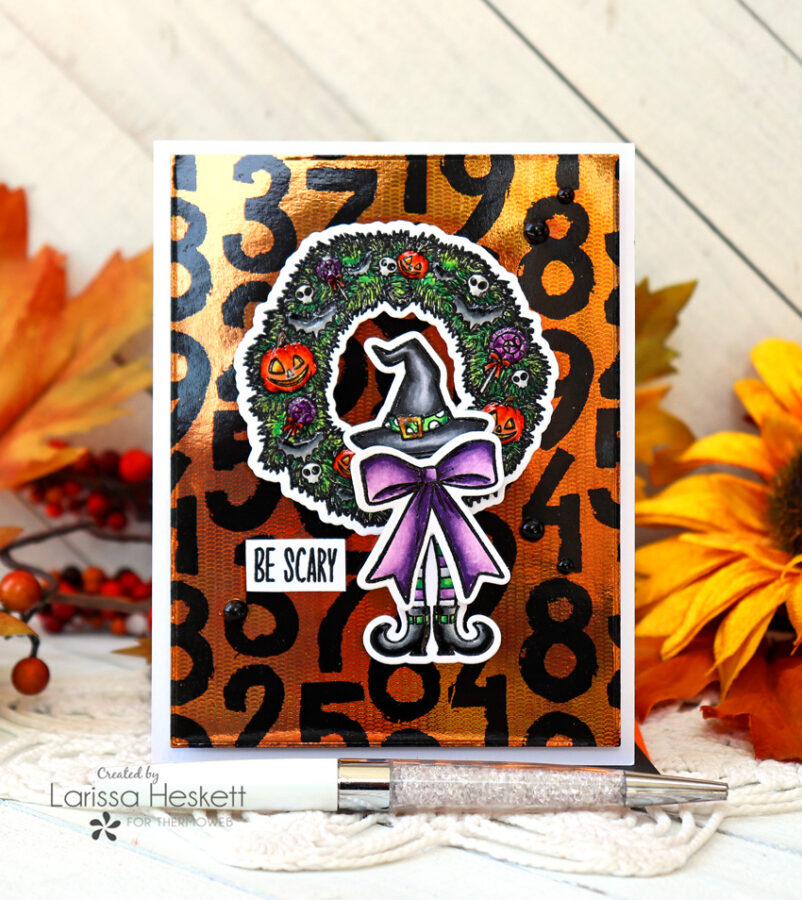
For my Second Card I’m creating another Halloween Card!! Again using a Negative Foil Sheet to create my Card Panel!!
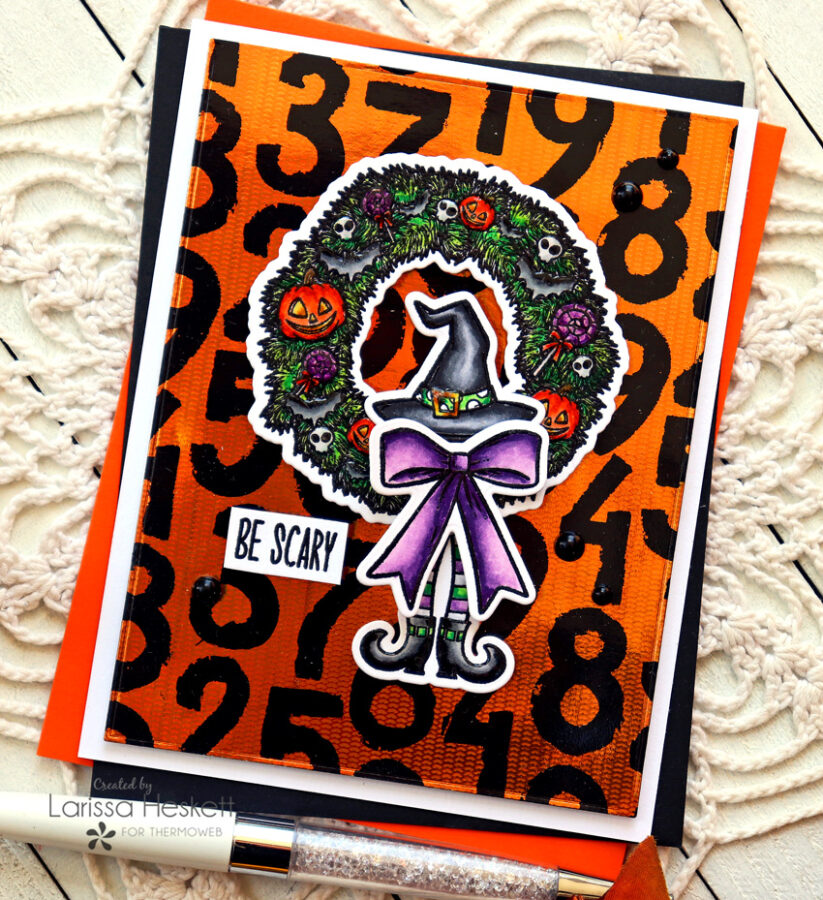
I Started by Stamping and Embossing the Images from the NEW Brutus Monroe Seasonal Wreaths Stamp Set!! SQUEAL!! This Set is AMAZING and there are SO MANY options when using it to create different Holiday Cards!! Then I used Copic Markers to Color in the Images!! Wreath: YG03, YG25 & G19 Jack-O-Lanterns: YR00, YR18 & YR68 Y11, YR23
Bats: N0, N3 & N5 Suckers: V00, V15 & V09 Skulls: N0
Witch Hat: N0, N3, N5 & N8 YG03 & YG25 Y11 & YR23
Witch Boots & Leggings : N0, N3, N5 & N8 YG03 & YG25 V00 & V15 N0 & N3
Bow: V00, V01, V15 & V09
I Die Cut the Images out using the coordinating Seasonal Wreath Die Set and then used Glossy Accents to cover over the Images in the Wreath to add some Dimension and Shine to help them POP out from the Wreath more!! I LOVE how it turned out!!
Next, I worked on Foiling the NEW Toner Card Front in Really Radiant!! I used the NEW Brutus Monroe Copper Ripples Deco Foil and ran it through my Laminating Machine!! Then I used the Negative Foil Sheet and laminated it to a Deco Foil Toner Sheet!!
I Adhered the Card Panel to an A2 Cardbase using some iCraft 3D Foam Tape Jumbo Roll to add some Dimension!! Then I adhered all of the Images, along with the Stamped and Embossed Sentiment to the Card Panel using Foam Squares!! I added some Trinity Stamps Black Eyed Beads using the Zots Bling Adhesive Dots to finish off the Design!!
Fall Wreath Card
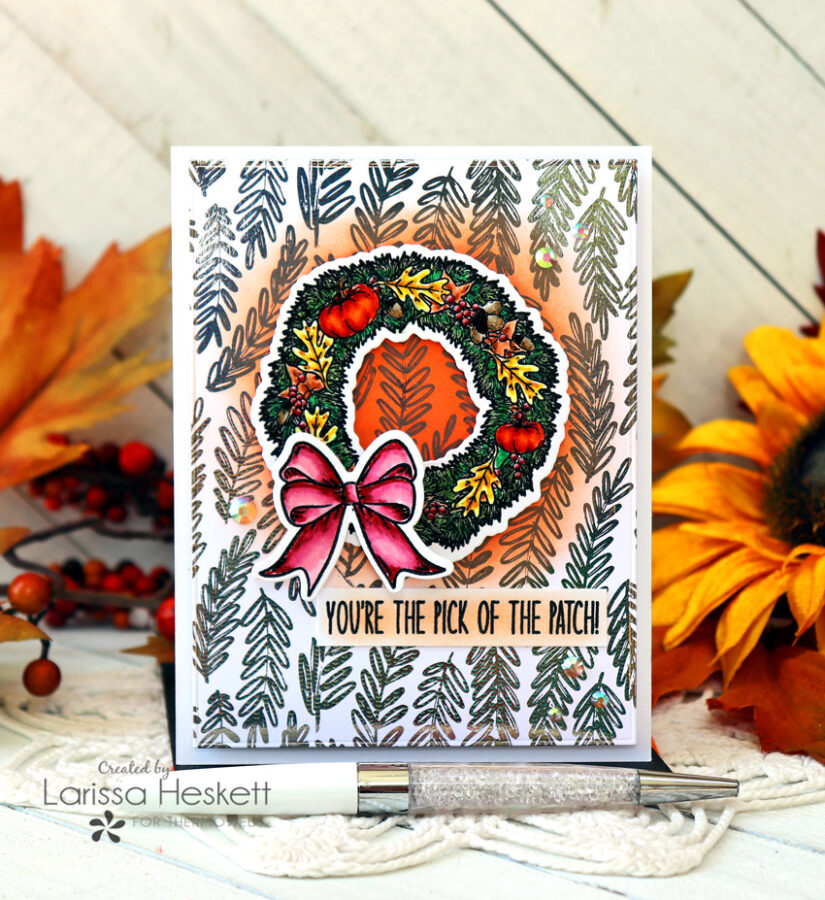
For my 3rd Card I’ve created and BEAUTIFUL Fall Card!! I Started by Stamping and Embossing the Images from the NEW Brutus Monroe Seasonal Wreaths Stamp Set!! SQUEAL!! This Set is AMAZING and there are SO MANY options when using it to create different Holiday Cards!!

I used Copic Markers to Color in the Images!!
Wreath: YG61, YG63 & G19 Pumpkins: YR00, YR18 & YR68
Yellow Leaves: Y11, Y15 & YR23 Acorns: E40, E44 & E49
Berries and Bow: RV11, RV34 & R39 Orange Leaves: YR00, E33 & E99
I Die Cut the Images out using the coordinating Seasonal Wreath Die Set and then used Glossy Accents to cover over the Images in the Wreath to add some Dimension and Shine to help them POP out from the Wreath more!! I LOVE how it turned out!!
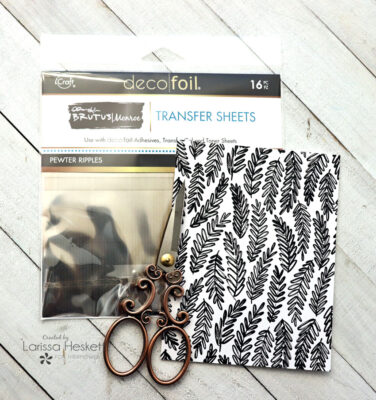
For the Card Panel, I Started by Foiling the Toner Card Front from the BEAUTIFUL NEW Brutus Monroe Floral Fantasy, with the NEW Brutus Monroe Pewter Ripples Deco Foil!!
Then I Die Cut the Card Panel and added it to an A2 Cardbase using the iCraft 3D Foam Tape Jumbo Roll to add some Dimension!!

I Adhered the Card Panel to an A2 Cardbase using some iCraft 3D Foam Tape Jumbo Roll to add some Dimension!! Then I adhered all of the Images, along with the Stamped and Embossed Sentiment to the Card Panel using Foam Squares!! I added some Trinity Stamps Rhinestones using the Zots Bling Adhesive Dots to finish off the Design!!
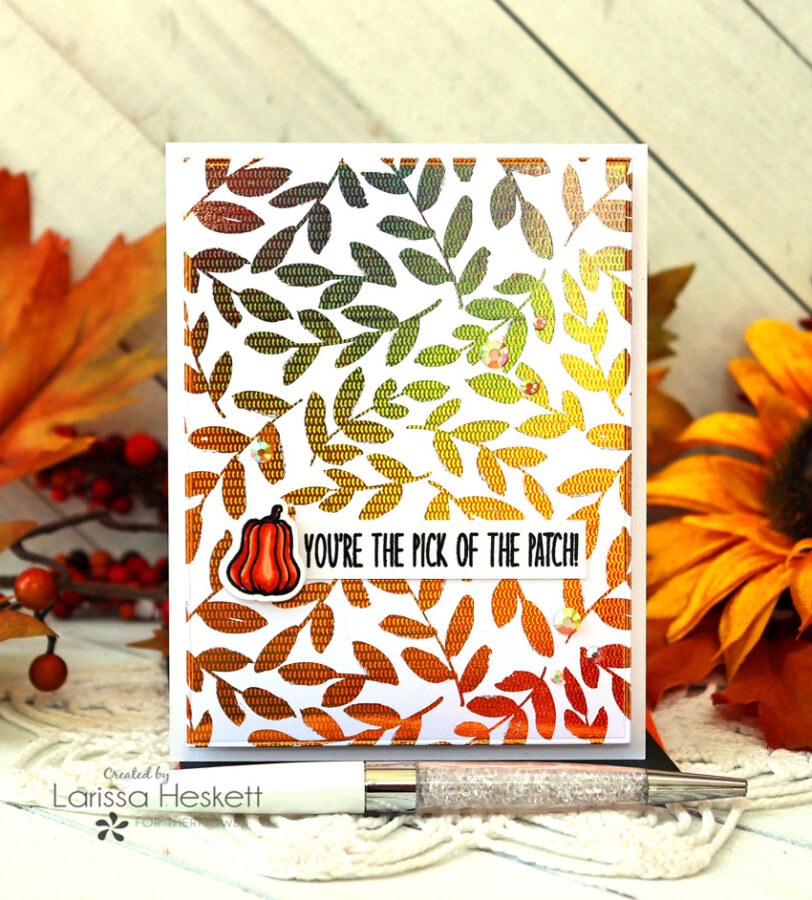
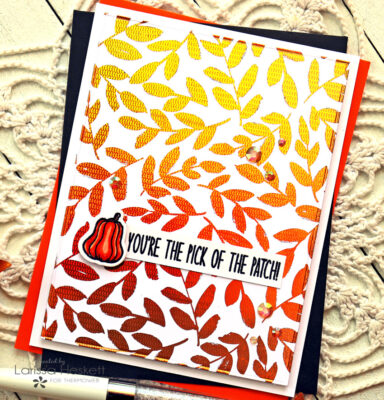
Pick of the Patch Fall Card
For my 4th Card I’ve created another Fall Card using another Toner Card Front from the NEW Brutus Monroe Floral Fantasy, with the NEW Brutus Monroe Copper Ripples Deco Foil!!
I Started by Stamping and Embossing the Pumpkin Image from the NEW Brutus Monroe Seasonal Wreaths Stamp Set!! Then I used Copic Markers to Color in the Images!!
Pumpkin: YR00, YR18 & YR68 E44 & E47
Then I used the coordinating Die to Die Cut the Image out!!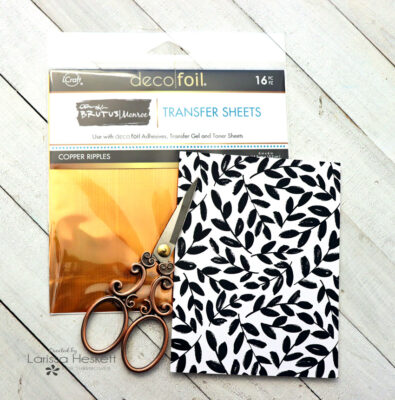
For the Card Panel I Started by Foiling the Toner Card Front from the BEAUTIFUL NEW Brutus Monroe Floral Fantasy, with the NEW Brutus Monroe Copper Ripples Deco Foil!! SWOON!! The Iridescent Shimmer of this Foil is just STUNNING in real Life and the Fall Colors REALLY POP through!!
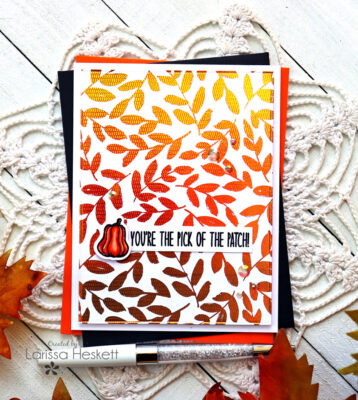
I Stamped and Embossed the Sentiment and adhered it to the Card Panel with some Ultra Bond Adhesive!! Then I adhered the Pumpkin with a Foam Square and added some Trinity Stamps Rhinestones using the Zots Bling Adhesive Dots to finish off the Design!!
Happy Holiday Card
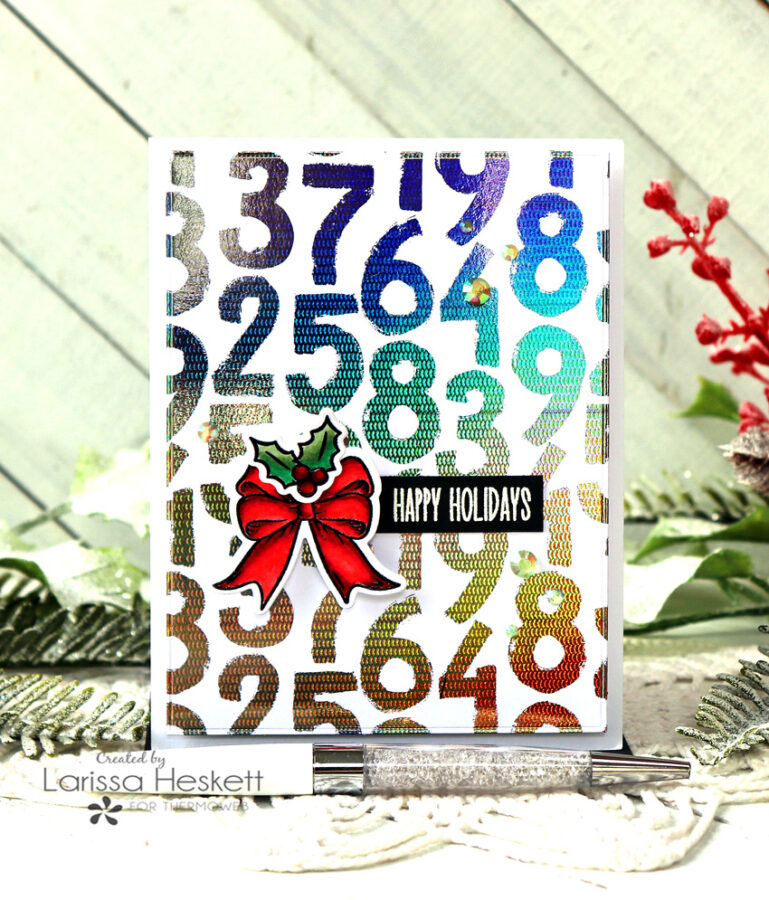
For my 5th Card I’ve created a Happy Holiday Card using a Toner Card Front from the NEW Brutus Monroe Really Radiant, with the NEW Brutus Monroe Copper Ripples Deco Foil!!
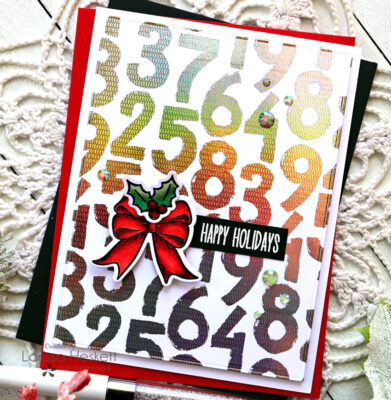
I Started by Stamping and Embossing the Bow and Holly Images from the NEW Brutus Monroe Seasonal Wreaths Stamp Set!! Then I used Copic Markers to Color in the Images!!
Red: RR14, R37 & R39 Green: YG61, Yg63 & G19
Then I used the coordinating Die to Die Cut the Image out!!
For the Card Panel I Started by Foiling the Toner Card Front from the BEAUTIFUL NEW Brutus Monroe Really Radiant, with the NEW Brutus Monroe Copper Ripples Deco Foil!!
SWOON!! The Iridescent Shimmer of this Foil is just STUNNING in real Life!!
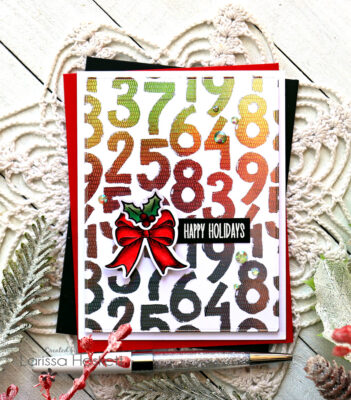
I Stamped and Embossed the Sentiment and adhered it to the Card Panel with some Ultra Bond Adhesive!! Then I adhered the Bow and Holly Image with Foam Squares and added some Trinity Stamps Rhinestones using the Zots Bling Adhesive Dots to finish off the Design!!
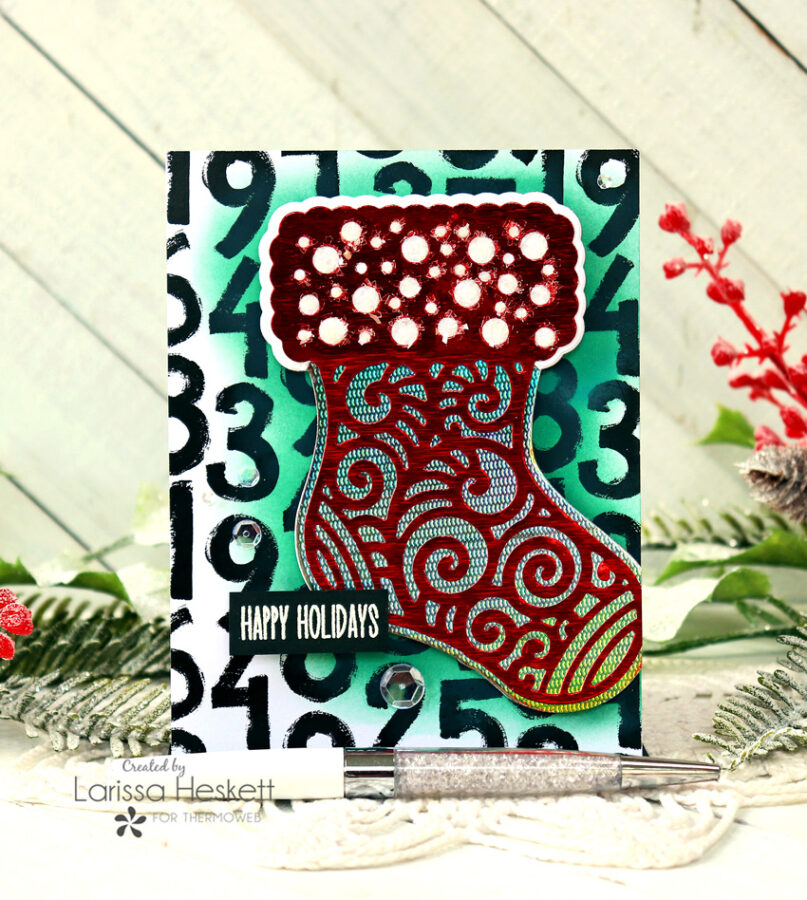
Christmas Stocking Card
For my 6th and last Card I’ve created a Happy Holiday Card using a Toner Card Front from the NEW Brutus Monroe Really Radiant, with a FESTIVE Stocking Die Cut using the NEW Brutus Monroe Copper Ripples Deco Foil along with the Red Static Deco Foil! SWOON!!
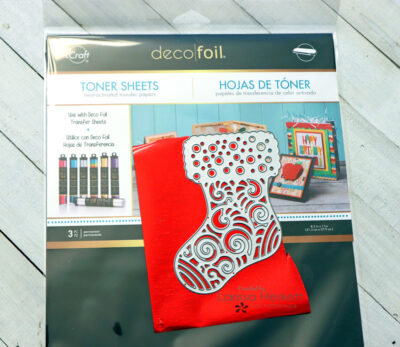
I Started by Laminating a Piece of the Brutus Monroe Red Static Deco Foil to a Piece of Deco Foil Toner Sheets and then Ran it through my Laminating Machine!! Then I Die Cut the Stocking Image out!!
Next I Die Cut the Outline Stocking Image from the Deco Foil Toner Sheet that was Laminated with the NEW Brutus Monroe Pewter Ripples Deco Foil!! Then I adhered the Layers together along with some White Cardstock that I Die Cut for the top of the Stocking!!
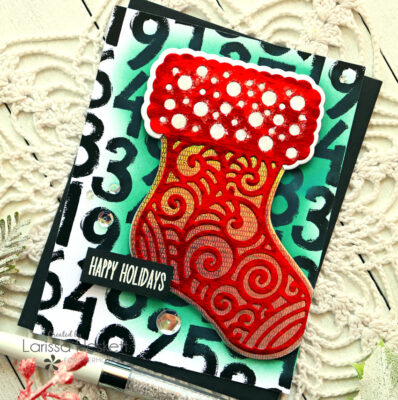
I added some Ultra Bond Adhesive to the open Dots and added some Clear Glass Glitter for some added texture and Sparkle!! Then I Inked the Card Panel using Evergreen Bough Distress Oxide Ink!!
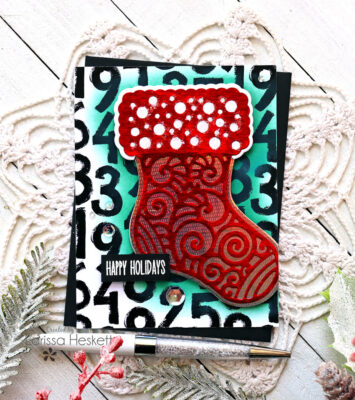
I Adhered the Card Panel to an A2 Cardbase using Ultra Bond Adhesive!! Then I adhered the Stocking, along with the Stamped and Embossed Sentiment to the Card Panel using Foam Squares!! I added some Sparkling Clear Sequins using the Zots Bling Adhesive Dots to finish off the Design!!
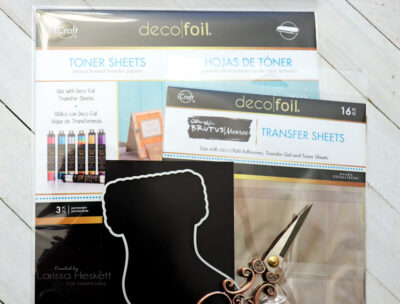
Products Used:
Therm O Web:
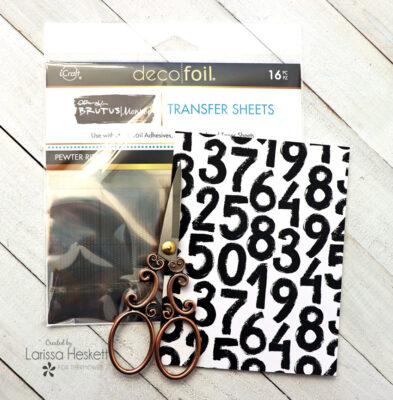
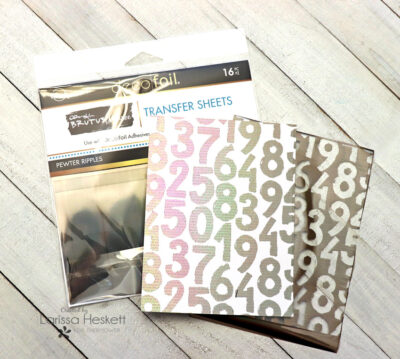
Brutus Monroe Deco Foil Sheets in Red Static, Copper Ripples and Pewter Ripples
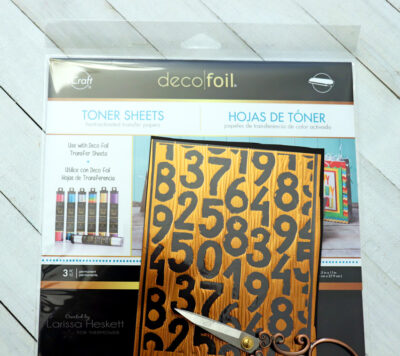
Deco Foil Toner Sheets
Brutus Monroe Deco Foil Toner Card Fronts in Really Radiant and Floral Fantasy
Ultra Bond Adhesive
Zots Bling Adhesive Dots
3-D Foam Squares
iCraft 3D Foam Tape Jumbo Roll
Other:
Brutus Monroe Seasonal Wreaths Stamp Set
Brutus Monroe Seasonal Wreaths Die Set
Brutus Monroe Stocking Standalone Die Set
Distress Oxide Inks
Clear Glass Glitter
Trinity Stamps Rhinestones and Black Eyed Beads
Copic Markers
Glossy Accents
Sparkling Clear Sequins
Link for all the Products used HERE!!
So there you have it, Six different Holiday Cards using the NEW Brutus Monroe Deco Foil and Toner Card Fronts!! SWOON!! These NEW Products are PERFECT for so many Occasions!! I hope I’ve INSPIRED you today on different ways to use these NEW Brutus Monroe Products to create some of your Holiday themed Cards!!
If you create something please tag us on Social Media using the Hashtags #thermoweb #decofoil #decofoilflocksheets #cleardesignertonersheets #decofoiltonercardfronts as we LOVE to see what you’re creating!! Also, JOIN us for even more FUN and INSPIRATION on our FB Page: Therm O Web Craft Room!!
THANKS SO MUCH for stopping by today and I Hope you have a FABULOUS WEEK!!
Larissa Heskett

We’re changing things up a bit this time and giving you a chance to win a $50 Gift Card to shop with our friends at Brutus Monroe! Just wait till you see all the incredible items they stock in their online (and physical store) including the items we’re using this week! Be sure to take time to enter our giveaway! And do stop by the Brutus Monroe blog for more projects and another giveaway for a $50 Gift Card to …yep Therm O Web!