Holiday Apple Tote Gift Bags With HeatnBond
Hello everyone! It’s Kim Lapacek from Persimon Dreams.
I don’t know about you but I’ve been known to use Christmas gift bags to gift items all year round – even not at Christmas time. Personally, I love it when I get presents wrapped in generic bags … ones that I can re-use for any reason!
So today, instead of doing a Christmas themed gift bag I’m going to share with you a generic themed gift bag that can either be reused for personal use all year round OR re-gifted for other celebrations.
Supplies:
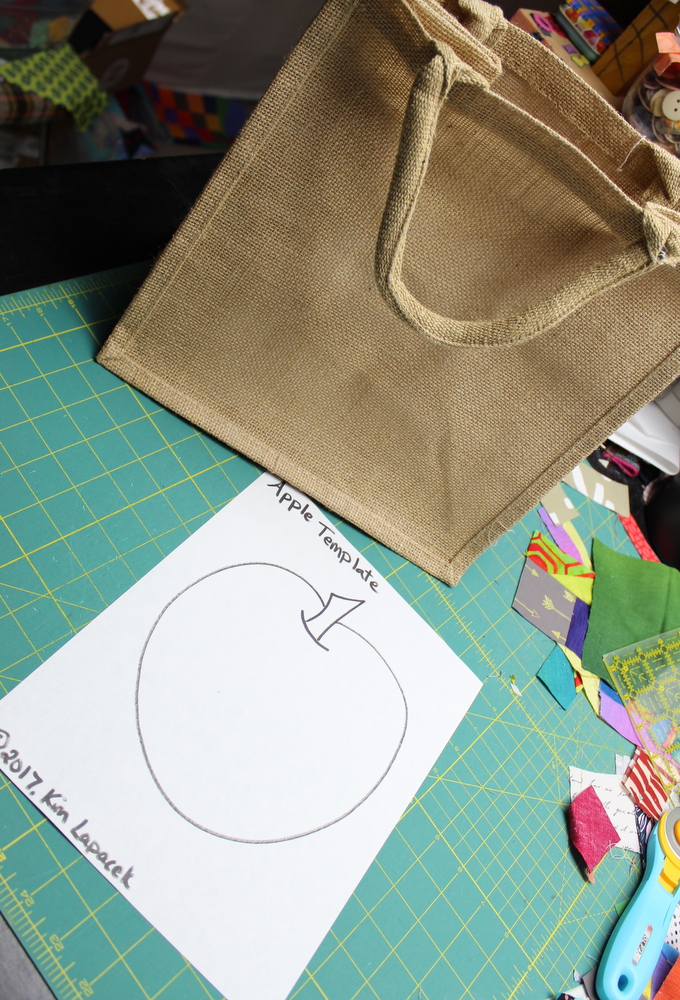
- Tote Bags – I started with these Reusable Jute Tote Bags
- HeatNBond® Lite
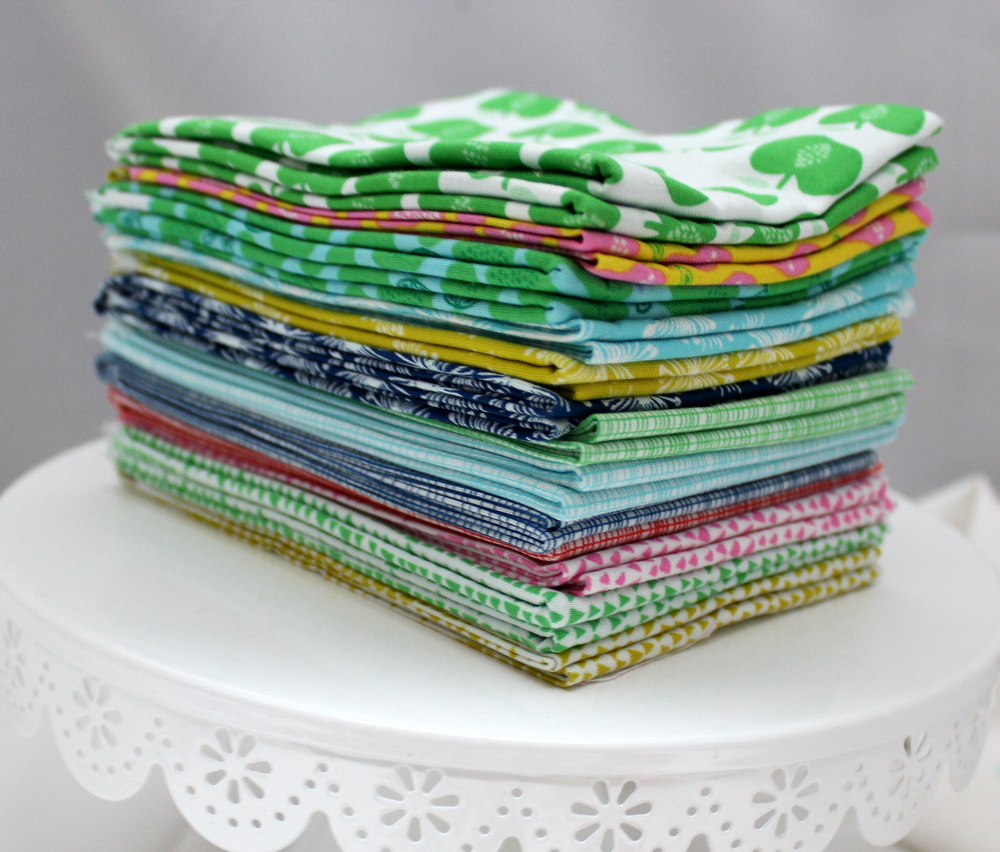
- Hand Picked Windham Fabric Bundle
- Pressing Paper
- Aurifil Thread 2260
- Free Apple Tote Template on Craftsy
Instructions to Make the Apple Tote Bags
Download and print out the free Apple Tote Template from my Craftsy page.
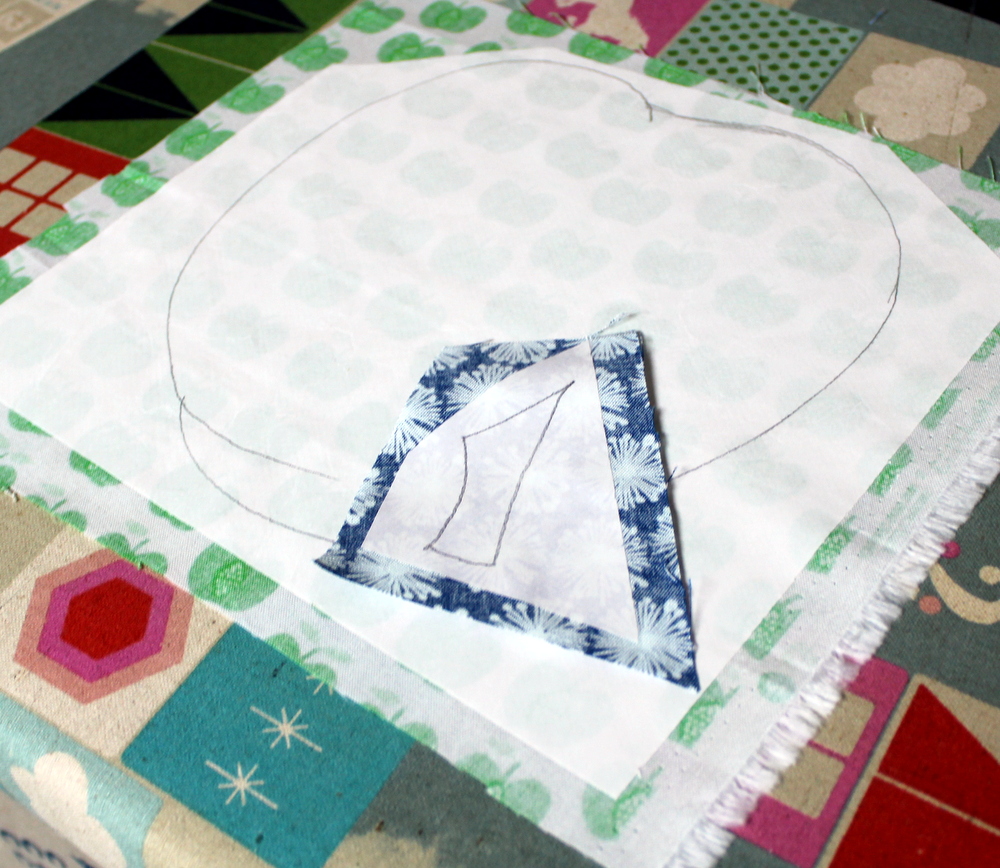
Trace the apple shape and stem shape onto the HeatNBond® Lite. Choose two different fabrics from the Windham Hand Picked fabric collection. Rough cut around the image you traced and press it onto the WRONG SIDE of the two fabrics.
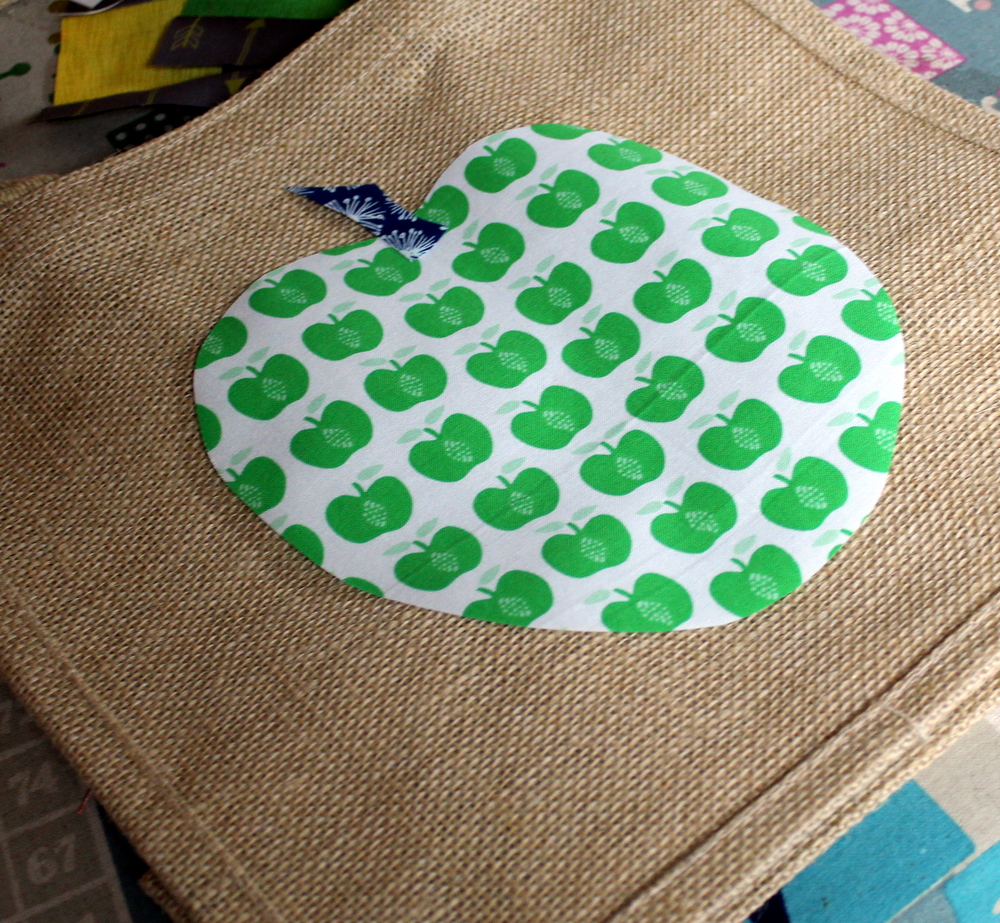
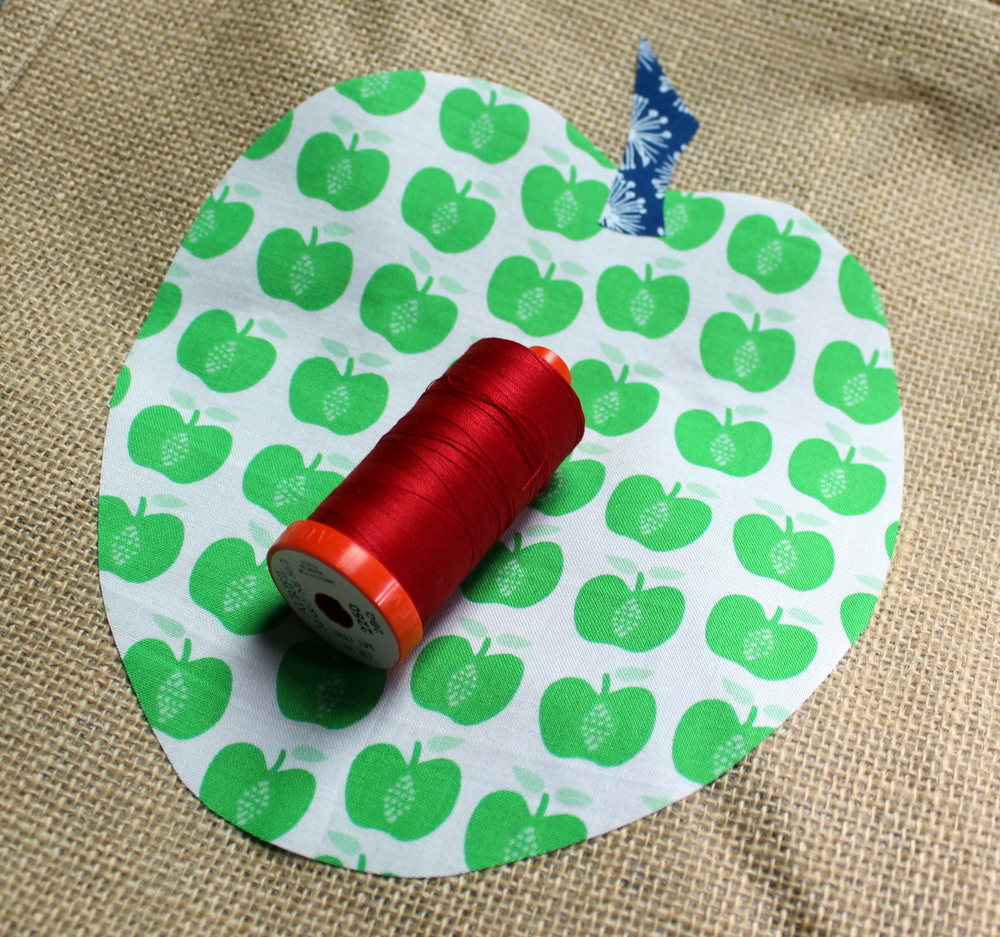
Cut the fused fabric along the template lines and lay the apple and stem onto the bag in the proper orientation.
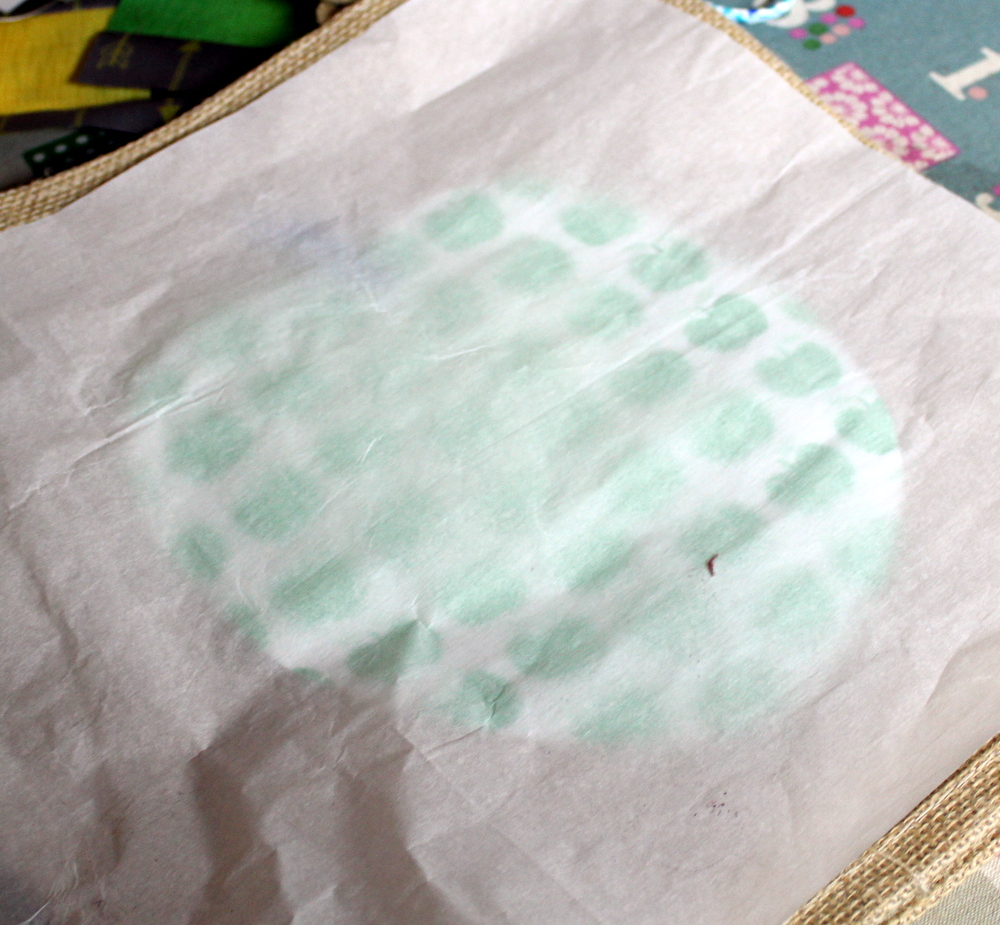
There is a thin plastic inner layer on these particular tote bags on the inside of the burlap. Before the final press, lay a piece of Pressing Paper down to help protect the bag. Press the apple shape to fuse it to the bag. Make sure it’s secure but don’t over do it as you don’t want to melt the plastic in the bag. The shape will be quilted down so if it’s not 100% perfect it will all be ok by the end.
I chose an aurifil thread color that would stand out against the Hand Picked fabric collection, fits the “theme” of the apples and that I wouldn’t have to change for each bag. The thread that fit all three of these criteria’s ended up being red, aka Aurifil Thread 2260.
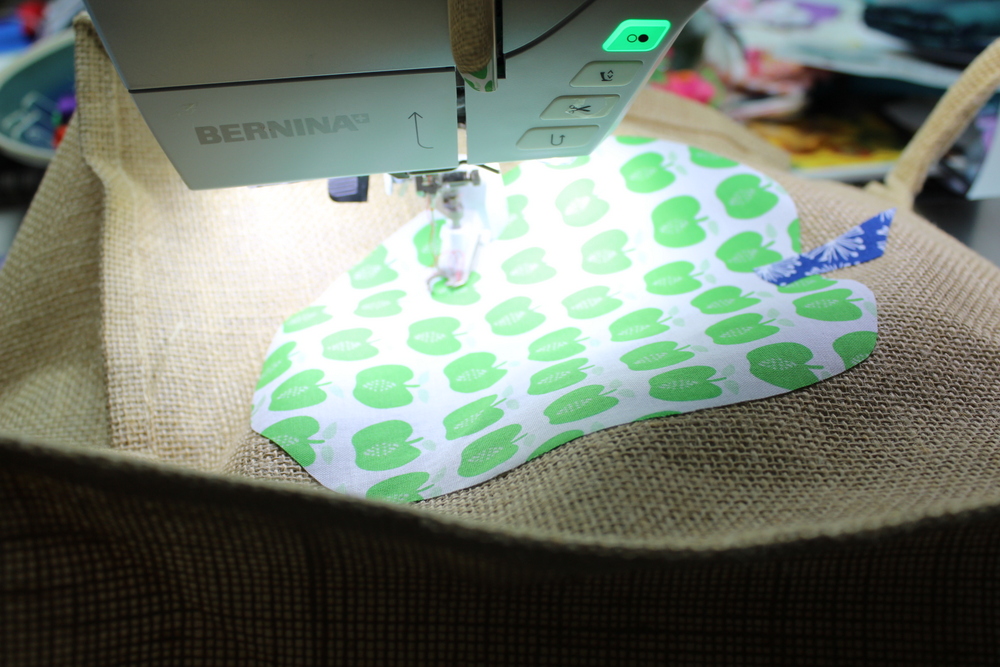
Free motion quilt the edges of the apple and the stem down.
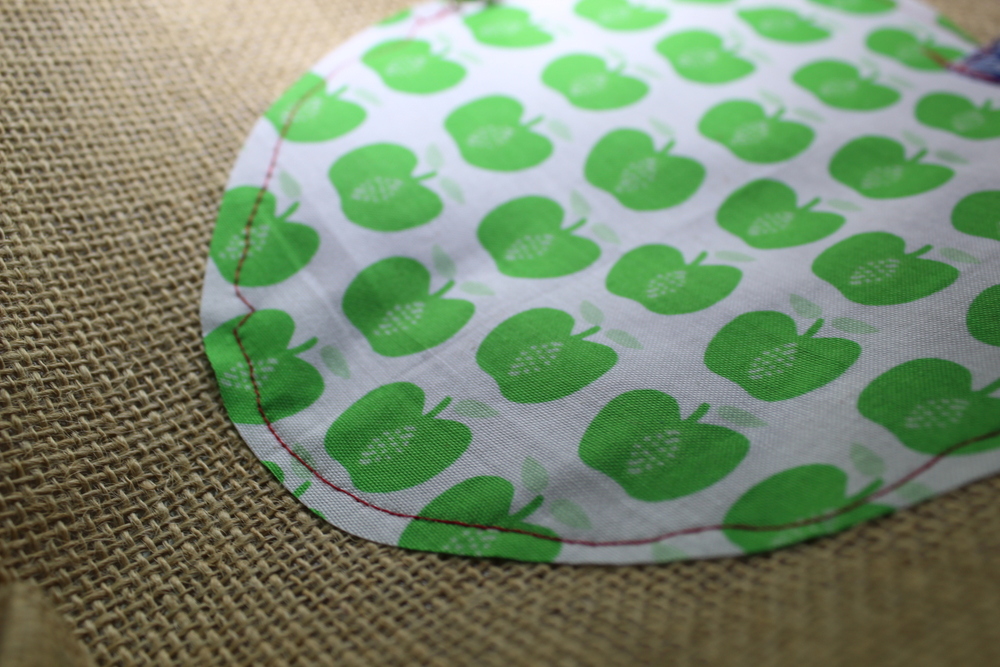
I’m going to share with you a secret I have. Free motion quilting in this bag was not the easiest thing I’ve ever done. The bag was a bit stiff with the plastic on the inside and trying to shove it in my machine to get around all edges. BUT the great news – it’s a really easy fix when things don’t work out perfectly – and there is ZERO ripping involved!
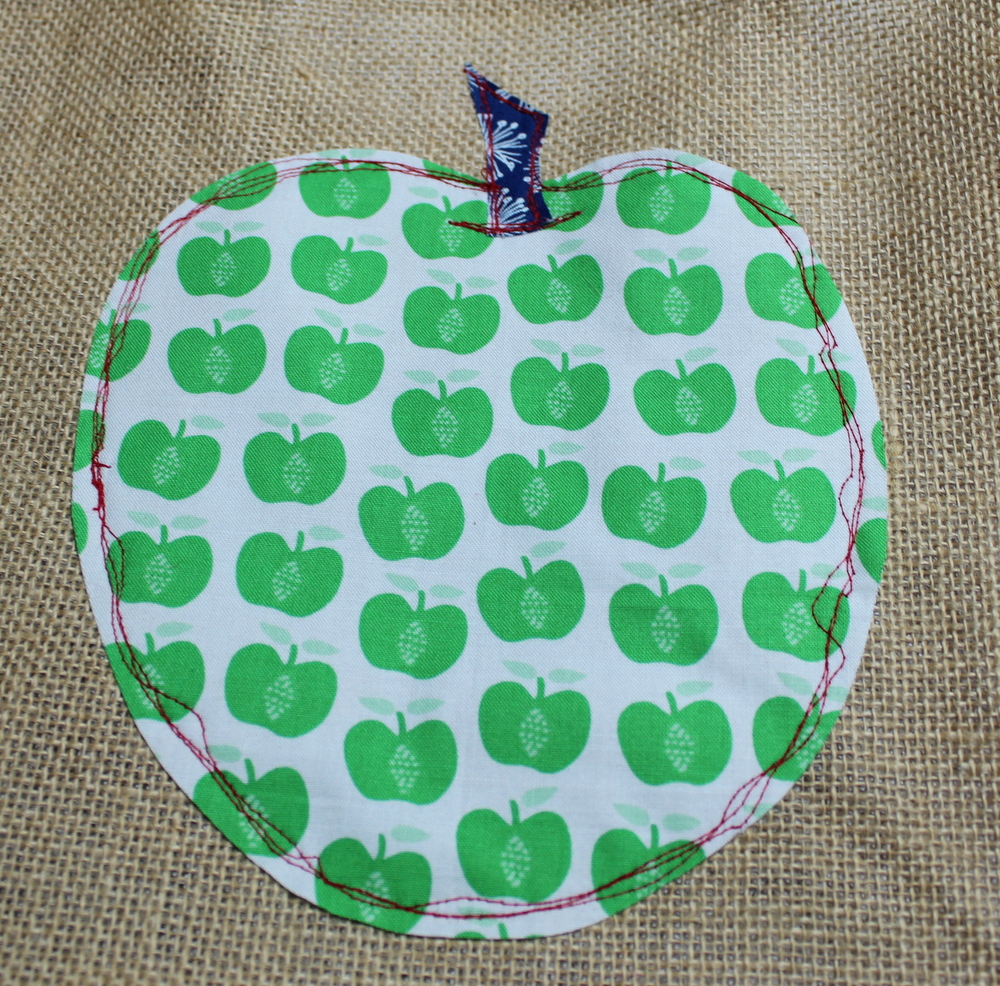
Quilt around the object you’re sewing down at least two times … if the lines got really crazy, three is even better. By the time you’re going around three times it looks like you were aiming for this quirky, wonky, rougher look. No one will ever know that really you just couldn’t hold the bag properly to get the stitching to look nice.
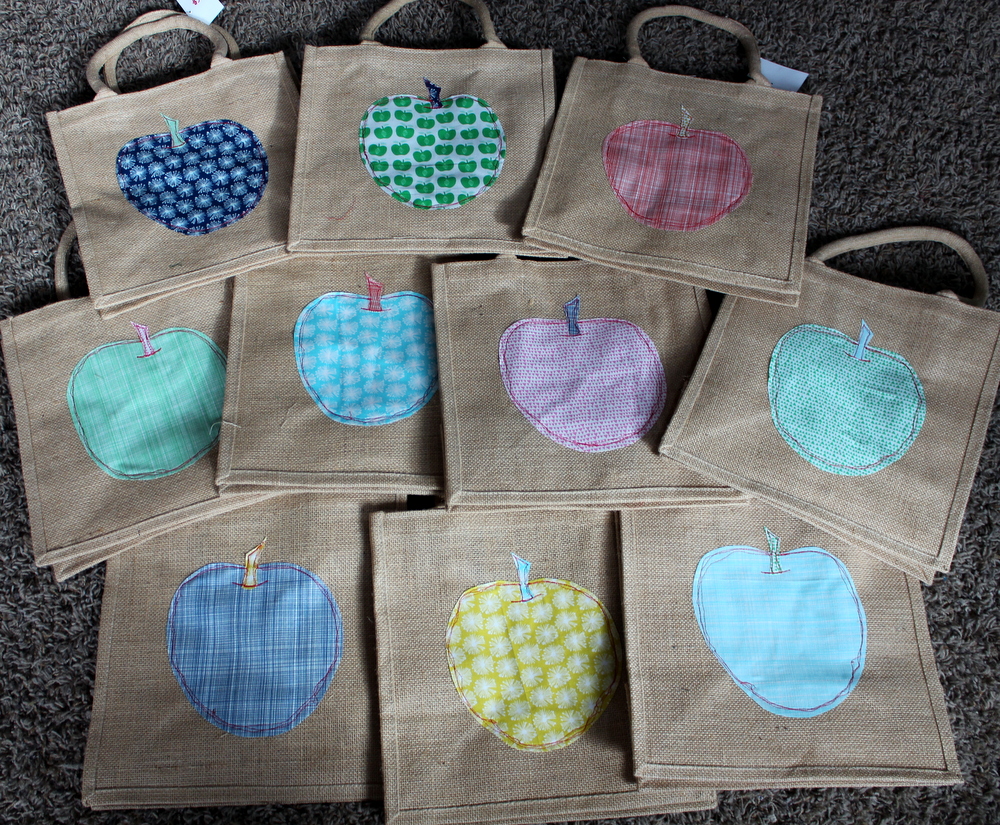
And before you know it you’ll have a great collection of bags perfect for putting a sweet gift in for the holidays!
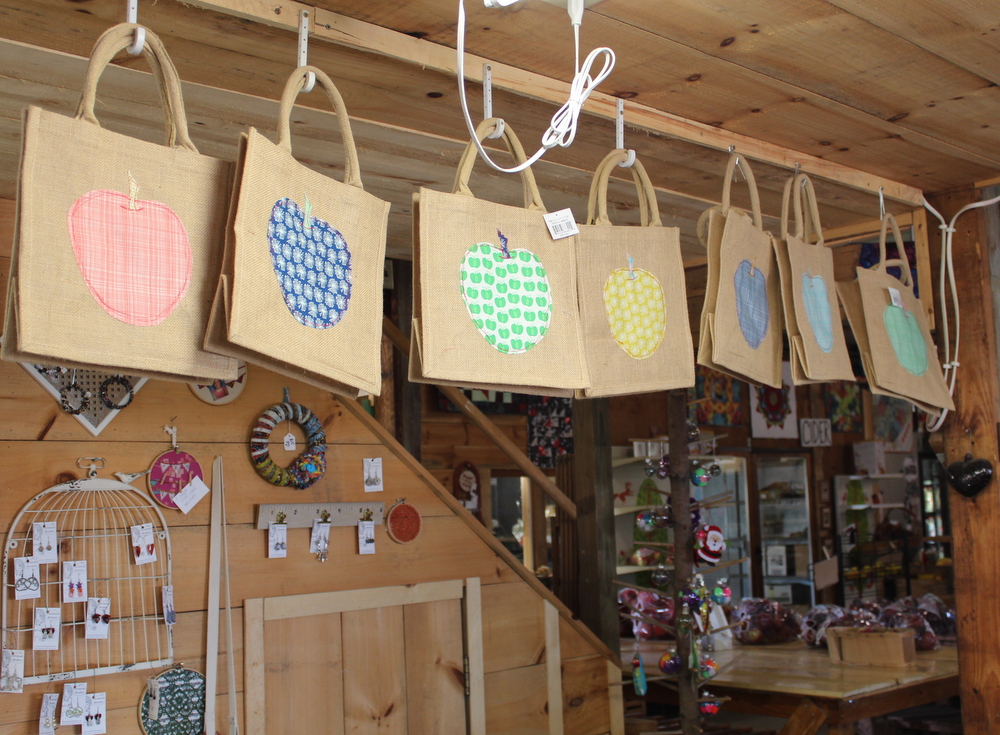
Or – if you happen to own an apple orchard they work as a great additional item to sell in your shop to your customers!

