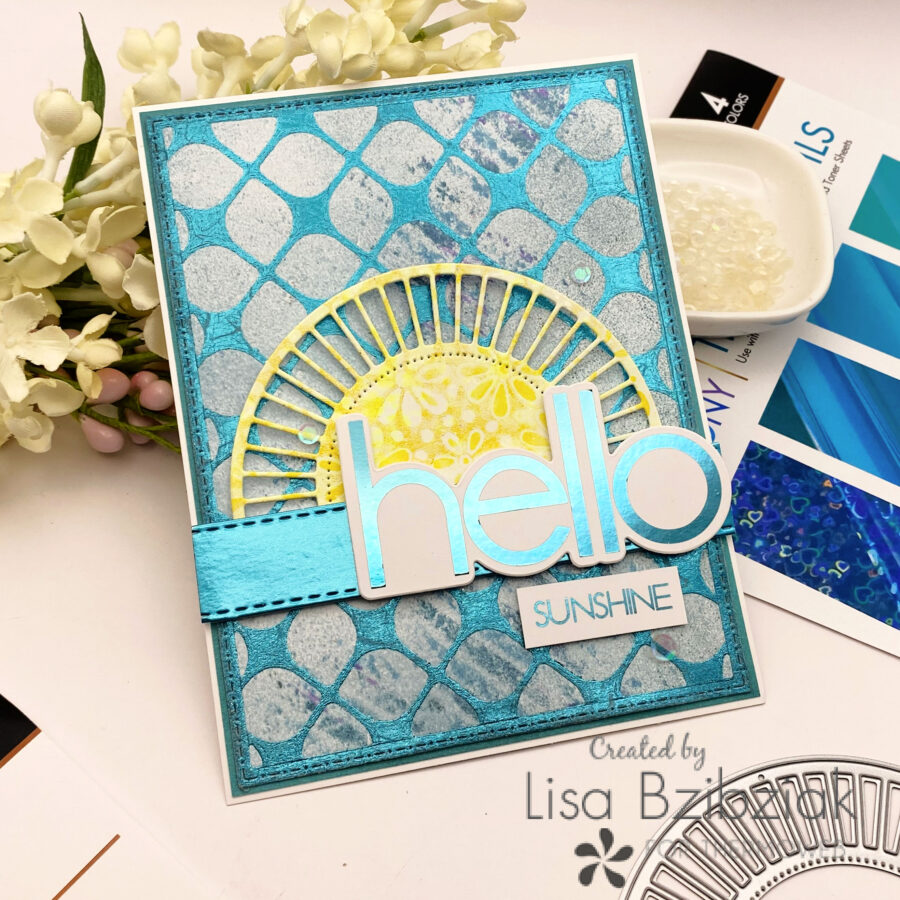
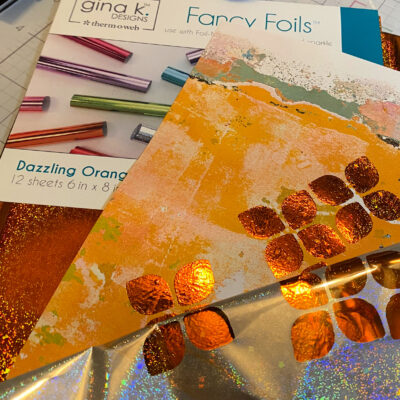
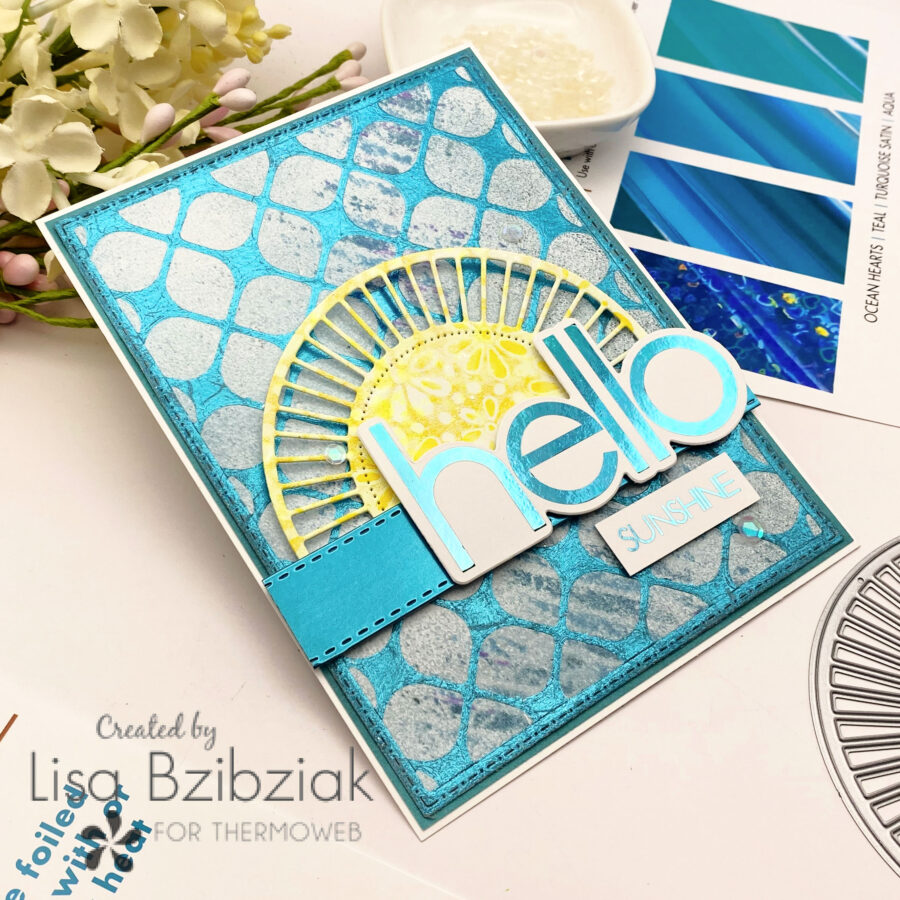
Hello Sunshine! Today I’m sharing three cards I made with the help of Easy Cut Adhesive! This first one uses a panel die to create a lovely foiled design over a gel print. You could use any paper of course, but I have quite the collection of gel prints that I love… and some I don’t so much, but it’s fun to use those too.
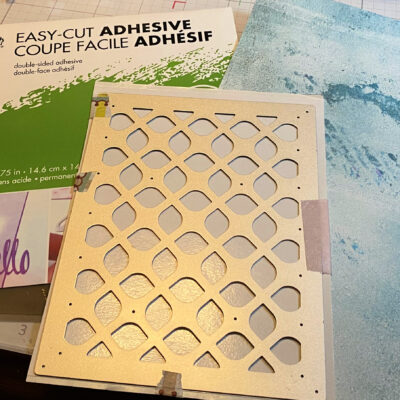
I started this one using that cool background die from Brass & Bliss and cut out a panel of Easy Cut Adhesive (just a hint… don’t throw away those bits that are left over!)
Next I peeled off one side of the Easy Cut Adhesive die cut.
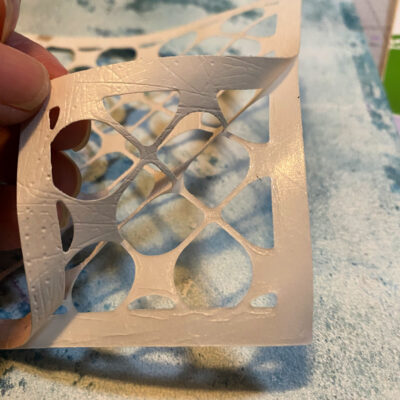
And adhered the panel to the gel print. Next I ran this through the die cutting machine for pressure to transfer the adhesive onto the print.
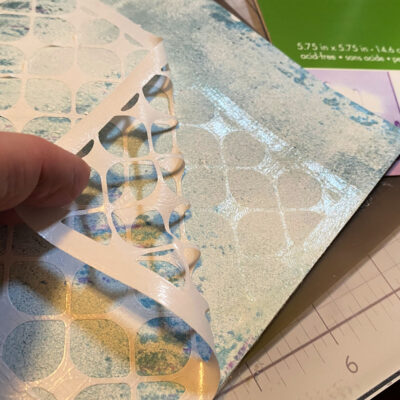
And then peeled off the other side leaving the adhesive pattern on the gel print.
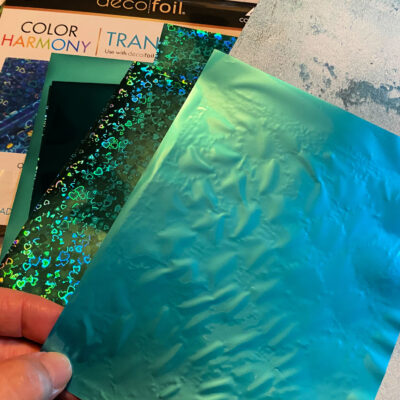
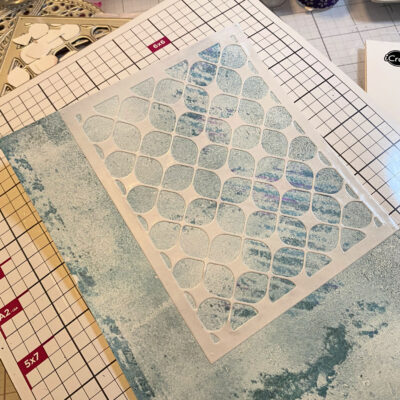
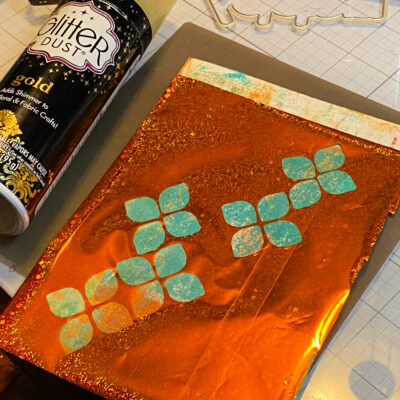
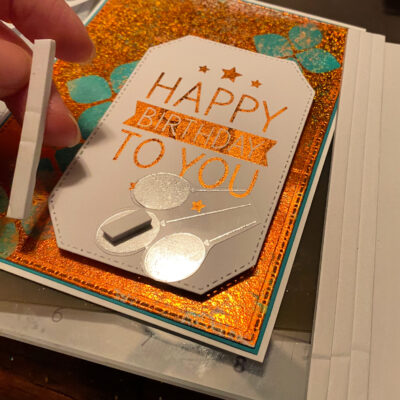
Next, lay the foil you want to use over the top and run it through the die cutting machine again. It doesn’t take much pressure to transfer the foil, but just to be sure it was uniform which is what I wanted for this one, I ran it through the machine with light pressure (aka I took out one of my shims that I usually use for die cutting.)

Voila! the foil was transferred onto the gel print!

Then I used a stitched rectangle die from AJVD to cut out a panel for my card. I was careful positioning it so that the foiled edges were even and taped it down.
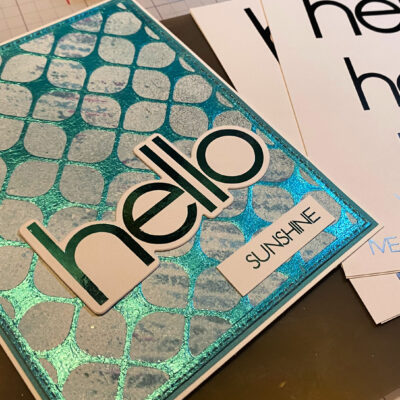
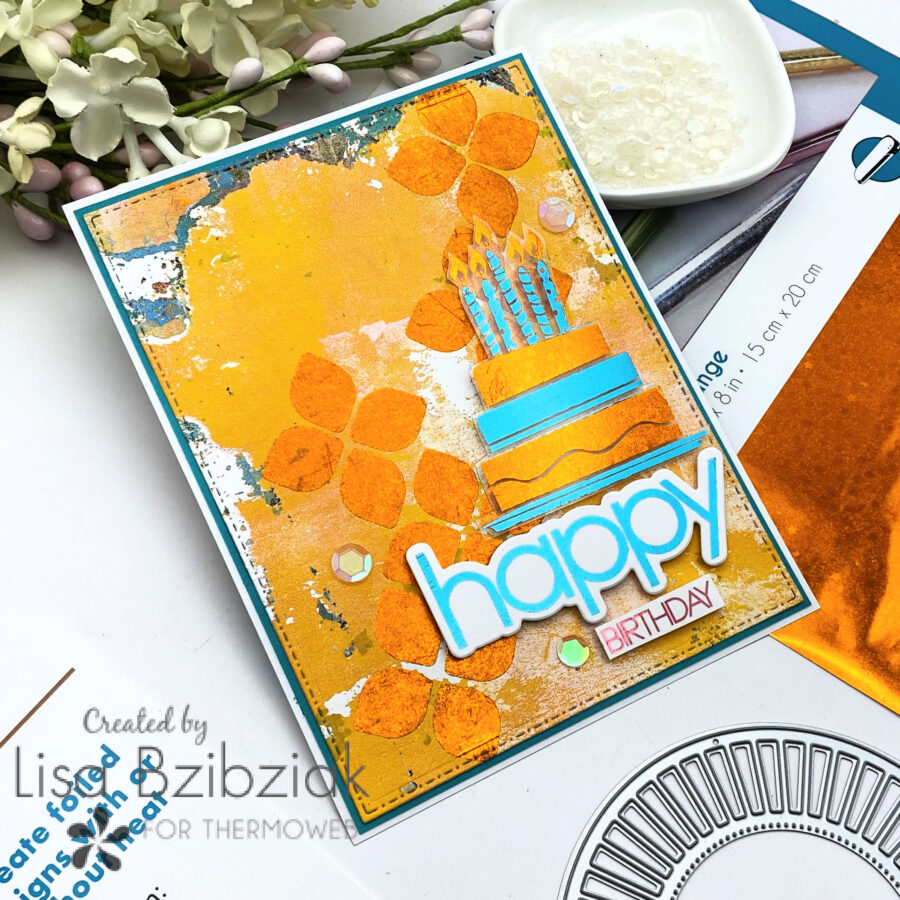
Finally with my panel ready, I added a sentiment using the Oh Hello Toner Card Fronts and Die set to create my sentiment.
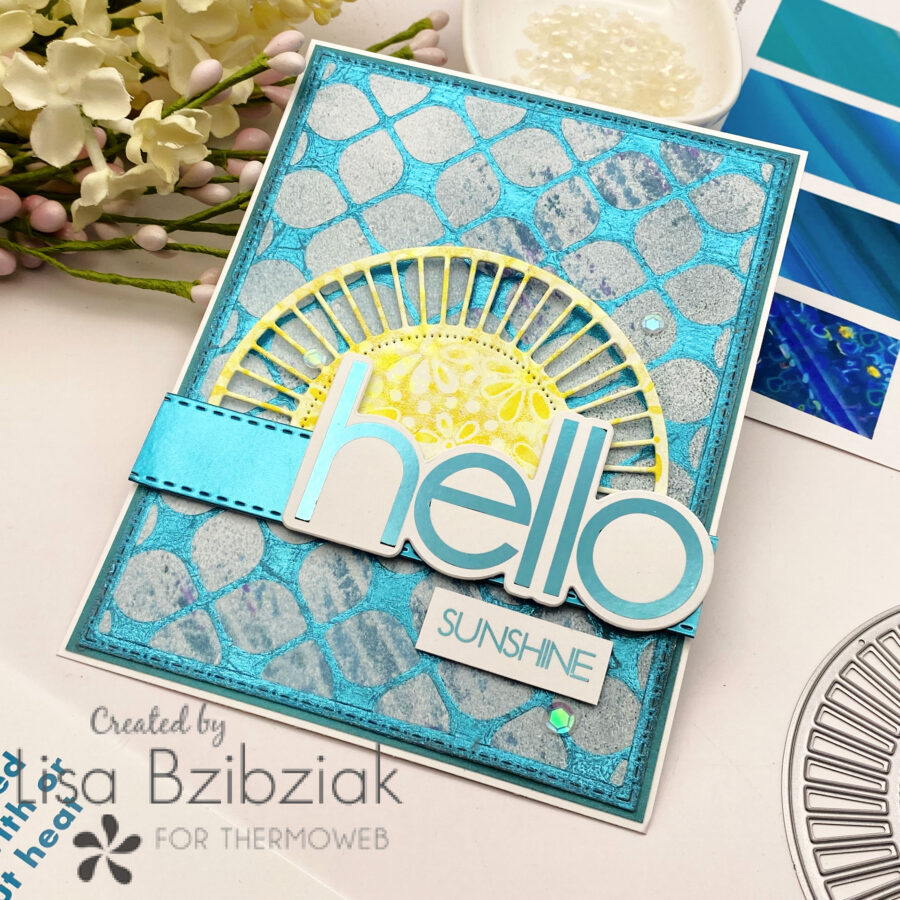
Finally I added a foiled strip so that I could tuck my sunshine (cut from a foiled gel print using that fabulous Waffleflower die) underneath it and popped my sentiment up over it.
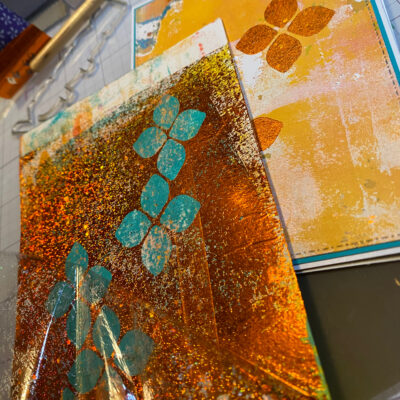
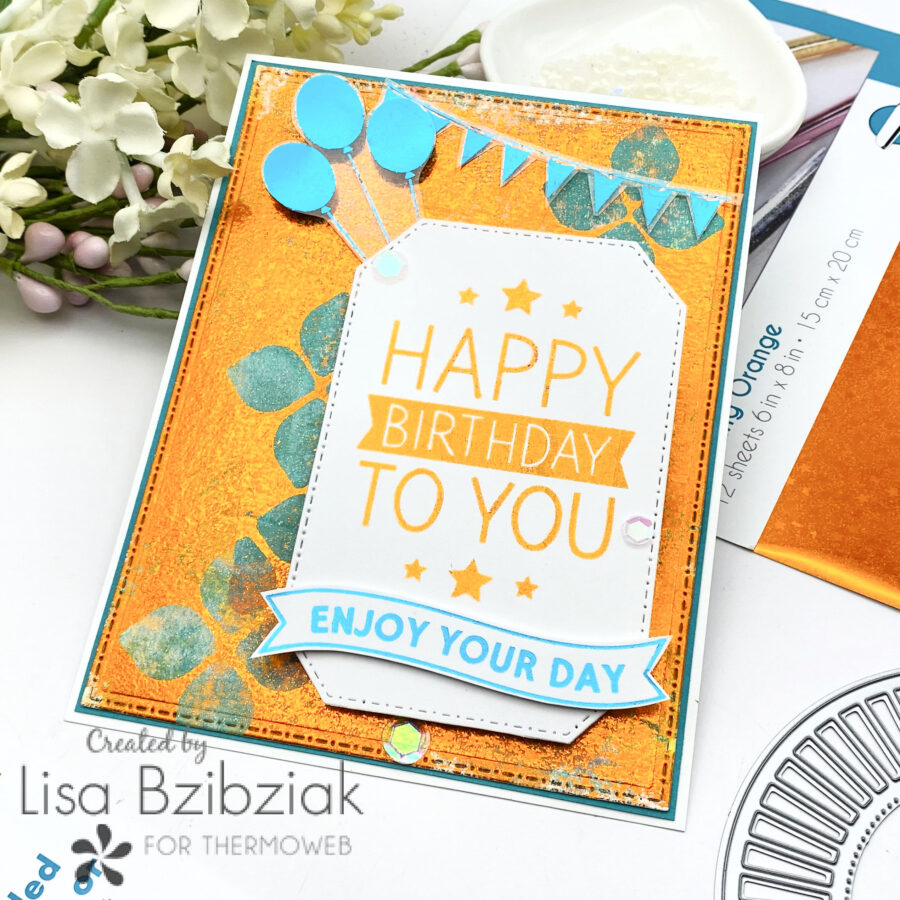
Next! Remember I told you to save those cutouts??
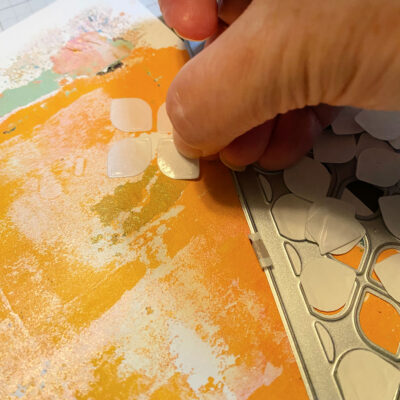
I chose another gel print… really one of my faves just pulled to clean off the gel plate… and added those little pieces to it.
Once I had my pattern, I ran this through the die cutting machine for pressure to transfer the adhesive.
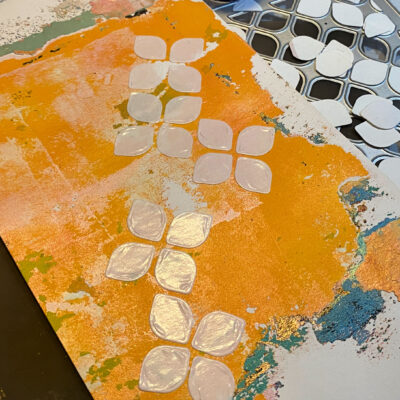
Peeled off the second protective sheet leaving the adhesive.
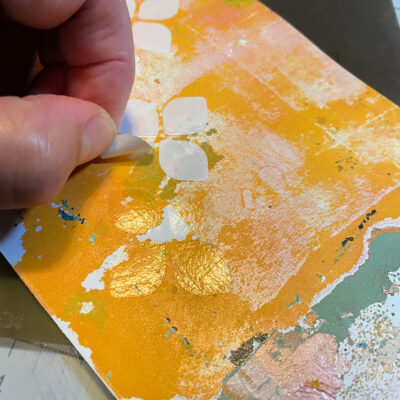
And then adding the foil in the same way as my first card… oooh…aaaaah…(lol)
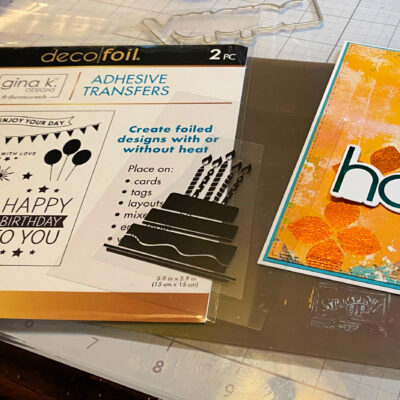
I decided to use the adhesive transfers from this fun Gina K designed pack! I added the cake to some acetate. I love to do this when I don’t want to cover up my background, but also want dimension.
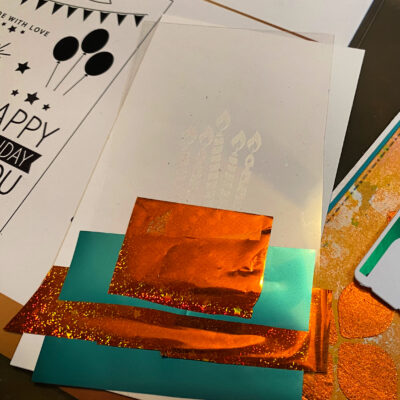
Then I carefully added scraps of foil to use multiple colors on the Adhesive Transfer image..
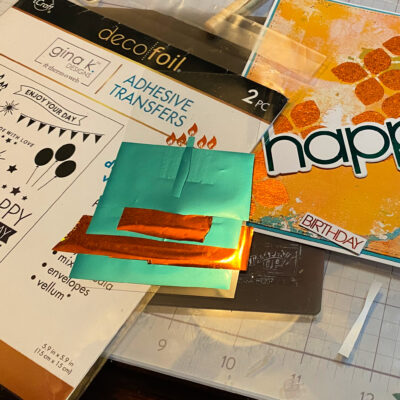
Eep!… I get excited for the reveal every time…
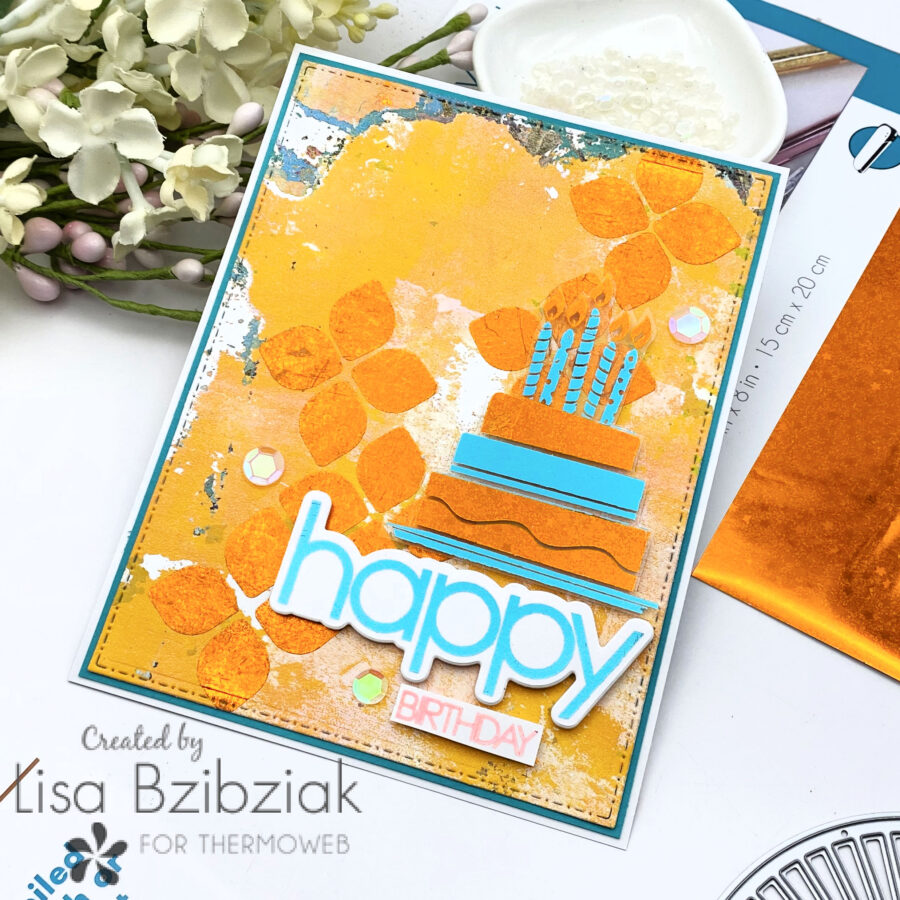
Then the Happy Everything Toner Card Fronts and dies for the sentiment… popping it all up over the background.
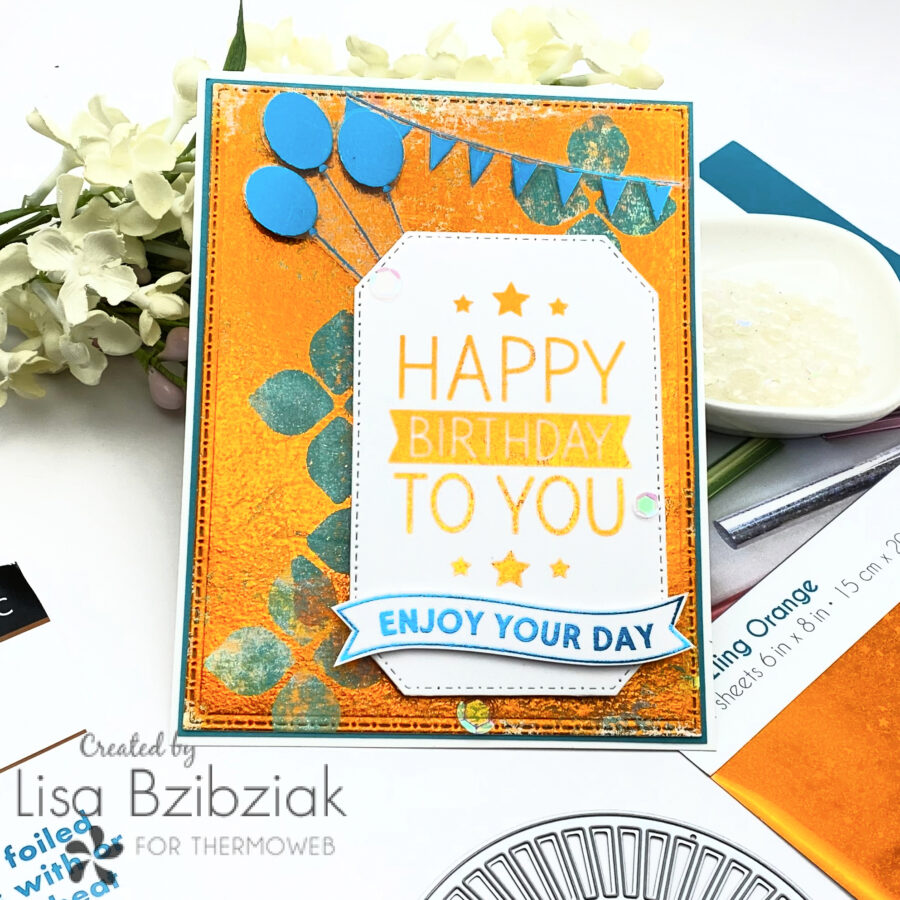
Finally, for my third card I used the negative sheet from my 2nd one over another gel print that I didn’t care for but kept it thinking I’d use it for die cutting!
turns out it was perfect for under this negative sheet transfer! I wanted to be sure to get a good transfer so I sprayed the print with Glitter Dust Spray and let it dry completely before running it through my Fuse on a high setting.
So pretty, right??
I used the same Adhesive Transfer pack and added some to cardstock and some to acetate. My trick to popping up the acetate pieces is simply to hide the foam tape behind the foiled bits… and if there aren’t any big foil bits to hide it behind, then I will add something over the top of the acetate like a flower, or star, or whatever so that I do have something to hide it behind. I guess I’m just sneaky that way!
I forgot how much fun it was to use the Easy Cut Adhesive and I thought of another fun way while I was writing this up so stay tuned!
So that’s me for today! I really enjoyed creating these three cards and I hope you enjoyed your ride along.
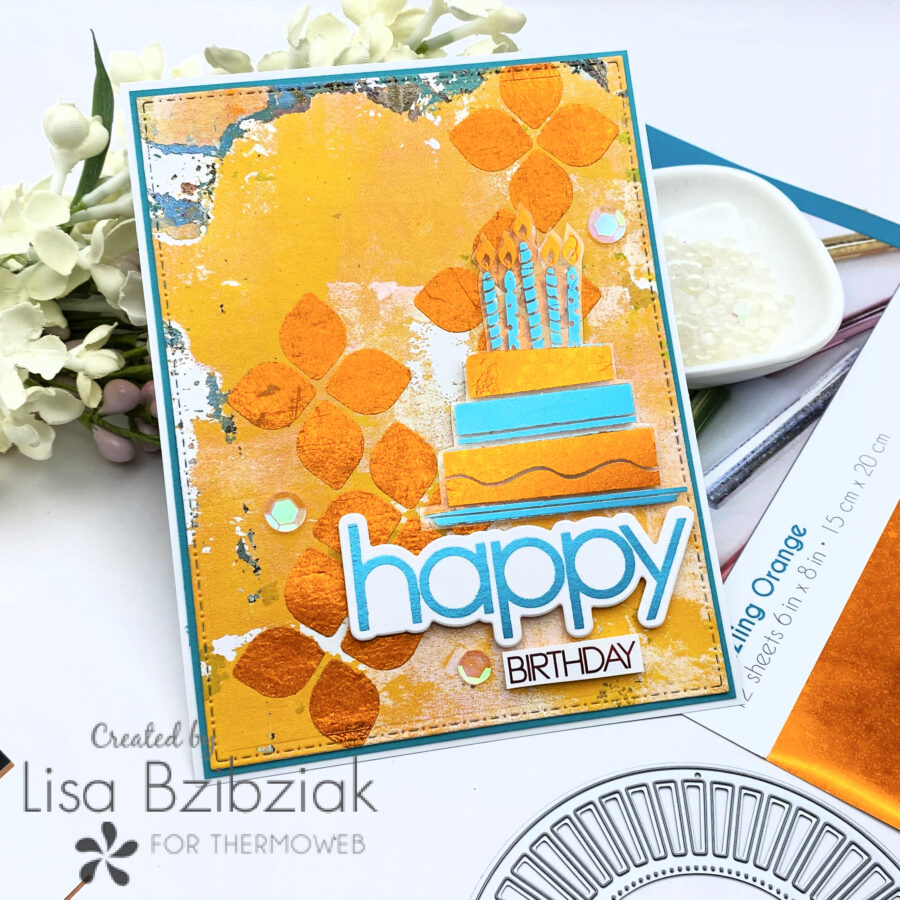
I think this one might be my favorite… and I’ve saved those little pieces so I can add them to a few more of my gel prints.

Thank you so much for stopping! I hope you’ll come again soon and often.
Alison Heikkila
July 5, 2024 at 12:46 pm (12 months ago)These are so awesome, Lisa! I love how you used the extra pieces on your second card. They both have such a cool vibe.