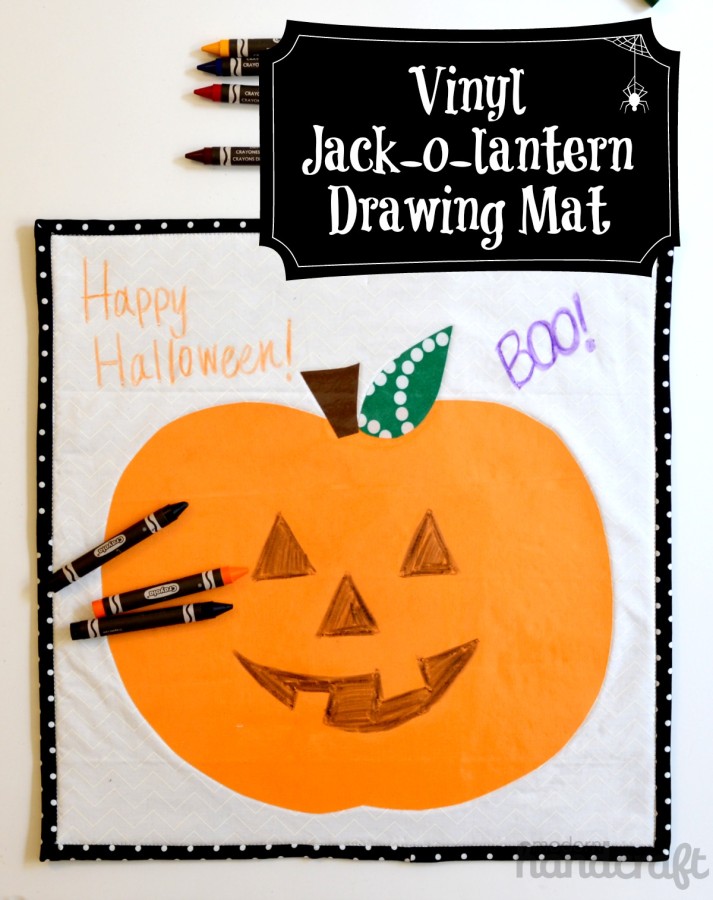
Hi friends! Nicole from Modern Handcraft here today with a fast and fun project to keep your kids entertained this Halloween – The Vinyl Jack-o-lantern Drawing Mat!
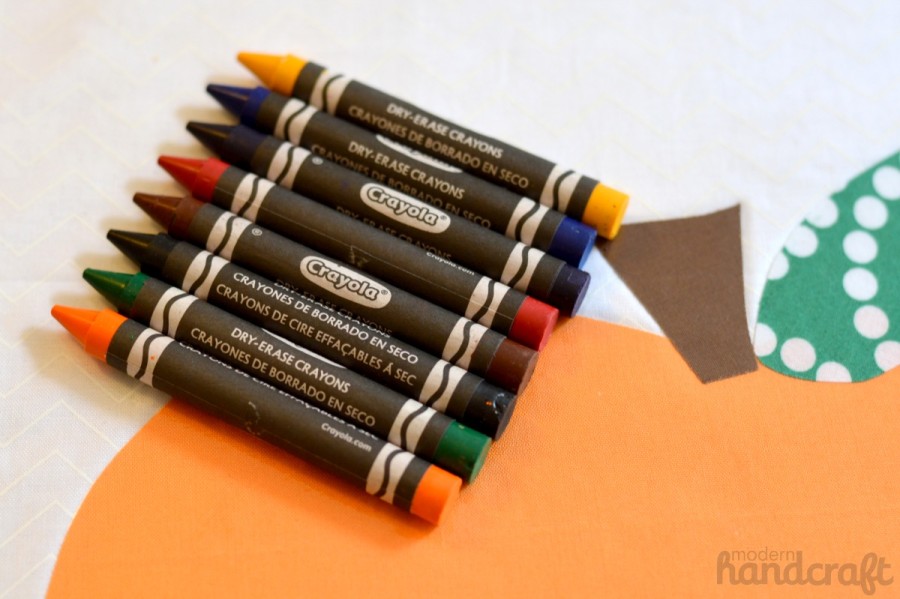
This uses Heat n Bond® Vinyl to create a fun drawing surface for the new dry erase crayons that are now available. This can also double as a place mat or a fun spot to play with play – doh.
Materials needed:
- Heat n Bond® Iron-On Vinyl 16″ x 16″
- StitchnSew™ Sew in Fleece 16″ x 16″
- Heat n Bond® No Sew fusible interfacing
- SpraynBond® Basting Adhesive Spray
- 13″ x 13″ piece of orange fabric
- 16″ x 16″ piece of background fabric / 16″ x 16″ piece of backing fabric
- 1/8 of fabric for binding (74″) Choose a darker fabric so residue from the dry erase crayons will not stain the border
- Dry Erase crayons or markers
- Sewing machine and notions (coordinating thread, scissors, rotary cutter and mat, acrylic ruler, pins or wonder clips)
Step 1:
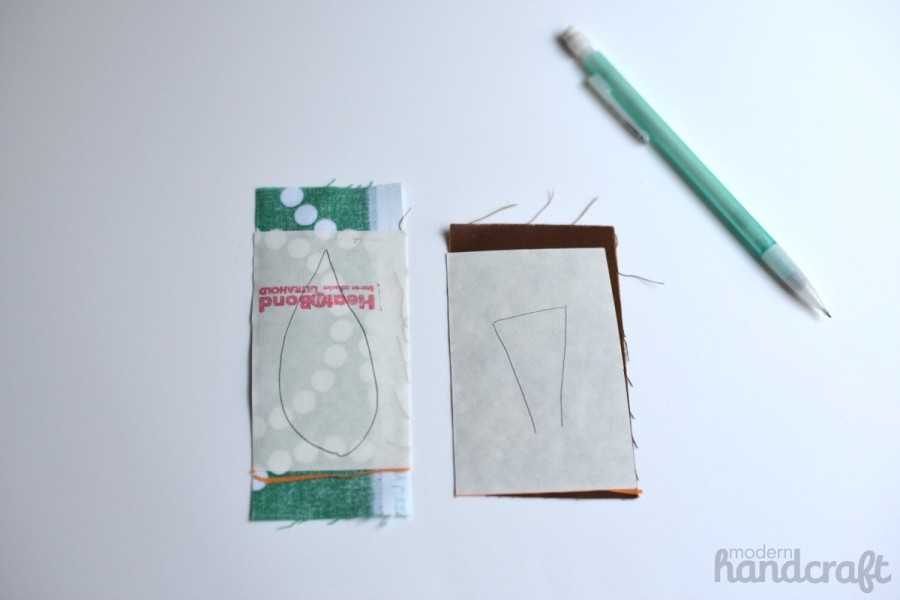
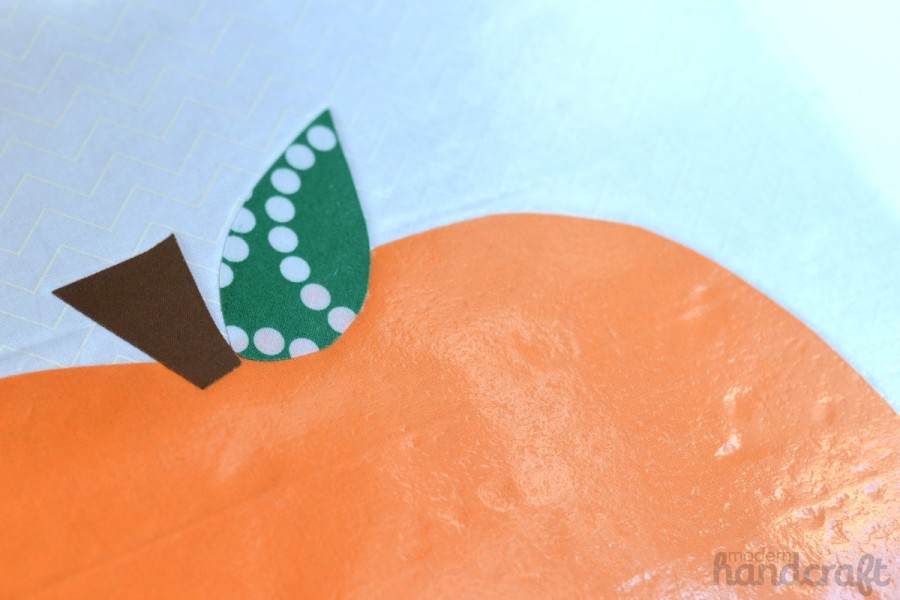
- Iron Heat n Bond® no sew to the backing of your pumpkin fabric and your stem & leaf fabrics.
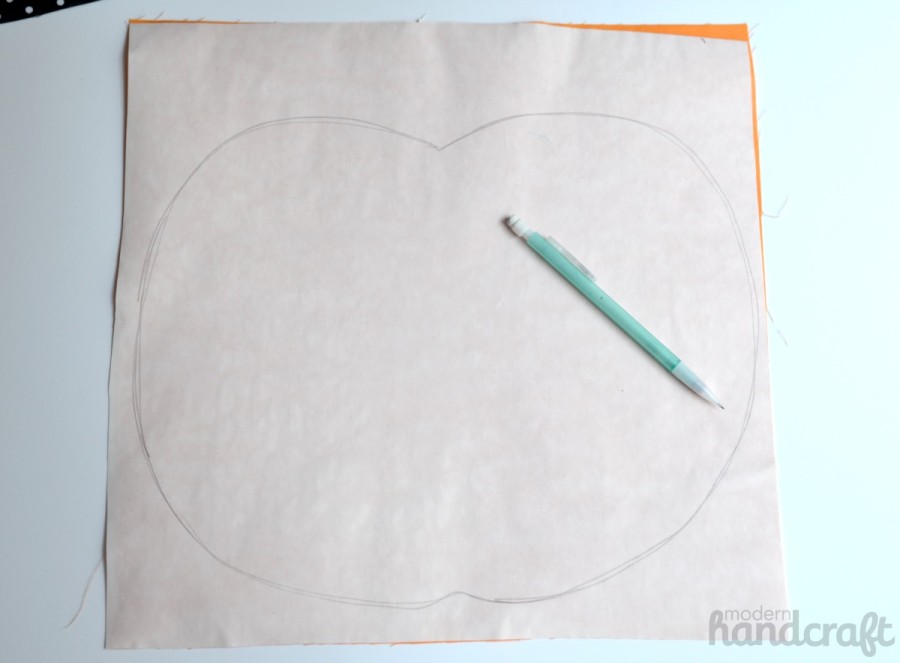
- Draw a pumpkin shape on the paper backing of your Heat n Bond®, cut out and set aside.
- Draw a leaf and stem shape – cut out and set aside.
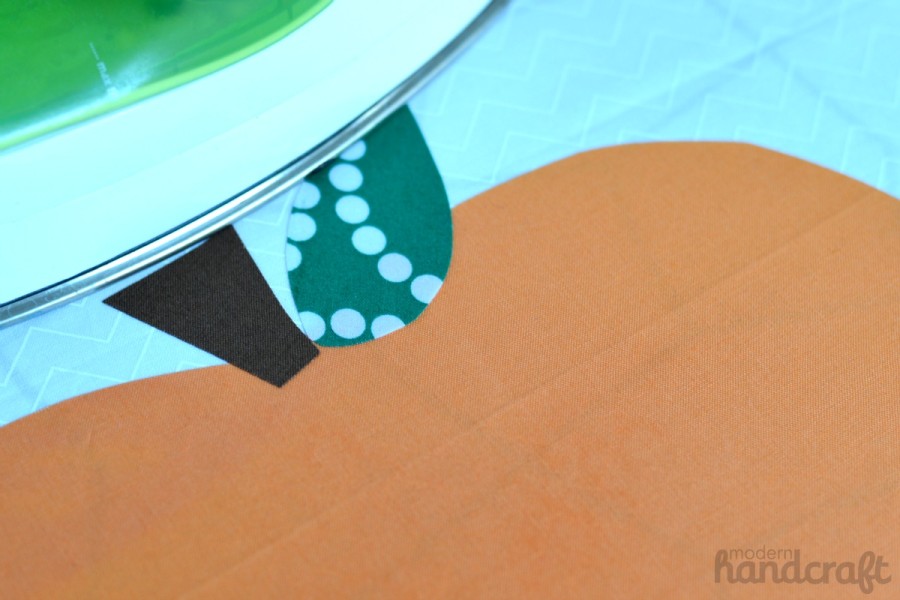
- Peel off the paper backing from your pumpkin pieces and place on your background fabric fusible interfacing side down. Iron down following the directions of your Heat n Bond®.
Step 2:
- Using your SpraynBond® Basting spray – mount your pumpkin front and backing material to your StitchnSew™ Sew-in (no sew) fleece.
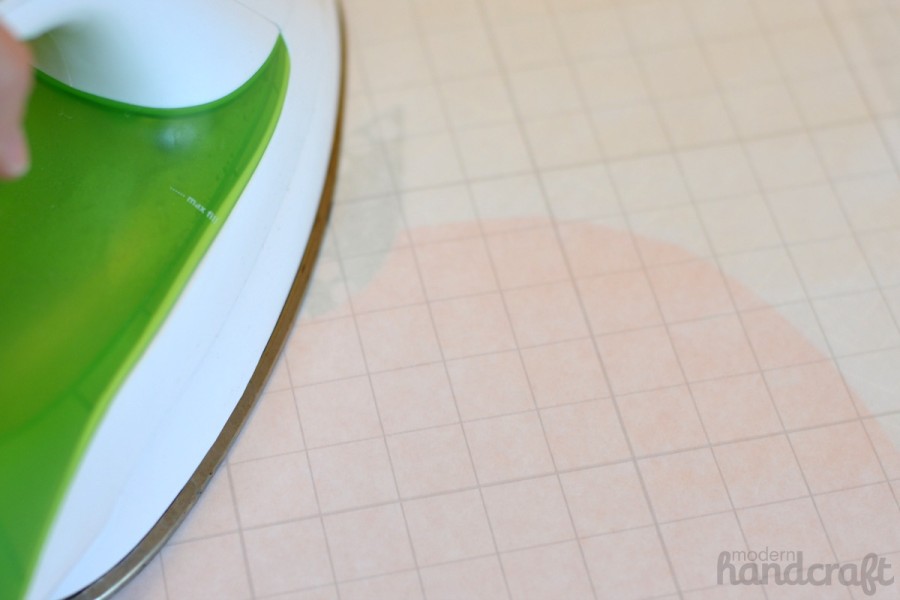
- Using your iron on medium heat and no steam apply your HeatnBond® fusible vinyl to the front of your pumpkin drawing mat.
Step 3:
- Now that your vinyl is attached to your project, trim the edges.
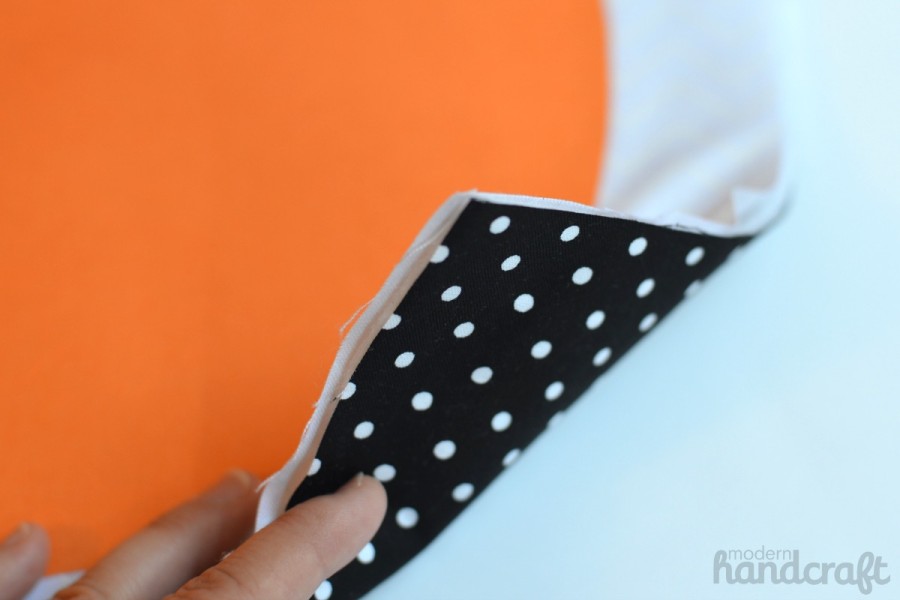
- Sew binding strips together to form one long strip – fold wrong sides together, lengthwise and press.
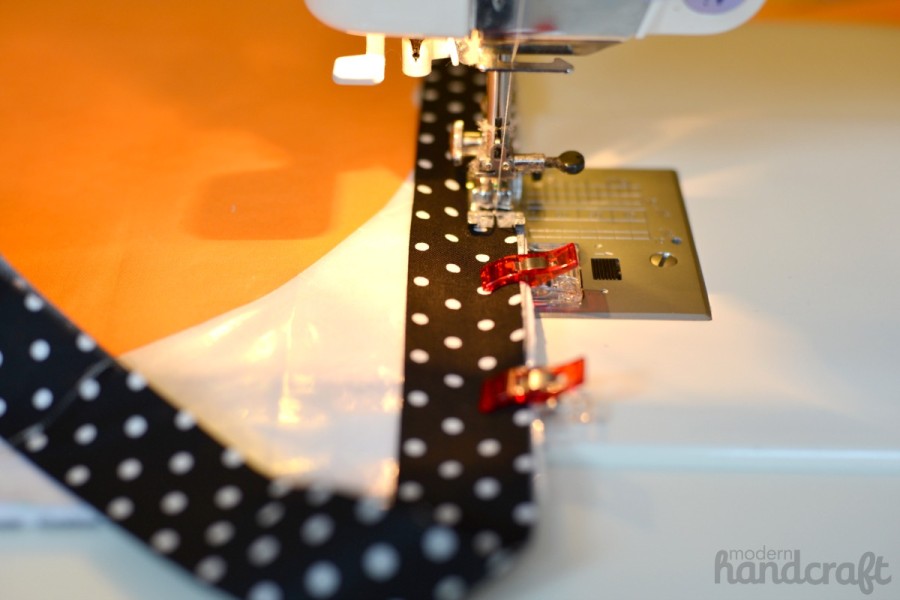
- With a 1/4″ seam, sew the raw edges of the binding to the edges of the right side of drawing mat. Turn the folded edge of binding to the back and stitch in place by hand or machine stitch.
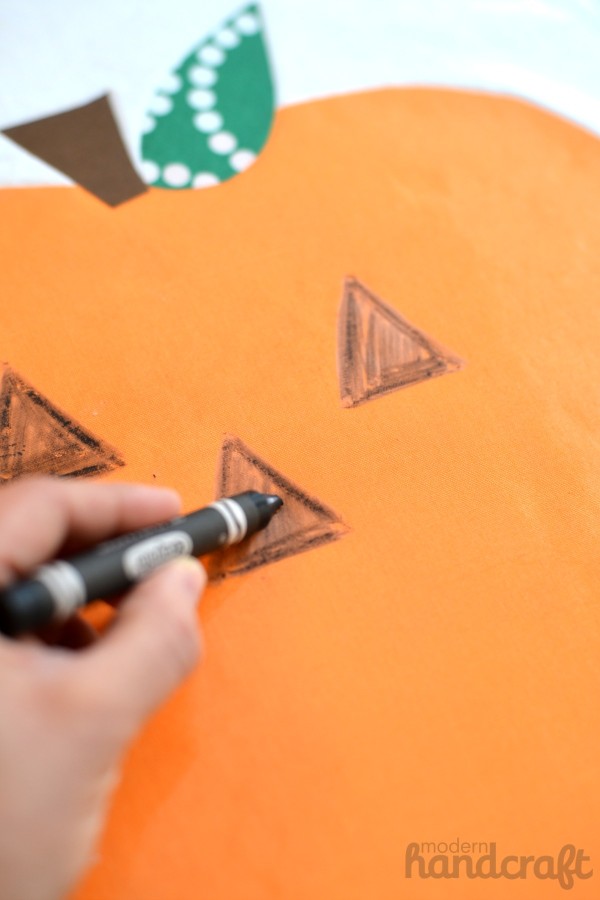
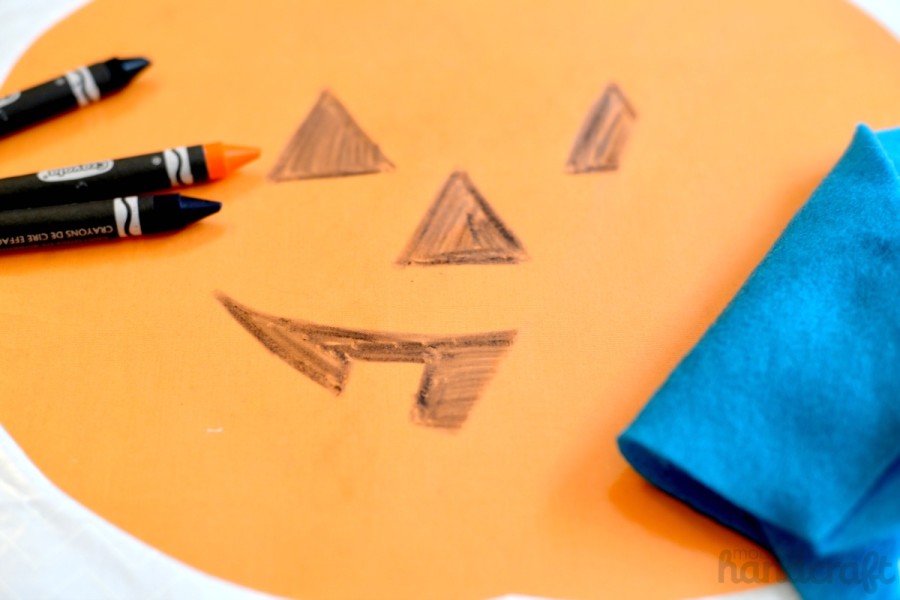
- Now you can draw on your new vinyl drawing mat! Crayola Dry Erase crayons or Dry Erase markers work on this project.
- A simple piece of felt makes for a great eraser.
Hope you enjoyed today’s tutorial and get creative with your project – ghosts, witch face, etc would all be fun for kids to draw silly faces on.
-Nicole

