


Hello and welcome!
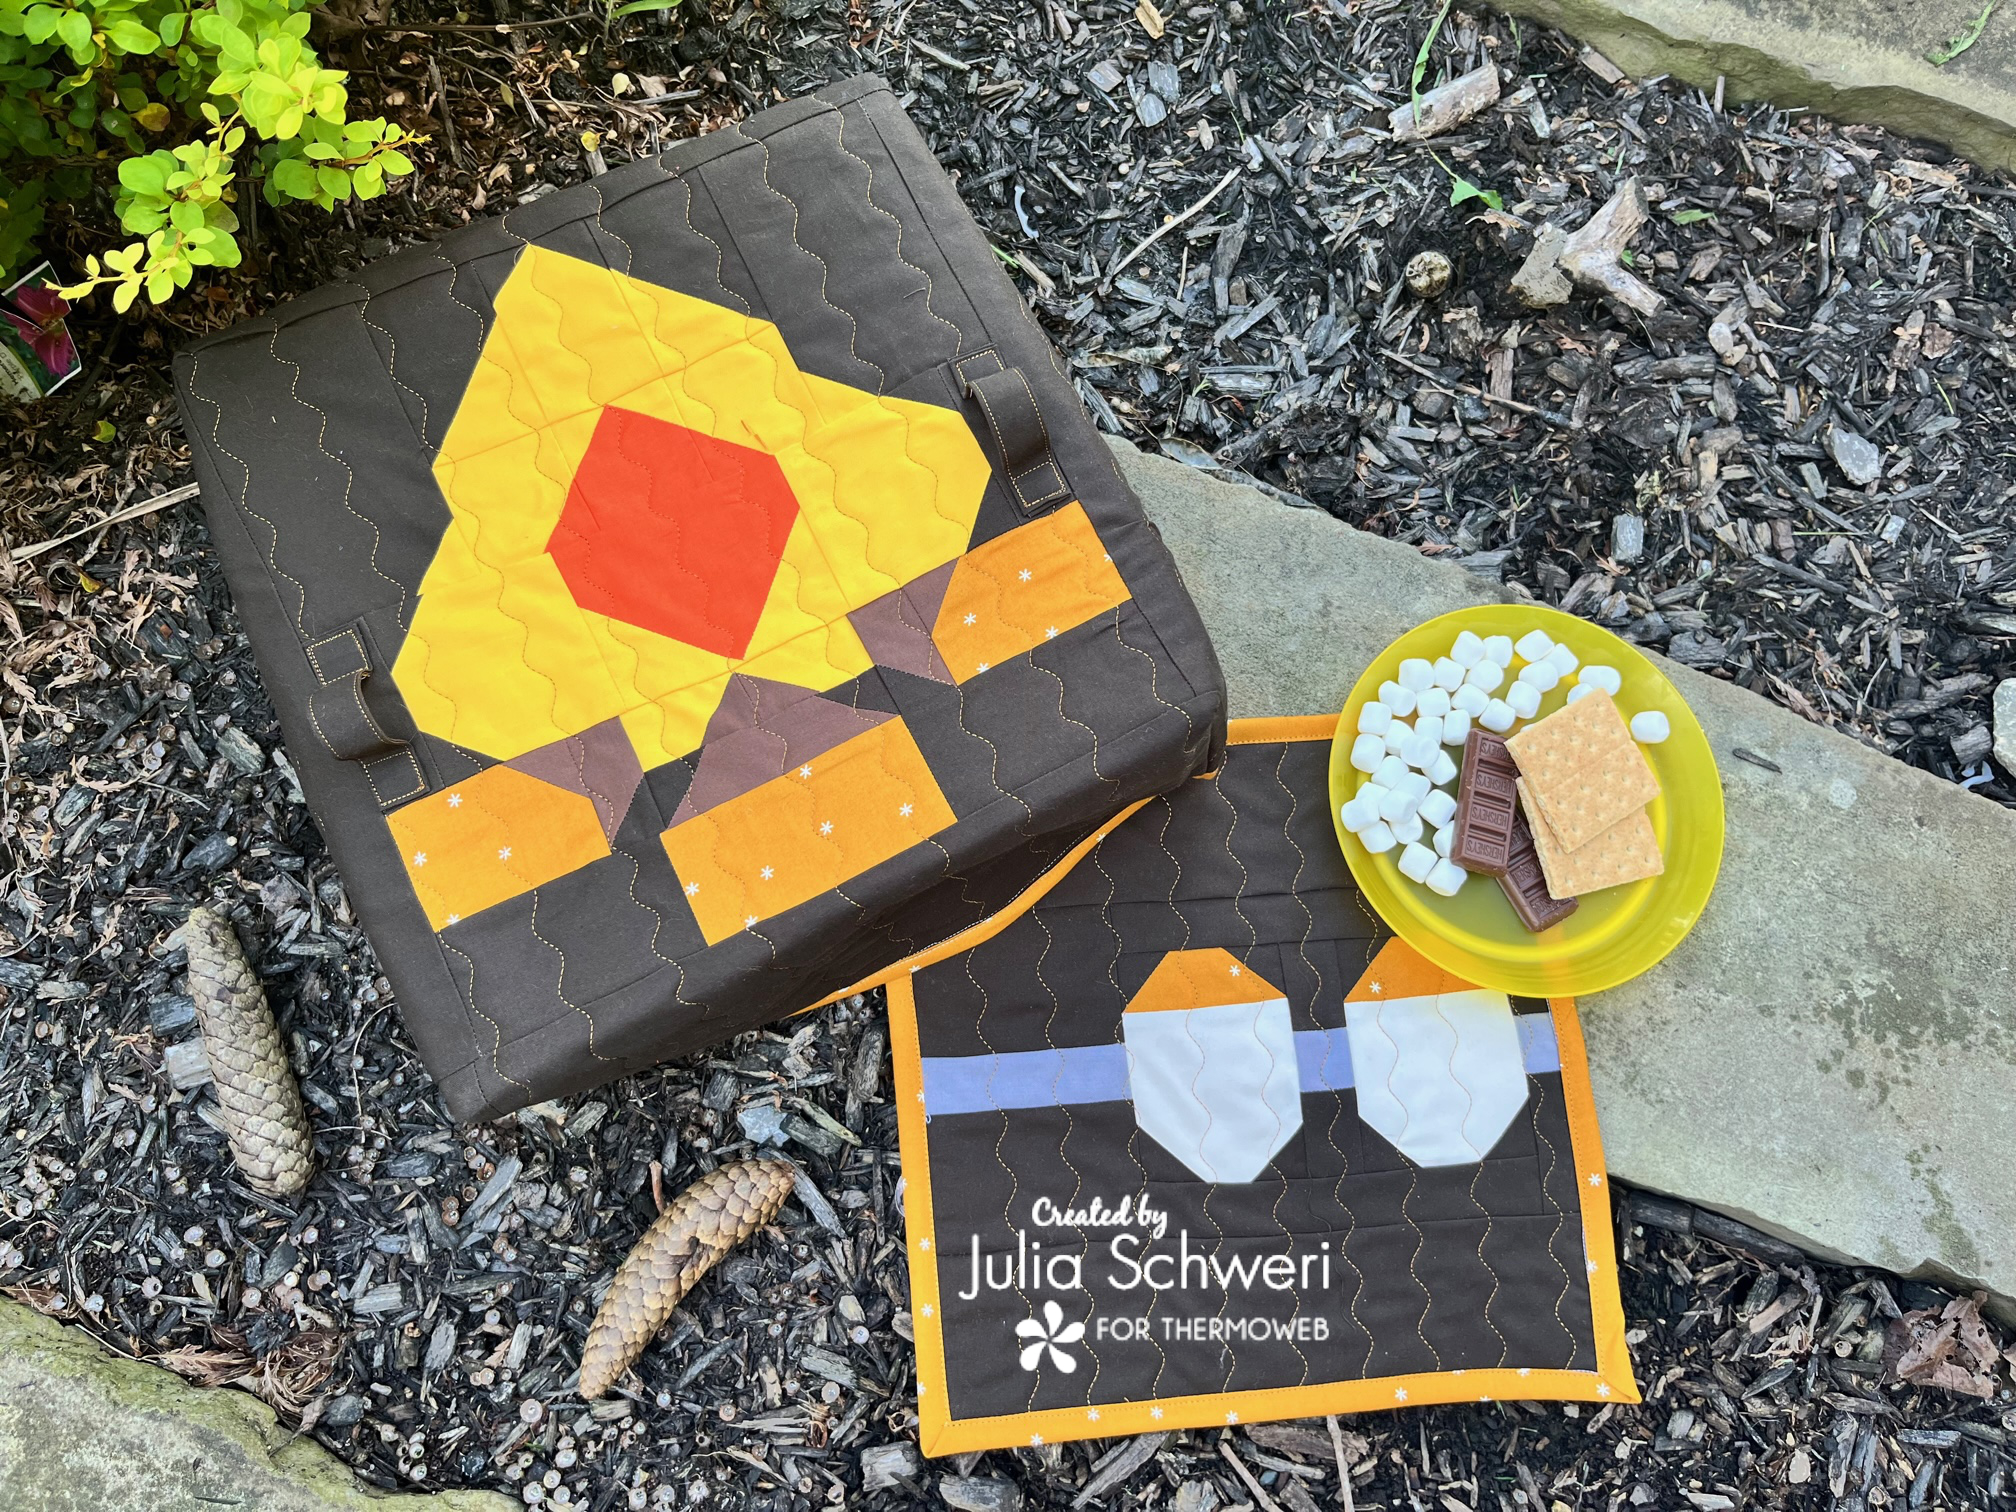
It’s Julia from Inflorescence Designs! I’m so joyful you are visiting today. It’s camping week here on the blog and I have a fantastic camping supply to add to your packing list on your next trip! When camping or doing any outdoor activity the bugs can be a nuisance when preparing meals. The tutorial below will show you how to keep the flies off your food while also being adorably cute!
HeatnBond Quilt Block Fabric Food Cover
Supplies:
-
Quilt Block Food Cover PDF Pattern: September BOM Camping
- Finished Quilt Block 12.5″ (Pictured is Thermoweb’s BOM September 2022 found on the “Thermoweb Craft Room” Facebook page in the Files section.
- (2) 6 1/2′ x 12 1/2″ fabric pieces for the front of the cover.
- (2) 6 1/2′ x 24 1/2″ fabric pieces for the front of the cover.
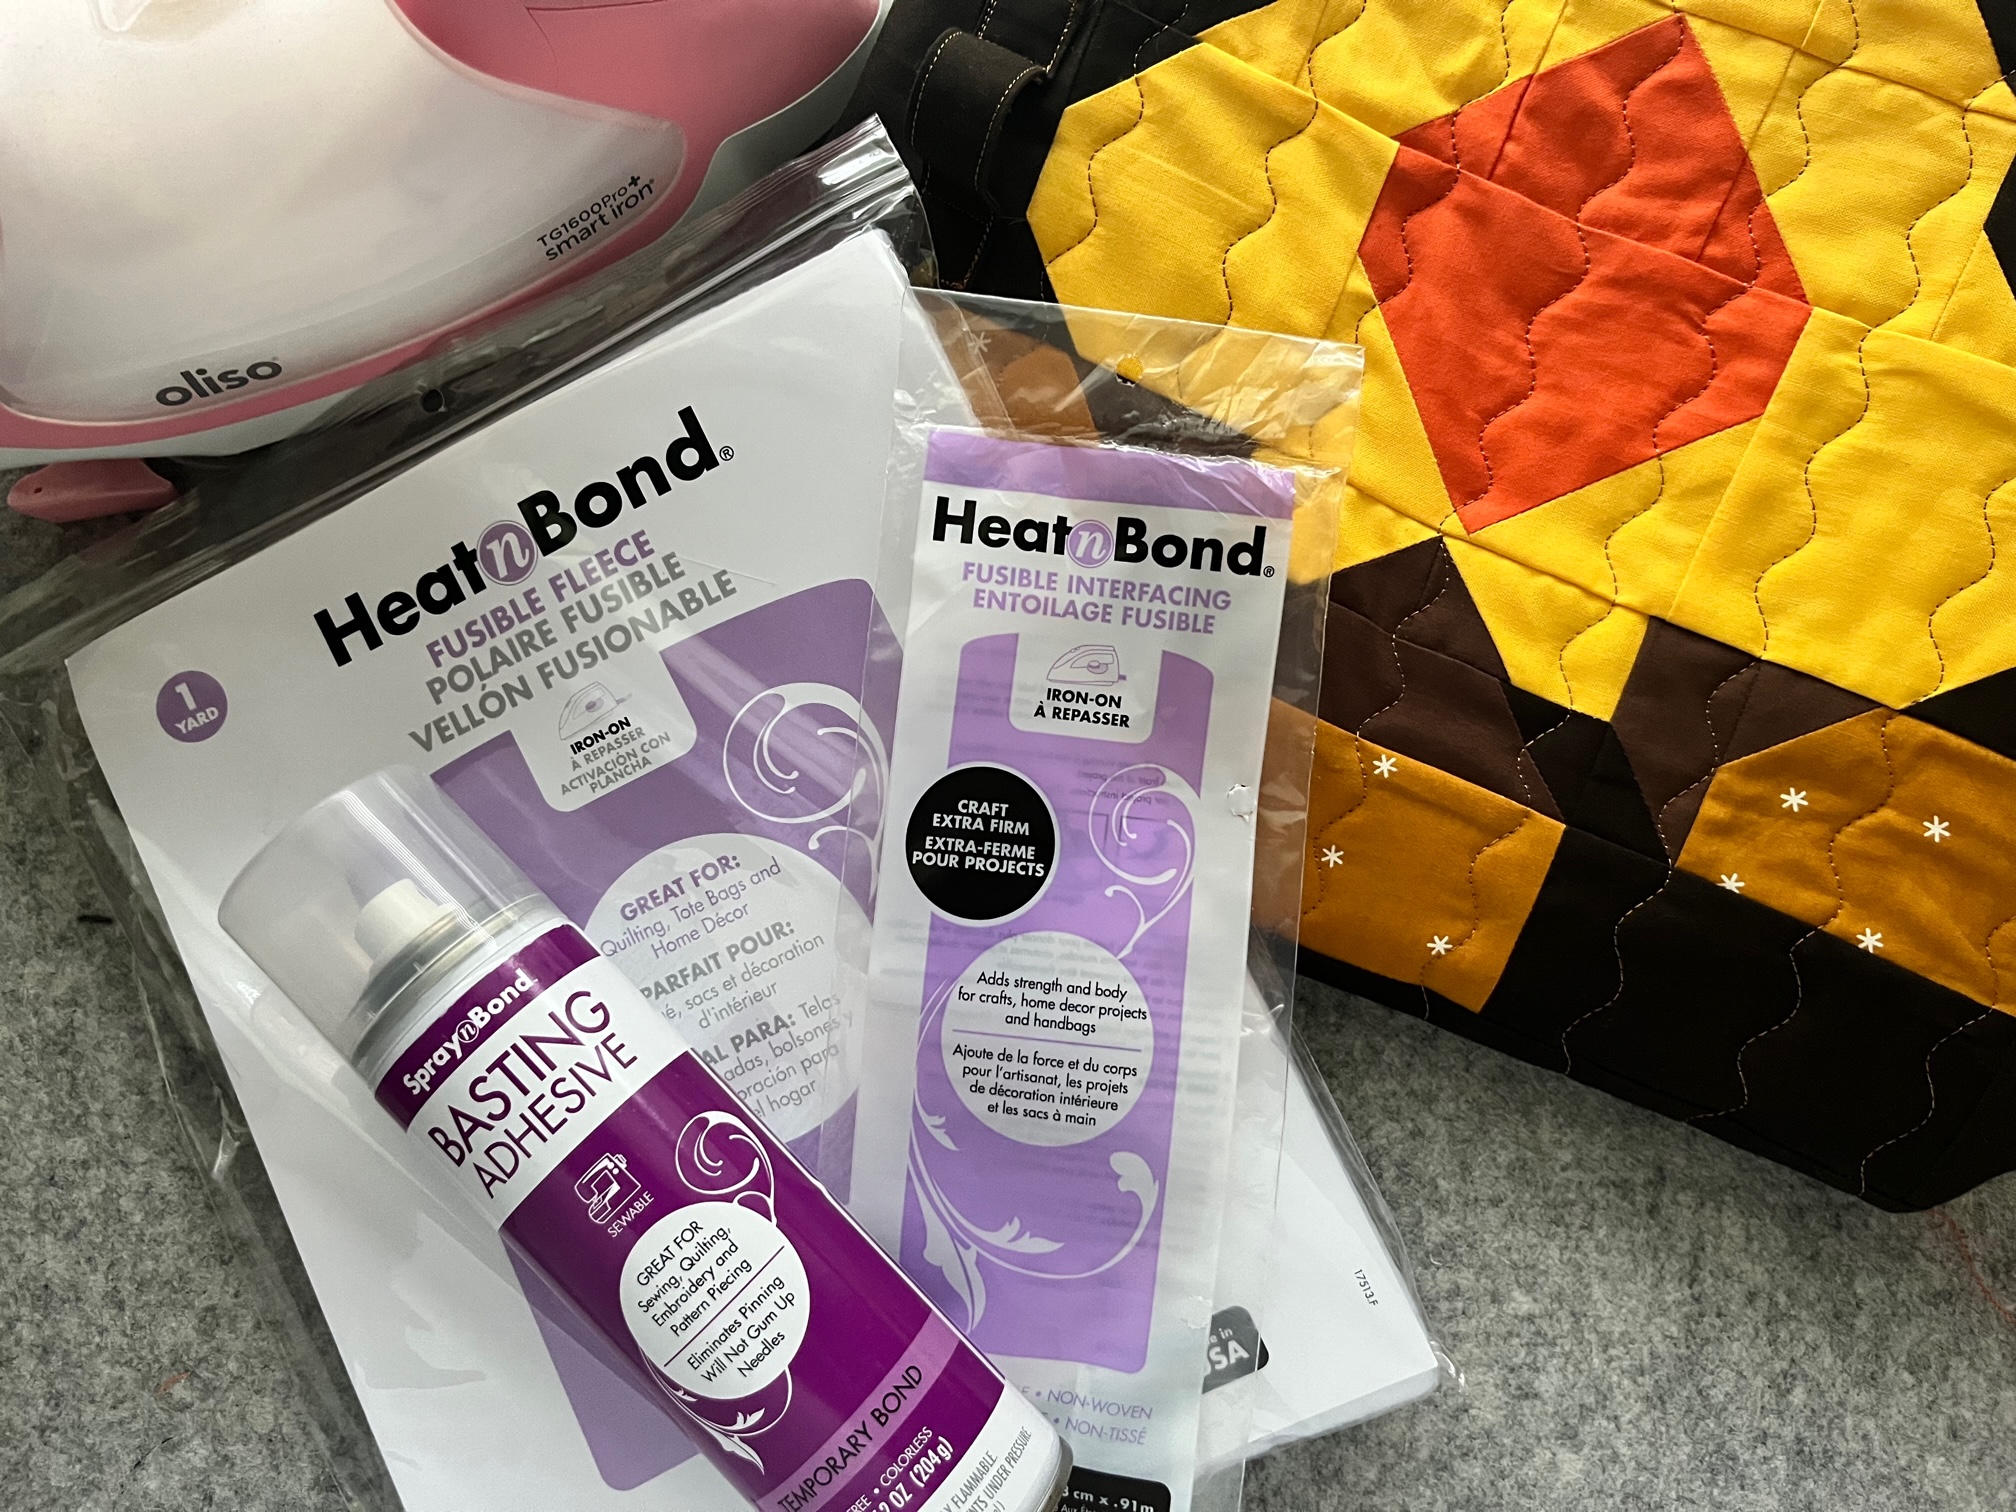
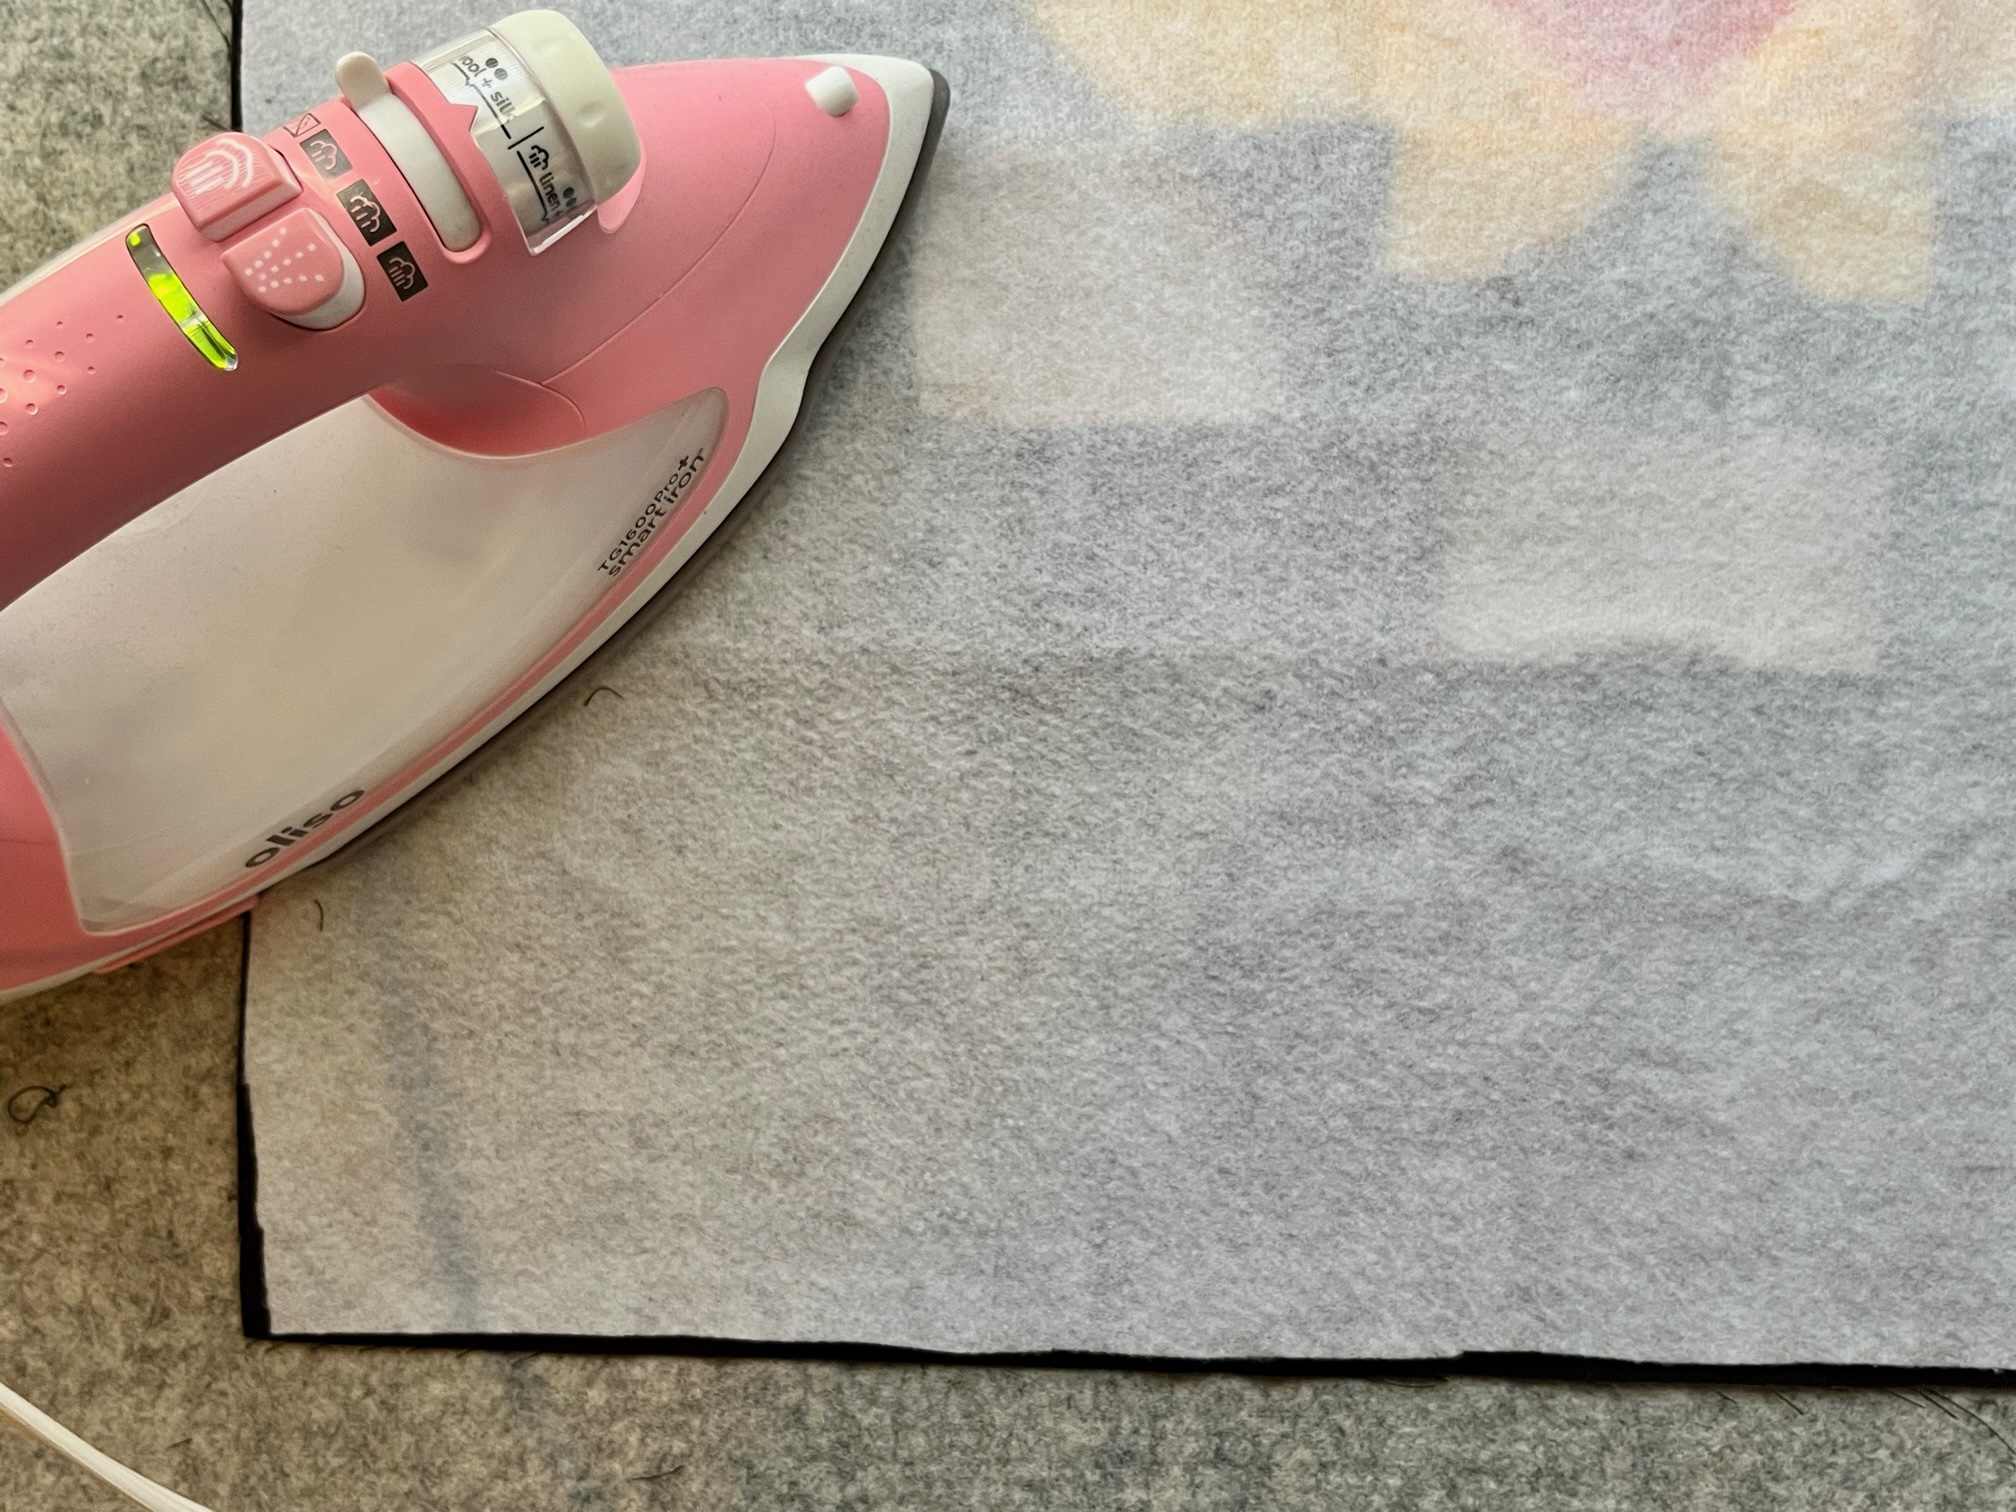
- Thermoweb Craft Weight Fusible Weight Interfacing. 23″ x 23″ (you can piece together the interfacing or use the 60″ width product.)
- Thermoweb Fusible Fleece Interfacing. 23″ x 23″.
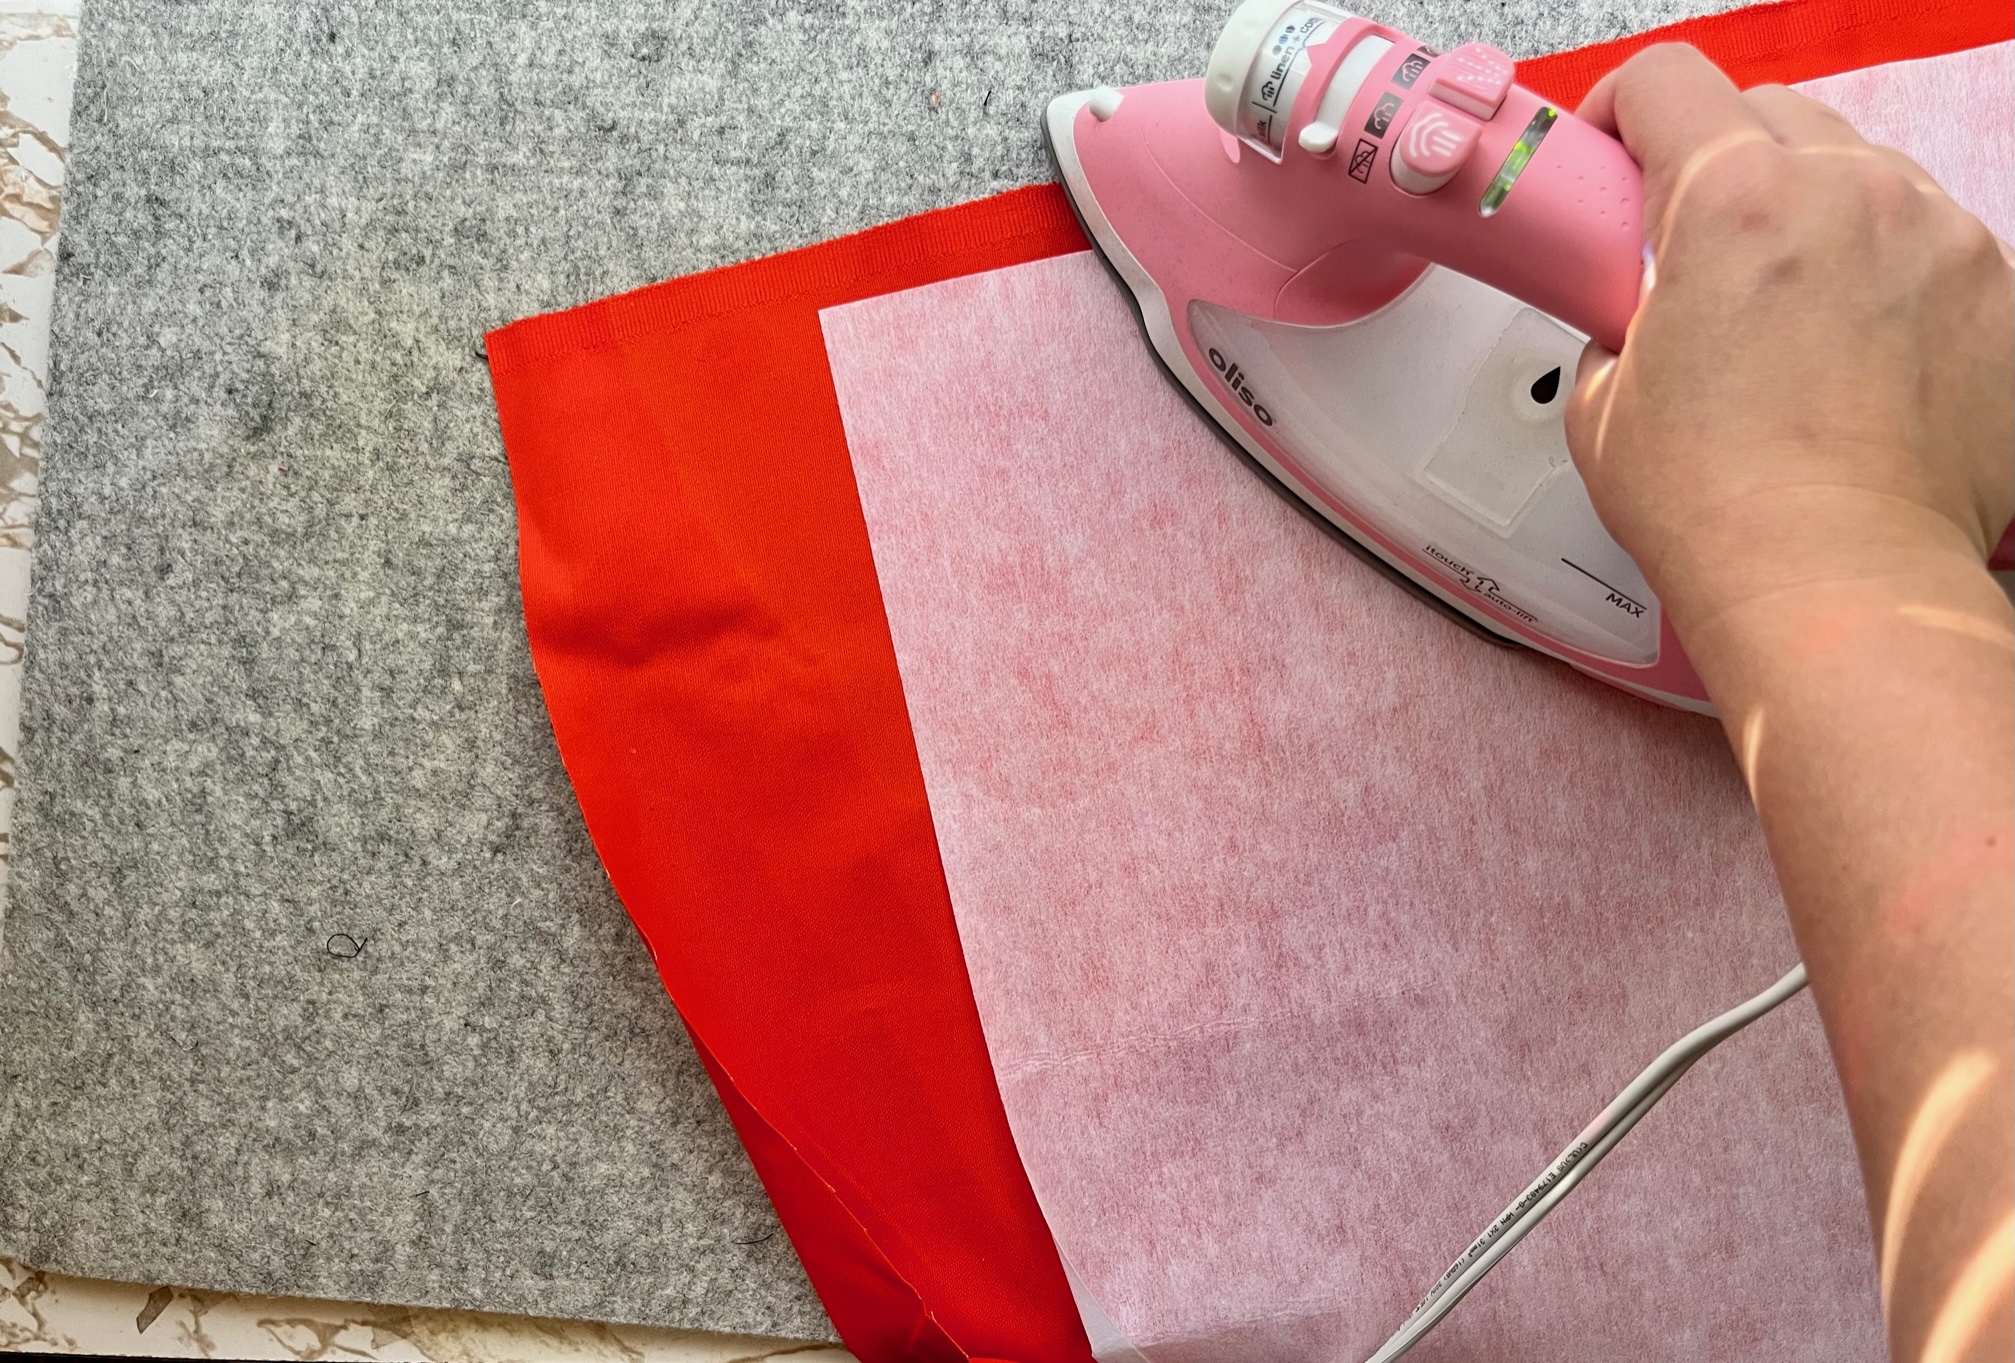
- (1) 24″ x 24″ Heavyweight canvas fabric for the backing.
- (2) 5″ x 3 1/4″ fabric for handles.
- (4) 5 1/2″ x 1 1/2″ fabric for inside finishing strips.
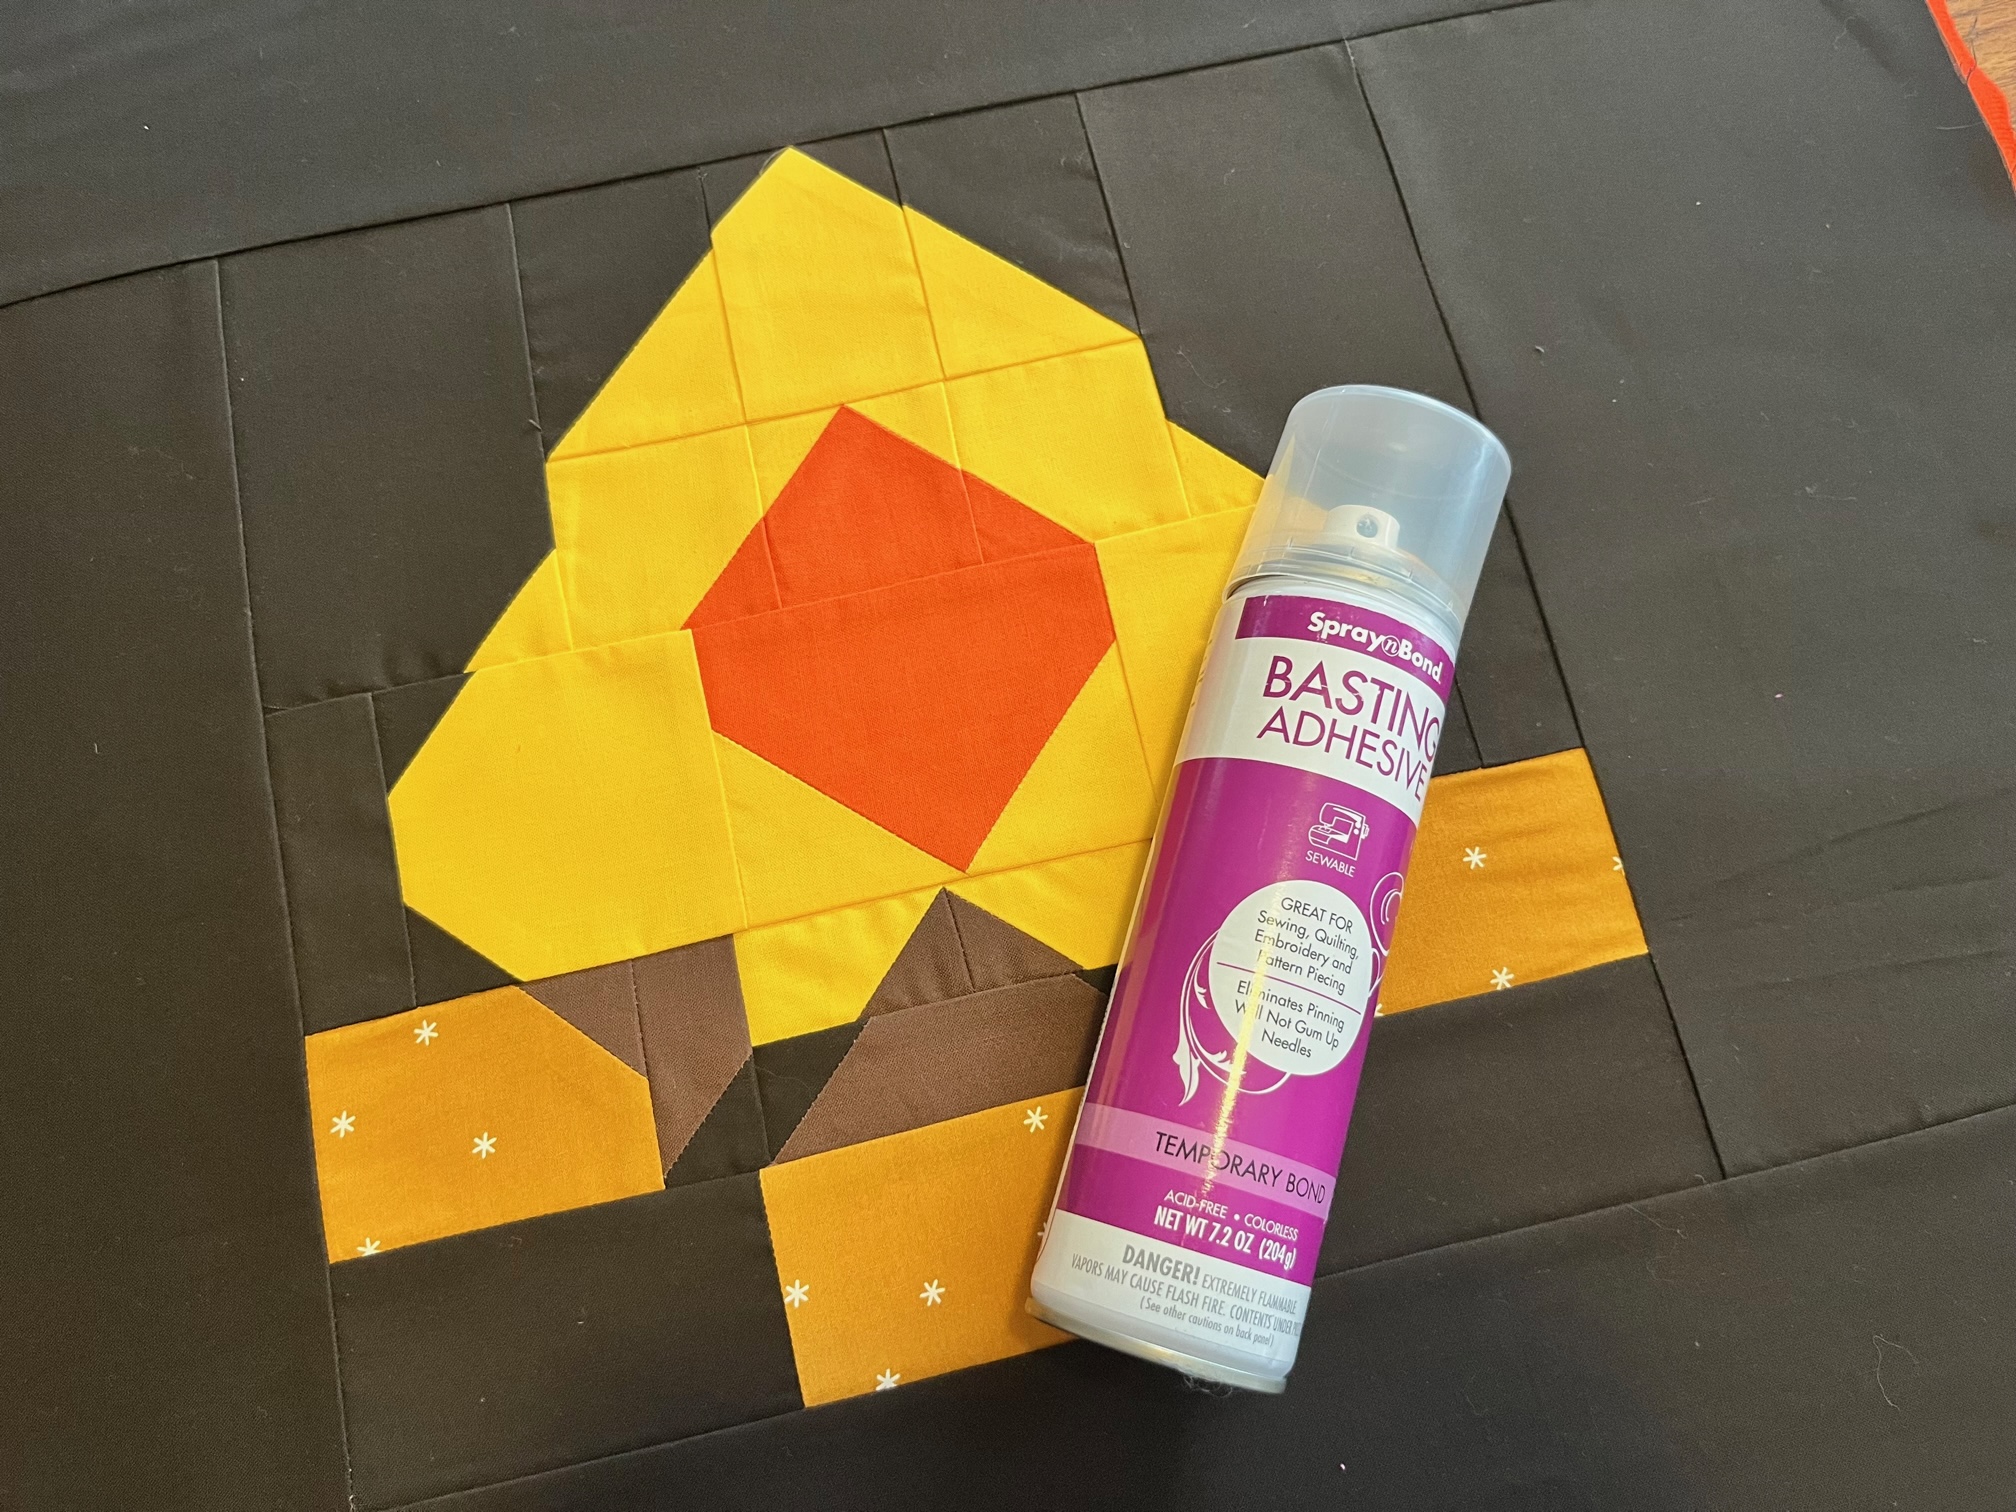
- SpraynBond Basting Spray.
- Iron.
- Basic sewing notions.
- Needle and sewing thread for hand stitching
Sewing Instructions:
Begin by…
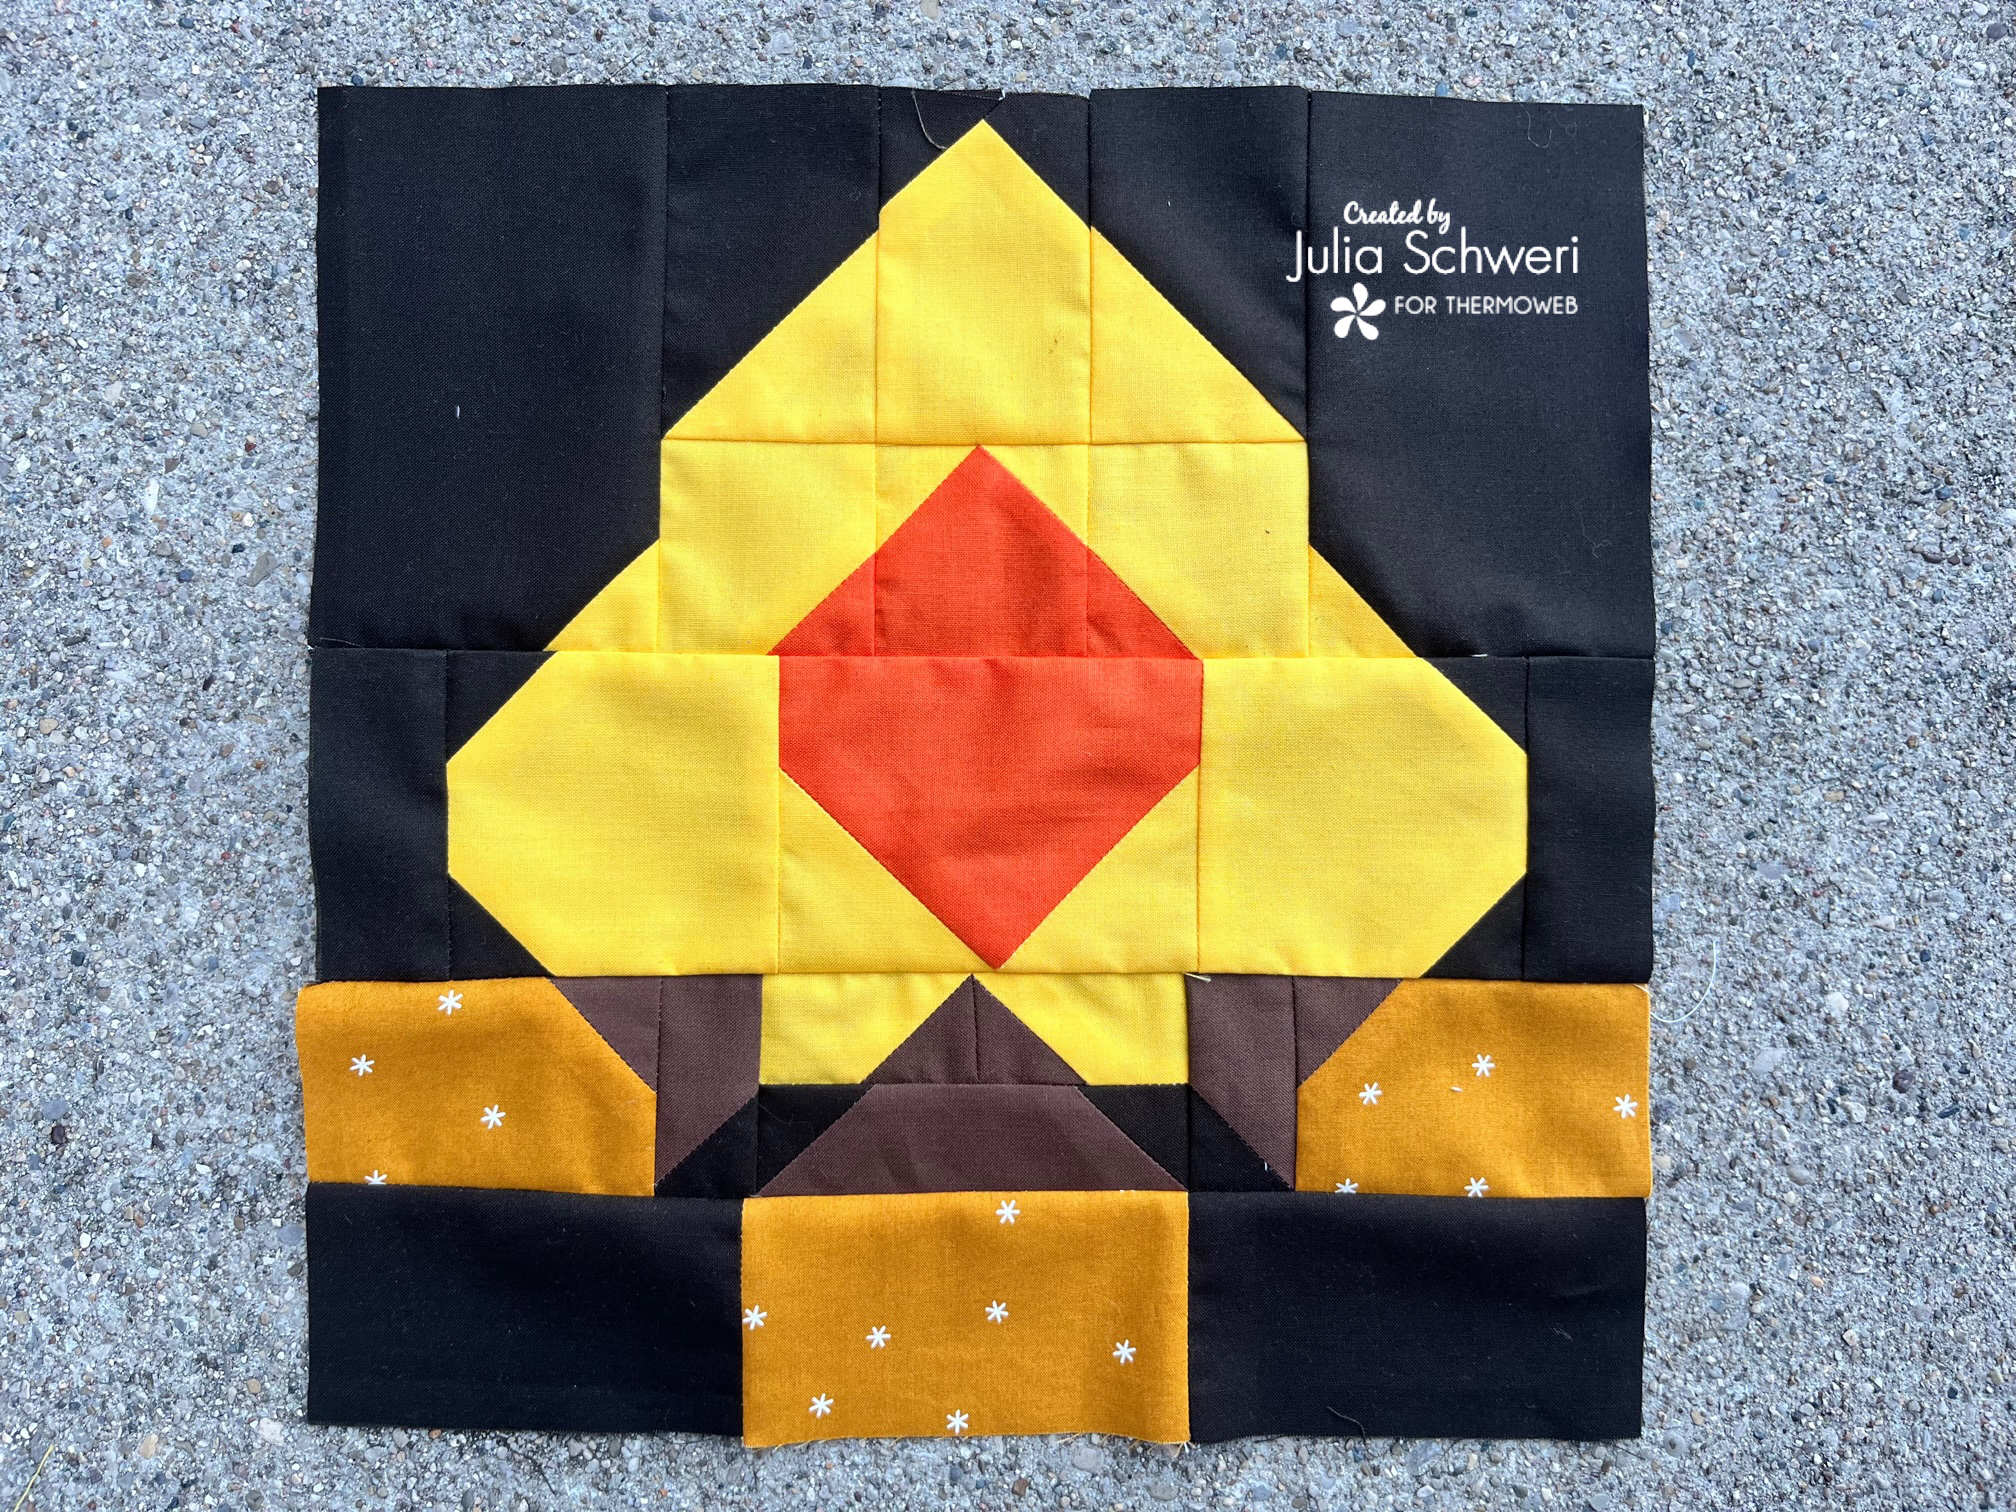
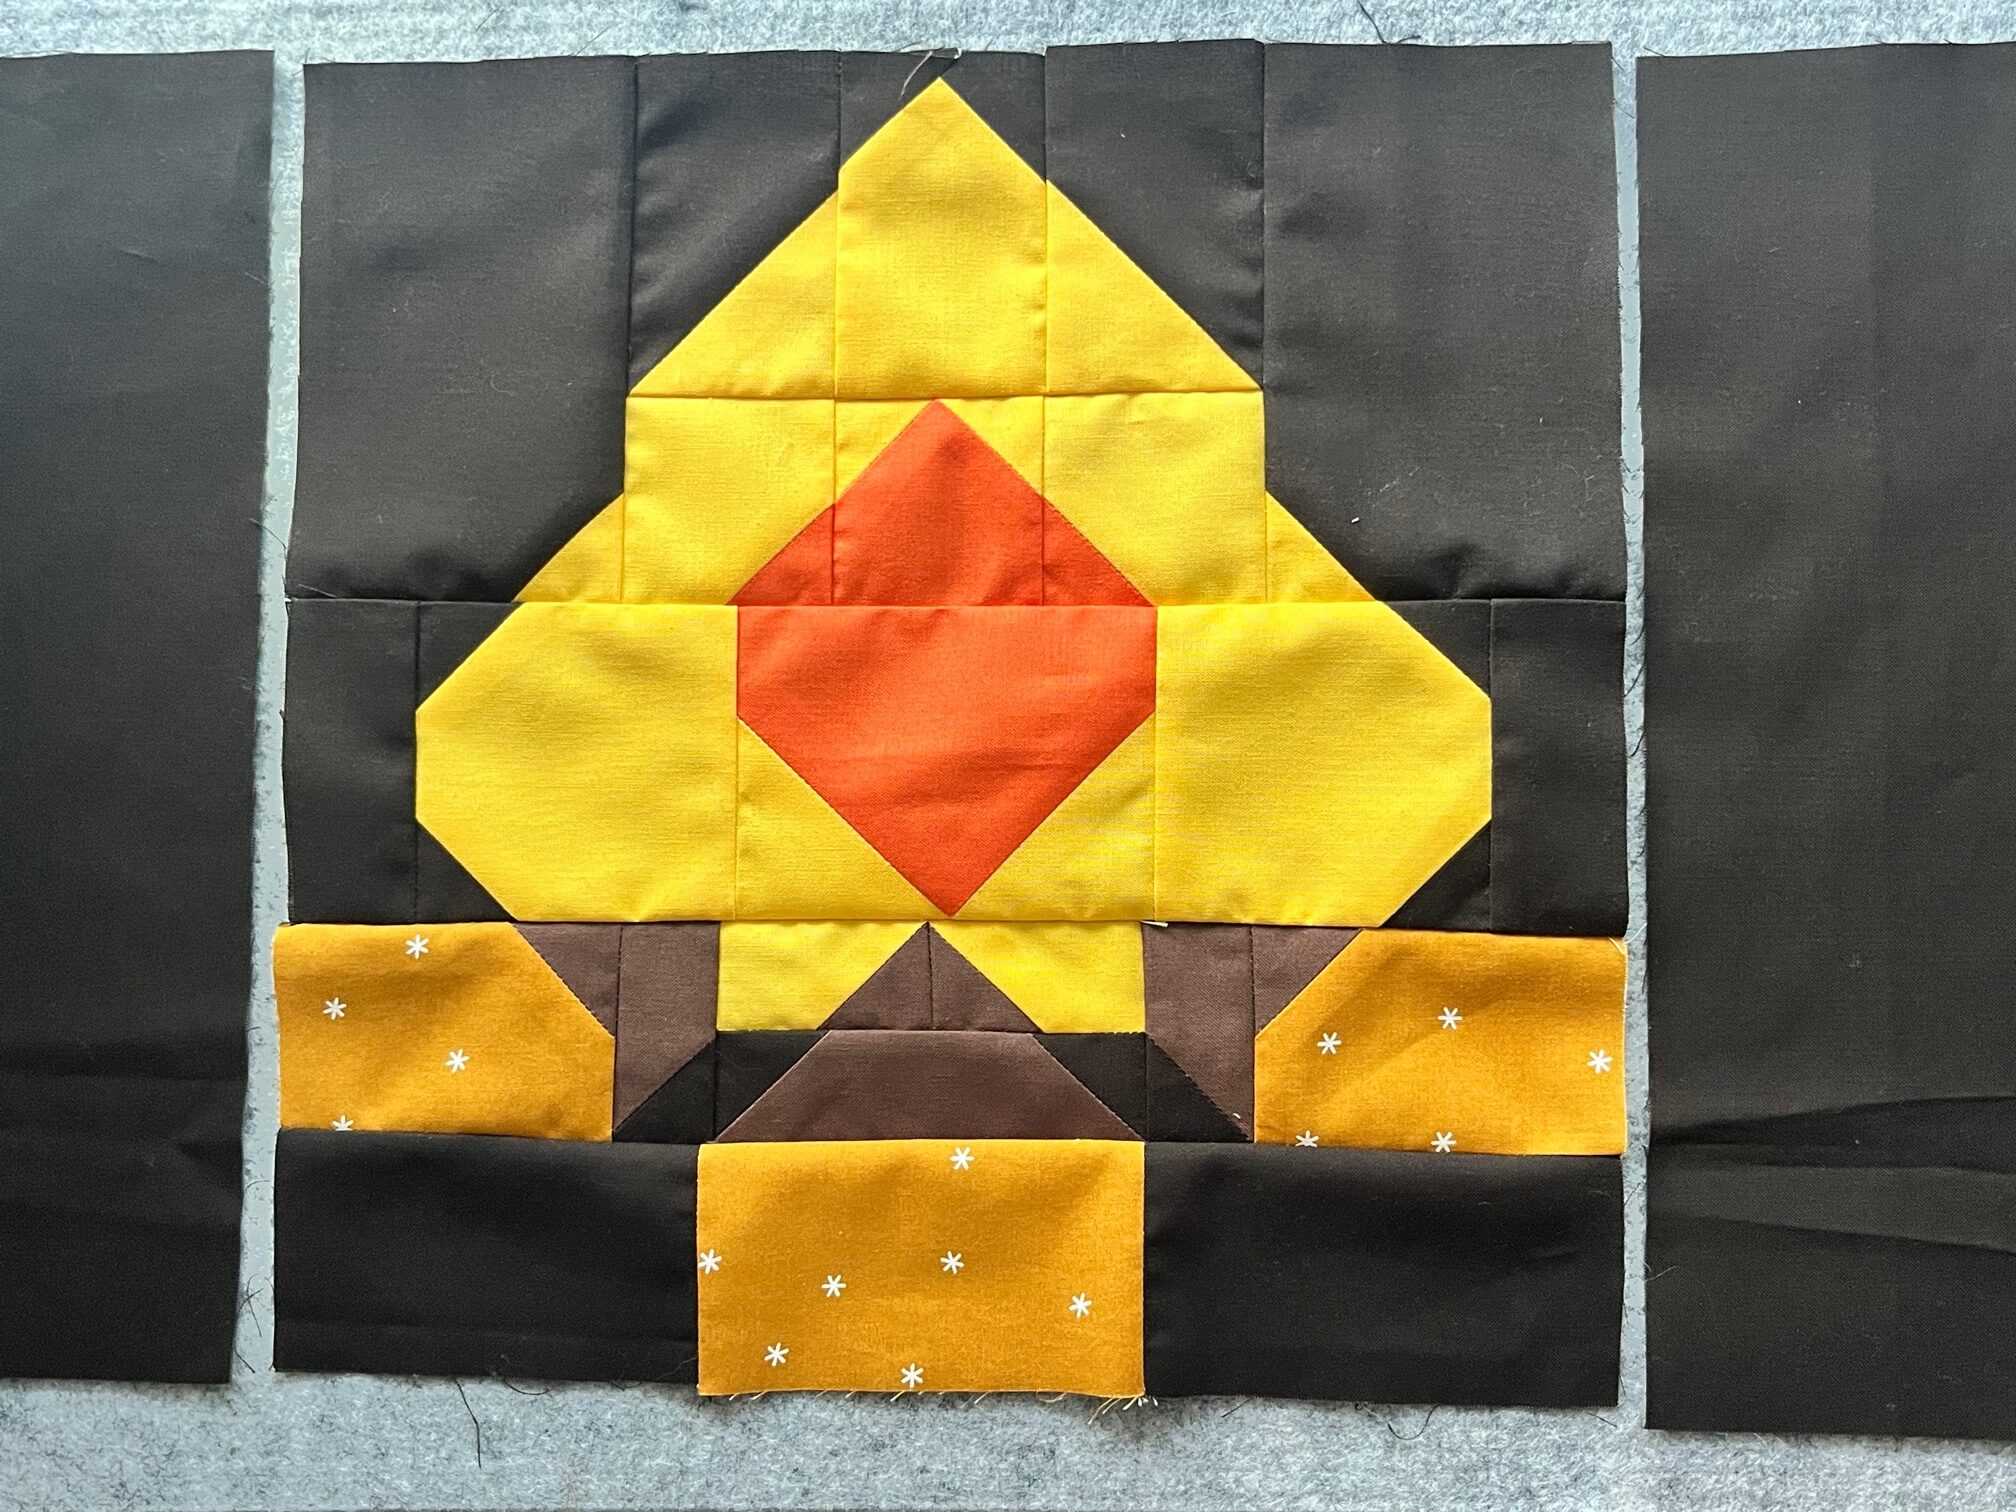
Make or choose the quilt block for your food cover. The quilt block below is the September BOM, a free pattern available in the files section on Thermoweb’s Facebook Group: Therm O Web Craft Room.
Next…
Sew the shorter front panels to the left and right sides of your quilt block. Then, sew the longer panels to the top and bottom. Press.

Continue by…
Adhere the fusible fleece to the wrong side of the top of the food cover. In addition, adhere the fusible craft weight interfacing to the wrong side of the heavy-weight canvas fabric.
Next…
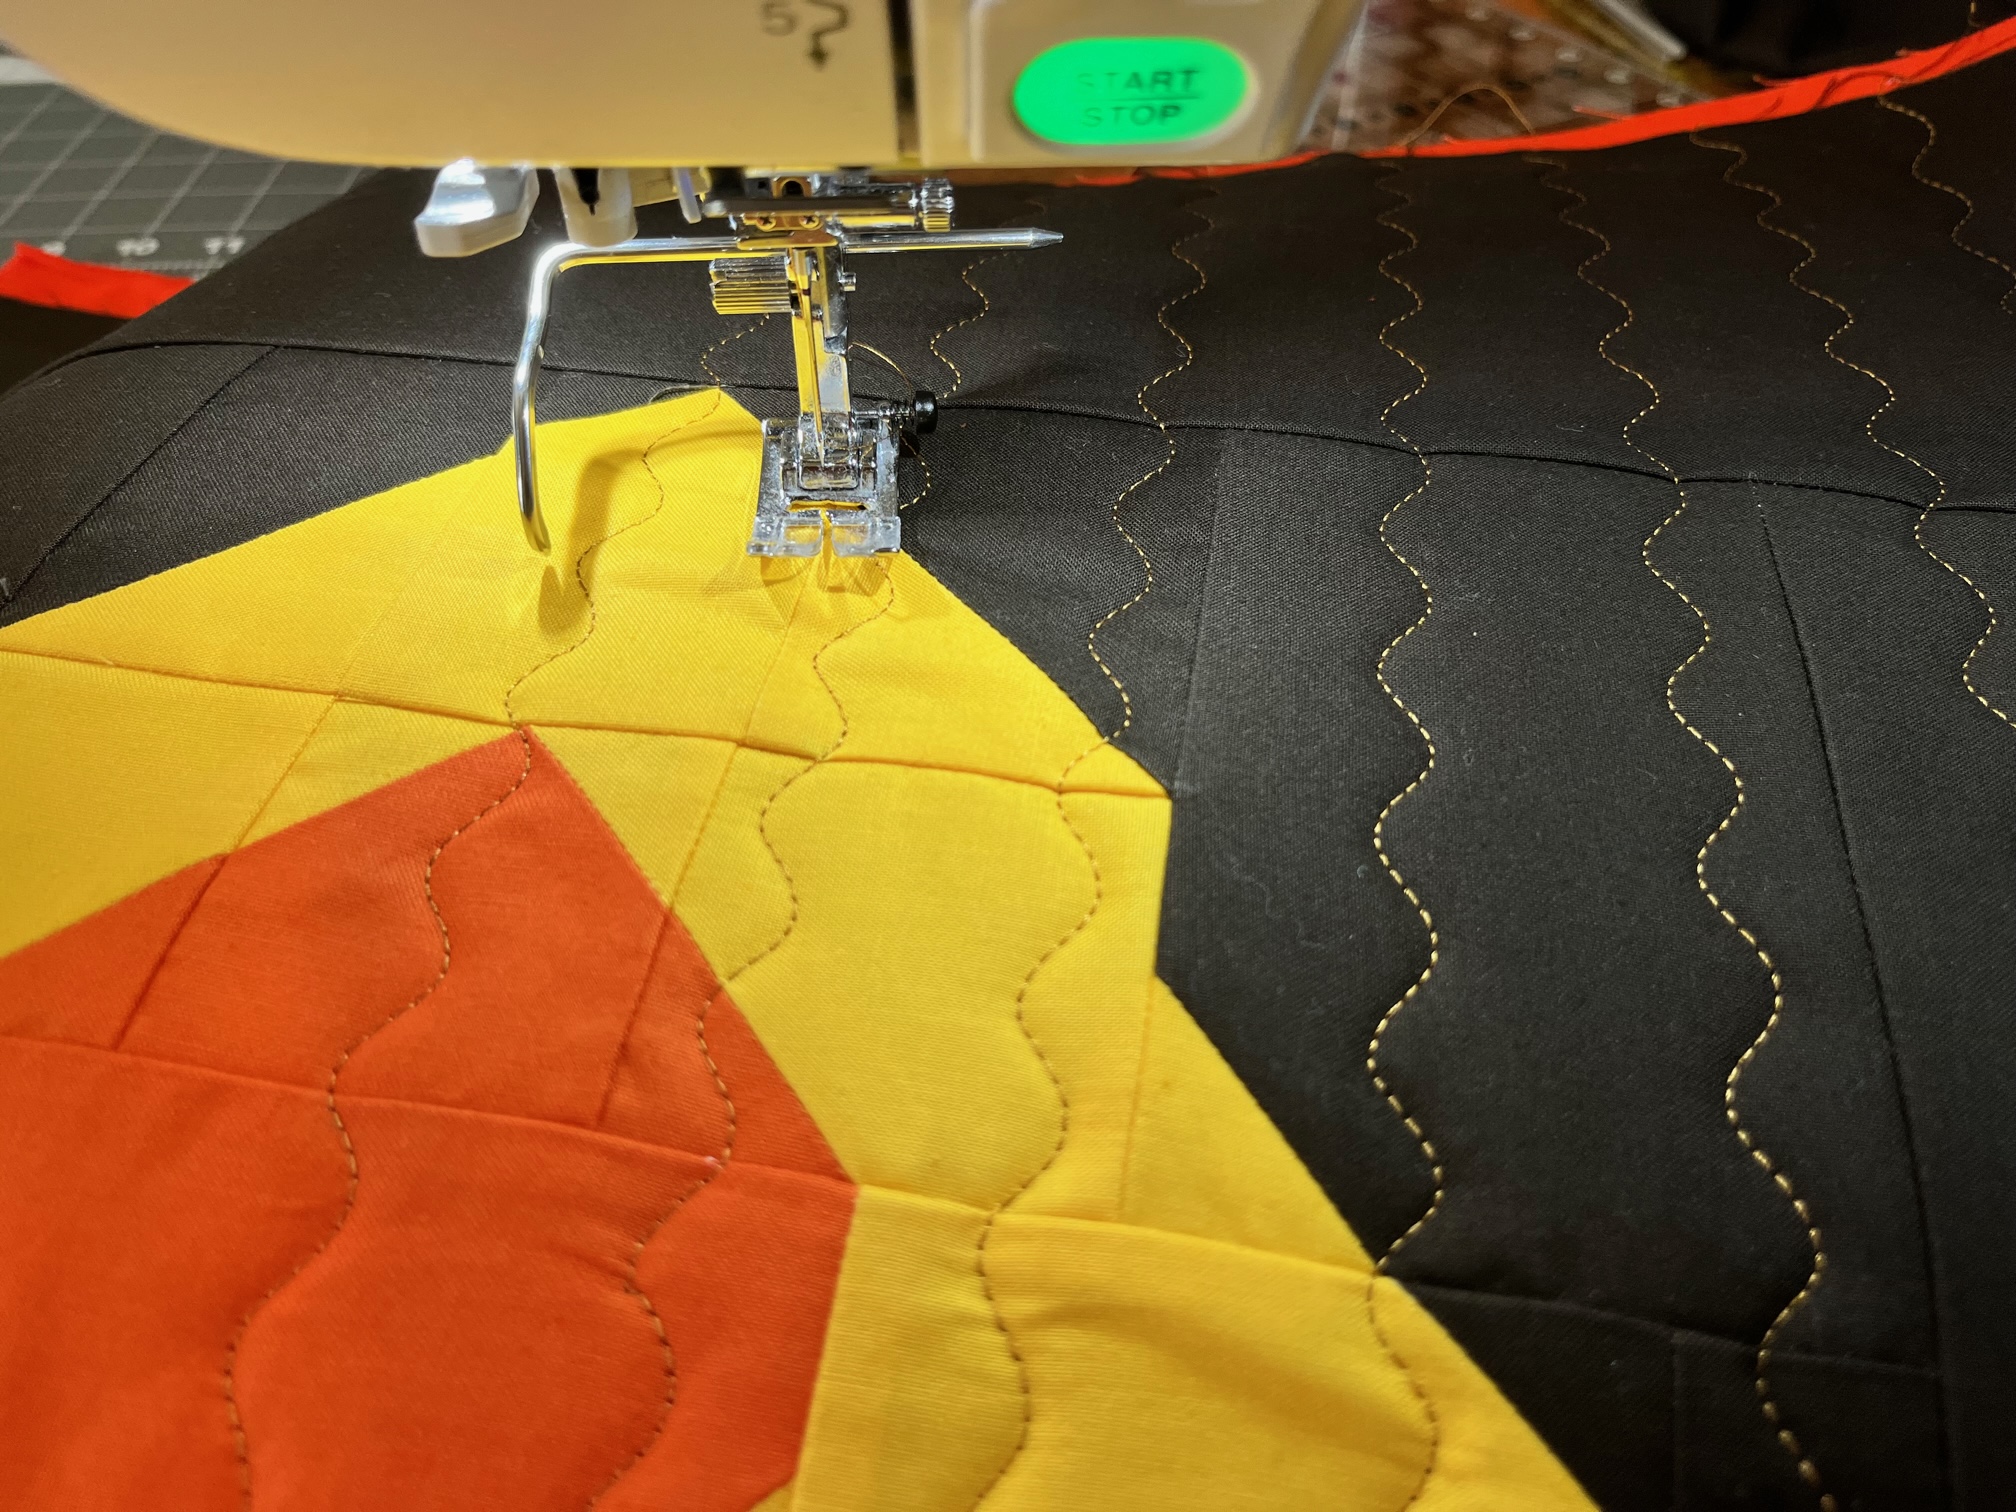
Baste the front and back pieces together (interfacing to interfacing) with SpraynBond Basting Spray. Quilt as desired. Trim to 23″x 23″.
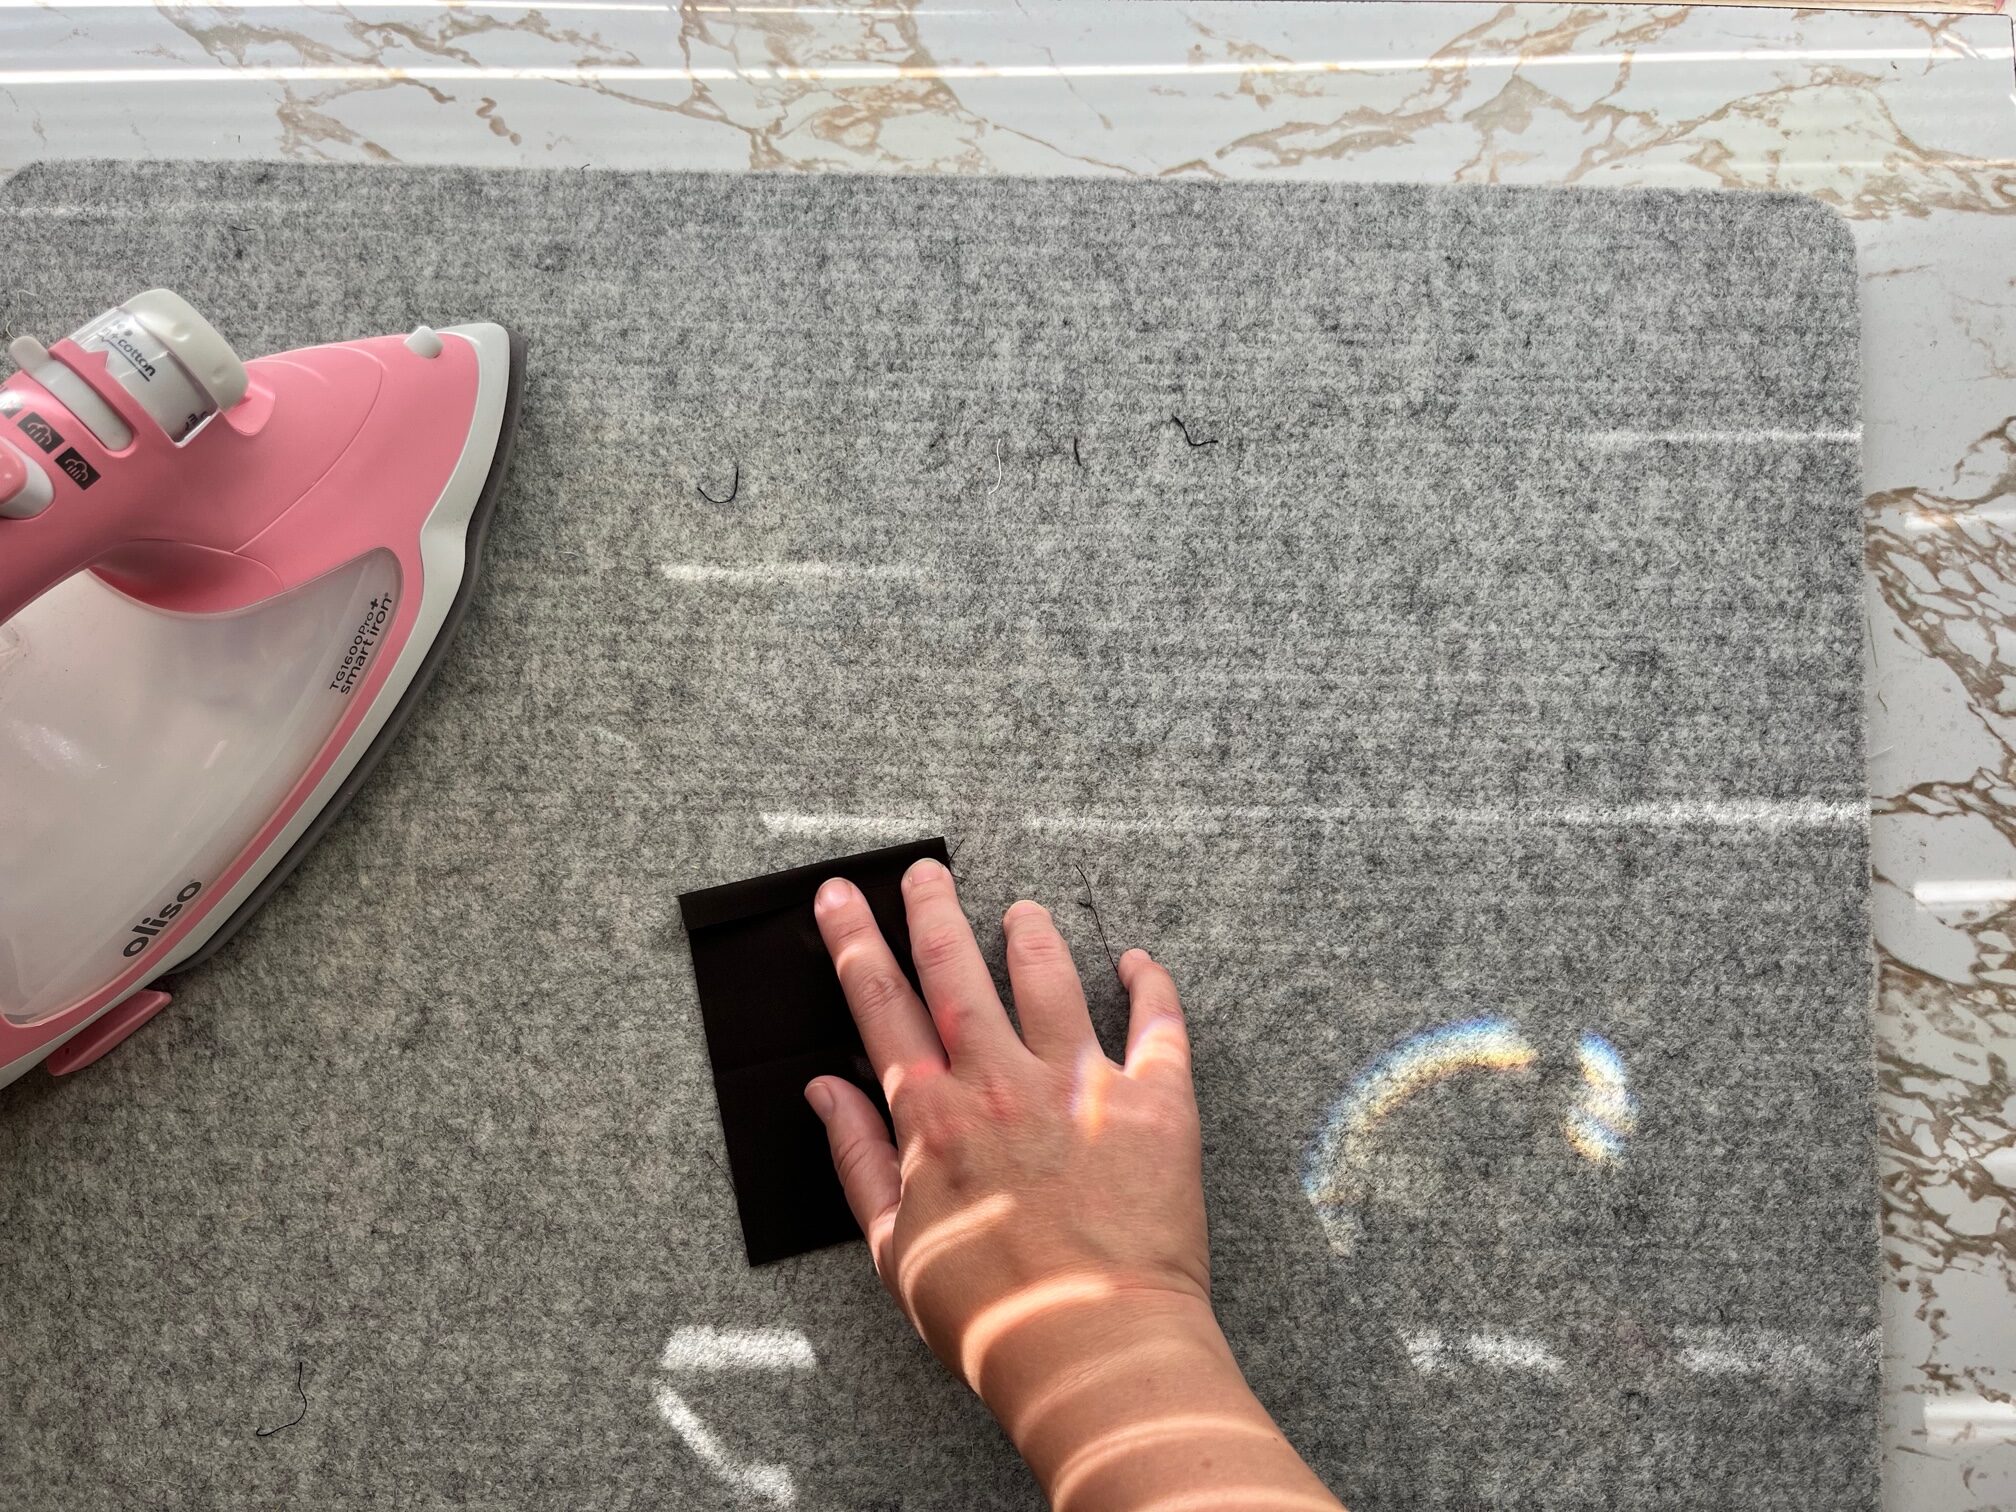
Prepare the Handles:
First…
Fold over the short ends 1/4″ on both sides and press.
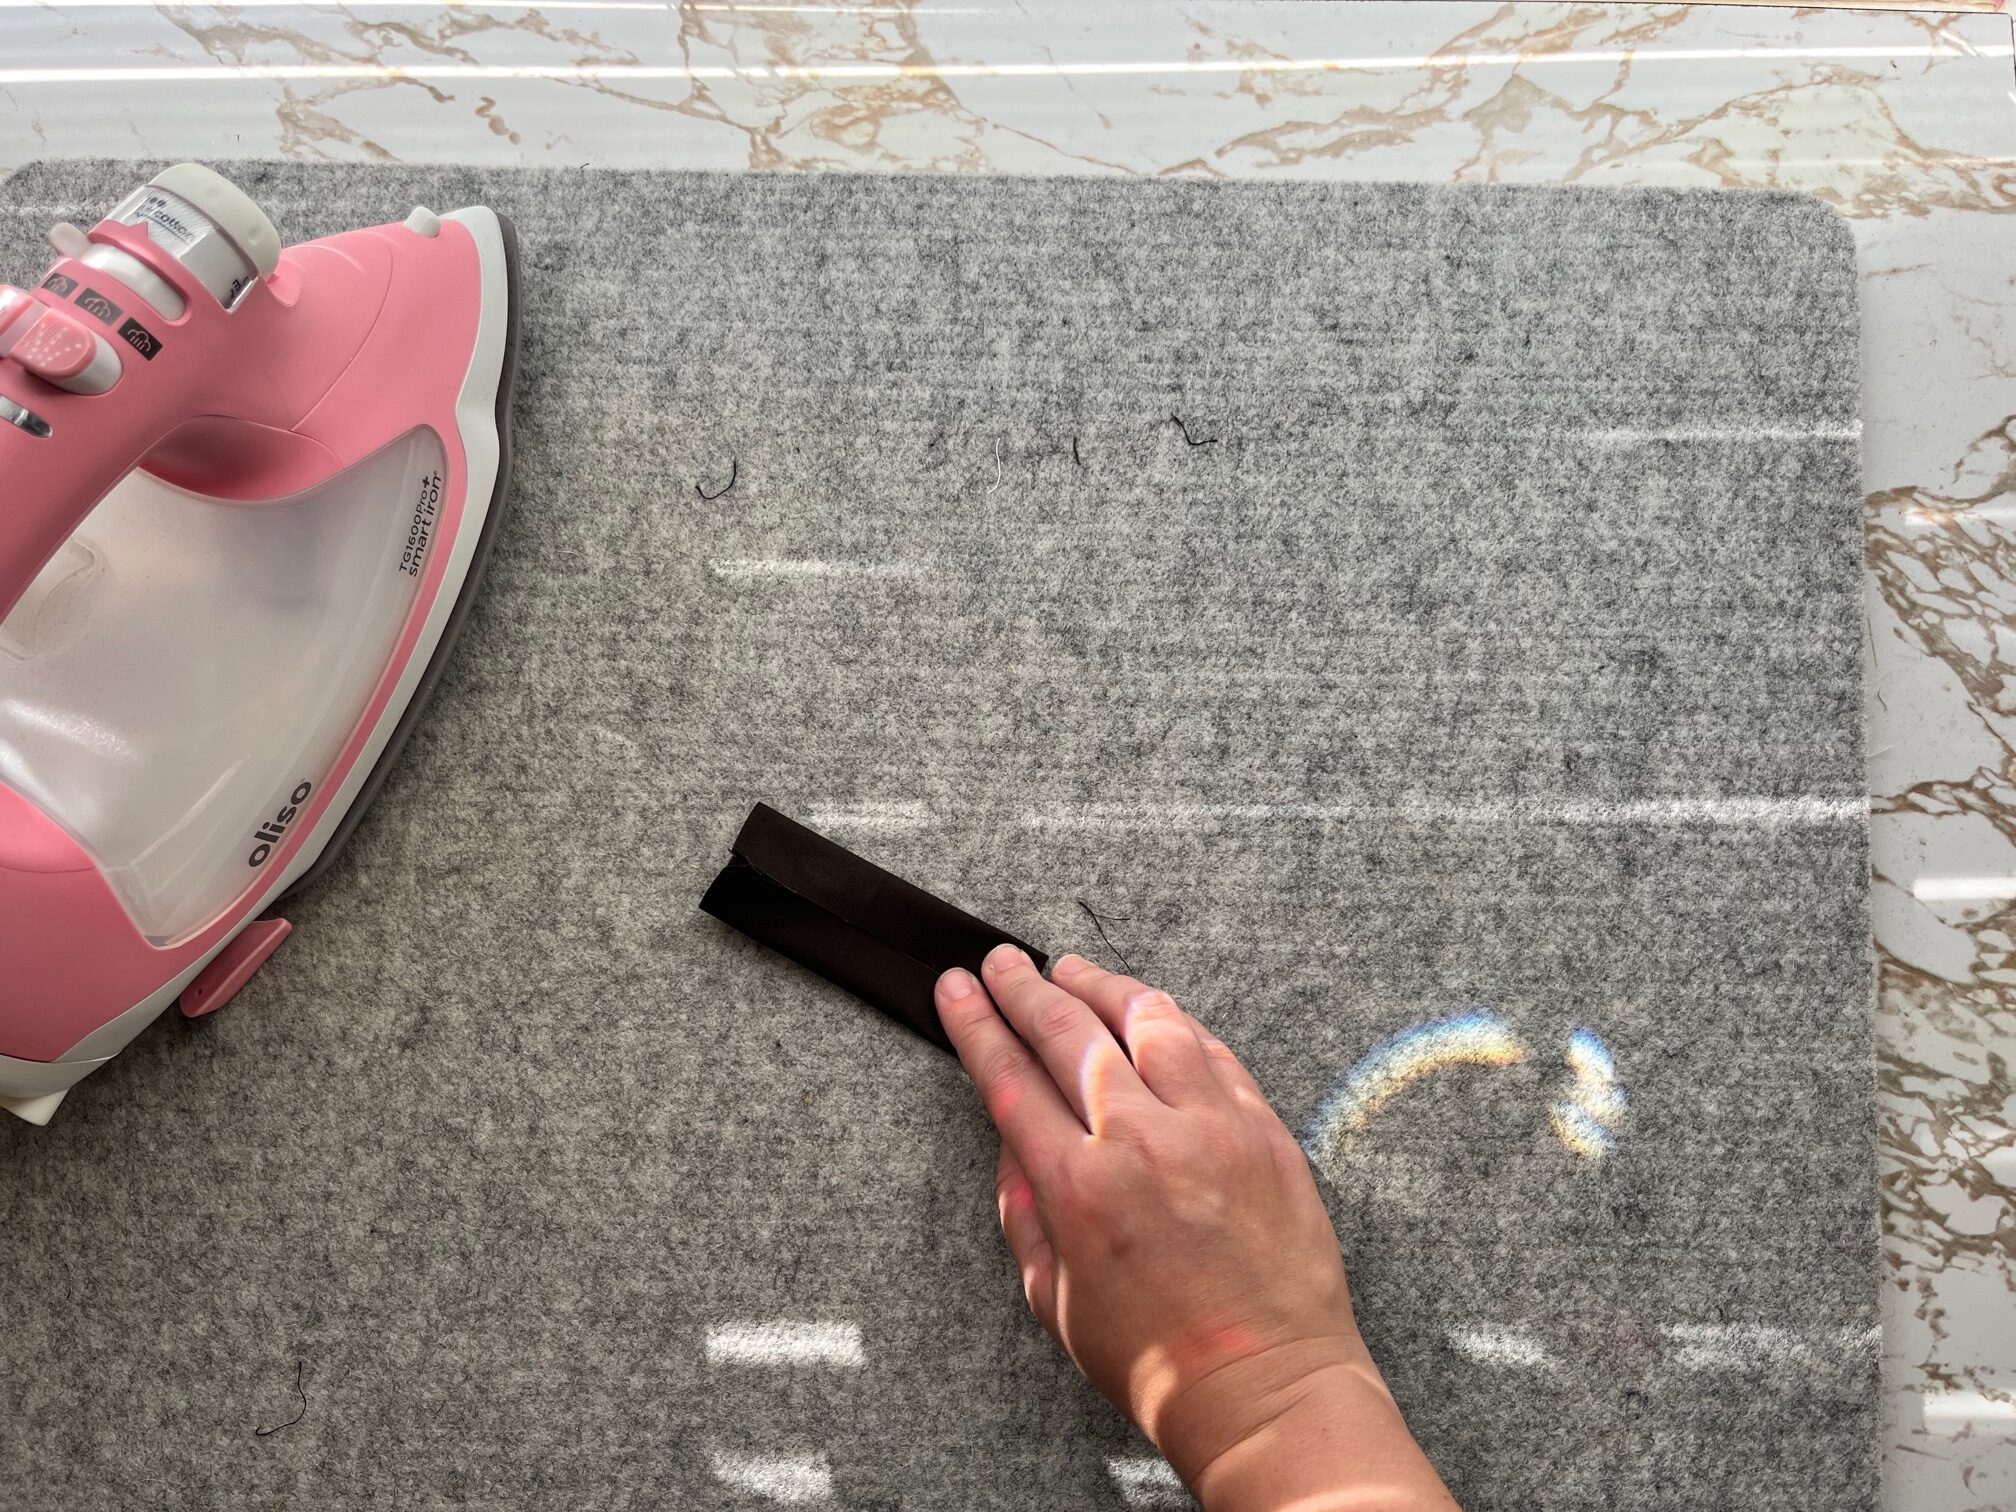
Second…
Fold in half long ways to create a crease. Then, fold each long end to the center.
Next…
Fold in half.
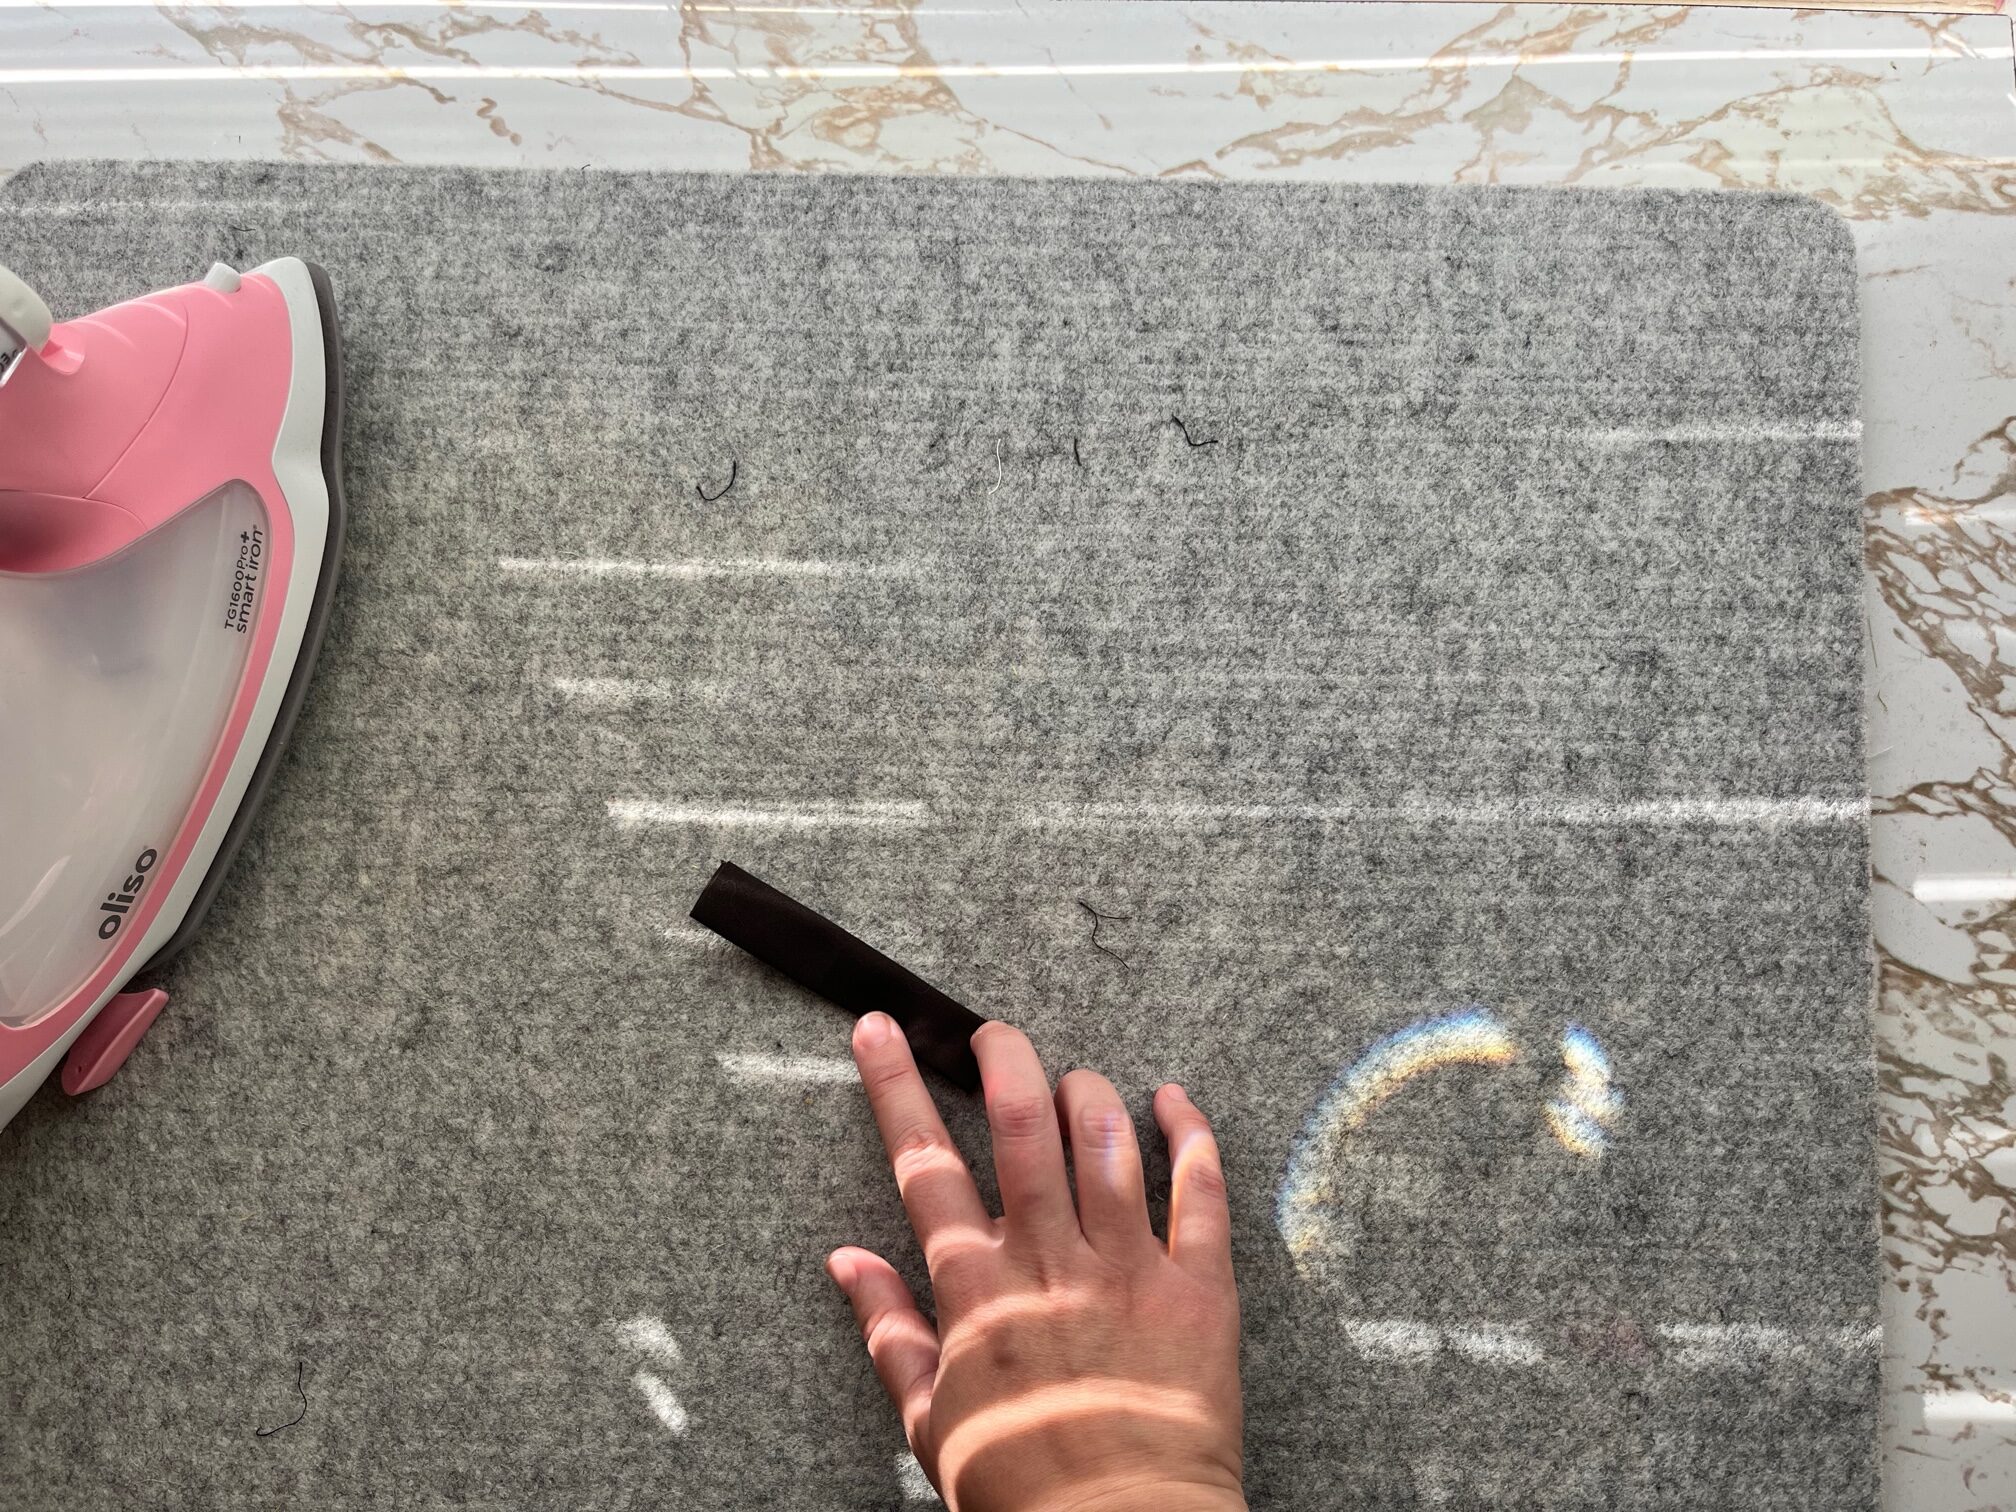
Lastly…
Sew around as close to the edge as possible.

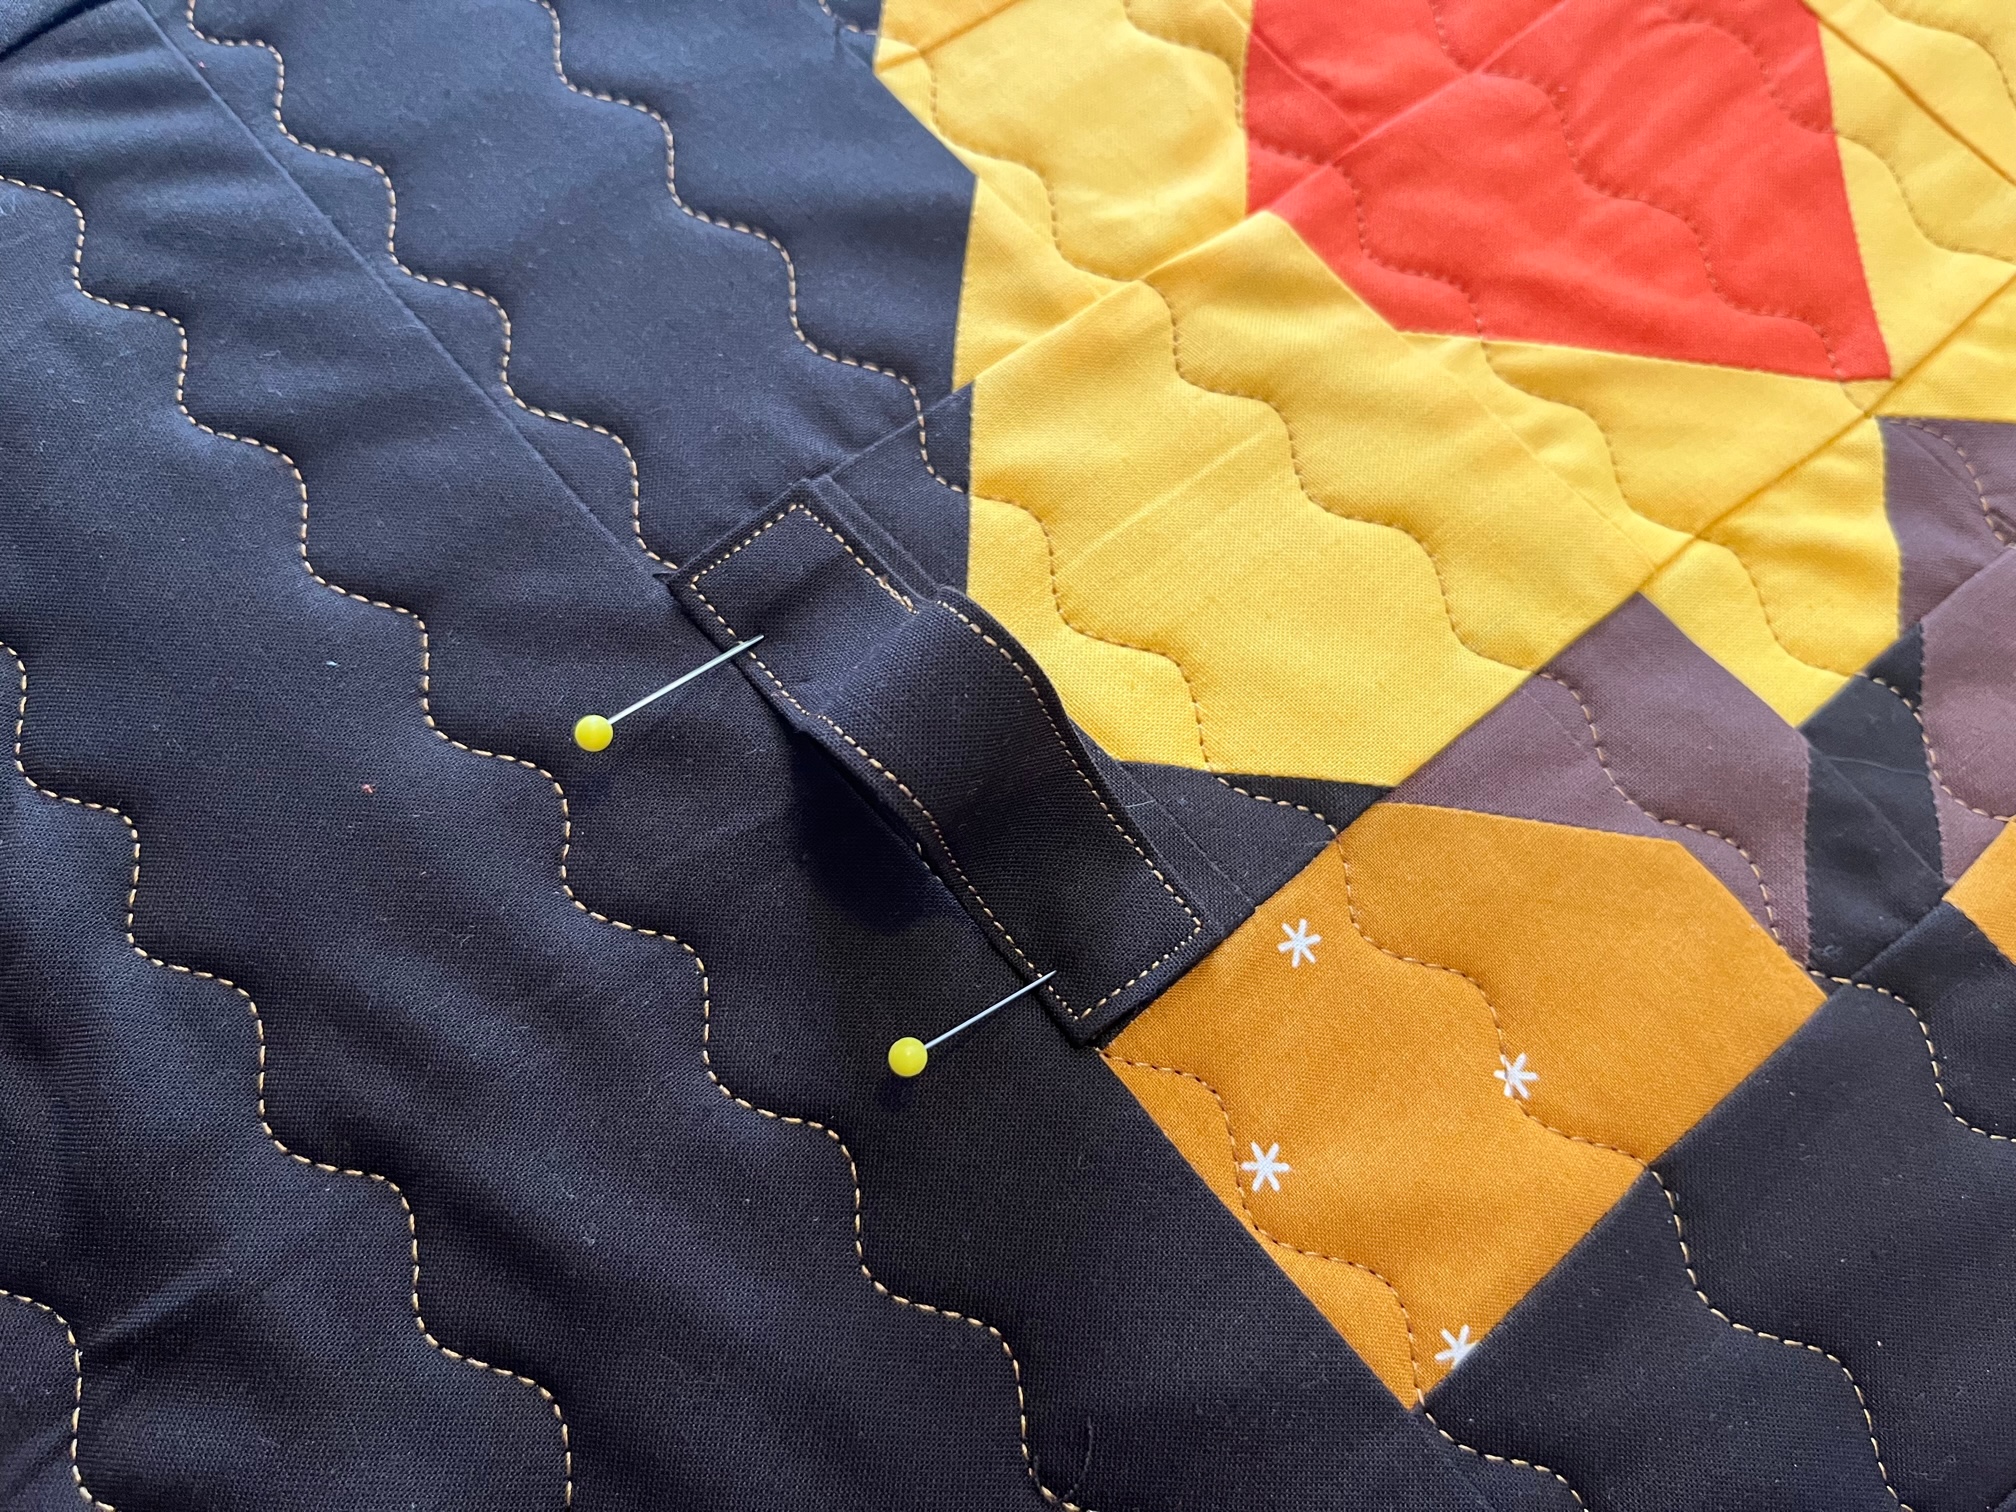
Next…
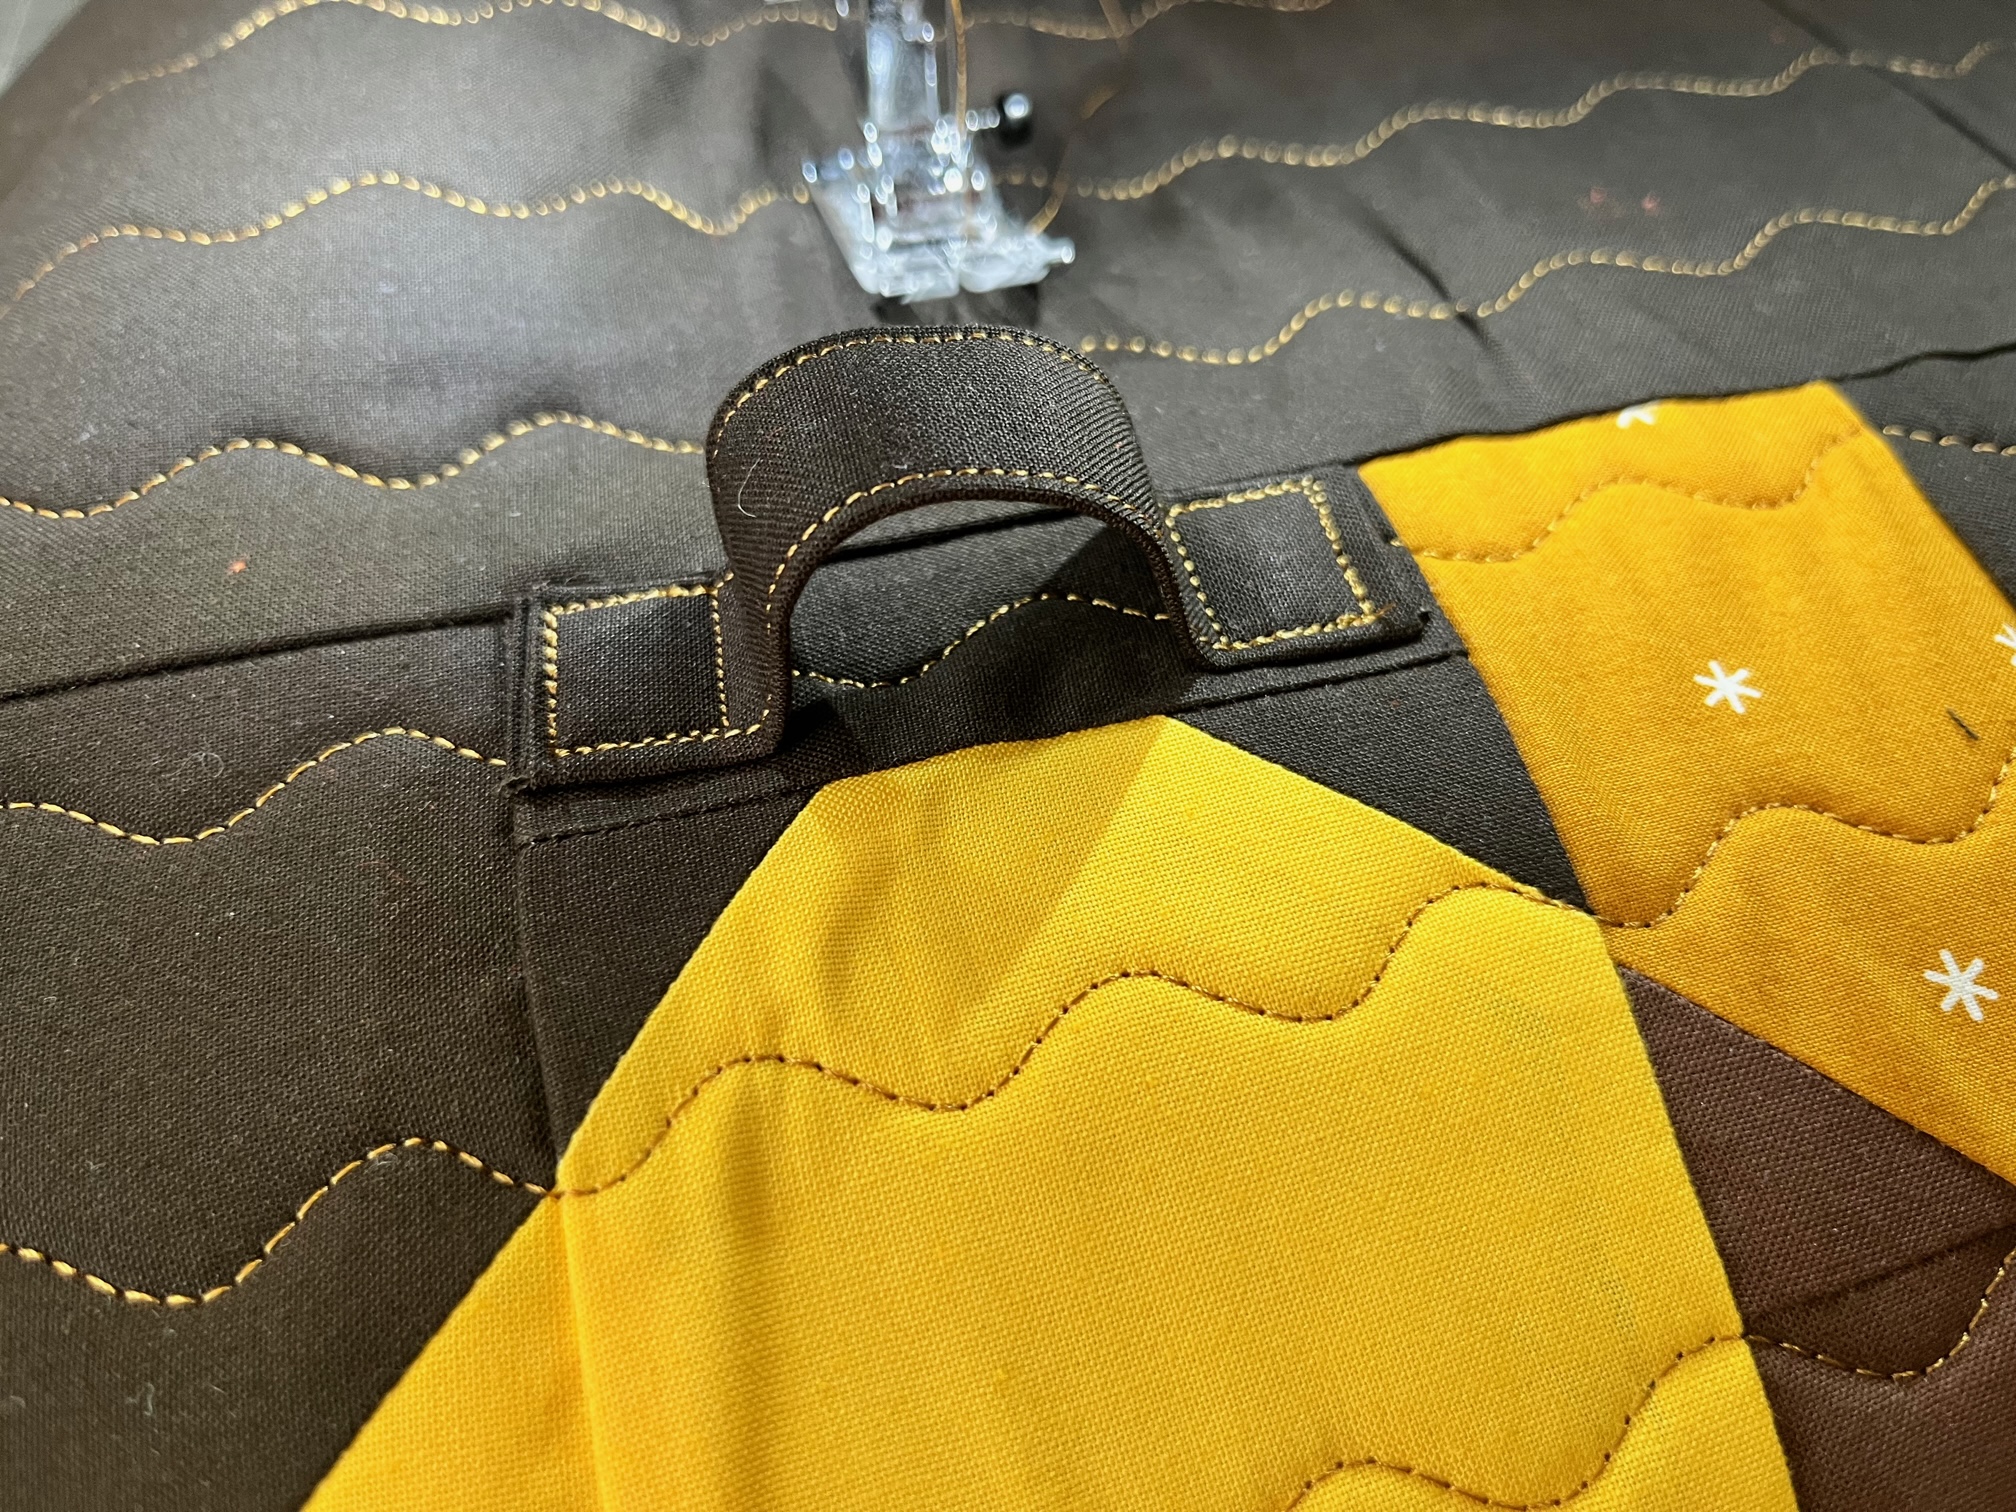
Attach the handles to the top of the food cover. Sew small squares on both ends of each handle, leaving the center open.
Important Tip: The handles line up along the short panel seam near the center side of the block.
Continue by…
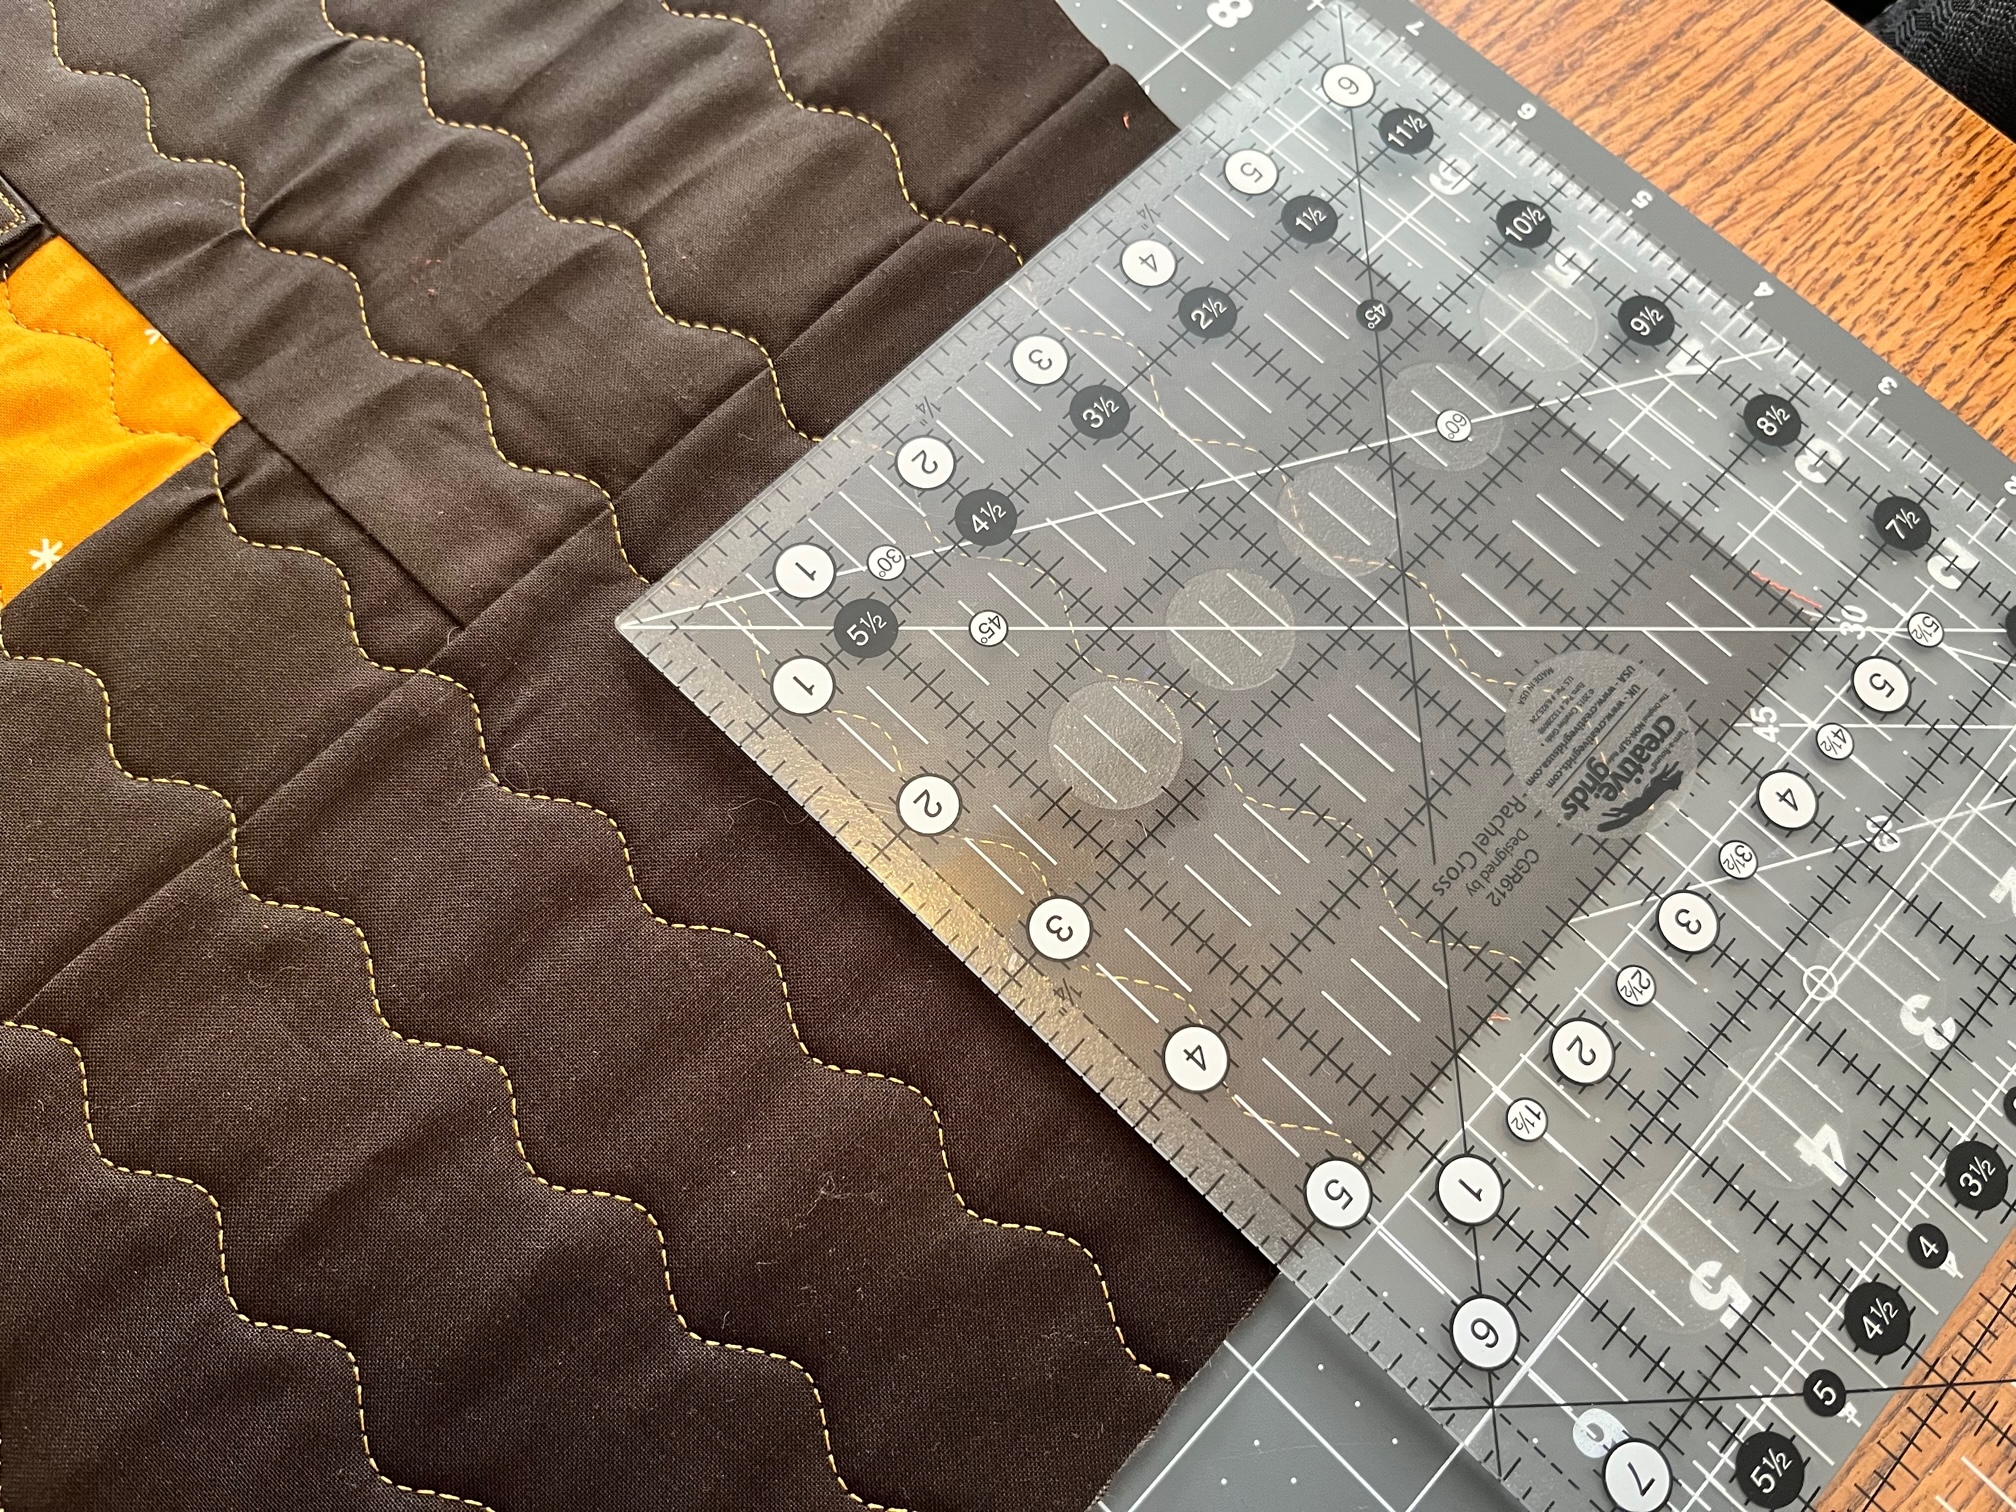
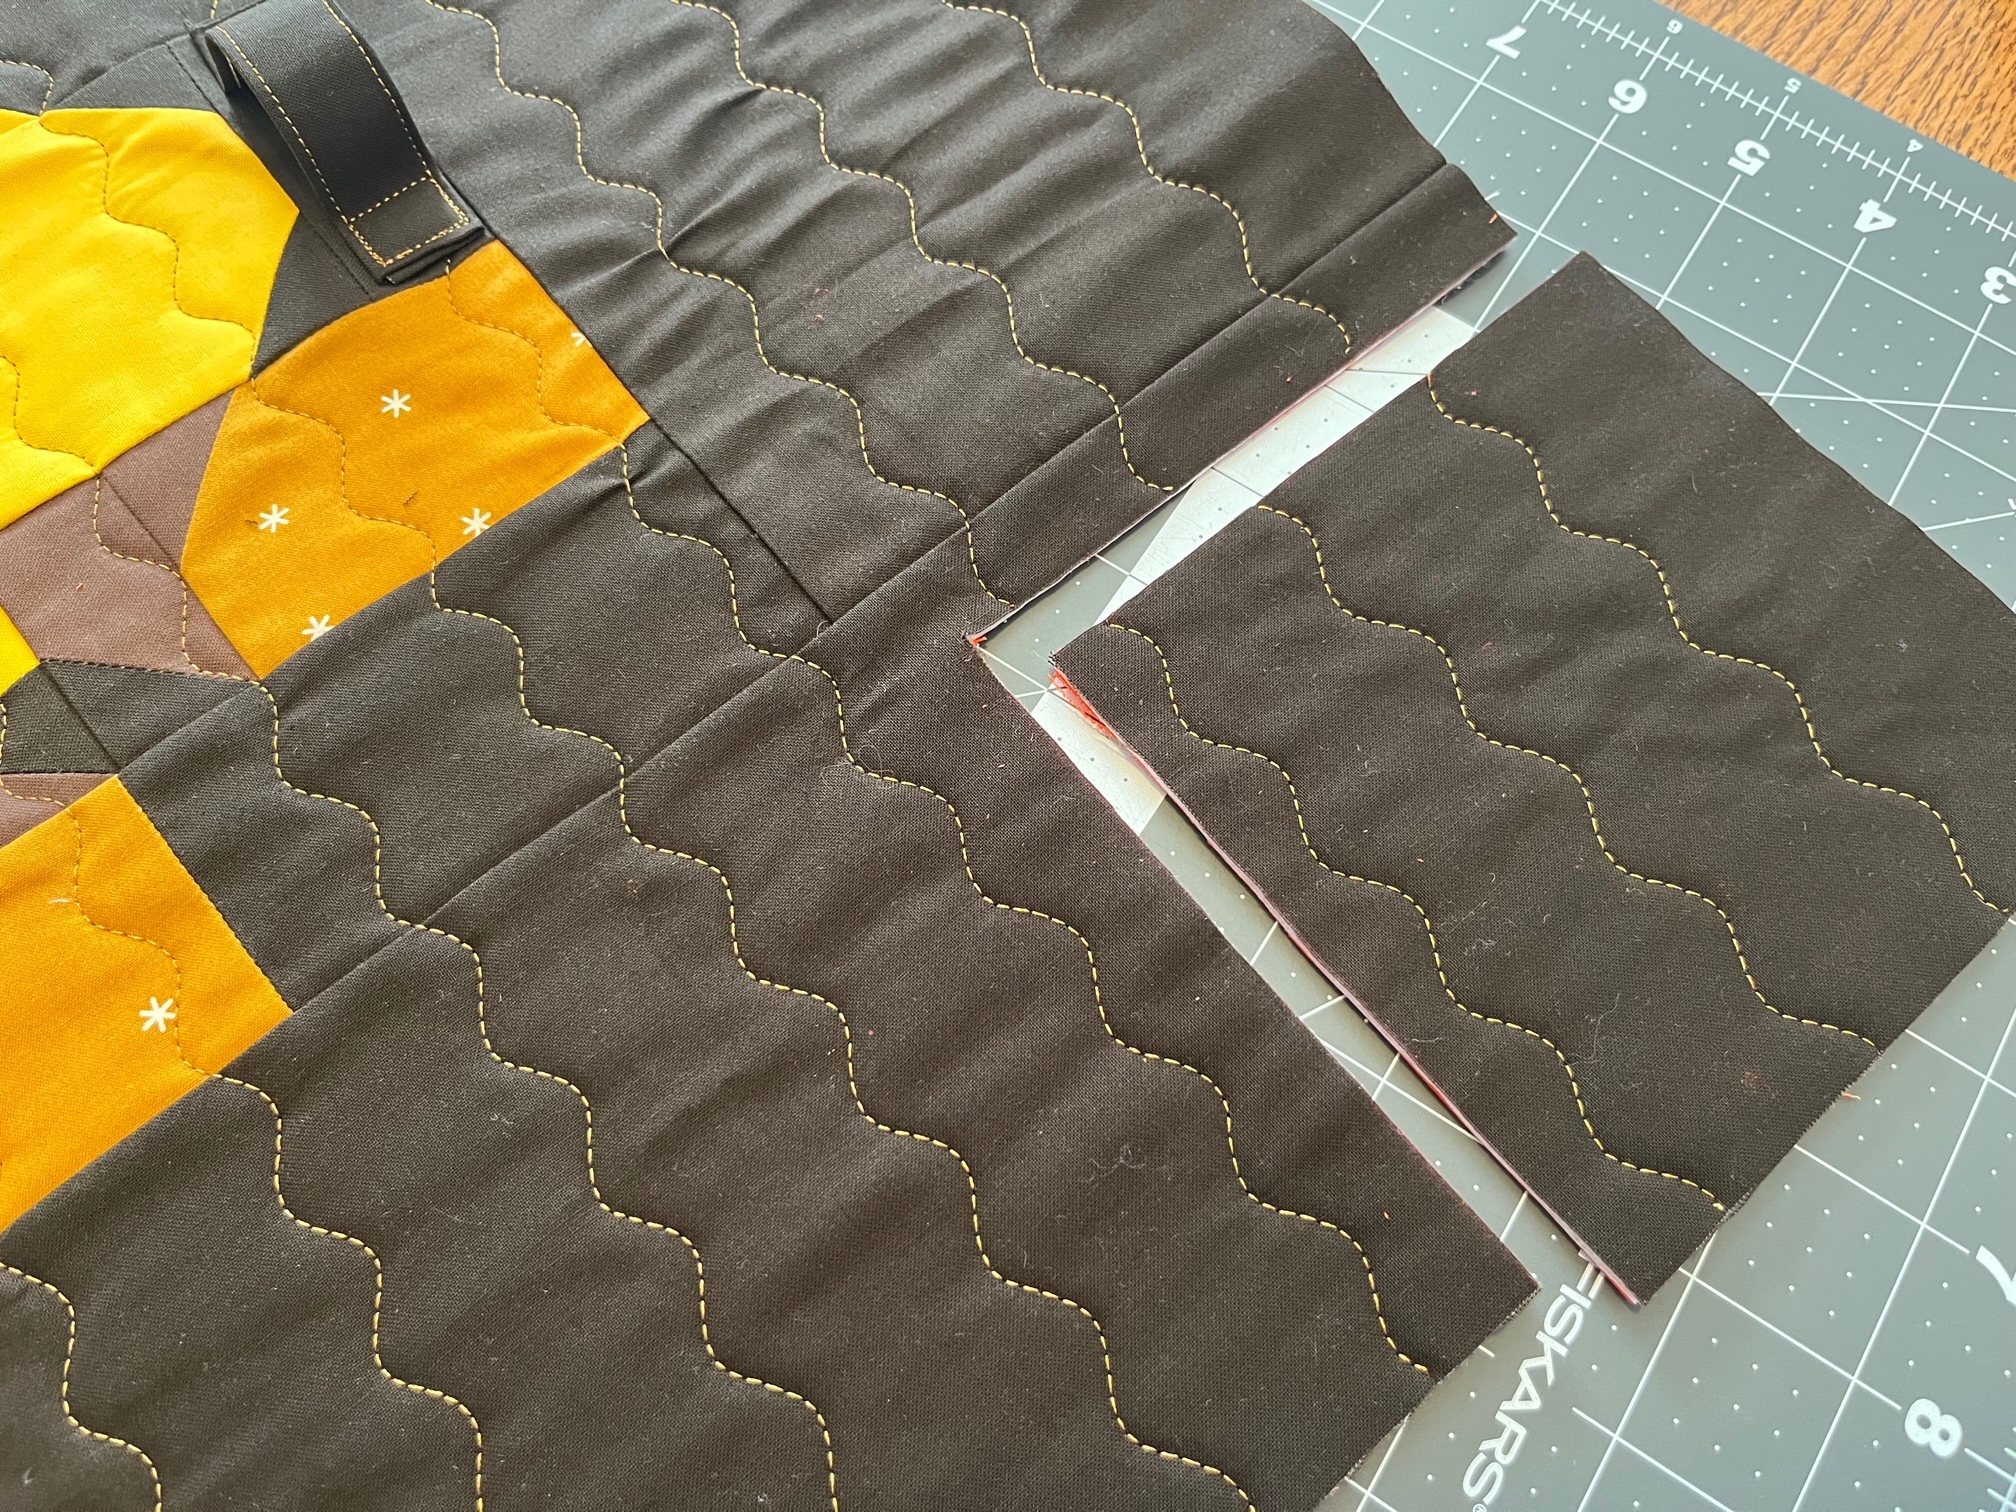
Cut out 5″ squares from each corner.
Next…
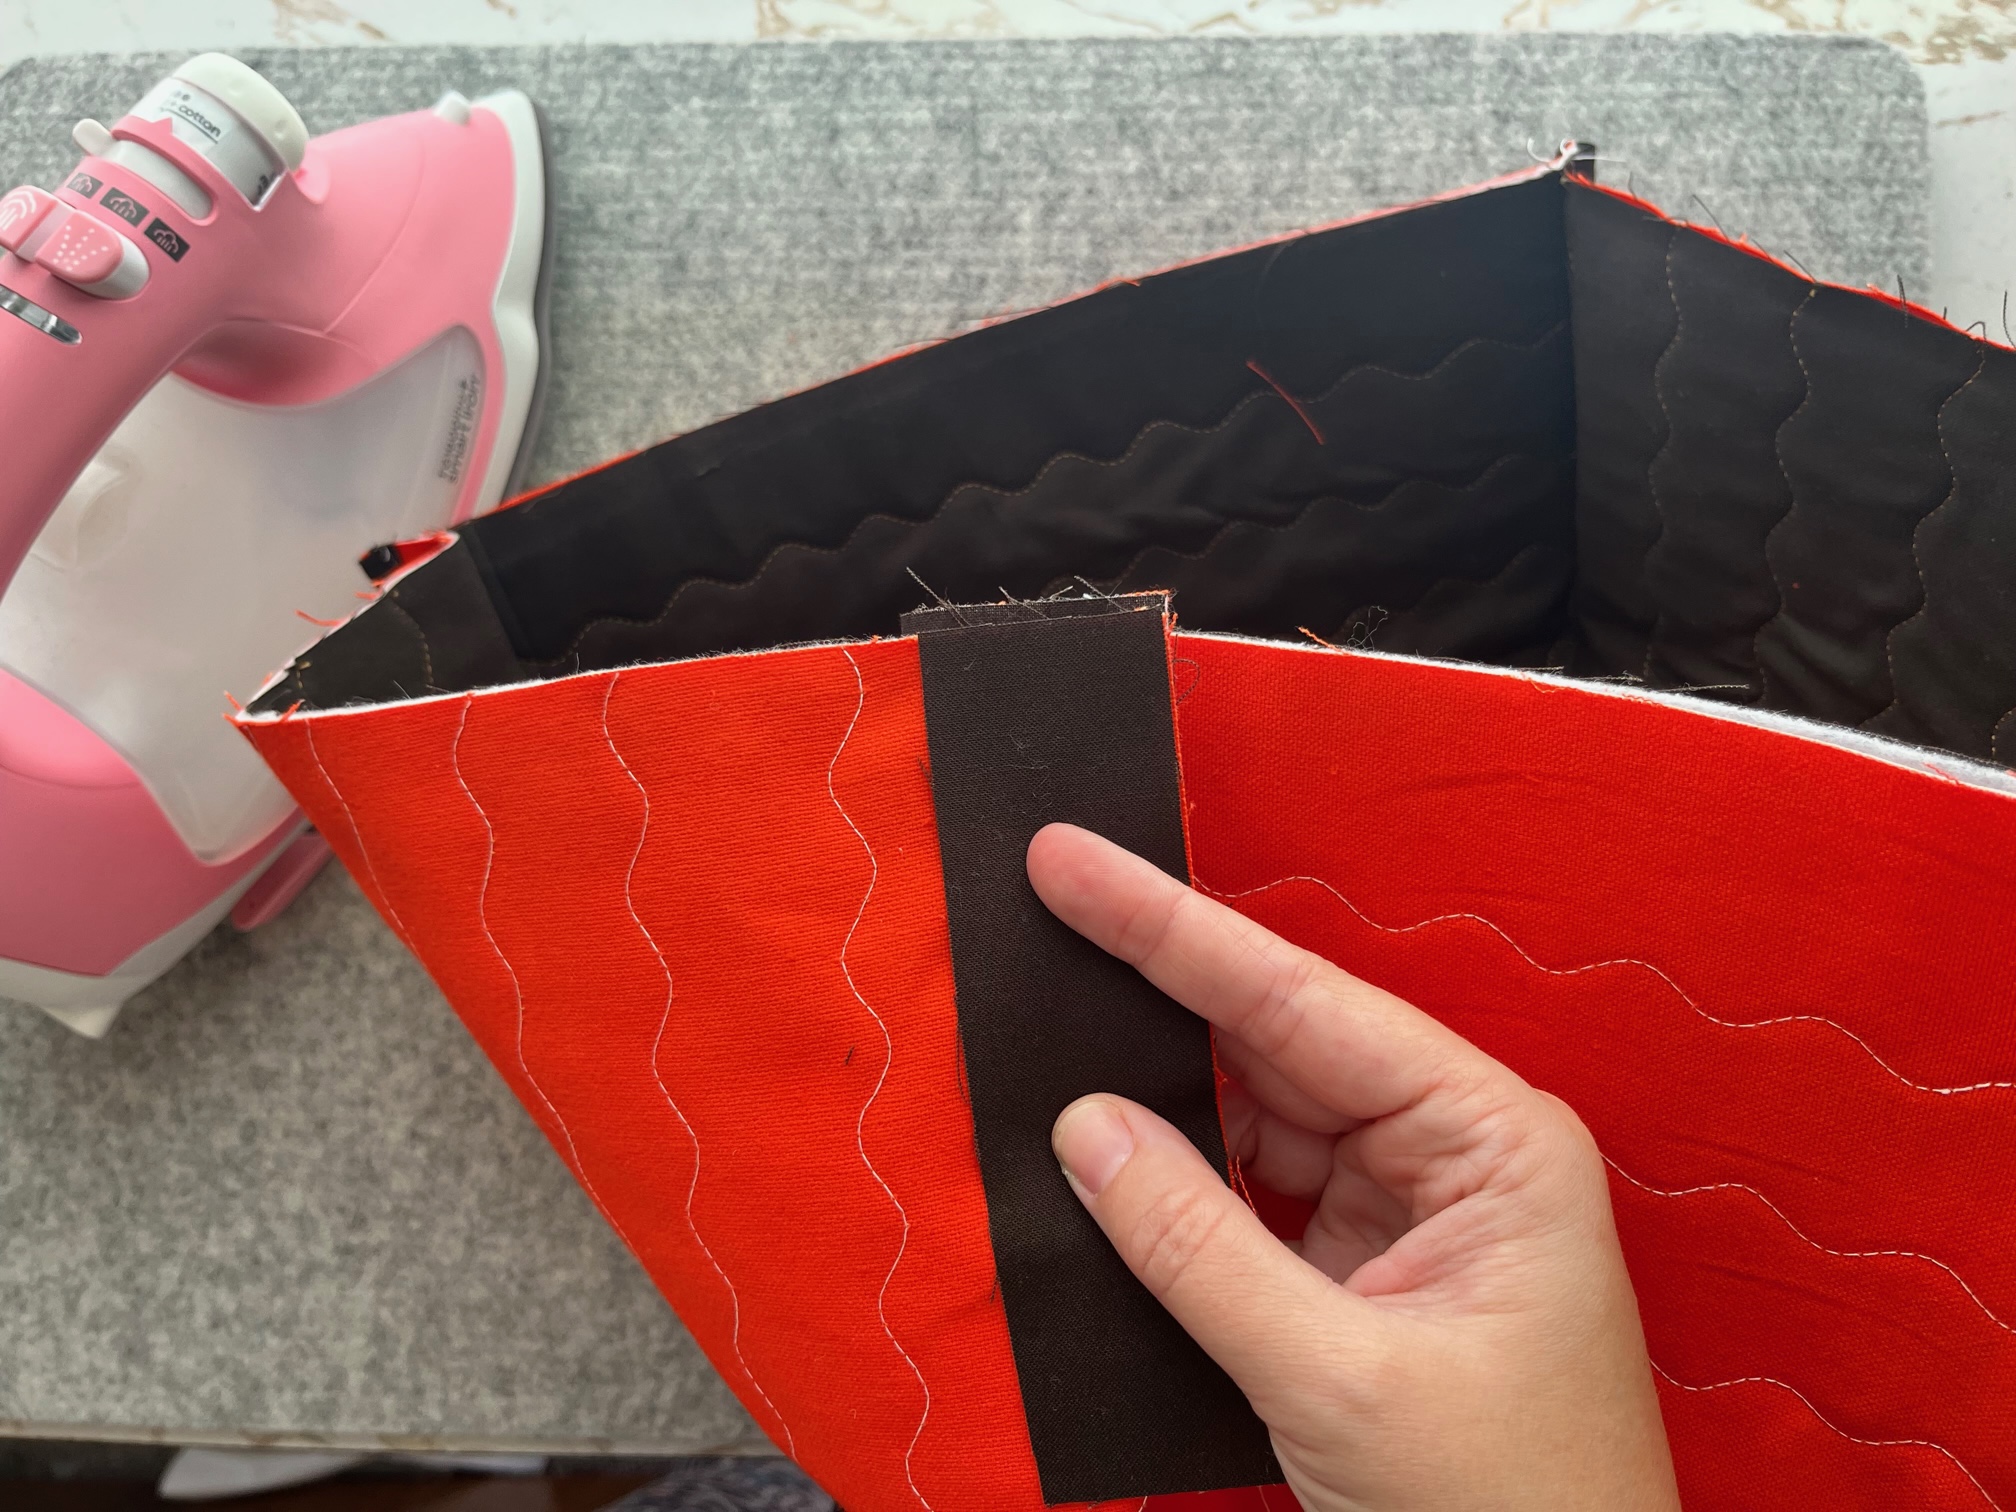
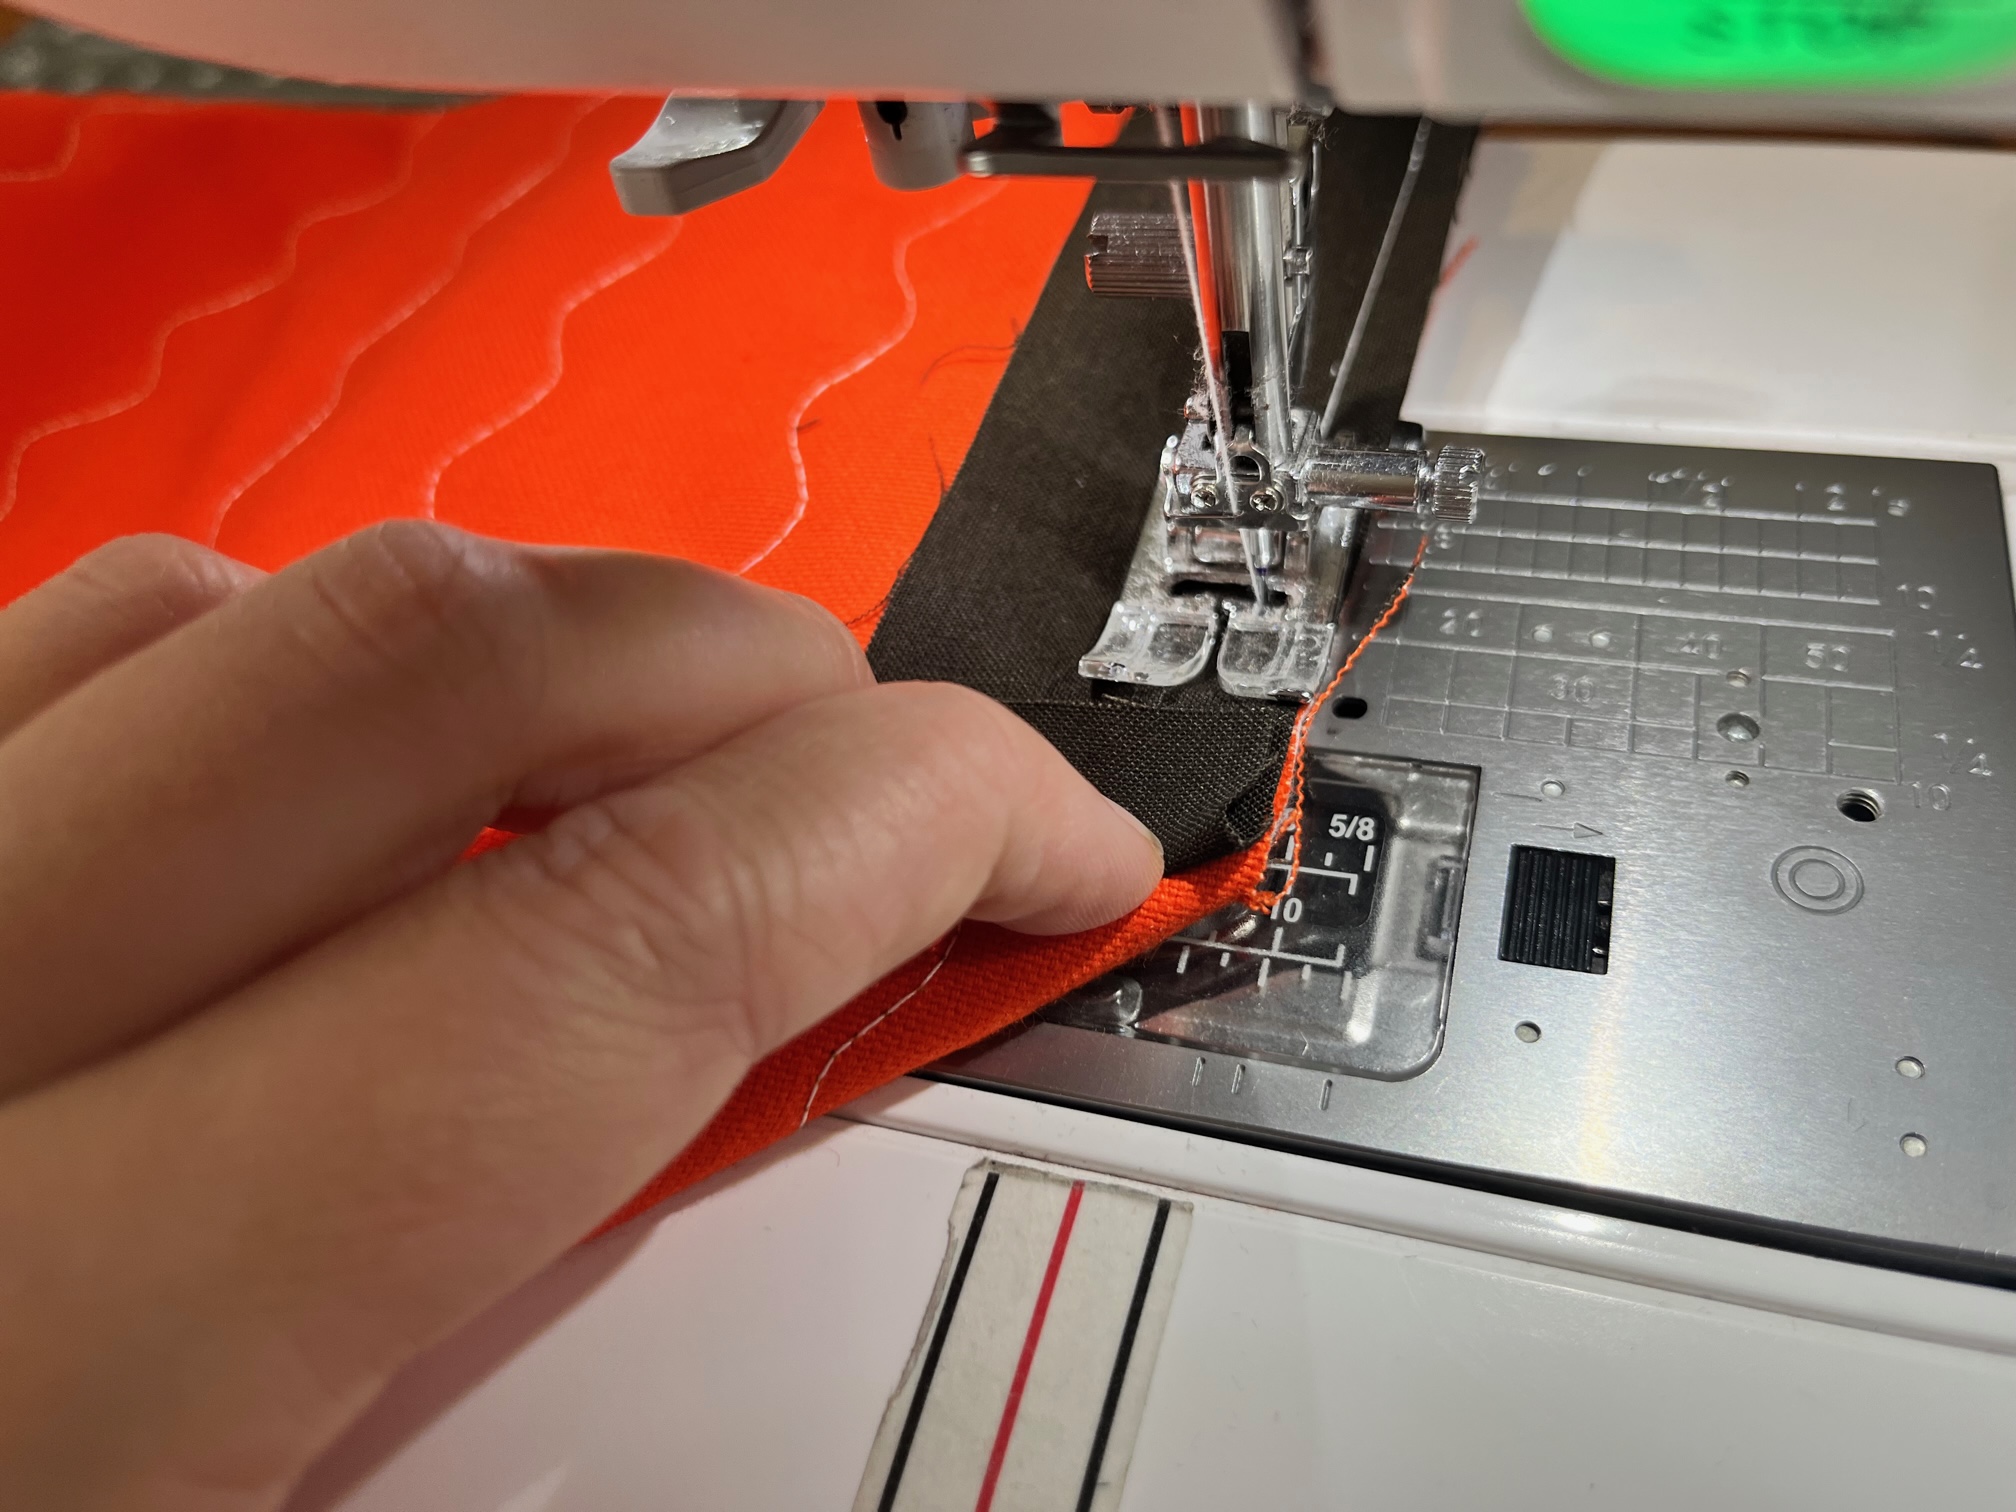
Bring the edges of one corner together (right sides together). Align the finishing strip and clip together. Sew a 1/4″ seam. Fold over the edge of the finishing strip on the end where the corner comes together. (The other side of the finishing strip can remain unfolded since it will be sewn into the binding.) Repeat on all 4 corners.
Then…
Fold over the finishing strip 2 times and topstitch. Repeat on all 4 corners.

Finally…
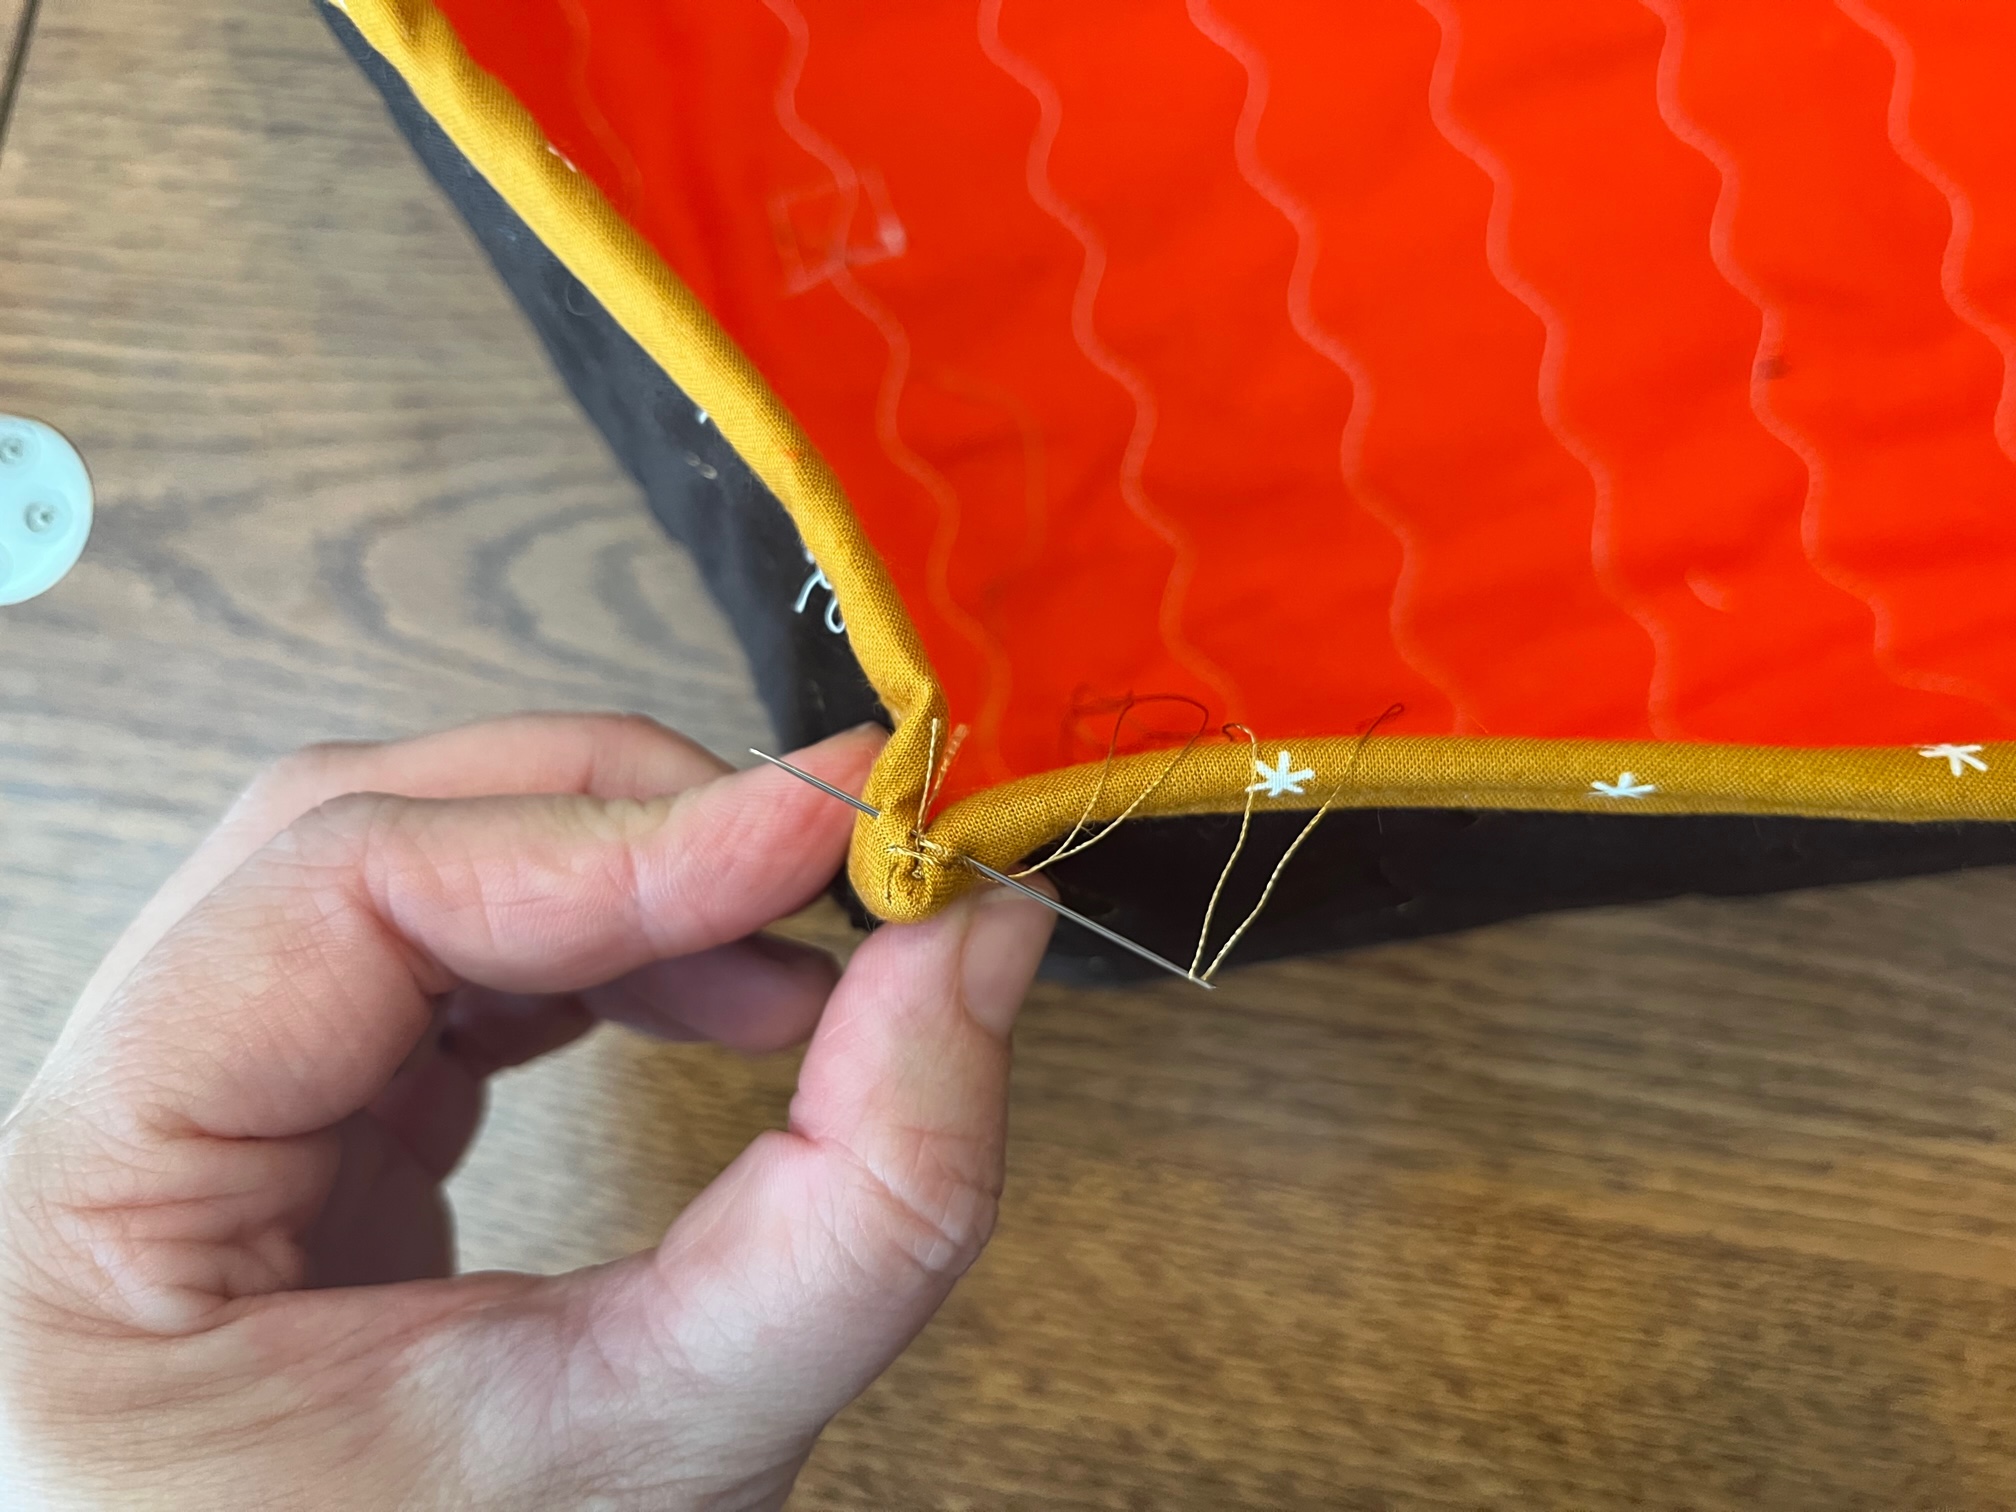
Turn right side out. Add binding using your preferred method.
OPTIONAL: Hand stitch each of the 4 corners together with several stitches to reinforce the bottom corners. These stitches help keep the sides from bulging out.
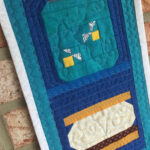
Finished!

It even works as a basket to carry everything!
Check out the video tutorial for the Quilt Block Food Cover.
Want to add a few more blocks to this set? Check out my shop for more outdoor and camping blocks!
Thank you for visiting today! Come back soon to see what else will be starting to bloom with Inflorescence Designs!
Starting to bloom by choosing JOY ~ Julia