


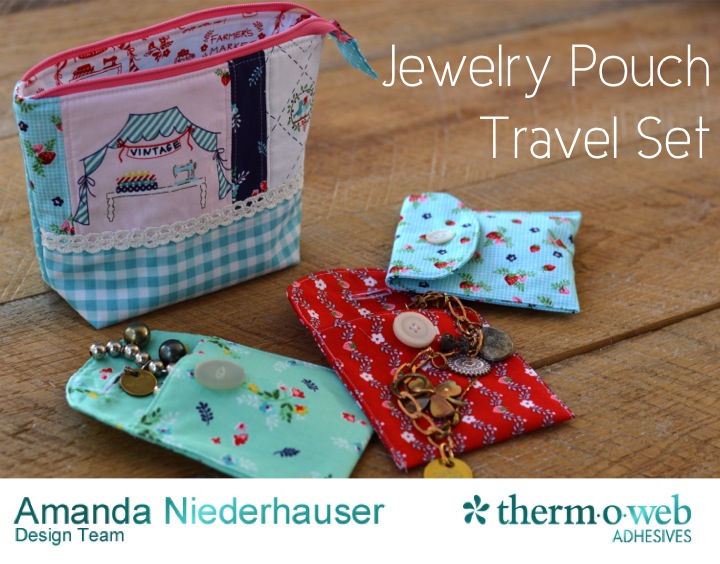
Hello! It’s Amanda from Jedi Craft Girl here! Today I’m sharing a fun gift idea that would be perfect for a mom, friend, or sister. It’s a zipper pouch and inside are smaller pouches designed to hold jewelry. I always hate dumping all my jewelry into a bag when I travel so I started using the shoe mitts you get free at hotels to separate my jewelry. I decided to update my jewelry travel system to something more fun. My mom, my sister and I LOVE Twisted Silver jewelry!! It tends to be chunky and these pouches are just perfect!
Jewelry Pouch Travel Set
 Let’s get started
Project Supplies:
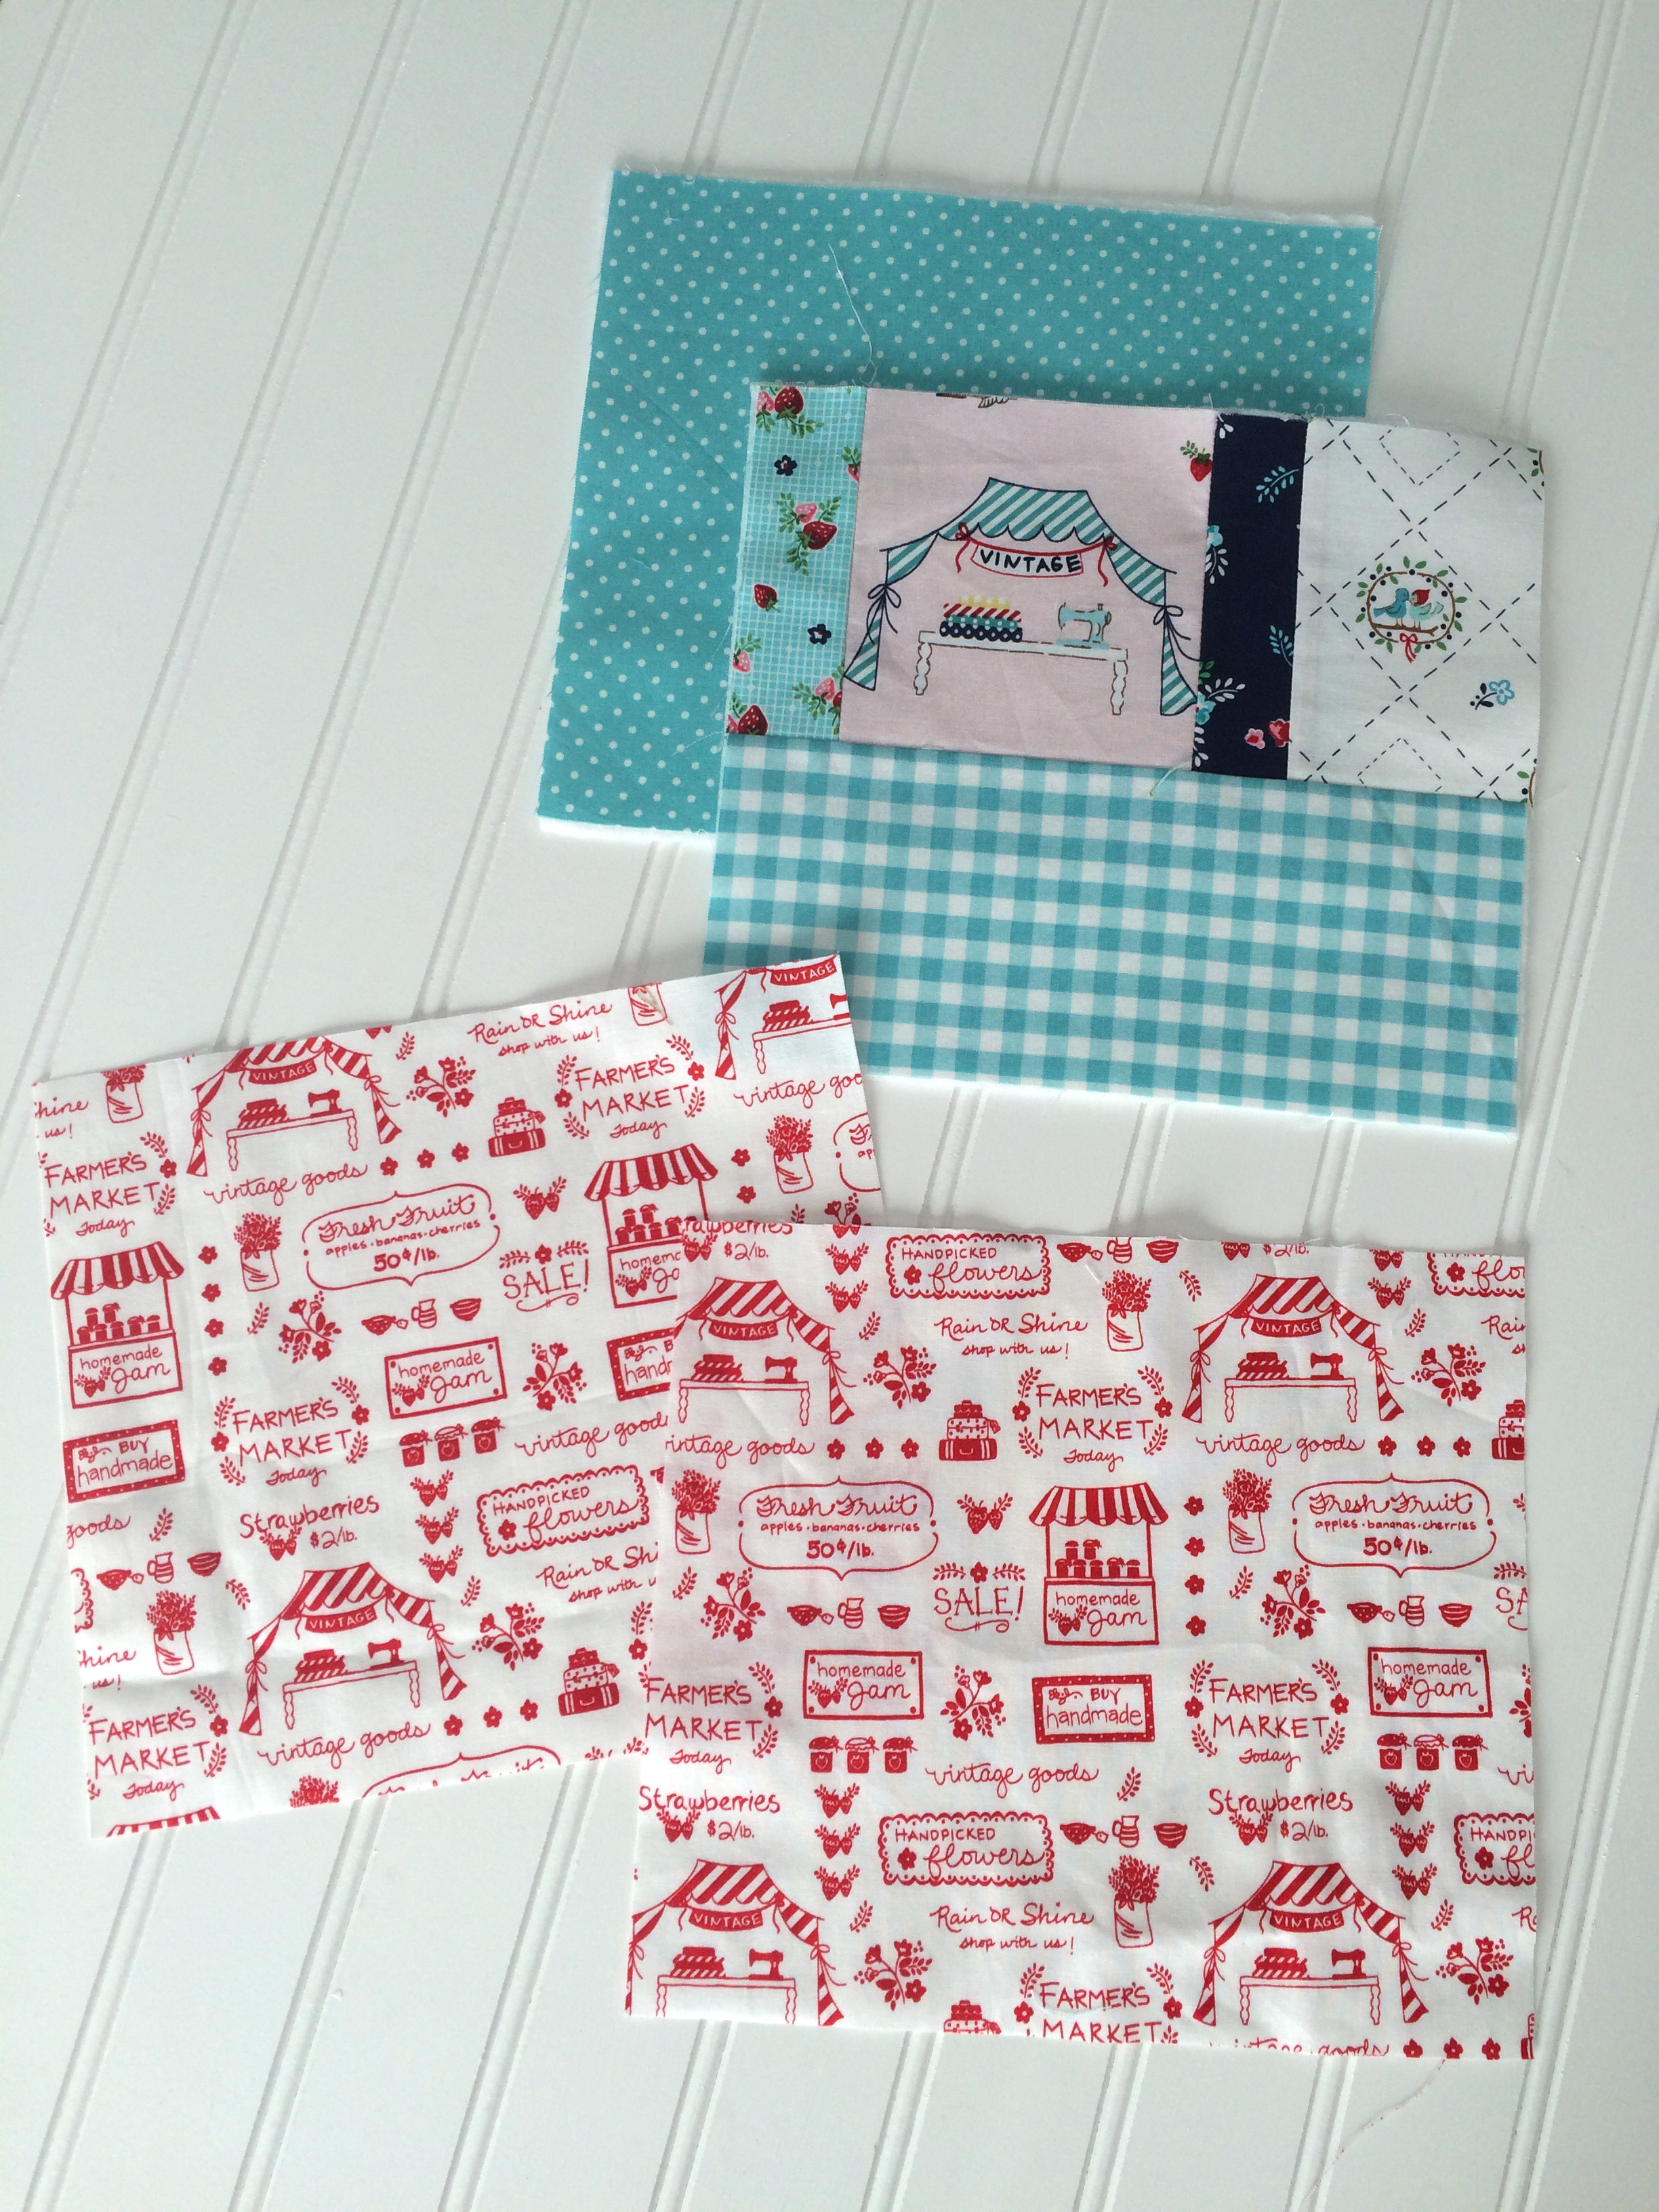
All the fabrics pictured here are from Riley Blake Designs Vintage Market fabric line
5″ x WOF strips for the small pouches
1/4 yard bag lining
1/4 yard bag back
scraps for the pieced front of the bag
HeatnBond® Medium Weight Interfacing – Staibilizer
zipper, at least 12″ long
buttons
9″ of lace
Jewelry Pouch Travel Set Instructions
For the bag front, cut the pieces according to the cutting chart below. Piece together like you would a quilt, using 1/4″ seams and pressing.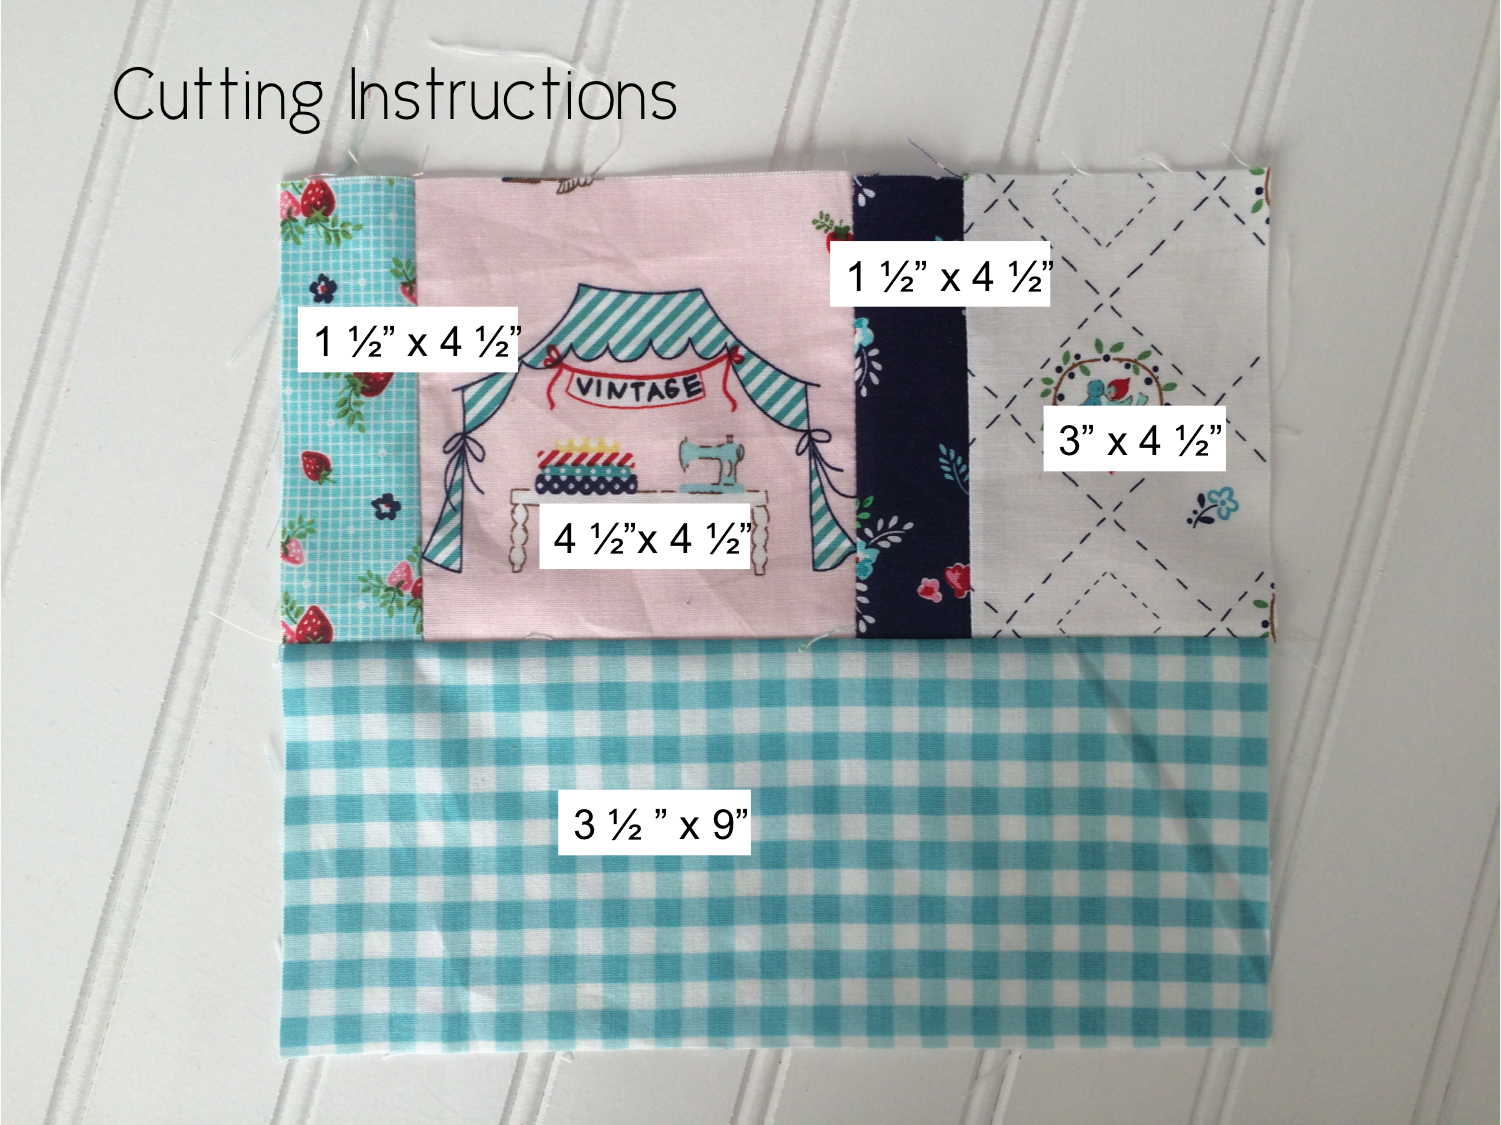 Cut the bag back 7 1/2″ x 9″ (mine is the polkadots)
Cut (2) lining pieces 7 1/2″ x 9″ (red and white market print)
Cut (2) pieces of Fusible Fleece 7 1/2″ x 9″.
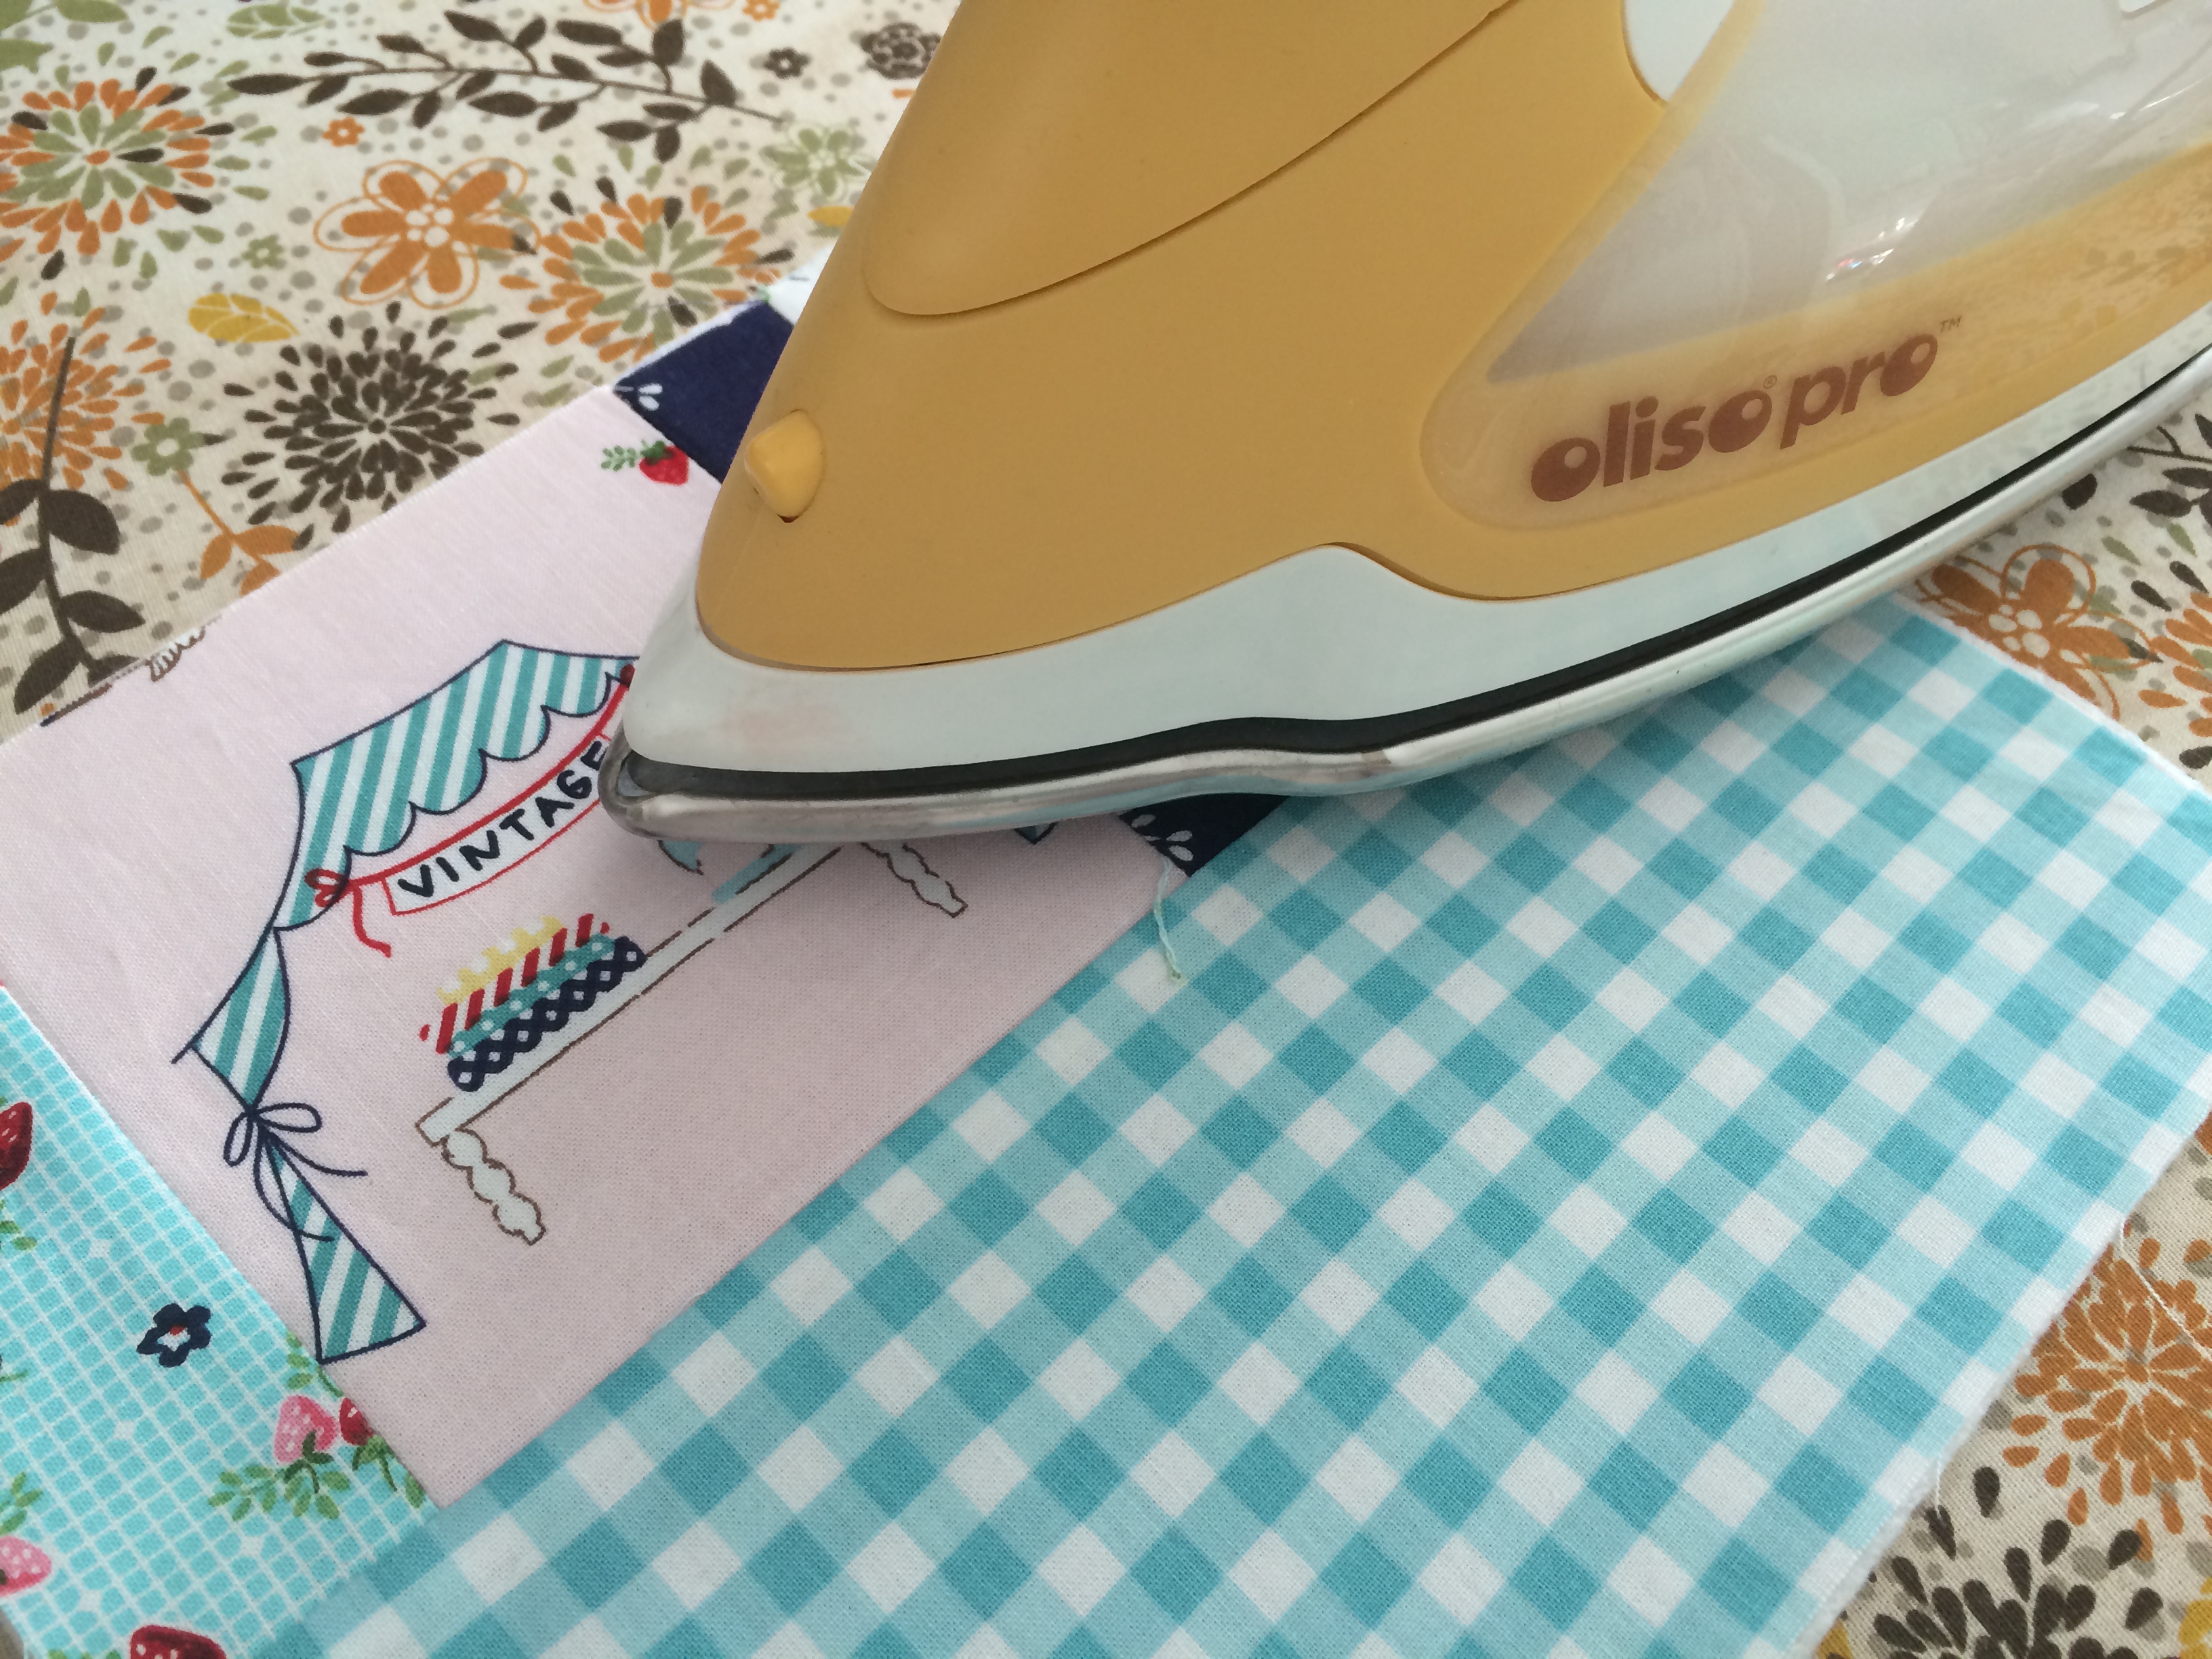 Fuse the fleece to the wrong side of the bag front and bag back.
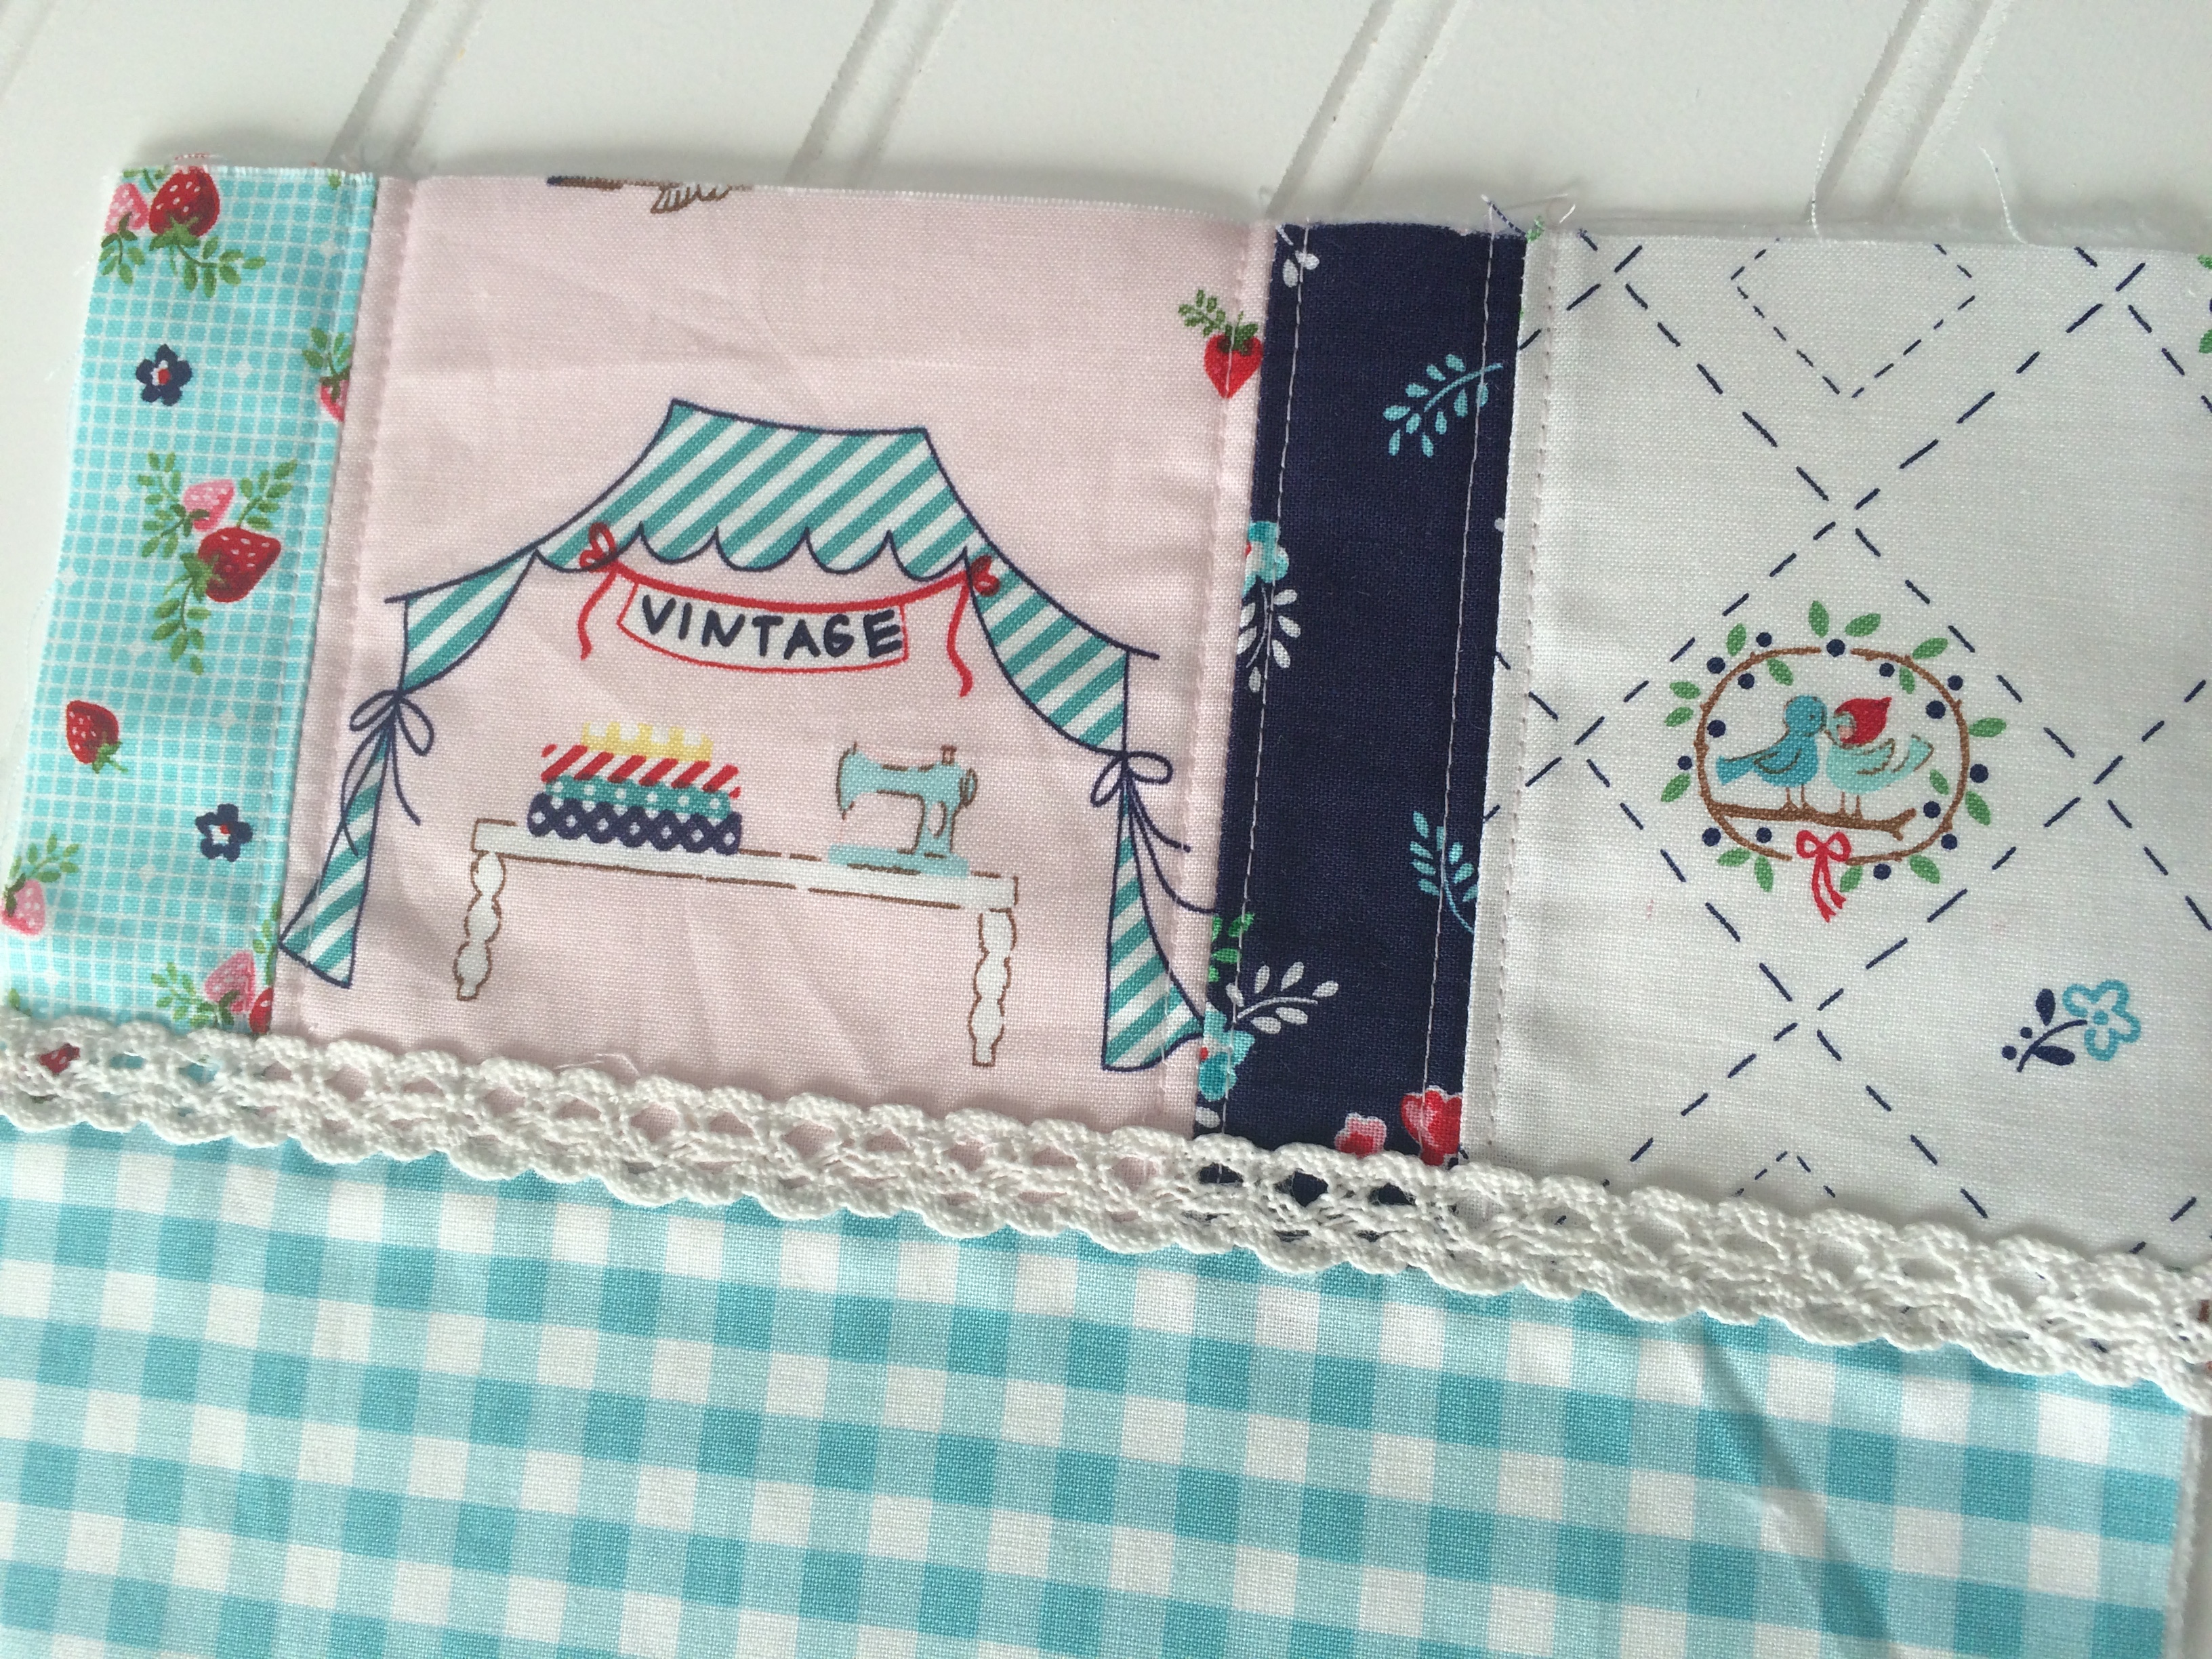
 Add come accent stitching to the front of the bag. I sewed 1/4″ seams. Sew the lace in place.
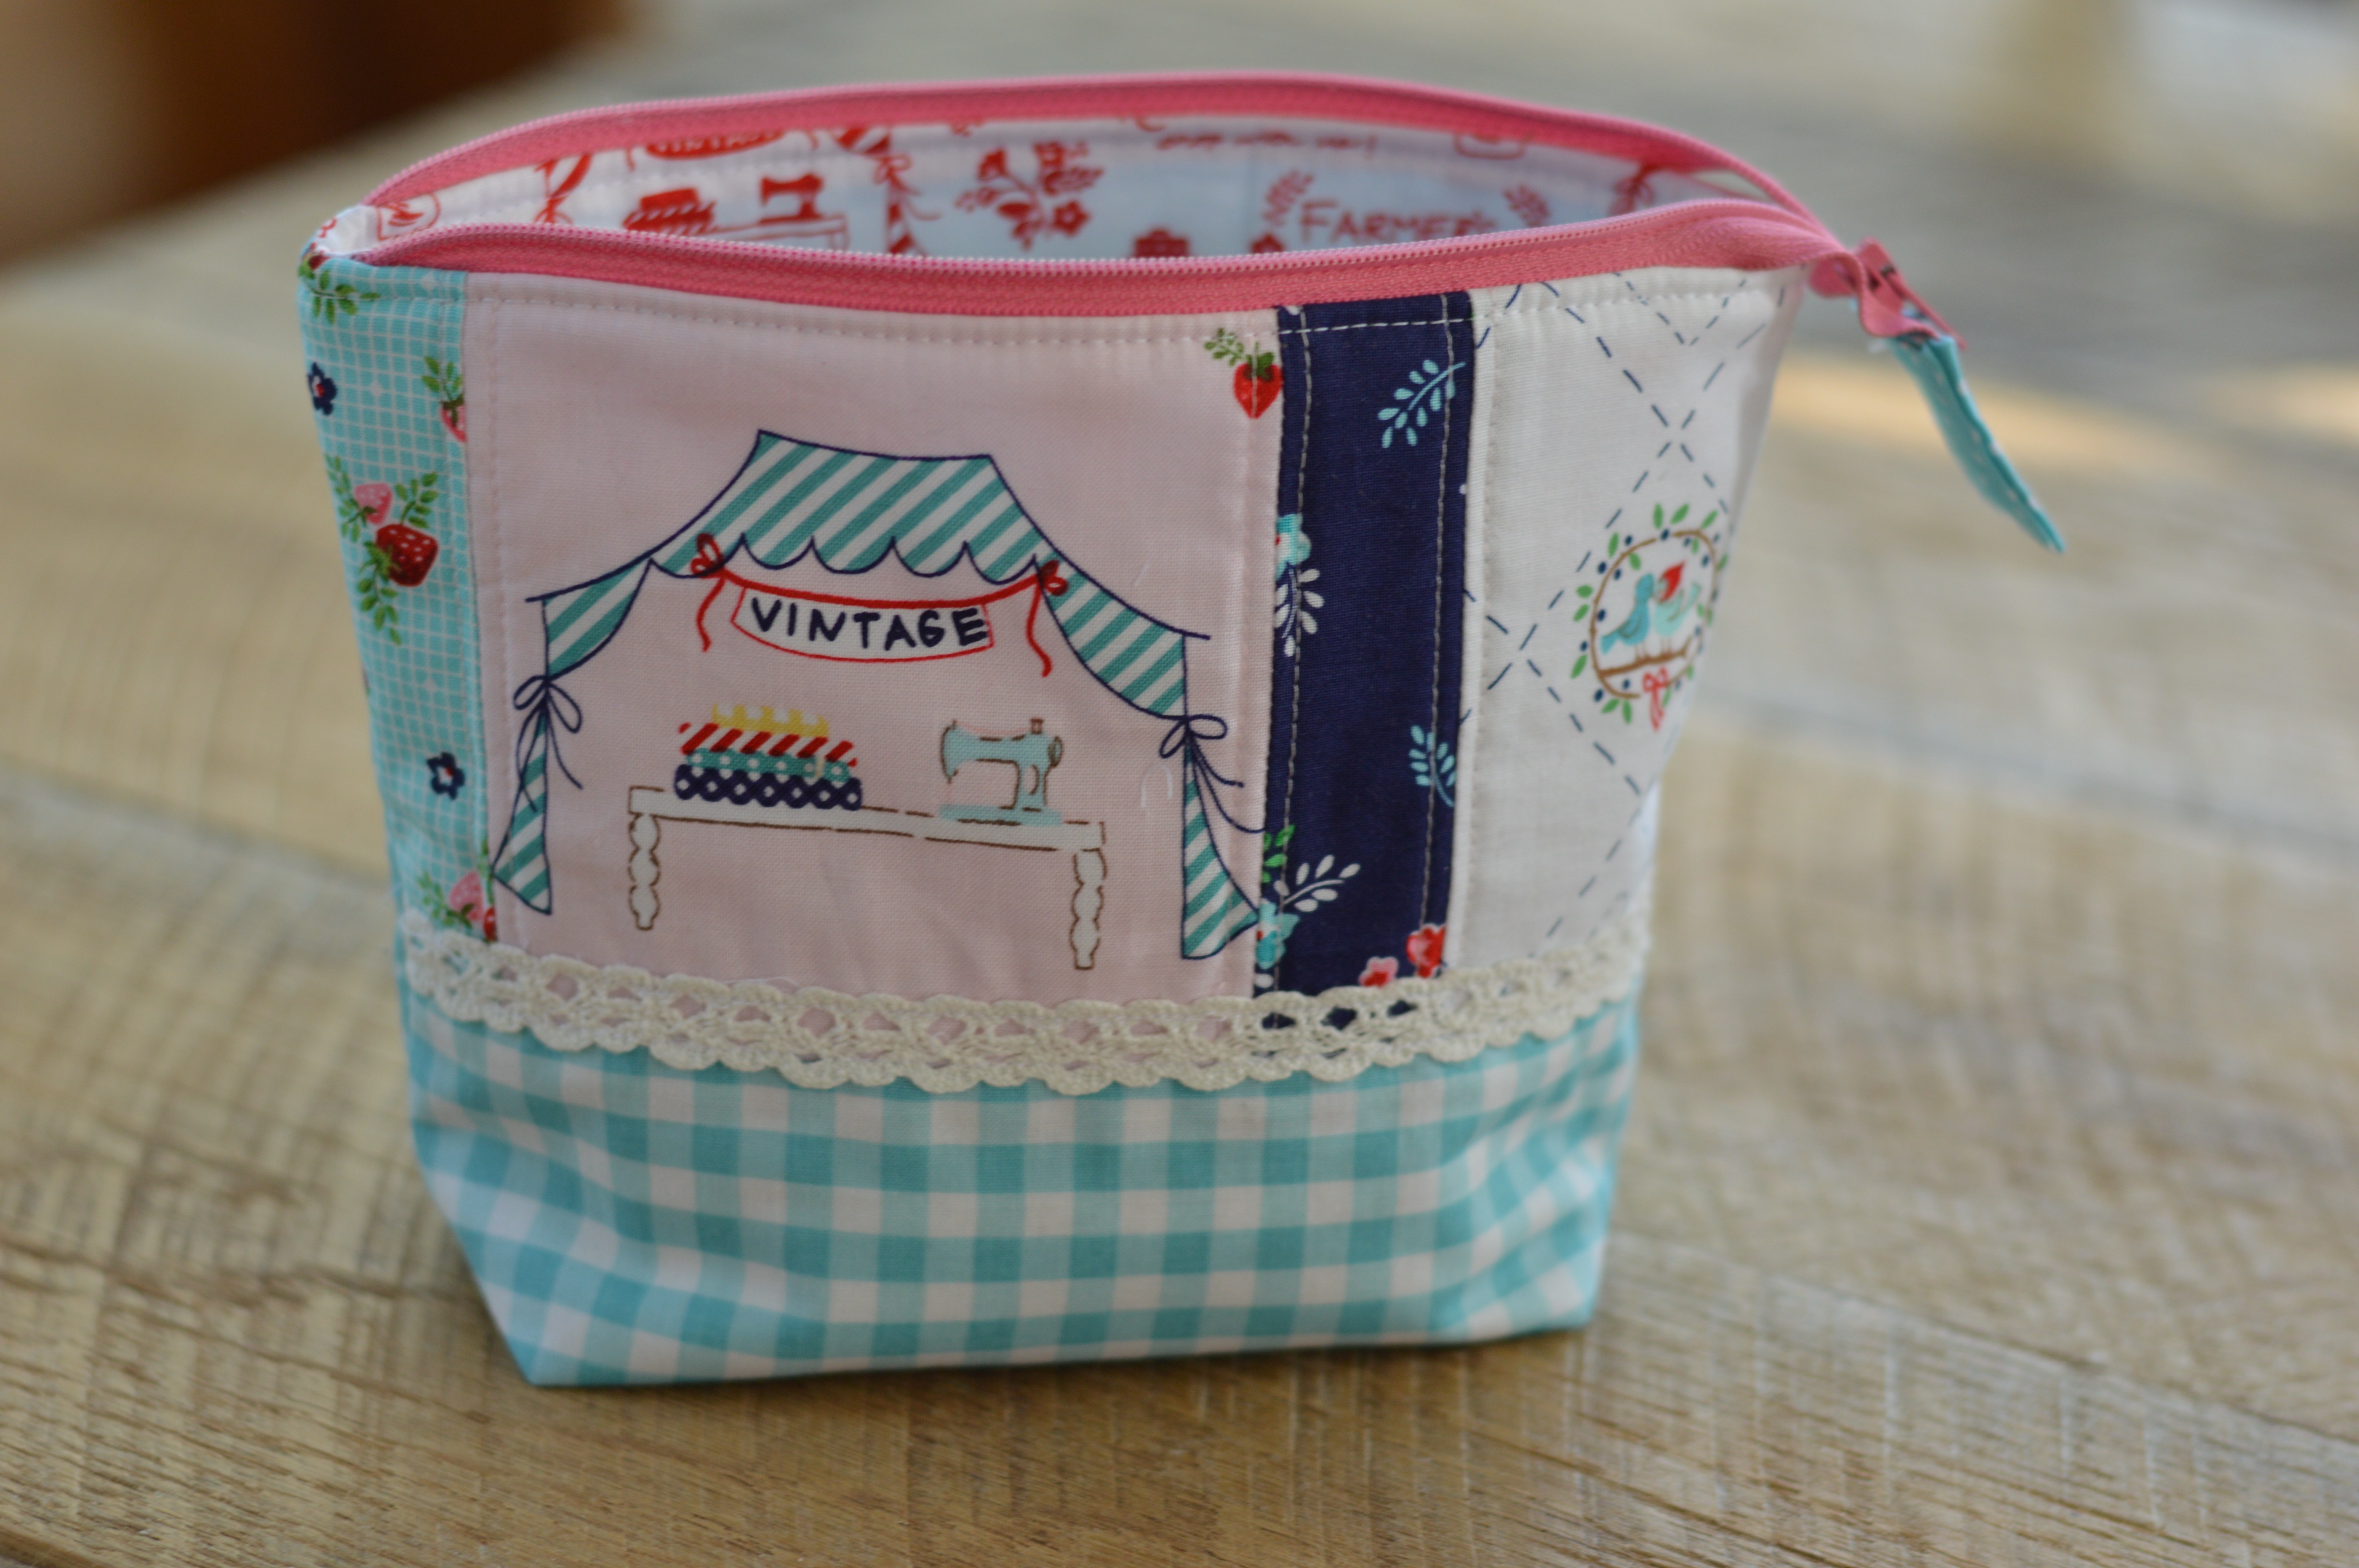
 Once you are to this point, follow my tutorial for how to insert the zipper and finish the bag by clicking HERE.
For the jewelry pouches….
Cut (2) 5″ x 12″ strips from the desired fabrics.
For each little pouch you will need 1 piece of Heat n bond® Medium Weight Stabilizer also 5″ x 12″
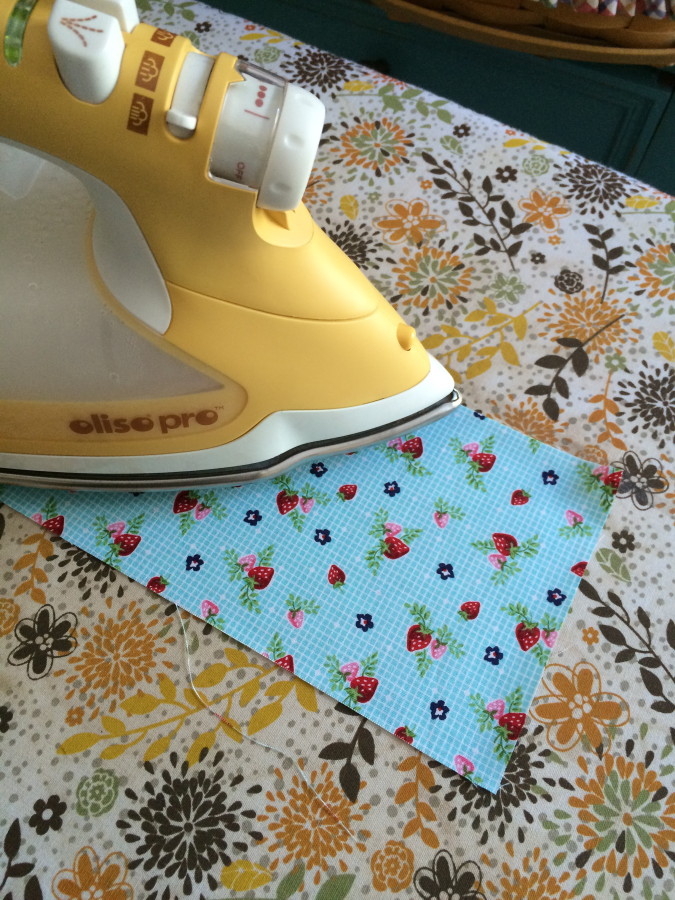
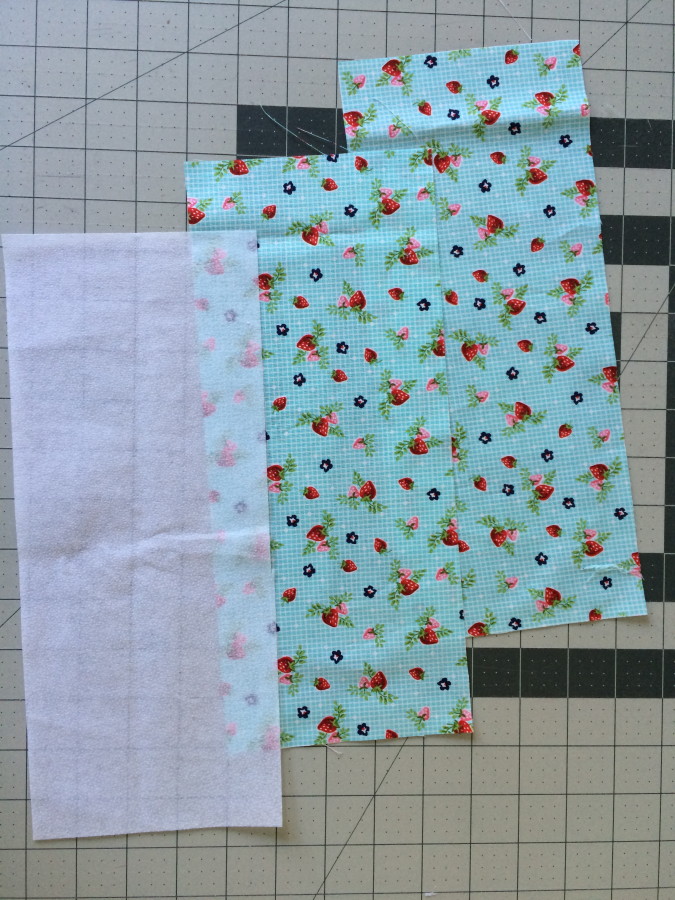 Fuse the HeatnBond® Interfacing to the wrong side of one of the 5″ x 12″ pieces.
Using a bowl or a small plate, draw a rounded edge on one of the ends of the fused pieces. Pin both pieces right sides together.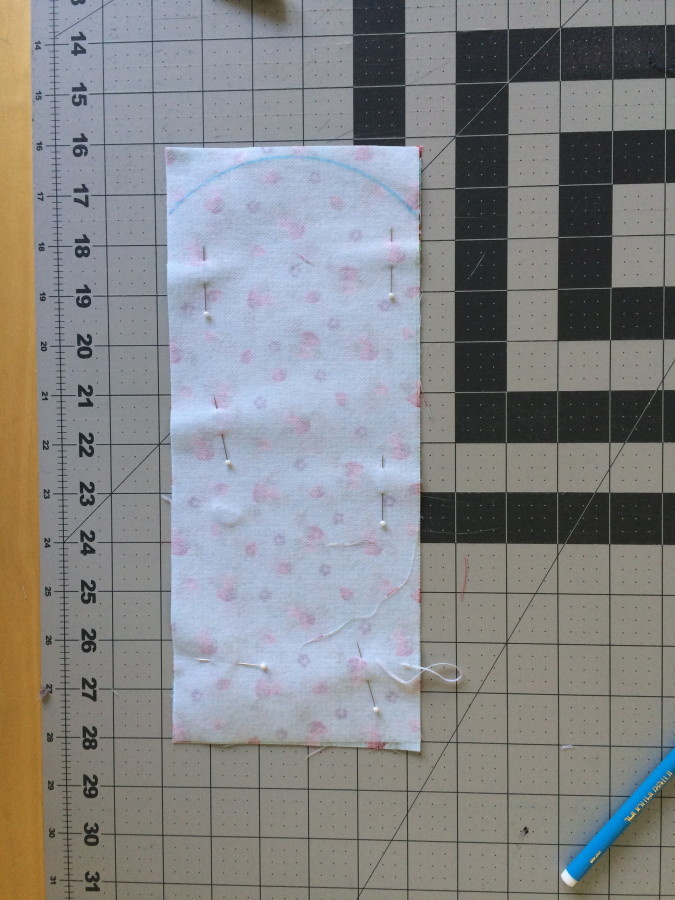 Using a 1/4″ seam allowance, sew all the way around this piece, making sure to sew on the curved line. Leave a 3″ opening on one of the long sides of this piece. Trim off the excess and clip the corners, and clip along the curved edge. Turn right side out.
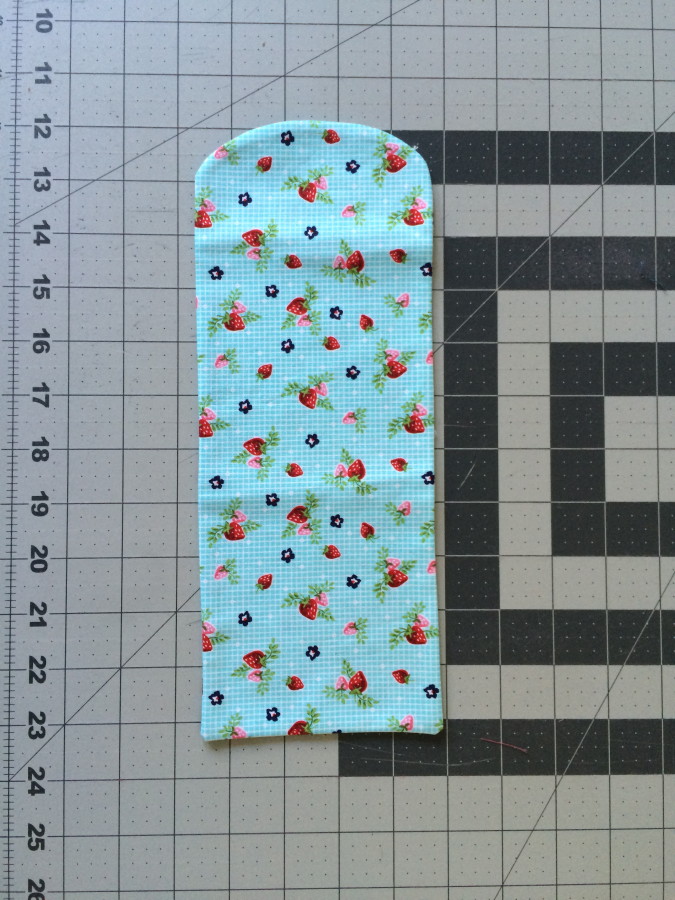 Press, tucking the raw edges under. Top stitch the end (opposite of the curved end)
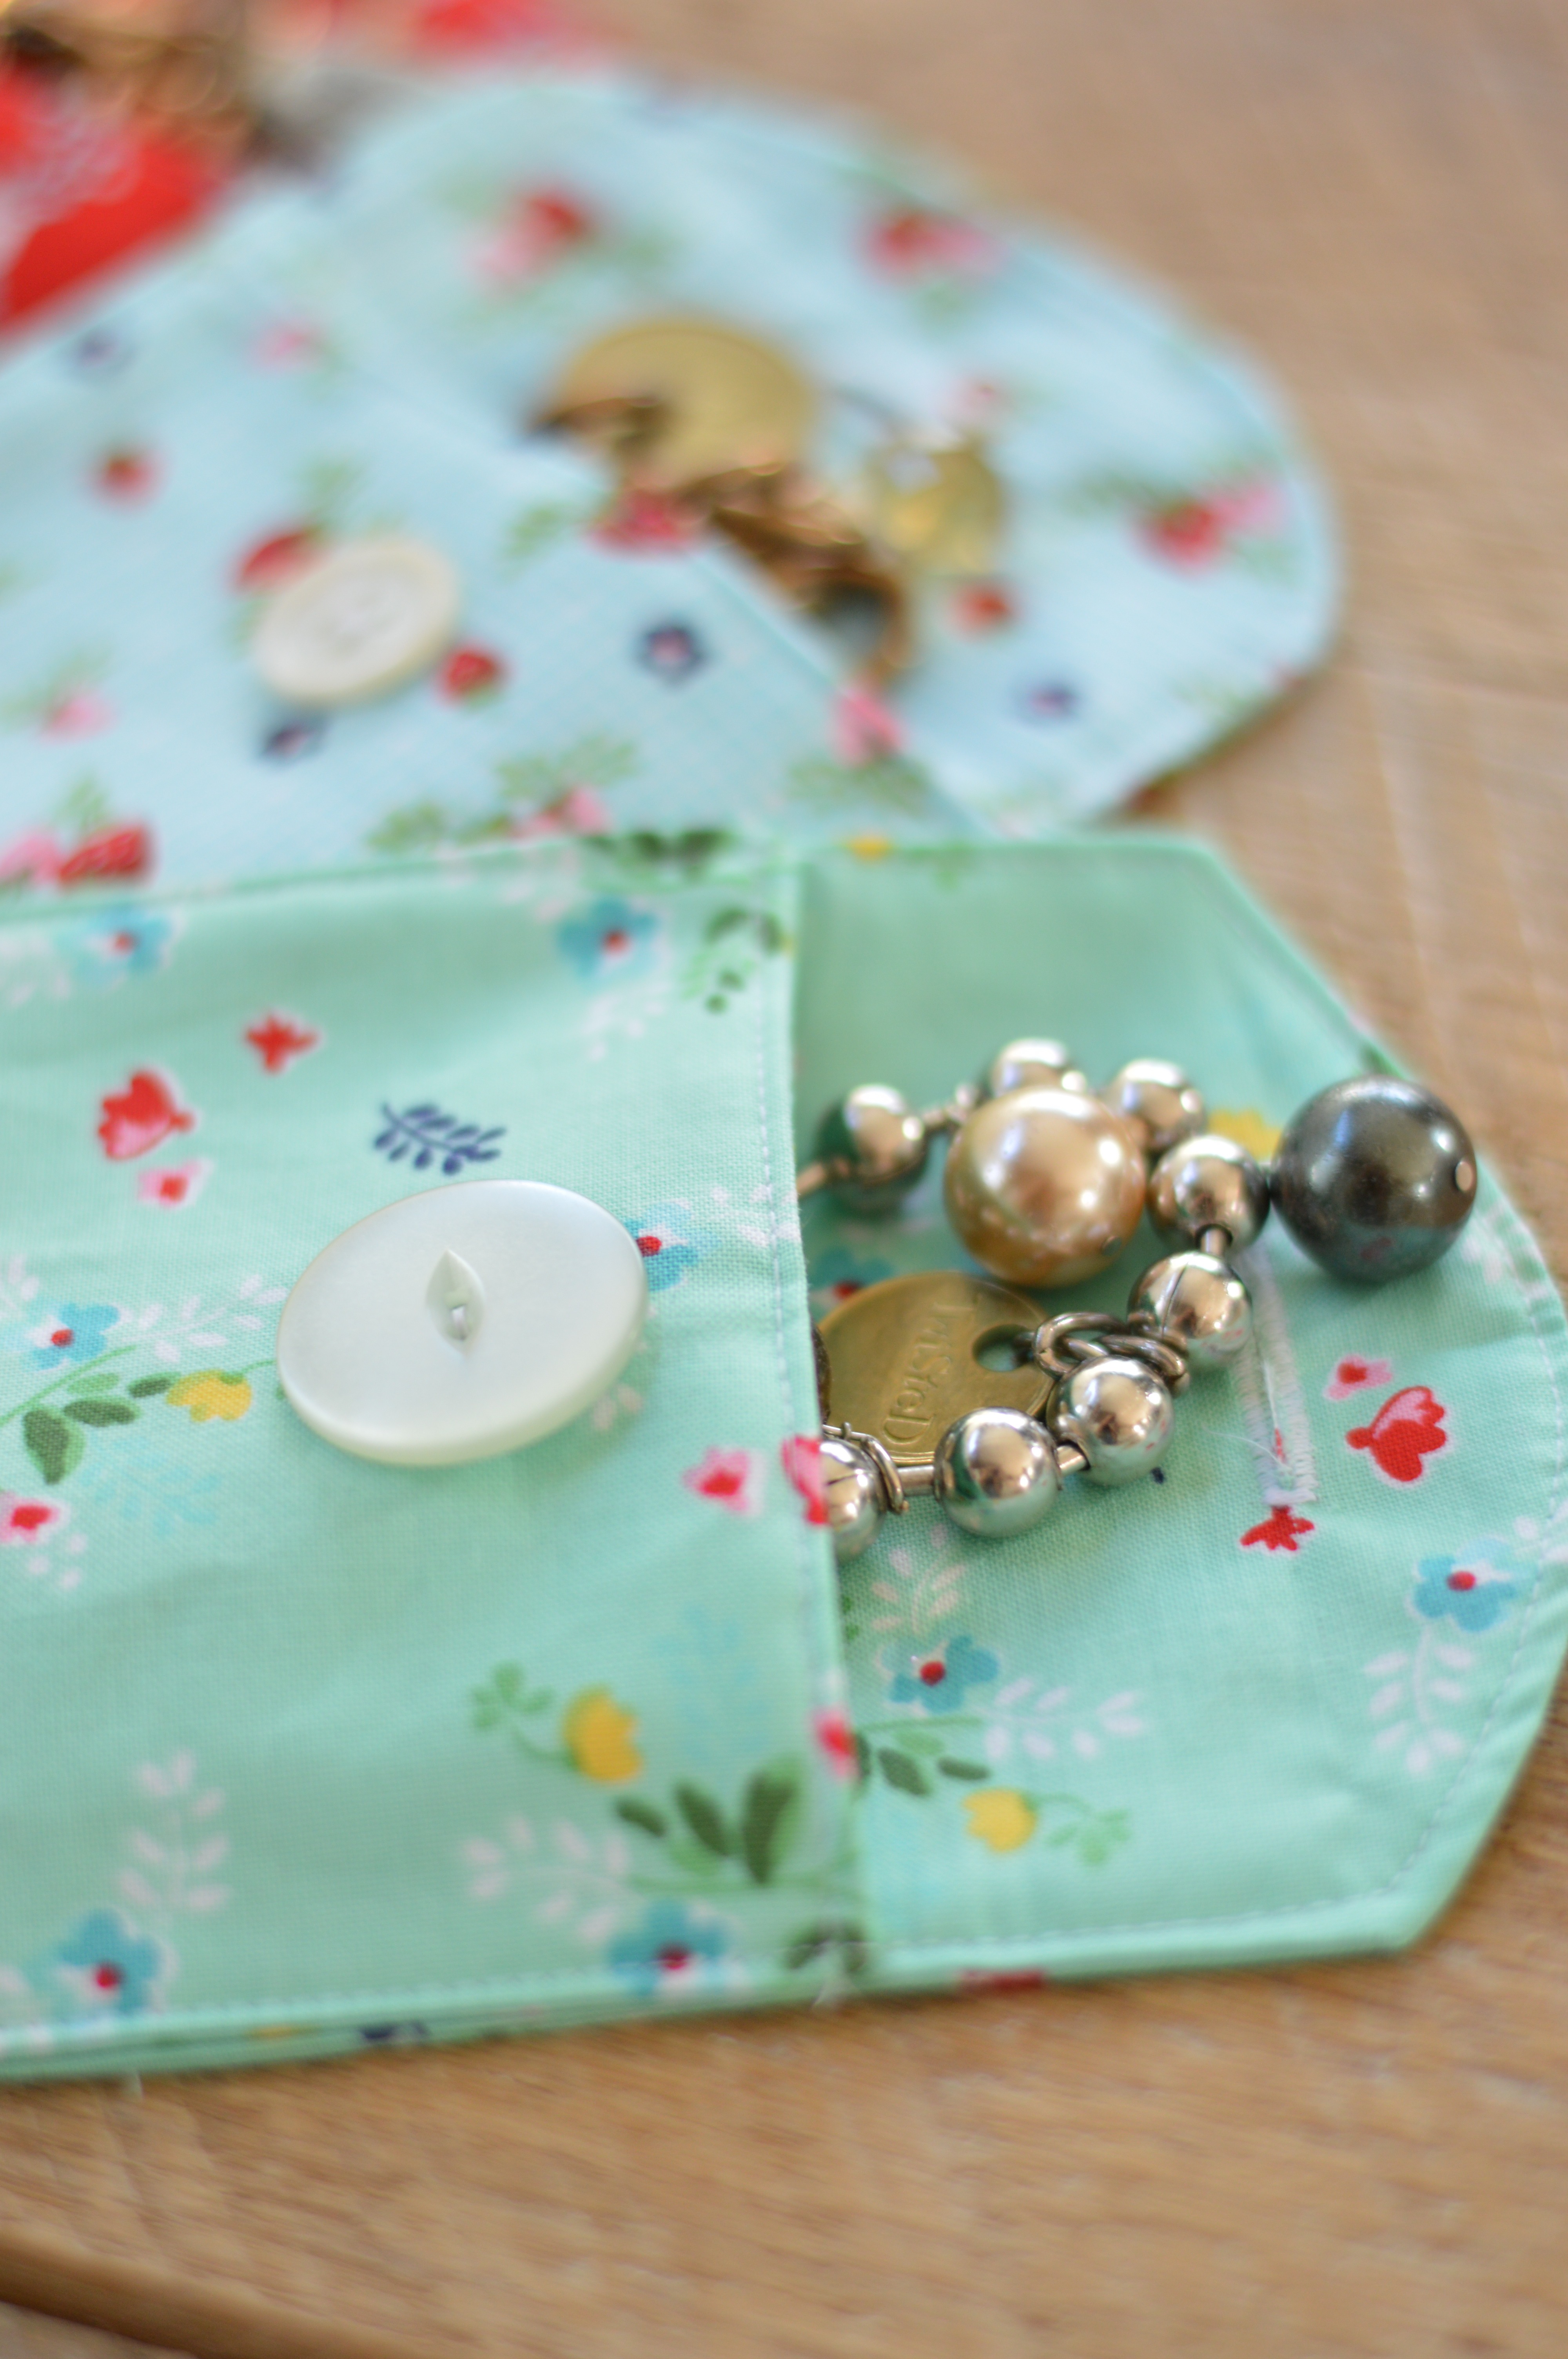
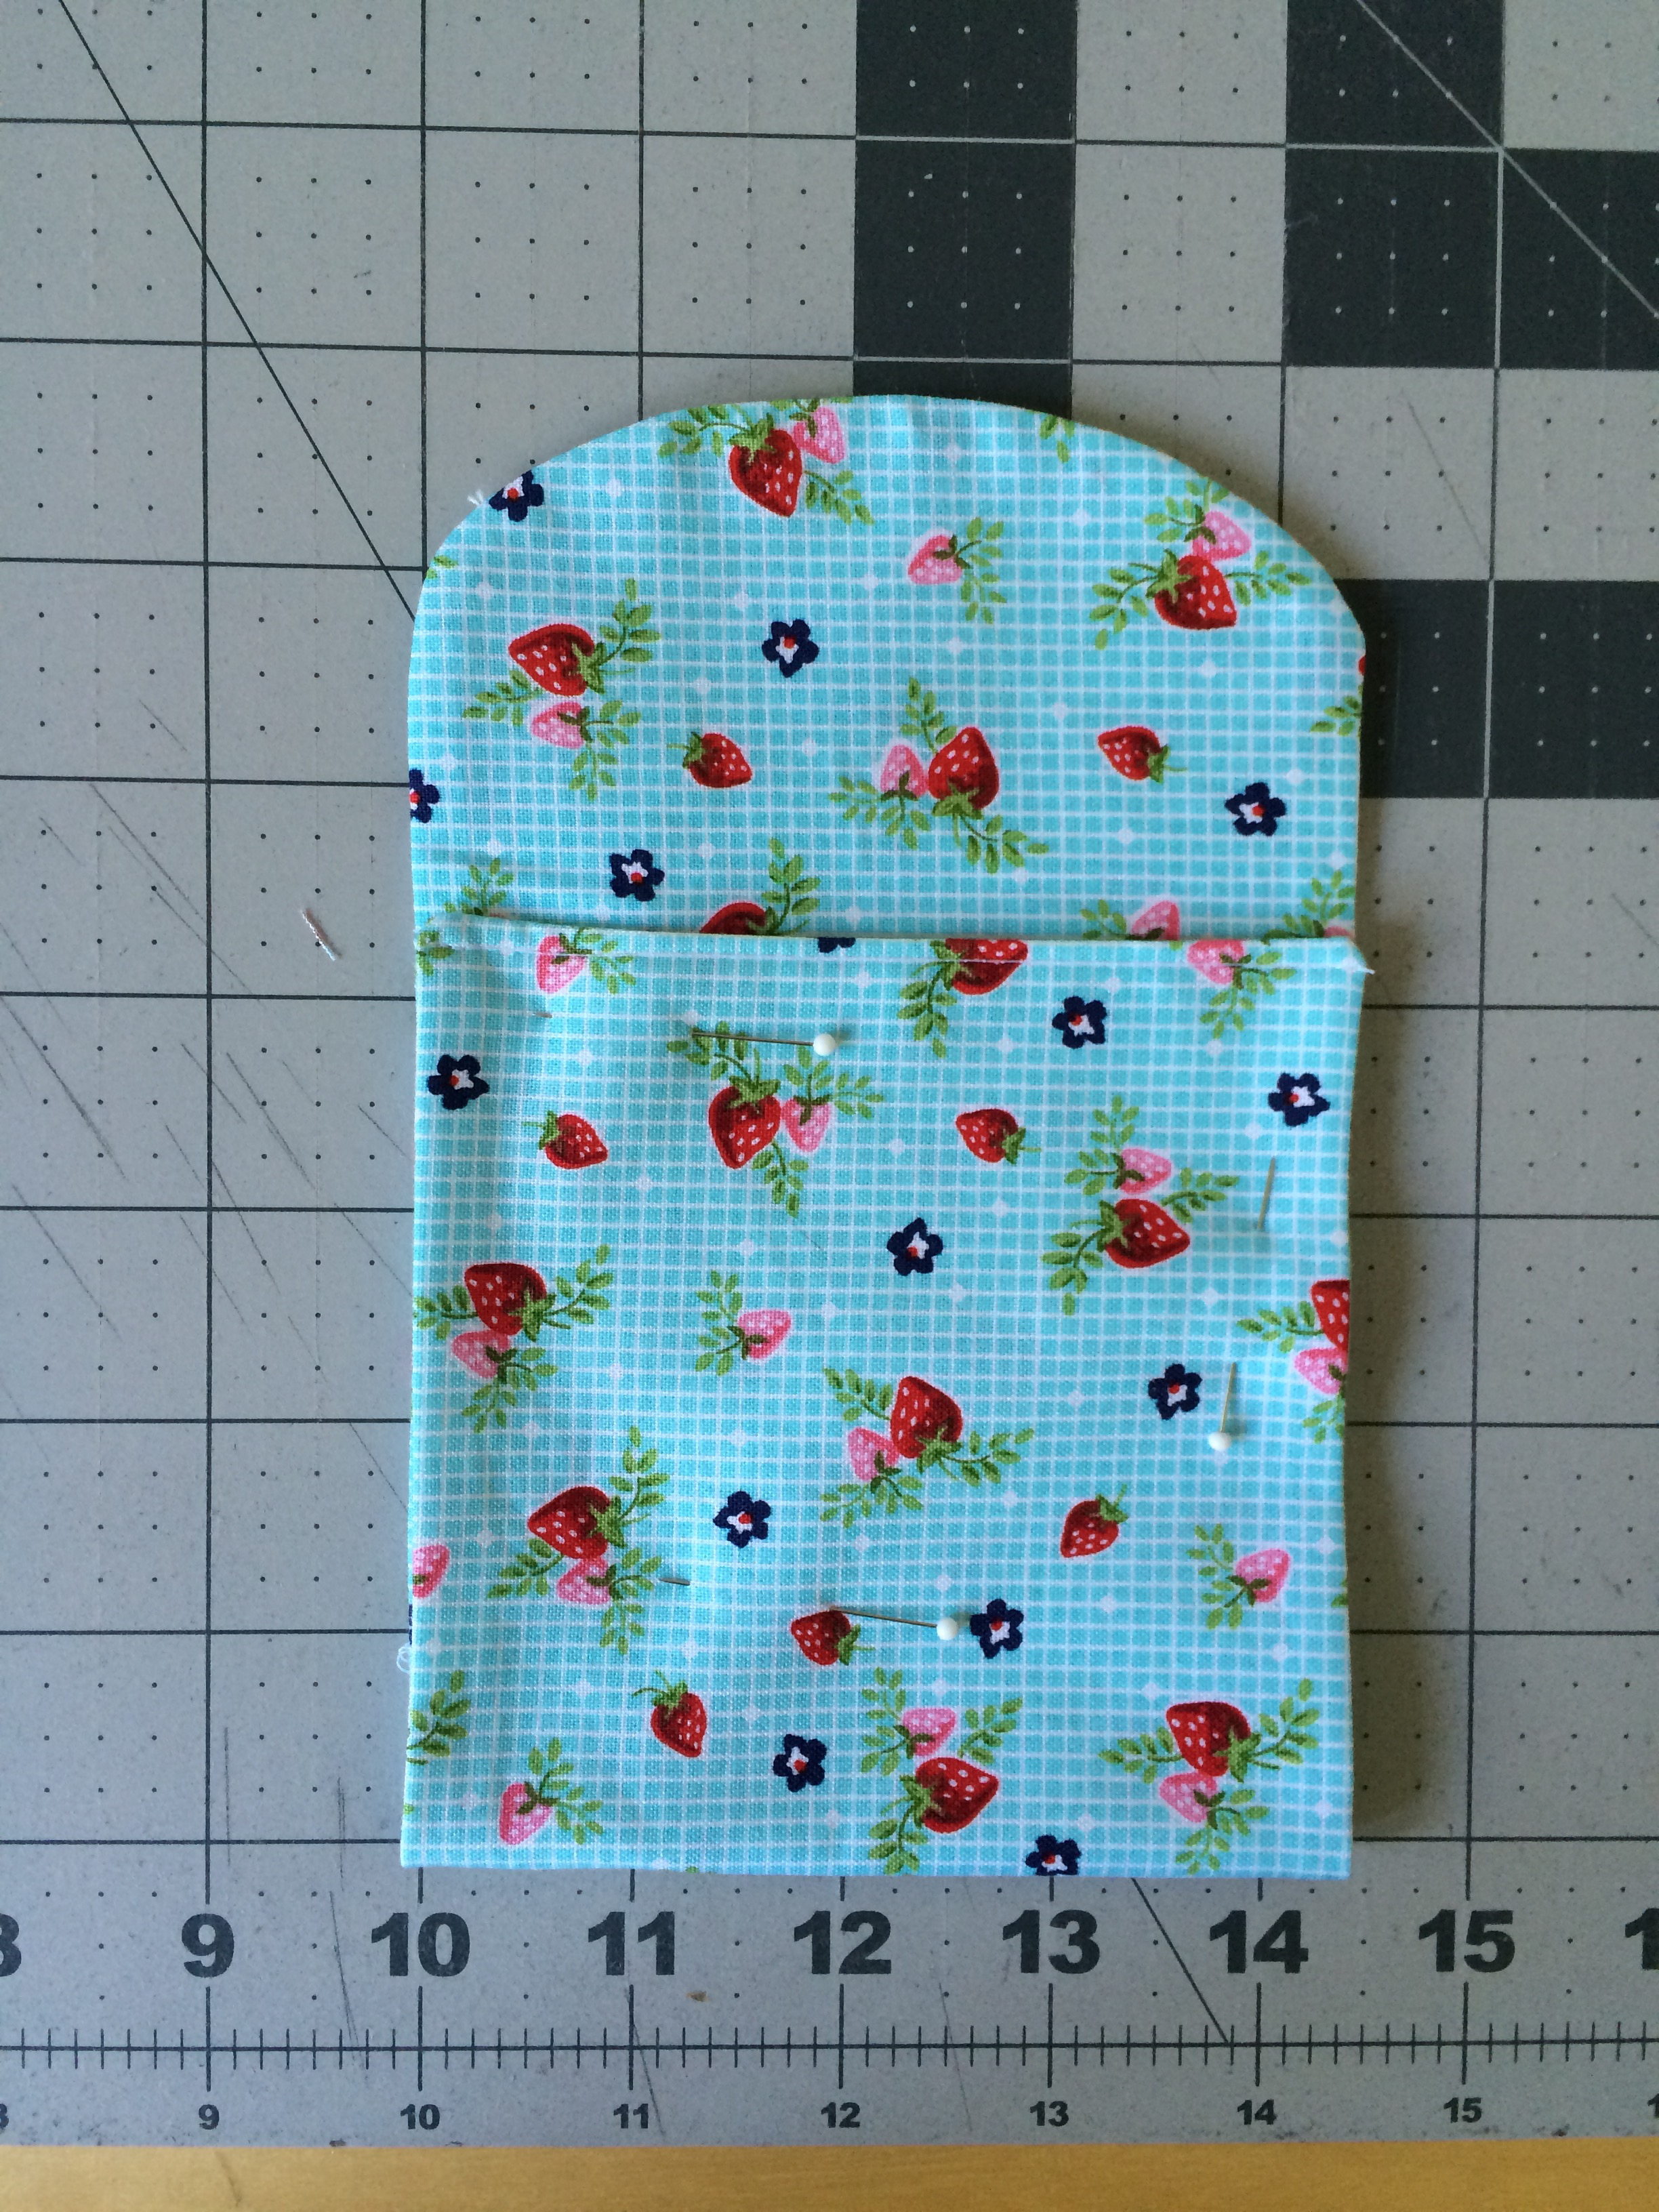 Fold the bottom portion up so it measures 4 1/2″. Pin in place. Top stitch all the way around. Sew a button hole in the flap and sew a button on.
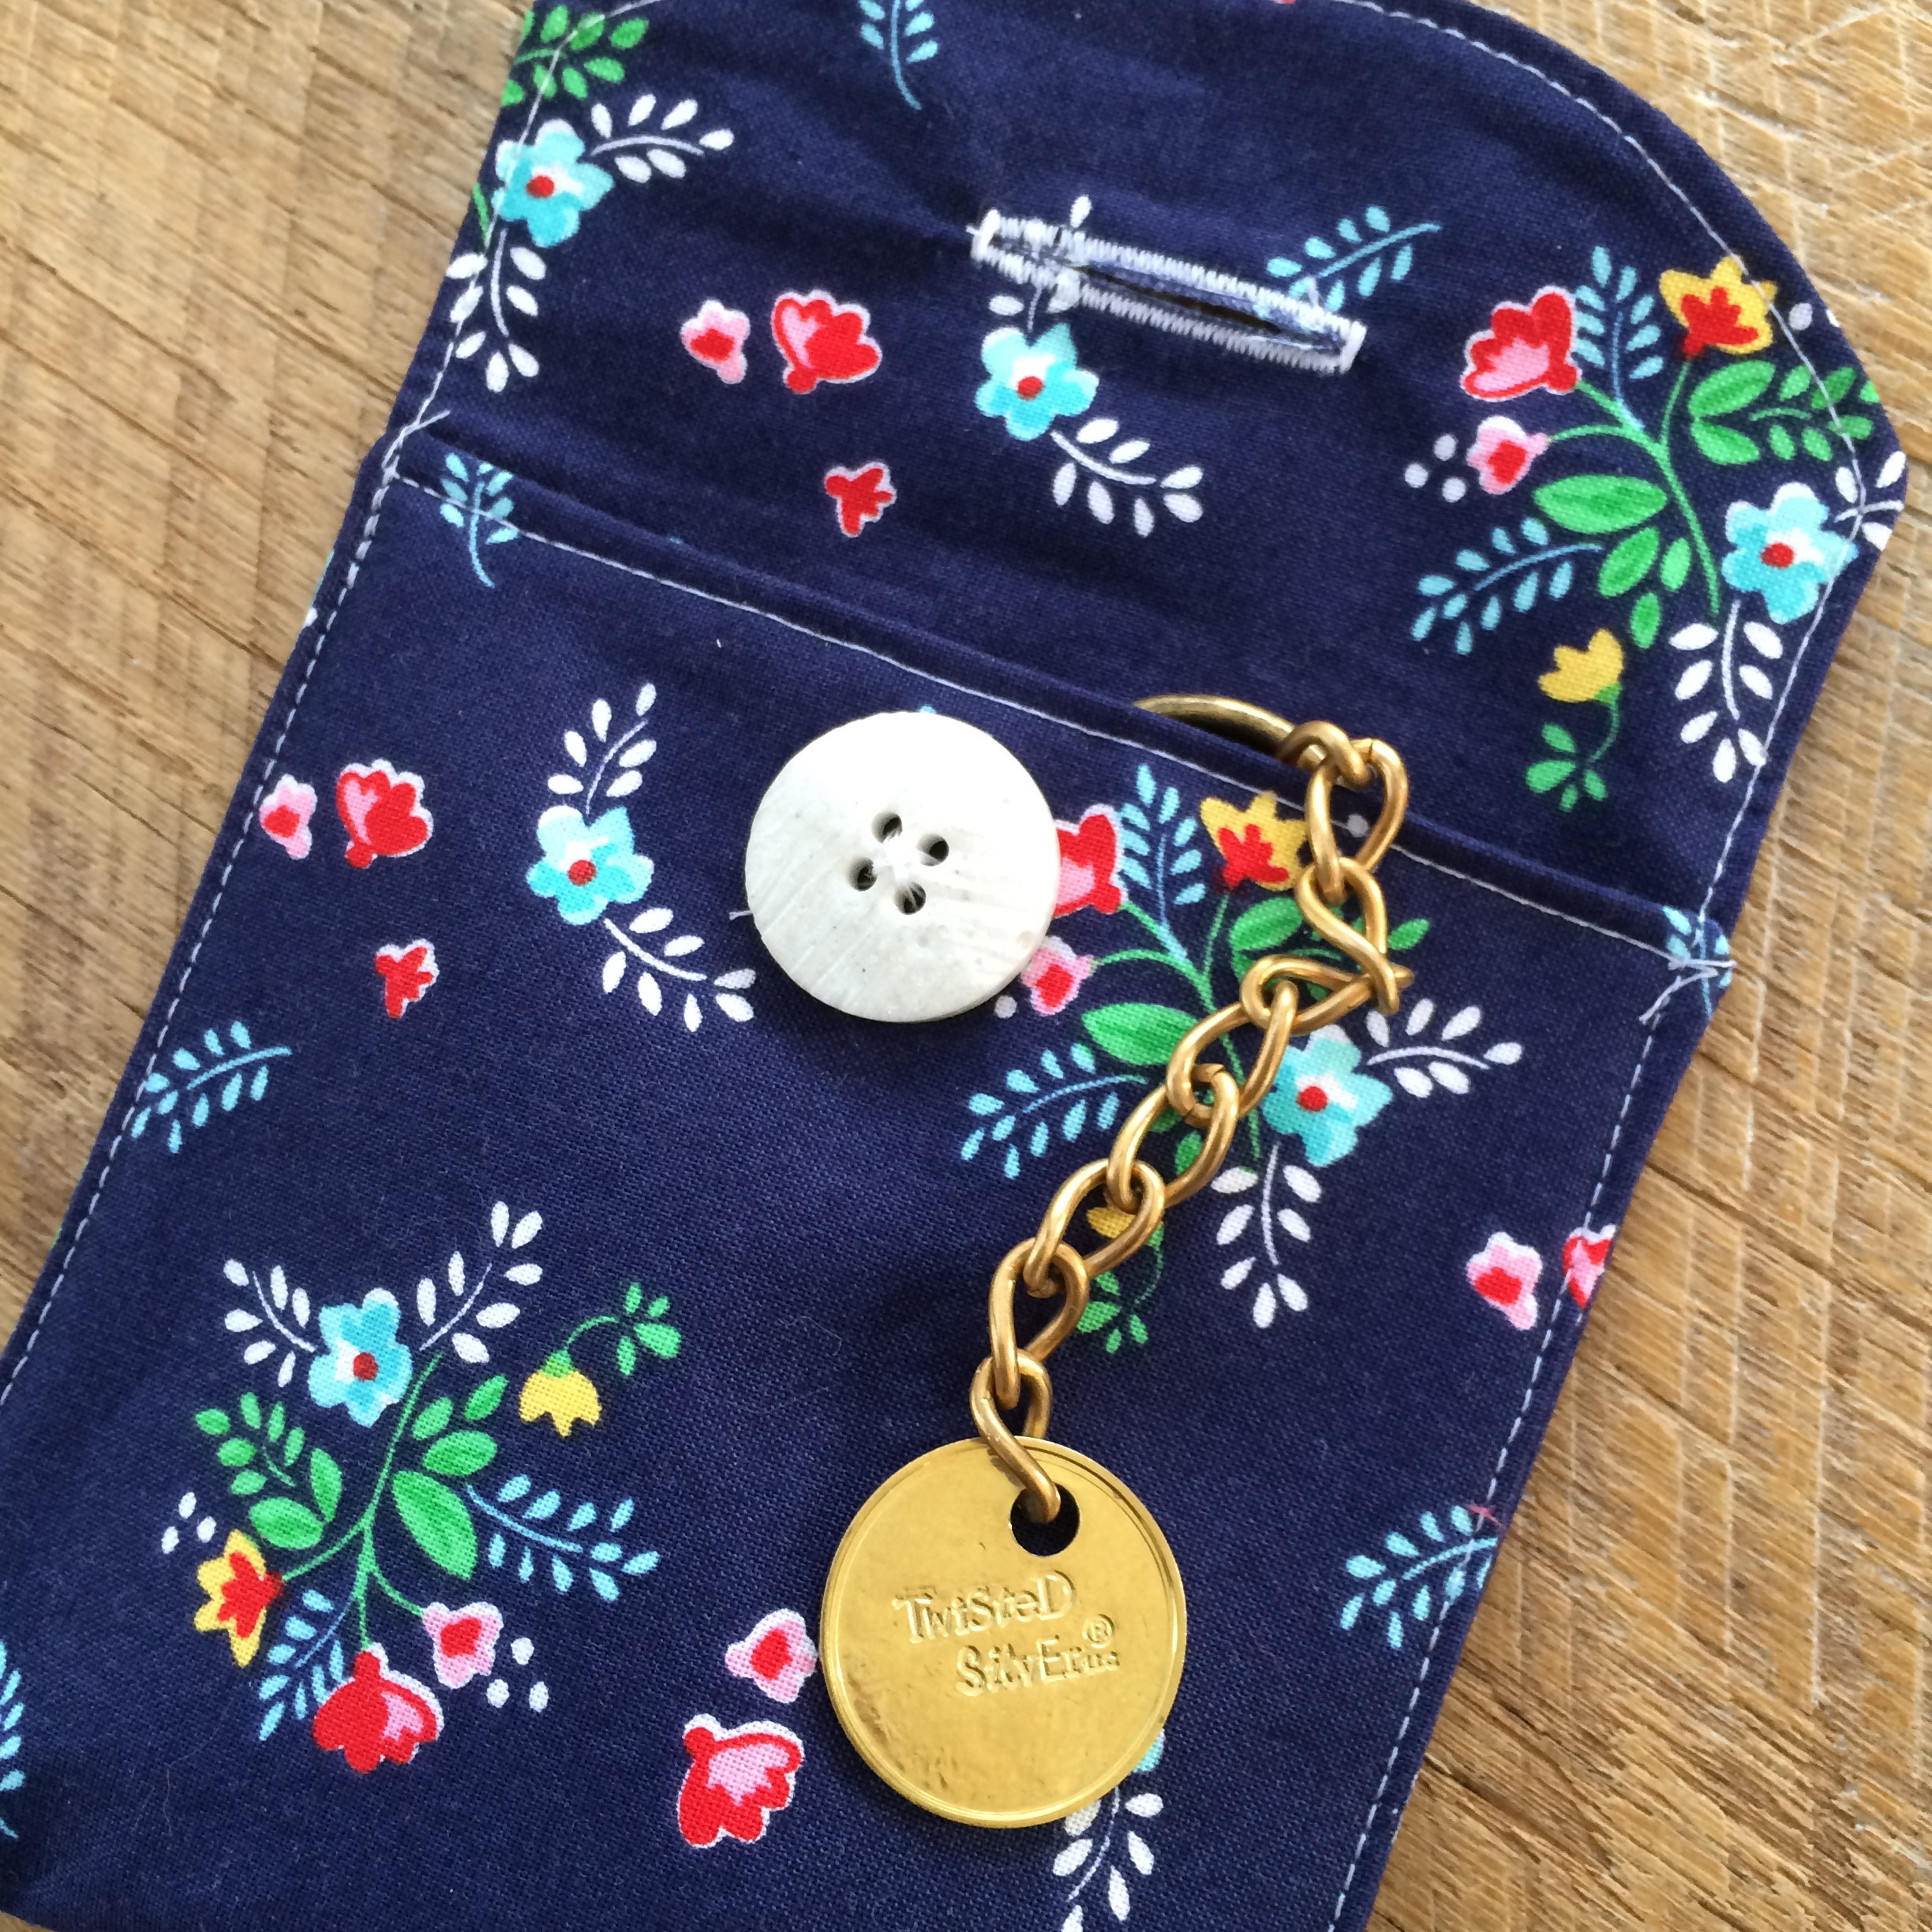
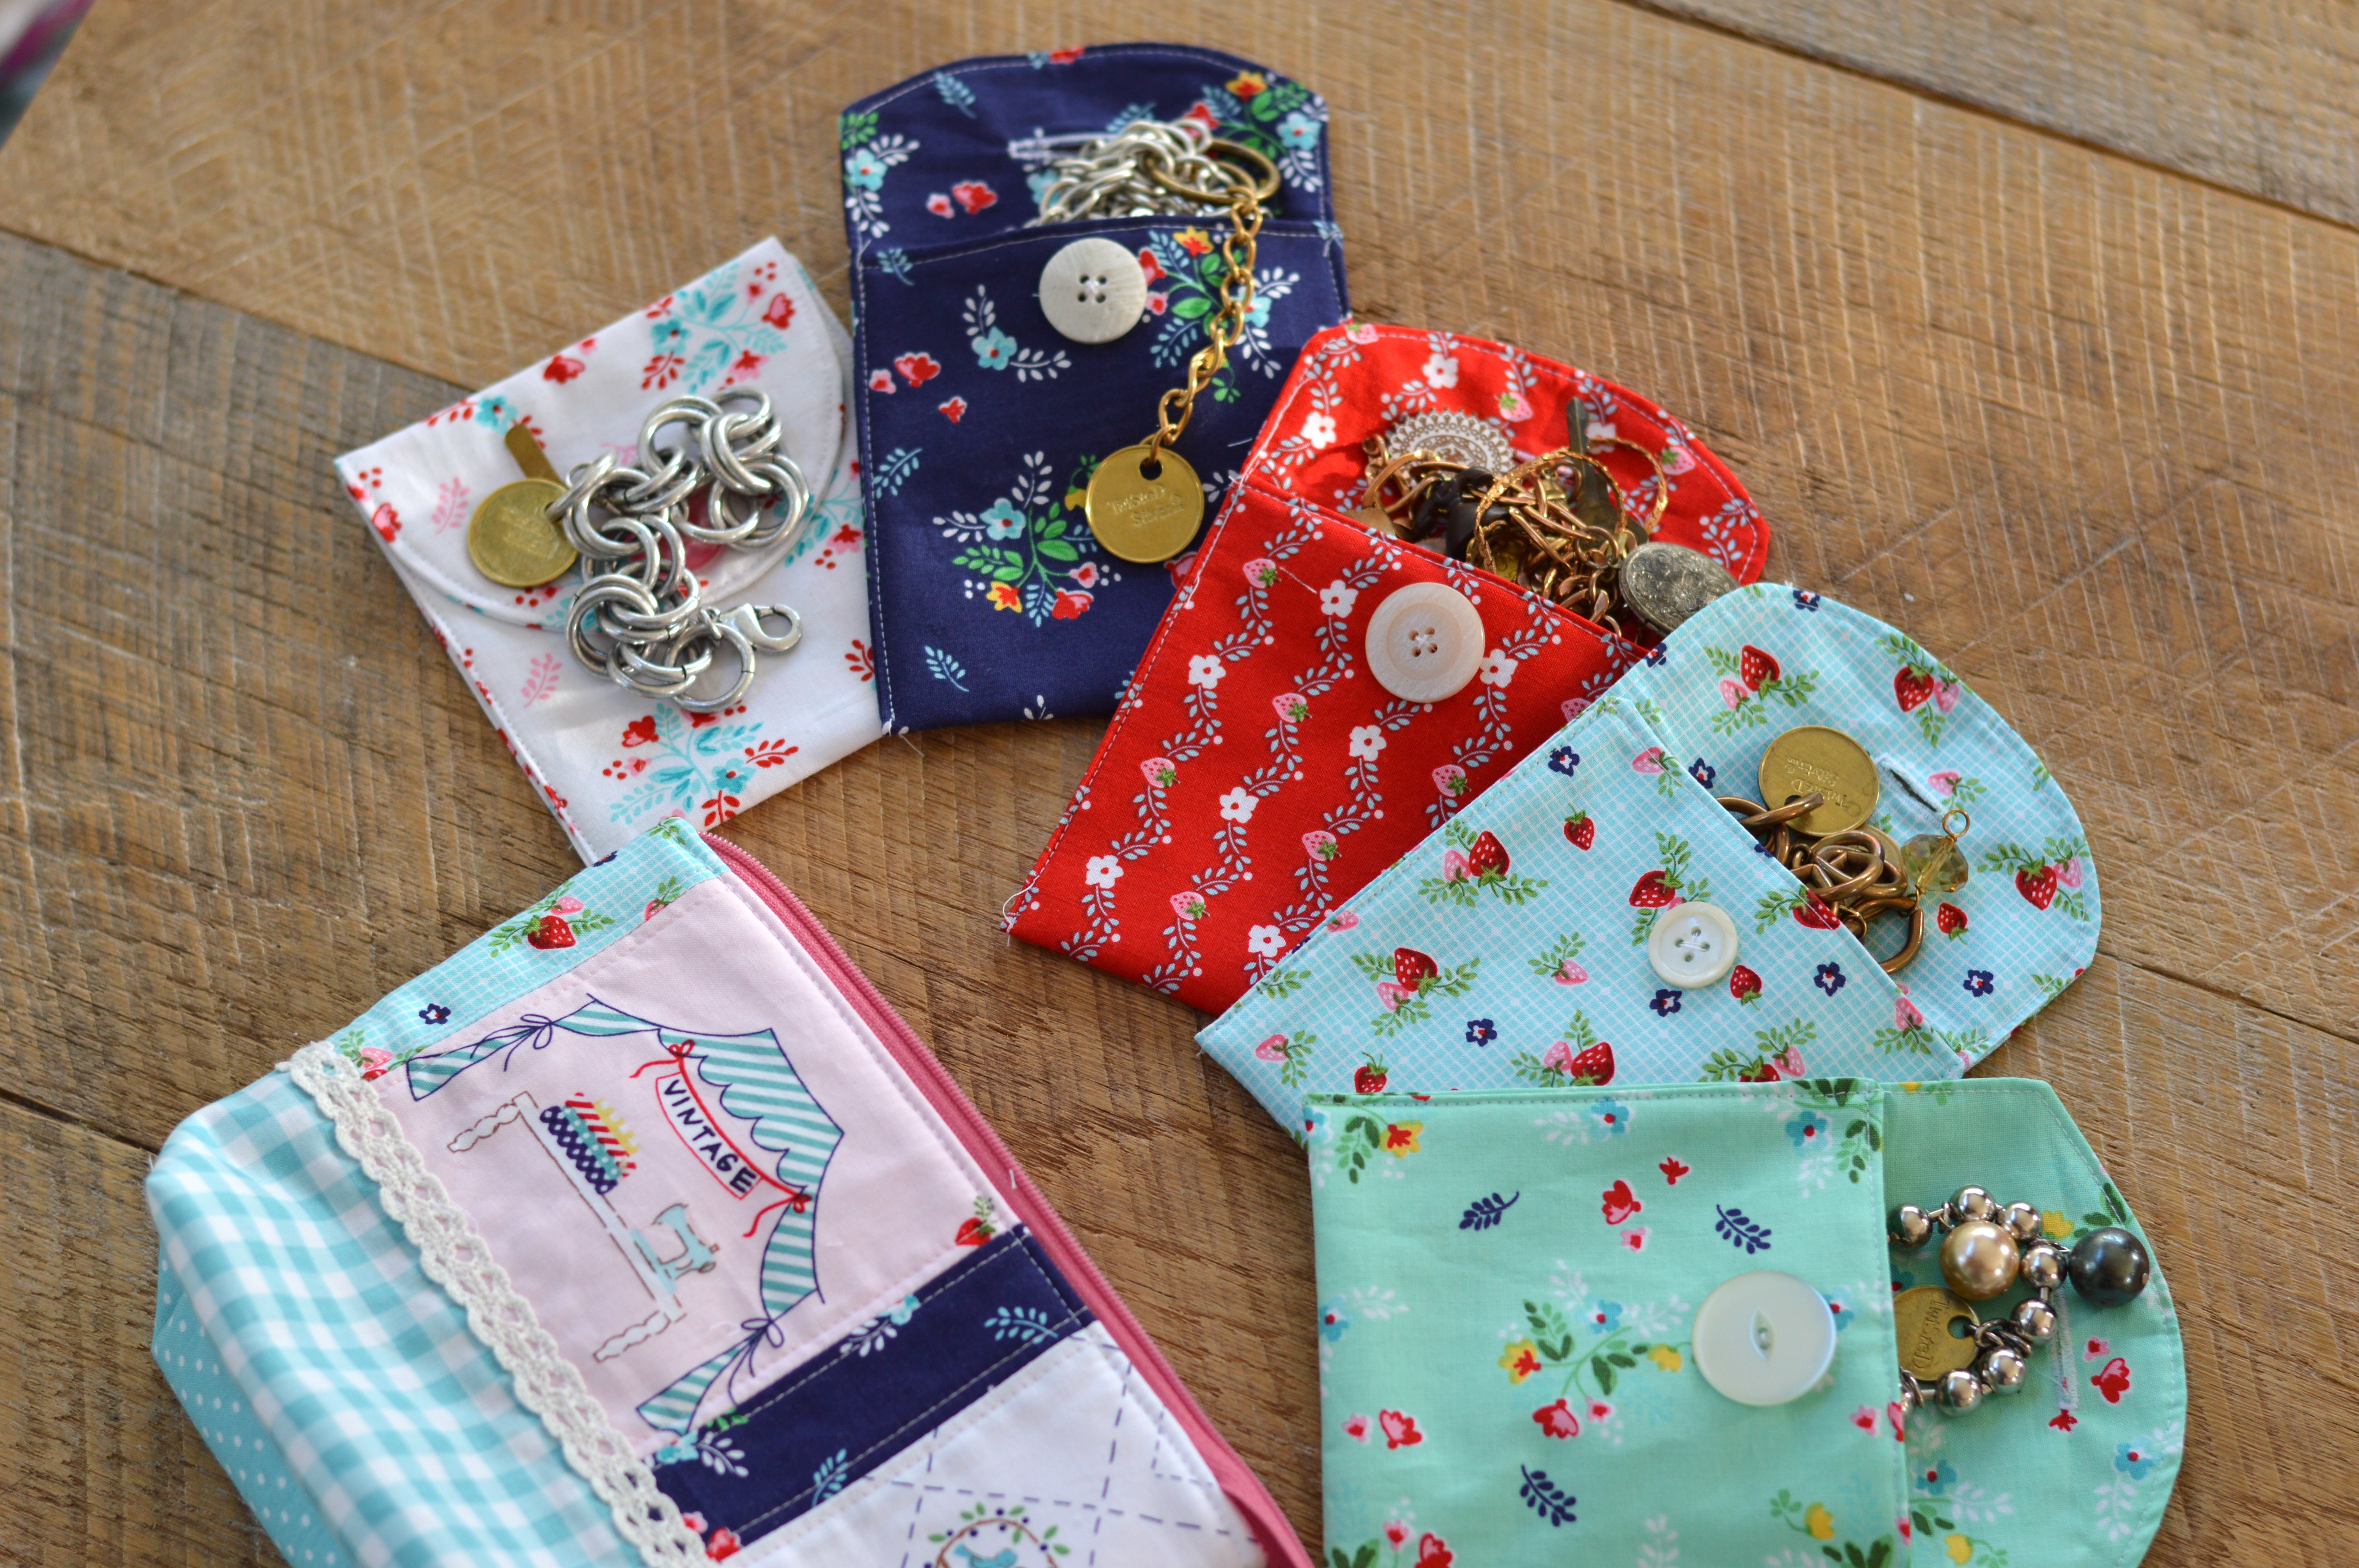
 They are so cute! And perfect for protecting jewelry. You could totally change up the size if you want smaller ones for smaller pieces.
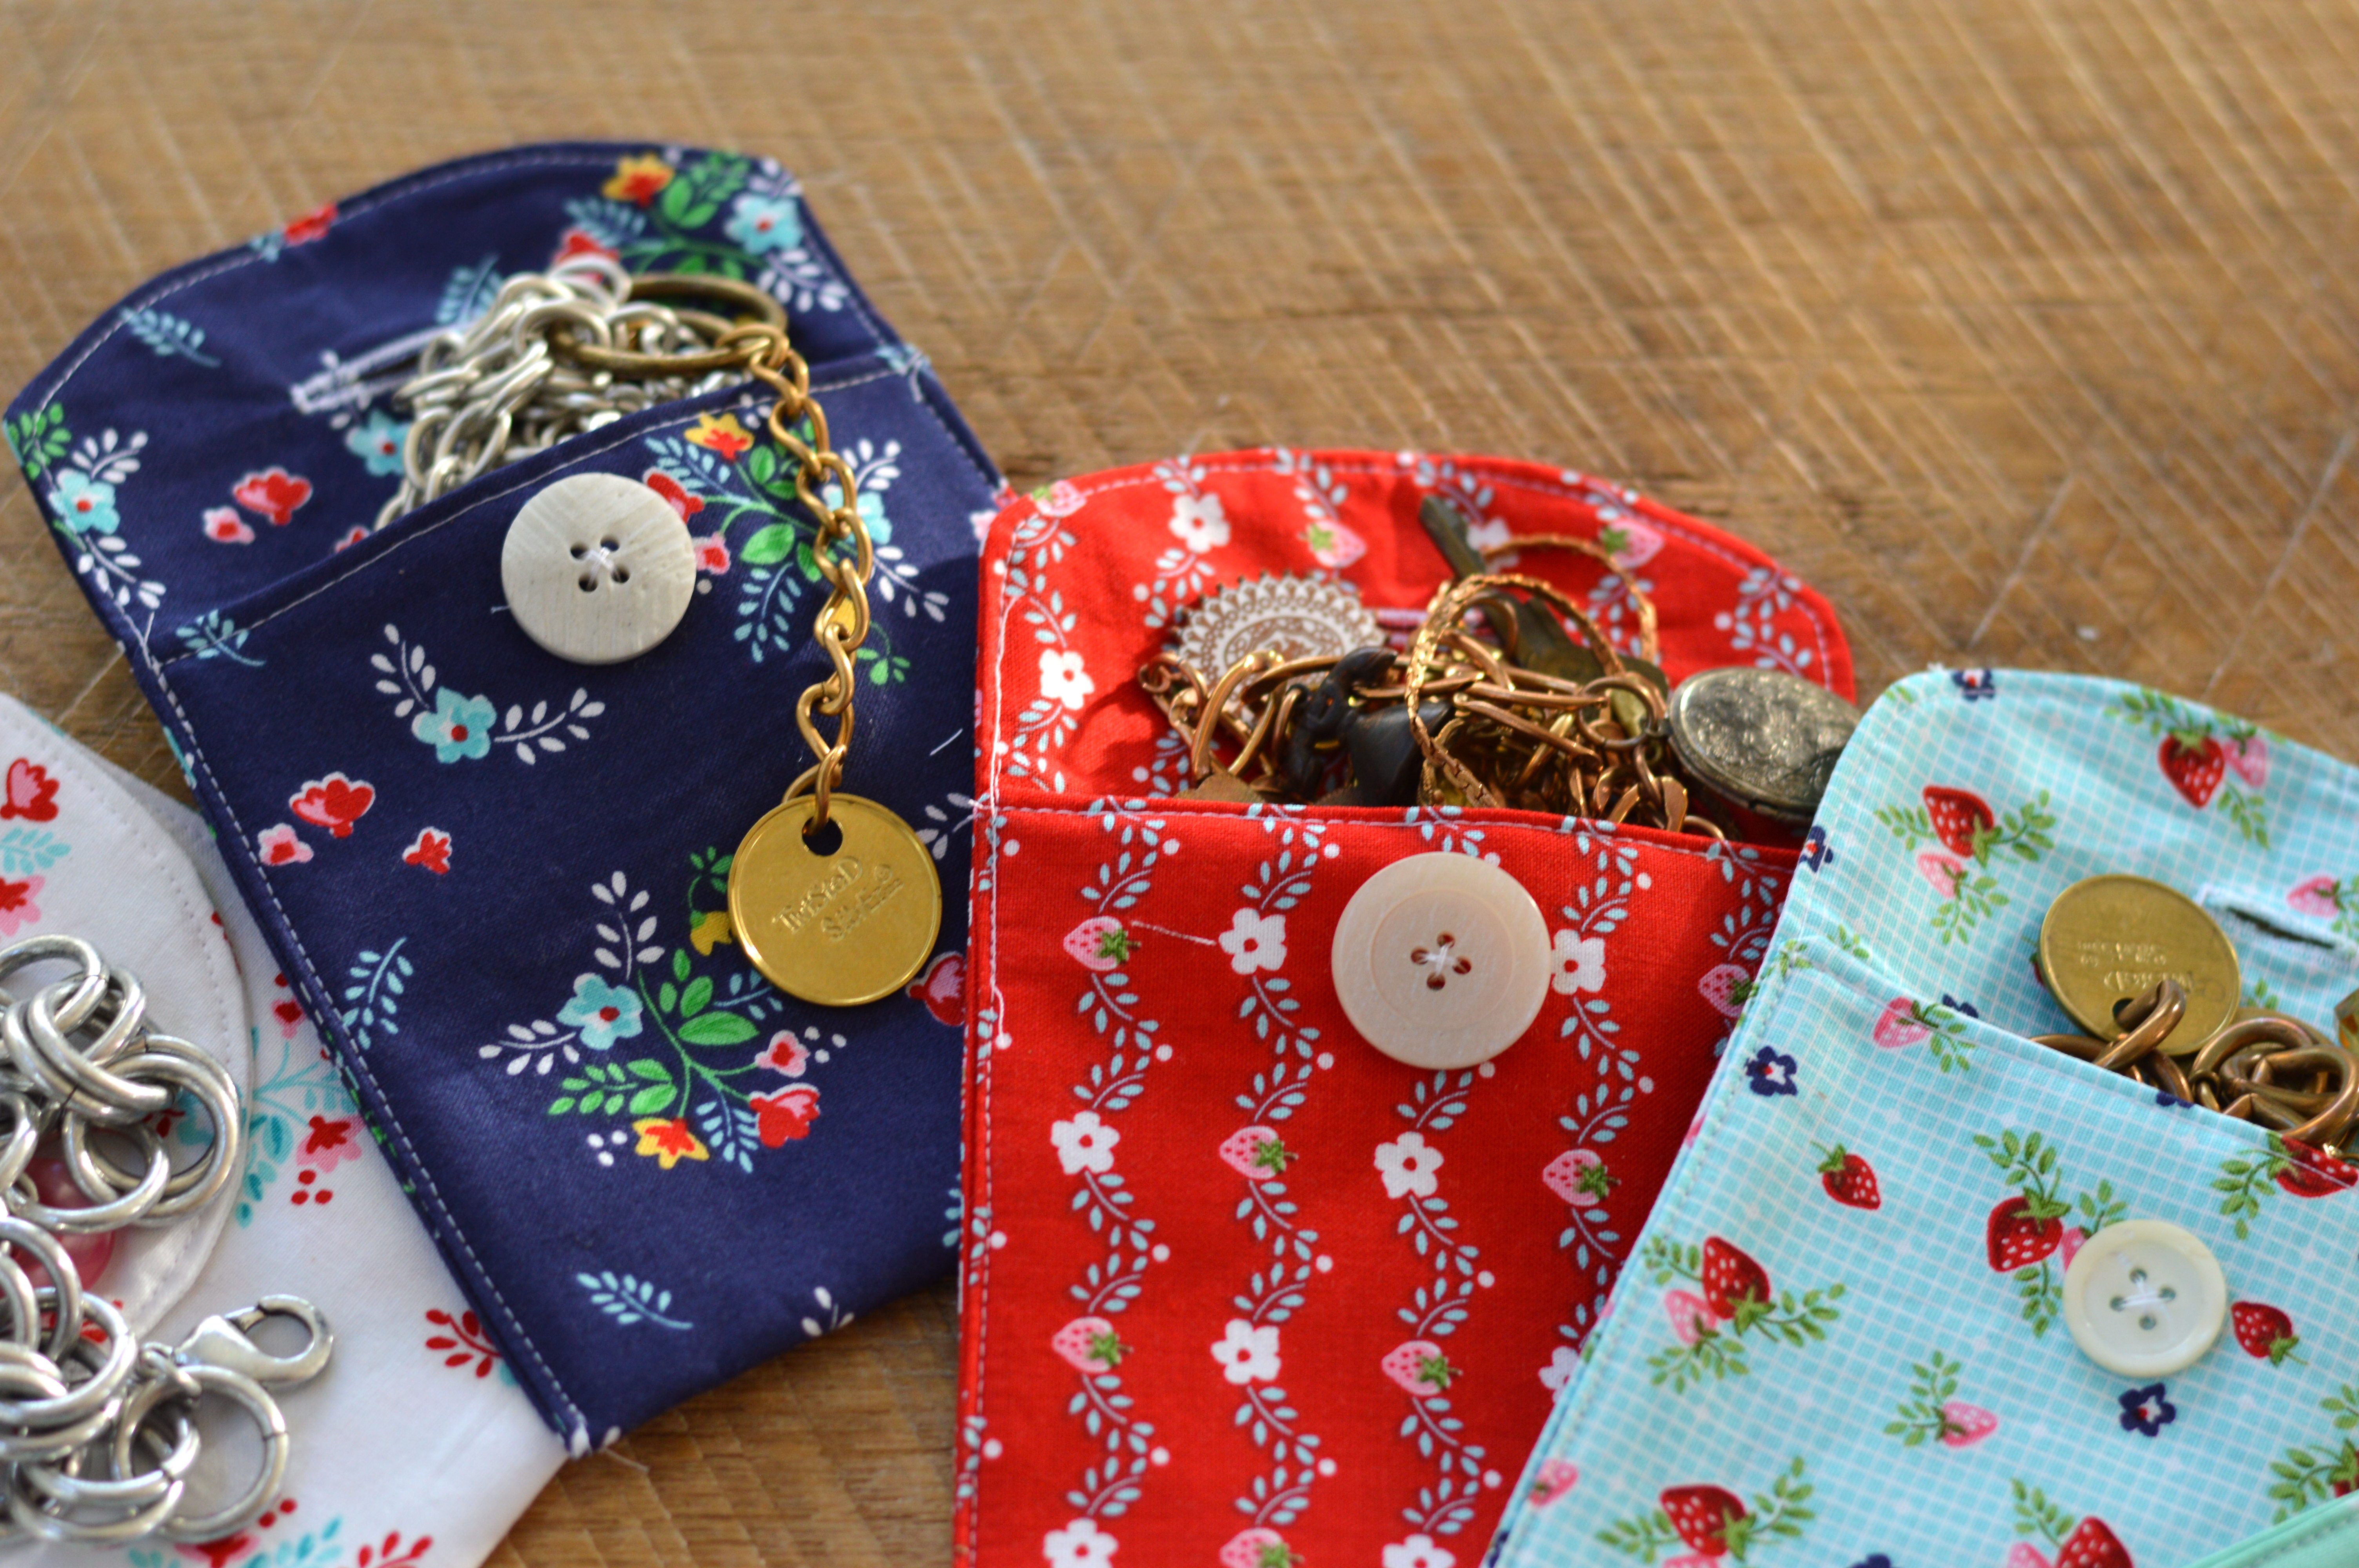 Now tuck all the jewelry in and put the pouches in the zipper pouch! You’re all set!!
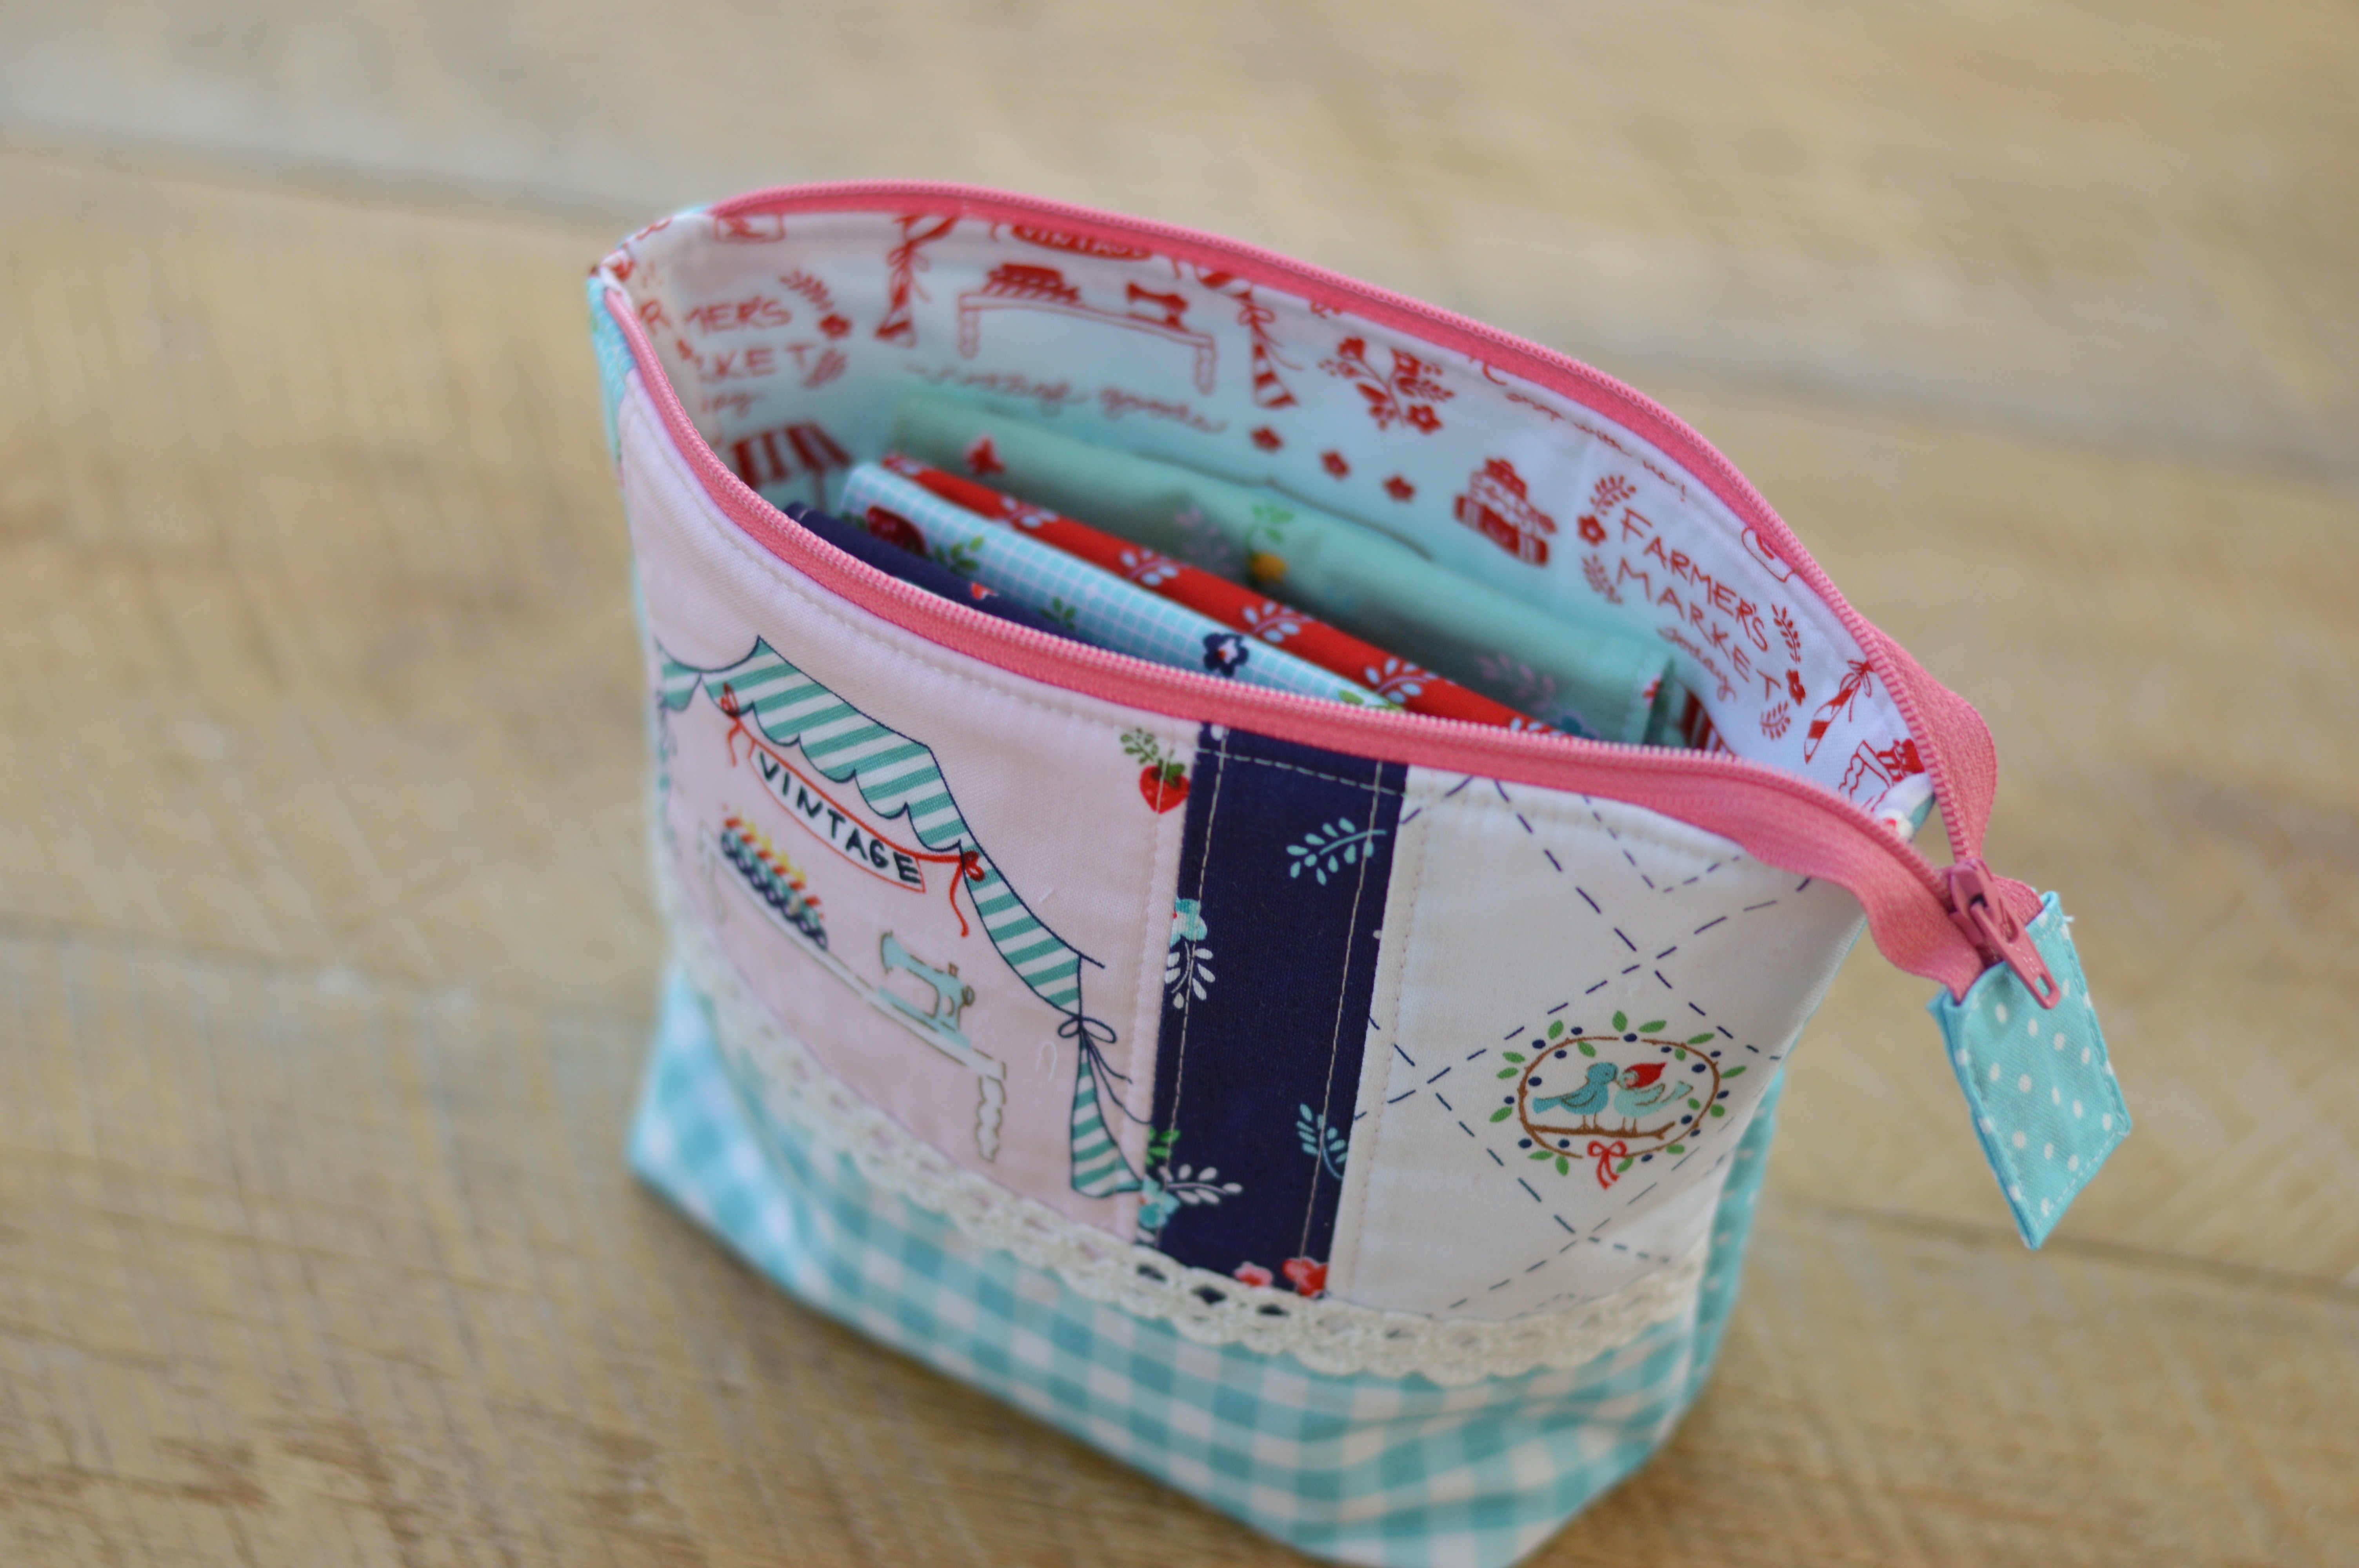
I can’t wait to make a few more of these and give them as Mother’s Day gifts!!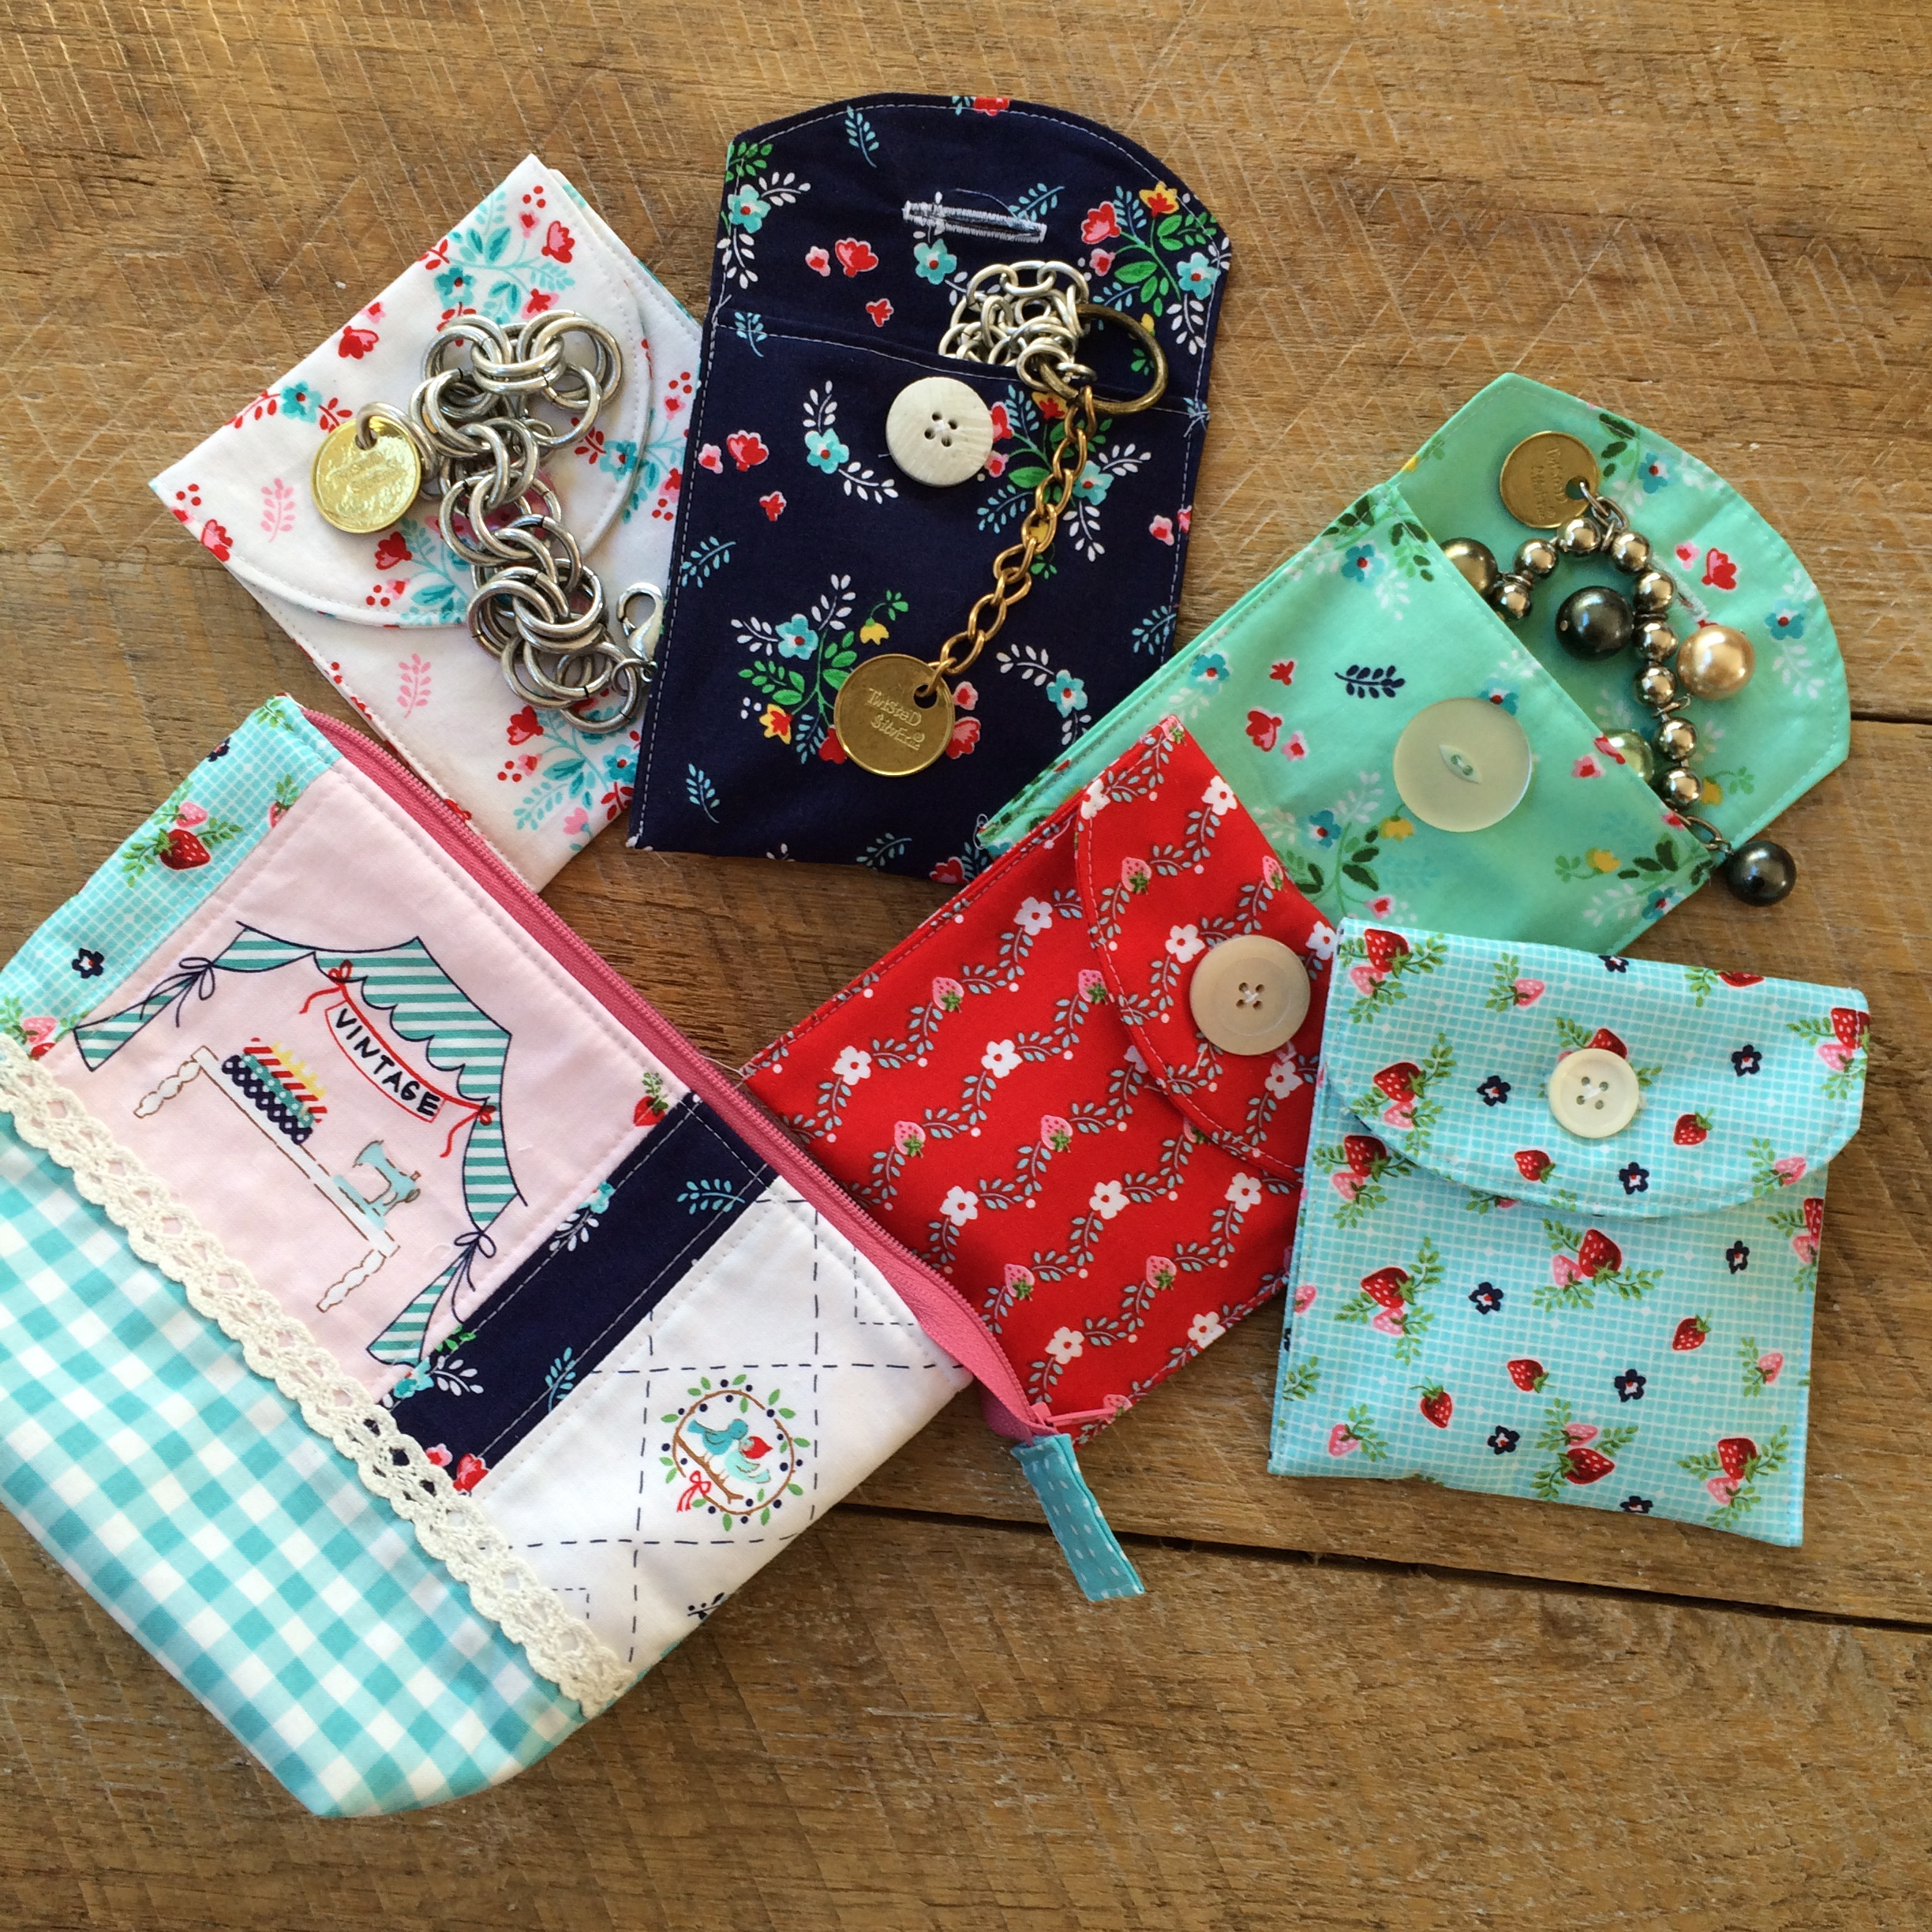
[…] I am so excited to share this project with you!! I LOVE jewelry! (Especially Twisted Silver Jewelry) This is the perfect way to store your jewelry when you travel so it doesn’t get tangled or damaged. You can sew as many of these little pouches as you want and they all fit in this zipper bag. This would make such a great gift for Mother’s Day, Birthday, or Graduation. The full tutorial is over on the Therm O Web Blog. […]