


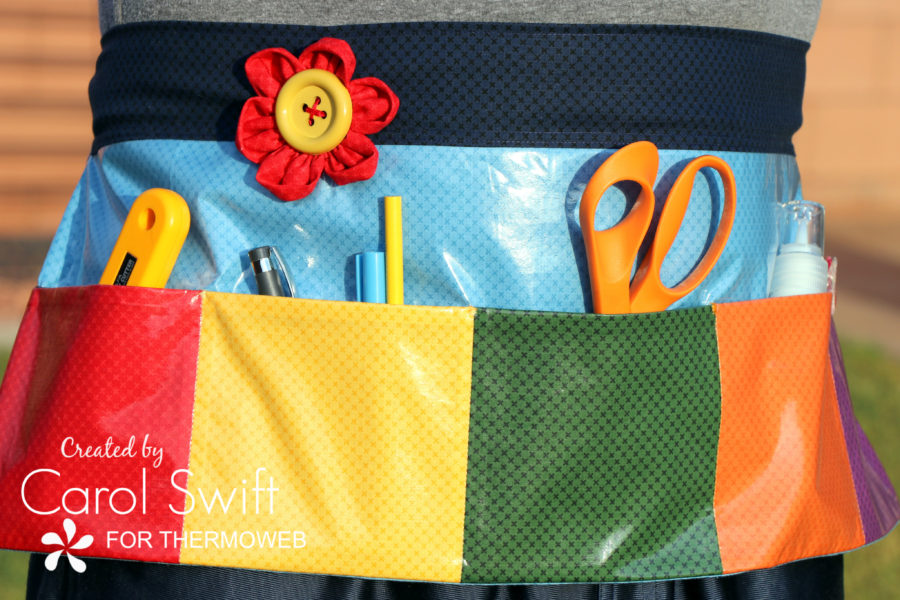
Sometimes there aren’t enough places to put things when we’re in the middle of a project, so having a craft apron is definitely a big help. What’s even better is to have an apron that can keep stains away, which is where Therm O Web’s HeatnBond Iron-on Vinyl comes in. It’s amazing and so easy to apply to fabric. This apron is 8″ x 25″ which is small, but still big enough to hold a lot of crafty things.
HeatnBond Iron-On Vinyl Craft Apron
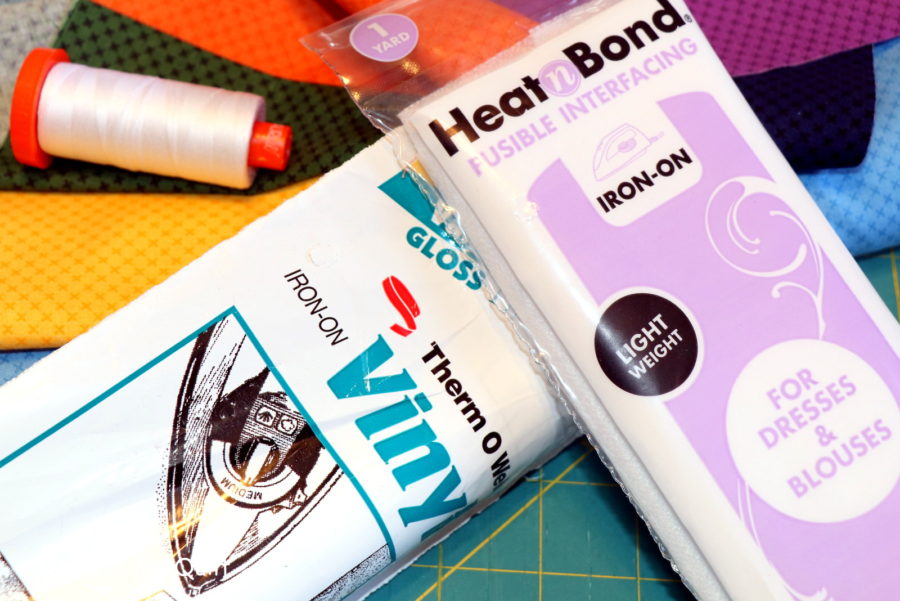
Supplies you’ll need:
HeatnBond Fusible Interfacing
HeatnBond Iron-on Vinyl, Gloss
Aurifil Thread
Oliso Purple Iron
Button
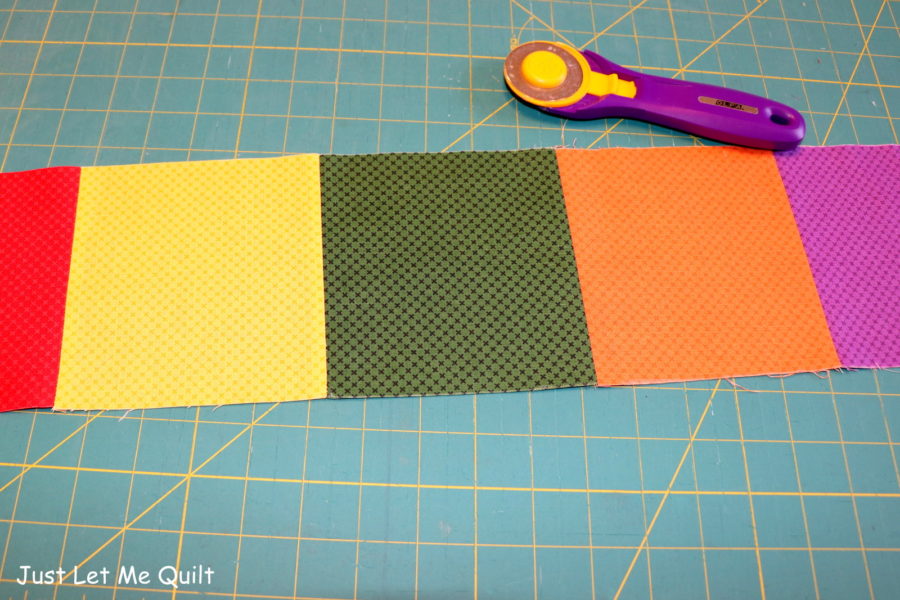
Cutting Instructions:
Cut 5 – 5½” x 5½” squares (pockets)
Cut 1 – 5½” x 25½” rectangle (pocket lining)
Cut 2 – 8½” x 25½” rectangles (apron front and back)
Cut 3 – 5” x 25½” strips (apron tie)
Cut 1 – 5½” x 25½” Heat N Bond Fusible Interfacing – Light Weight rectangle (back of pockets)
Cut 1 – 8½” x 25½” Heat N Bond Fusible Interfacing – Light Weight rectangle (apron back)
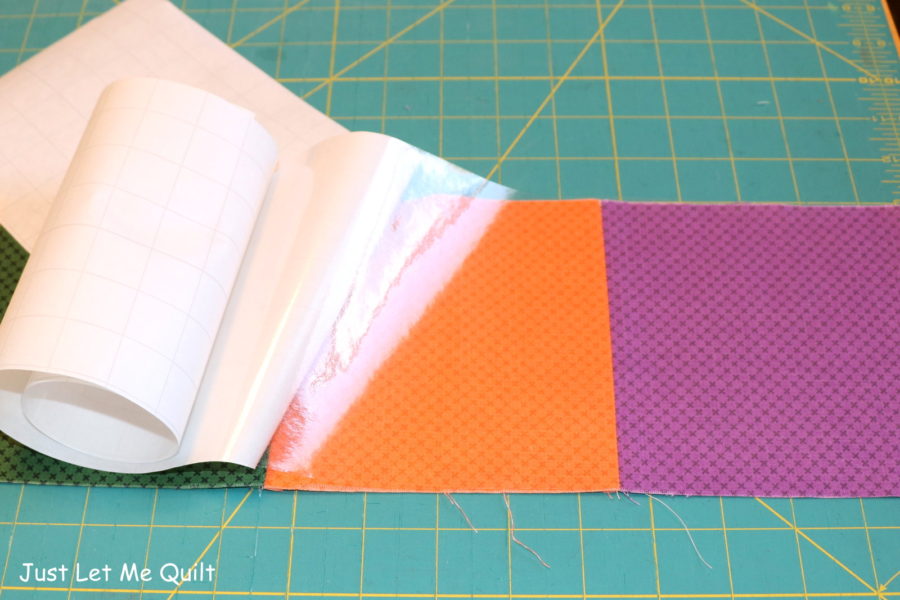
Cut 1 – 5½” x 25½” rectangle out of ThermOWeb Iron-on Vinyl, Gloss (pockets)
Cut 2 – 8½” x 25½” rectangles ThermOWeb Iron-on Vinyl, Gloss (apron front and back)
Apron Instructions
Sewing Instructions (all seams are sewn ¼” unless otherwise specified):
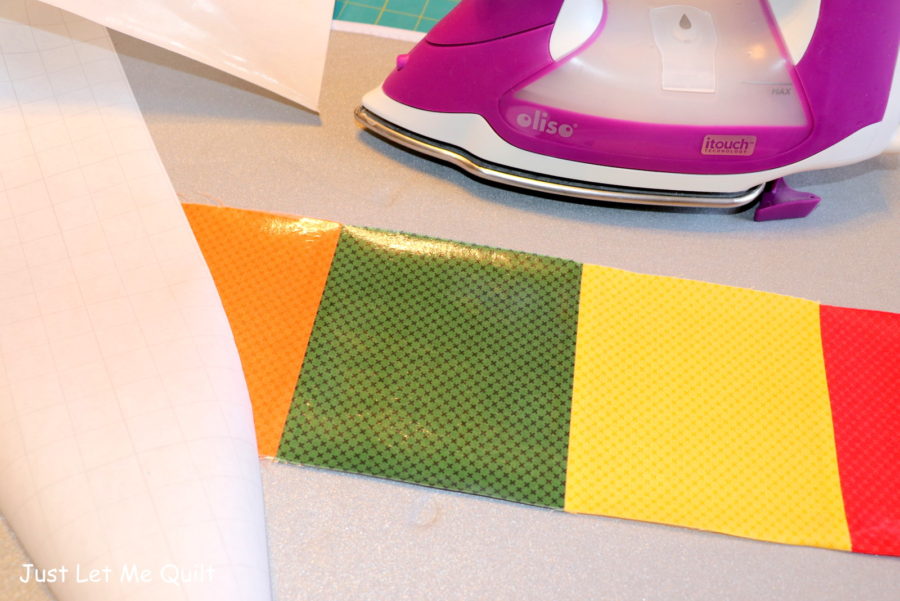
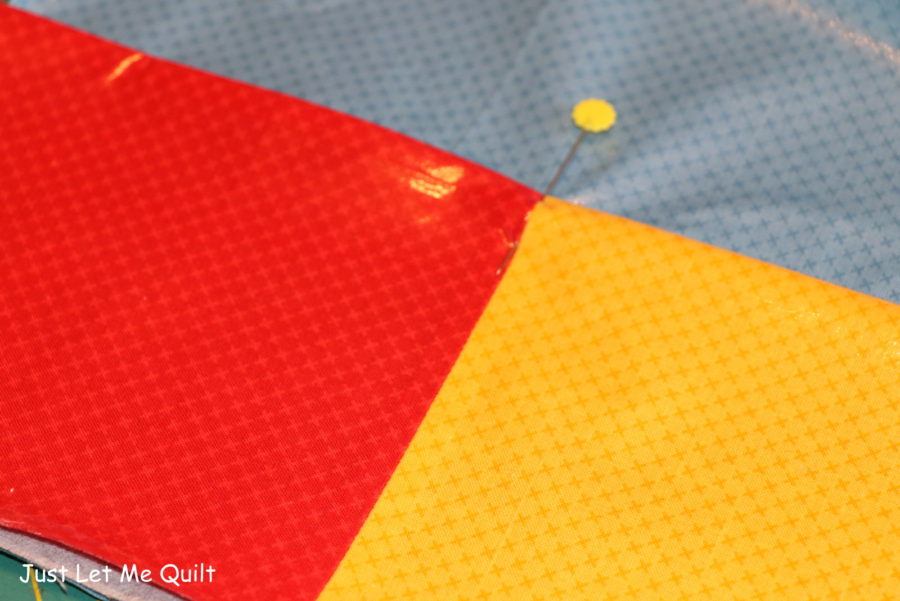
Step 1: Sew 5½” x 5½” squares for pockets together. Press seams open. Be careful not to touch vinyl with the iron!
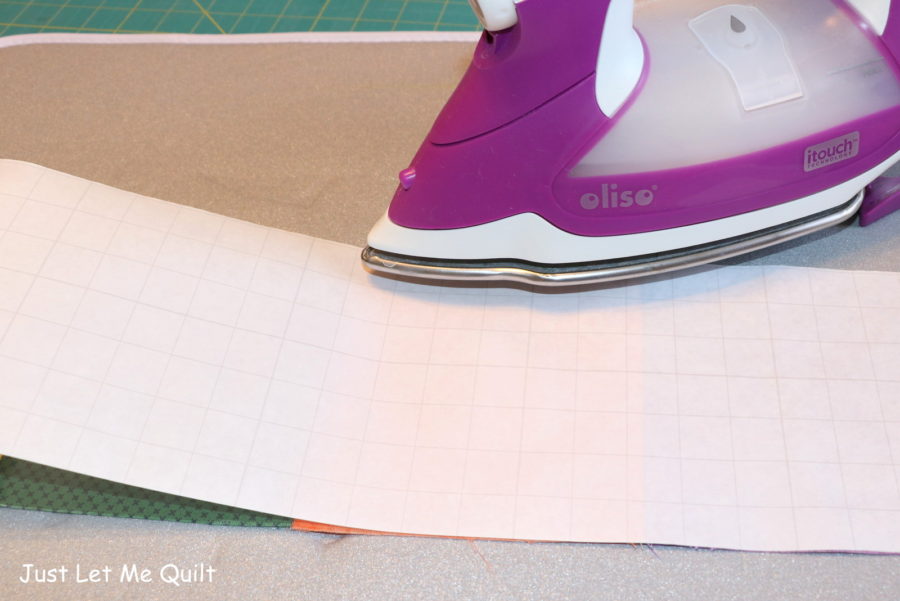
Step 2: Following package directions, apply 5½” x 25½” ThermOWeb Iron-on Vinyl, Gloss to sewn Step 1’s squares. Let cool.
Interfacing
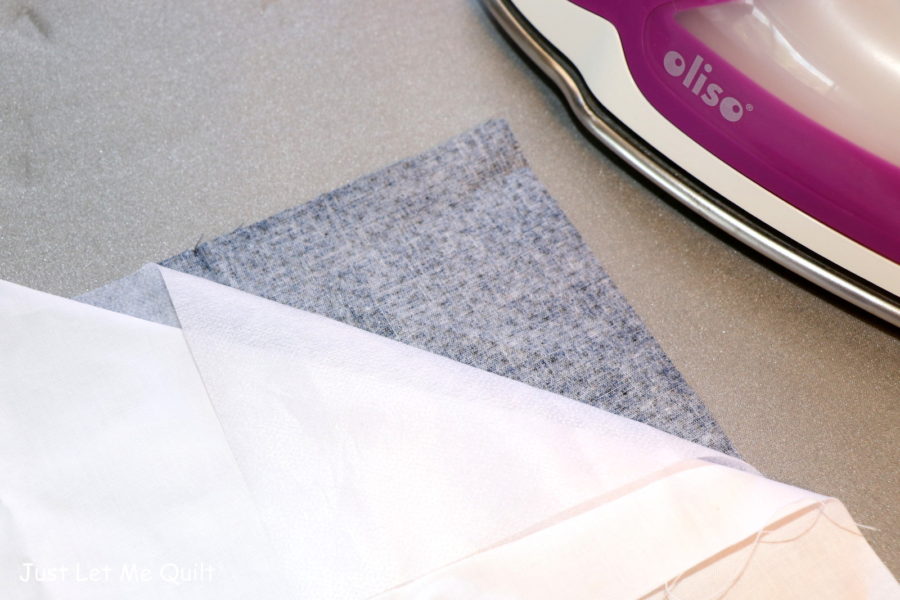
Step 3: Following Heat N Bond Fusible Interfacing – Light Weight directions, press rough side of interfacing to the wrong side of 5½” x 25½” pocket lining with your iron set at medium heat and with steam. Cover with a lightweight pressing cloth. Press and hold iron with medium pressure for 10-15 seconds. Repeat and overlap to cover all areas. Let cool.
Step 4: With right sides together, sew 5½” x 25½” pocket lining to pocket squares. Press seam towards the top. With wrong sides together, fold on the seam line and press on fabric side (do not let iron touch vinyl.)
Step 5: Following the manufacturer’s directions, press interfacing to the wrong side of 8½” x 25½” rectangle.
Step 6: Following package directions, apply 8½” x 25½” ThermOWeb Iron-on Vinyl, Gloss to 8½” x 25½” apron front. Let cool.
Step 7: With right sides up, layer apron pieces beginning with 8½” x 25½” rectangle (interfacing face down.) Next, lay folded pockets with raw edges along the bottom of the rectangle. Pin in place. Baste around sides and bottom. Topstitch on pocket seam lines; backstitch or zig-zag stitch at top to secure pocket.
Sewing Together The Pieces
Step 8: With right sides together, sew back and front of apron together on three sides; leave the top open. *The back might be slightly larger than the front with pockets. Trim to make both front and back the same size if necessary. Clip corners and turn inside out. Press seams flat on the back of apron (do not iron on the vinyl.)
Step 9: Sew three 5” x 25½” strips together end to end lengthwise. Press seams open. Fold under ¼” on both lengthwise sides, wrong sides together, and press.
Step 10: Sew tie, right sides together, to top of Step 6’s section; center and match seams. Press seam towards ties.
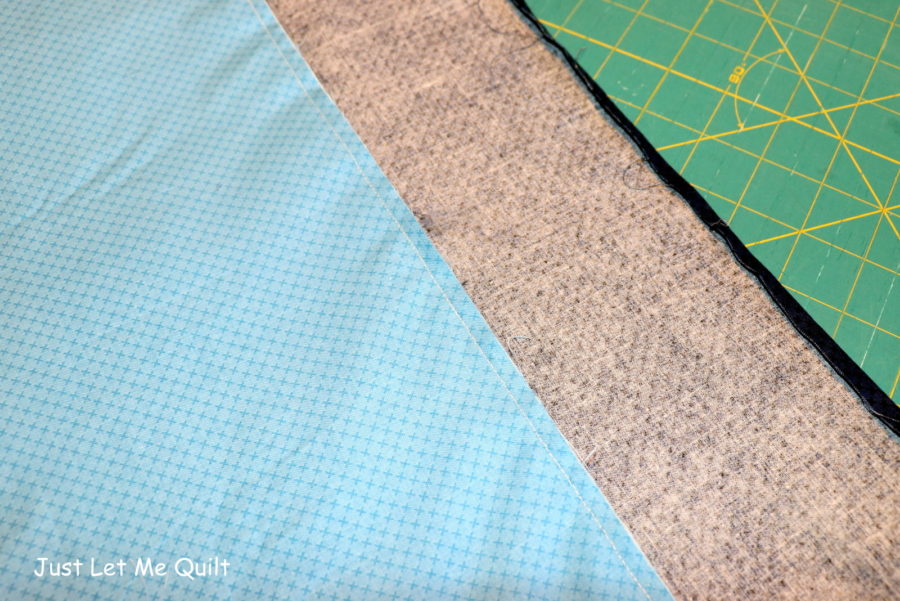
Step 11: Fold tie in half, wrong sides together. Press seam lengthwise on the fold. Open tie and fold right sides together. Sew short ends with ¼” seam. Trim corners. Turn inside out and press.
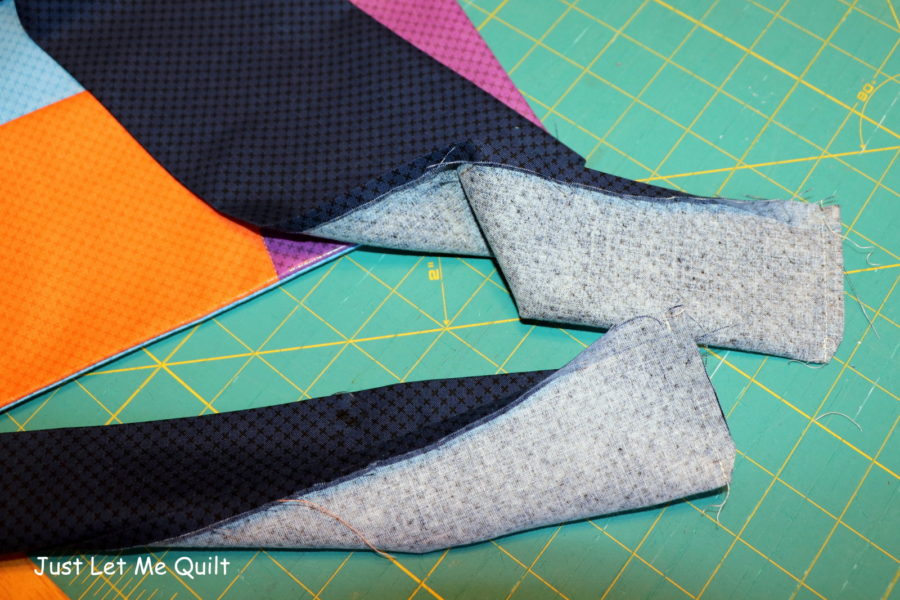
Step 12: Sew along the open edge of the tie by machine seam line by machine or by hand. Be sure to catch and cover all sides on apron and ties. Add flower if desired.
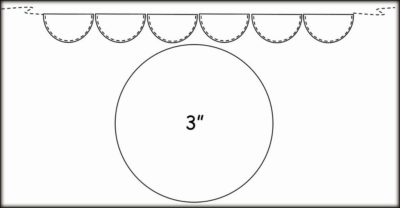
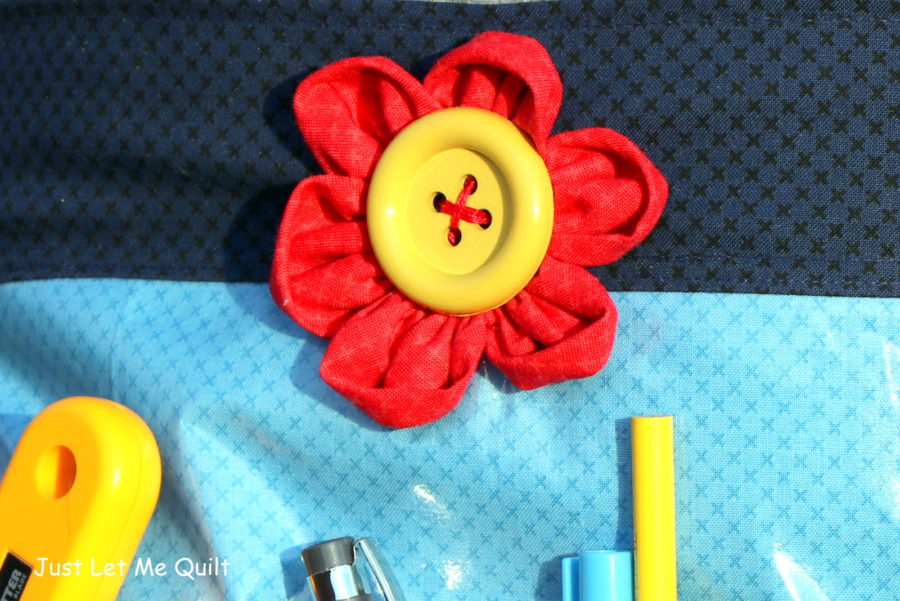
Step #13: Add a flower! Cut six 3″ circles. Fold the circles in half. Run a basting stitch through the curved side of the folded circles with one length of thread. Embroidery thread is good for basting the halves—it’s stronger than regular thread. Pull the thread to gather the halves. Tack the first and last half circles together with a small stitch. Add a button to finish the flower and attach to apron tie.
Joan
August 28, 2019 at 9:26 am (5 years ago)Too cute and I love working with iron on vinyl!