HeatnBond Ice Cream Cone Costume
Halloween is literally right around the corner! Here is a quick and easy sweatshirt Ice Cream Cone costume. All you need is some Heat N Bond, several colors of fabric, and a sweatshirt. Check out more fun tutorials over on Sew What Alicia! 
Heat N Bond Ice Cream Cone Costume
Supplies:
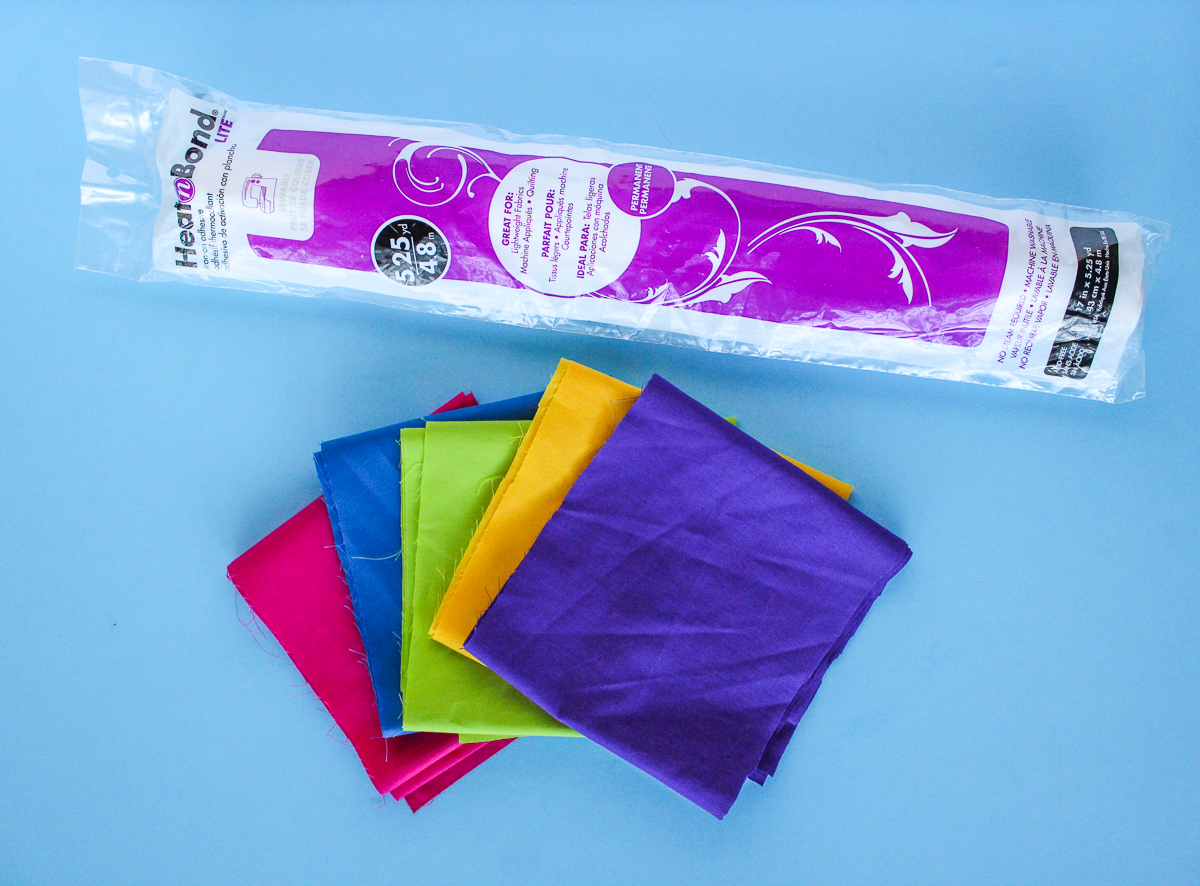
Heat N Bond Lite Fusible Adhesive
White Sweatshirt
1/8 yard pink, purple, green, blue, and yellow fabrics
1/2 yard brown fabric
Sprinkle Template (PDF or svg)
Chocolate Sauce Template (PDF or svg)
Ice Cream Cone Costume Instructions:
Cut each 1/8 yard of colorful fabric in half, this should be exactly the length of the Heat N bond. Iron a piece of Heat N Bond onto each half 1/8 yard of fabric.
Cut two squares of brown fabric that measure 12″. Iron Heat N Bond onto each of these squares.
Use the PDF’s to trace the sprinkles onto the colorful fabric and the chocolate sauce pieces onto the brown fabric. Then use scissors to cut these pieces out.
OR
Use the SVG’s to cut the sprinkles and chocolate sauce from the fabric with a cutting machine, such as the Cricut or Silhouette.
Now using a hot iron randomly place the sprinkles onto the sweatshirt (you could also use a t-shirt.) Place the chocolate sauce around the neck of the sweatshirt. Depending on the neck size you may have to notch the curved edge to get it to lie flat.
Attach a red balloon to a hair tie, a bobby pin, or even a headband to wear as the cherry on top. Or simply tape it to the top of the hood (if you want to wear the hood up the whole time!)
This is a quick and easy one! Change the color of the sweatshirt to change the flavor of the ice cream! Make one for the whole family today!
Pin this Project Now!
Check out these other adorable Halloween projects that I have been working on! No Sew Halloween Decor, Resting Witch Face Cut File, and Trick or Treat Bag.

Connect with Sew What Alicia
Facebook // Pinterest // Instagram // Twitter





margessw
October 26, 2017 at 8:30 am (8 years ago)This costume is soooo fun !! Thanks for sharing the technique.