


Hey ya’ll, it’s Jamie Mueller of Sunflower Quilts with another fun and quick project to get you ready for all of your summer traveling plans!
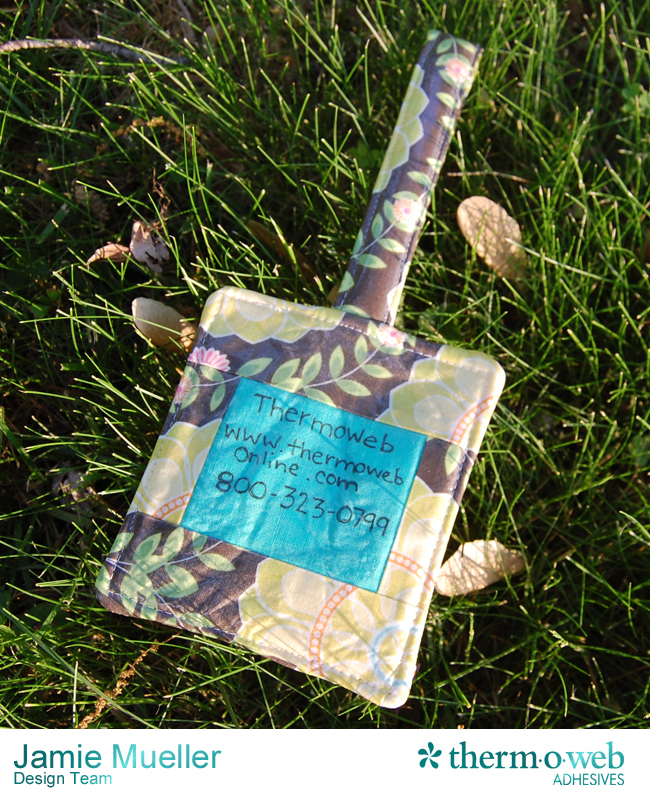
Finished Size: 4” X 4 ½”
Supplies:
Print Fabric
Solid Fabric
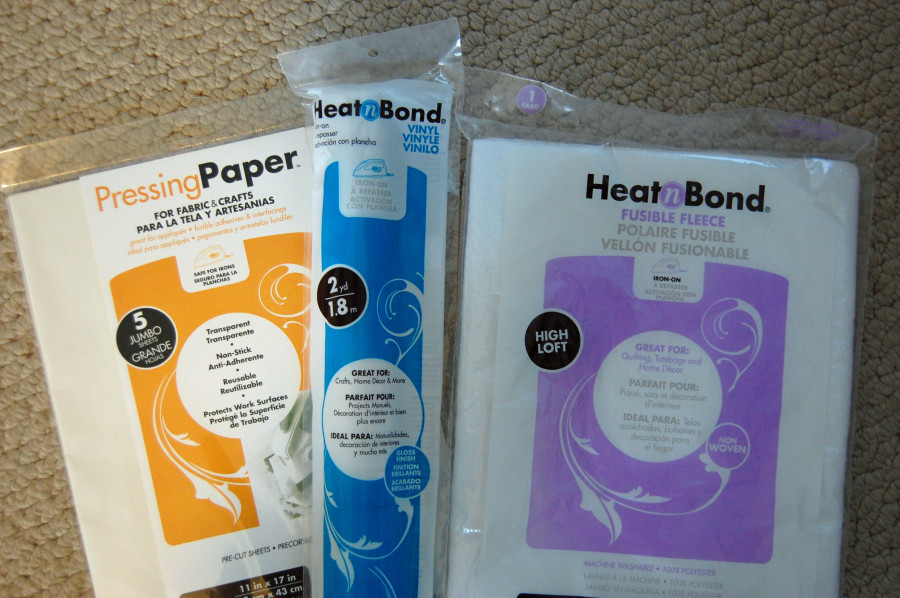
Pressing Sheets
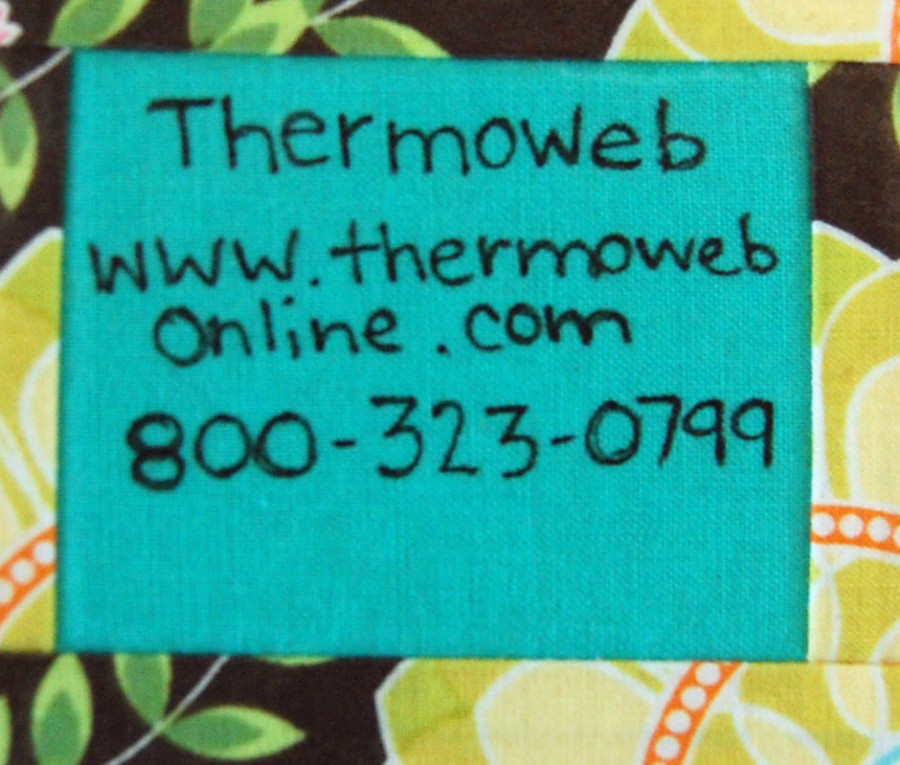
Fabric Pen
Cutting Directions:
From Print Fabric cut:
1- 4 ½” x 5” piece
1- 3” x 10” piece
2- 1 ¼” x 2 ½” pieces
2- 1 ¾” x 4 ½” pieces
From Solid Fabric cut:
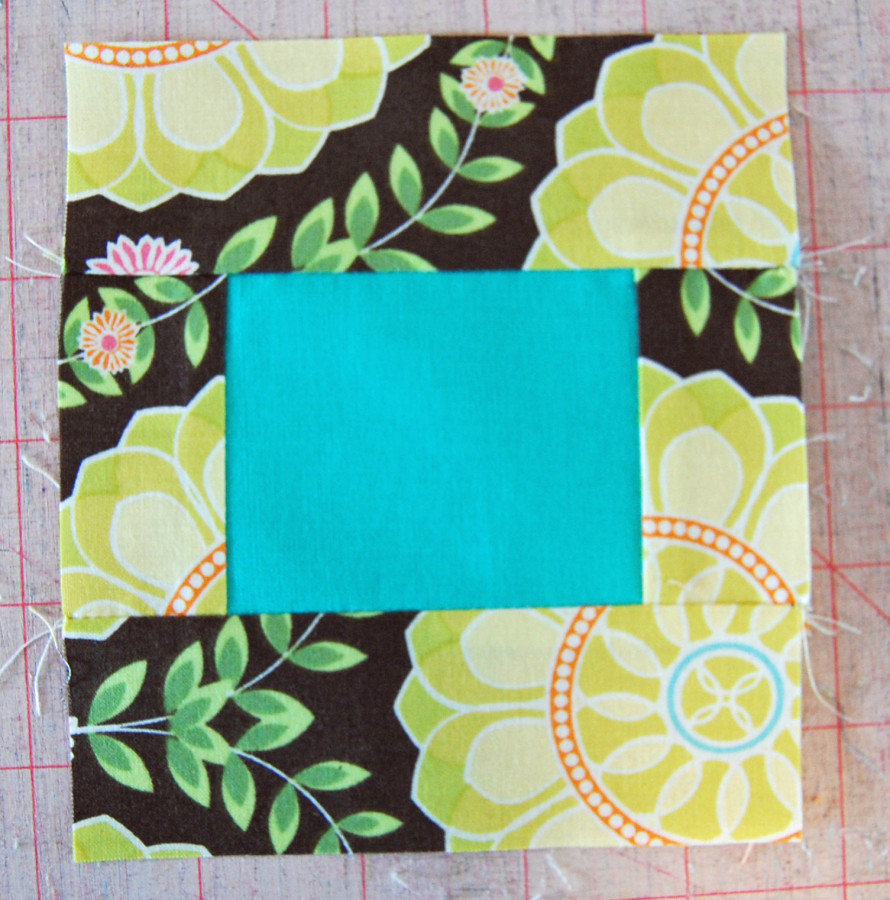
1- 2 ½” x 3” piece
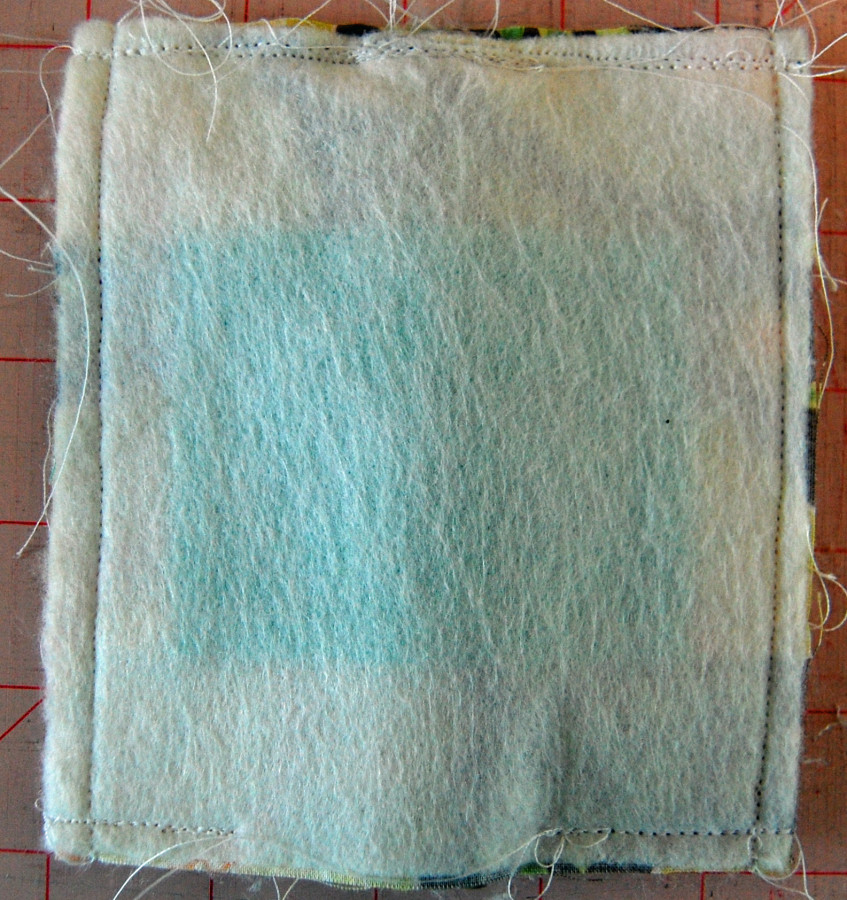
From HeatnBond Vinyl and HeatnBond Fusible Fleece cut:
2- 4 ½” x 5” pieces
1- 3” x 10” piece
Assembly:
- Take 1- ¼” x 2 ½” print fabric piece and sew along the 2 ½” side of the 2 ½” x 3” solid fabric piece. Repeat with the other 1 ¼” x 2 ½” print fabric piece sewing along opposite 2 ½” side of solid fabric piece. Press away from solid piece.
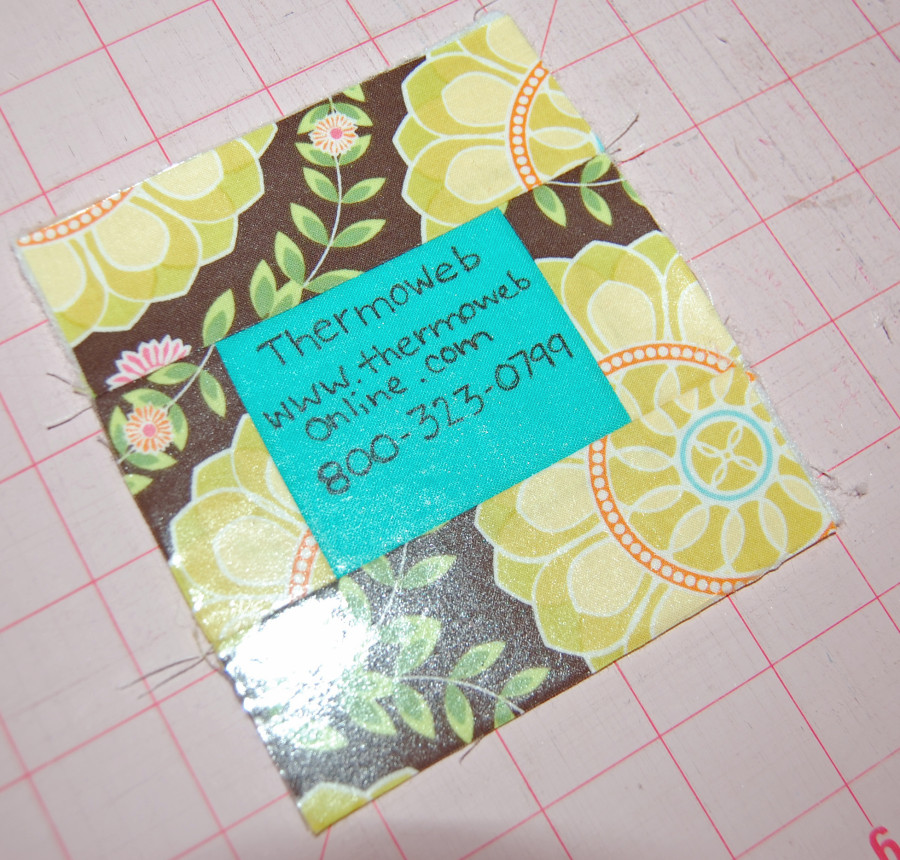
- Take 1- 1 ¾” x 4 ½” print fabric piece and sew along the 4 ½” side of the pieced block from step 1. Repeat with the other 1 ¾” x 4 ½” print fabric piece sewing along opposite 4 ½” side of pieced block. Press away from solid fabric. You will have a 4 ½” x 5” piece for the front of the luggage tag.
5. Using a LOW iron setting and following package instructions, apply HeatnBond Iron-On Vinyl to the RIGHT side of fabric pieces. 2- 4 ½” x 5” tag pieces and 1- 3” x 10” strap piece.
*TIP: ALWAYS use a pressing sheet on top of vinyl when ironing so you don’t burn through the vinyl.
Strap Assembly:
- Fold the strap in half lengthwise and finger press to create a crease in the center.
- Open and fold each long side to center crease and then fold in half lengthwise. Using a pressing sheet, press. Topstitch to secure strap.

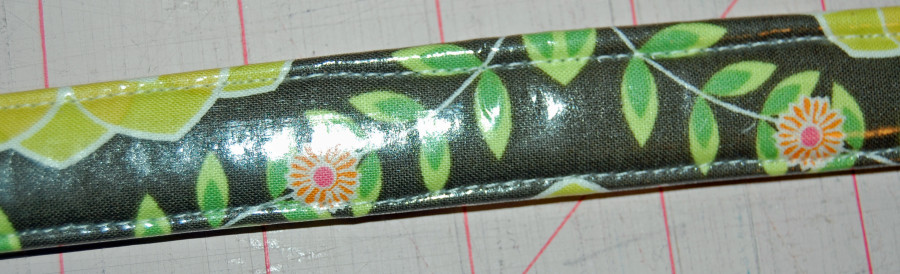
*TIP: lengthen your stitch length for easier sewing on HeatnBond® Iron-On Vinyl.
Tag Assembly:
- Fold strap in half and line up along the top of the 4 ½” x 5” piece with address written on it. Secure strap by sewing using 1/8” seam allowance.
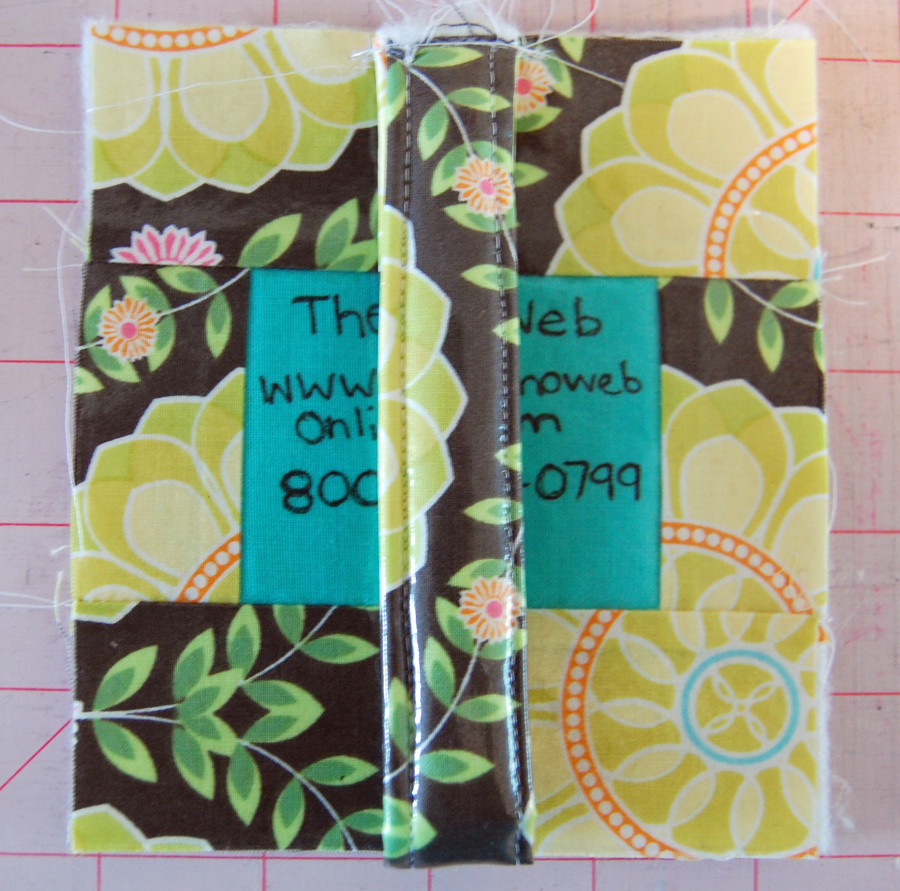
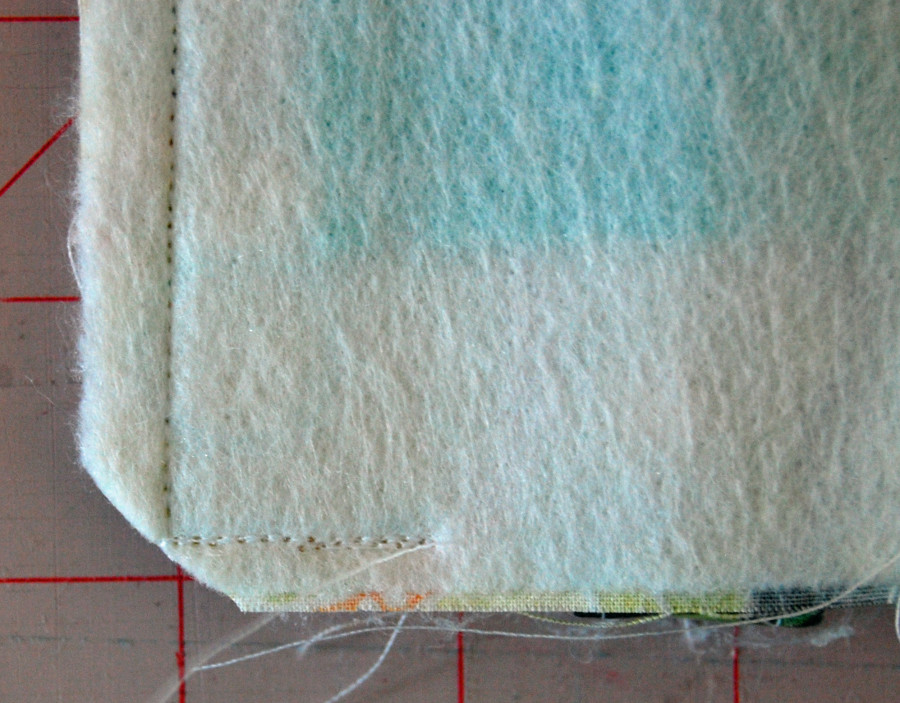
5. Topstitch around all 4 sides of tag being sure to close opening along bottom of tag.
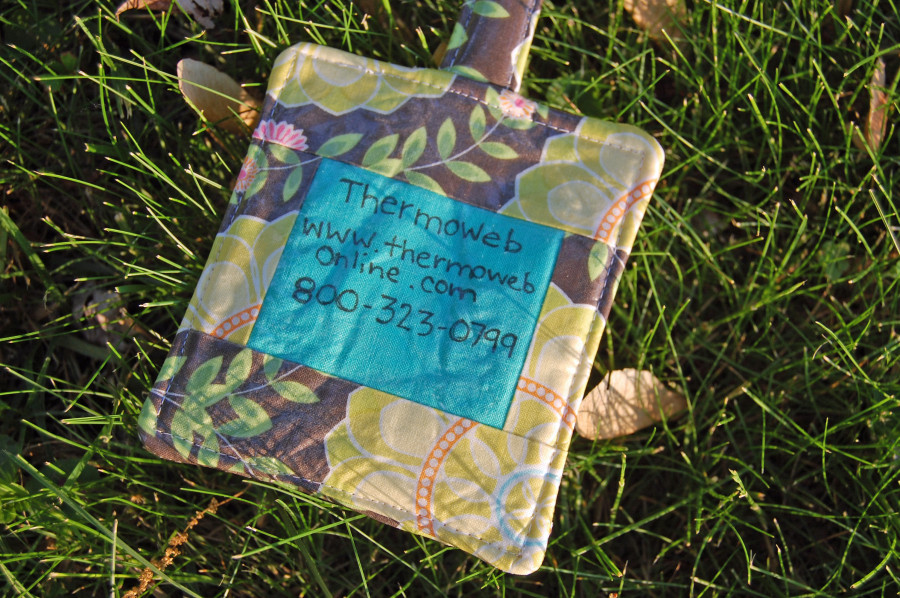

Be sure to visit our Booth #2237 to learn about our new iCraft® Deco Foils™ and all the ways to use with fabric! We’ll see you there!
