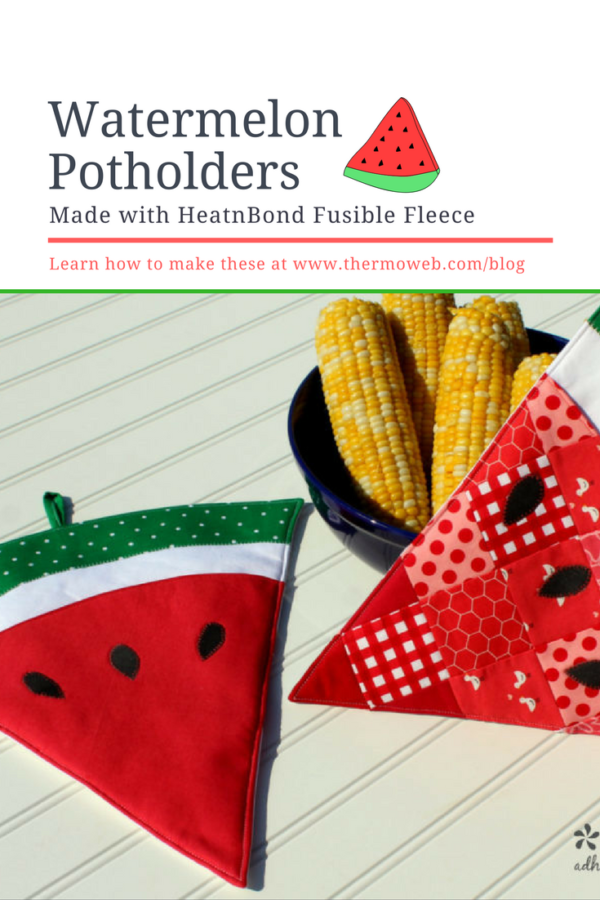
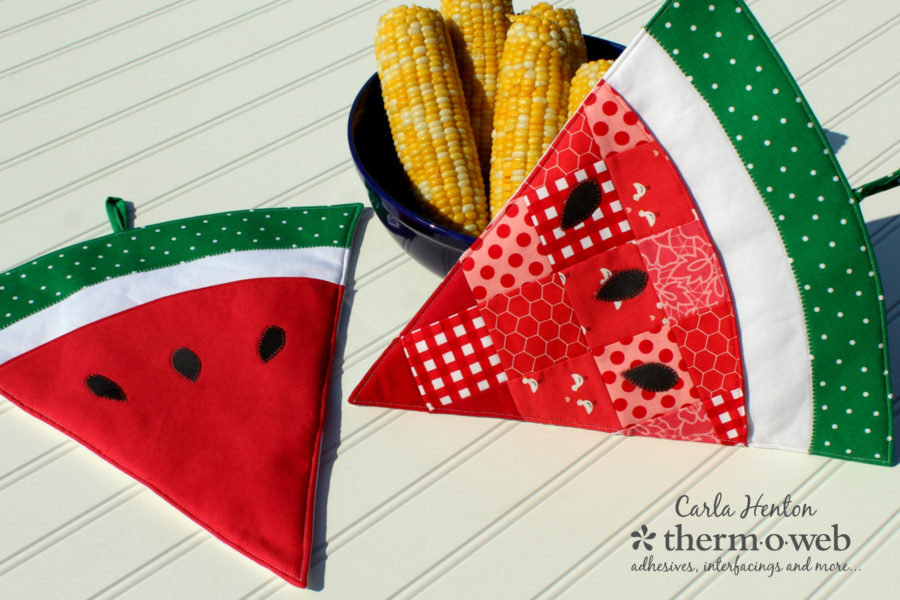
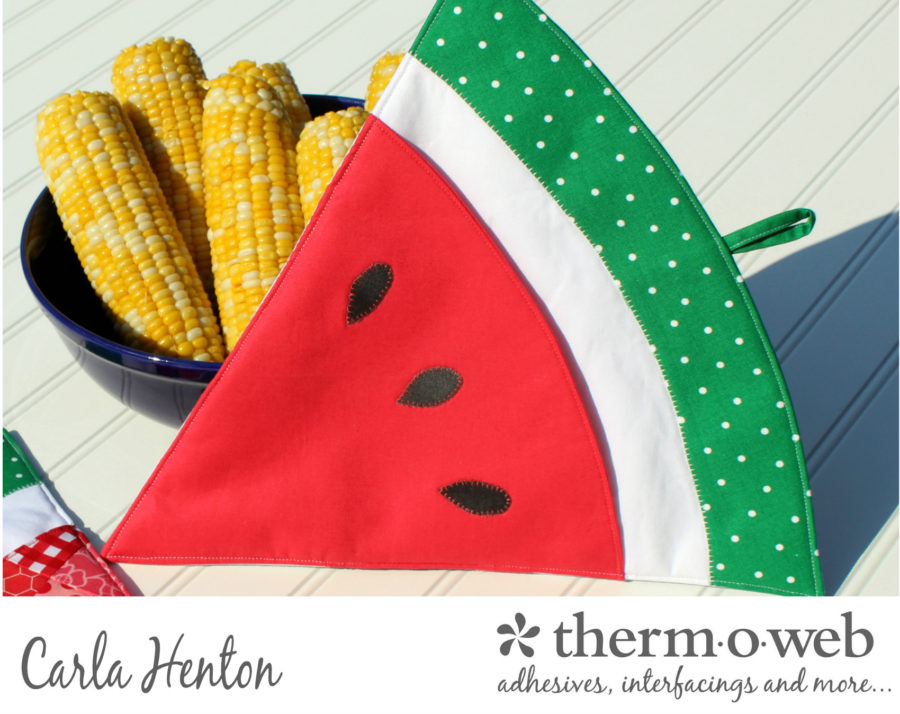
The last days of summer are the best for fresh fruits and vegetables and bar b ques are in full swing. There is nothing better than juicy watermelon on a hot sunny afternoon. This quick project celebrates the end of summer and would make a great hostess gift for your Labor Day gatherings. These oven mitts are a large 13″ for even the kings of the grill and would make a great addition to any summer decor.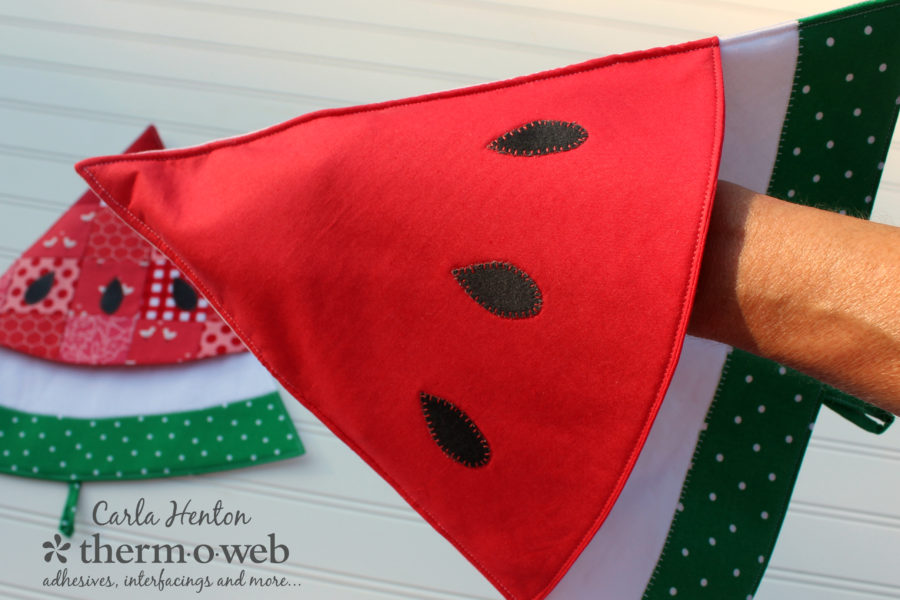
Watermelon Slice Oven Mitts Potholder
By Carla Henton at Creatin’ in the Sticks
Finished size: 13” x 13”
Supplies:
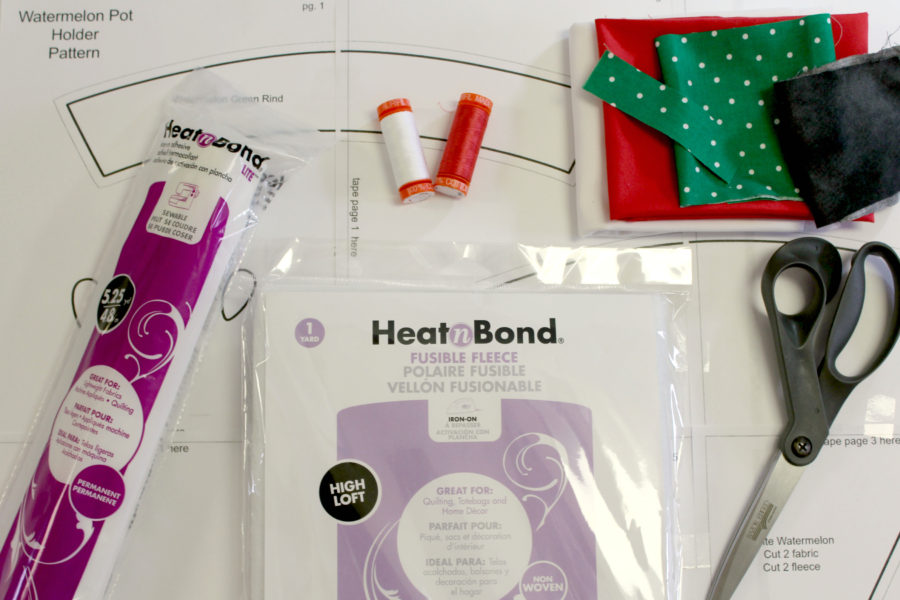
HeatnBond® Lite iron on adhesive
You can download the free PDF pattern HERE
Iron – (I love my Oliso Pro)
Aurifl 50 wt. thread: #2024 and #5002
general sewing supplies: scissors, thread, etc.
Fabric:
Green fabric: Hanging loop – 1” x 4”
Rind – 4” x 14”
White fabric: ½ yard
Red fabric: 1 fat quarter
Black fabric: small scrap for seeds
(To make the patchwork watermelon: 25 – 2 ½” assorted red squares sewn in a 5-square x 5-square grid to make the top red fabric to cut out the pattern. Another red triangle will need to be cut and the rest of the instructions are the same.)
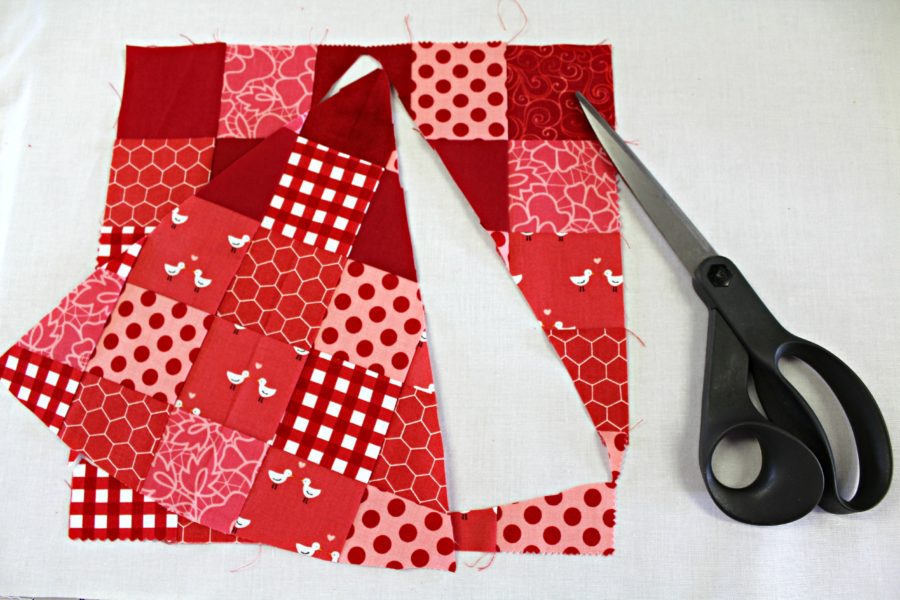
Watermelon Oven Mitts Potholder Instructions:
step 1:
Tape the pattern together where indicated and lining up the dotted lines.
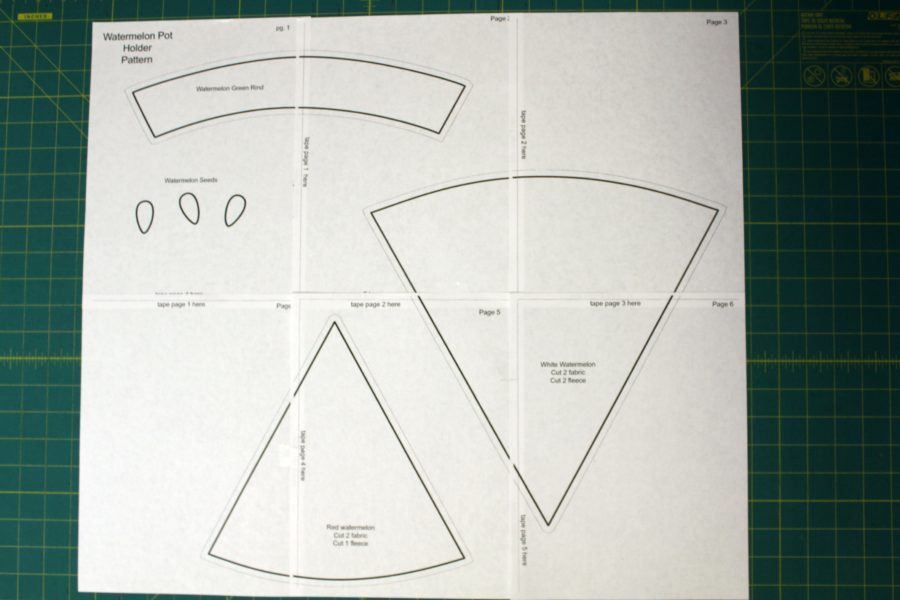
The seeds and green rind are traced on the paper side of Heat N Bond lite. The rest of the pattern will need to be cut out and the fabric and fleece cut as suggested on the pattern pieces.
From the small triangle cut 2 red fabric pieces and 1 piece from HeatNBond fusible fleece and from the large triangle cut 2 white fabric pieces and 2 pieces of fusible fleece. Trim the ¼” seam allowances away from the fleece.
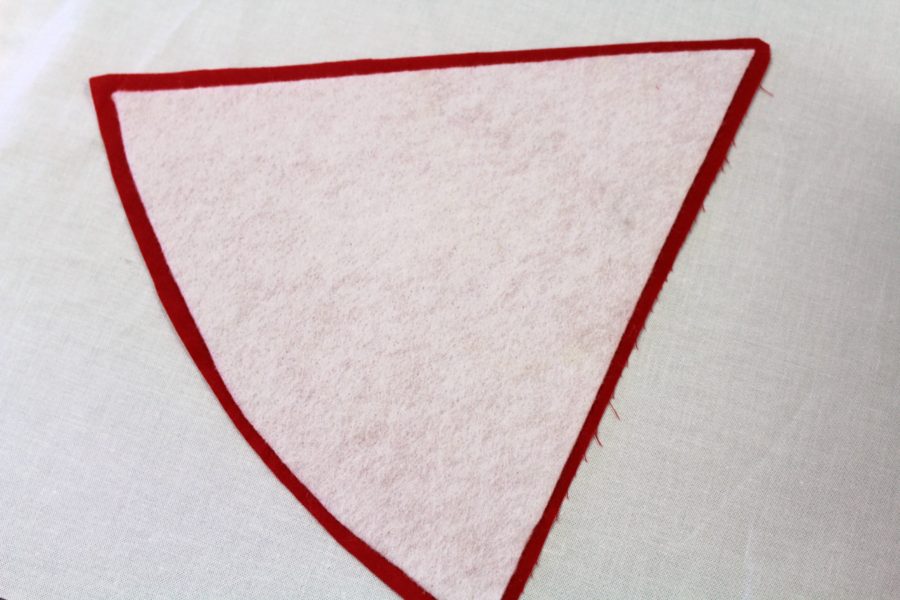
Fuse the fleece (rough side) to the wrong side of both pieces of white fabric and to one of the red pieces following the package directions.
Step 2:
Trace the seeds and green rind on the paper side of HeatNBond lite. Fuse the pieces onto the wrong sides of the fabrics and cut them out.
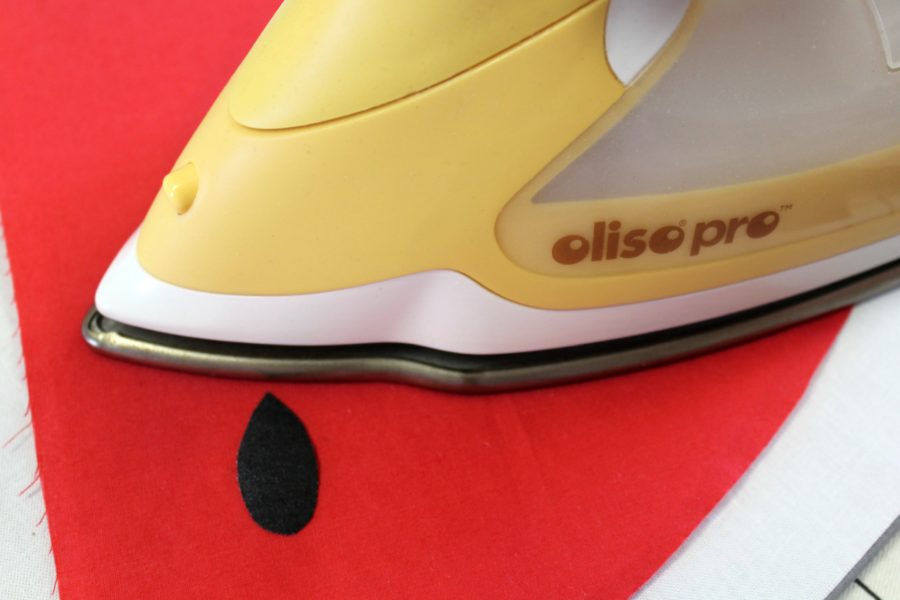
Place the seed pieces onto the red piece that has fleece fused and bond them with an iron using the package directions. This is the top front of the hot pad. Repeat this step with the green rind. Bond it to the bottom of one of the white triangles. This is the bottom front of the hot pad. Stitch around the seeds with your choice of stitches (straight, zigzag, or blanket). Next stitch the top of the rind that meets the white. The rest of the edges will be tucked in the seam and do not need to be stitched.
Watermelon Oven Mitt Potholder Step 3:
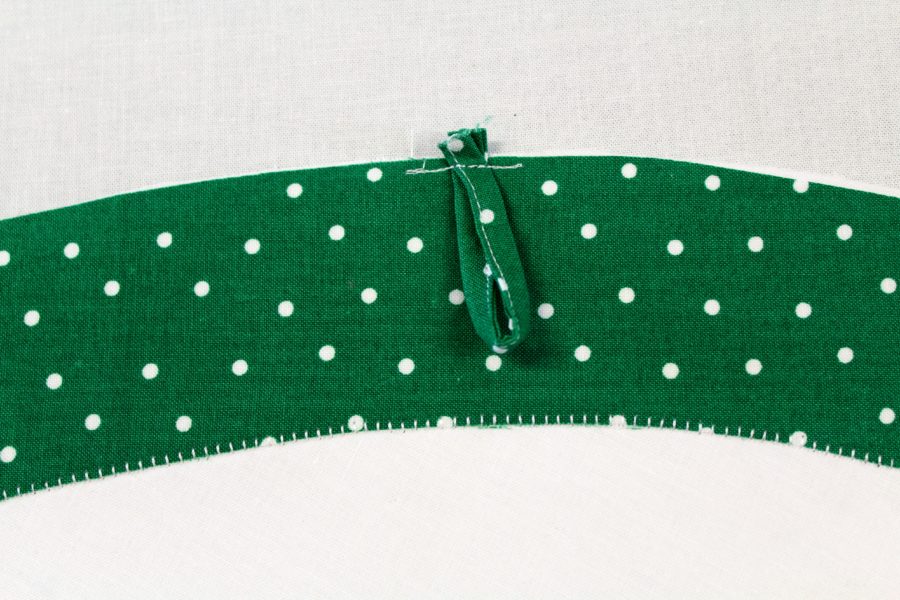
To make the hanging loop, fold the 1”x 4” piece of fabric lengthwise and press. Open it up and fold both side edges to meet in the middle lengthwise where the fold mark is and press. Now fold the unit together lengthwise and the raw edges are tucked in the middle. Stitch lengthwise along the edge. Fold the white and green triangle in the middle lengthwise to mark the bottom middle of the watermelon slice. This is where the loop will be placed. Stitch 1/8” across both ends of the loop as shown.
Step 4:
With right sides together, pin both red pieces and stitch around the bottom with a ¼” seam around the curve. Clip the seam allowance up to the stitching but not into the stitching, turn right side out, and press. Top stitch around the curve.
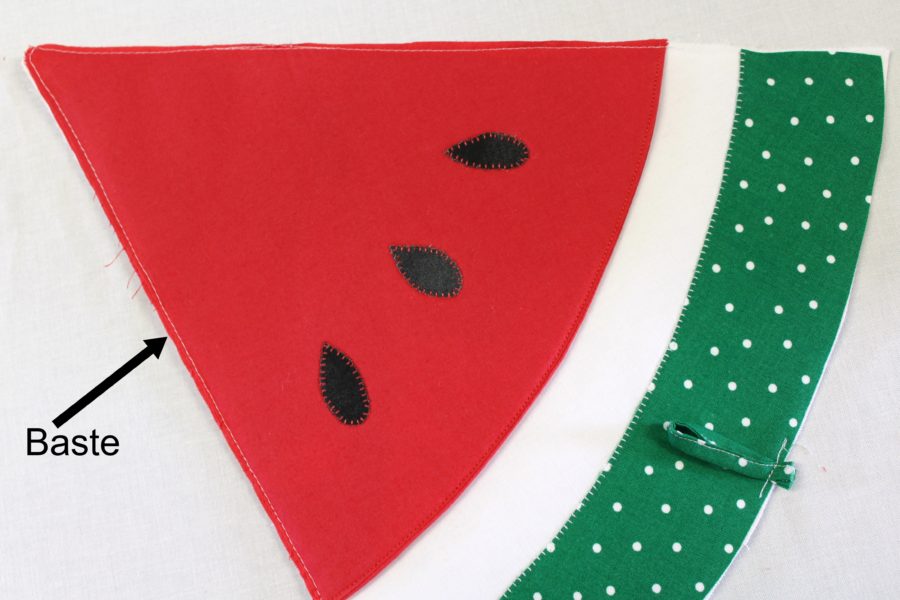
Place the red watermelon top on the prepared watermelon bottom and baste the straight sides 1/8” from the edges.
Step 5:
Pin pot holder back (the fleece backed white triangle) to the basted front, right sides together. Stitch a ¼” seam around the watermelon slice leaving a 3” opening on one straight side for turning it right side out. Clip the seams on the curve as was done in step 4 and trim all the points close to the seam.
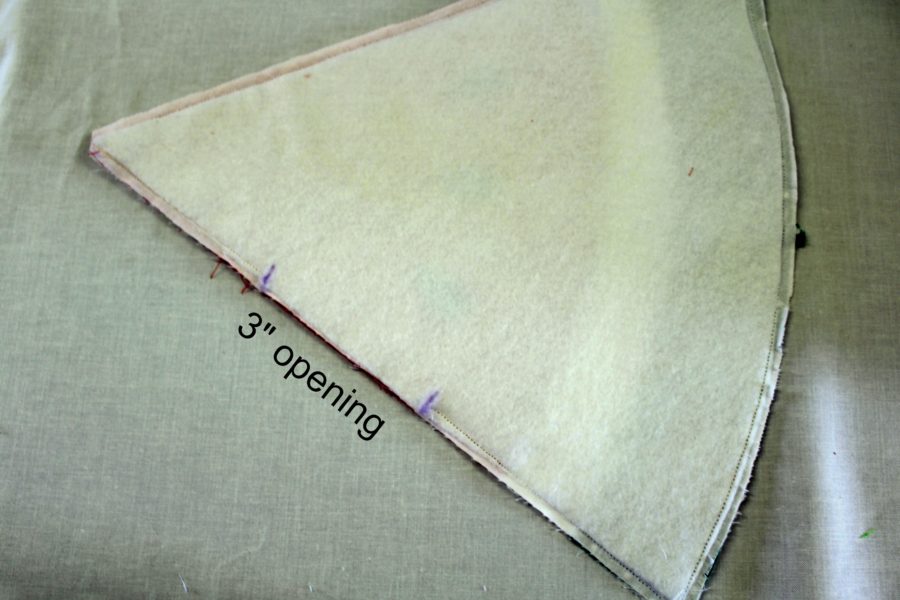
Turn the watermelon right side out and gently push out seams paying close attention to the points.Turn the opening in ¼” and slip stitch closed or catch it in the seam with the next step of top stitching close to the edge all around the watermelon.
I never want summer to end. Let’s go have a picnic. You bring the watermelon!
Carla

Livia Popovich
July 4, 2021 at 9:56 am (4 years ago)How can I get the free pattern for the watermelon potholders
admin
July 8, 2021 at 2:21 pm (4 years ago)Thank you for contacting us! We have updated the link information in the tutorial post with the updated information. And I am adding it here for your convenience. Watermelon/Cherry Pattern
Livia Popovich
July 8, 2021 at 2:35 pm (4 years ago)Thank you so very much for the pattern, my friend and I are very excited to make this project