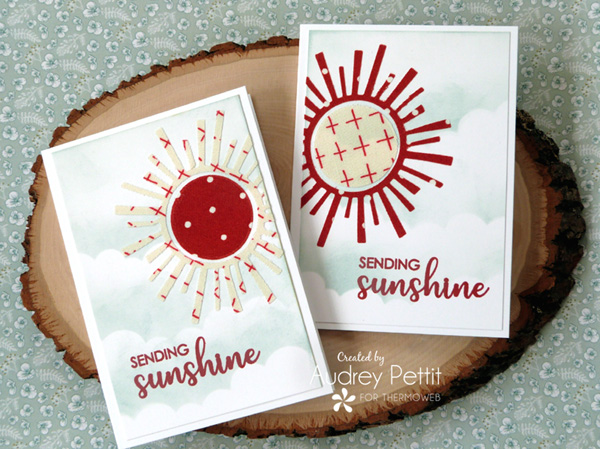
We are having fun adding fabric to our paper crafting projects here on the Therm O Web blog this week. Join me today as I share this sweet and easy-to-create pair of note-cards that feature fabric applique die cuts made with our HeatnBond Lite iron-on adhesive.
HeatnBond Fabric Notecards
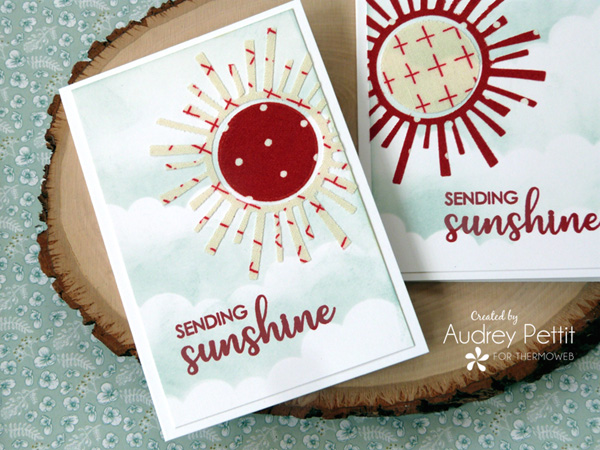
You would think HeatnBond would work only for fabric to fabric applications, but it works equally well on paper. It was one of my crazier experiments to iron-on paper, but the process works like a charm and will open a whole new world of paper-crafting possibilities. Let’s take a closer look.
You will need:
ThermOWeb Supplies:
Rina K Designs StampnStencil Stamp Set: Sending Sunshine
HeatnBond Lite Iron-On Adhesive
XL Memory Tape Runner
iCraft Purple Tape
Cardstock: Gina K Designs Premium Cardstock Luxury White
Other Supplies:
Dies: Sizzix Circle Play Thinlits Die Set
Taylored Expressions Cloud Border Die
Ink: GinaK Designs Premium Dye Ink: Red Velvet, Ranger Distress Oxide Ink: Speckled Egg
Ink Blending Tool: Ranger Ink
Fabric: Moda
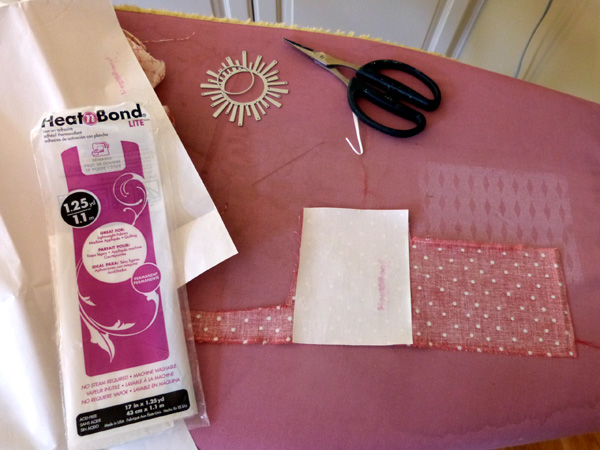
HeatnBond Lite Iron-On Fusible Adhesive
To begin, iron a piece of printed cotton fabric that is big enough to fit both pieces of the sun dies we will use in this project. Trim a piece of HeatnBond Lite that will fit the needed fabric. Place the bumpy glue side of the adhesive sheet down onto the back of the fabric, and iron it in place following the directions on the packaging. Keep the paper backing in place. Repeat the process on a second contrasting pattern fabric.
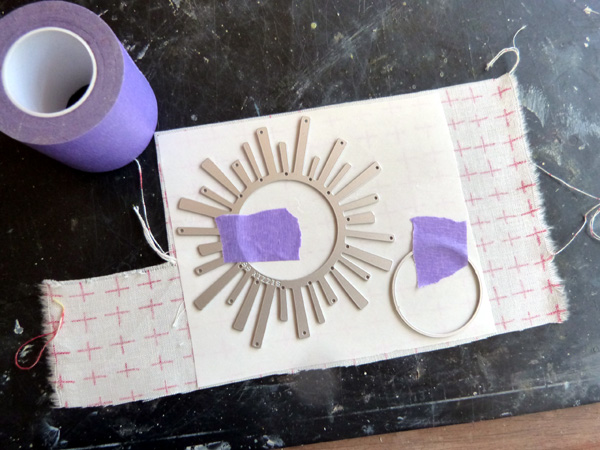
Purple Tape for die-cutting
Place the dies, cutting side down, onto the back of the fabric. Hold the dies in place with Purple Tape, and then run the fabric through your die cutting machine.
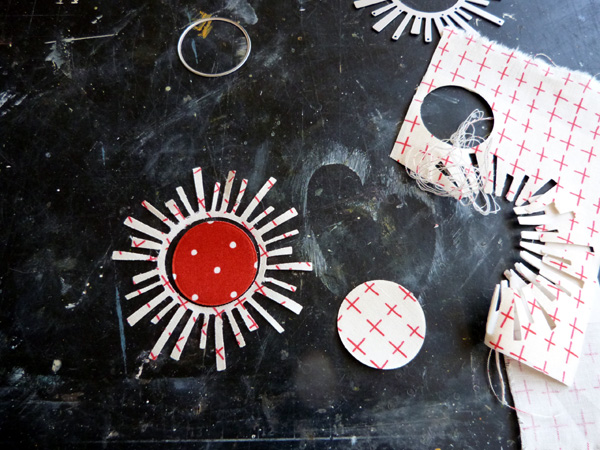
The paper backing on the HeatnBond Lite helps stabilize the fabric while die-cutting, and you can see how cleanly the fabric cuts. You may need to run the fabric back and forth several times in your die cutting machine to make sure it cuts all the way around. Or try using the steel precision base cutting plate, if you have one. I used my regular cutting plates, and with several passes through, the dies cut perfectly.
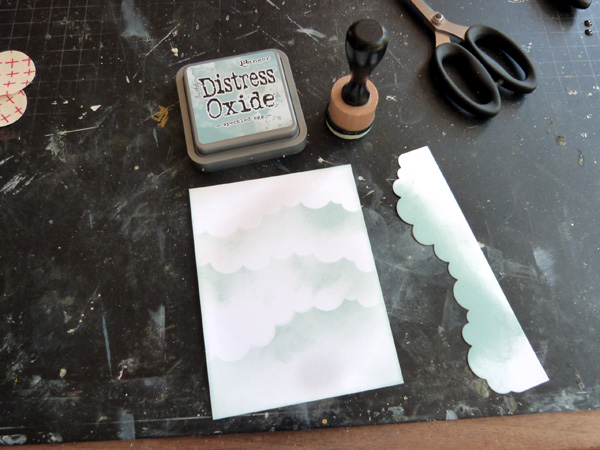
Cut two 3.25 x4.75 pieces of white cardstock. Die-cut the cloud border from a scrap piece of cardstock. Using the cloud border as a mask, ink cloud shapes onto the cardstock using Speckled Egg Distress Oxide ink and an ink blending tool.
Press onto paper
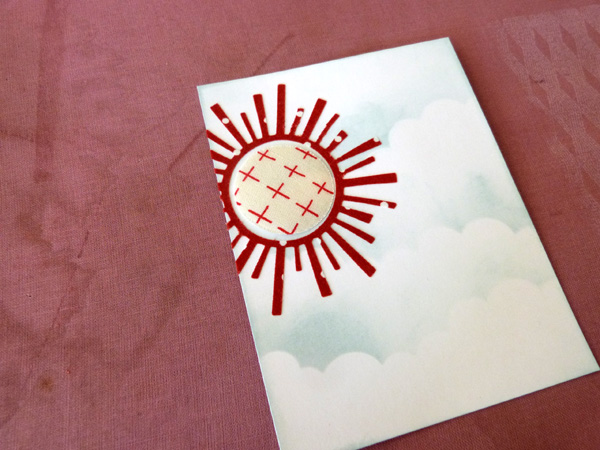
Remove the paper lining from the HeatnBond Lite adhesive die-cut shapes. Place the shapes onto the cardstock (with the right side of the fabric up), arranging the sun pieces how you’d like them placed. Move the cardstock to your ironing board. If you can, trim off any excess fabric that hangs over the side…. or add a protective fabric over your ironing board cover to protect it from the hot adhesive glue.
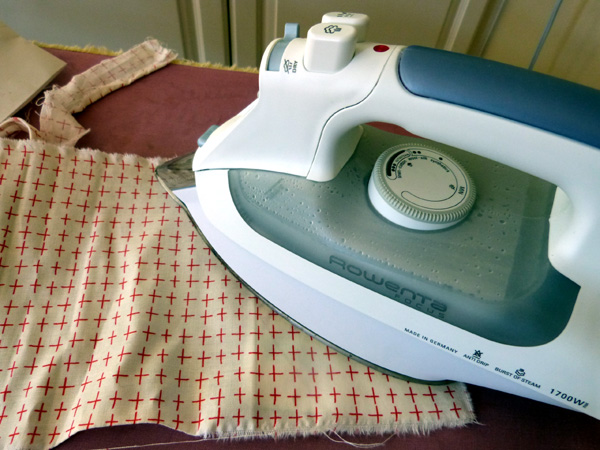
Carefully place a piece of thin cotton fabric over the cardstock, and press the paper gently for just a few seconds with your iron.
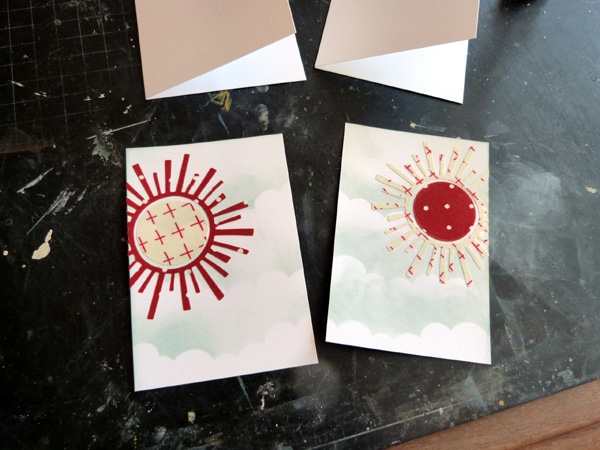
Repeat the process with the second cardstock panel. Trim off any excess fabric that hangs over the edge of the cardstock, if you still need to. Create a 3.5 x 5 card bases from white cardstock.
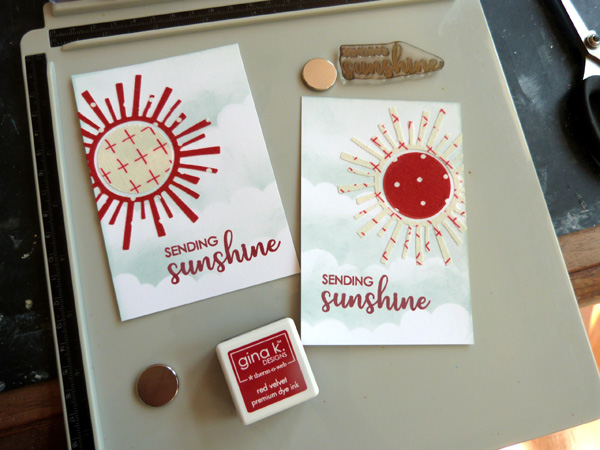
Stamp the Sending Sunshine sentiment onto the card panels using red ink. And finally, adhere the panels to the card base.
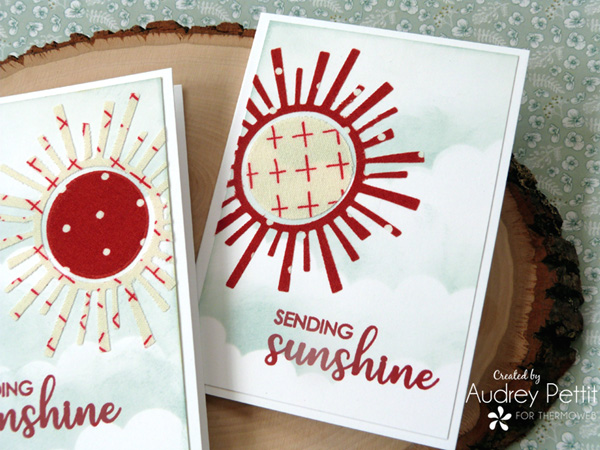
I think these note-cards are so fun and whimsical, and they are a great way to use up some of those smaller fabric scraps you may be holding onto. The Heatn’Bond Lite makes for quick and easy die-cutting and iron-on application and totally eliminates any need to add machine or hand sewing to the cards if that’s not your thing.
Enjoy!
