


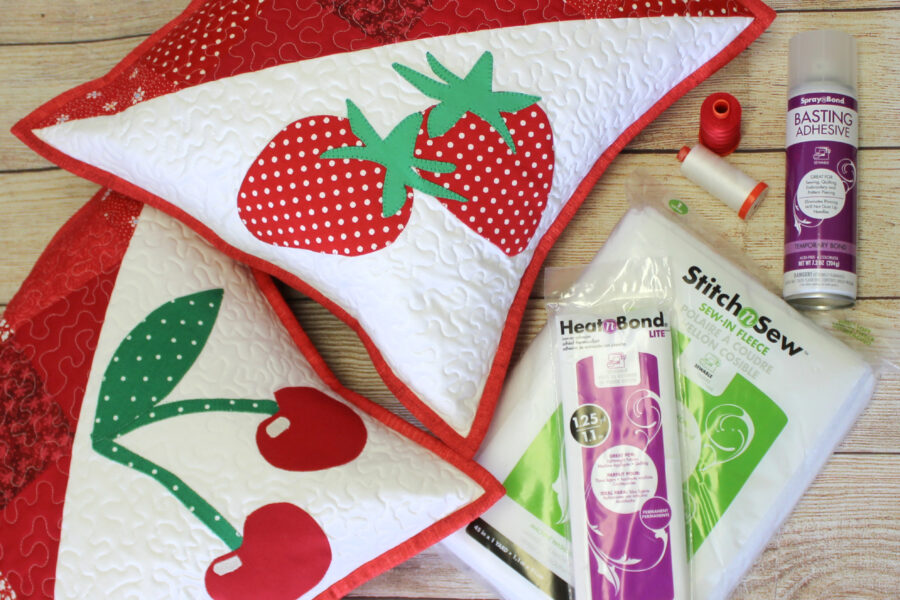
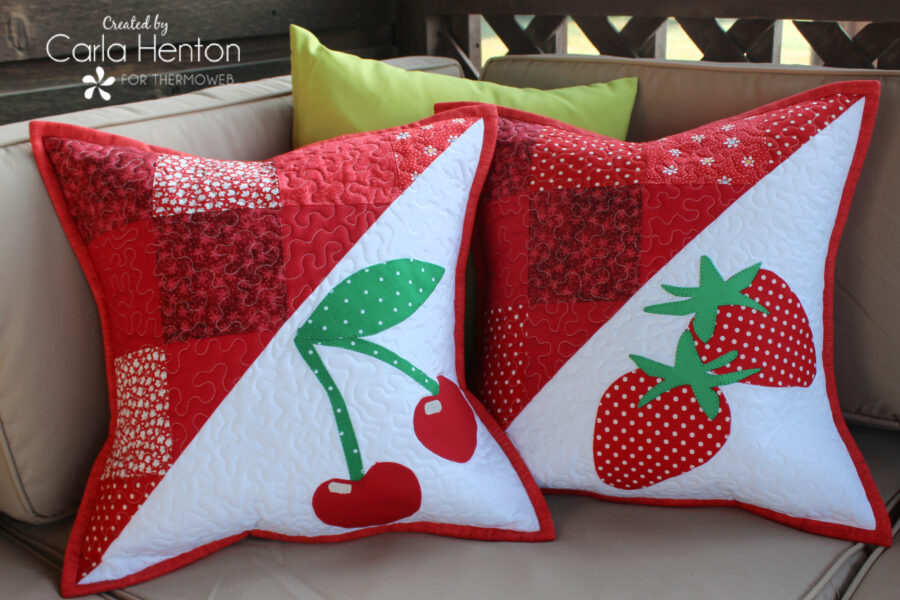
It’s heating up outside and it’s time for some mouth-watering fruity decor. Carla from Creatin’ in the Sticks is on the blog today with the cutest cherry and strawberry pillows. HeatnBond Lite makes applique so easy to make two pillow covers in a day.
![]()
HeatnBond Cherry & Strawberry Fruit Applique and Patchwork Pillows
By Carla Henton at Creatin’ in the Sticks
Finished size: 17″ x 17″
please read through the complete instructions before starting.
Supplies:
supplies are for two 16” pillows
Pattern for appliques: Click – Make 2 HeatnBond Fruit Applique and Patchwork Pillows
HeatnBond Lite Iron-On Adhesive
StitchnSew High Loft Sew-In Fleece – Two 17 ½” squares.
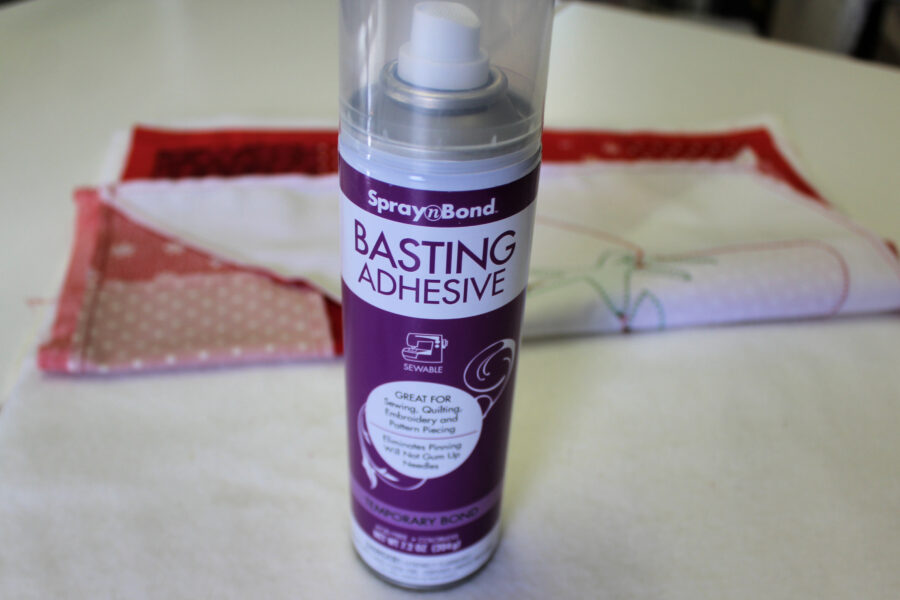
SpraynBond Basting Adhesive Fabric Spray
Cotton fabric:
Red
16 assorted 4 ½” fabric squares
4 strips 1” x 16” and 4 strips 1 “ x 17”
Two 5 ½” squares for strawberry appliques and two 4” squares for cherries
4 rectangles 11” x 17” for pillow backings
White
One 16 ½” square
A small scrap for cherry highlights appliques
Green
Two rectangles 3 ½” x 4 ½” for strawberry leaves
One rectangle 2 ½” x 7” for cherry leaf and 2 rectangles 1 ½” x 6” for cherry stems
Other fabric:
Muslin
Two 18” squares (will not be seen in the finished project)
Other supplies:
Aurifil 50 wt thread: #2250, #2870, and #2021
Two 16″ pillow forms
Erasable fabric marking pen, InkJet Printer, Iron (I love my pink Oliso), Permanent Marker for tracing, Sharp scissors, Sewing Machine, and general sewing supplies
Step 1 – Prepare the patchwork background for two pillows:
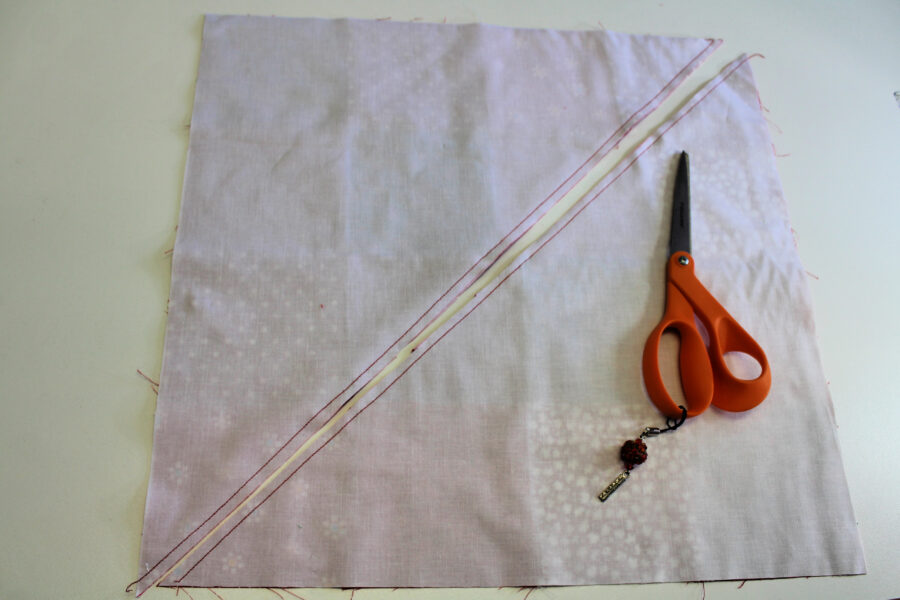
Stitch the 4 ½” red fabric squares together with ¼” seams in a 4 x 4 grid. Press the seams of the red squares. The measurement should be 16 1/2″ x 16 1/2″. Next, draw a diagonal line across the wrong side of the 16 1/2″ white square with an erasable fabric marking pen. Pin the red squares unit to the white square with right sides together. The drawn diagonal line should be up. Stitch 1/4″ from the drawn line on both sides of the line. Finally, cut on the drawn line to make 2 half-square triangle units and press. Trim the units to 16″ if neccessary.
Stitch the 1″ strips to each of the half-square triangle units to frame each pillow background. Press both of the pillow background pieces. They should be 17″ square.
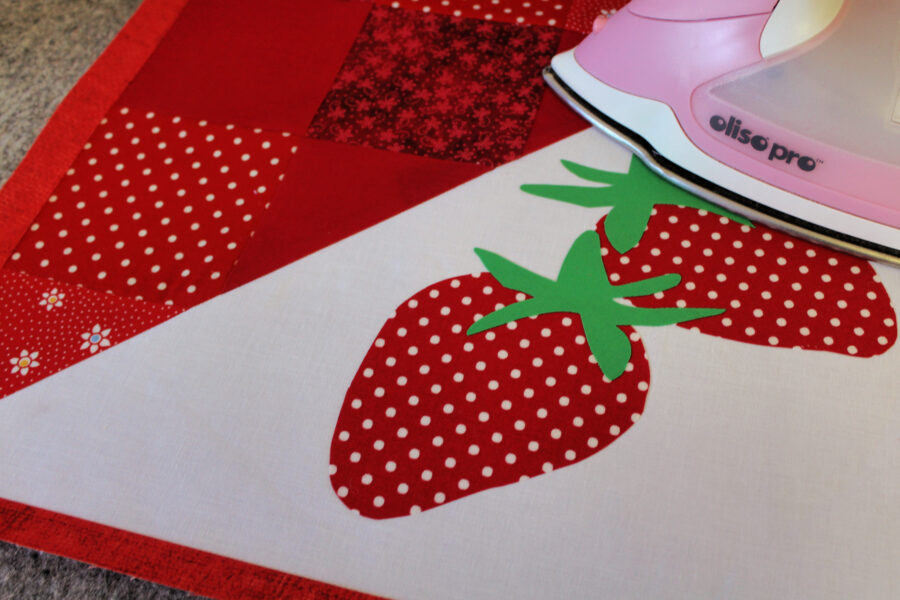
Step 2 – HeatnBond Fruit Applique:
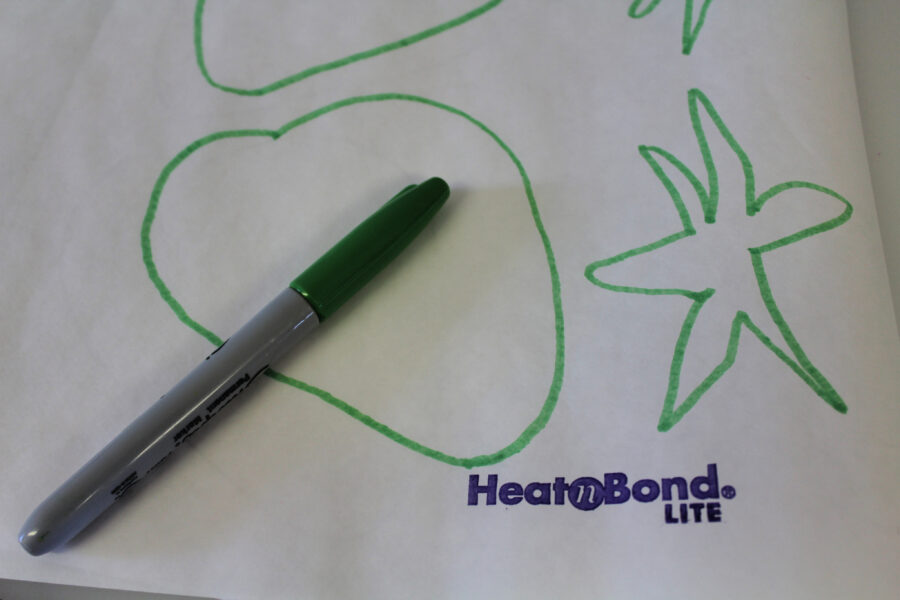
Print the patterns and trace all the templates onto the paper side of the HeatnBond Lite Fusible Web Adhesive. The patterns have been reversed for you.
Place the template pieces, fusible web side down, on the wrong side of the cotton fabrics. Working in sections for 2 seconds at a time, press the fusible web to the wrong side of the fabrics with an iron on high heat and no steam.
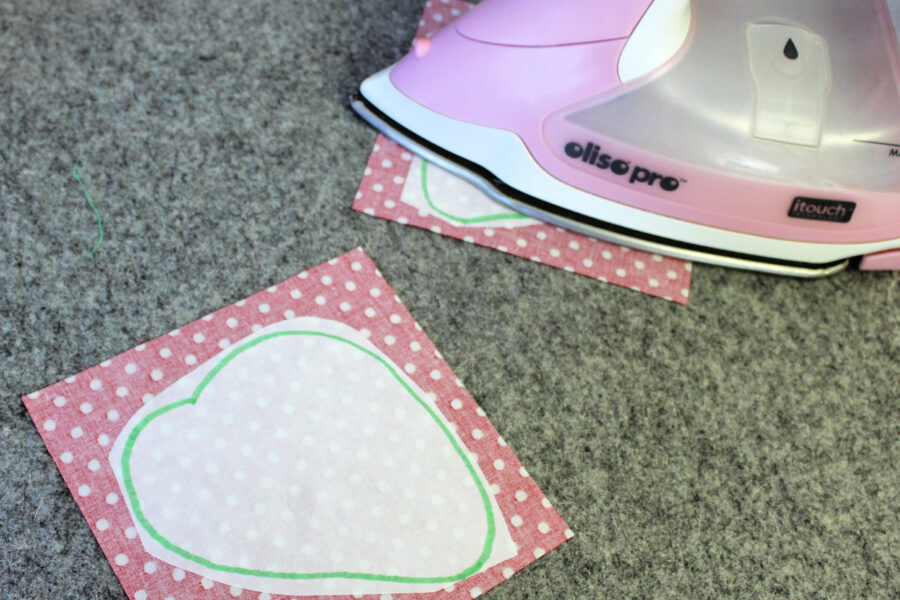
Let the applique pieces cool. Once the applique pieces are cool, cut out all applique pieces on the traced lines. Peel off the backing paper, and place applique with the adhesive side down on the background piece of fabric for each pillow cover. The strawberries on one and the cherries on the other.
The layout keys are included in this pattern.
Following the package instructions, work in sections to press the entire applique to the background until the entire applique is fused.
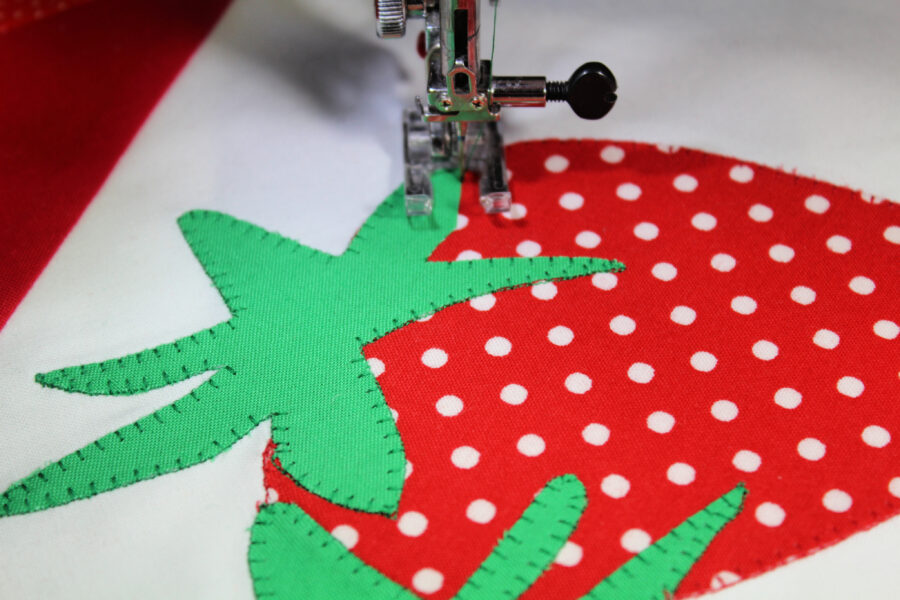
Stitch around the appliques with a blanket stitch in matching Aurifil thread.
Step 3 – Quilt the Pillow Tops:
Prepare the quilted pillow tops by making quilt sandwiches with muslin, high loft StitchNSew™ Fleece and the appliqued patchwork pillow tops. Protect the work surface and place the muslin right side down. Spray it with SprayNBond basting spray, then place the StitchNSew Fleece on top and smooth all the wrinkles out with your hands. Spray the back of the pillow top and place on top of the fleece and smooth to baste the layers together.
Next, quilt as desired with Aurifil thread (#2021) and trim to 17” x 17”.
Step 4 – Finishing the Pillow Covers
Hem one of the long ends of all four 17” x 11” red pillow backing pieces by turning under ½” and pressing and then turning under again, pressing, and stitching in place. Lay one of the hemmed pieces right side down on the pillow top with the hem in the center. Overlap the other hemmed back piece. right side down with the hemmed edge in the middle.
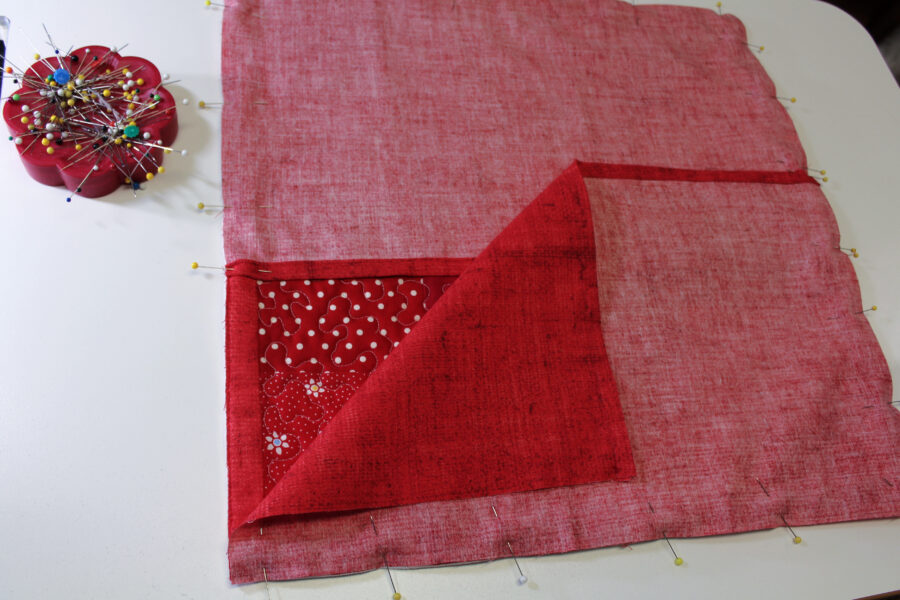
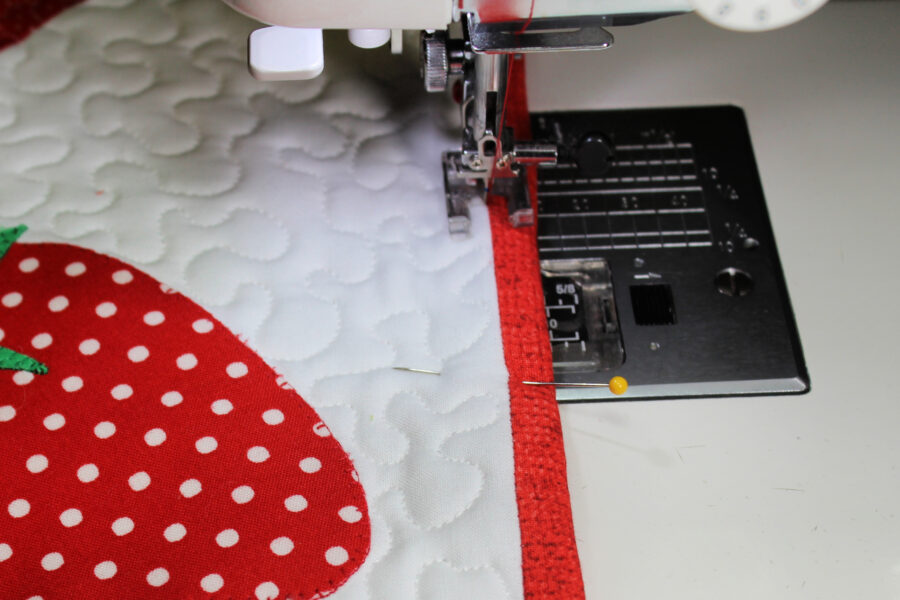
Pin the edges of the pillow top and stitch with a ¼” seam all around using a walking foot. Clip the corner seam allowances off and turn the pillow cover right side out. Push the corners out and pin the red edge.
Stitch in the ditch between the red border and the patchwork top to form faux binding and encase the raw edges inside.
Insert the 16” x 16” pillow forms and enjoy your new fruity pillows!
3 Comments on HeatnBond Cherry and Strawberry Fruit Applique and Patchwork Pillows
1Pingbacks & Trackbacks on HeatnBond Cherry and Strawberry Fruit Applique and Patchwork Pillows
-
[…] cherry and strawberry throws just scream […]
Ro Grund
July 3, 2021 at 5:34 pm (3 years ago)Where do I get the patterns?
admin
July 7, 2021 at 2:49 pm (3 years ago)Hi the pattern link is right under the second image in the tutorial. Just click the link to open them.