HeatnBond Appliqué Baby Counting Book and Bibs
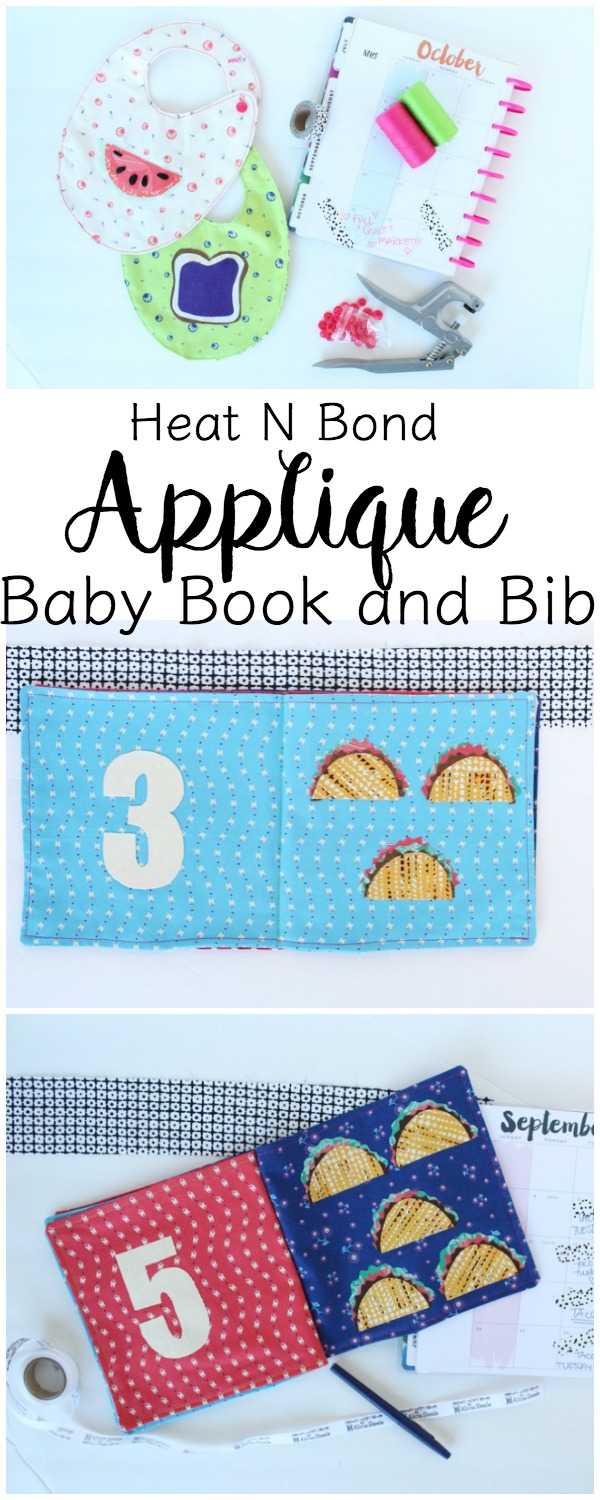
Hi there! Alicia here again from Sew What Alicia with some really fun appliqué projects! In this post I will show you how to make a baby bib and a fabric counting book!
Heat N Bond Appliqué Baby Counting Book
Supplies:
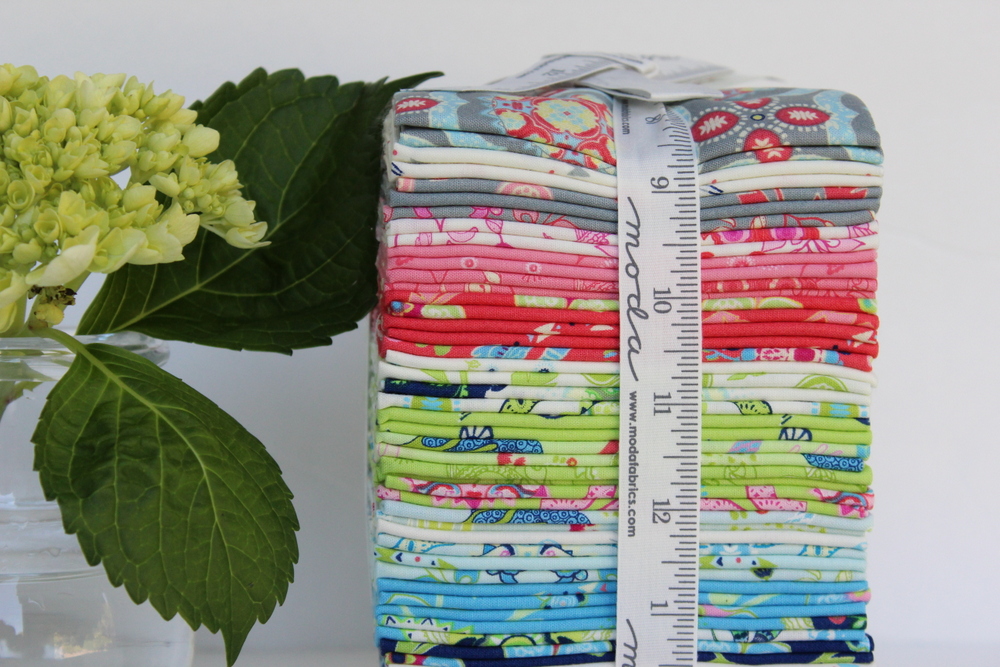
Manderly Fabric by Moda Fat Quarters
Heat N Bond® Lite Fusible Adhesive
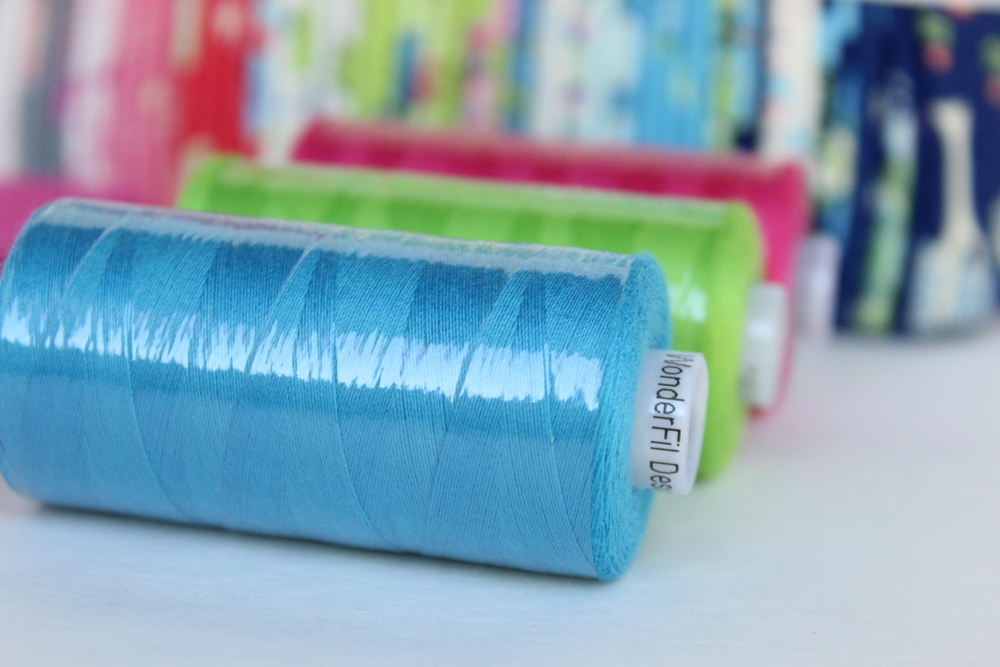
Coordinating Wonderfil Thread
Instructions:
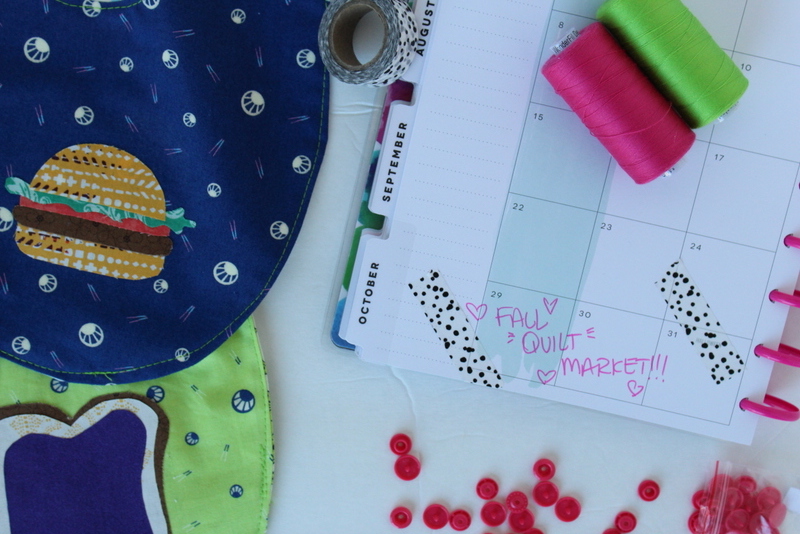
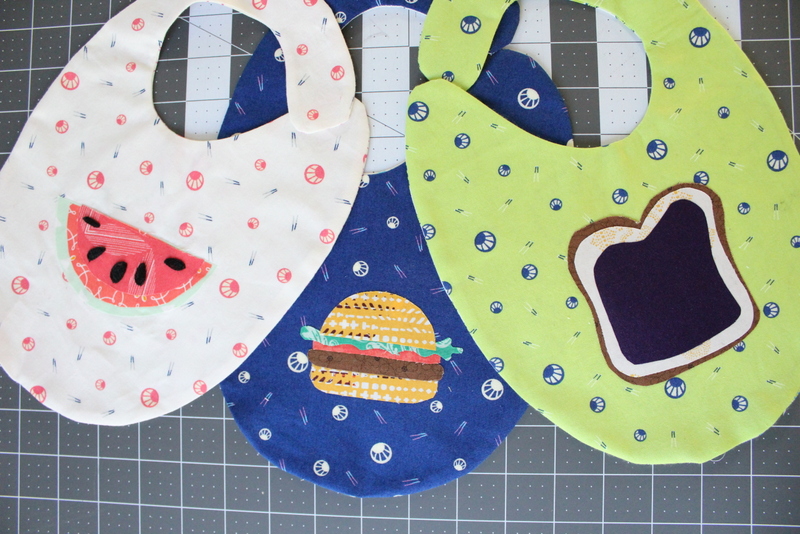
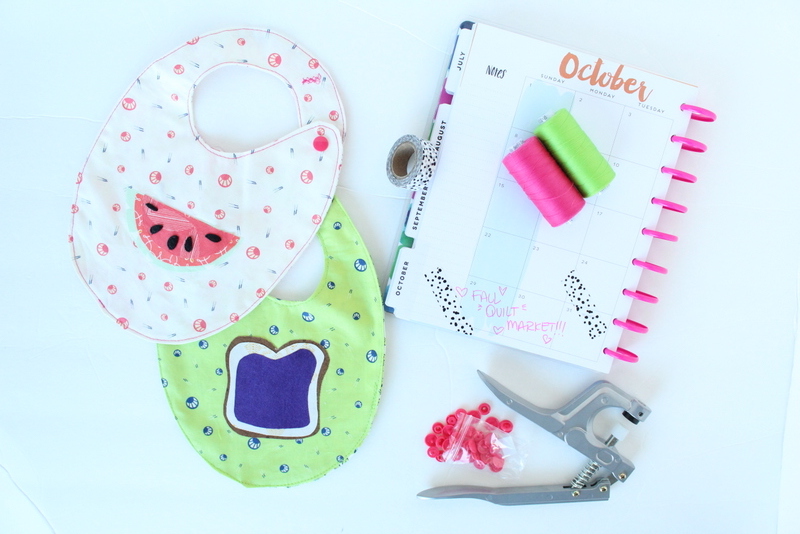
For the bibs you will need 2 fat quarters. You can get at least two bibs from 2 fat quarters. Head over to my blog for the blog template and instructions for the bib. Then when your bib is finished you can use this appliqué technique.
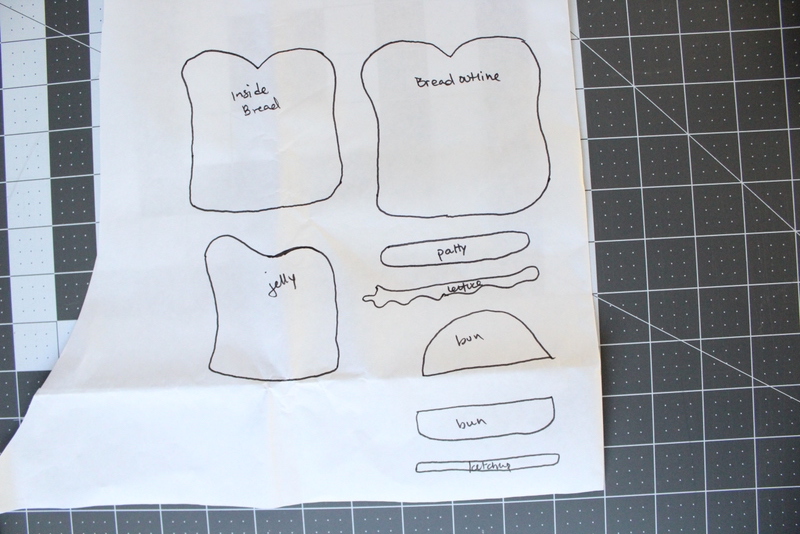
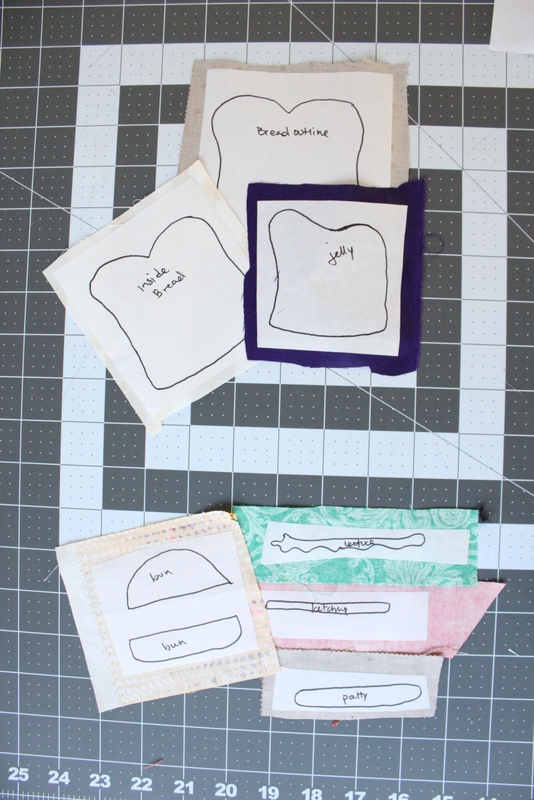
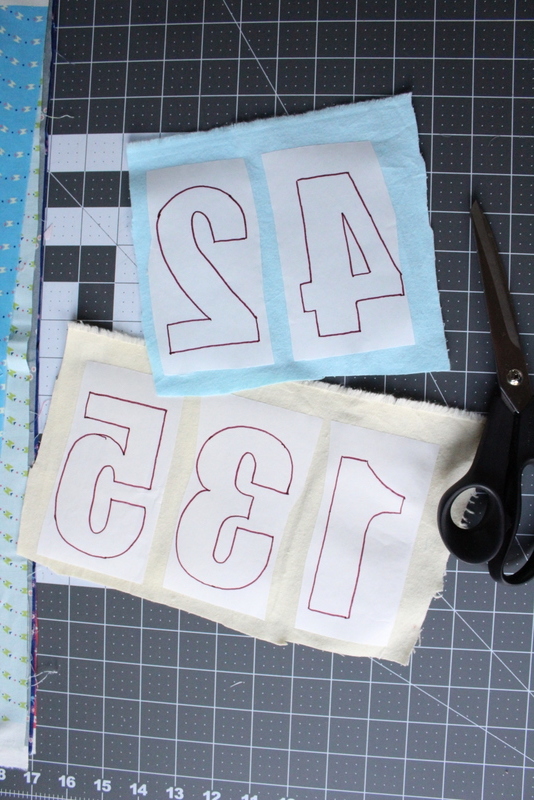
Grab the Heat n Bond®. You can hand draw the image you want to appliqué, trace it, or print a template. If you print an image or hand draw it you can place it under the HeatnBond® and trace it onto the paper side. Remember that the image will be mirrored when you actually appliqué it on to the fabric.
Use coordinating fabric to create the different appliqué pieces. Iron the HeatnBond onto the wrong side of the fabric. Use a larger piece of HeatnBond than you need, this will make sure that there is plenty of adhesive around the entire image.
Cut the image out, peel the paper off, and iron it on to the bib. Top-stitch the appliqués in place. If you don’t want to your sewing to show… place the appliqués before you assemble the bibs.
For the baby book you will need one fat quarter for each page. This baby book uses 3 fat quarters.
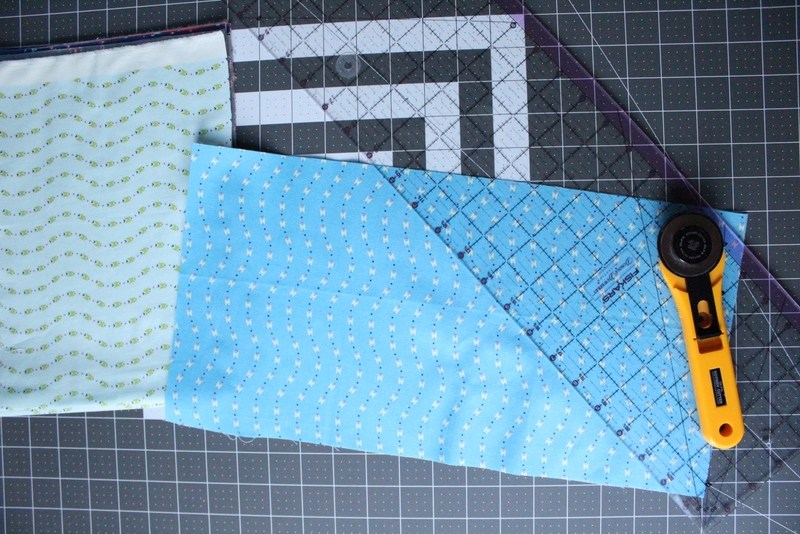
Cut each fat quarter into two strips measuring 8.5″ x 16.5″.
Use the same technique as the bib appliqué. This time you will need the numbers 1 through 5 and 15 of the same image to appliqué. Don’t forget that the numbers must be mirrored on the Heat N Bond.
Once you have all of your appliqués cut out and all of your fabric cut and ready you will start ironing on the pieces. Here is how you will assemble the pages.
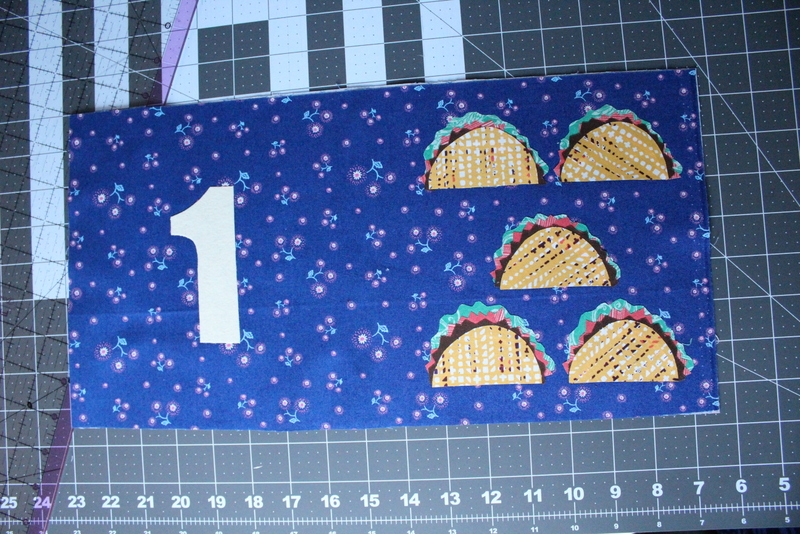
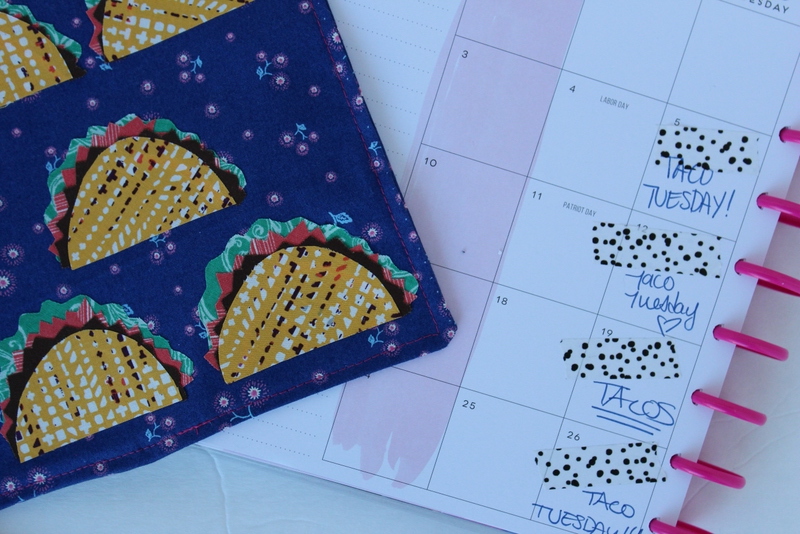
The number one will be on the left side of a piece of fabric and 5 appliqués (I will use the word tacos from now on since that is the image I chose) will be on the right side. This blue fabric is also the fabric that will make up the outside of the book.
The next fabric print will have the number 5 on the left and 1 taco on the right. On that same print you will place the number 2 on the left and 4 tacos on the right.
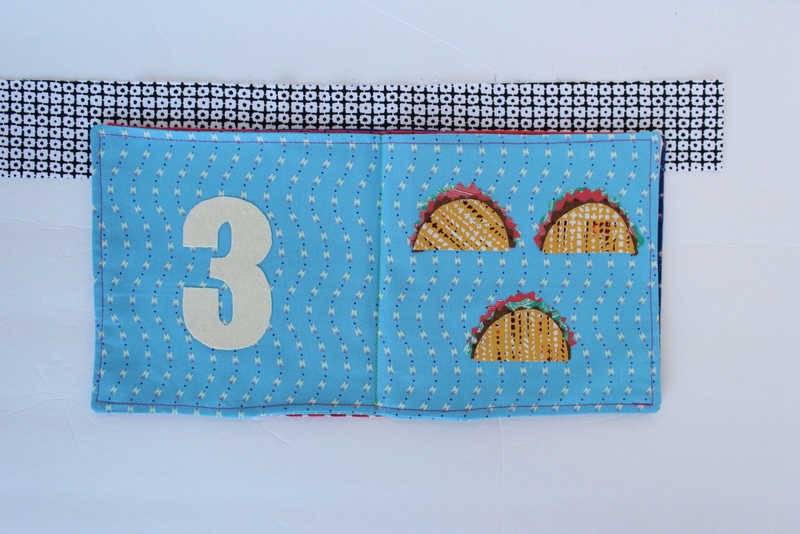
For the last print of fabric the first piece will have the number 4 on the left and 2 tacos on the right. The last piece will have the number 3 on the left and 3 tacos on the right. Be sure to top-stitch all your appliqués in place.
To assemble the book you will place the piece of fabric with no appliqués on top of the #1/5 taco piece right sides facing. Place the #5/1taco and the #2/4 taco pieces right sides facing (the images should also be aligned the same direction.) Then place the #3/3taco and #4/2taco pieces right sides together. Sew around all the edges of each of the three pieces leaving a space to turn them all out.
Once you have turned them out you will press the seams in place and then top-stitch around the top to set the seam and close the opening. Line the pages up one on top of the other so that you can flip through and the numbers and number of tacos match. Then finger press the book in half and sew along the line you just created.
That is it!! You could make one more taco and some words for the front but I liked the fabric and left it blank!

Thanks for letting me share these appliqué projects with you! You can find me over on Sew What Alicia sharing sewing tutorials and other great sewing tips!
Connect with Sew What Alicia
Facebook // Pinterest // Instagram // Twitter
Here are a few of my recent projects that you might enjoy!
Cupcake Tutu Costume // Tattoo Sleeve Tank // Bumble Bee Costume


[…] Heat N Bond Applique Baby Counting Book, by Sew What Alicia […]
[…] HERE for the full cloth baby book […]