Cricut Maker or another cutting machine for SVG File (optional)
A small amount of Polyester Fiber Fill
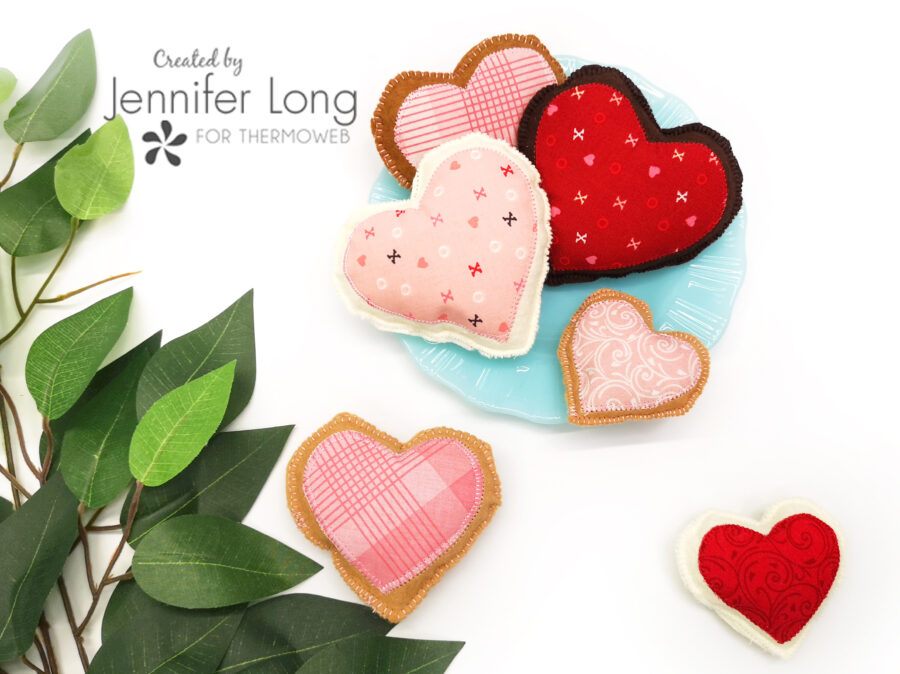
Heart Felt Cookie Instructions:
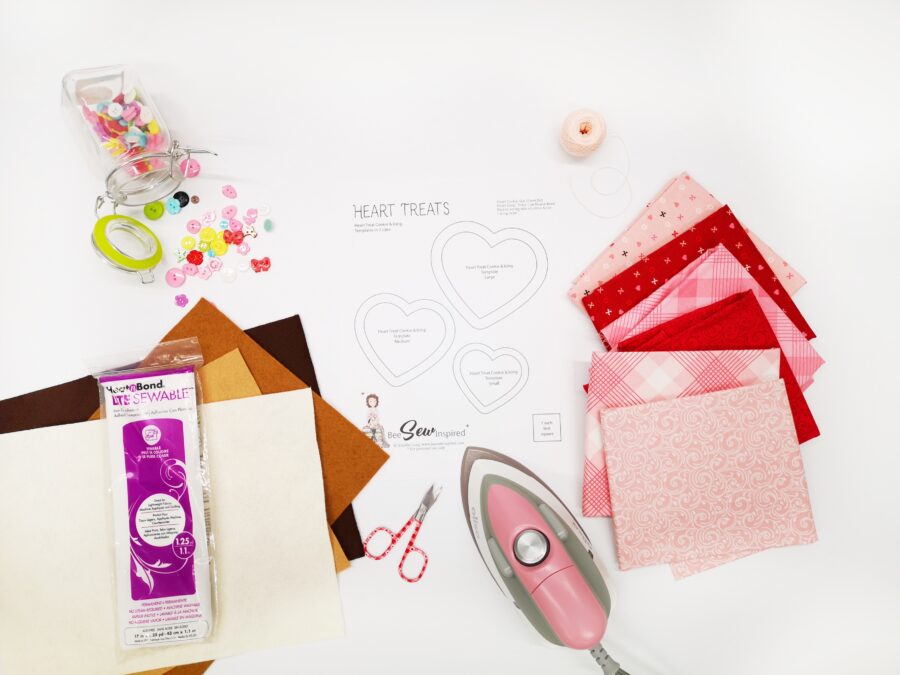
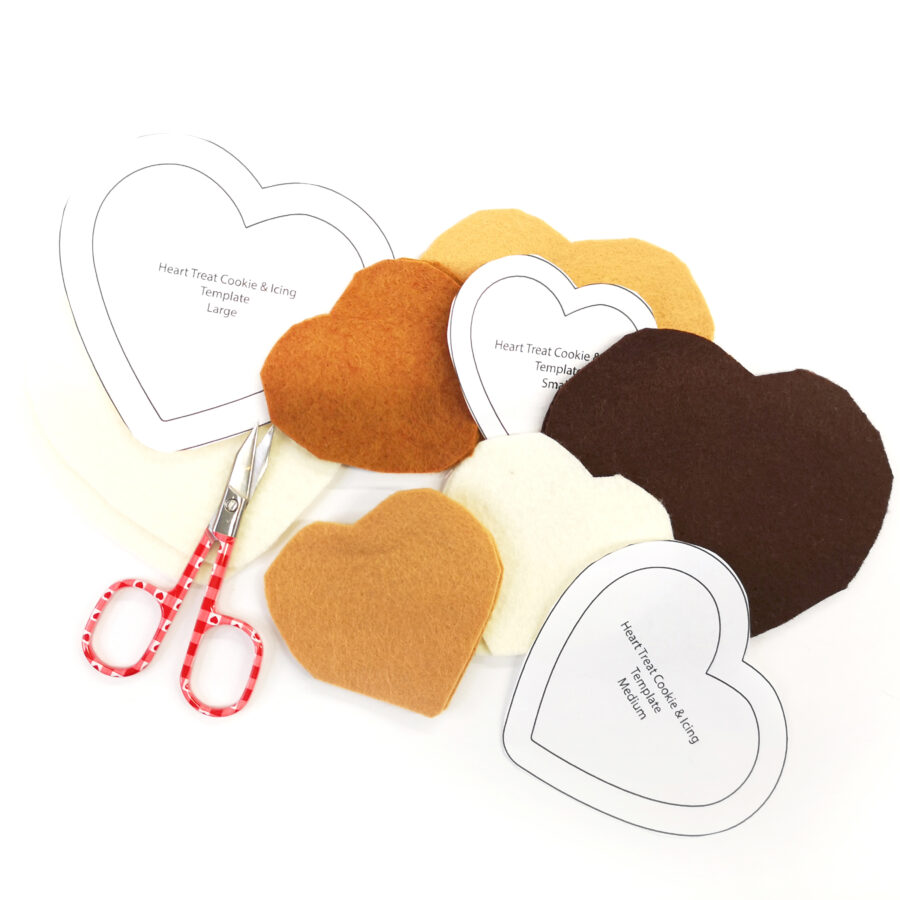
1. Download the FREE Heart Felt Pattern designed by Bee Sew Inspired. You can choose either the PDF Pattern to hand-cut your shapes or the SVG Cut File and follow the directions to have your Cricut Maker cut the felt shapes. Make sure to use your rotary blade and set the fabric to felt.
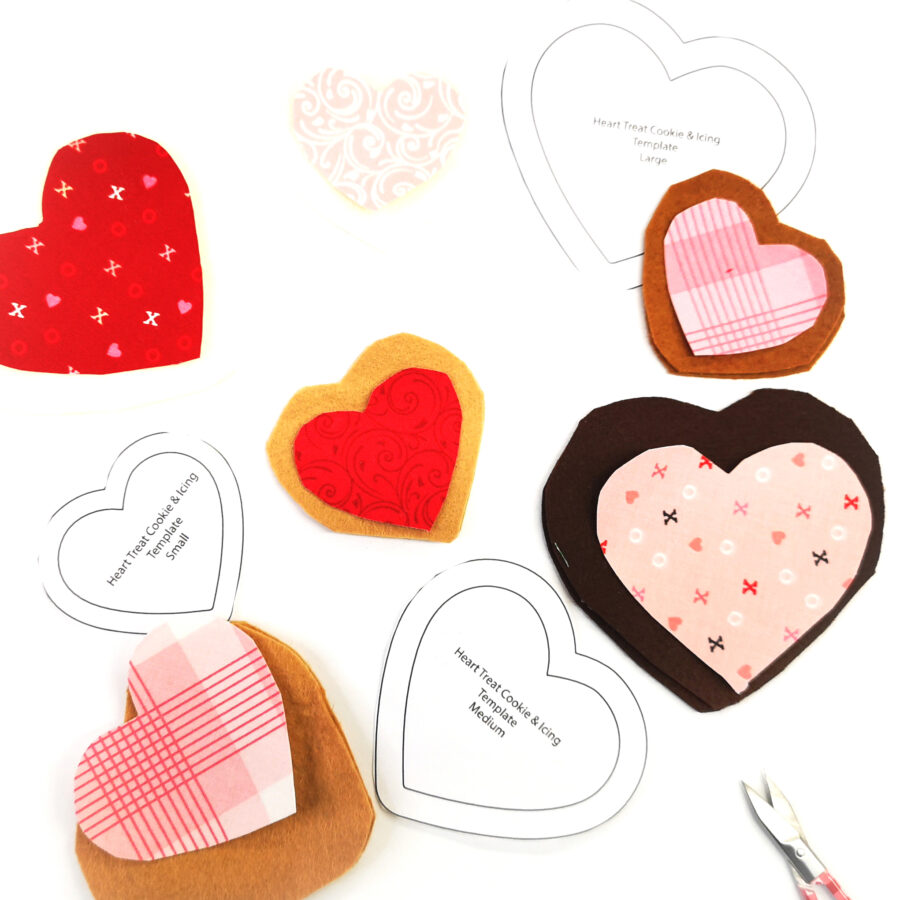
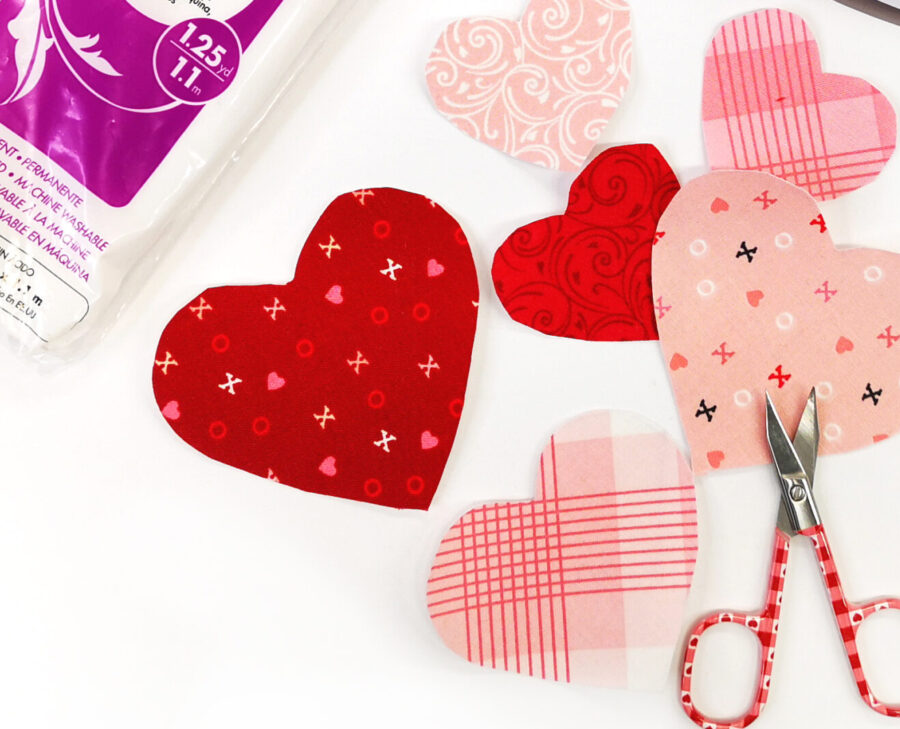
2. Cut out 2 Heart Felt Cookie shapes from the cookie-colored felt using either the FREE PDF pattern or SVG files above.
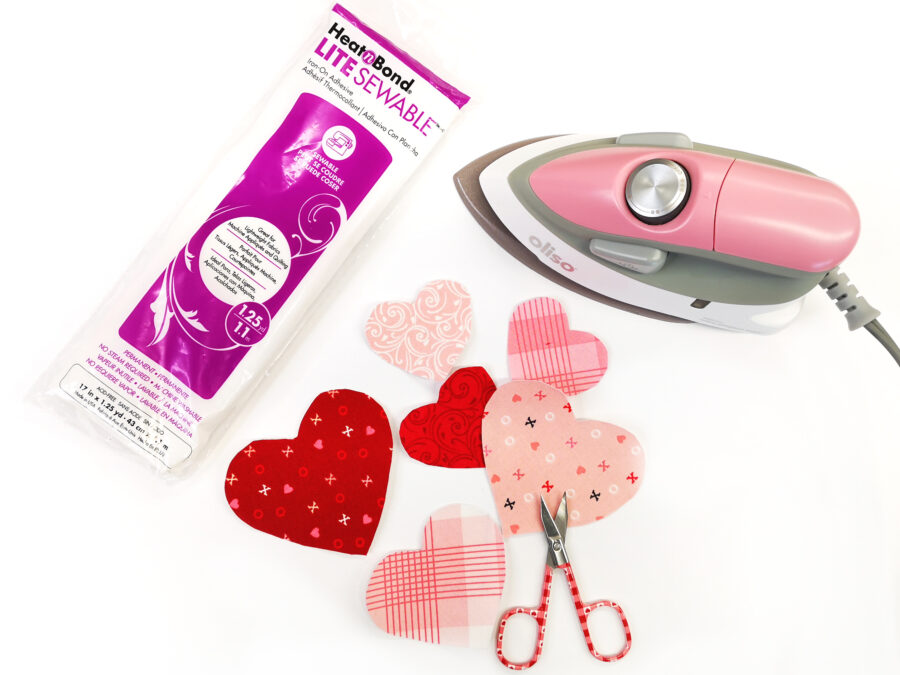
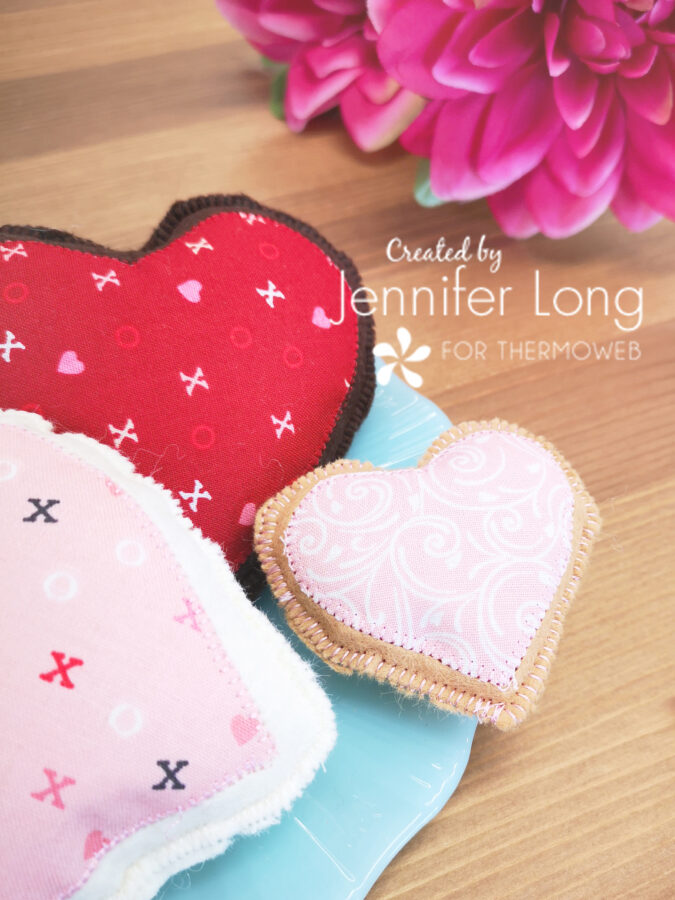
3. For the icing, trace the inner heart icing shape on the paper side of the HeatnBond Lite Sewable Iron-on Adhesive. Preheat your iron to medium heat with no steam. Take a 6″ square of your favorite cotton fabric and place the adhesive side against the wrong side of the cotton fabric. Note the paper liner should face up. Place and hold the iron on the paper liner for 2 seconds. Repeat until the entire surface is bonded. Allow to cool.
4. Cut out 1 icing shape from the fused cotton using either the FREE PDF pattern or SVG files above.
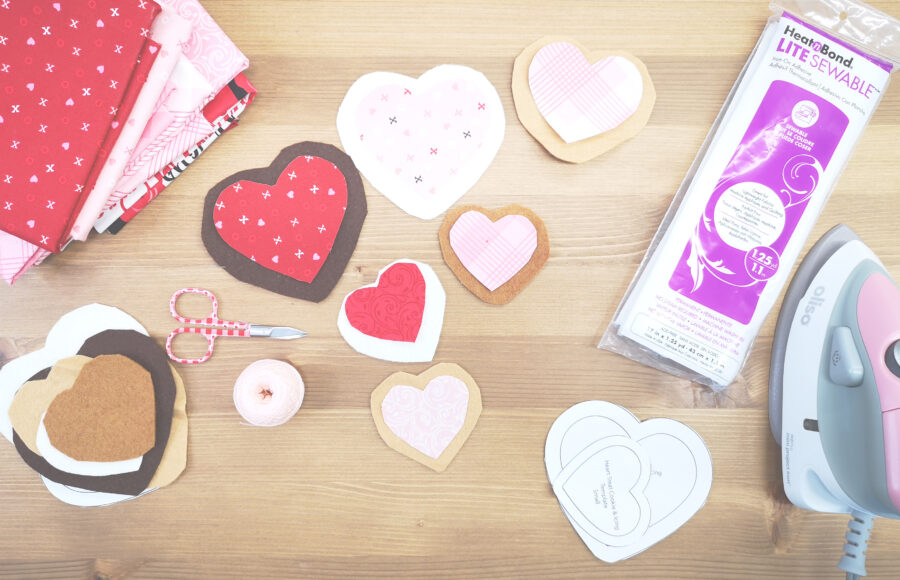
5. Remove the paper backing from the icing shape and align the icing on top of one of the prepared heart felt shapes. Press with a warm iron to fuse in place. (Note: wool-blend felt can withstand heat from the iron, synthetic felt can melt. Cover with a pressing paper to protect your iron.
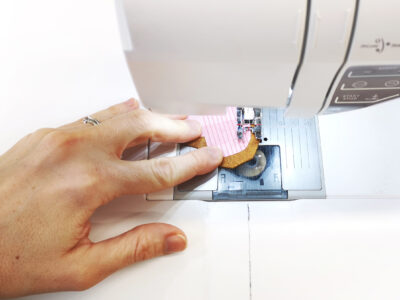
6. Stitch around the edge of your icing shape with your sewing machine blanket stitch to firmly hold the piece in place.
Alternately you can use 3 strands of coordinating hand embroidery thread and hand stitch a decorative blanket stitch around the perimeter to prevent any fraying and give some dimension.
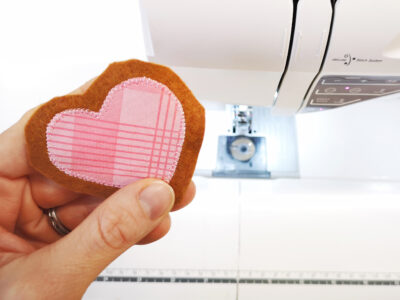
7. Place the 2 matching heart felt pieces wrong sides together and pin in place. Using your sewing machine and a shortened stitch length, sew around the perimeter with a blanket stitch in a matching thread color. (You can opt to do this stitch by hand as well). Leave a 2″ opening for stuffing.
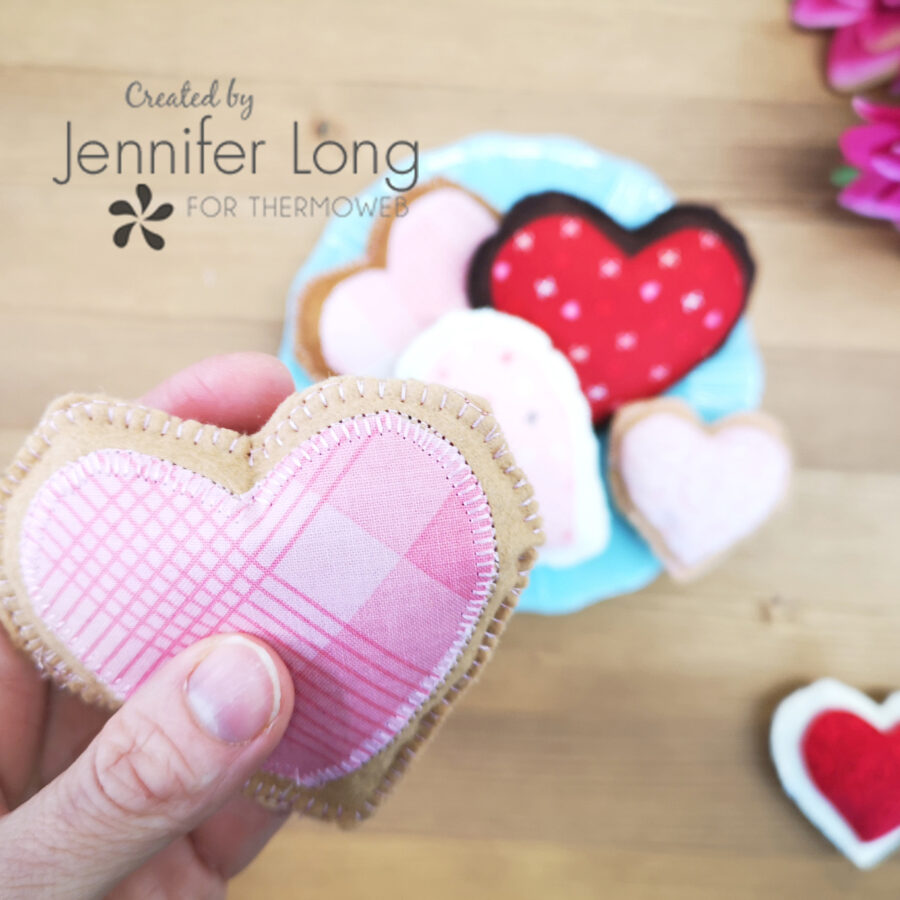
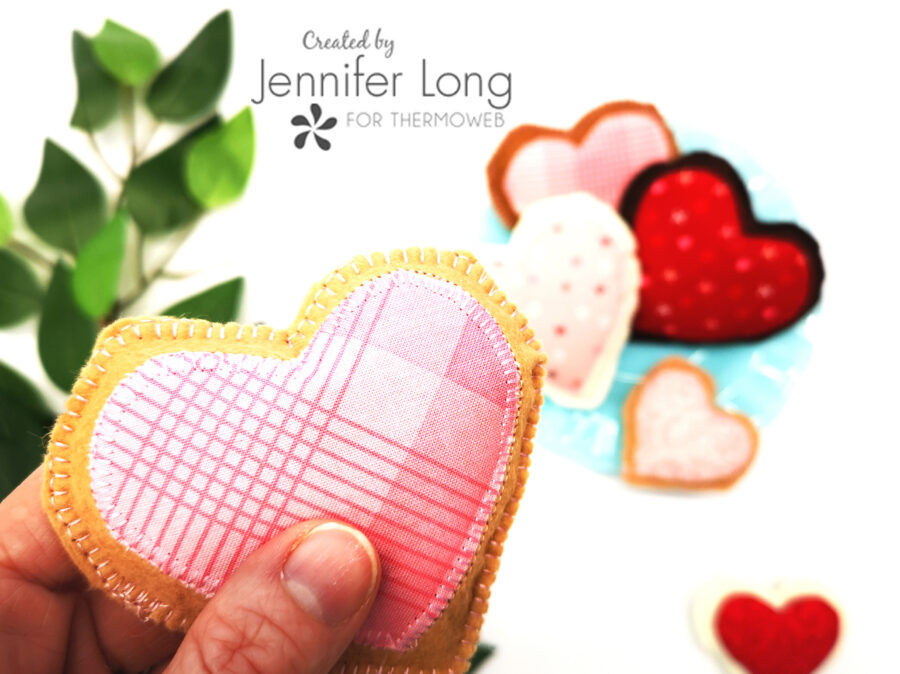
8. Stuff the Heart Felt Cookie fully using little bits of stuffing at a time and a stuffing tool such as a knitting needle, pencil, or hemostats. Continue with the blanket stitch (either machine or by hand) to close up the remaining hole.
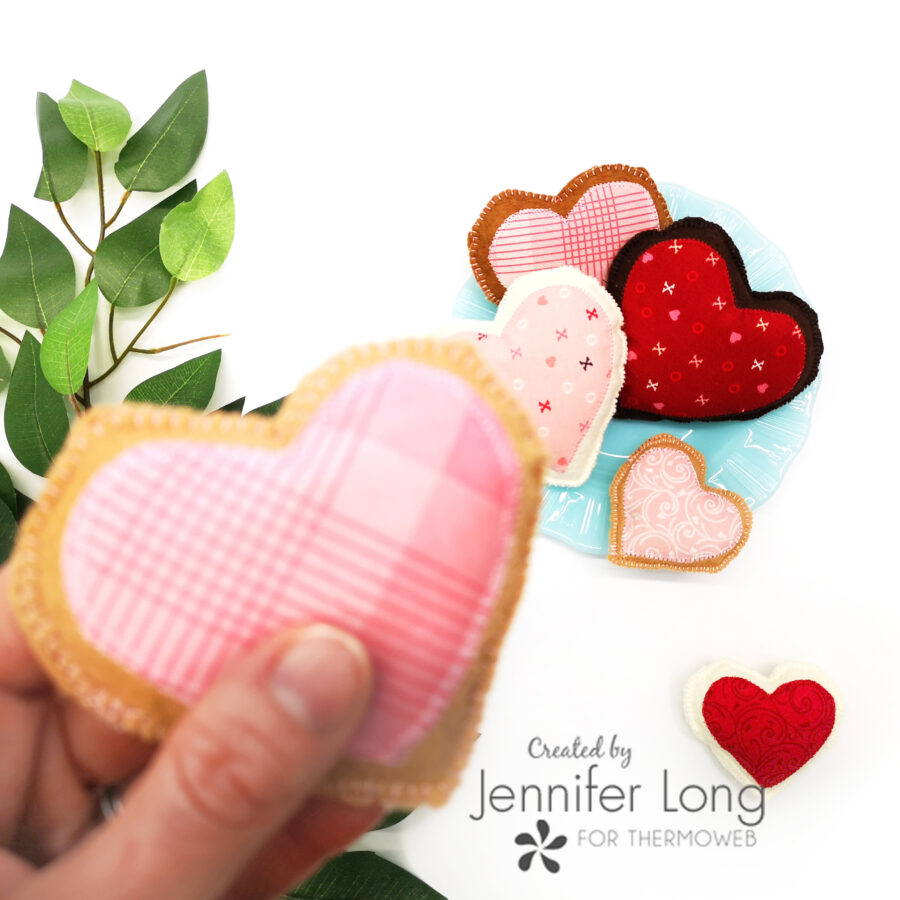
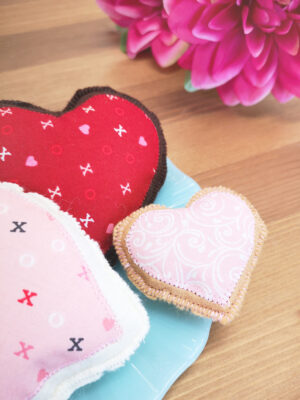
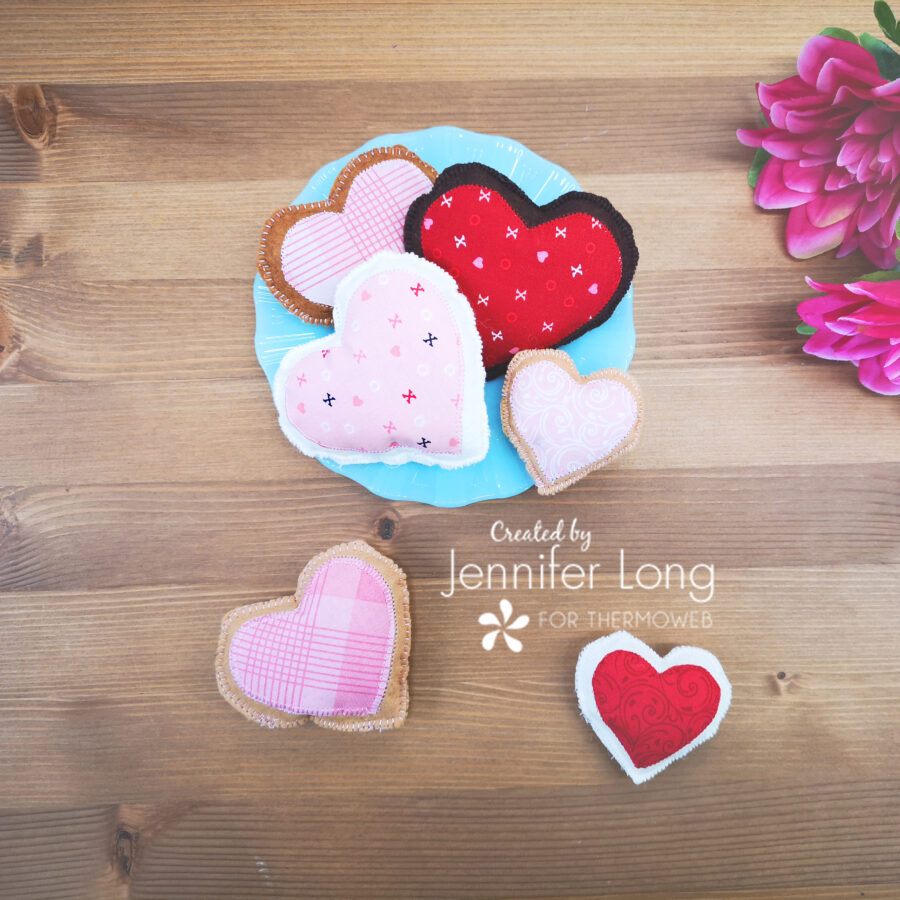
Your stuffed Heart Felt Cookie is now complete!
If you would like to watch some of the tricks to sewing a stuffed Heart Felt Cookie, you can watch the YouTube Tutorial video linked below.
I hope these little projects sweetened your day and I am looking forward to seeing what you create with them!
Please share your Heart Felt Cookie on social media and tag @thermoweb and @beesewinspired so I can tag you back! Looking forward to enjoying a Sweet Treat together!
Don’t forget to sign up for the FREE Bee Sew Inspired Newsletter HERE! Thanks for stopping by!
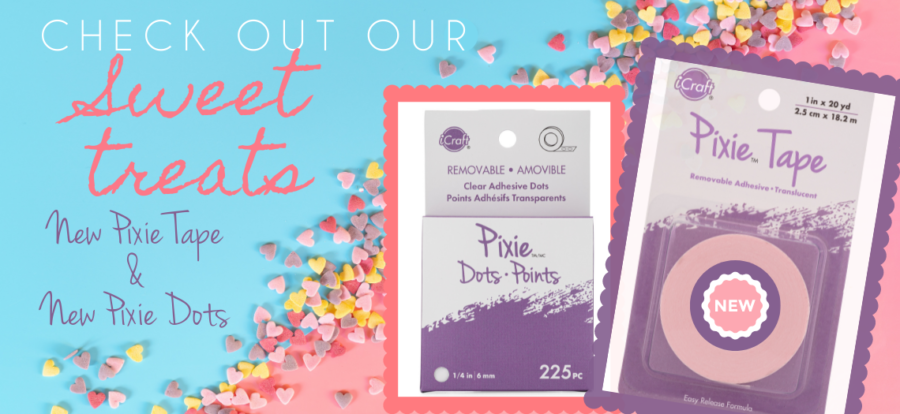
It’s a Sweet Treat Week here on the Therm O Web blog and we have not only some sweet projects to share with you….we also have some NEW Sweet Products to share too! We’re pleased to announce the official release of our NEW iCraft Pixie Tape and NEW iCraft Pixie Dots!
Our NEW Pixie Tape is the sweetest thing…first it’s a pretty translucent pink that sticks perfectly and peels off…well perfectly too! It’s happy to hold your die-cuts in place while you cut, as well as a host of other needs. (we like to use it to keep our projects in alignment on our glass mat while we work)
Our NEWPixie Dots are here to save the day. They’re not only perfect to help you audition to where you’d like to place this element or that without committing to gluing it down. They’re also ideal for adding a gift card to your handmade card as they’re removable! Use them for your scrapbook pages too…place your elements all around your page as you decide where to add them! Be sure to visit us on Instagram for more chances to win! And don’t miss this extra chance to win a $40 Gift Card PLUS a set of Pixie Tape and Dots!
Hi Friends! I am so happy you are here. My name is Jennifer Long, and I am a Riley Blake Designs Fabric Designer, Quilt & Doll Pattern Writer, Machine Embroidery Digitizer, and online educator. I am also the founder of the Sew A Story Pattern Club and the Modern Rag Doll Membership.
I am married and a mom to (4) pre-teens / teens and live on a little hobby farm in rural Prairie Canada. I grew up training to be a professional ballet dancer, and later studied Early Childhood Education. I taught ballet and ran my own dance studio all the while sewing and designing costumes for myself and many of my colleagues and students.
I am passionate about all things FABRIC, imagination and design and am so blessed I can share this passion with others.
This journey has inspired me to make a positive difference by designing dolls and quilt patterns and fabric for others to be EMPOWERED to sew themselves! I have designed dolls and quilts for individuals, organizations, companies, designers, authors of children’s books, and international companies for mass production.
What I LOVE the most about creativity is finding INSPIRATION everywhere and, in turn, INSPIRING others to do the same! Thank you for joining me on this creative journey.
by Jennifer Long | Comments Off on Heart Felt Cookies with HeatnBond Lite Fusible Adhesive