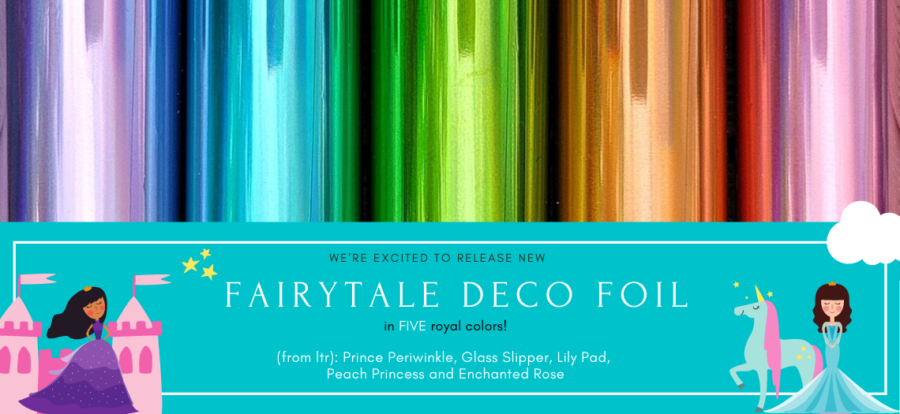
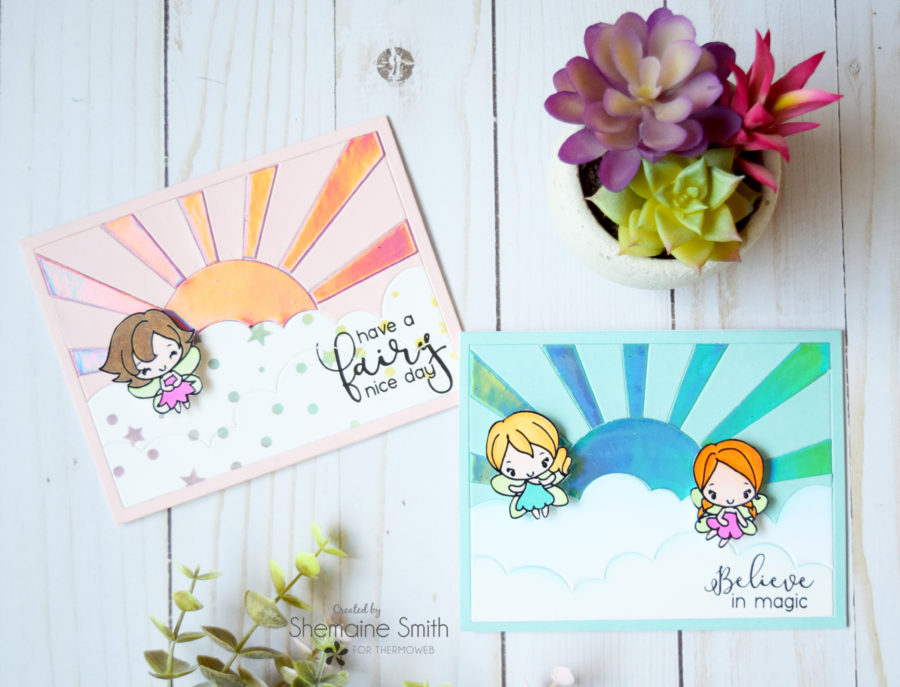
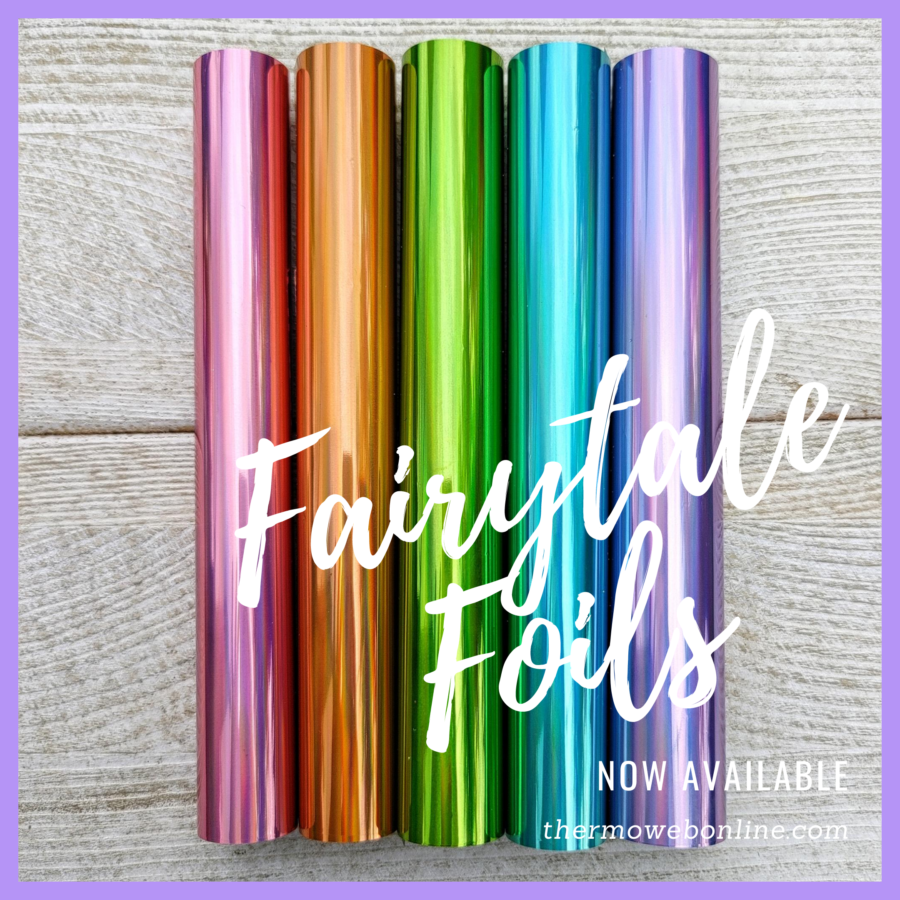
 Hello ThermOWeb friends! The new Fairy Tale Deco Foil collection is so fun and fabulous to create with! Today I am sharing a couple of cards I created with these beautiful new foils.
Fairy Cards with Deco Foil
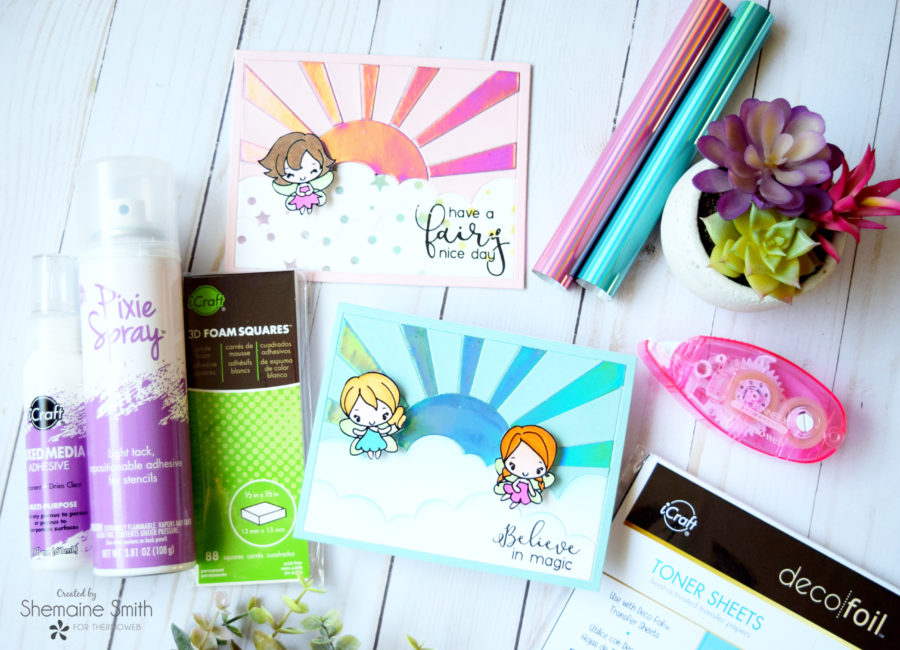
Therm-O-Web Supplies:
PIXIE SPRAY
DECO FOIL™ TONER SHEETS
DECO FOIL TRANSFER SHEETS – GLASS SLIPPER
DECO FOIL TRANSFER SHEETS – ENCHANTED ROSE
MEMORY TAPE RUNNER XL™
ICRAFT MIXED MEDIA ADHESIVE 2.1 FL OZ
3D WHITE FOAM SQUARES • 1/2 IN
Other Products Used:
Hello Bluebird Sunshine scene die
The Greeting Farm Little Fairies Stamp Set
__________________________________________________________________________
Magic Fairy Deco Foil Cards
It’s been a while since I created a project using our Deco Foil Toner sheets. I forgot how fun and easy it is to create with these sheets and the fact that you can use them for a variety of projects. For today’s project, I am using them to paper piece a fun Sunshine Scene die. let’s get started!
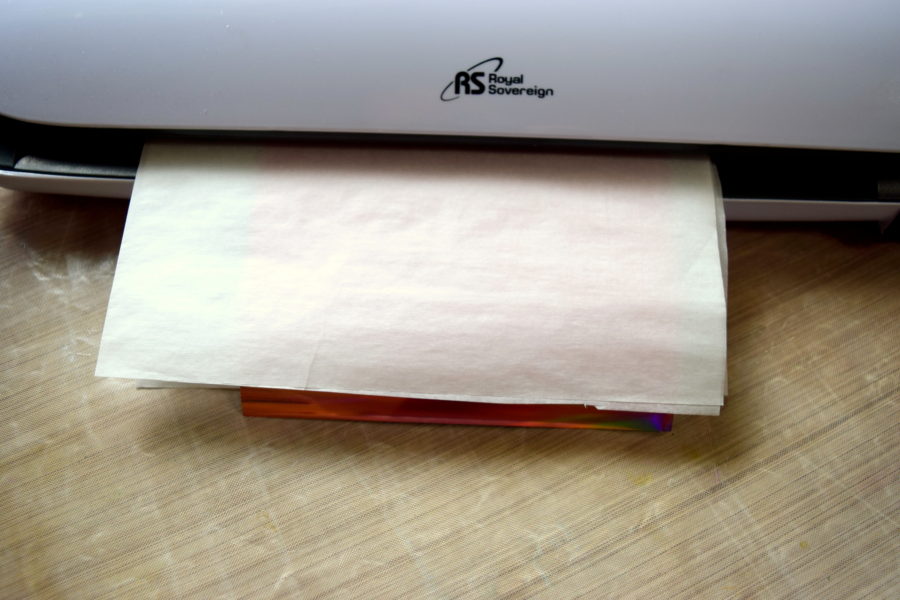
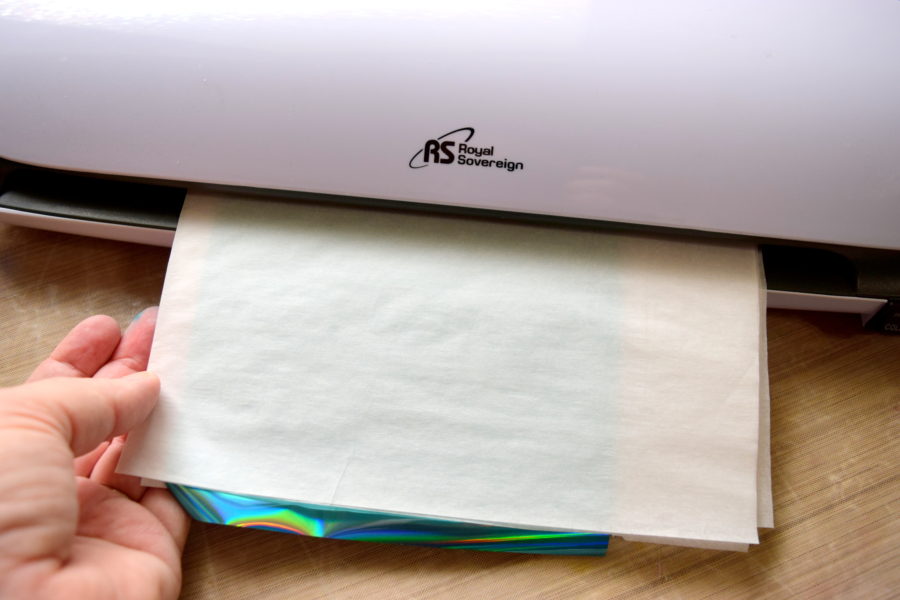
First I paired the Enchanted Rose Deco Foil Transfer sheet with a Toner sheet cut at 6×6 and run thru my laminator to adhere to the foil.
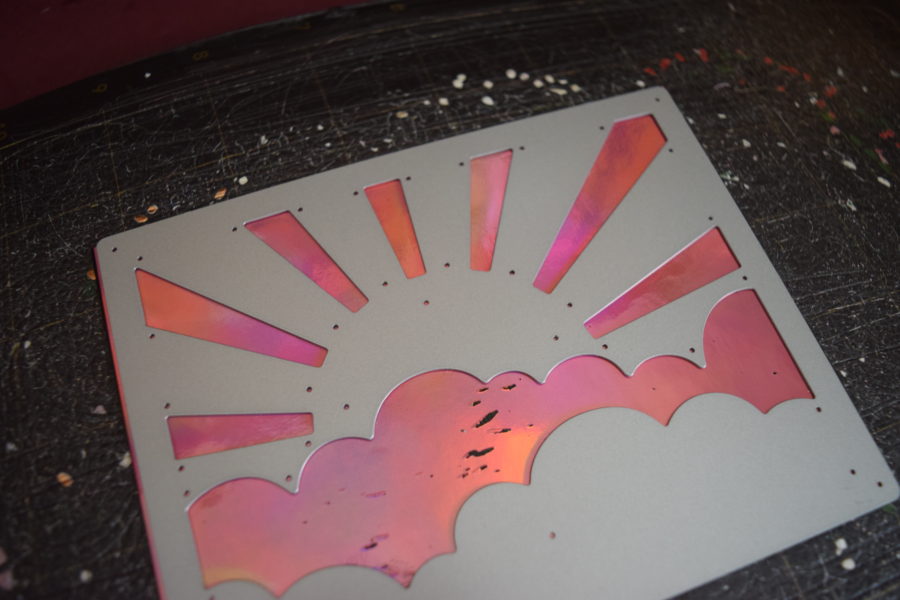
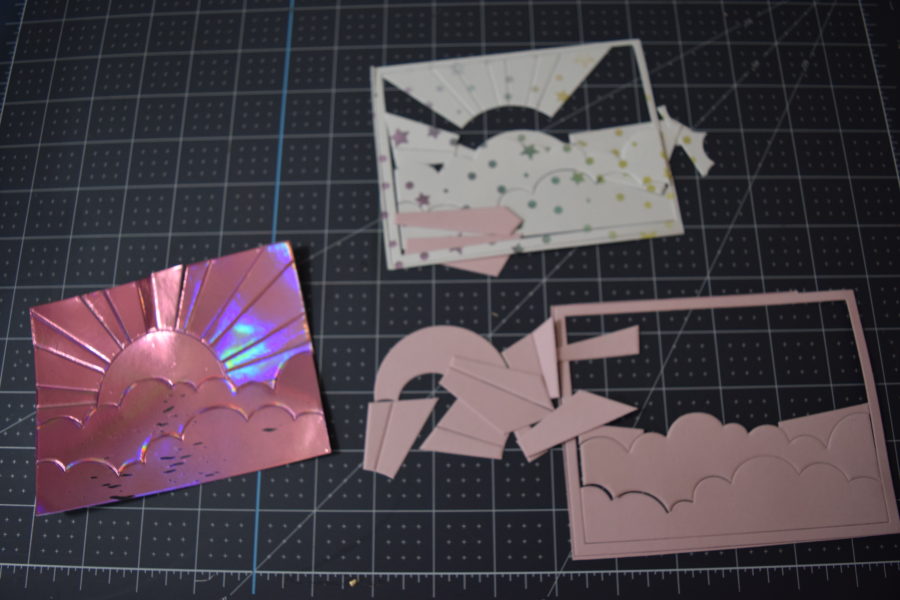
I’ve decided to paper piece the Cloud Scene die with 2 different cardstocks and the toner sheet. So I cut the foiled toner sheet first and set aside the pieces.
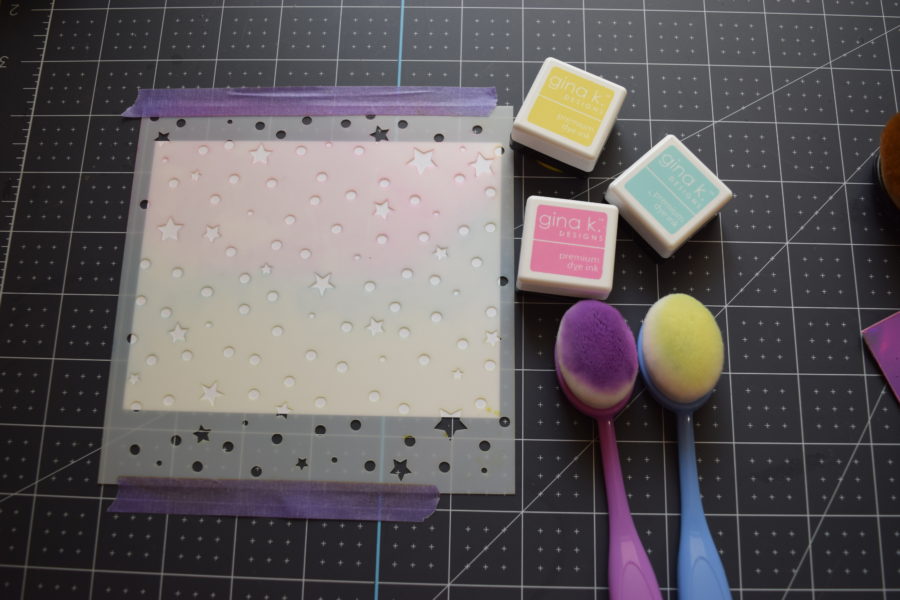
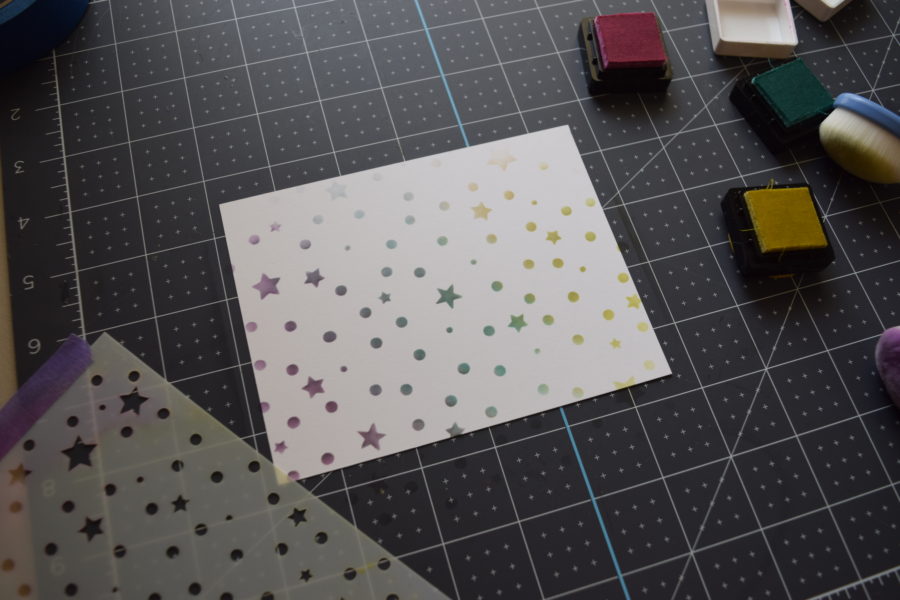
Next, I wanted to add some dimension to the clouds so I take a stencil to some white cardstock to create a fun design with my Gina K. Designs cube inks.
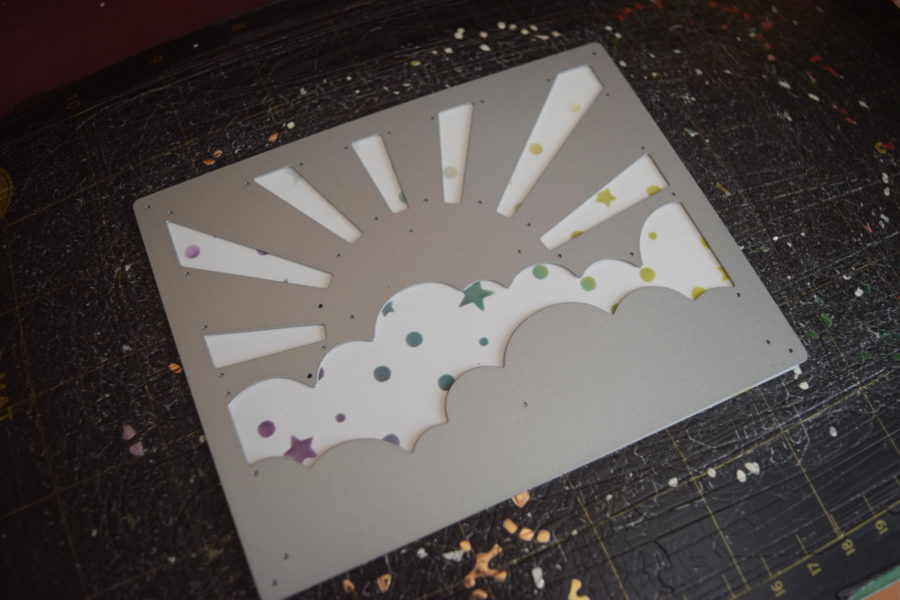
Once I have the design finished, I used the Cloud Scene die to cut out the clouds.
I also cut another scene using a piece of pink cardstock so I can use all three to start paper piecing my design.
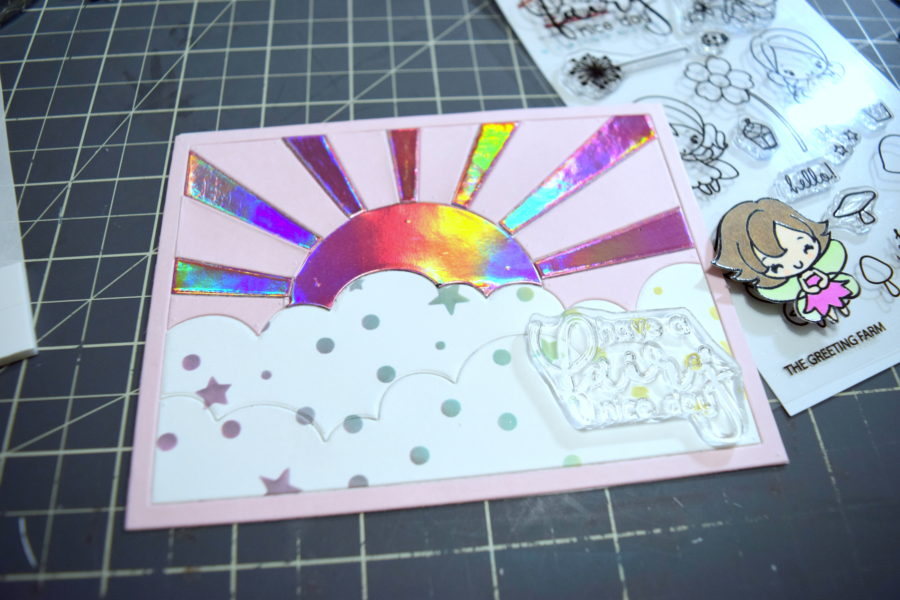
Using iCraft Mixed Media adhesive to adhere to the pieces, I paper piece the design from various pieces of the 3 cardstocks to add some whimsical fun to the design.
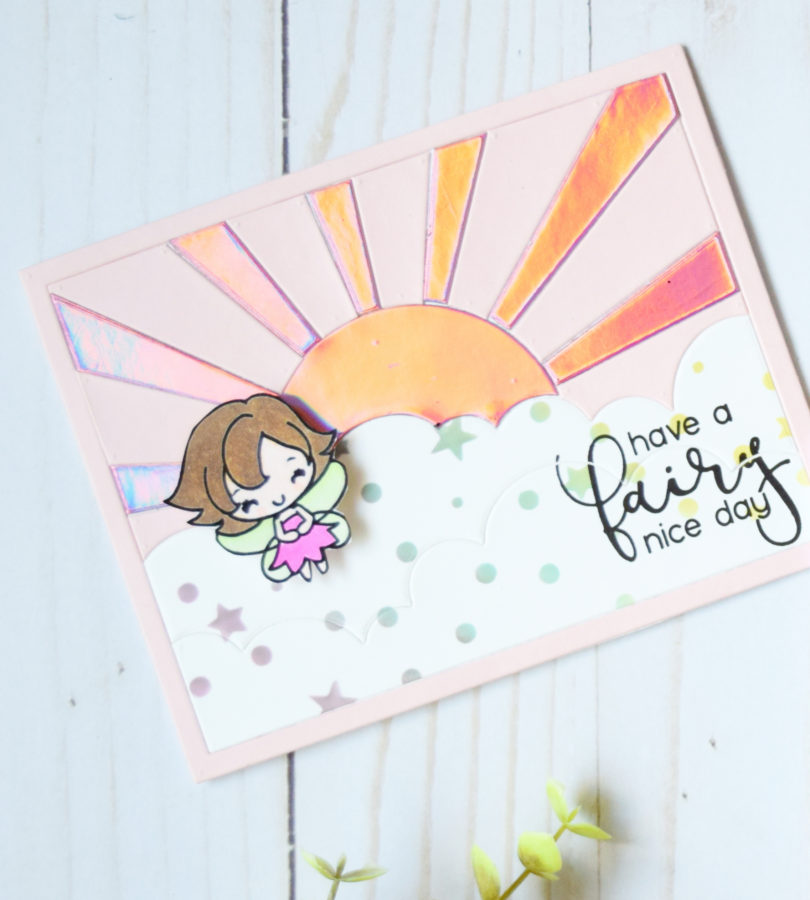
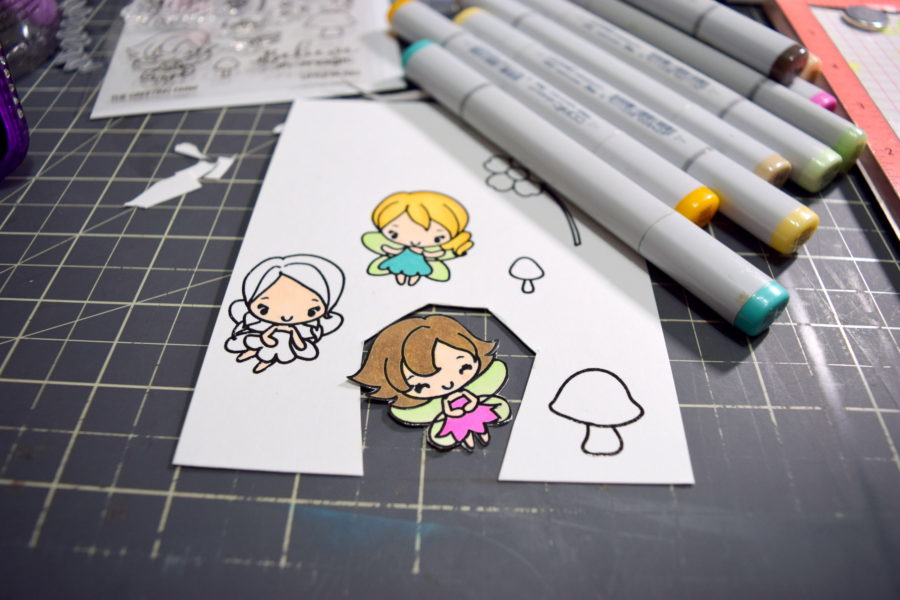
Next, I stamp my sentiment and finish it off with one of the fun fairies I colored with Copic markers.
For the second card, I used the same Cloud Scene die and the new Glass Slipper Deco Foil. I pair it with another Deco Foil Toner sheet cut at 6×6.
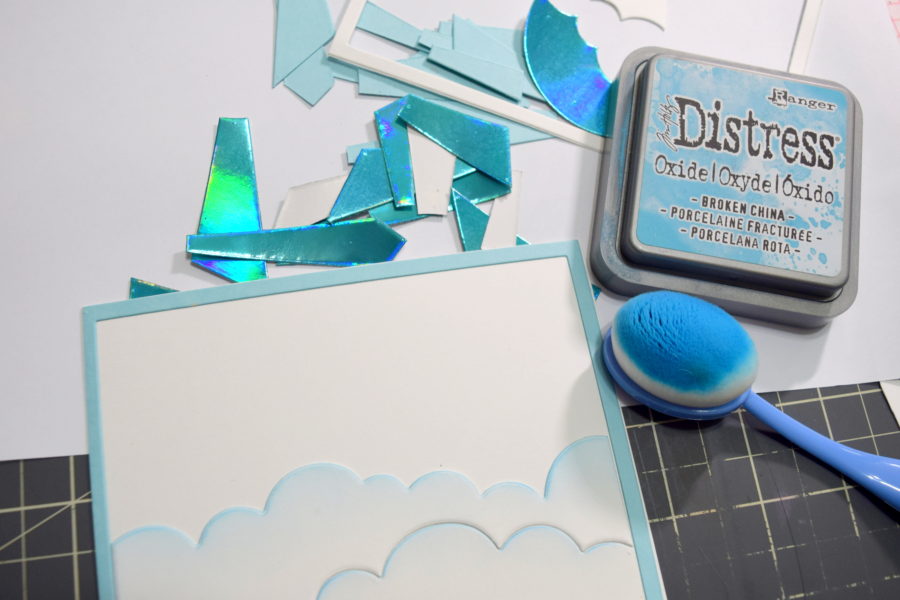
For this card, I am using some Distress Oxide ink to add a little color to the clouds. I then used the iCraft Mixed Media Adhesive to adhere them to the card base.
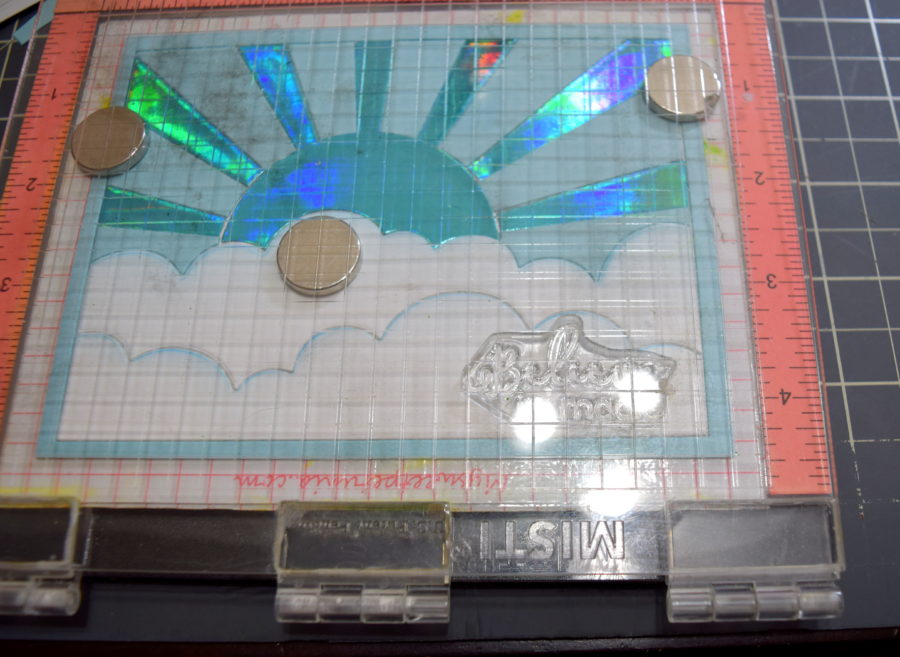
I repeat the same process with the die-cut pieces using blue cardstock to pair with the Glass slipper die-cuts. Next, I stamped the sentiment.
I finish coloring the fairies from the Greeting Farm stamp set.
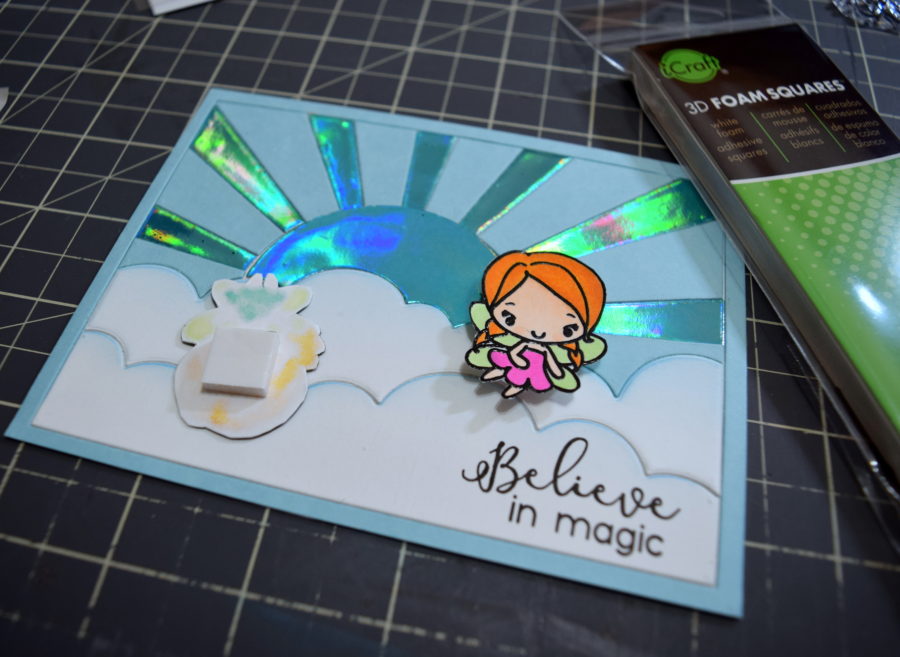
Using the 3D Foam Squares I adhered the fairies to the card base.
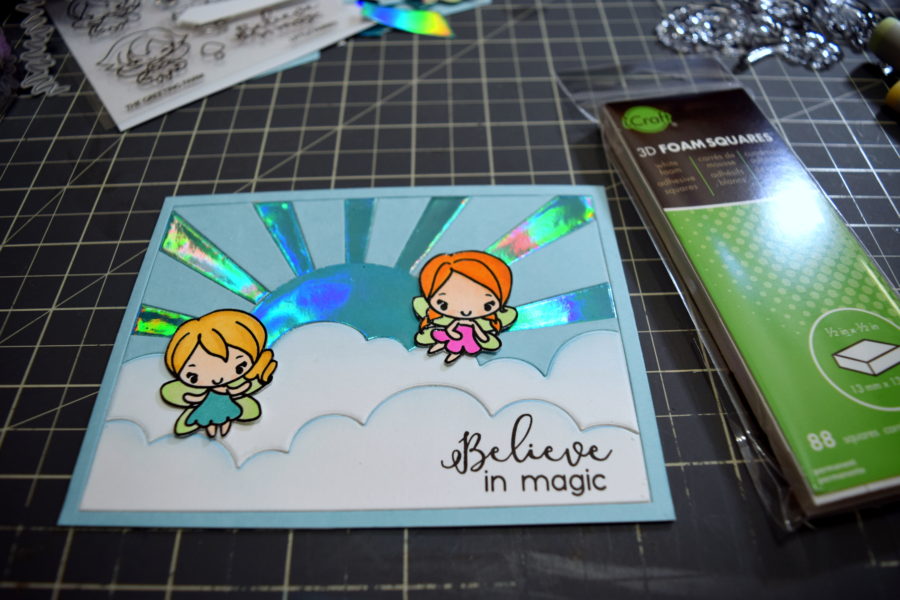
And the finished look is so cute and fun!
The finished cards are so fun! I love how the new foils change colors in the natural light.
I’d love for you to give this technique a try! If you do be sure and use the hashtags #decofoil #thermowebfairytaledecofoil #thermoweb so we can see what you’ve created.
Thanks for stopping by today!

Sharon Gullikson
July 28, 2020 at 2:34 pm (5 years ago)My granddaughter LOVES princess dresses, princess movies, all things princess. Especially Frozen. So these foils are just wonderful for me!!