Brutus Monroe Holiday Slimline Collaboration Week
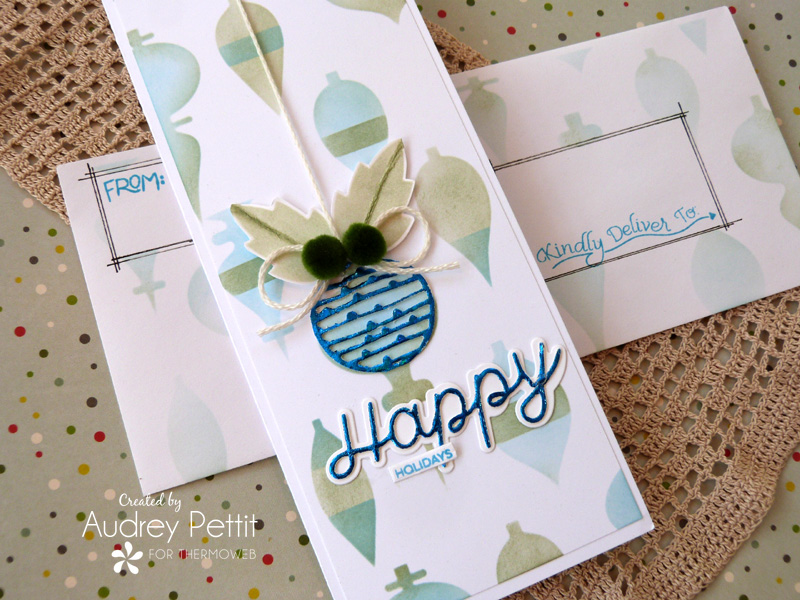
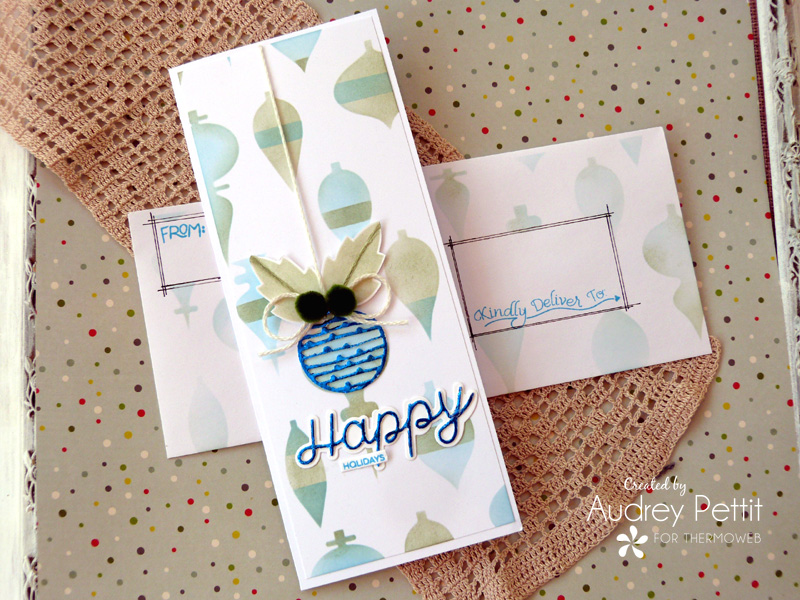
It’s Brutus Monroe Slimline Card Week here on the Therm O Web blog! All week, we’ll be showcasing cards in the very trendy slimline style featuring some fabulous new holiday Brutus Monroe goodies joining our Therm O Web line up of amazing products.
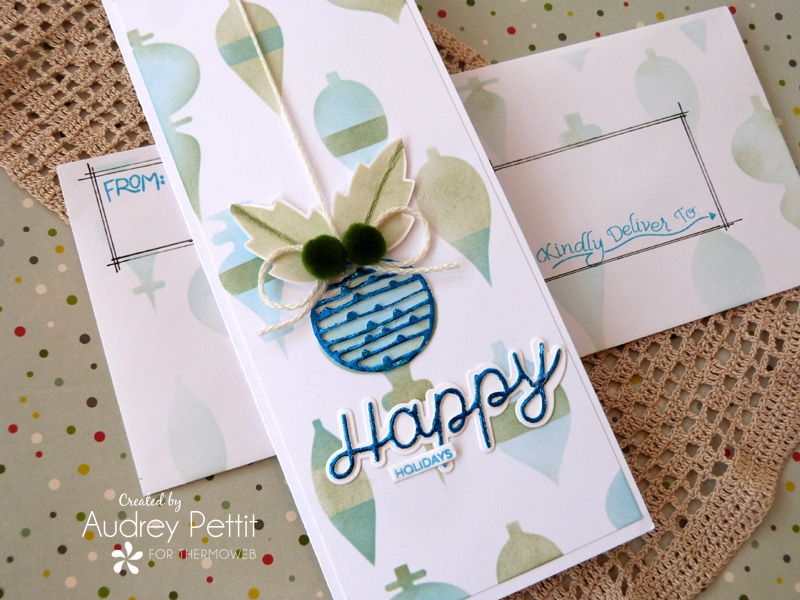
Today I’ve matched up two incredible new Brutus Monroe stencils with a gorgeous new addition to the Brutus Monroe Deco Foil color range, Blue Waves. I love this soft blue and green color combo for the holidays. Let’s take a closer look.
Happy Holidays Slimline Card
by Designer Audrey Pettit
Supplies:
Brutus Monroe Background Baubles Holiday Stencil
Therm O Web for Brutus Monroe Deco Foil Transfer Sheets: Blue Waves
iCraft Ultra Bond Adhesive
Deco Foil Double-Sided Foam Adhesive Sheets
Therm O Web Purple Tape 1″ and 1/2″
Therm O Web Pixie Spray
Cardstock: Neenah Solar White
Brutus Monroe Slimline Collection: Precut Card Bases, Precut Card Panels, Envelopes
Brutus Monroe Ornaments Die
Stamps: PhotoPlayPaper Happy Stamps and Envelope Art Stamps
Dies: PhotoPlayPaper Happy Dies and Sentiment Strips Dies”
Ink: Ranger Distress Ink Bundled Sage, Tumbled Glass, Mermaid Lagoon
Zig Writer Black
Twine, Pom poms
Holiday Slimline Card and Envelope
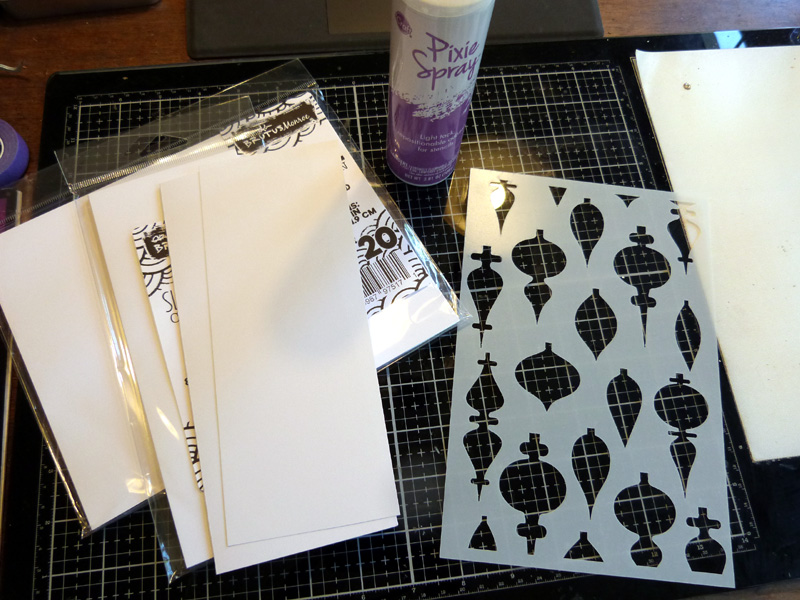
To begin, score a slimline precut card base down the middle, and fold into a card base. Trim down a precut card panel by 1/4″ on two sides to layer onto the card base. Spray the back of the ornaments stencil with Pixie Spray, and set it aside for a few minutes to dry.
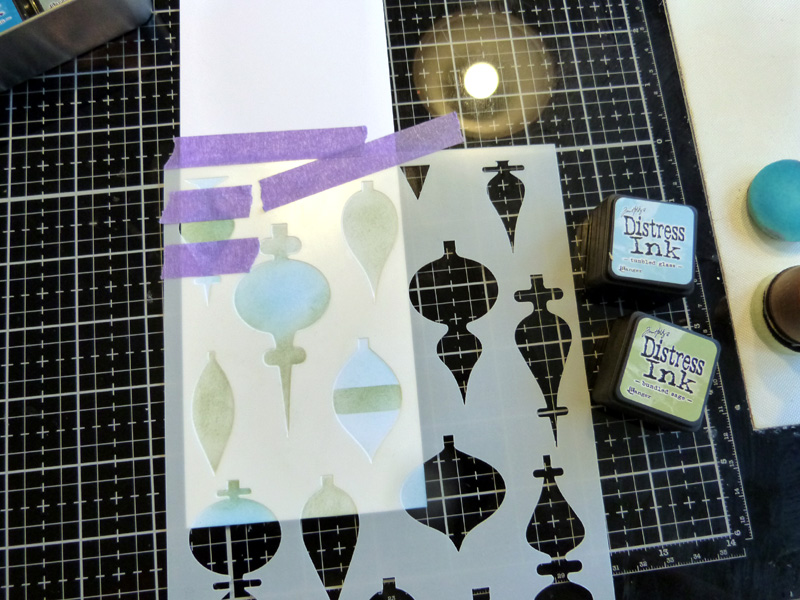
Place the stencil onto the card panel, lining up the pattern to allow the large ornament to be towards the bottom. Mask off the top edge of the stencil with purple tape. Ink the stencil with a combination of light blue and light green inks. Then mask off stripes onto the inked ornaments with additional strips of purple tape, and add contrasting inks in the masked areas. Peel up the stencil and shift it to cover the rest of the card panel, and repeat the above process.
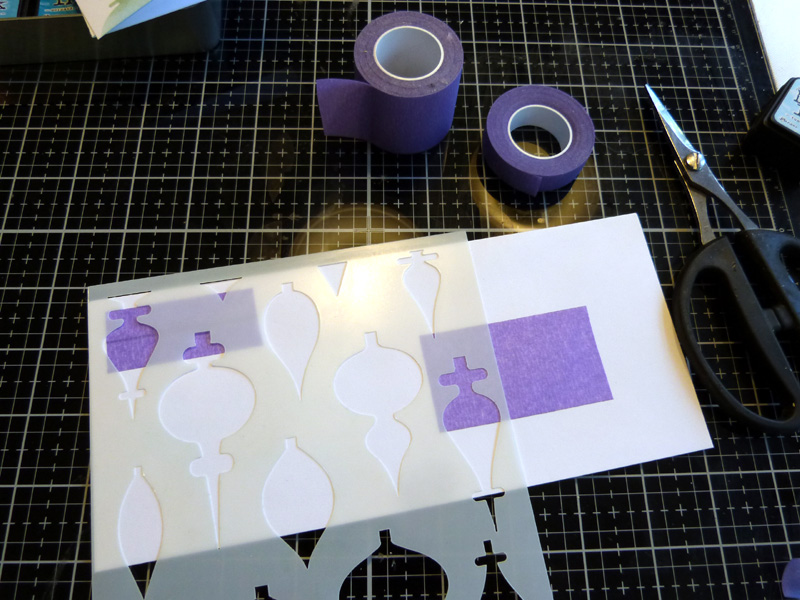
Add pieces of Purple Tape onto a slimline envelope to mask off the TO/FROM areas. Place the stencil down, and ink using the same two colors of ink. Lift and move the stencil as needed to cover the entire area.
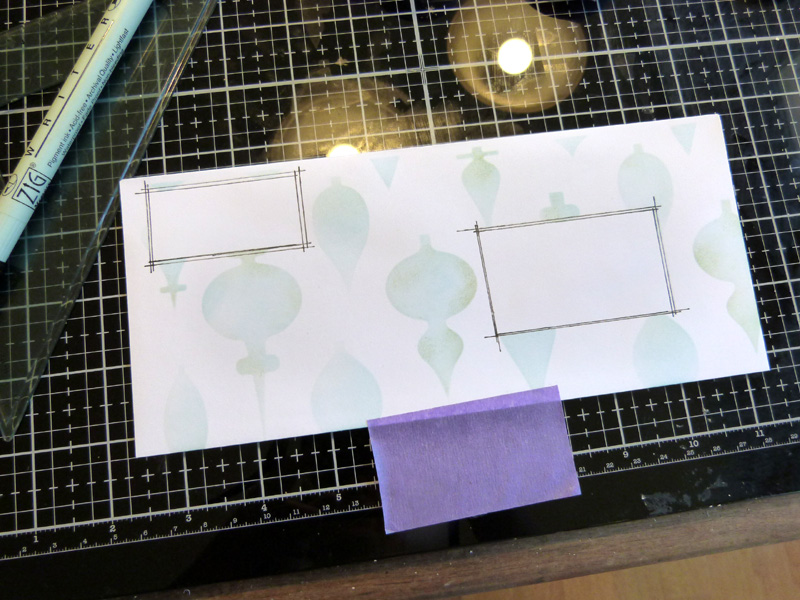
Remove the Purple Tape from the envelope, and use a ruler and black fine-line marker to add boxes around the masked areas.
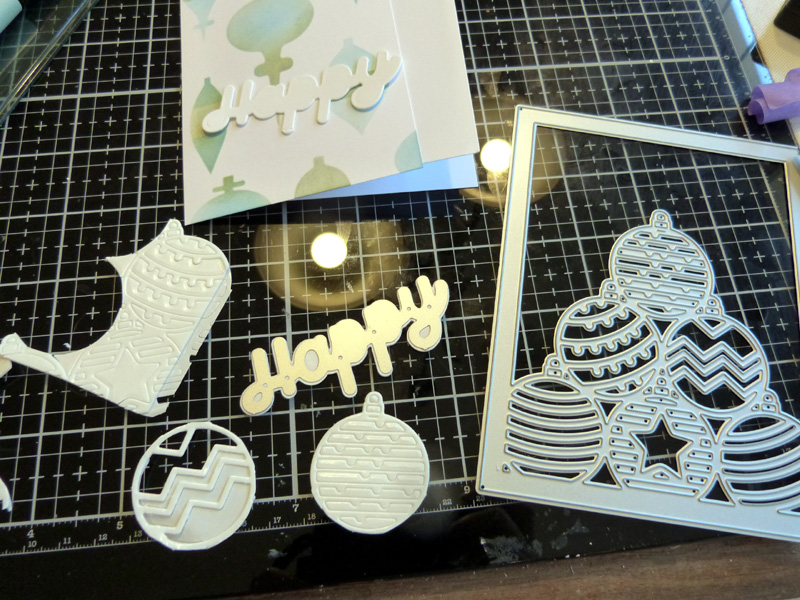
Die-cut the ornaments die from the double-sided white foam adhesive sheet. Die-cut the script word happy from the double-sided foam. Die-cut the shadow for the happy word from white cardstock.
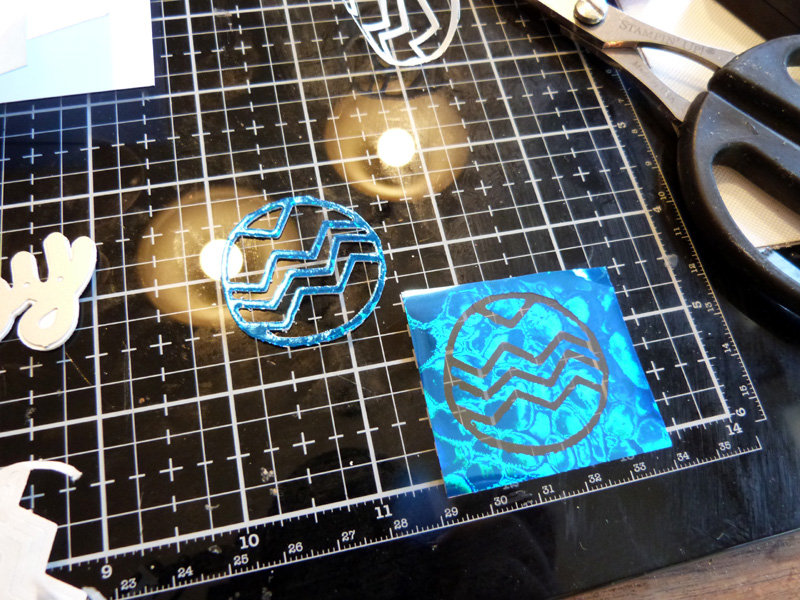
Peel off the top release paper from the double-sided foam die cuts. Place a piece of Blue Waves Deco Foil Transfer Sheet down onto the die cuts, with the colored side up and the silver side down. Rub over the foil gently with the tip of your finger, and then peel off the foil.
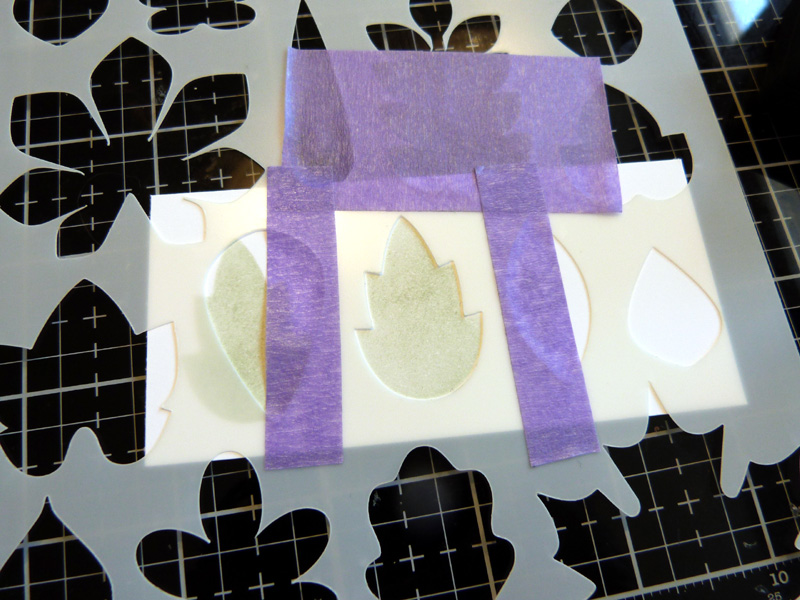
Place the leaf stencil onto a scrap piece of white cardstock. Mask off a leaf image, if needed, with Purple Tape. Ink two leaves using the green ink.
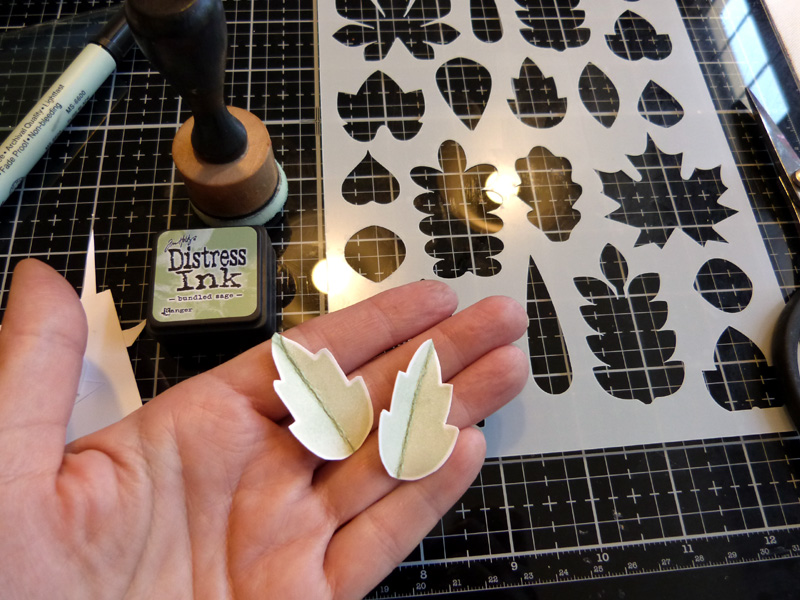
Fussy cut the leaves. Fold them in half, and ink down the center vein using the green ink and an ink blending tool. Keep the leaves slightly folded for a bit of extra dimension.
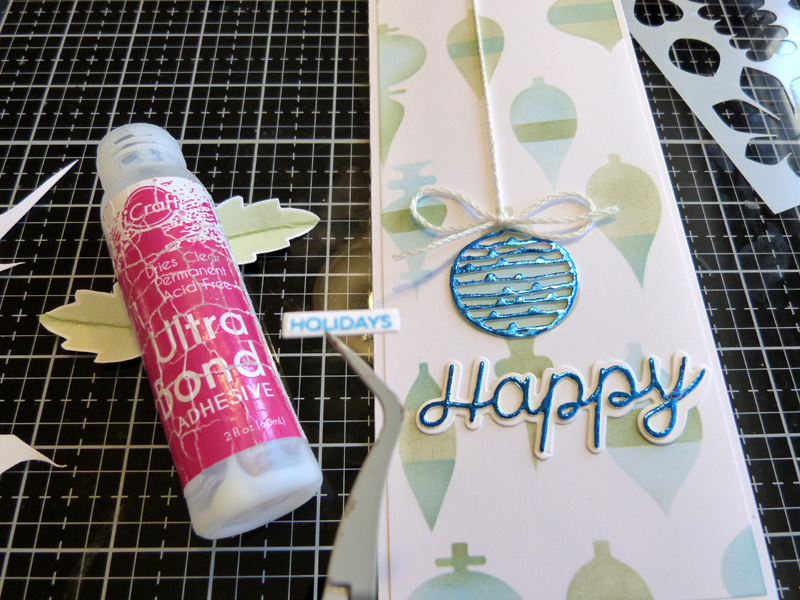
To assemble the card, peel off the backing to the foiled ornament, and adhere it to the top of that large stenciled ornament you so carefully centered on the bottom portion of the card panel. Pierce a hole through the card panel at the top of the ornament using a paper piercer. Thread twine through the hole and around the top of the card panel. Tie the ends into a bow at the top of the ornament. Adhere the card panel to the card base. Add the foiled happy word to the die cut word shadow. Add dots of Ultra Bond adhesive to the back of the word, and adhere it below the ornament. Stamp the word holidays onto a small die-cut sentiment strip in blue ink, and adhere it below the word Happy.
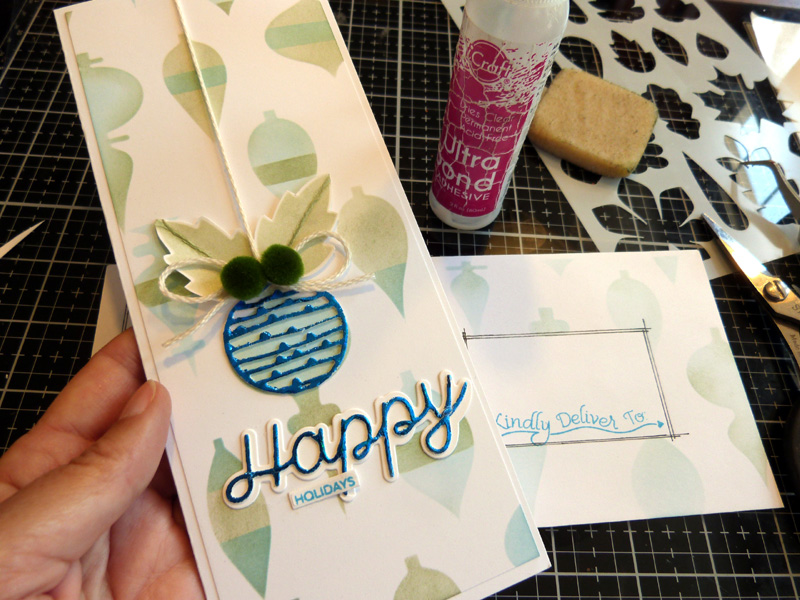
Adhere the two leaves to the top of the ornament. Adhere two pom poms to the center of the bow. Stamp images onto the envelope.
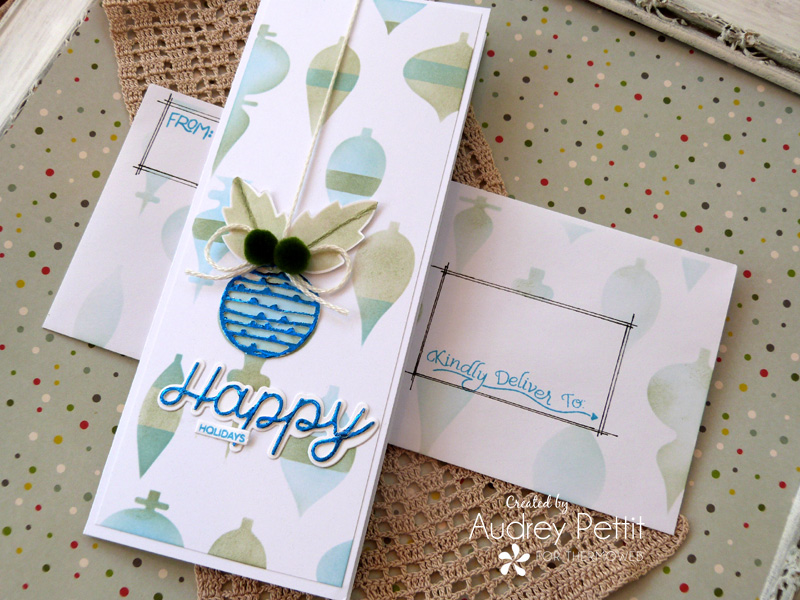
Enjoy!
Save
It would not be a collaboration without a FUN Giveaway!
We’d like to give you a chance to enter to win a $50 Gift Card to shop for all of your favorite ThermOWeb and Brutus Monroe products! Just follow the prompts to enter to win! And that’s not all…we’d also like to invite you to visit our friends at Brutus Monroe to see what they’re up to as well! Tonight look for a Live with Christopher Alan on his YouTube Channel around 8:30pm Central Time! And you’ll find a new project later this evening on the Brutus Monroe YouTube Channel. We know that they have all sorts of fun plans this week you’ll not want to miss!

Denise Bryant
October 19, 2020 at 3:14 pm (5 years ago)Love the stenciled and die cut ornaments! Pretty card!