


It’s almost fall y’all! This Texas girl is dying for some cooler weather here. Here’s to hoping this project starts getting me in the fall mood!
Happy Fall Y’All Pieced Pillow & Wall Hanging
My grandparents just moved into their first assisted living home and it’s been a bittersweet experience for them. Downsizing and losing some independence, but getting a community to be a part of has been wonderful for them.
The first time I visited I noticed that everyone had cute signs on their doors and usually something decorating for the season. I just knew I had to make them some super fun fall decorations to help them feel right at home. I picked a simple wall hanging and a quick pieced pillow with deco foil!
Fall Wall Hanging Tutorial:
Project Materials:
1 fat quarter of fabric (cut into 2-18”x8 1/2”)
1 fat eighth of fabric for letters
2 2”x21” strips of fabric
Thermoweb HeatnBond® Fusible Fleece (cut into 1-18×8 1/2”)
Thermoweb HeatnBond® Iron-on Adhesive
Oliso Smart Iron
Sewing Supplies: machine, rotary cutter, thread, scissors, pins
Project Directions:
Iron on your HeatnBond® Fusible Fleece to one of your 18” x 8 1/2” piece backs.
Take the fabric for letters and adhere the iron-on adhesive to the back. Using your cutting machine, cut out your last name. (Or print and trace onto your fabric if you do not have a cutting machine) Cut out your letters and place them right side up on your fused 18”x8 1/2” piece.

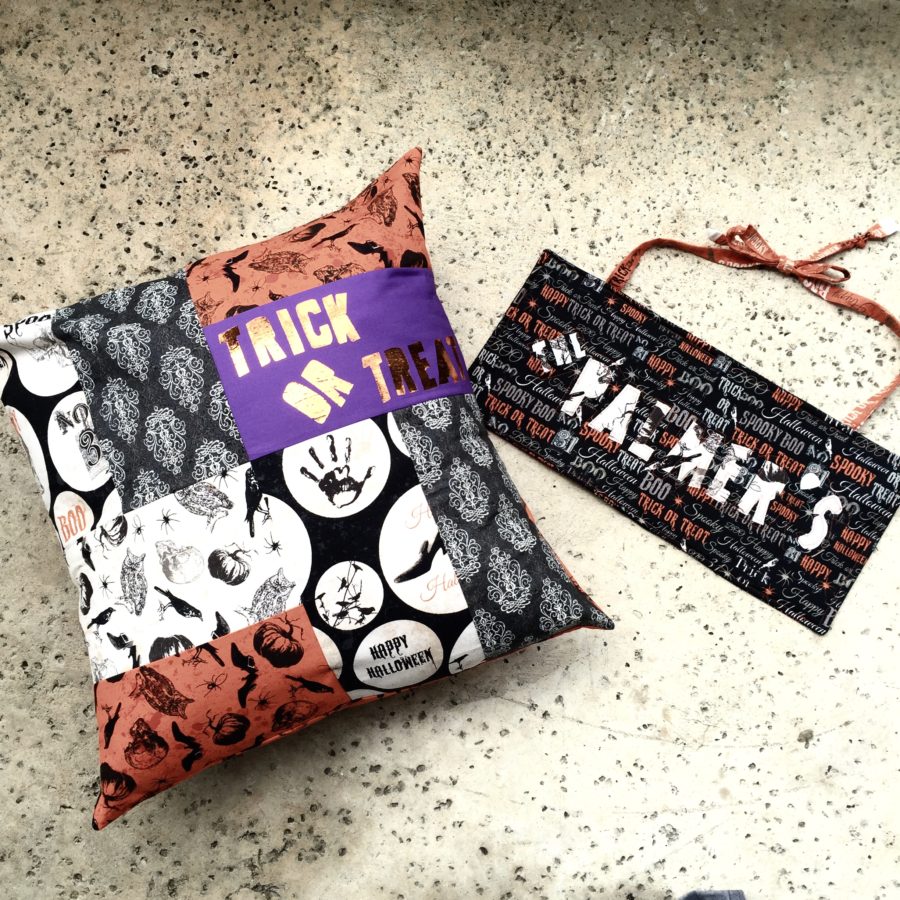
Take your two strips and sew the long sides right sides together, turn right side out. This is creating two “ribbons” for hanging your sign. Iron the ribbons and pin them in place at the top of your nameplate about three inches from each side. Place the two 18”x 8 1/2” pieces right sides together, pin and sewing a 1/4” seam around the parameter (leaving a three to four-inch gap to turn it right side out). Turn right side out and iron. Topstitch around the entire parameter, sealing the hole. Iron one more time, hang, and enjoy!
Halloween Pieced Pillow Tutorial:
Materials:
4 fat quarters of fabric (cut each fq into 2- 10 1/2”x5 1/2” pieces)
1 fat quarter for backing plus one scrap from above fq
Thermoweb HeatnBond® Fusible Fleece (cut into 1-20 1/2”x 20 1/2”)
Thermoweb Deco Foil™ Transfer Sheets
Thermoweb Deco Foil™ Hot Melt Adhesive
Oliso Smart Iron
Sewing Supplies: machine, rotary cutter, thread, scissors, pins
Directions:
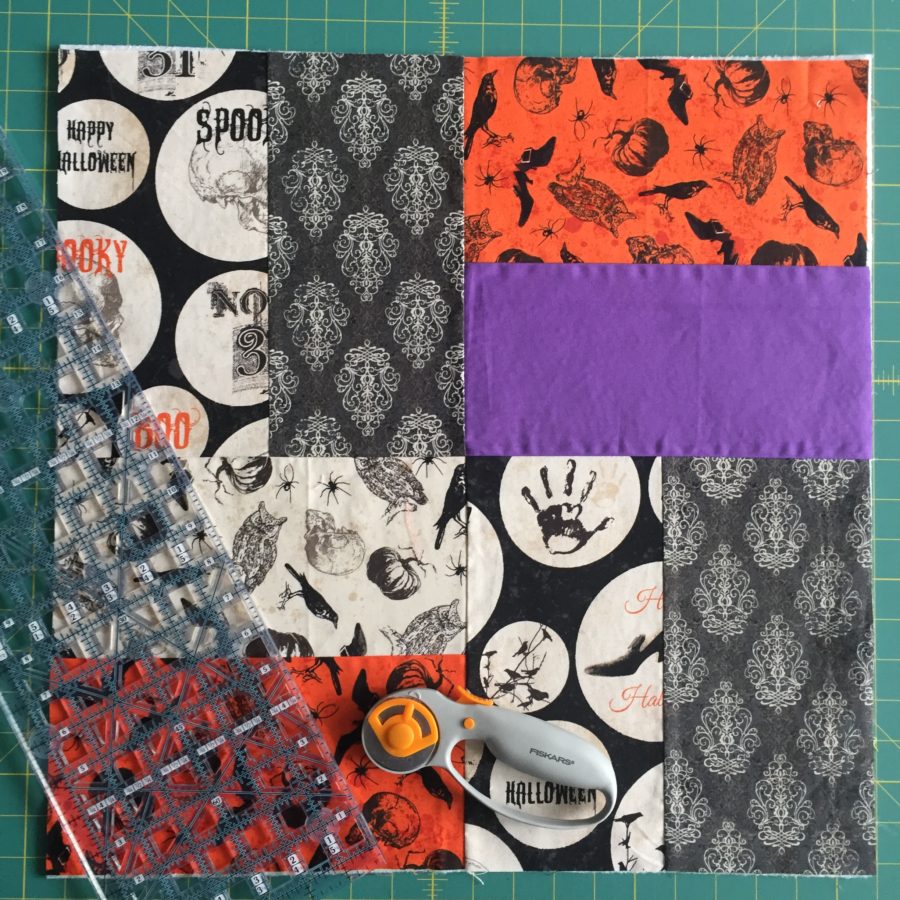
Lay out your 10 1/2” x 5 1/2” pieces to create the top. I used one solid scrap as one for the deco foil, I wanted it to really pop. Take two pieces and sew them together on their 10 1/2” side with a 1/4” seam (just as you would if you were making a quilt block). Do this until you have four sets. I then turned two sets on their side and created the design. Sew all of the sets together. Now iron on your large quilt block to your fusible fleece. Optional: Quilt a design on the fabric.
Cut your back slipcover pieces- one 20 1/2” x 18 1/2” and one 20 1/2” x 6 1/2”. Iron one side of the 20 1/2” piece down wrong sides together by 1/4”, then iron again 1/2”. Topstitch. Repeat with the second piece.
Lay your two back pieces on top of your front block, right sides together. Make sure your topstitched edges are in the middle creating the slipcover. Pin and serge all the way around. Turn inside out and press really well.
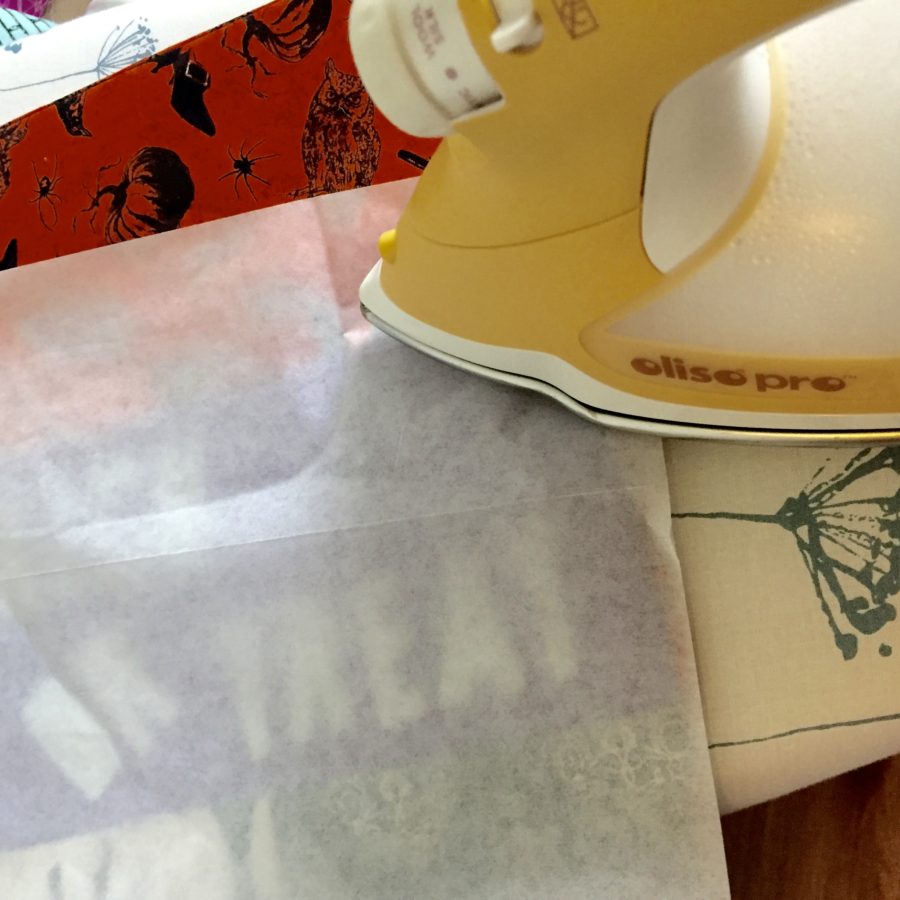
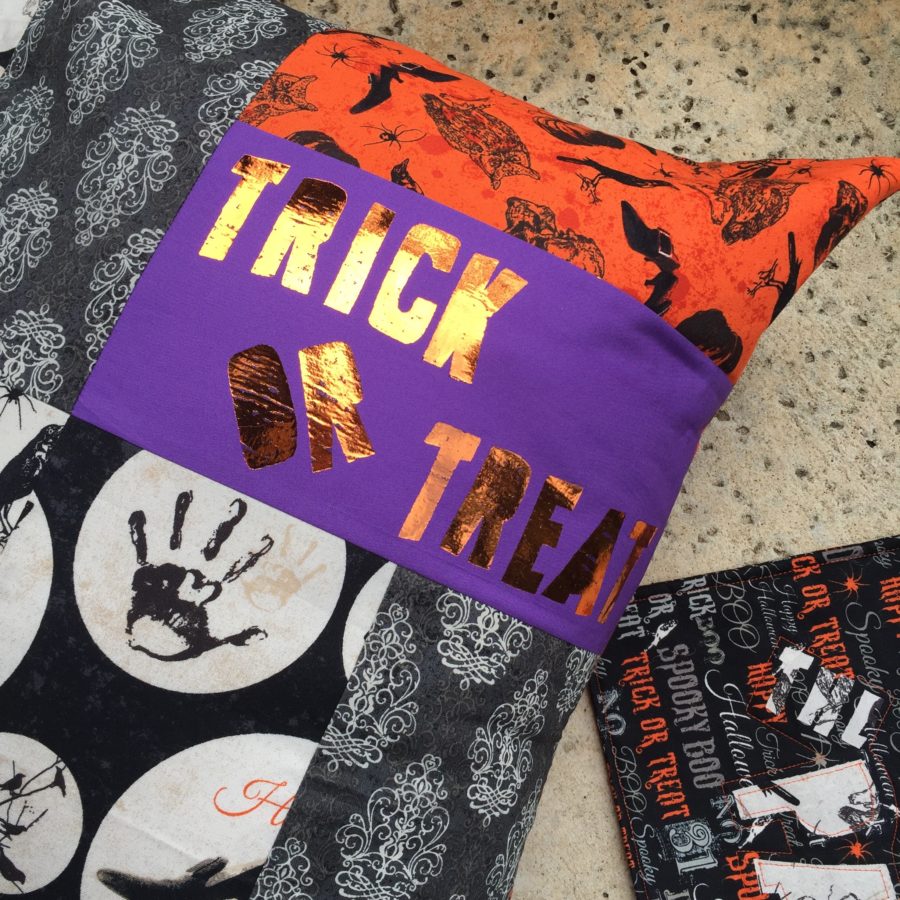
Now it’s time to add the deco foil! I do this last in the process because I don’t want to accidentally hit the iron on my pretty letters while I’m working. Cut out your letters in your hot melt either by machine or hand. I chose to cut these by hand to give them a more “spooky” feel. Iron the hot melt with 30-40 seconds on medium. LET IT COOL!!! Then cover it with your deco foil and iron. LET IT COOL!!!! Peel it off and see your awesome design. Insert your pillow cover and enjoy your fall pillow!!!
Hope you are enjoying the fall season!!
Kristen Wright of Two Blondes and a Sewing Machine