


![]() Hello friends!!! We are over the moon excited to share a couple of brand-new products with you! Partnering with Gina K Designs and Unity Stamp Co there are Deco Foil Adhesive Transfer sheets to add foiling to your cards!
Hello friends!!! We are over the moon excited to share a couple of brand-new products with you! Partnering with Gina K Designs and Unity Stamp Co there are Deco Foil Adhesive Transfer sheets to add foiling to your cards!
Deco Foil Adhesive Transfers with Gina K. Designs and Unity Stamp Co.
Make your mark with Deco Foil Adhesive Transfers! Our collection of unique designer images and sentiments allows you to add “just a touch” of modern metallic shine to your projects when used with Deco Foil Transfer Sheets. Deco Foil Adhesive Transfers apply easily to cardstock using a laminator or die-cutting machine.
![]()
![]()
It’s time to take your foiling to a whole new level with Deco Foil Adhesive Transfers!
Announcing our three NEW Gina K. Designs Adhesive Transfers… you’ll find images for celebrations, love, friendship and much more! Each design can be foiled with or without heat for the same remarkable result.
![]()
Our friends at Unity Stamp Co. have two stunning sentiment designs to offer… congrats, thanks, happy…with accompanying sentiments to pair with those…offers endless options.
![]()
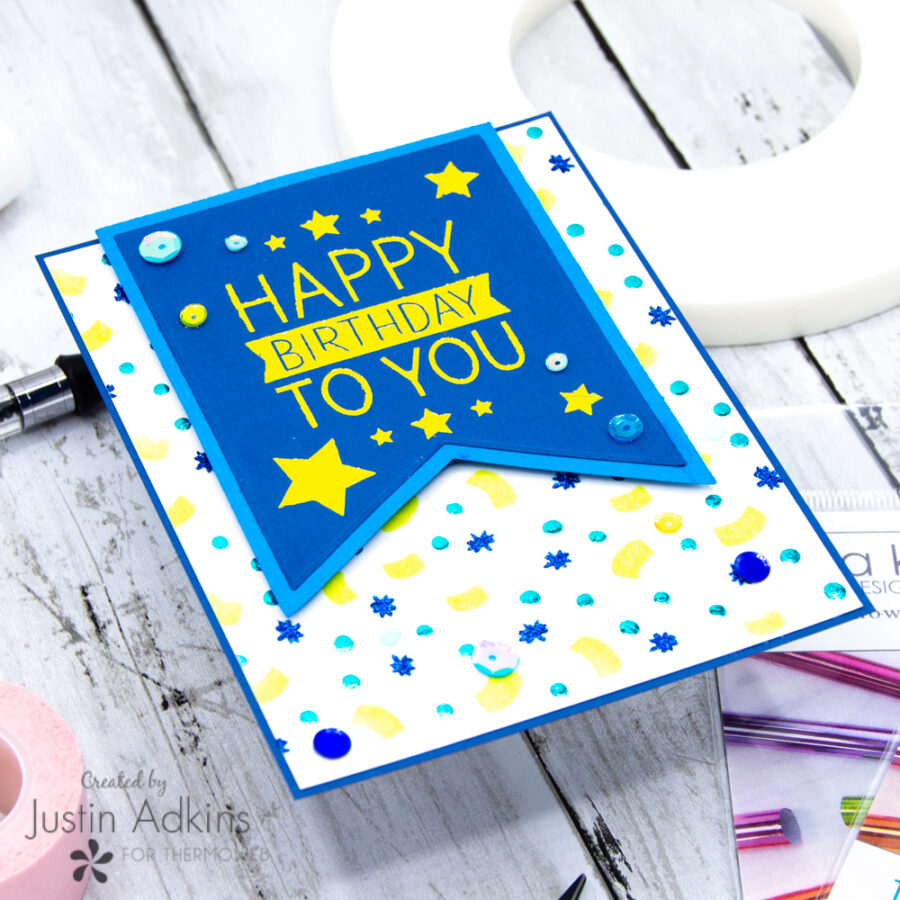
Happy Birthday Card Instructions
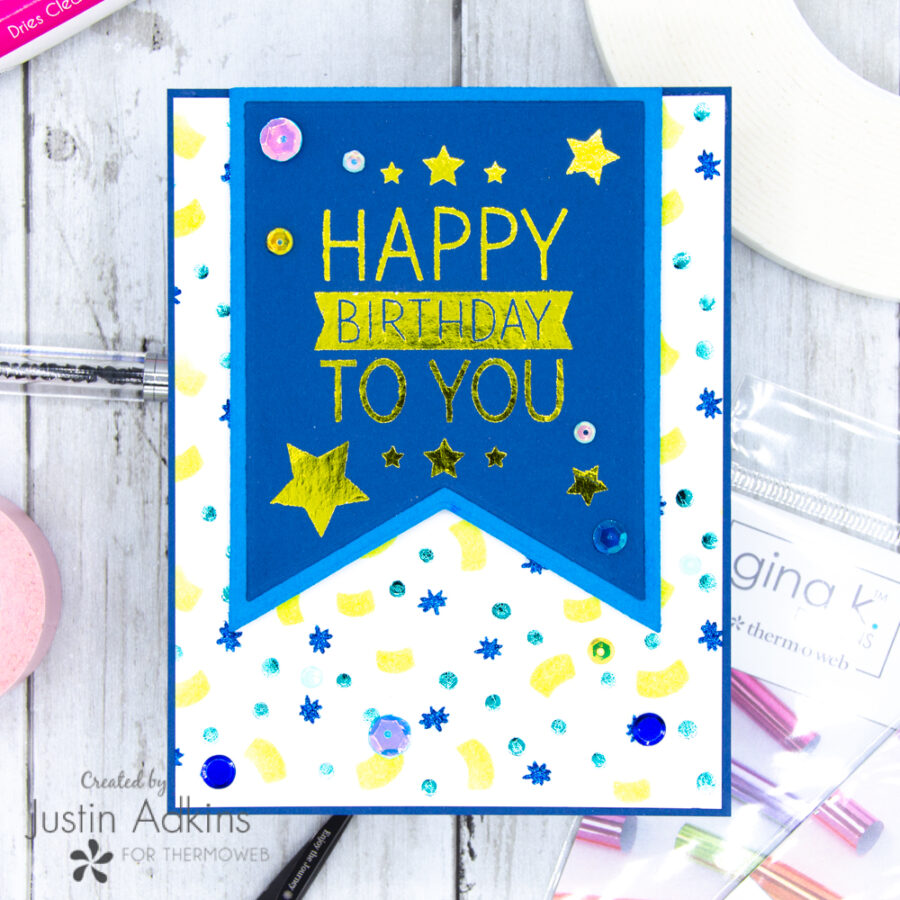
Hello everyone! Justin here, and today I am showing off a really fun project that I created to showcase the newest product in the Therm O Web shop, the Gina K. Designs Adhesive Transfers! We have both the Gina K. Designs and the Unity Stamps adhesives now available, and the birthday designs by Gina K. just spoke to me (you can never have to many birthday cards, right!?). Let me show you how easy this was to put together, using the Birthday Bliss Gina K. Designs Transfer Adhesive for Therm O Web set!
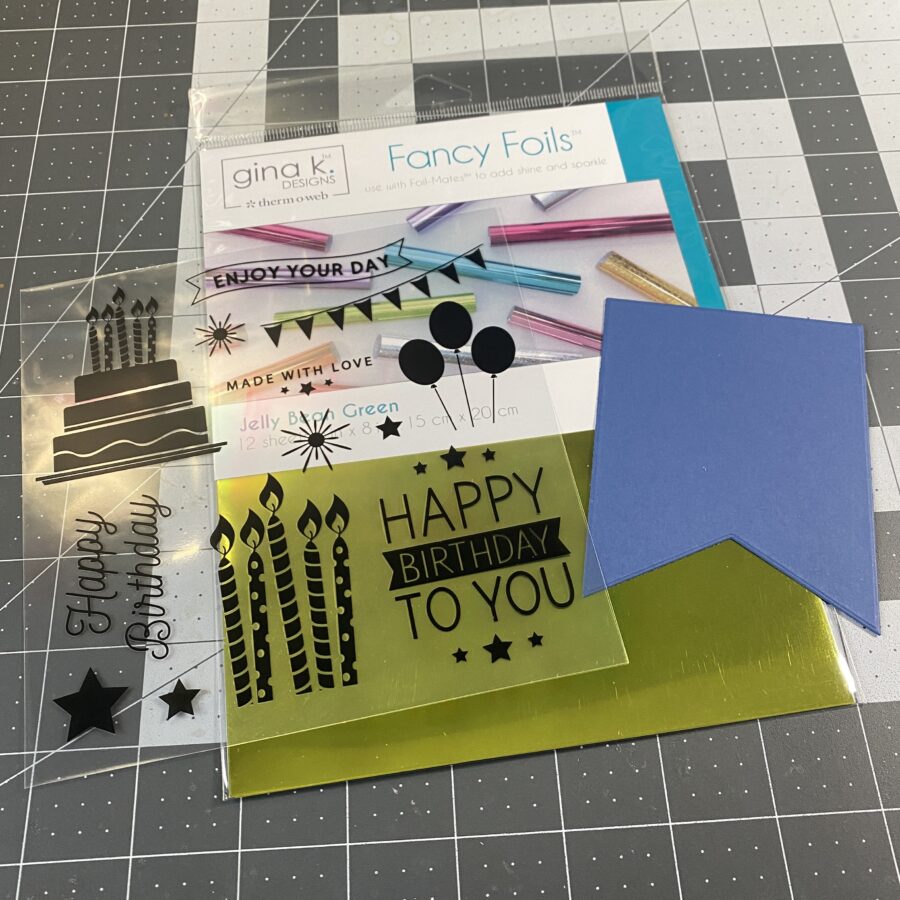
First, I wanted to put my sentiment onto a banner. So I grabbed the Birthday Bliss adhesives from the Gina K. Designs Adhesive Transfer collection, along with some Jelly Bean Green Fancy Foil, and a quick die-cut of a blue banner.
I trimmed down the Happy Birthday To You sentiment, along with 3 of the stars, removed them backings, and put them into place on my banner. You don’t have to do any sort of fancy fussy cutting here! The adhesive is ONLY on the back of the printed areas, so feel free to do some quick, yet careful, cutting!

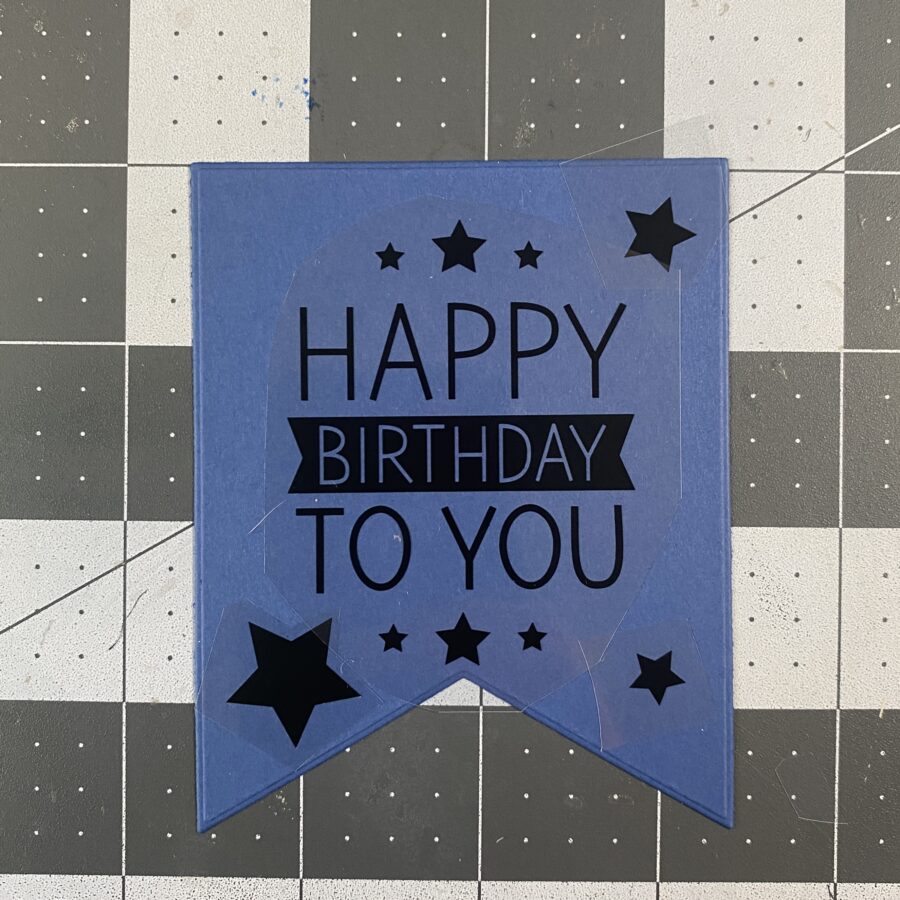
I placed the banner with the Birthday Bliss Adhesive Transfer images in a transfer sheet sandwich, ran it through my laminator, and slowly peeled off the Adhesive Transfer plastic piece from my die cut. If you look above, you can see what the banner looks like now that the adhesive has been transferred. I processed this through my laminator with the Jelly Bean Green Fancy Foil in a transfer sheet pouch, pulled the Fancy Foil off, and set my banner aside.
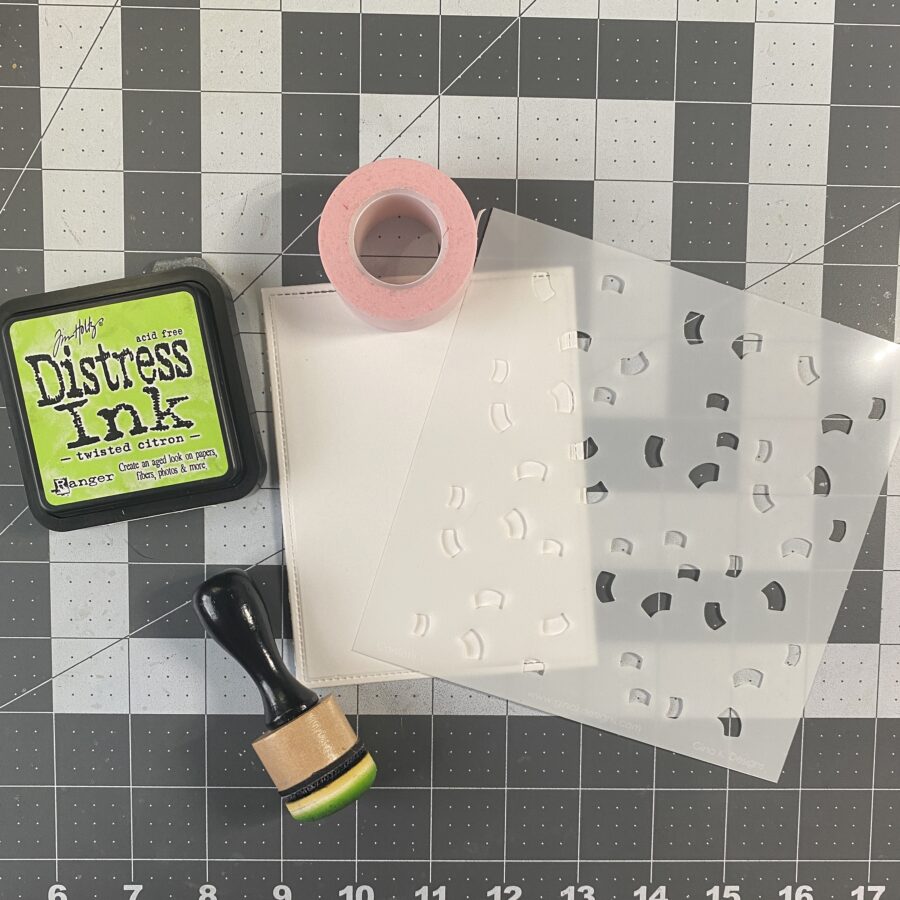
Next, it was time to work on my background. I grabbed an A2-sized piece of blending cardstock, the Gina K. Designs Layered Confetti Stencil, and some Twisted Citron Distress Ink. I tacked my card down onto my mat with some Pixie Tape, and then placed the “A” Stencil on top of it, marking the corner it needs to stay in for future layering. I blended up a solid layer of Twisted Citron Distress Ink, pulled off my stencil, and went on to my next layer.
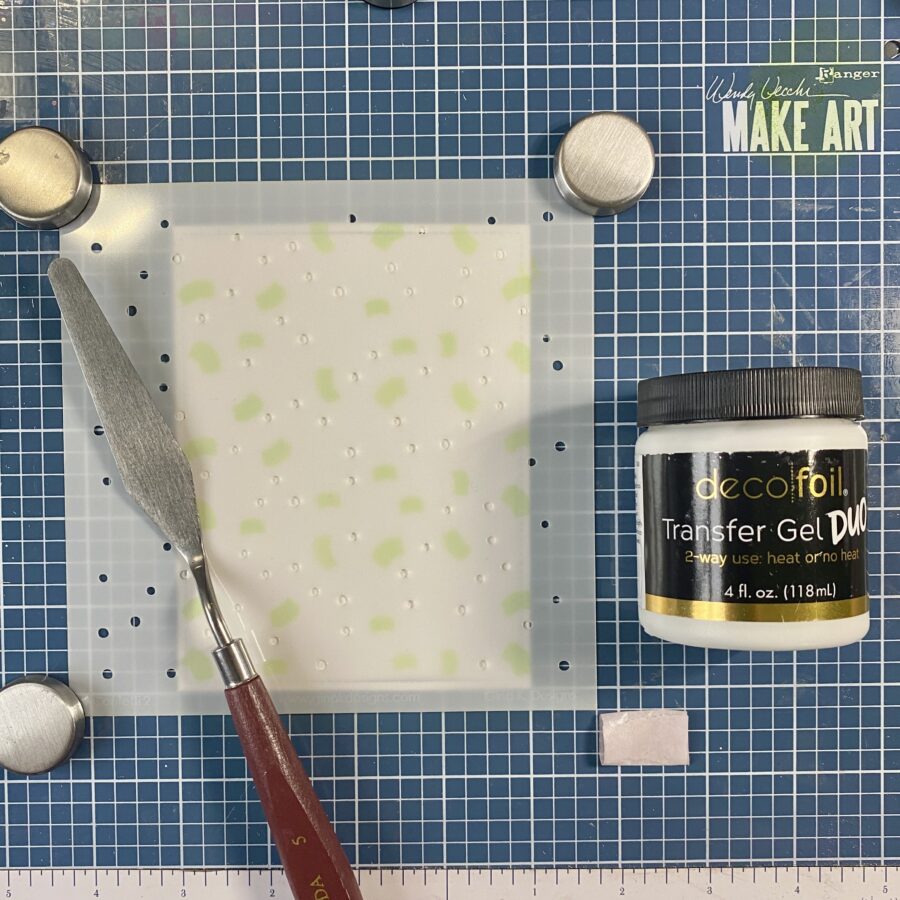
Grabbing my “B” stencil, I layered it on top of my panel and applied a solid layer of Deco Foil Transfer Gel Duo. I removed my stencil, set my panel aside to dry entirely, and washed my stencil and tool off immediately.
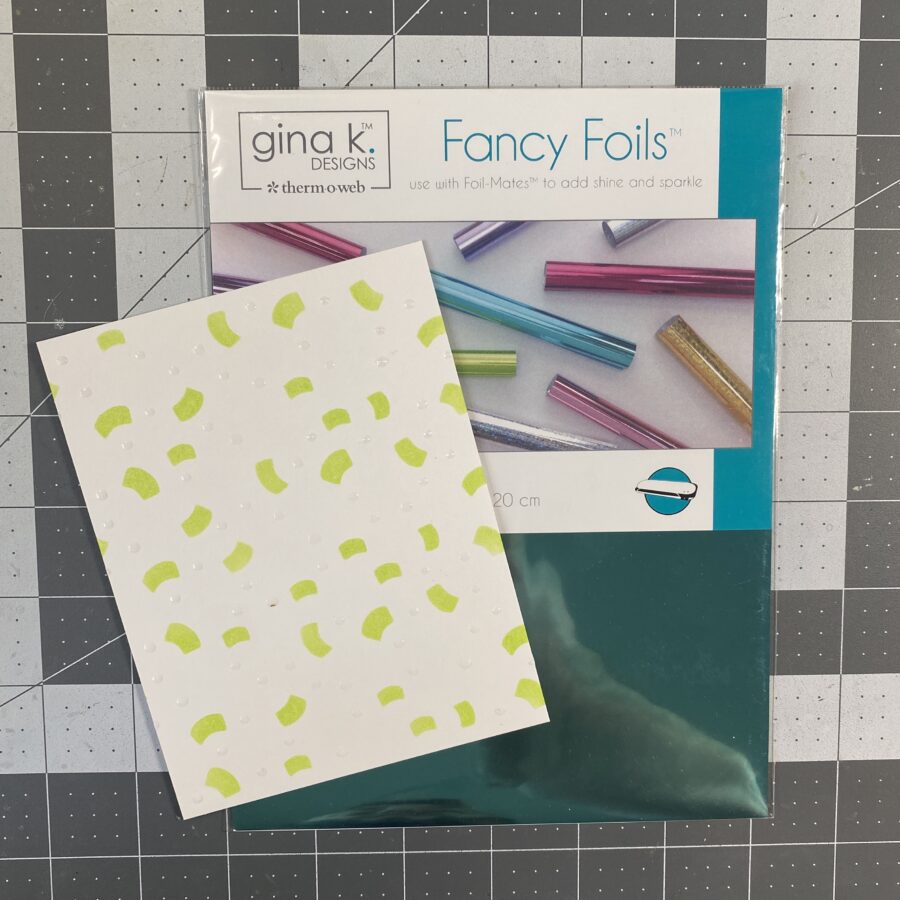
Once my Transfer Gel Duo was dry, I grabbed some Turquoise Sea Fancy Foil, placed my panel into a transfer pouch, and ran it through my laminator. I removed my Fancy Foil and went on to my next step.
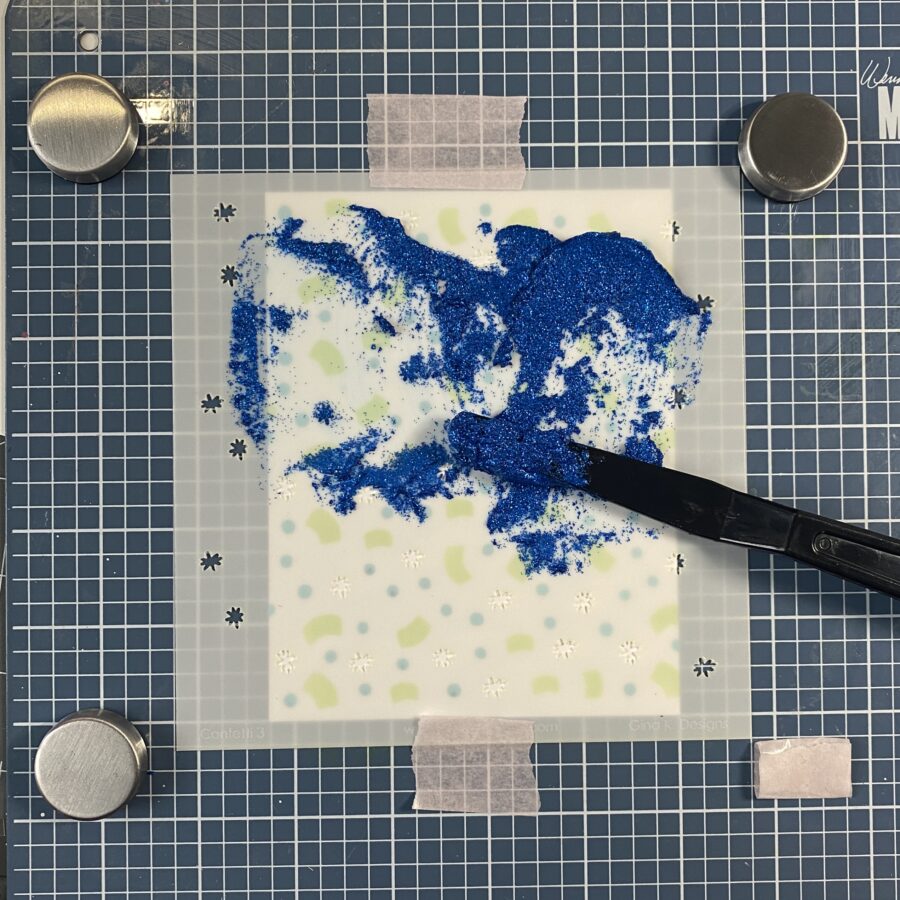
I then placed my “C” stencil into place on top of my panel, and applied a solid layer of Brilliant Blue Glitz Glitter Gel. I removed my stencil, set my panel aside to dry entirely, and then washed off my stencil and tool immediately.
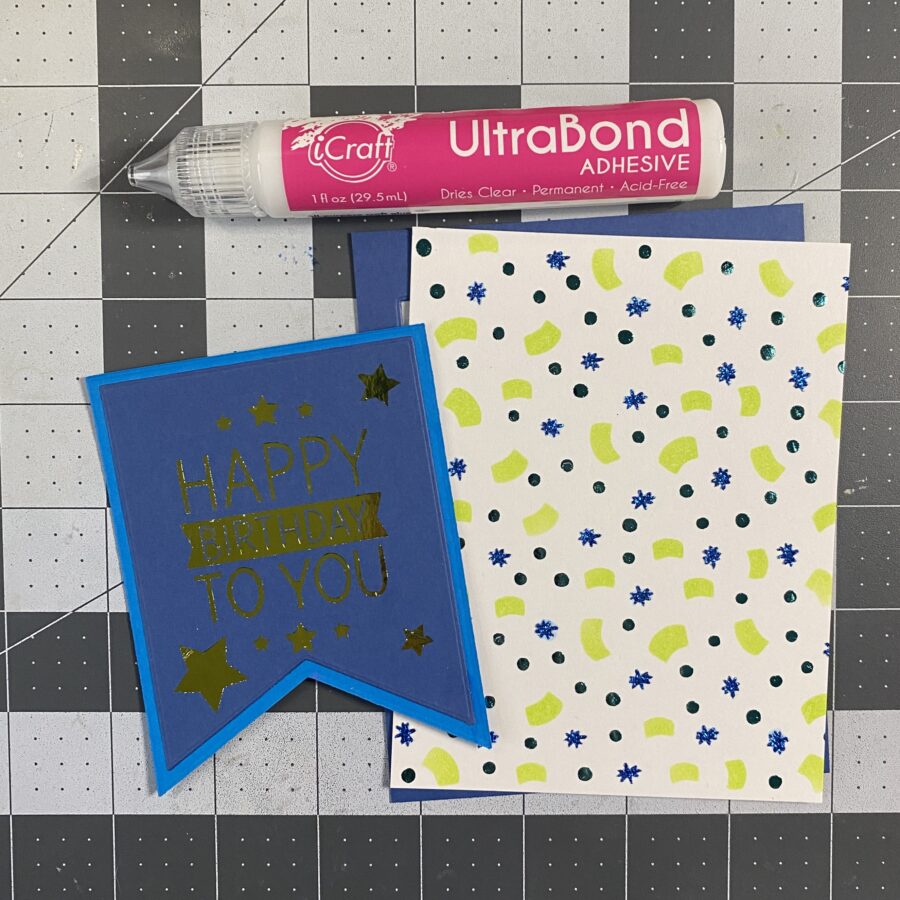
Finally, it was time to pull everything together. I die cut a slightly larger banner in a lighter blue cardstock and adhered my Adhesive Transfer banner to it using UltraBond Liquid Adhesive. For my background, I trimmed it down to 4.125″ x 5.375″ and then adhered it to an A2 sized piece of dark blue cardstock to frame it
I adhered my banner to my card using White 1/16″ iCraft 3D Foam Tape. I then adhered a few sequin embellishments using the UltraBond Adhesive. My card was completed!
I have a few more photos to share with you of today’s project!

Below is a condensed list of products used to create this project!
Therm O Web Products Used:
Gina K. Designs Deco Foil Adhesive Transfers- Birthday Bliss
Jelly Bean Green Fancy Foil
Turquoise Sea Fancy Foil
Brilliant Blue Glitz Glitter Gel
Deco Foil Transfer Gel DUO
iCraft 3D Foam Tape (White)- 1/16″
Pixie Tape
UltraBond Liquid Adhesive
Other Products Used:
Banner Die Cut
Gina K. Designs Layered Confetti Stencils
Twisted Citron Distress Ink
Colored Cardstock
Blending Cardstock
Portland Sequin Mix
Thank you so much for stopping by the Therm O Web Blog today! I can’t wait to see what you create using the new Adhesive Transfers line!
Don’t forget that for more crafty inspiration, you can follow me on Instagram and check out my personal blog as well!
Happy Crafting!
Justin
This post contains affiliate links. For more information, see our disclosure HERE.
Now we think you know by now it wouldn’t be like us to have a new release and not celebrate it with a Giveaway. In fact…this is a BONUS Giveaway!
We want to first invite you to join in the Instagram Hop that we kicked off yesterday! We think it’s the first time we’ve had a triple-team hop! That’s right…three teams… Gina K. Designs Team, Unity Stamp Co. Team, and our talented team here at Therm O Web! And don’t worry if you couldn’t join in yesterday…you can still hop with us for a chance to win and some incredible inspiration too!
So get entered to win and then join the hop…join us anytime today, tomorrow…this weekend but do JOIN IN!