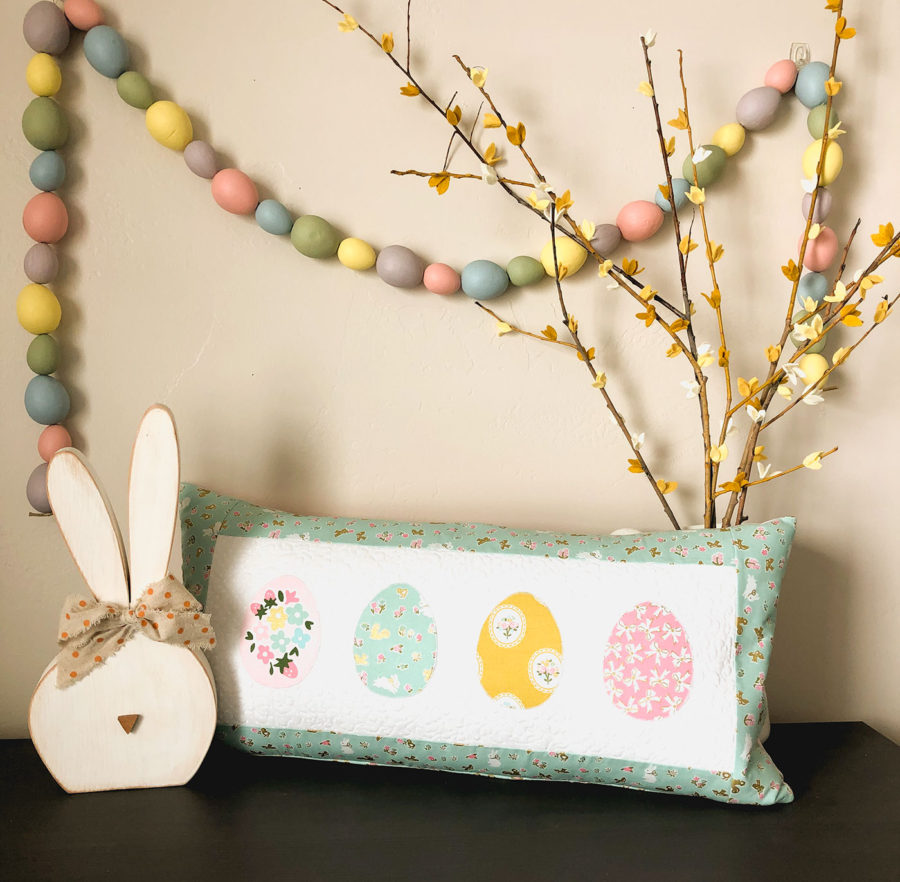
Simple Easter decor is my favorite. This Easter Egg pillow is a quick project with very satisfying results especially if you use fabrics as lovely as these Milk and Honey fabrics by Elea Lutz.
Easter Egg Pillow Tutorial
Supplies:
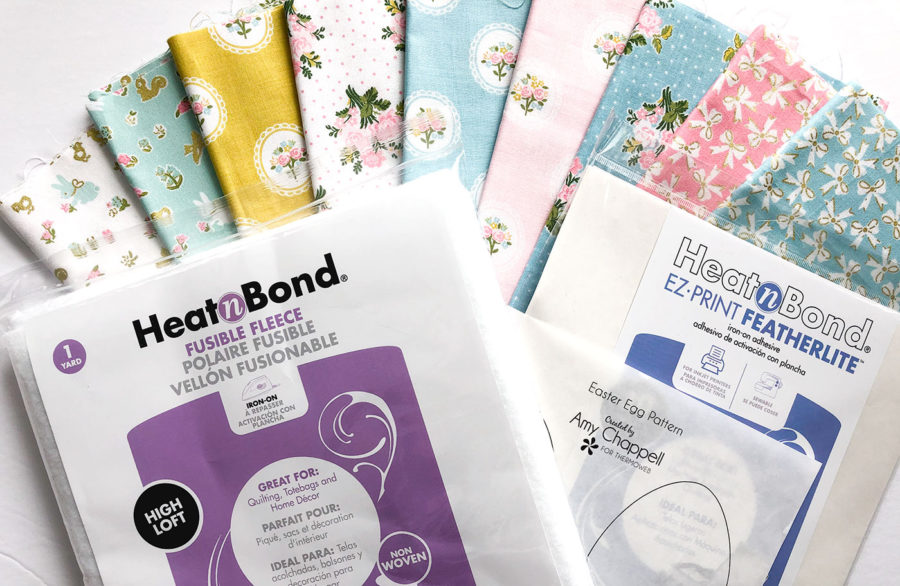
- Fabric –
- small pieces for eggs
- 7 1/2″ X 19 1/2″ piece of white fabric for the pillow center
- 1/4 yard fabric for border of the pillow
- 1/2 yard fabric for pillow back
- 12″ X 24″ pillow form
Prepare Eggs for applique
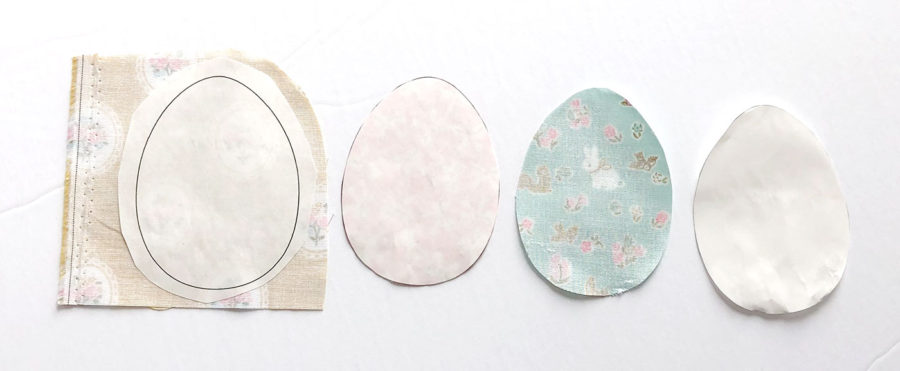
- Print off the egg pattern (or trace it) onto the paper side of the Heat n Bond Featherlite.
- Cut out around each egg, leaving a slight margin around each one.
- Fuse the egg to the wrong side of the fabric chosen for the egg.
- Cut out the egg on the traced/printed line.
- Remove the paper backing from the egg. Set aside the eggs.
Sew Pillow front
*note: the fabric in the final pillow is different from this picture because I realized that there wasn’t enough contrast between the center panel and the eggs.
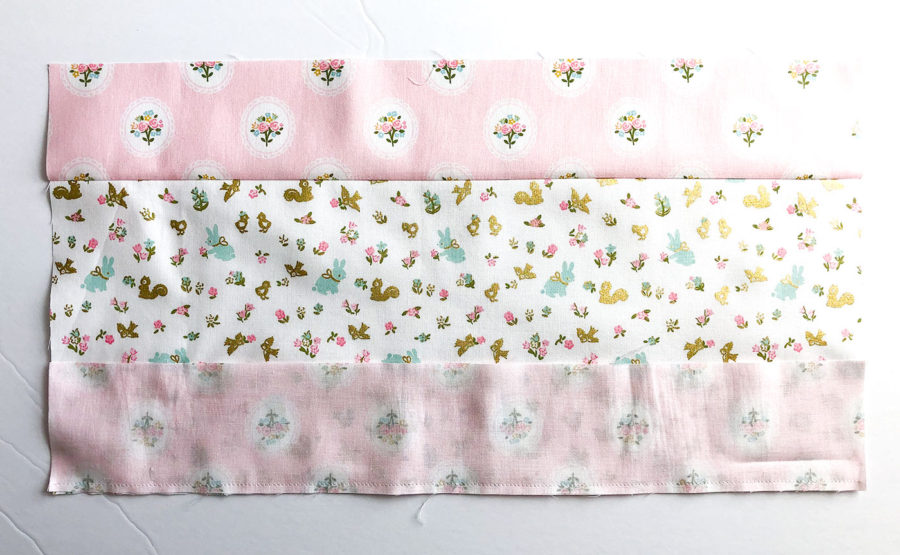
- Cut out border strips:
- Cut 2 strips 3″ X 19 1/2″
- Cut 2 strips 3″ X 12 1/2″
-
- Sew the 3″ X 19 1/2″ border strips to the top and bottom of the center strip.
- Press the border strips away from the center of the pillow.
- Sew the side border strips to the pillow front.
- Press the border strips away from the center of the pillow.
Add Applique Eggs
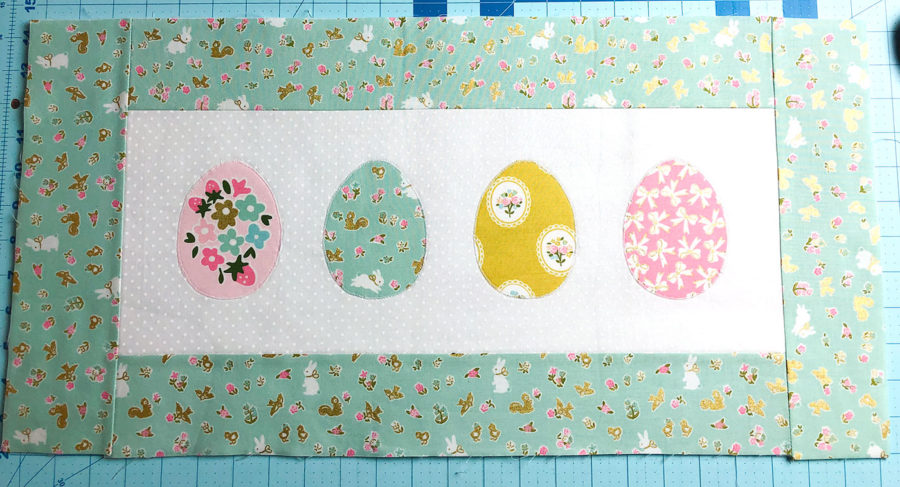
- Position the eggs in the center of the pillow front. Mine was 1 1/2″ in from each side, with 1 1/4″ in between each egg and 1 1/2″ from top and bottom.
- Fuse the eggs to the center of the pillow front.
- Use a narrow zig-zag stitch to stitch around each of the eggs.
Finish the Easter Egg Pillow
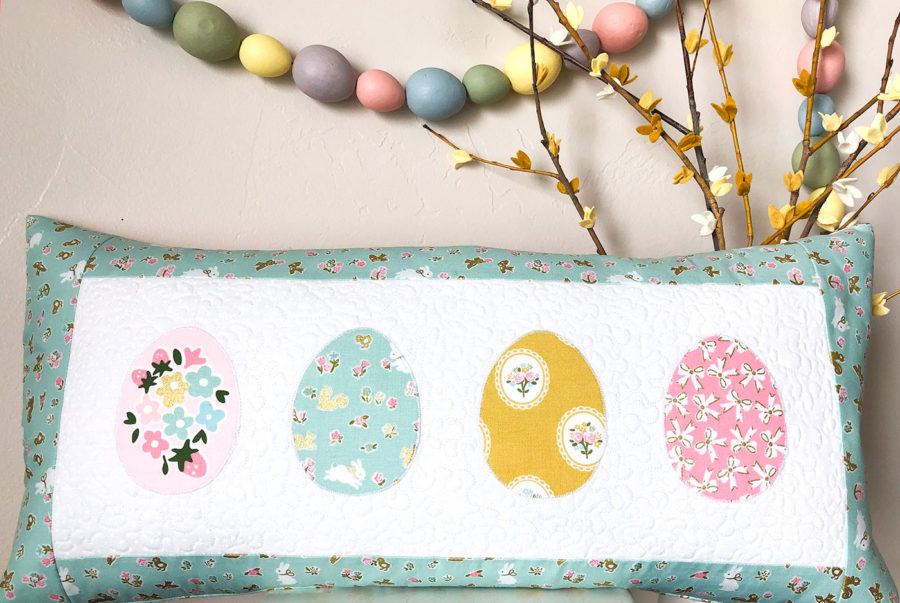
- Cut a piece of fusible fleece to 12 1/4″ X 24 1/4″.
- Fuse the fleece to the back of the pillow front.
- If desired add quilting to the pillow front.
- Create a pillow back using your method of choice. I used my zipper in the bottom seam method.
- Sew your pillow front to the pillow back.
- Add your pillow form.
- Enjoy!!
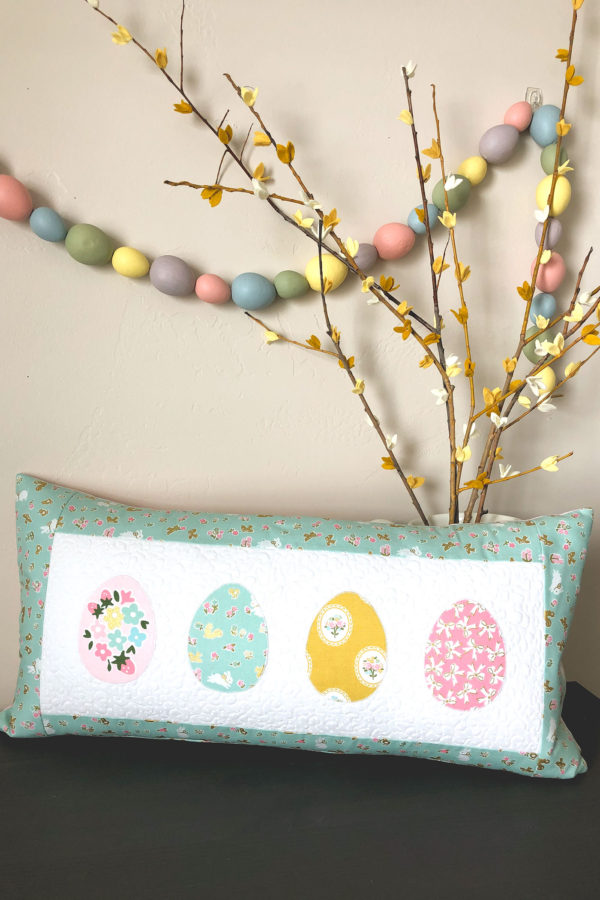
I have already had a couple of my children lay claim to this pillow, but I think it’s going to live in my room so I can enjoy it!
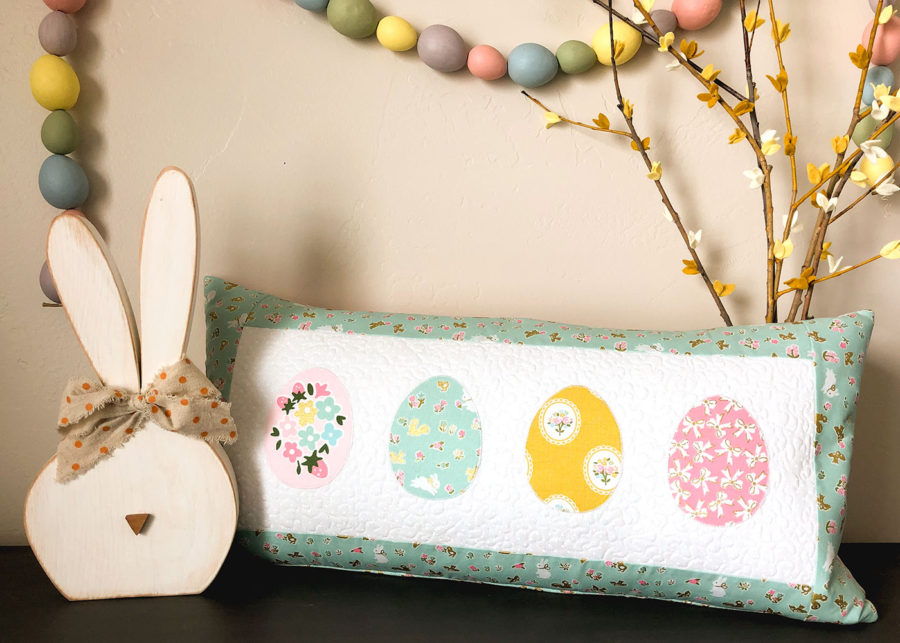
The burst of spring in my house is really welcome since winter is still trying to hold on here where I live. Are you ready for spring? I’d love to hear!
If you’d like to add some more spring decorations to your house, I have a really fun Springtime Showers Mini Quilt on my blog Ameroonie Designs. Happy Sewing friends! xoxo, Amy
4 Comments on Handmade Easter Egg Pillow with HeatnBond
1Pingbacks & Trackbacks on Handmade Easter Egg Pillow with HeatnBond
-
[…] to decorate your home for Easter instead? This egg pillow is an easy way to spruce up your living room, while these placemats and napkins are perfect for […]

Allie
April 4, 2020 at 10:19 pm (5 years ago)No Easter egg pattern, Very cute though.
admin
April 6, 2020 at 3:48 pm (5 years ago)Allie…the Easter Egg Pattern is attached if you want to try refreshing your browser.
A
February 13, 2021 at 2:31 pm (4 years ago)Great pattern! I had never used appliqué before this, but it was easy to learn. The measurements were exact and it only took about three hours to finish as a beginner sewer (and I also hand sewed the entire project.) Thanks for sharing!