


Welcome back! We’re celebrating all Treats and no Tricks this week on the blog and that is just fine with me! My favorite treat for Halloween is of course some yummy coffee and donuts! I created two cards for you today and kind of made them side by side…
Halloween Treat Cards with Glitter Dust Spray
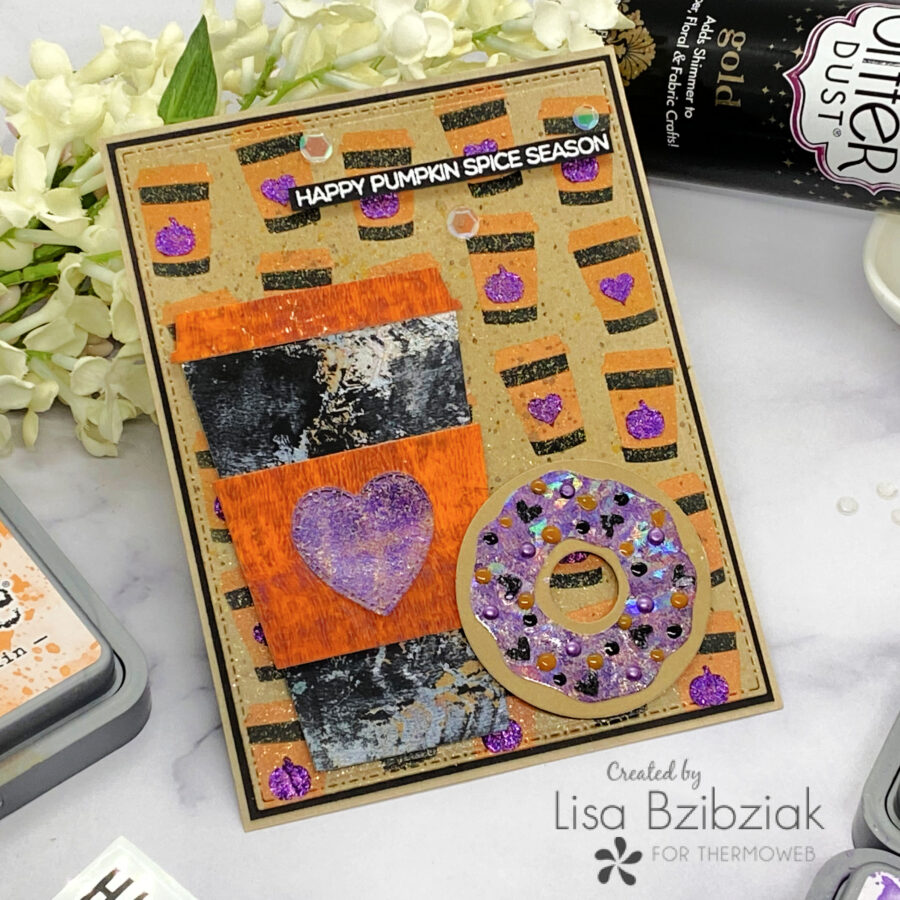
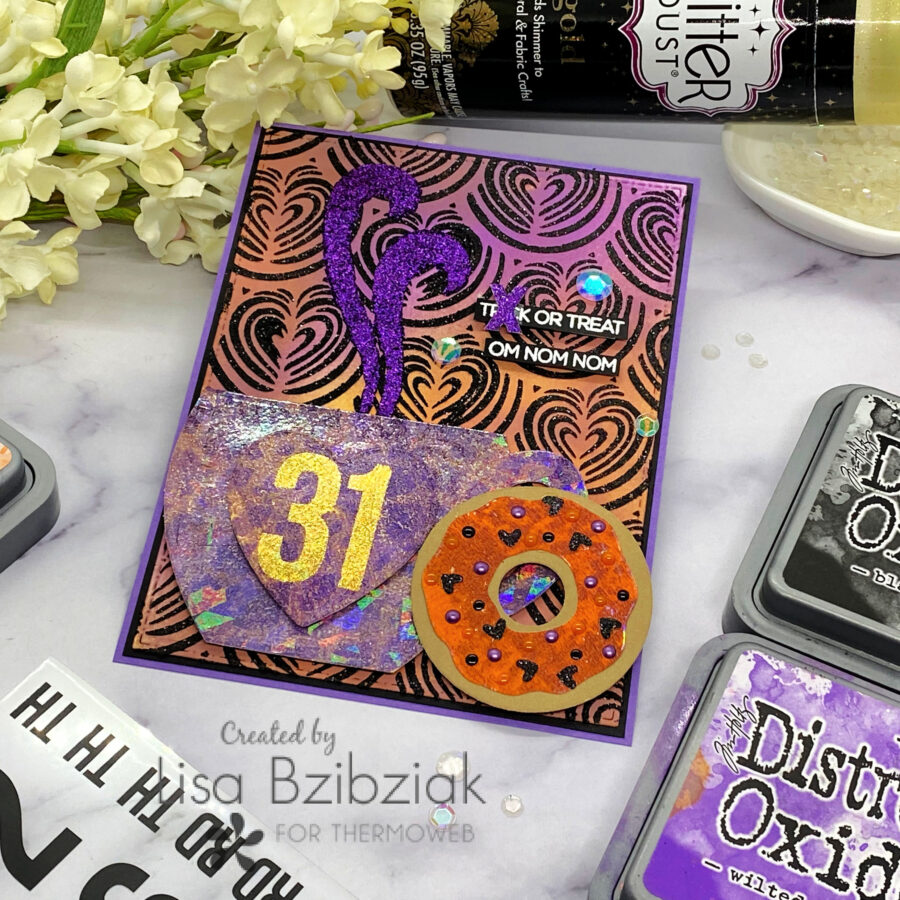
These two are alike (I used a lot of the same elements including gel prints, Glitter Dust Spray, Glitz Glitter Gel and Magical Shattered Glass Deco Foil) but different!
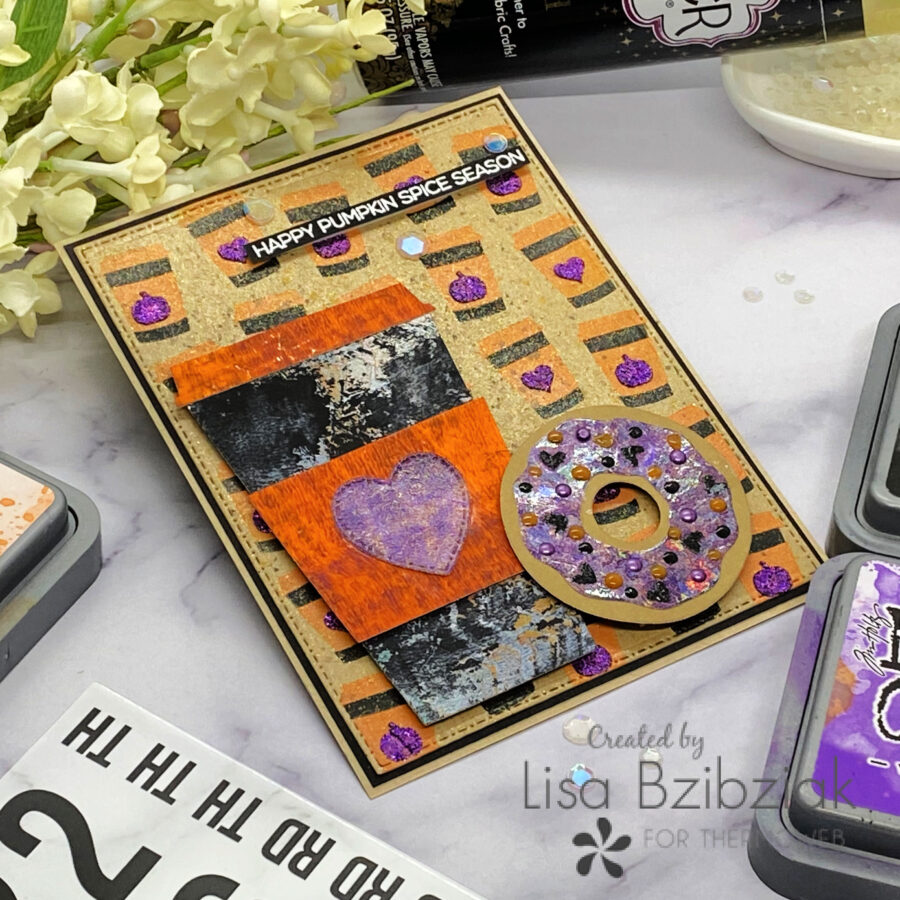
I started by creating the backgrounds! Here’s a short video showing how I made that fabulous To Go Cup Background!
[youtube https://www.youtube.com/watch?v=O6lXg_1ANbM%5D
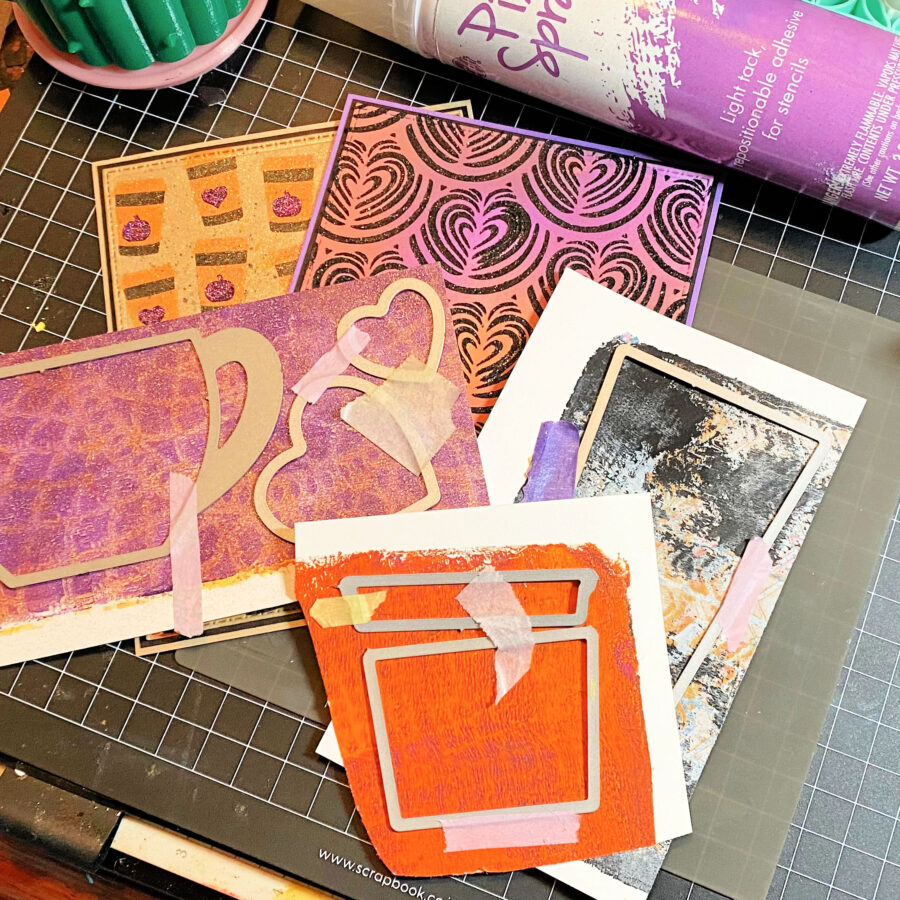
Once I was done creating the backgrounds, I grabbed some gel prints from my stash and die cut pieces for my cups and donuts. The purple print had some Glitter Dust sprayed on it And made the pieces I cut from it extra sparkly and fun!
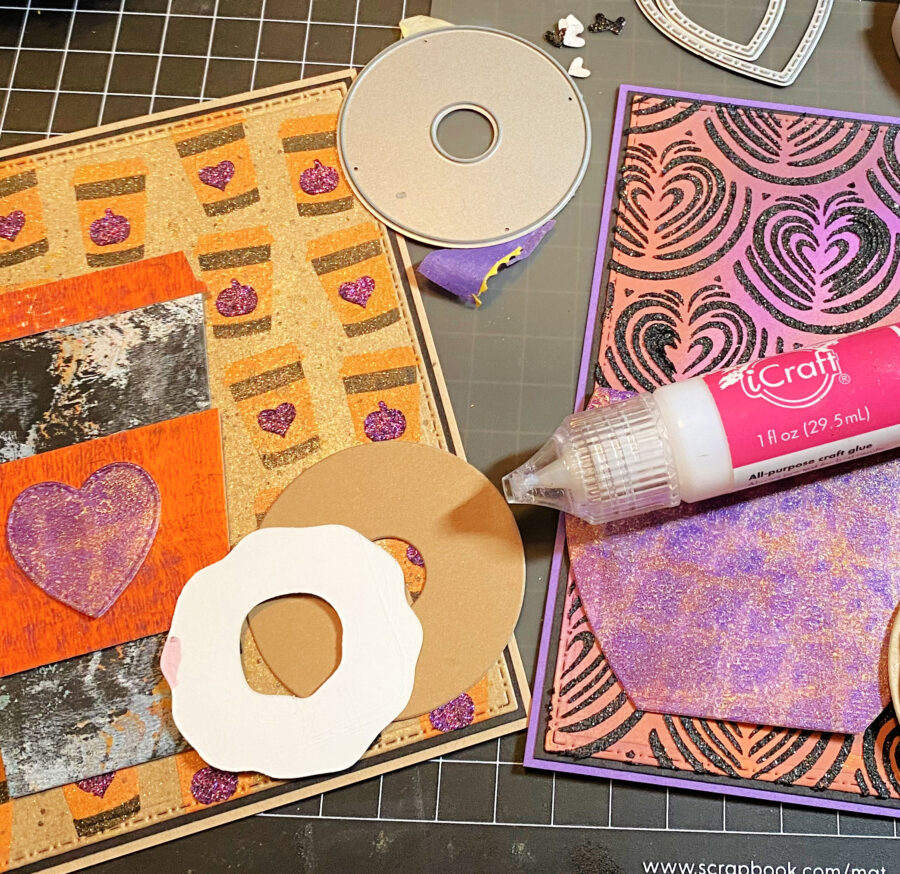
Then I used glue and foam tape to put the pieces together.
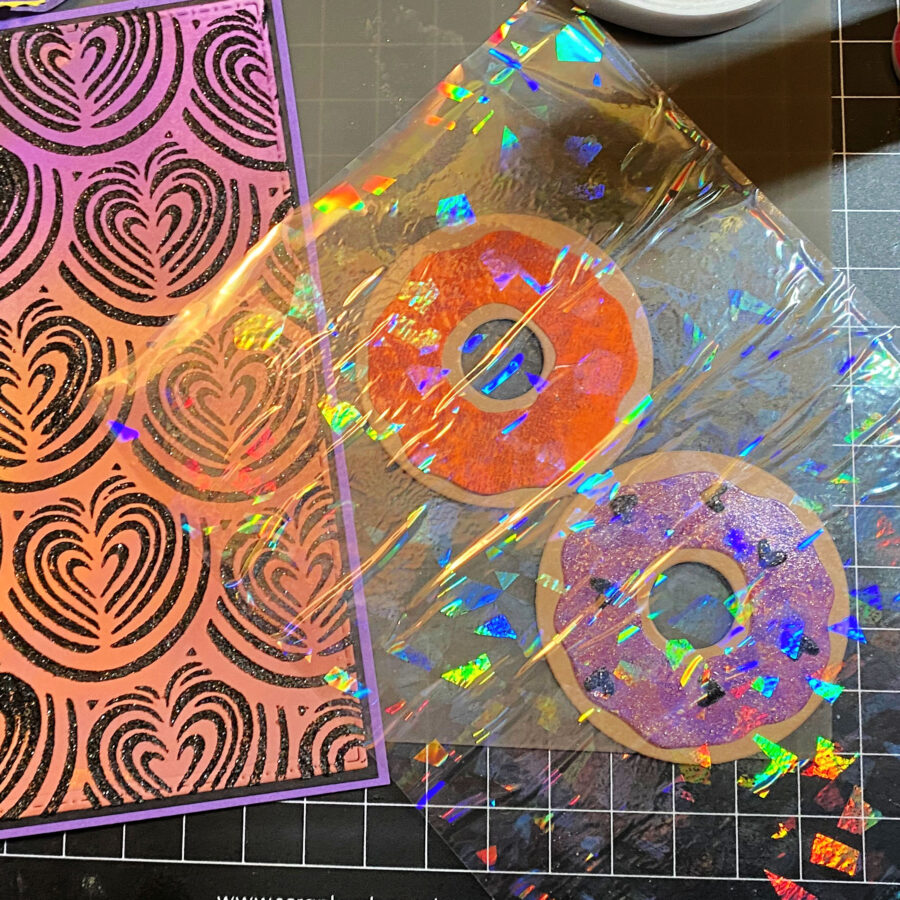
I added some magical shattered glass to the donuts… here are some tips!
- The donut frosting layers were cut from two very old gel prints made with acrylic paint. Gel prints will take Deco Foil depending on their age. But what I discovered is that the one with the Glitter Dust on it (Purple) took the foil while the other didn’t! Note for future self… if I’m not sure whether it will stick… add some Glitter Dust. I’ll be playing with this one more!
- Also, I had already layered the donuts together when I decided to try this… but it still only foiled the frosting because the bottom layer was just cardstock so it had nothing to stick to!
- I had also added the glittery hearts to the one… the foil seemed to stick over it, but that may just have been because of my zealous heavy-handed gluing of said hearts…lol. Stay tuned on this one. But either way! I love how they turned out!
I also added some magical shattered glass to my purple cup which also took the foil very nicely because of the Glitter Dust I had sprayed onto that gel print (like the purple donut).
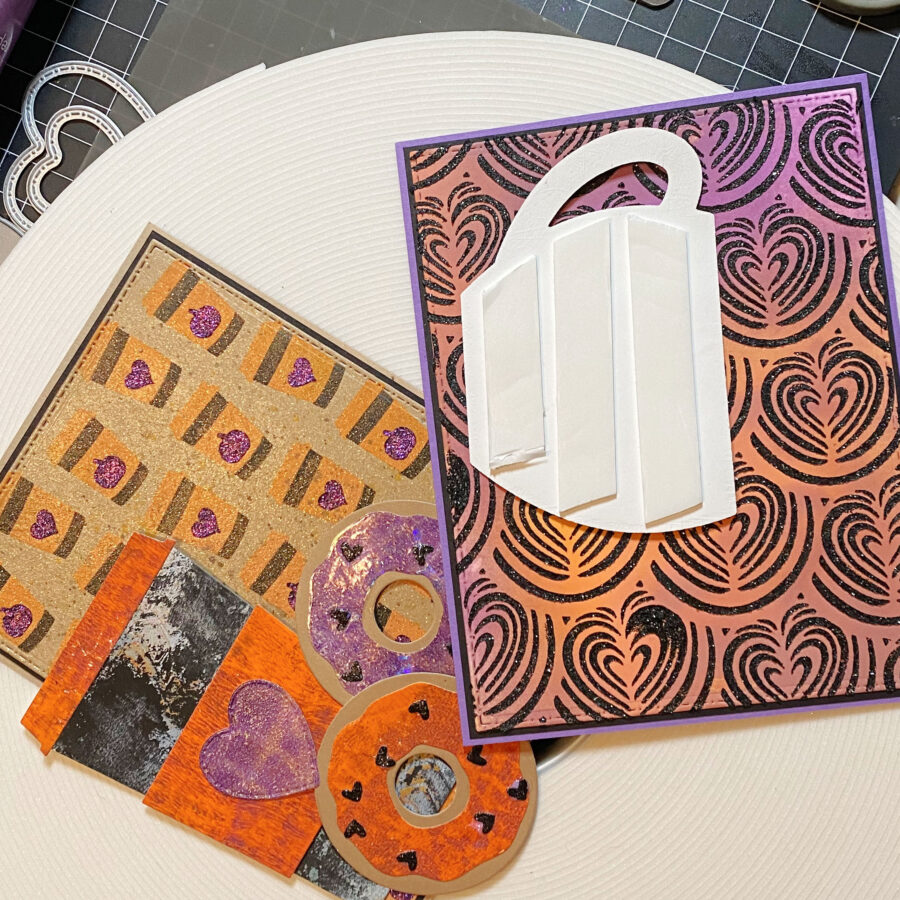
I used my giant and awesome roll of foam tape to pop up some of my clements onto their bases. I LOVE that these come in two different thicknesses for varying layers.
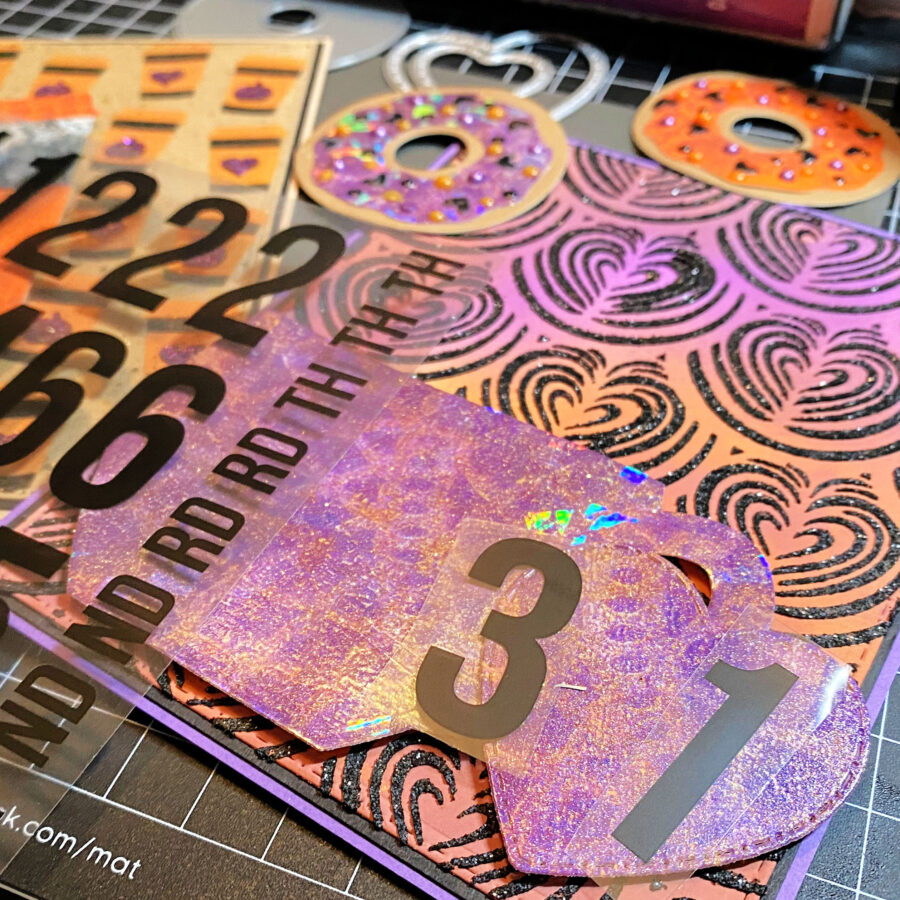
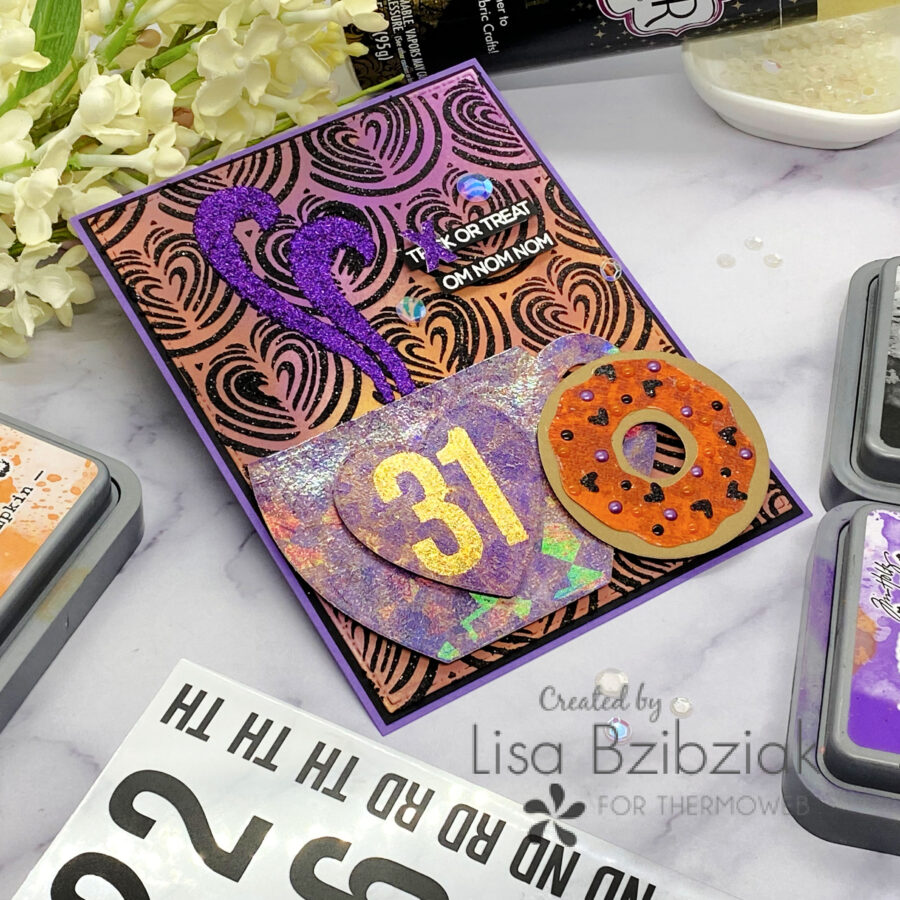
I decided to use some adhesive transfers to add “31” to the large heart I cut. I was going to add it to the cup directly, but had already popped it onto my card when I decided to do this, so the heart in the same color worked out great! I just cut out the 3 and 1 and layed them onto the heart and ran it through my die-cutting machine.
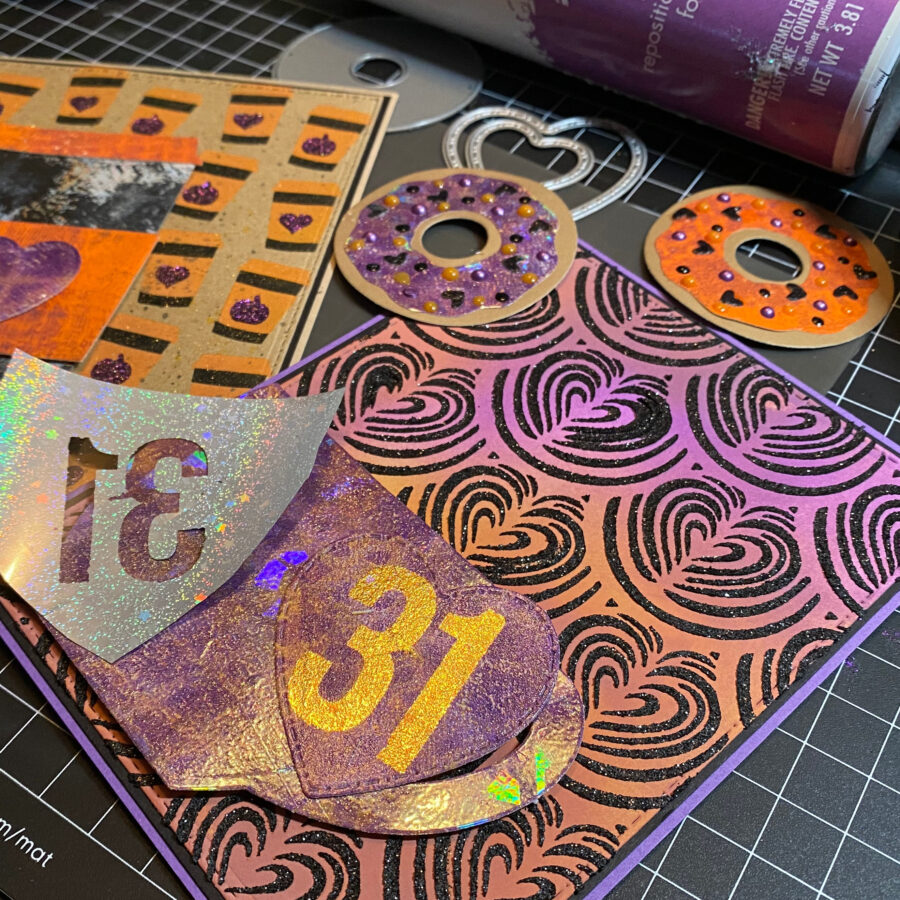
Peeled the sheet back leaving only the adhesive on the heart and then laid some gold Deco Foil over that and ran it through again. Then I popped it onto the cup.
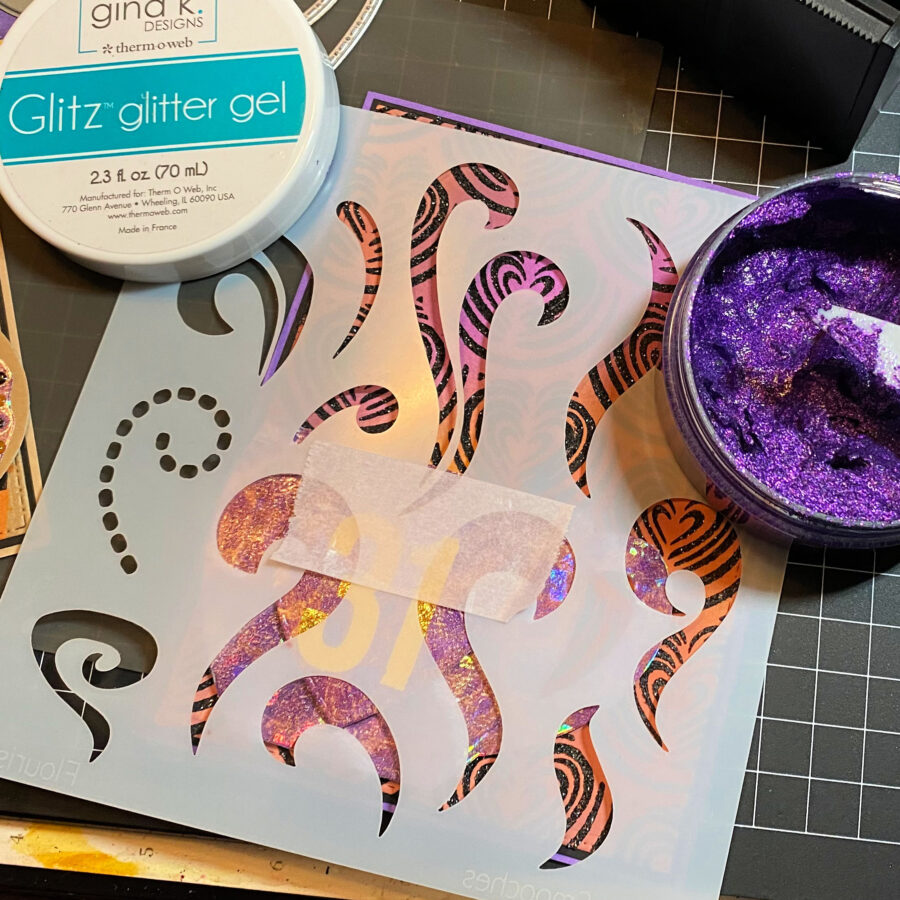
I decided my cup needed some steam so I laid the stencil over the top and masked off the ones underneath and added some Purple Glitz Gitter Gel… up this one was Glitz over Glitz.. because I’m wild like that!
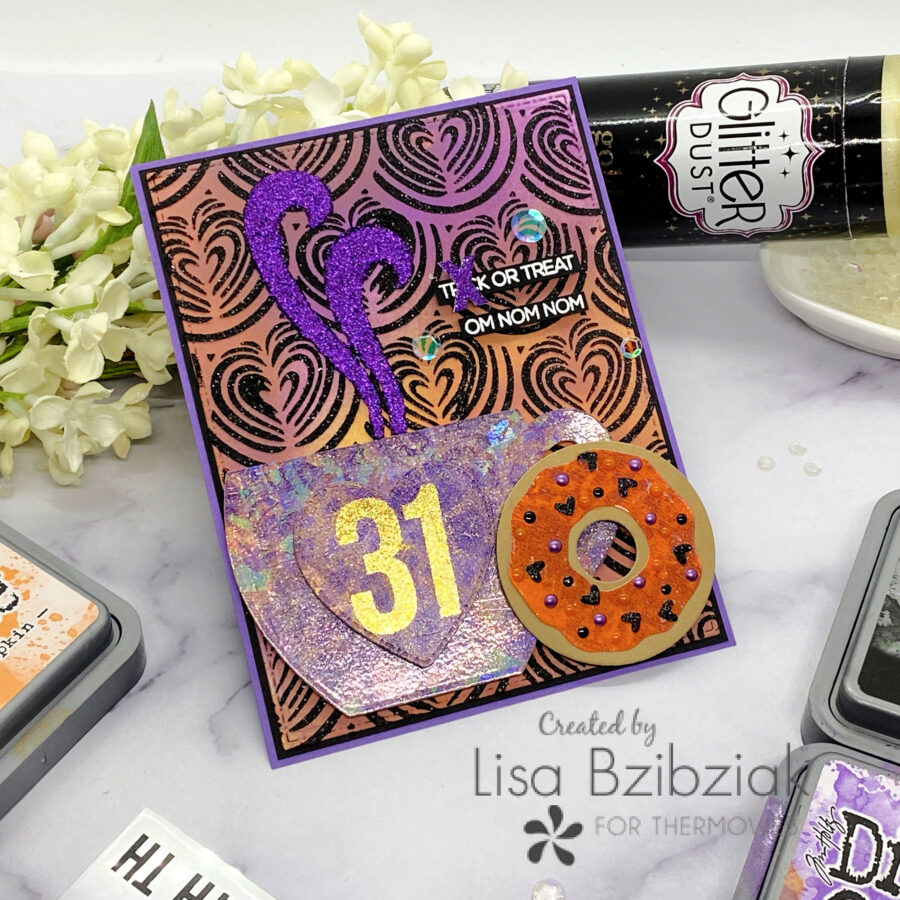
I love how it turned out! The purple went over the stenciling perfectly! And finally the sentiments! I heat-embossed them white onto black cardstock and trimmed them down into strips. Since this week is all about the Treats and No Tricks… I added an X over the Trick part of the sentiment for this one.
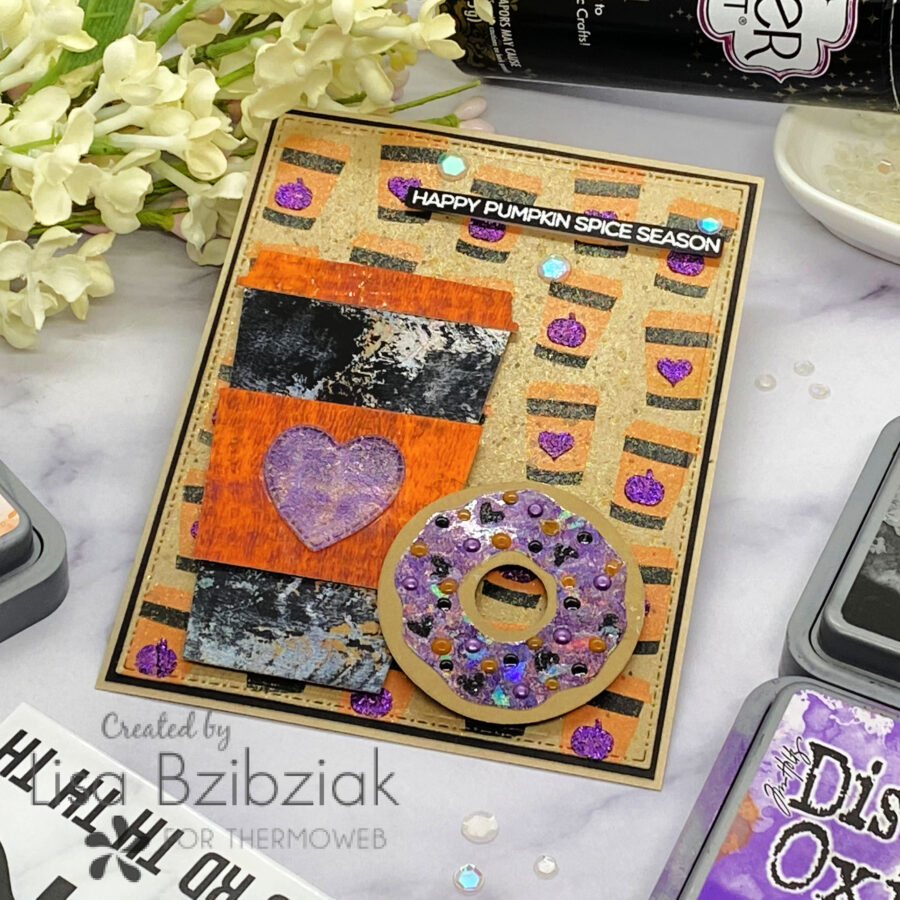
And this one is just a simple reference to my favorite season… sorry not sorry… I LOVE pumpkin’s spice!
I hope you enjoyed your visit today! And I hope you got some inspiration for your own Treat cards! I know I got some great ideas while working on these that I’ll play with again and again.
And be sure to come back to check out what everyone else is making for you this week!
Links to the Thermoweb Products I used today:
- Gina K Designs Glitz Glitter Gel, Wild Lilac
- Gina K Designs Glitz Glitter Gel, Black
- Glitter Dust Spray, Gold
- Brutus Monroe Foil Transfer Sheets, Magical Shattered Glass
- Deco Foil Adhesive Transfer Designs by Unity – Just Numbers
- iCraft 3D Foam Tape Jumbo Roll-1/16″
- iCraft 3D Foam Tape Jumbo Roll-1/8″
- iCraft Ultra Bond Permanent Dries Clear Adhesive Pen