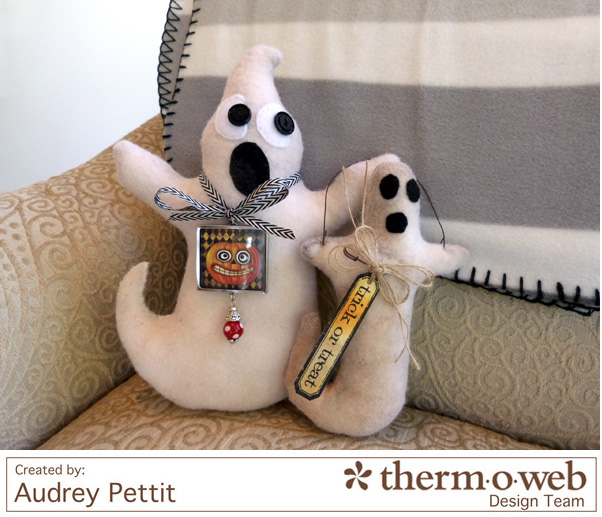
Halloween will soon be here, so what better time to stitch up a few handmade Halloween stuffies for fun home decor accents and gift ideas? Today I have a pair of adorable feltie ghosts to share with you that I put together in no time using Therm O Web’s fabulous Stitchn’Sew™ Fleece Interfacing. They are quick and easy, and are sure to bring a smile to all, young and old alike.
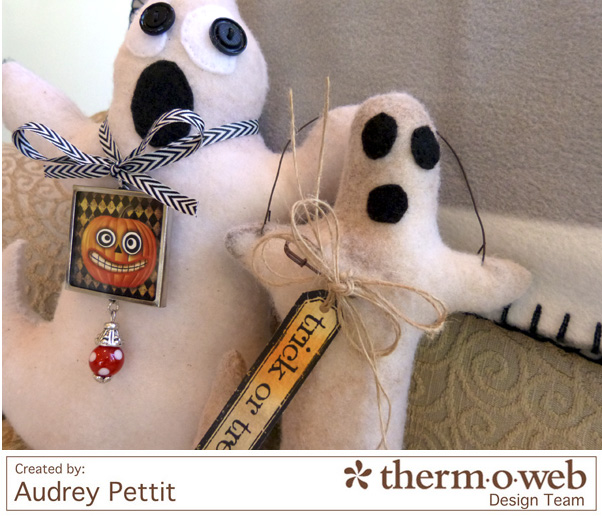
Stitchn’Sew Fleece Interfacing is mostly known for adding stability to fabrics, but one of my favorite ways to use it is all on it’s own, as a craft felt material. I love the heft and weight of the fleece interfacing, and it stitches up beautifully. It gives the look of expensive wool felt, without the extra cost. I’ve got a few steps to share with you, and downloadable patterns, too. So let’s get started!
Stitchn’Sew Ghosties Supplies:
Therm O Web Stitchn’Sew™ Sew-In Fleece Interfacing
Therm O Web Heatn’Bond® Lite
Black Felt
Polyfill Stuffing
Embellishments of choice such as buttons, wire, trim, tags, pins, jewelry findings, etc.
Large Ghost Pattern
Small Ghost Pattern
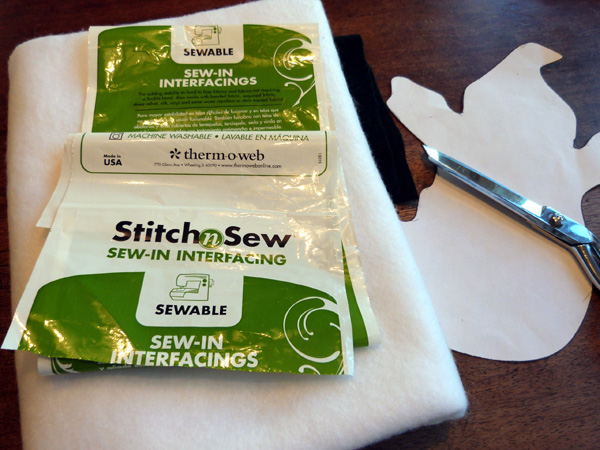
Click on the pattern links in the supply list above to download your printable ghost patterns. Print both patterns and cut them out.
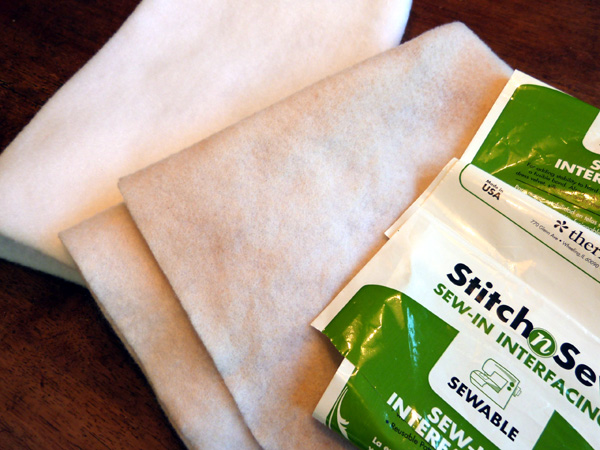
You can use the Stitchn’Sew™ Fleece Interfacing just as it is, but I personally love the more grungy look of primitive felties, so I like to coffee stain my fabric before I begin. To do this, simply cut a section of fleece interfacing fabric and soak it in a bit of coffee. You can use leftover coffee from the pot, like I do, or you can use instant coffee crystals, or even tea or walnut ink, if you prefer. The longer the fabric soaks, the darker it will become, but remember…. the coffee stain will dry much lighter than it initially appears. Allow the fabric to dry completely before moving onto the next step. If your fabric ends up darker than your liking, you can rinse it out a bit and start over. You can see the difference the coffee staining makes in the above photo.
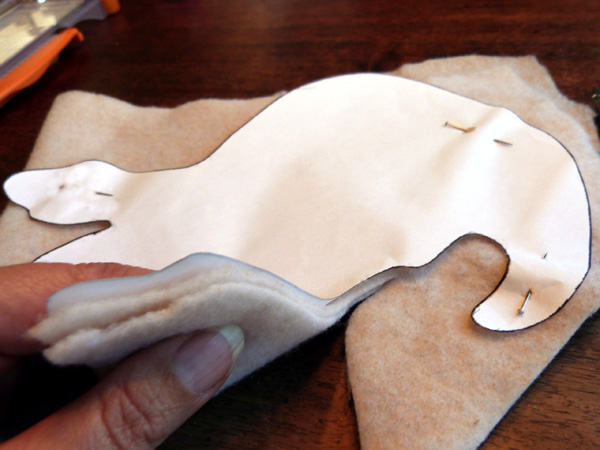
Fold the fleece interfacing in half and pin the ghost pattern to both layers of fabric. Cut out the pattern.
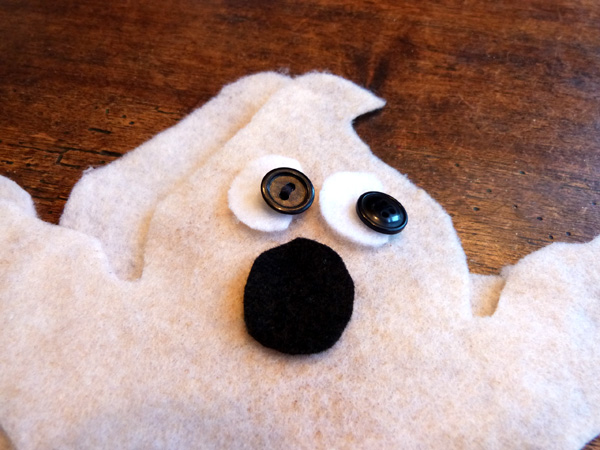
Cut out small round and oval facial features from black felt scraps and un-stained fleece interfacing. One great tip for working with small applique pieces like these eyes and mouth sections is to fuse them on using Therm O Web’s Heatn’Bond® Lite. This extra step keeps the appliques securely in place, with no worries for shifting or slipping. You can go back after and add a bit of hand-stitched details, or leave the appliques as-is. Hand stitch buttons in place.
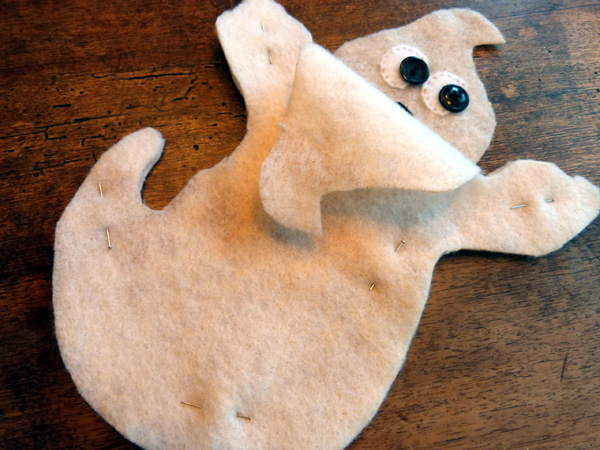
Lay the ghost onto your workspace, facing up. Top with the second ghost piece and pin in place.
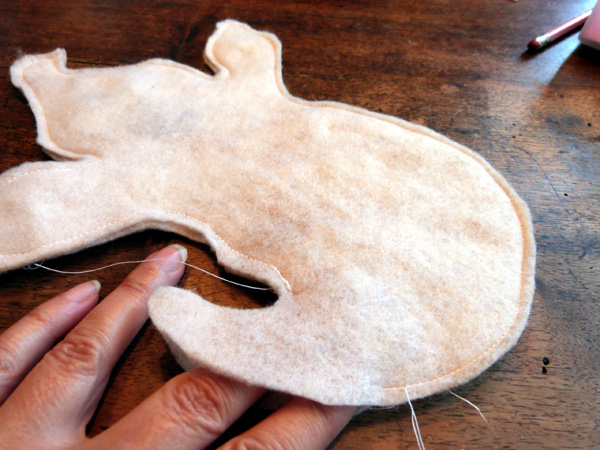
Starting at the base of the tail, machine stitch around the ghost using an 1/8″ seam allowance. Stitch all the way around to the opposite side of the tail, then stop, leaving the rest open for turning. Clip around the raw curved edges, being sure not to clip into the stitching.
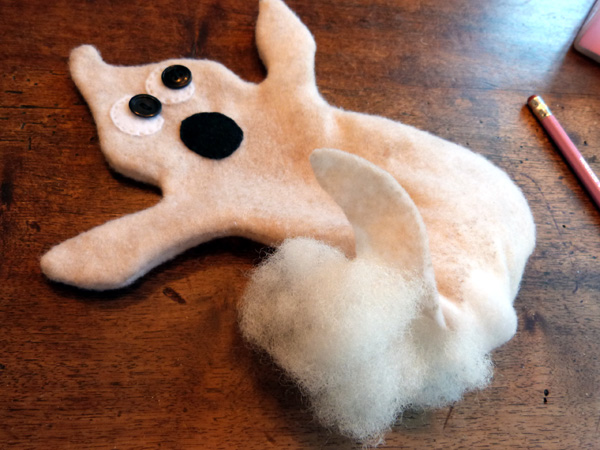
Turn the ghost right side out and stuff with polyfill stuffing. Hand stitch the tail opening closed.
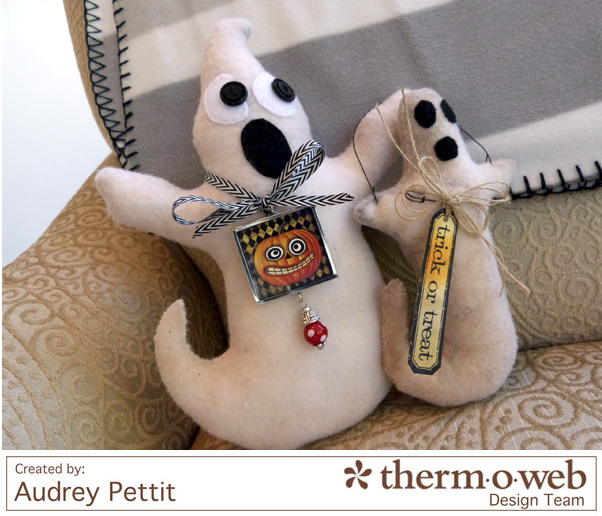
Repeat the process for the smaller ghost. Then embellish your ghosts with your favorite Halloween trinkets and trims. Since the second ghost is much smaller, I only used felt pieces for the face, but you could replace the felt with buttons, or any other embellishments. I also added a piece of wire poked through the arms to act as a hanger, turning this ghost into a Halloween ornament. I dunked him back into more coffee after he was finished to give him an even darker, aged appearance, too. Love how many looks you can get with the Stitchn’Sew™ Fleece Interfacing!
Happy Halloween!

Julie Tucker-Wolek
October 15, 2014 at 7:22 am (11 years ago)Sooooooo fun! I love love love them!!! PINNING!!!!