


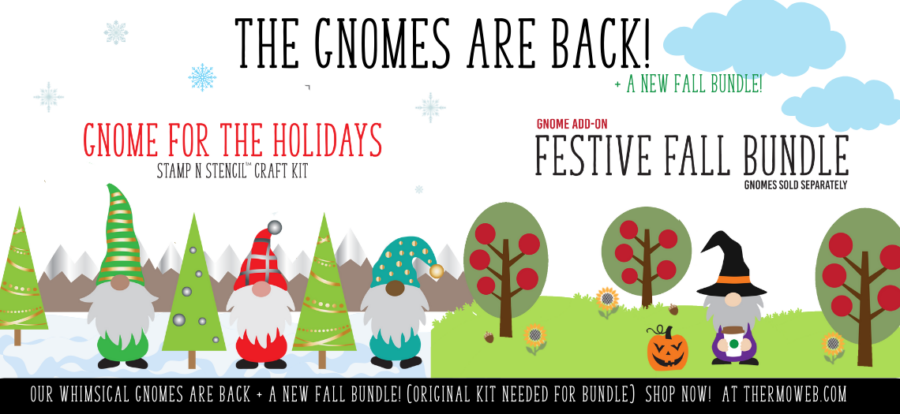
Hello everyone! This is Amanda from Twiddler’s Nook and I hope you’re enjoying our fun release week with the new Festive Fall Add-On to the Gnome for the Holidays kit from last year! It’s so much fun and this add-on makes it even better!!! Today I have a couple of Halloween cards using the original kit and the new add-on too!
Festive Fall Halloween Cards
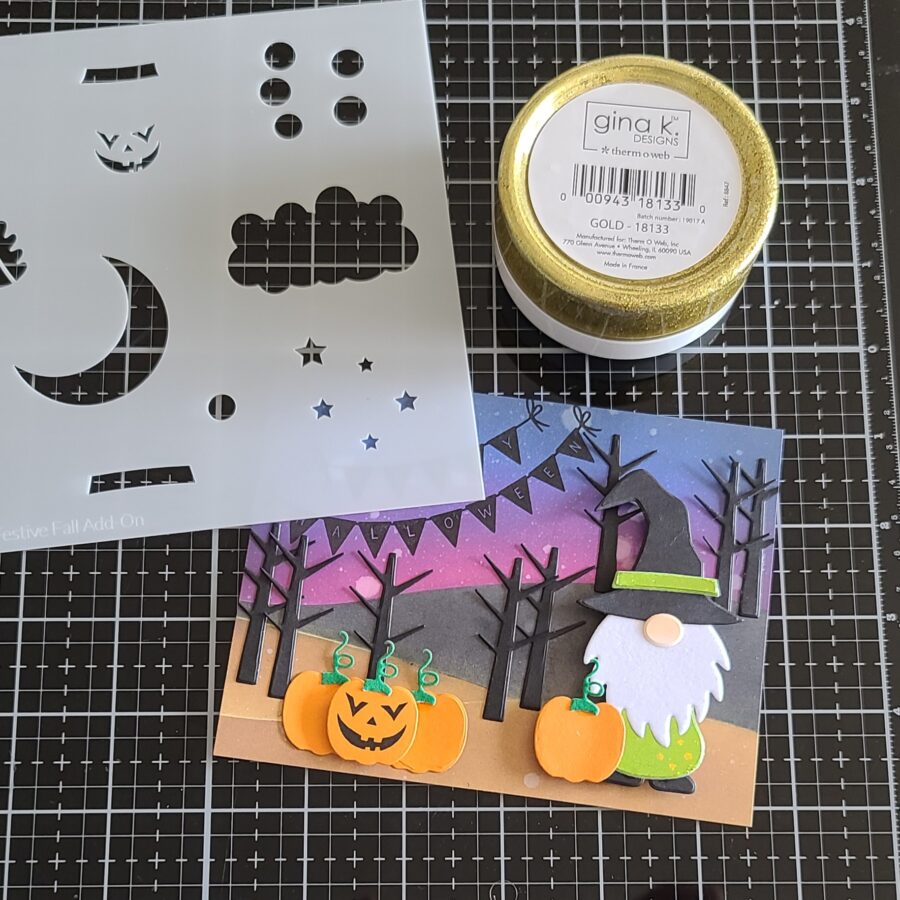
Here’s a list of everything used on my cards today:
Gnome for the Holidays Kit
Festive Fall Add On Kit
iCraft Easy-Cut adhesive sheets
Gina K Fancy Foils – glittering green and dazzling orange
Gina K Glitz Glitter Gel – gold
Flock Transfer sheets – white latte
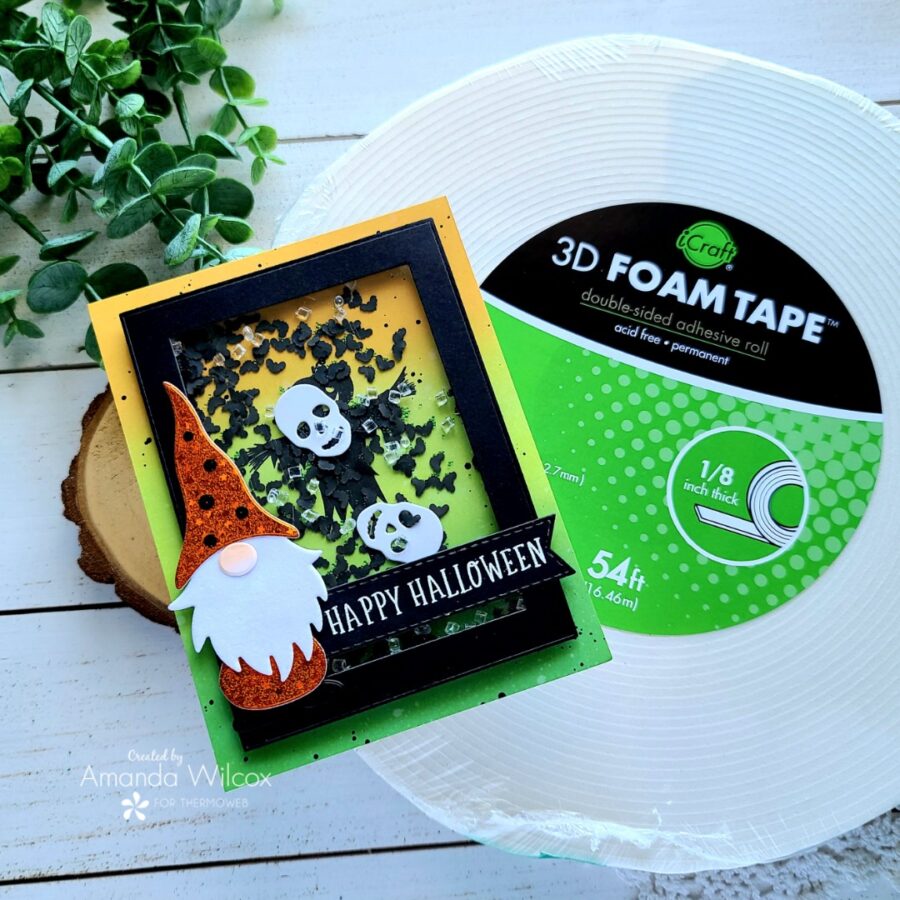
Foam tape roll
iCraft Ultra Bond liquid adhesive pen
iCraft Easy-Tear tape 1/4 inch
Stencil Pal
Distress Ink – black soot
Distress Oxide Ink – gathered twigs, black soot, seedless preserves, blueprint sketch, mowed lawn, twisted citron, fossilized amber
Trinity Stamps Modern Embossed Edge Rectangle dies
Newton’s Nook Banner Trio dies
Newton’s Nook Spooky Roundabout stamps
Twiddler’s Nook embellishments – gone batty, glass beach and pixie dust microbeads
Twiddler’s Nook embellishment tray – paw
Festive Fall Halloween Gnome Cards
For both of my cards today, I started by just playing with the gnomes foiling and die-cutting to create cute little guys and created the cards after that. So let’s start there.
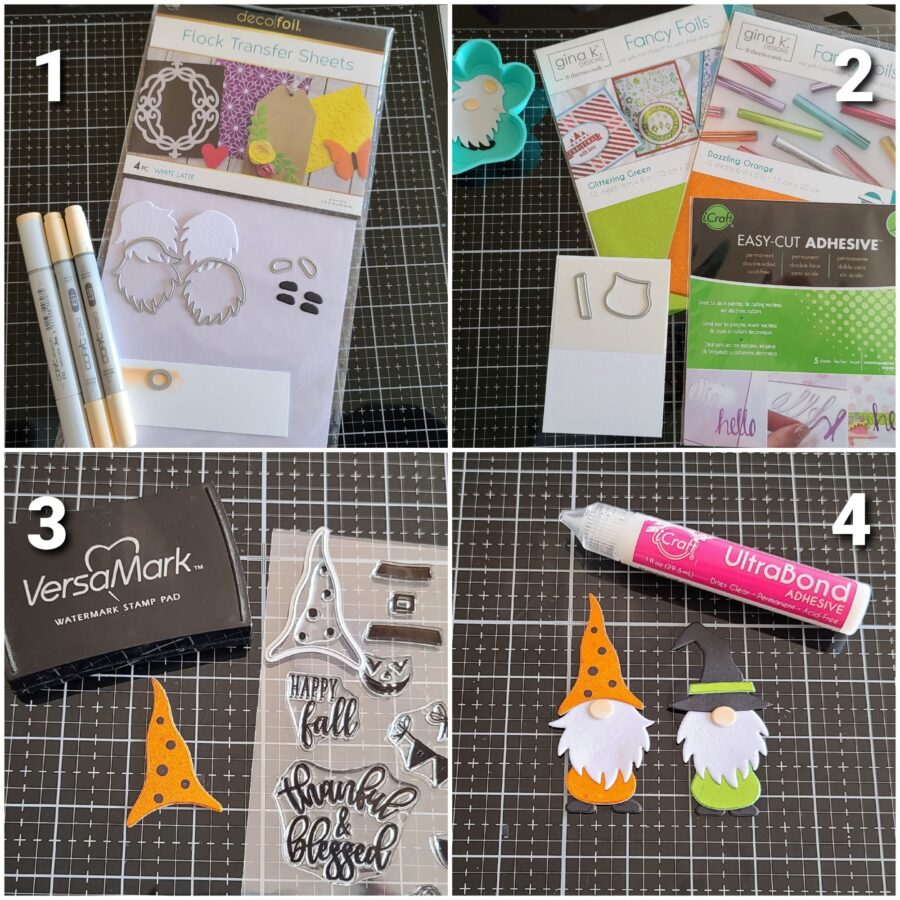
- I die-cut each beard from the original kit from white latte flock transfer sheets. These are thicker so I don’t usually find the need to use transfer gel or adhesive sheets. Then I cut 2 sets of shoes from black cardstock. For the noses, I don’t have a skin-toned cardstock so I blended copics E53, E51 and E50 on scrap and die cut 2 noses from it.
- I cut a piece of easy-cut adhesive, removed the backing, and stuck it to a piece of white cardstock scrap. Then I removed the other release paper and laid a piece of fancy foil on it. This gave me a small sheet of foiled cardstock. I did this twice with dazzling orange and glittering green fancy foils. Then I used dies from the original kit and the add-on for my gnomes – body, hat, and hatband. (Pro-tip: I used embellishment trays to hold all of my little pieces while I’m working so I don’t lose any until they are glued together.)
- I took the foiled hat, stamped the dots from the add-on kit with versamark ink, and heat embossed with black embossing powder. I made sure my heat gun was really hot and didn’t leave it on the foil for more than a couple seconds at a time but it worked great!
- Finally, I used my ultra bond liquid adhesive pen to adhere my cute little guys together! Seriously…I could just have them lined up all around the house! But I digress…
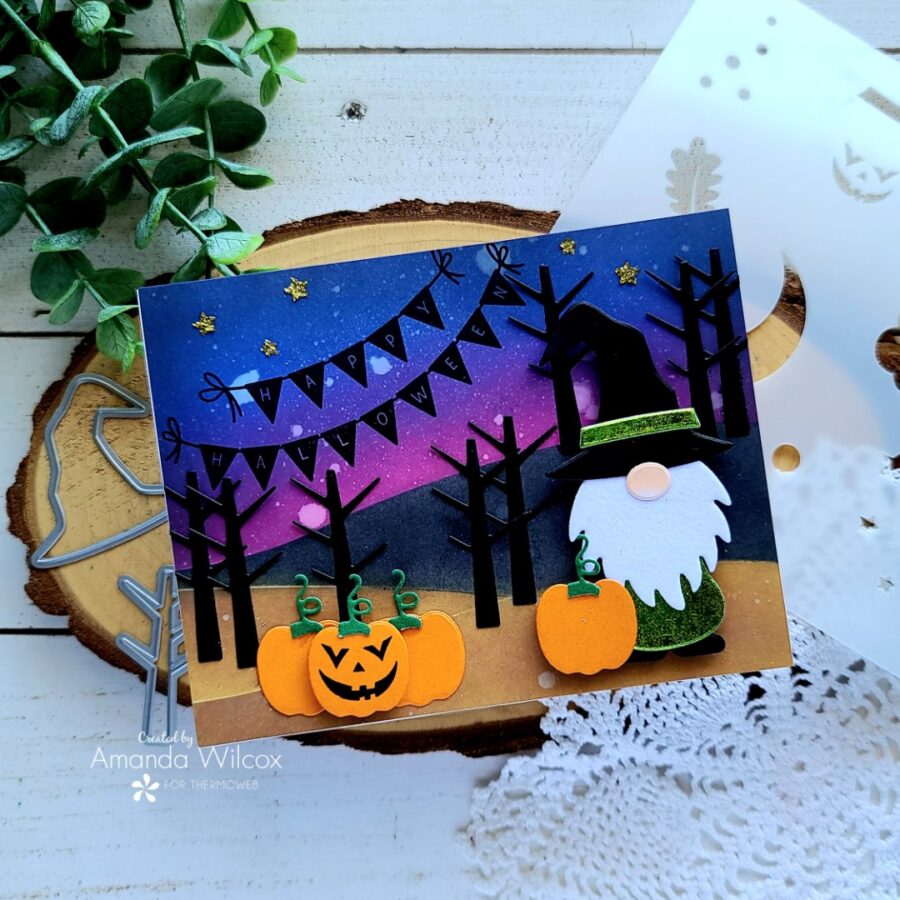
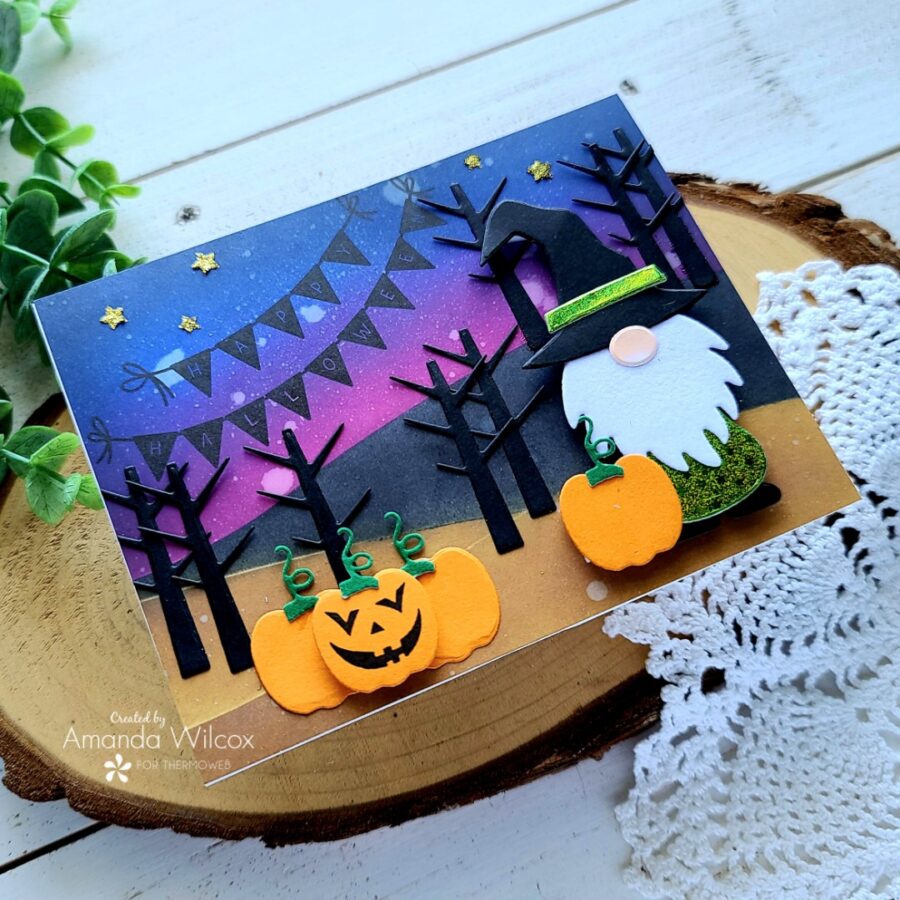
This awesome scene card is the first one I created after making my gnomes. I used the stencil from the original kit to create my hills. I inked up the whole panel and then went back and took photos to show you how I used the stencils throughout the process. Just note that I used low-tack tape to adhere my stencils in place securely for each section.
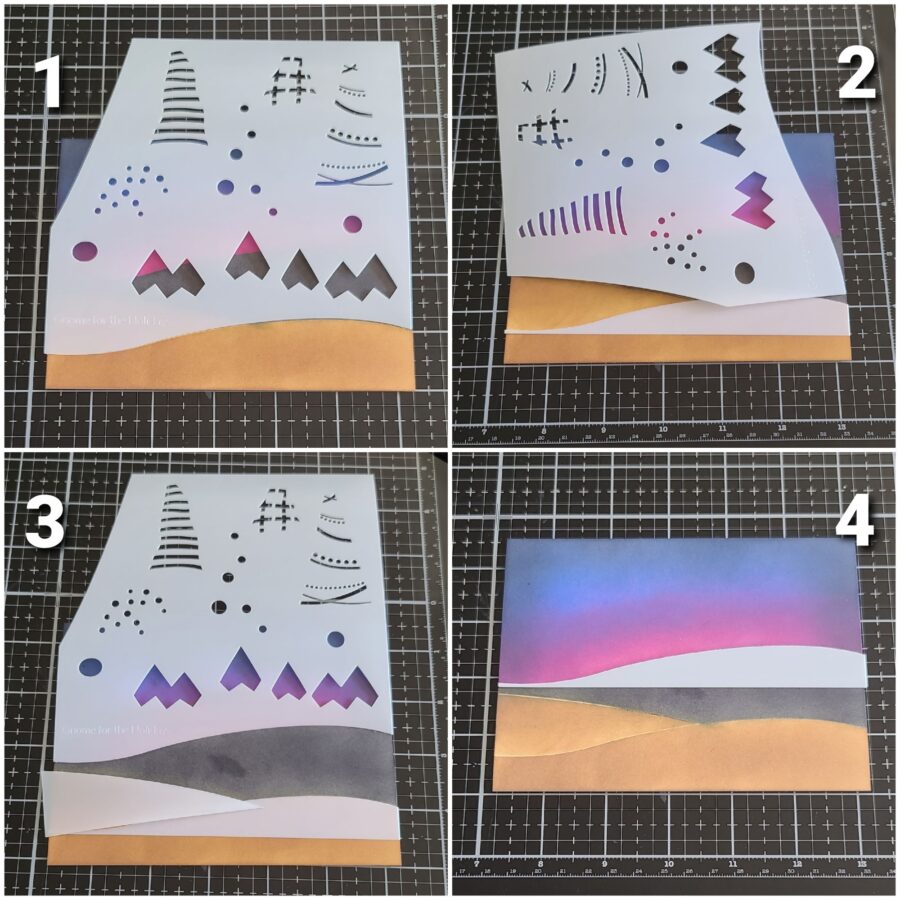
- First off, I forgot to add the distress oxide ink pads to each photo so you would know what colors I used. Sorry about that, but I’ll list them here. For section 1 I used gathered twigs.
- For this section I also used gathered twigs but tried to keep it lighter where the two hills meet so that you could tell there was a difference. Also, I’m human and they didn’t line up perfectly so it kind of helped with that actually.
- This section is black soot. I wanted it to look father away, maybe dead land or something creepy since this is a Halloween card after all.
- Last, I started with seedless preserves at the bottom of the sky portion and faded up to a blueprint sketch. Then I came in at the top and sides with black soot distress ink. I like how the regular distress ink sits on top of the distress oxide without really covering it. I use this technique a lot for the spooky sky and galaxy cards.
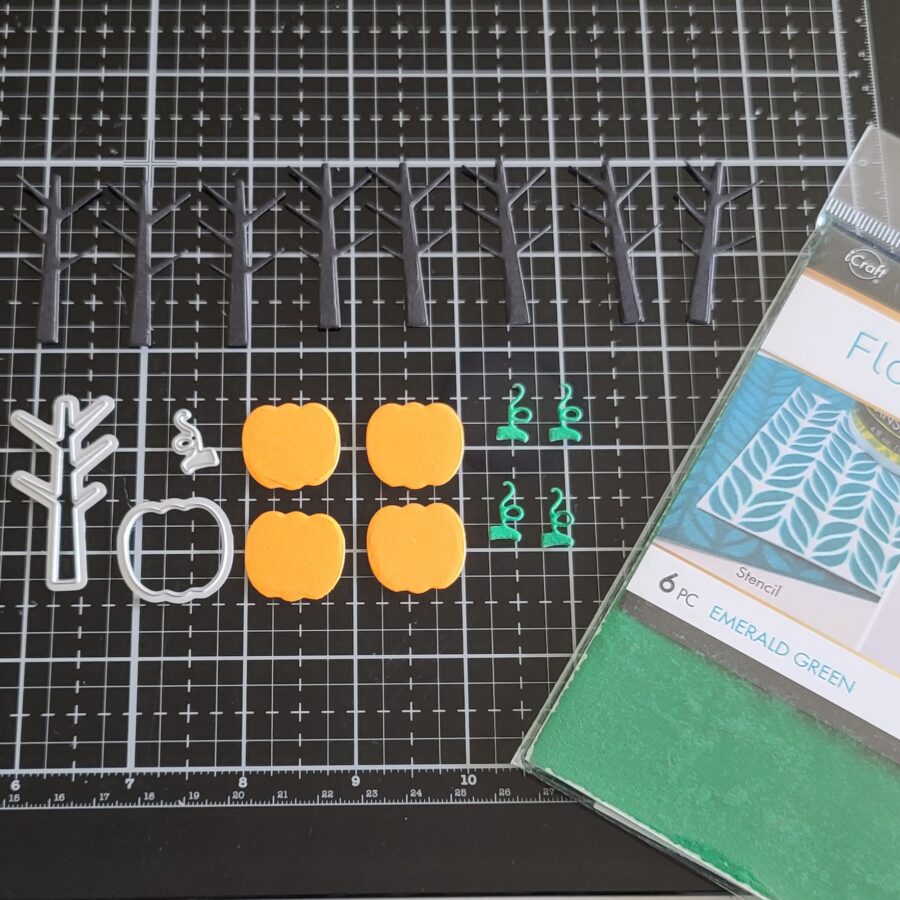
Next, I die-cut the other elements for my scene – lots of bare tree trunks from black cardstock, some pumpkins, and the pumpkin stems from emerald green flock transfer sheets for some texture.

Using my MISTI so I could repeat stamp, I inked up the fun Happy Halloween banner stamp in the set and stamped it in the top left corner of my scene. It’s fun but subtle and lets the gnome and the scene really take the forefront.
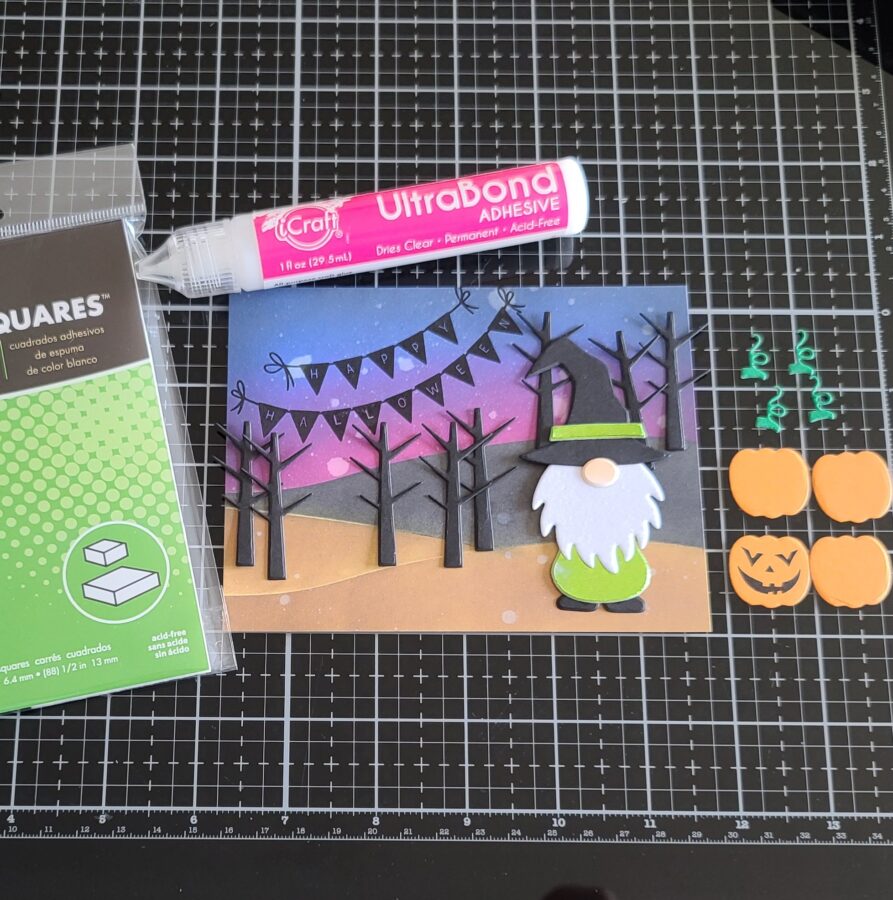
I stamped the jack-o-lantern face on one pumpkin and then, using a combination of the liquid adhesive and foam squares, I adhered all my elements in place. Last of all, to fill in the sky just a bit and add more bling. I used the stencil and gold glitz glitter gel to put some stars in the night sky.
I love how the green and orange from the pumpkins and gnome play off of the blue and purple sky in this card. It’s so fun and pretty together! Also, I really love making scene cards. They just make me happy.
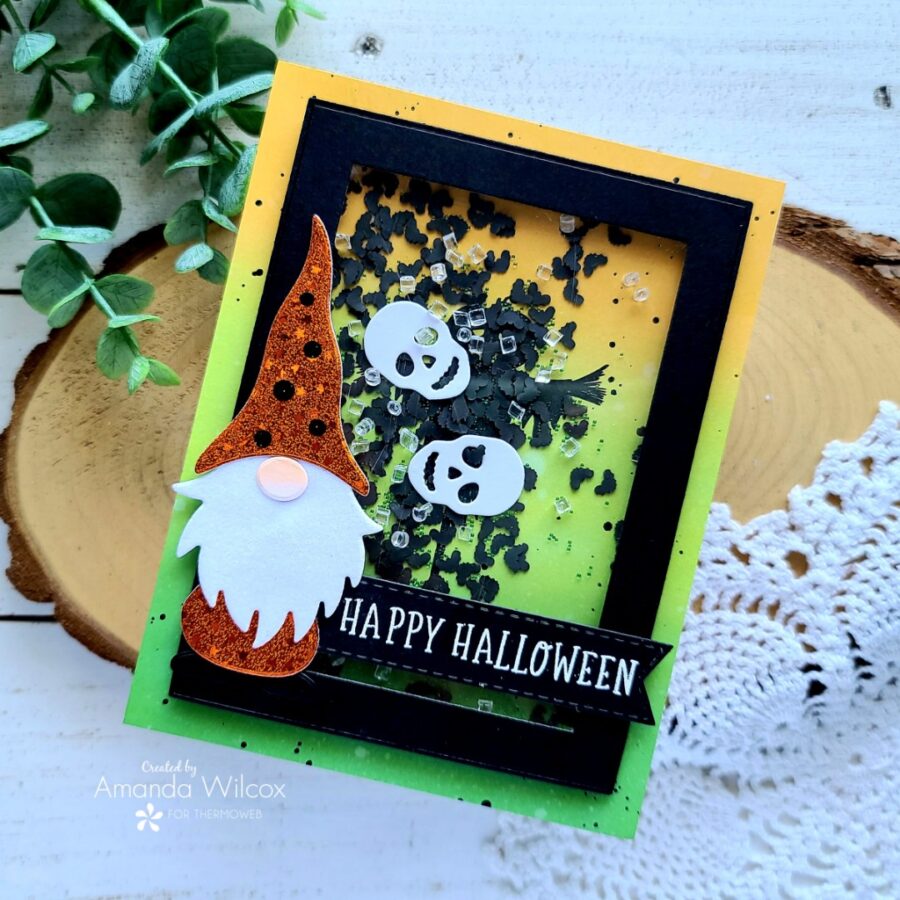
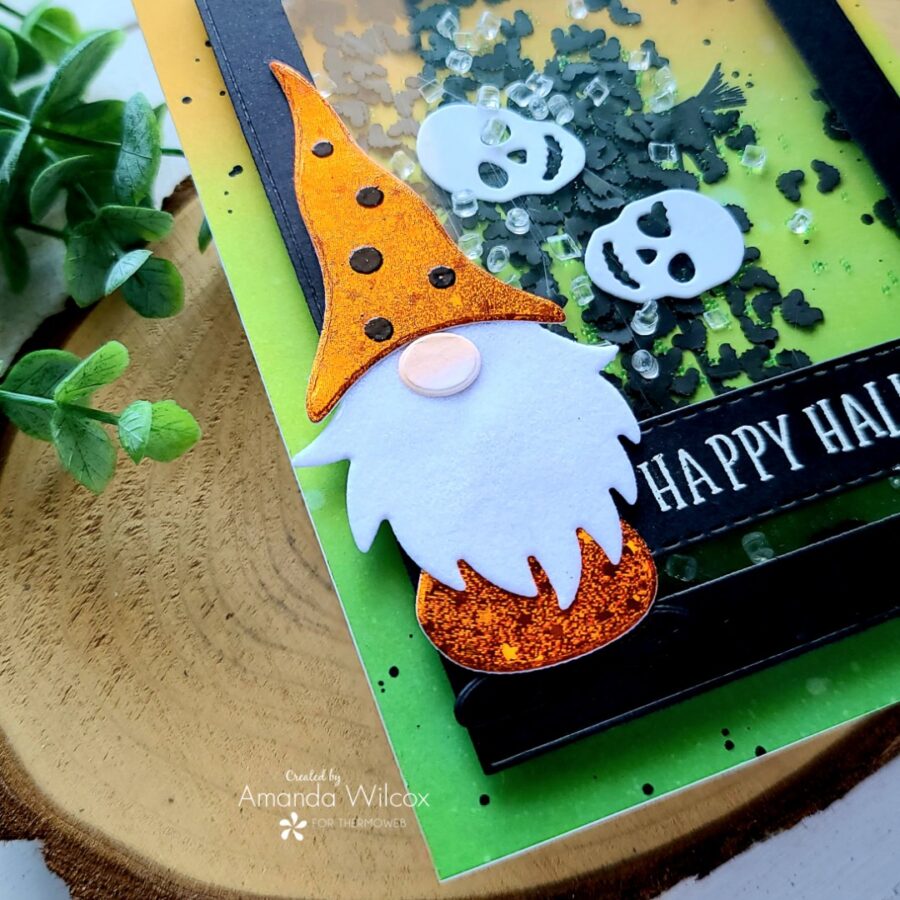
But next, I made a fun shaker card! The other thing I love is interactive cards I can play with when I’m done making them. It’s definitely the inner child in me. For this one, I started by ink blending my background. This time I remember the colors in the photo. No racking my brain to make sure I remembered right. From the bottom-up – mowed lawn, twisted citron, and fossilized amber. I spritzed it with water and flicked black acrylic paint across it for extra texture.

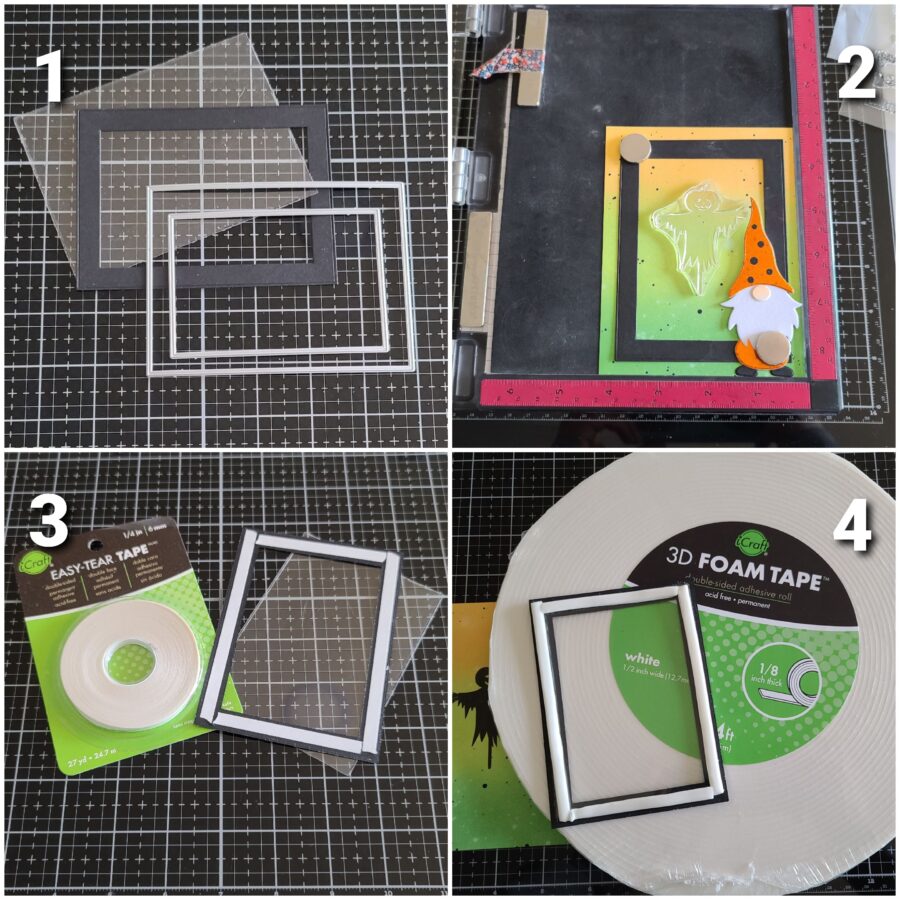
- Now I moved on to my shaker mechanism. I die cut a rectangle from black cardstock and acetate. Then I cut a smaller rectangle from the black, giving me a frame.
- Thinking ahead, I placed my inked backround in my MISTI, put the frame centered, and aligned the scarecrow stamp from the set where I wanted it. I removed the frame and stamped my scarecrow in the middle of the panel.
- I added easy-tear tape to the frame and stuck my acetate panel on the back.
- Then I folded foam tape in half and lined the back of my frame with it. This way my shaker bits have enough space to freely move around.
Now that everything is ready, I added my shaker bits to the center of my background panel, removed the release paper on my shaker frame and popped it in place.
I stamped and heat embossed a sentiment on a banner and used my iCraft Ultra Bond liquid adhesive pen to adhere my gnome and the banner to the front of the shaker.
I just love how when you’re shaking it the scarecrow is covered up but when everything settles he’s eerily hanging out in the background. Spooky!!!
I know this was a long post and I so greatly appreciate you sticking with me until the end. I hope it was helpful and you found some inspiration along the way.
I appreciate you sharing your time with me. Have a fabulous day!
This post contains affiliate links. For more information, see our disclosure HERE.