
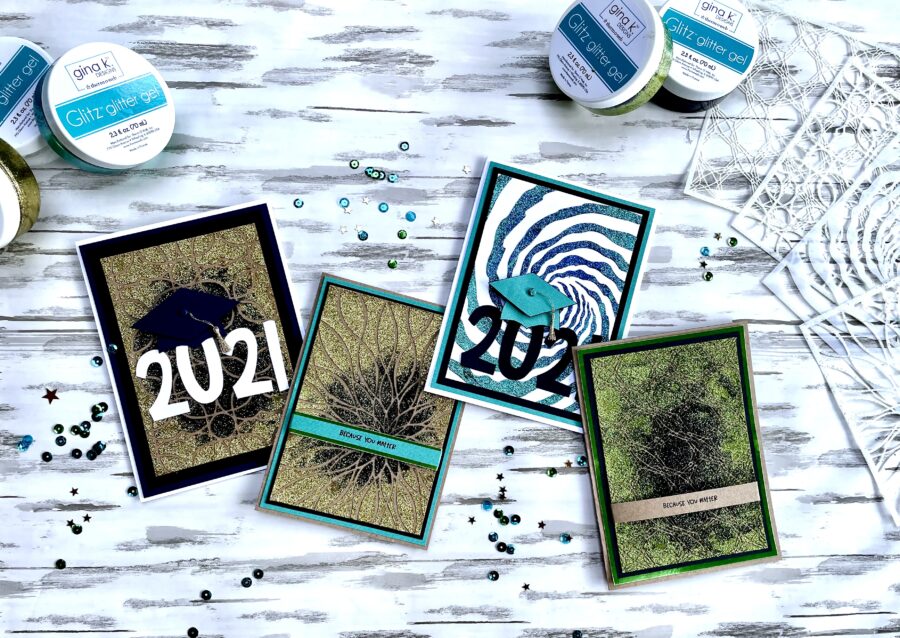
Hello friends. I don’t know about you, but July is usually the month that I send out graduation cards… after all of the June announcements have rolled in. So when I got these Miss Ink stamps and stencils, I knew just how I wanted to use them. I know I say this in every post, but still, photos just don’t do justice to the shimmer and elegance of these cards. I did sneak in a short video clip that shows it a bit clearer. Follow along below and see some close-up photos that show just a sampling of what you can do with awesome stencils and Gina K. Designs Glitz Glitter Gel.
Glitz Graduation Cards with Miss Ink Stamps
Glitzy Grad Card Supplies:
iCraft Ultra Bond Liquid Adhesive
Gina K. Designs Glitz Glitter Gel
iCraft SuperTape Adhesive Roll
PeelnStick Craft Double-Sided Adhesive Sheets
Miss Ink Stamps – Clear Stamps and Stencils
Other Supplies: Cardstock, Number Die, and Die-cutting System, Paper Trimmer, Scissors, Brads, Gold Thread, and a Black Ink Pad
Glitzy Grad Cards:
Step One
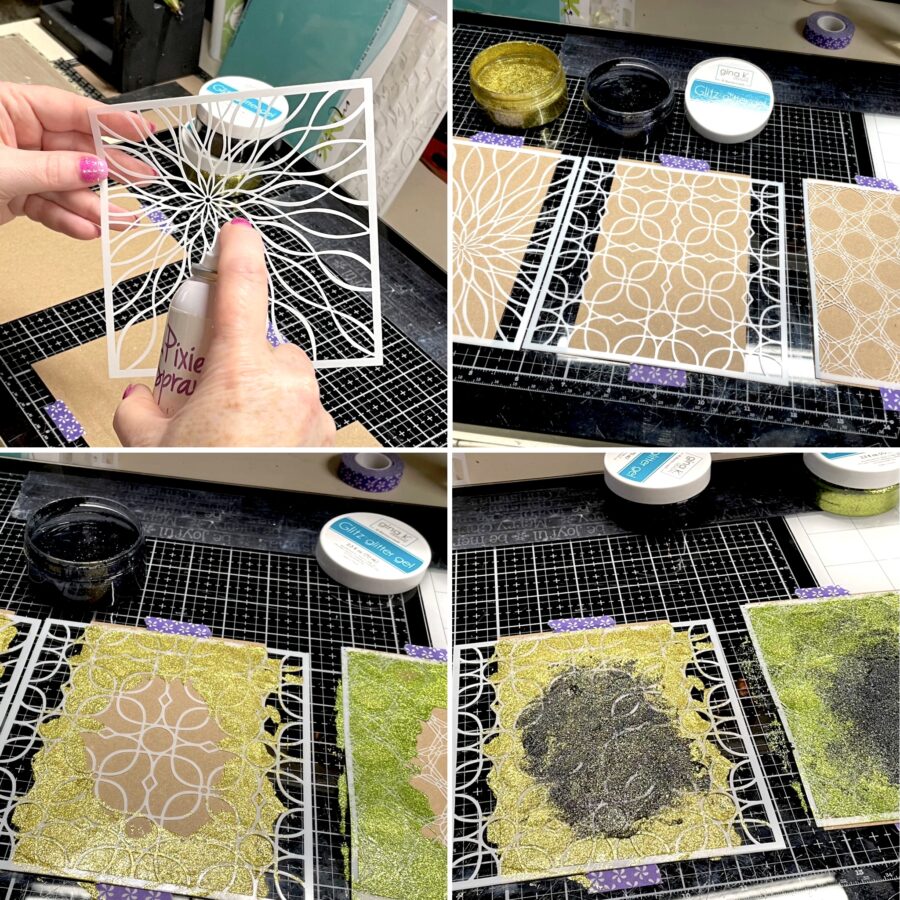
Begin by taping your cardstock pieces (cut to the desired size) down to your work surface with iCraft Removeable Purple Tape.
Next, spray the backside of your stencils generously with iCraft Pixie Spray and allow it to come to tack (just a couple of minutes). Press your stencils (sticky side down) over your cardstock and burnish down.
Now you are ready for the fun part! Using the desired colors of Glitz Glitter Gel, spread a border around each card, leaving the center open for another color. I used black in the centers because I was going for grad colors. Spread the black Gel over the center area, feathering it out a bit into the other color.
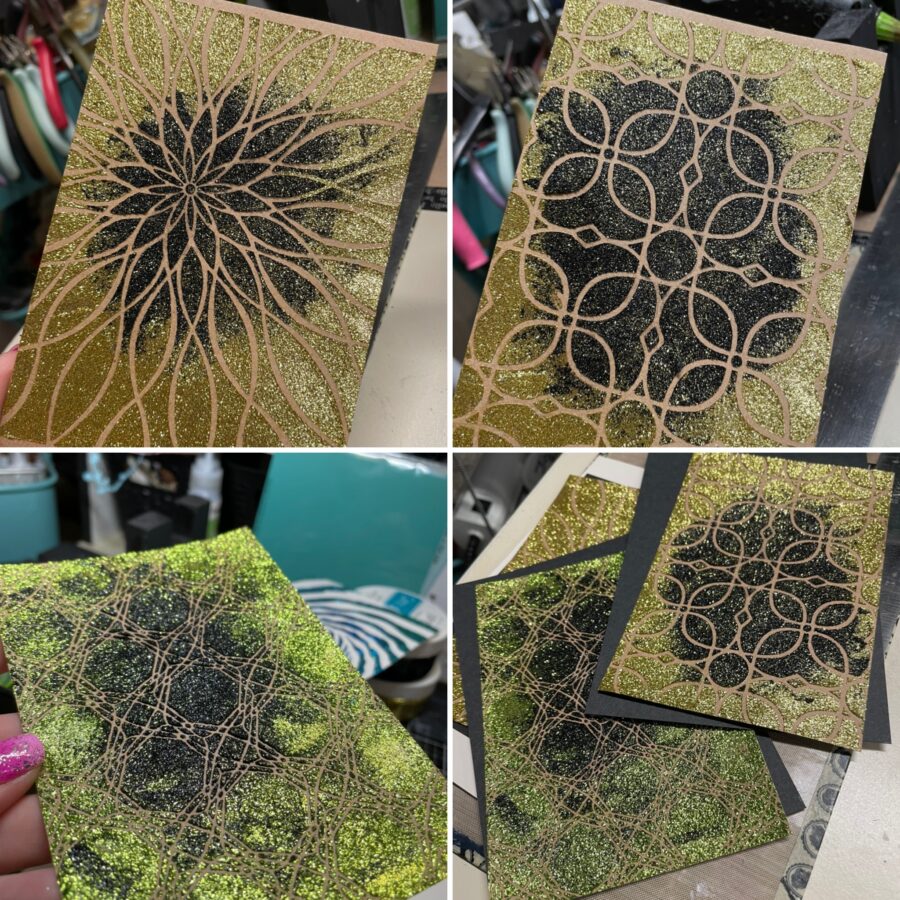
Finally, carefully peel your stencil away from the cardstock, leaving a beautiful stenciled image. Lay these aside to dry thoroughly.
Once they are dry, back each card front with coordinating cardstock mats.
Hint: Make sure to clean your stencils immediately or the Gel will dry onto the stencil and will be almost impossible to get off without destroying your stencil.
Step Two
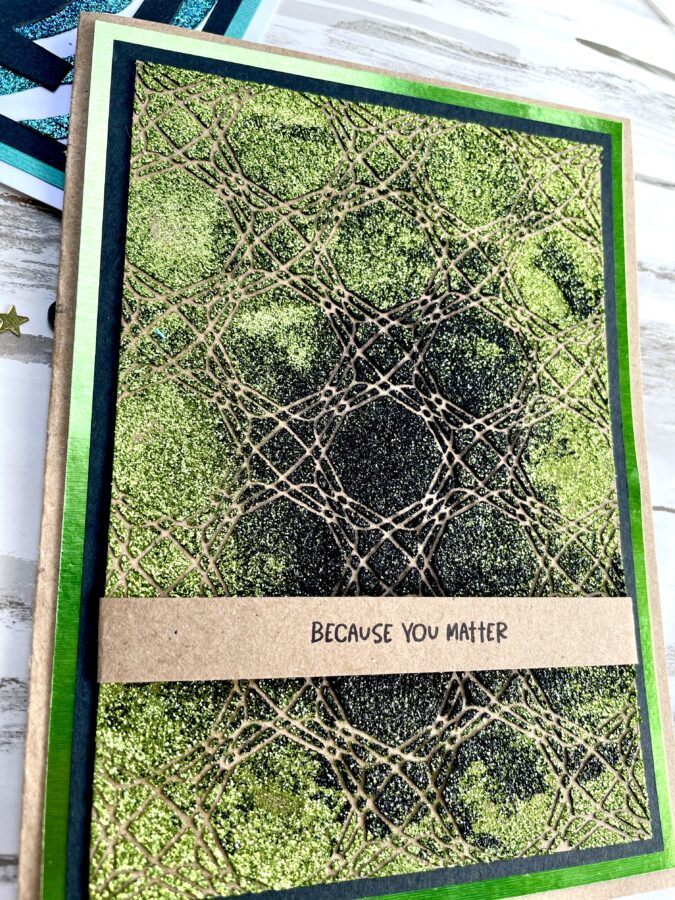
These stenciled images are so beautiful that you won’t want to cover up too much of your card. These really lend themselves to the “less is more” philosophy. For the two that are definitely grad cards, I wanted to add the year and a graduation cap.
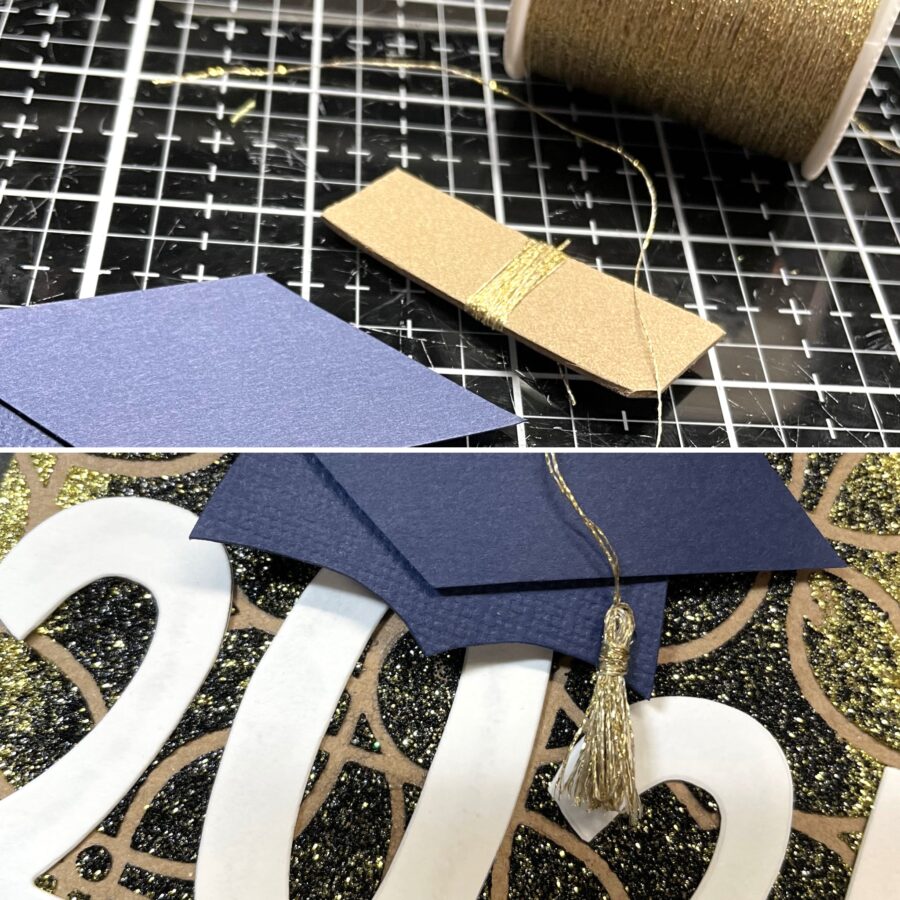
To create the cap, draw a cap on the back of your desired color of cardstock and cut it out. Create a tassel by wrapping gold thread around a piece of chipboard and tying it off. Poke a hole in the top of the cap and thread through your tassel. Finish it with a coordinating brad. Assemble your cap with 3D Foam Squares for dimension.
Add die-cuts for the year (or school name) and adhere them and your cap to your card front. Repeat this step for each grad card. I created two additional cards that really show off the Glitz Glitter Gel. For those I used a simple stamped sentiment from the Miss Ink Stamps set – It’s All Relative, on a belly band.
The second picture is an attempt to show just a little of the beautiful Glitzy shimmer.
Hint: If you can’t draw a graduation cap, print one the size you need, cut it out and trace it onto the back of your cardstock.
Hint: Back your cardstock with Easy-Cut Adhesive Sheets before die-cutting numbers.
Step Three
Of course, after I got my three elegant cards finished, I decided to try the technique with some brighter colors. This Rabbit Hole Stencil was perfect for this and I love, love, love the way it came out!
Hint: Small disposable portion cups with lids are perfect for leftover Glitz Gel (I scrape the excess gel from the stencil and from my work surface to use later. Since these are mixed colors it’s best not to combine them back into the solid colors).
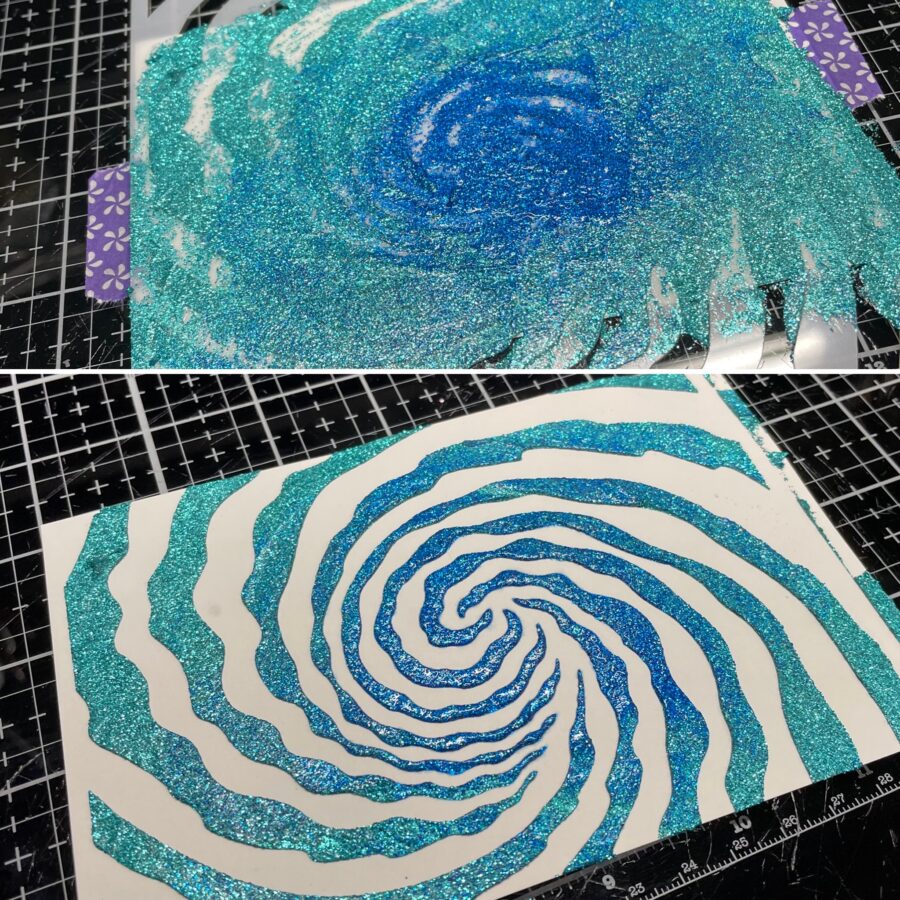
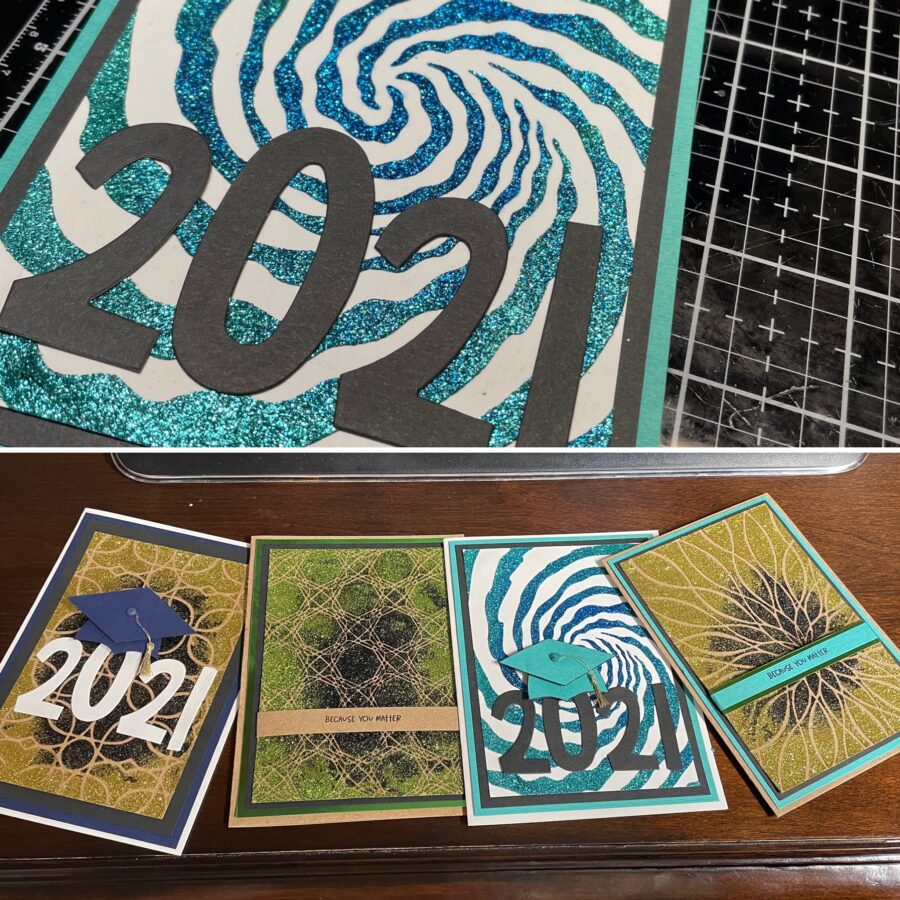
Here are some close-ups:
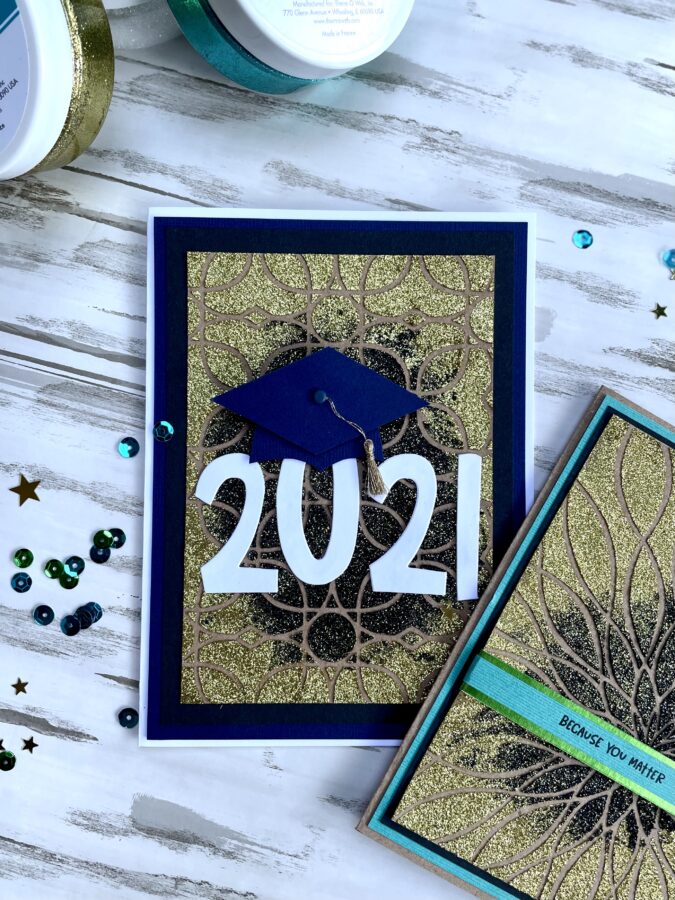
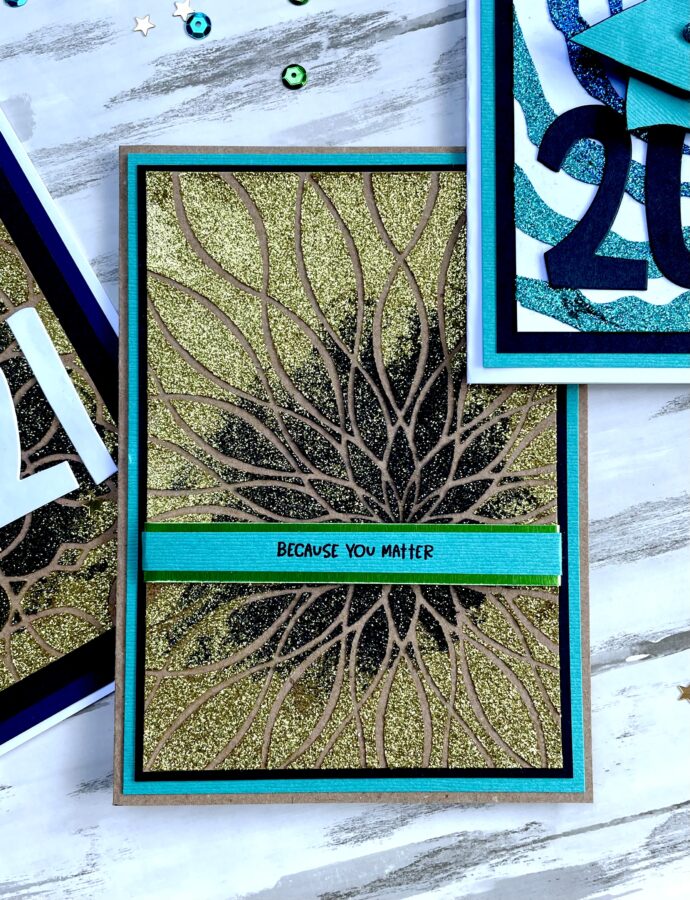
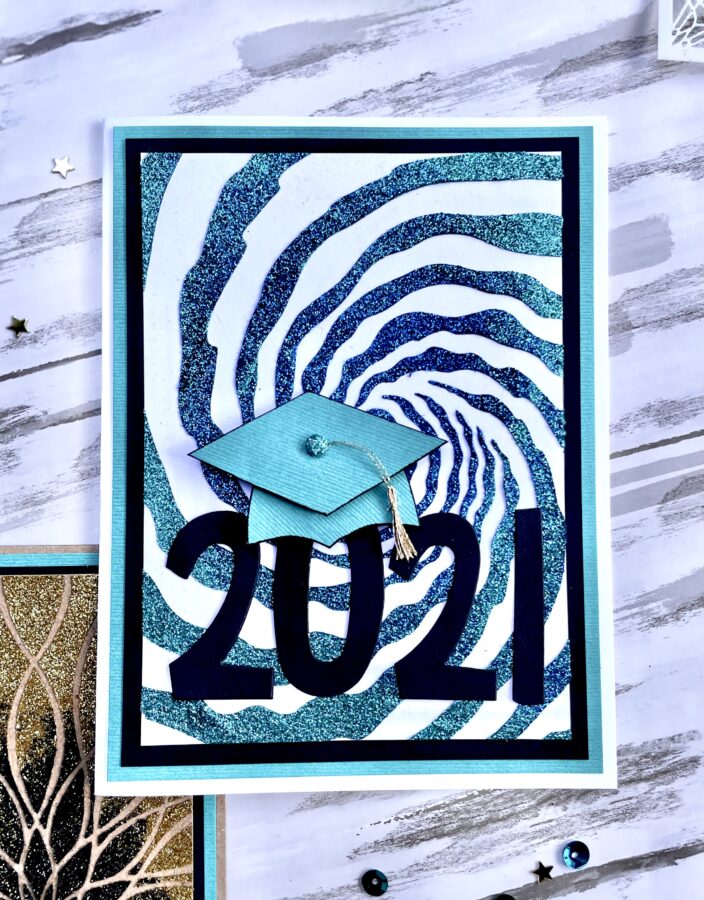
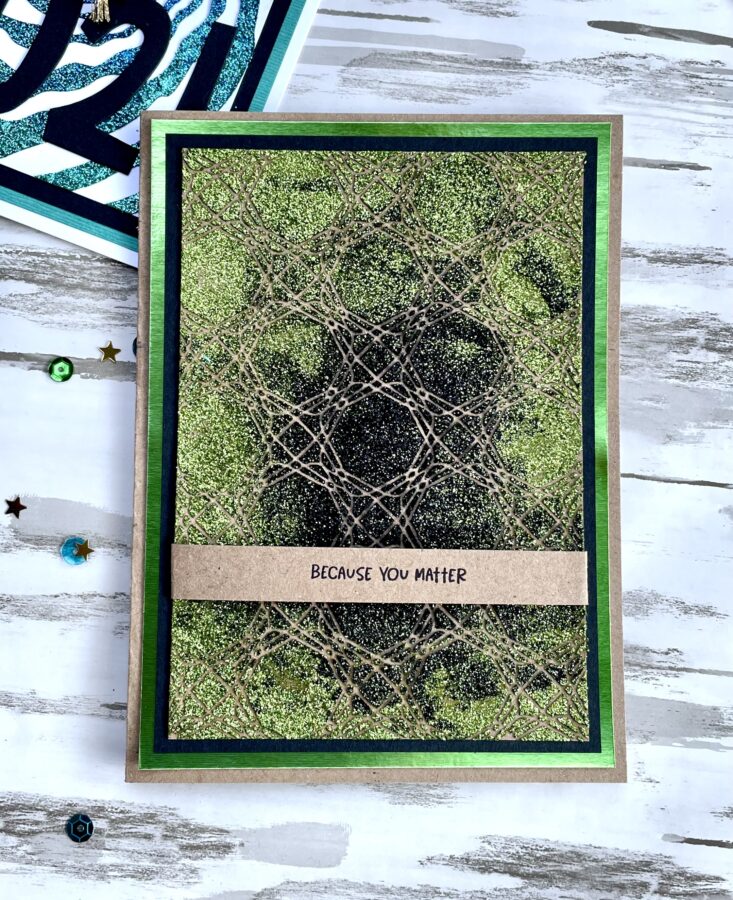
I hope you enjoyed this tutorial and that it will encourage you to pull out the Glitz Glitter Gel and have some fun with it.
Wendy

That’s right! It’s not a collaboration with friends unless you have a Giveaway too! And it’s not too late to join us on Instagram for an IG Hop with our two teams. Just check for our Tuesday post with the fun graphic to hop your way through PLUS get entered into a bonus chance to win there too!
Now that you’ve got yourself entered to WIN….go visit the Miss Ink Blog and see their projects + more ways to win!

mjmarmo
July 1, 2021 at 10:42 am (4 years ago)Gorgeous cards!
Denise Bryant
July 1, 2021 at 2:59 pm (4 years ago)Awesome cards with these stencil designs! I really love the Rabbit Hole stencil! The Glitz Glitter Gel looks so pretty!
Sue D
July 1, 2021 at 9:29 pm (4 years ago)I like these unique graduation cards.