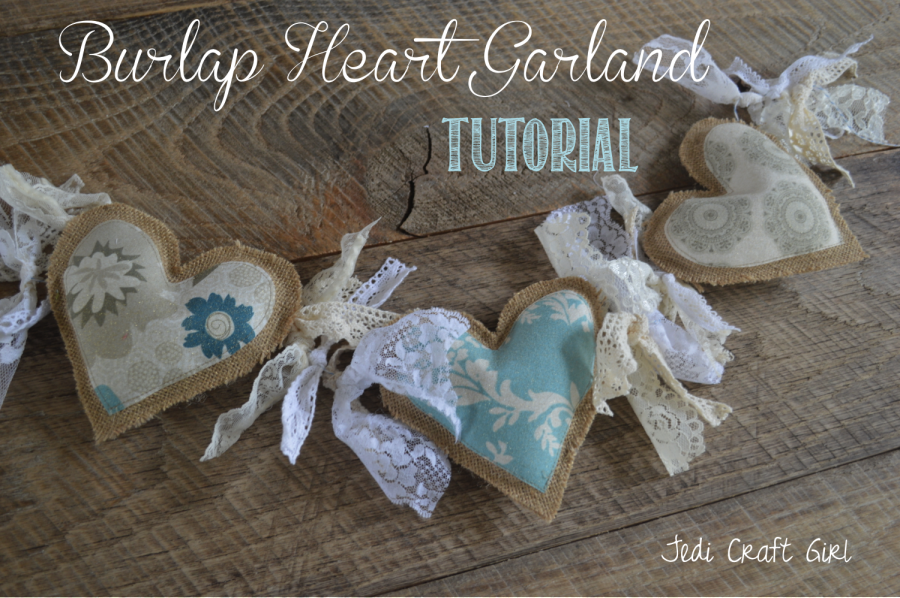
Hi! It’s Amanda from Jedi Craft Girl. I am happy to share my burlap heart garland tutorial today! This is a fun and quick project for sure!
Supplies:
burlap
fabric scraps
HeatnBond® Lite
Glitter Dust™ Spray
Twine
scraps of lace
Fiber Fill
** a note about burlap…… Not all burlap is created equal. I spent some time in the LA fabric district talking to different venders about the burlap craze! The burlap I used in this tutorial is not technically burlap, but jute. It has a tighter weave, it’s a little stiffer, and it doesn’t fray as much. If you are not able to find this version of burlap, I am sure the larger weave will work just as well. I do love the tight weave for this project.
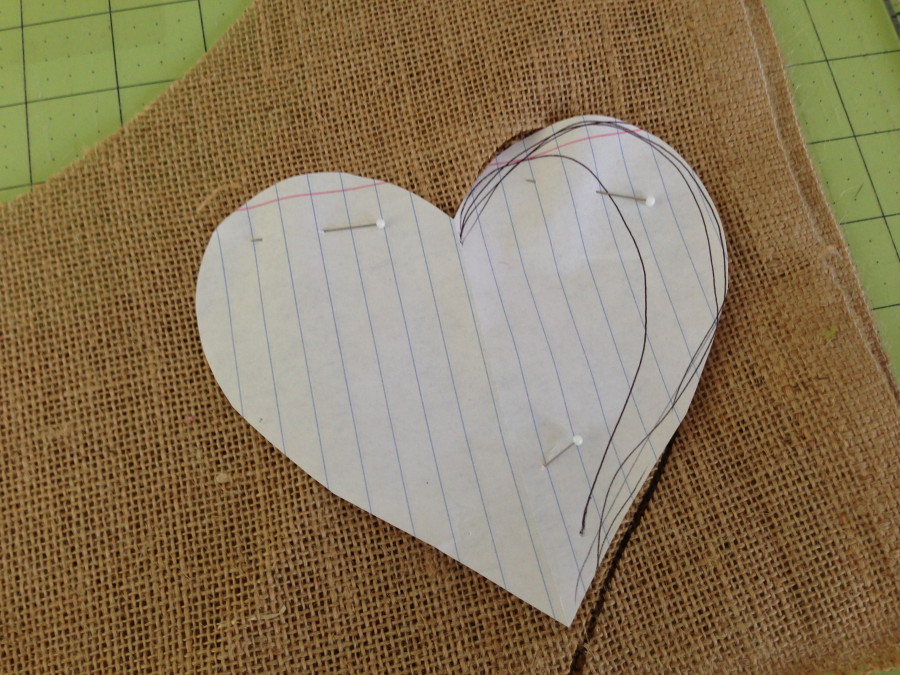
This garland has 5 hearts. Cut out 5 sets of burlap hearts.
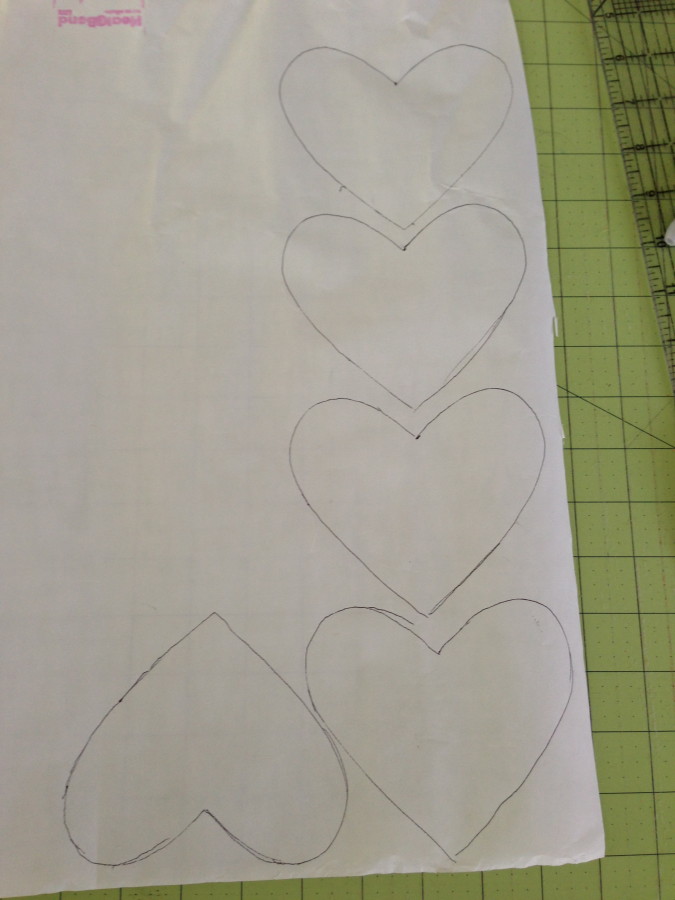
Trace 5 of the smaller hearts on the HeatnBond® Lite. Roughly cut around the hearts and iron to the wrong side of 5 pieces of fabric. Cut on the pattern line and peel off the backing paper.
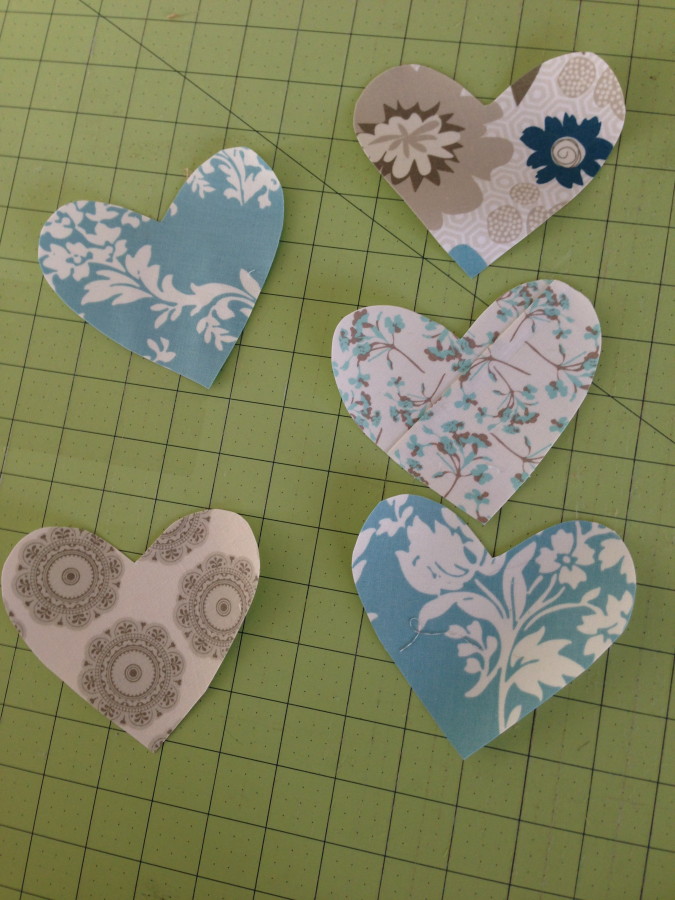
Press with hot iron to 5 burlap hearts.
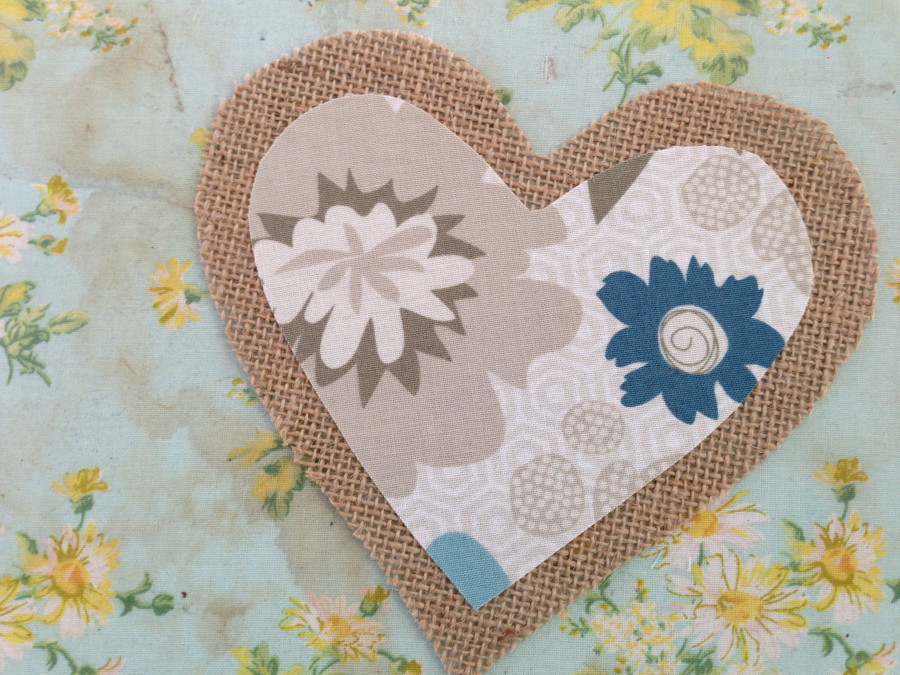
Top stitch the fabric heart to the burlap.
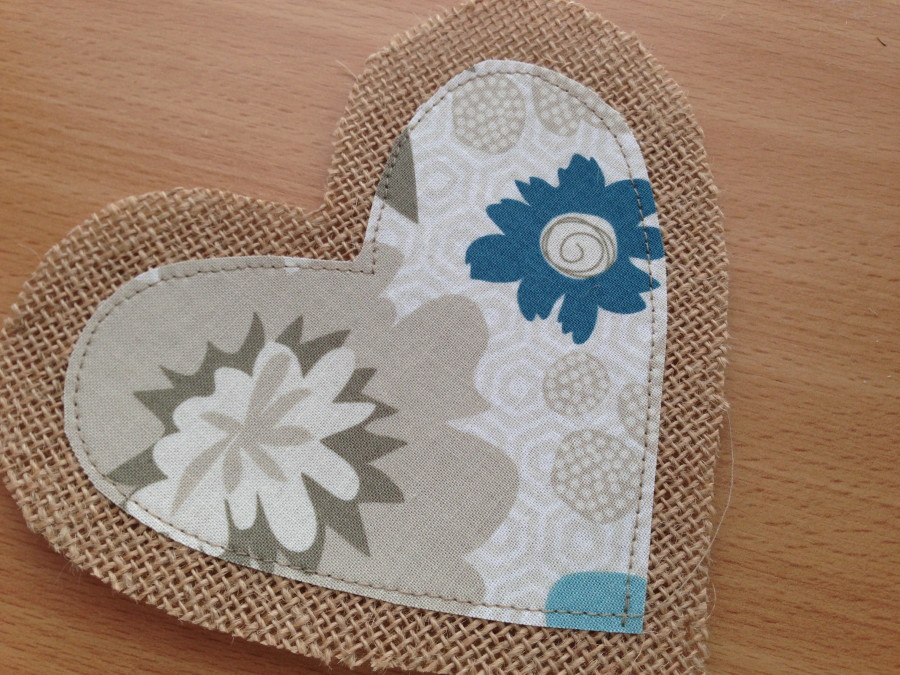
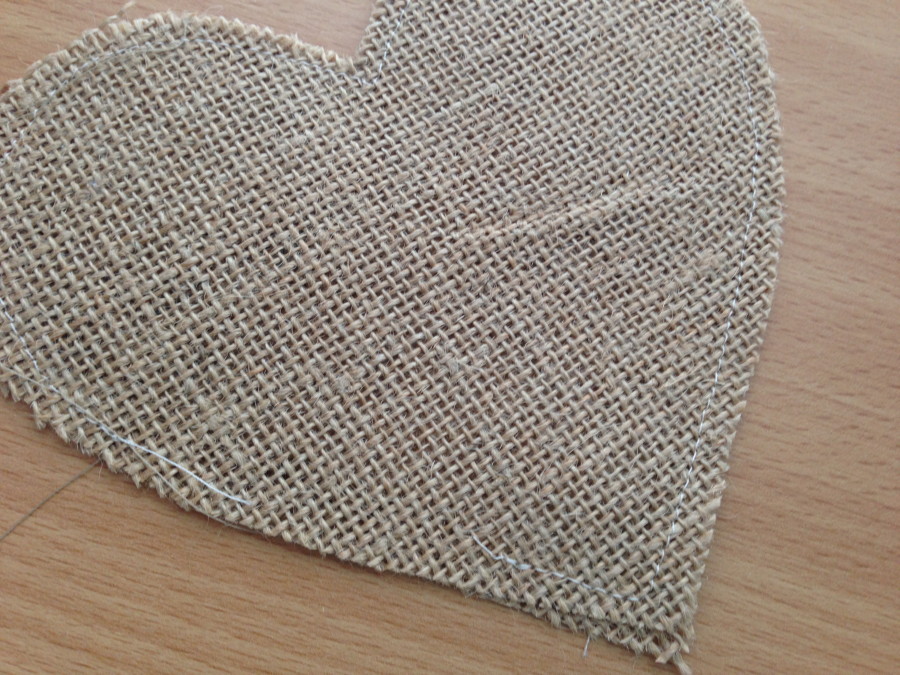
Place the fabric/burlap heart on top of a burlap heart and sew 1/4″ around the heart leaving a 2″ opening on the side. Here you can see the stitch line, it’s in white thread.
Put a little fiber fill in the hearts. Don’t over stuff.
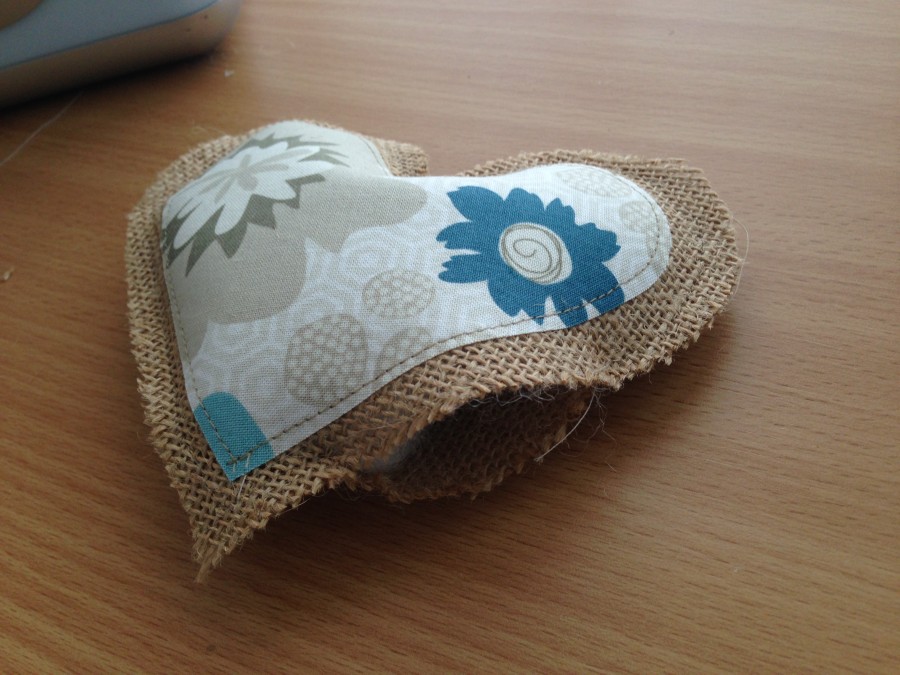
Top stitch the opening closed.
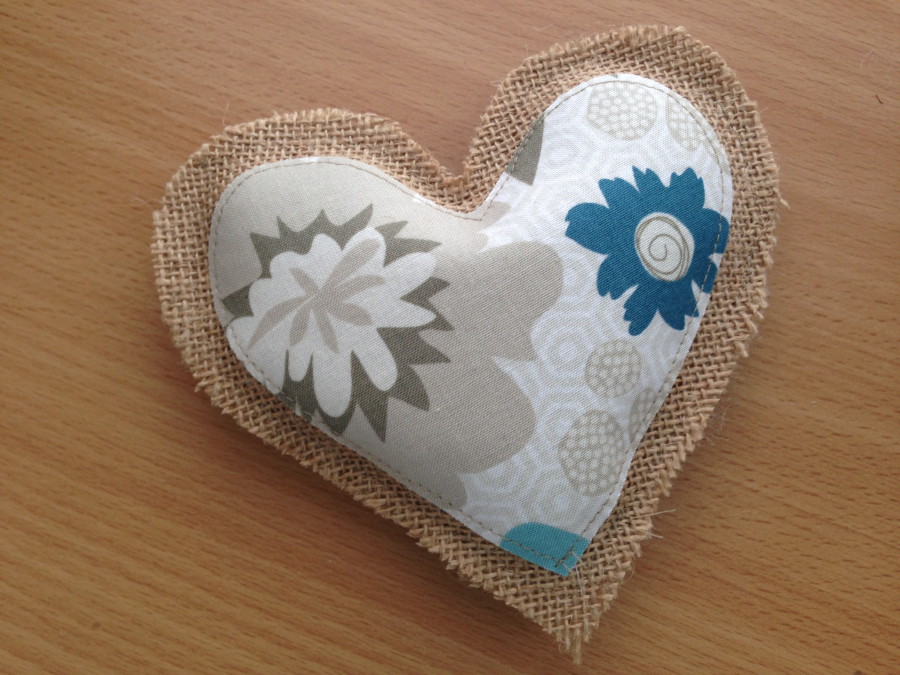
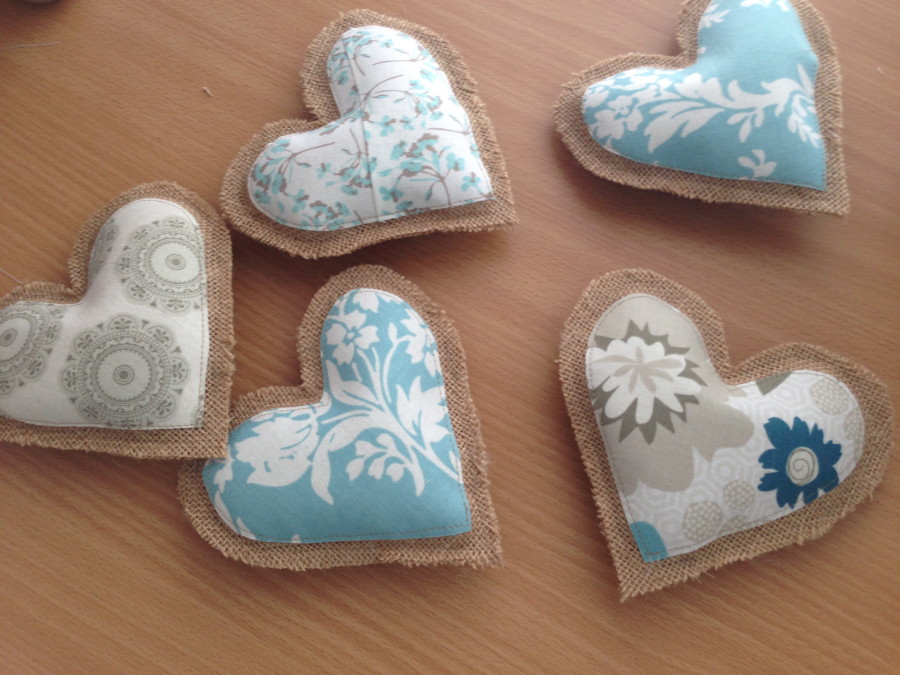
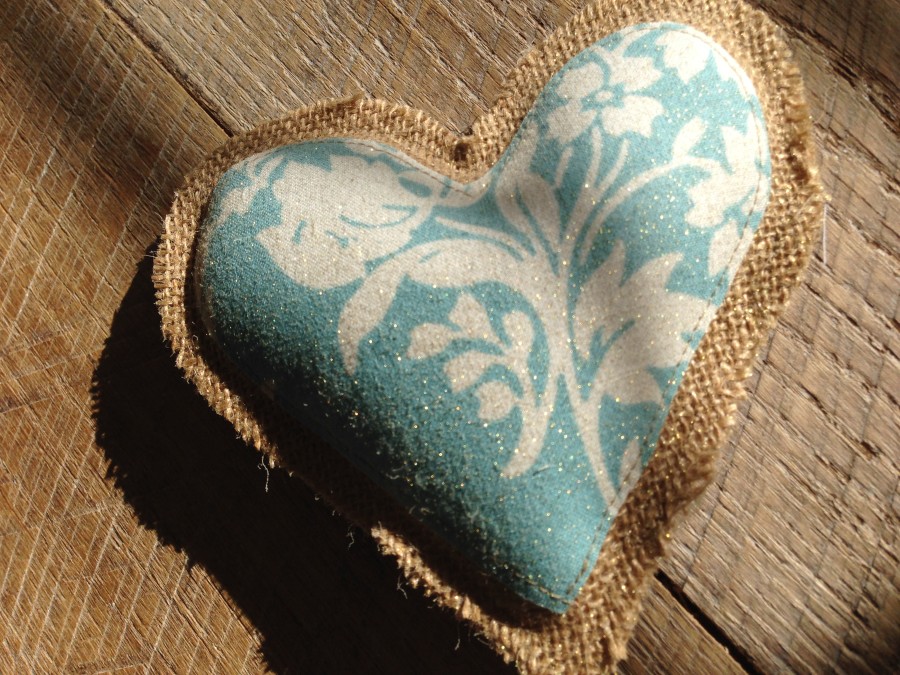
Spray the hearts with Gold Glitter Dust™ Spray. This give them just a little something’ extra 🙂
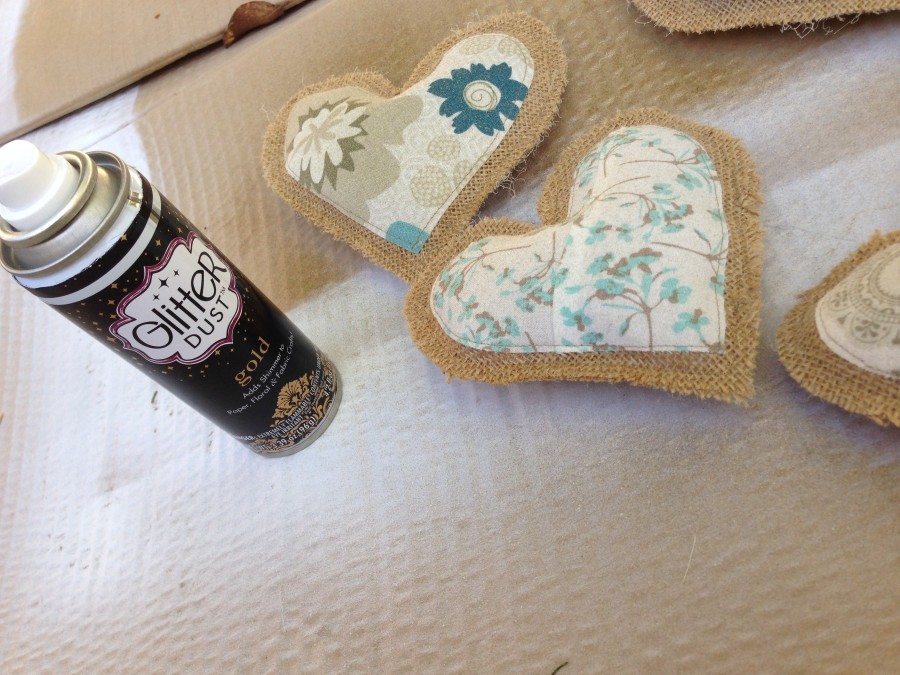
I love the Glitter Dust™ because the glitter does not flake off. It’s a very soft dusting!
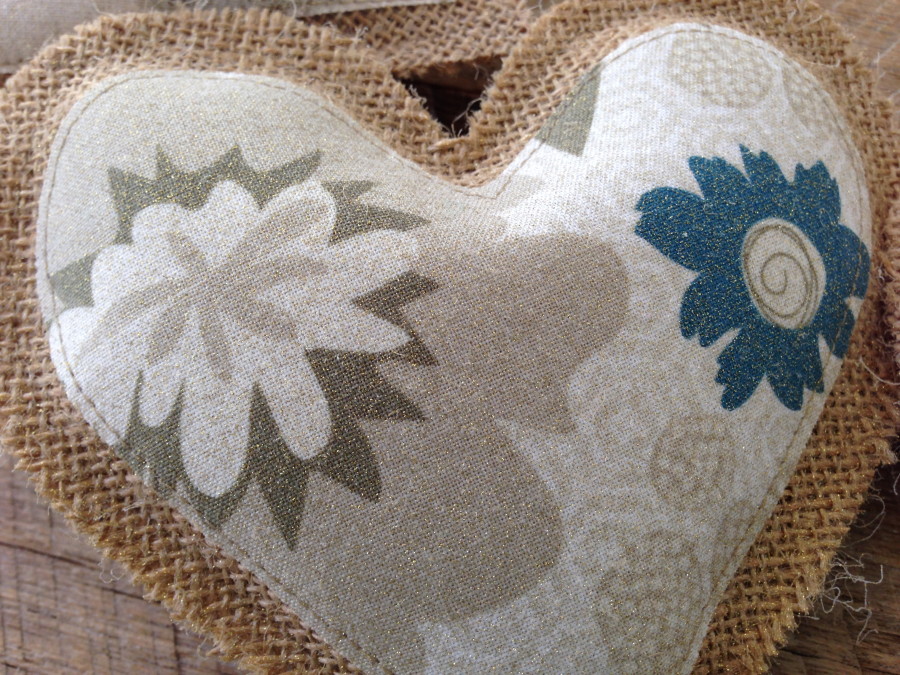
I tried to photograph so you can see the glitter – it’s really subtle which I love.
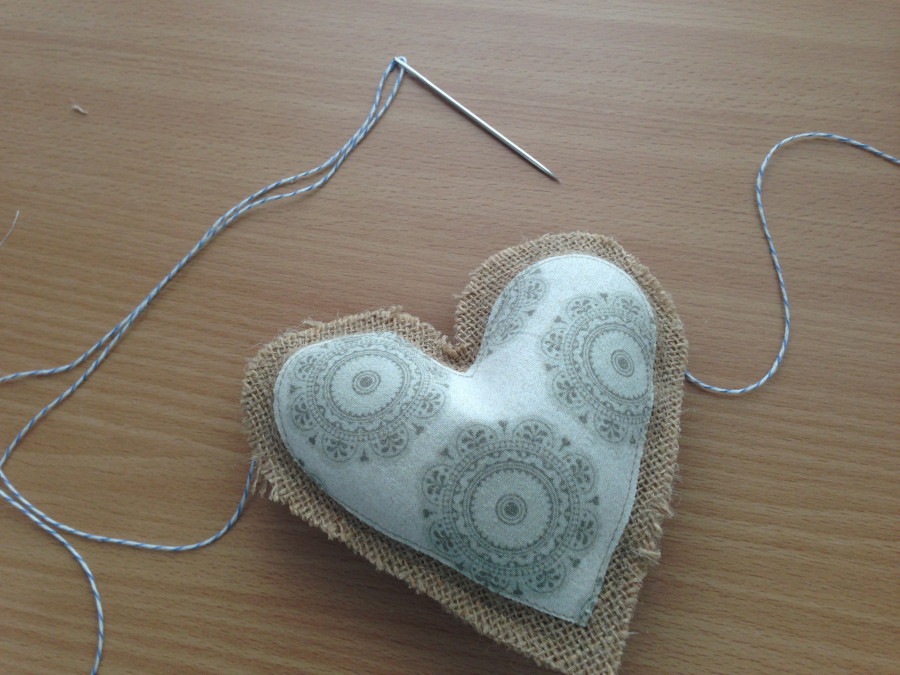
Measure the twine the length you want the garland. Thread a large needle and sew through the top portion of each heart. You kind of have to squeeze the heart to get the needle through.
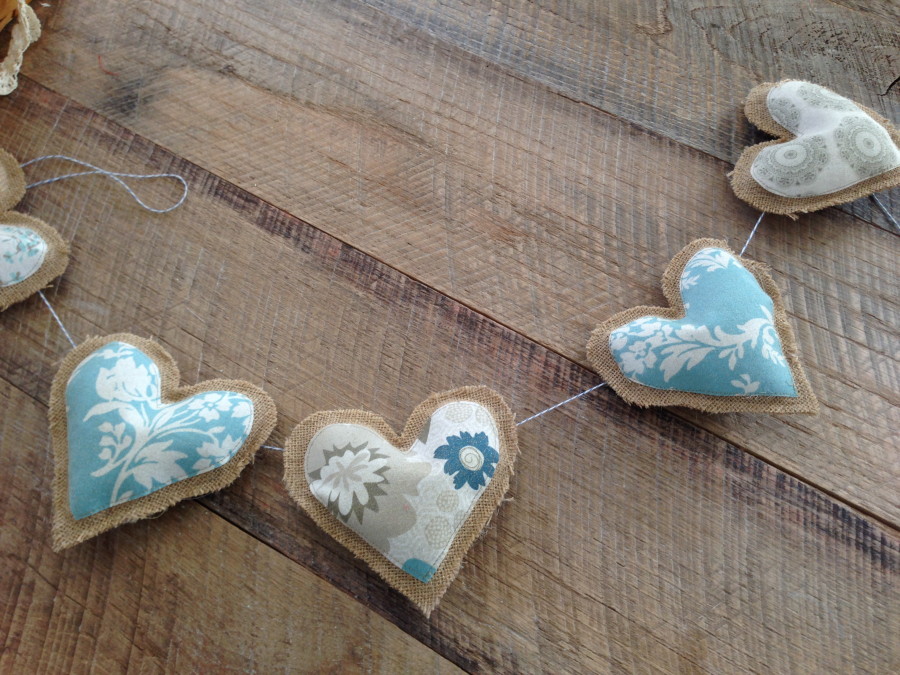
Here they are all strung:
Now get out your basket of lace and your cat 🙂
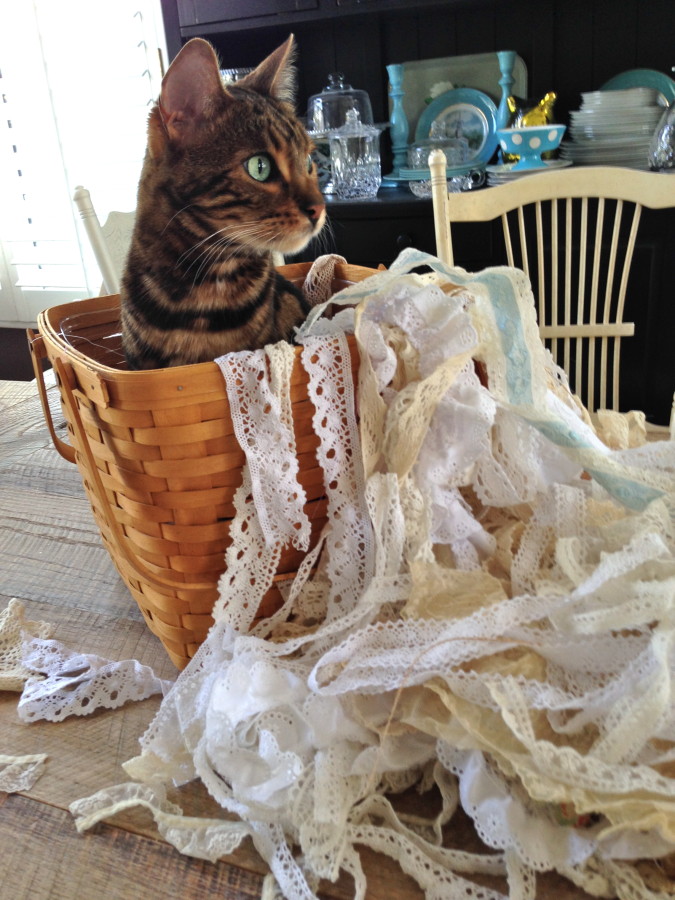
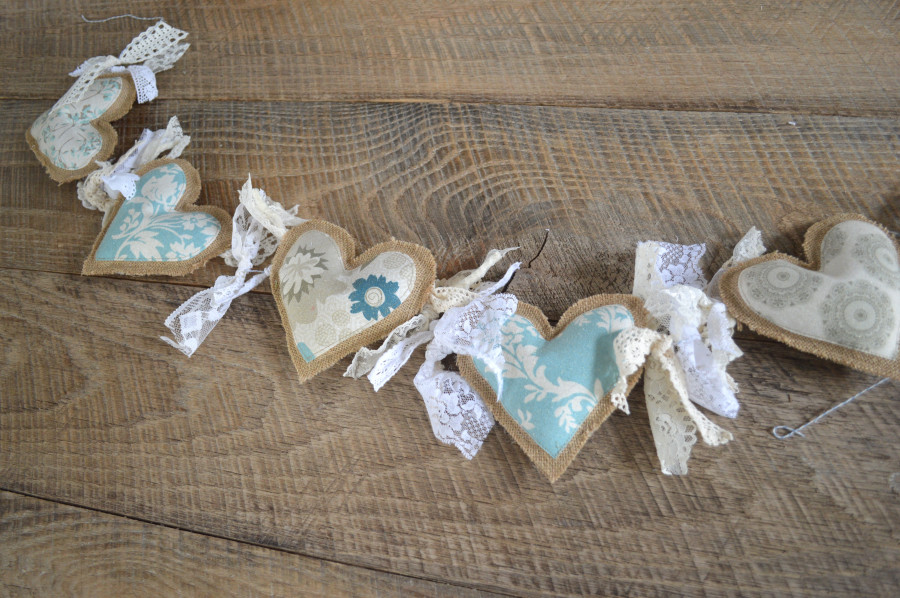
Start tying little pieces of lace randomly. I used every kind of lace and all different tones of neutral.
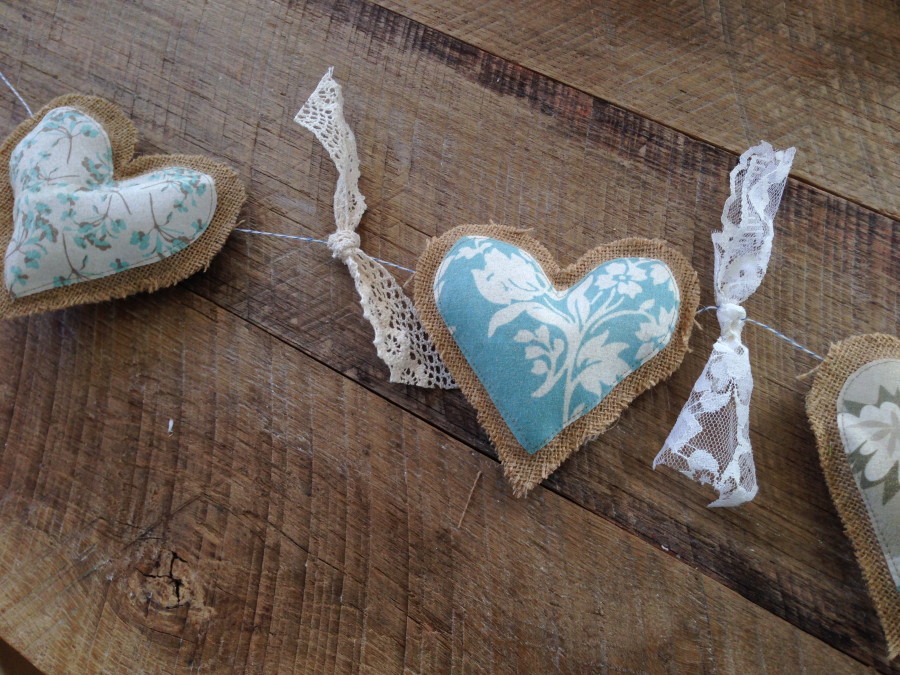
Keept tying until it is filled in.
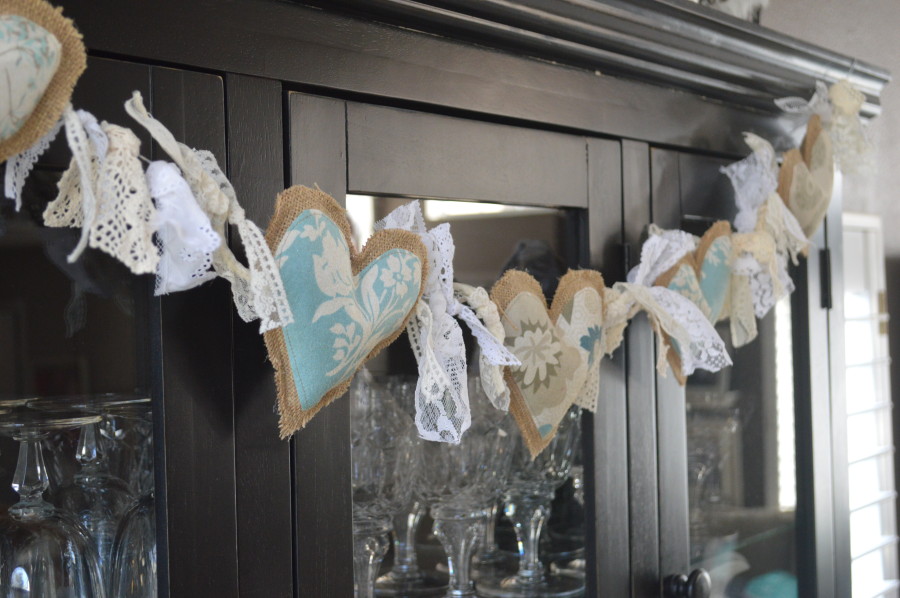
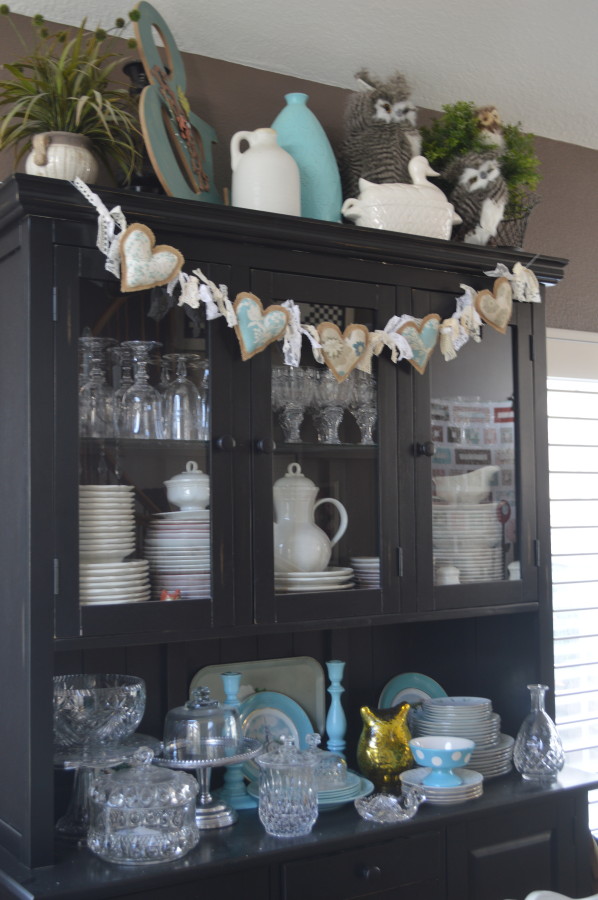
 I hung my garland above my china hutch. I love it!
4 Comments on Glitter Dust Burlap Heart Garland
3Pingbacks & Trackbacks on Glitter Dust Burlap Heart Garland
-
[…] to adhere the fabric to the burlap. For the 5″ hearts I used heat n bond lite. Here are more details on that method. Adhere the fabric heart to the center of one of the burlap […]
-
[…] to adhere the fabric to the burlap. For the 5″ hearts I used heat n bond lite. Here are more details on that method. Adhere the fabric heart to the center of one of the burlap […]
-
[…] Leave a Comment Today my tutorial for this cute Burlap Heart Garland is being featured over on the Therm O Web blog. It’s a fun, quick, easy project – great for Valentine’s Day! Of course I […]

Caleb
February 13, 2014 at 3:25 pm (11 years ago)Hi there! Someone in my Facebook group shared this site with us so I came
to look it over. I’m definitely enjoying the information.
I’m book-marking and will be tweeting this to my followers!
Excellent blog and great style and design.