Glitter Dust Halloween Skull by Designer Audrey Pettit
Supplies:
Therm O Web Glitter Dust™ Gold
Therm O Web Zots™ Singles Clear Adhesive Dots- Small
Therm O Web Zots™ Singles Clear Adhesive Dots- 3D
Therm O Web Sticky Lines- 1/4″
Therm O Web SuperTape- 1/8″
Patterned Paper: Authentique
Trim: SEI, May Arts, Glitz Designs
Star Pick: Prima
Flower: I Am Roses
Paint: Delta
Paper Mache Skull: Craft Supply
Looking for some spooky fun this Halloween? Try dressing up an inexpensive paper mache skull from the craft store with a bit of paper, trim, and Therm O Web’s fabulous Gold Glitter Dust™ Spray.
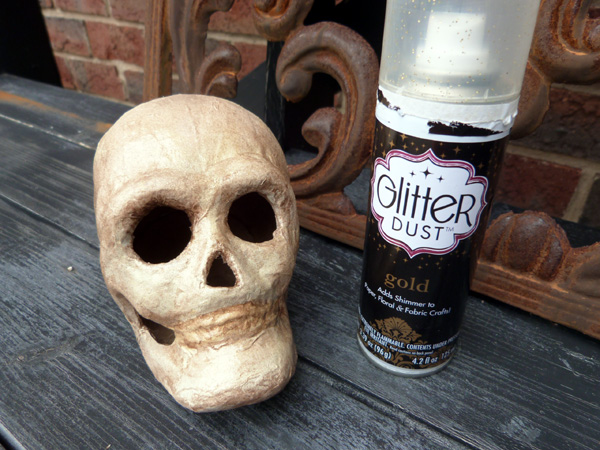
To begin, paint the paper mache skull with craft acrylic paint and allow to dry completely. For this project, the skull was painted with ivory paint, then given a light wash with diluted brown paint.
Spray the skull completely with Glitter Dust™ Gold spray in a well-ventilated area.
While the skull is drying, start the hat.
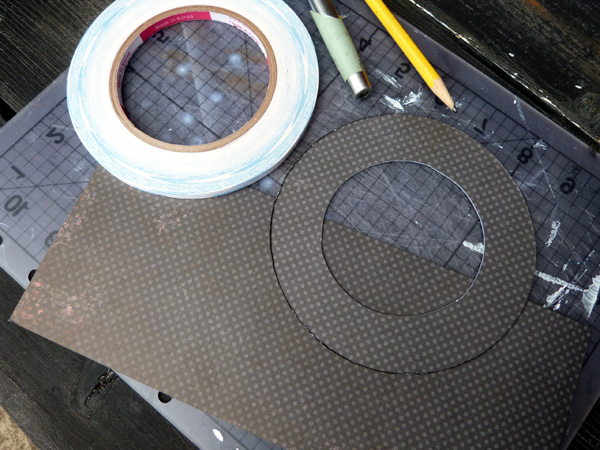
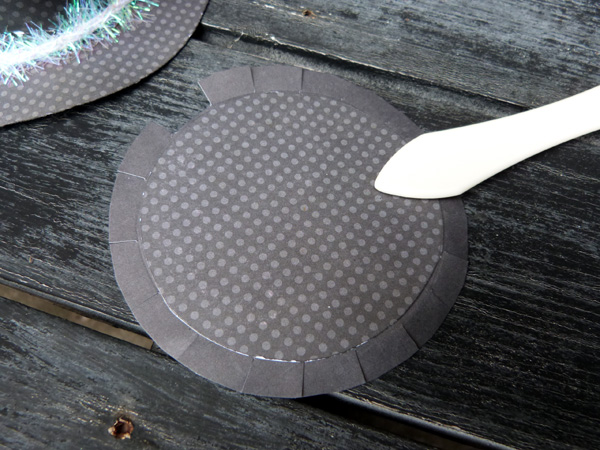
For the brim of the hat, create a ring from patterned paper that’s approximately 5″ in diameter. Use die cuts or templates to create your ring, or simply trace around something circular, as shown here. Set the inner circle aside for use later.
Cut a 10″ x 5″ strip of matching patterned paper for the main part of the hat.
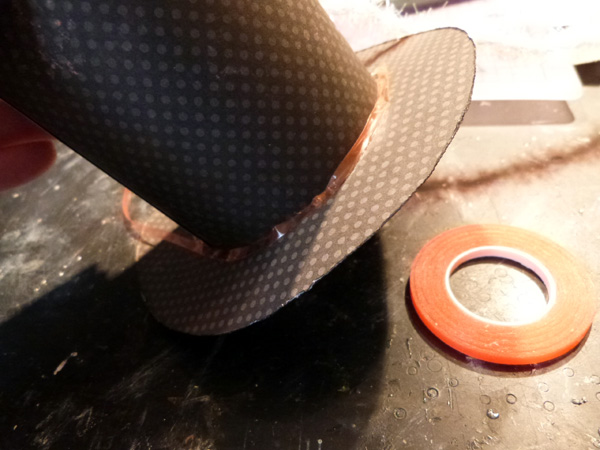
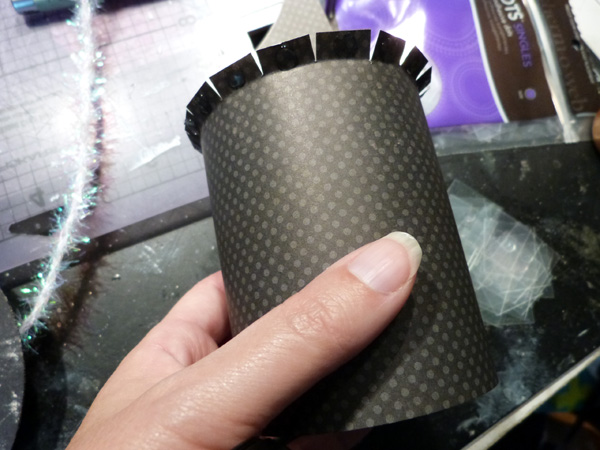 Roll the strip paper into a tube that will fit through the opening in the brim, and secure the ends with SuperTape. Cut 1/4″ snips into one end of the tube, all the way around. Lightly fold each snipped piece outward. Apply a Small Zots dot to each snipped section. Insert tube through the hole in the brim, pressing the brim down against the adhesive dots to secure.
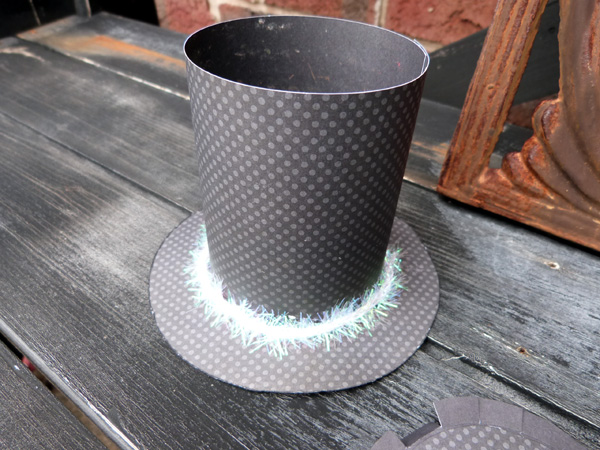
Don’t worry if there are unsightly gaps between the body and the brim, as we’ll cover that with some trim. Apply SuperTape around the base of the brim, peel off the liner, and affix tinsel trim to the hat.
Cut another circle of patterned paper that is slightly larger than the top opening of the hat.
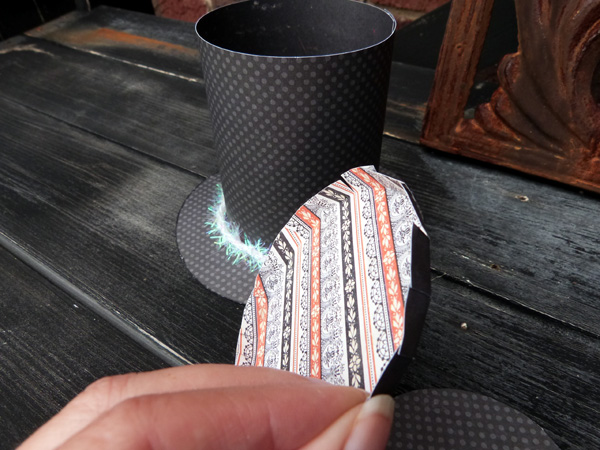
Using the circle saved from the center of the brim, place the brim circle in the center of the larger circle, and using a scoring tool, lightly score all the way around. Cut snips approximately 1/2″ apart all the way around the outer edge to the score line.
Remove the brim circle, and lightly press all the snipped sections down. Insert the top up through the bottom opening in the hat, and then carefully adhere the snipped flaps with Small Zots™ dots.
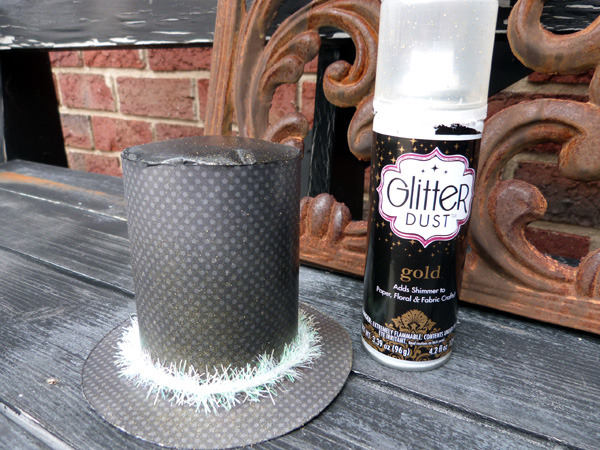
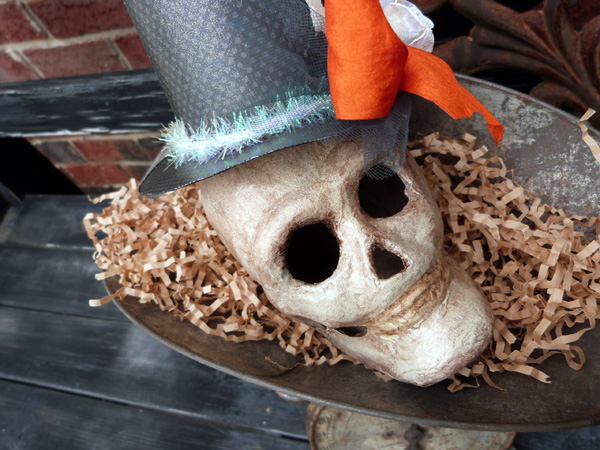
Spray the finished top hat with additional Gold Glitter Dust™. Embellish hat with picks, flowers, and trim secured with 3D Zots™ and Sticky Lines. Use Sticky Lines to adhere hat to the skull.
Enjoy!

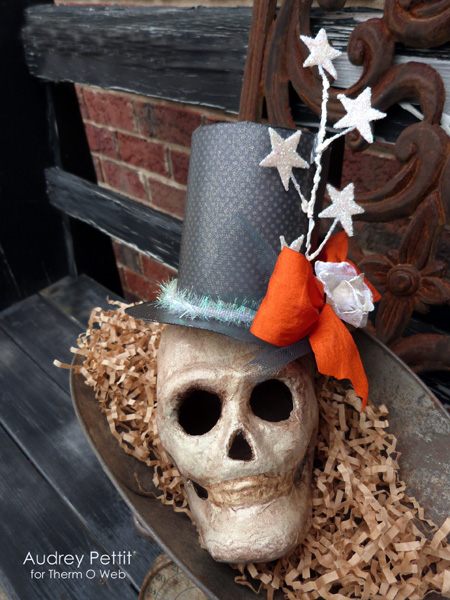
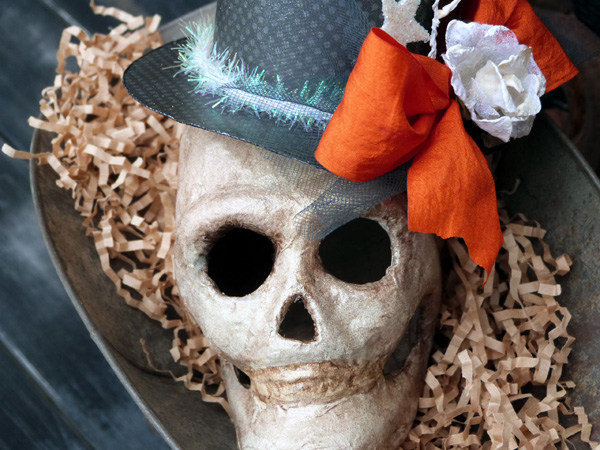
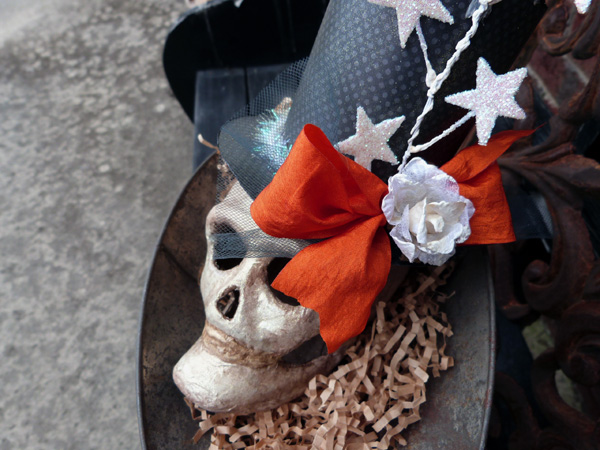
[…] spooky Halloween project ideas featuring Therm O Web’s super fun Glitter Dust spray on the blog. If you are looking for an easy way to add a subtle touch of glitter to your projects, Glitter Dust […]