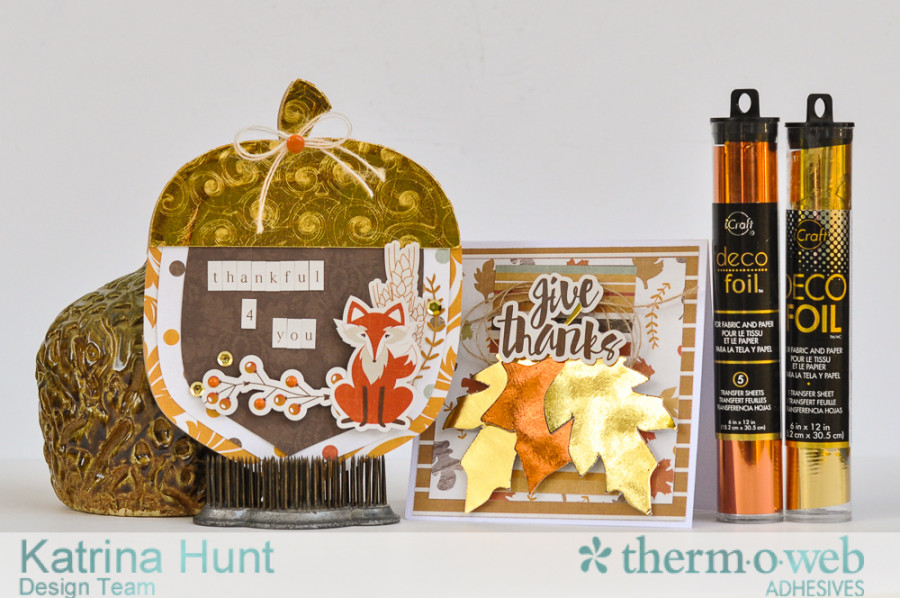
Hey there Therm O Web fans! It’s Katrina from Paper, Scissors and Glue sharing some cards for our swap with PhotoPlay Paper. I got the fun fall collection and knew immediately that DecoFoil™ in Gold and Pumpkin would work perfectly for some quick and elegant cards. And I have two different ways to create with DecoFoil™, one without a laminator and one with! Let’s get started.
Therm O Web Supplies:
Therm O Web 3D White Foam Squares-1/2 inch
Therm O Web 3D White Foam Squares-1/4 inch
Therm O Web Sticky Tape Mini Runner
Therm O Web iCraft® DecoFoil™ Foam Adhesive
Therm O Web iCraft® DecoFoil™ PeelnStick Toner Sheets–NEW
Therm O Web iCraft® DecoFoil™ – Gold
Therm O Web iCraft® DecoFoil™ – Pumpkin
Therm O Web Zots™ – Small
12″ Inch Foil Laminator
Other Supplies: PhotoPlay Paper Fall Collection; Twine, Enamel Dots, Sequins, Embossing Folder; Cuttlebug, Silhouette Cameo with cutting file
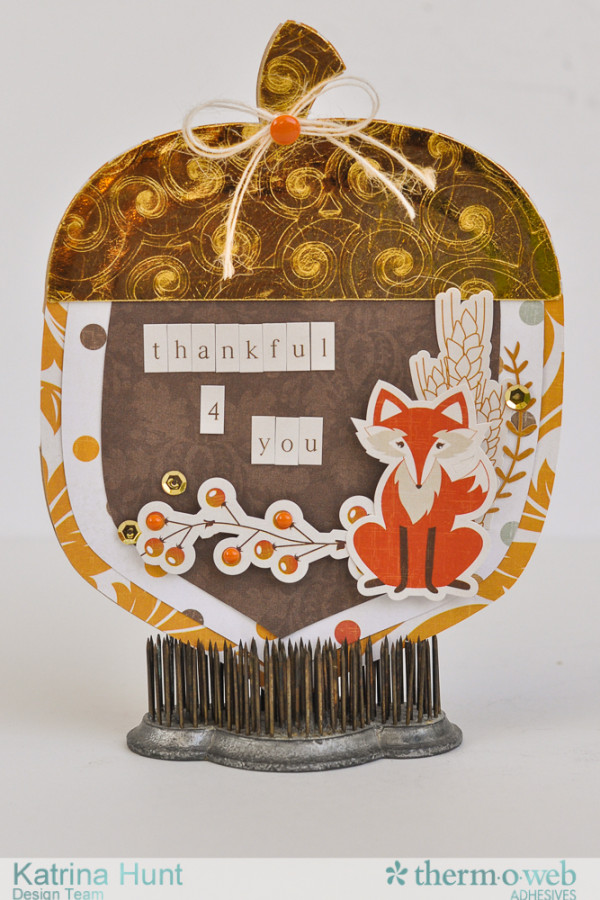
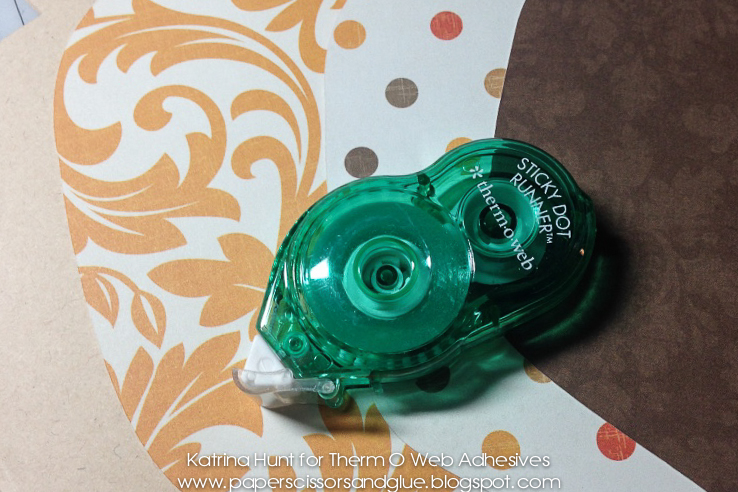
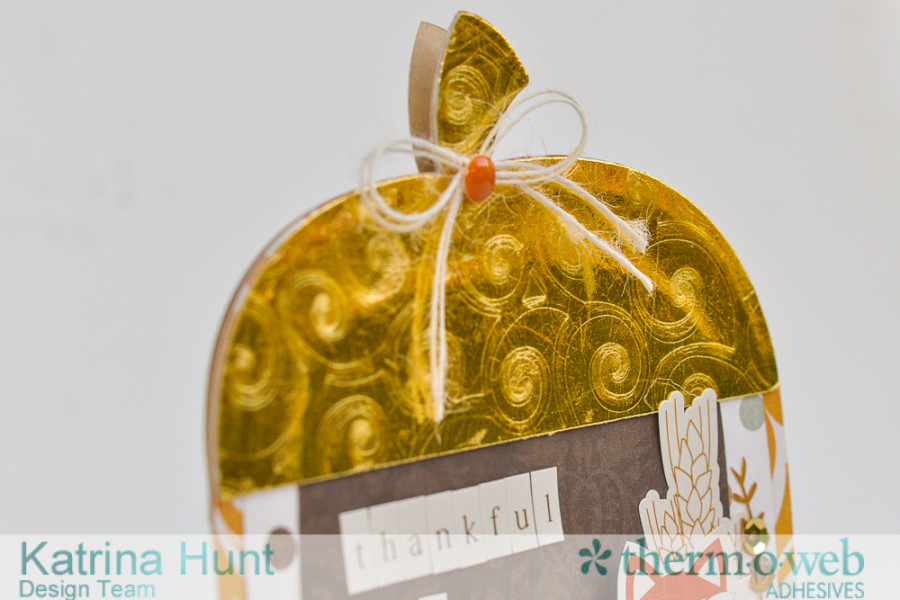
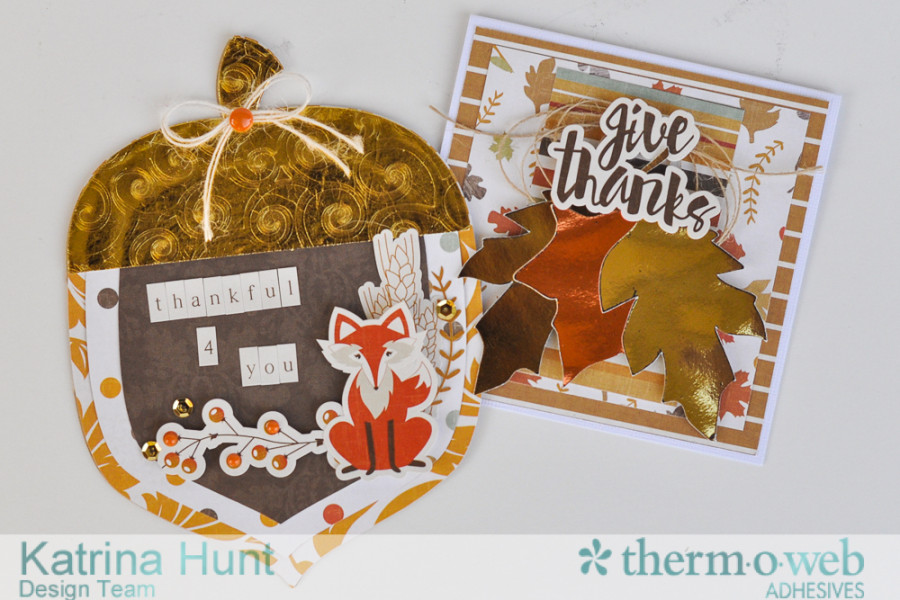
1. Cut an acorn shape that has been duplicated and welded together in your electronic die cutting machine software to make a card base. If you do not have an electronic die cutting machine, you could do this by drawing an acorn shape on one side of a paper, fold and then cut around it. Making sure to leave part of it attached on the side, so that you can open it up. Attach paper layers to card base with a Sticky Tape Mini Runner.
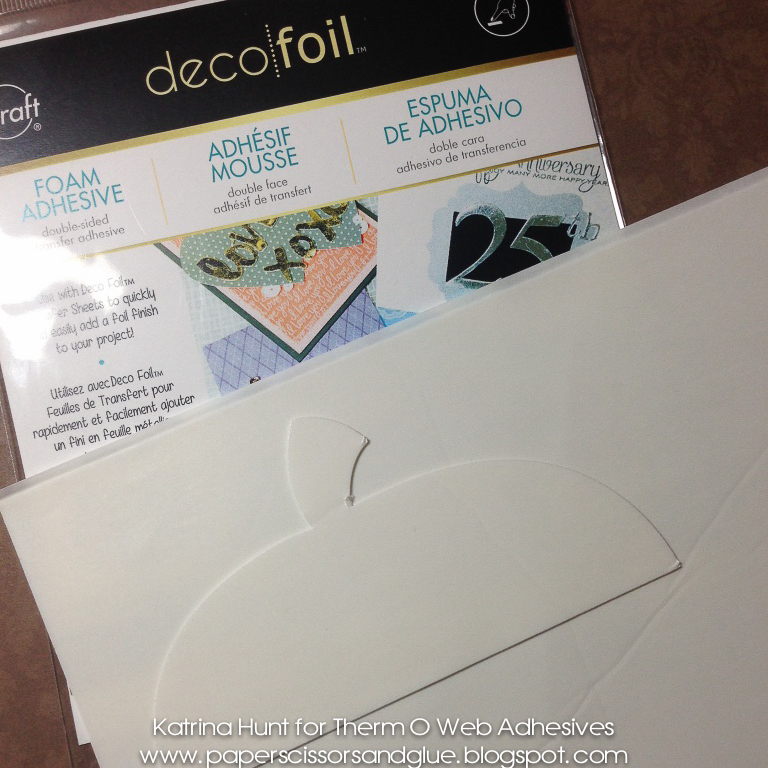
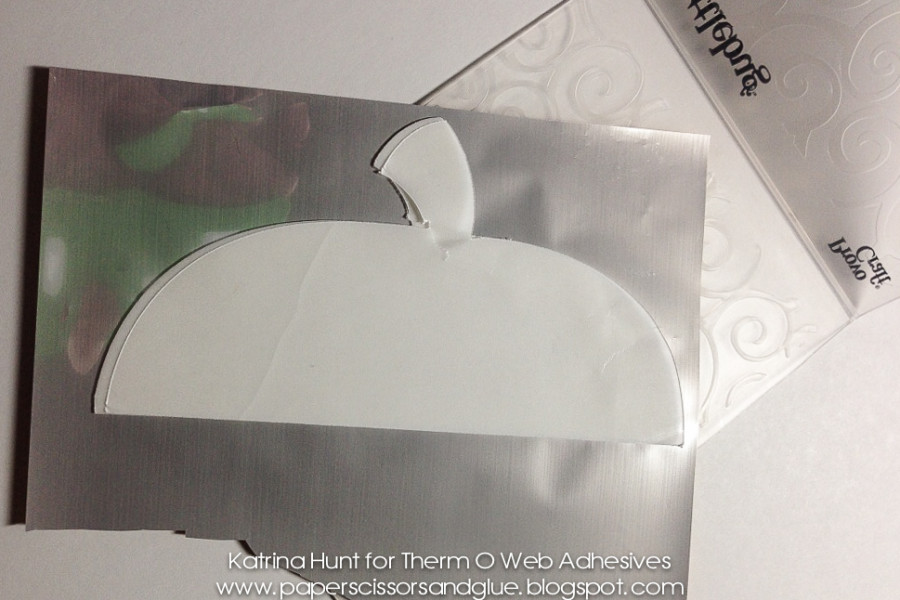
2. Cut acorn top out of DecoFoil™ Foam Adhesive. Use the stamp setting in the software and cut twice.
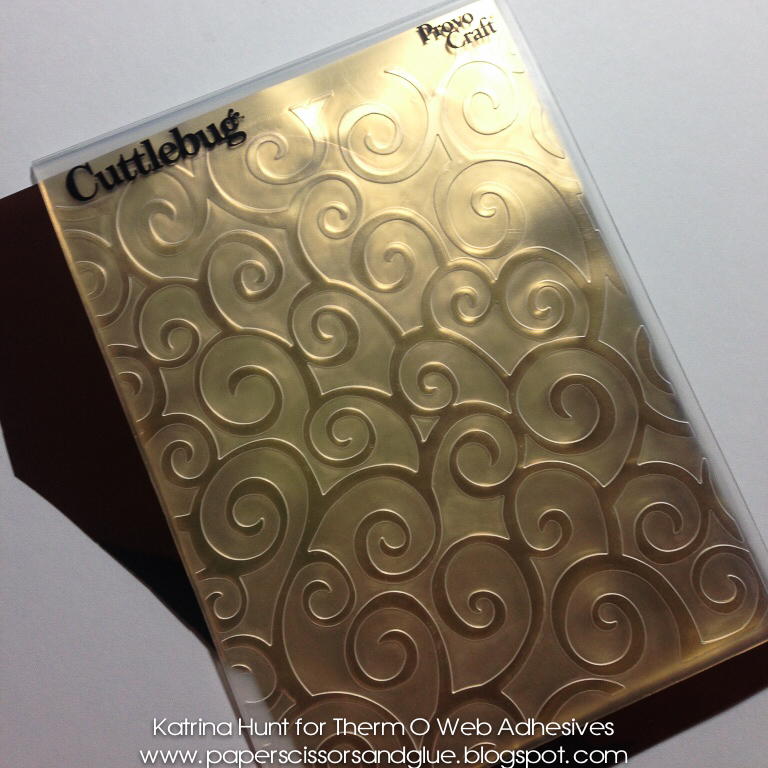
3. Remove adhesive covering and lay face down on the silver side of the foil transfer sheet. Do not remove foil, but place this in an embossing folder, see below.
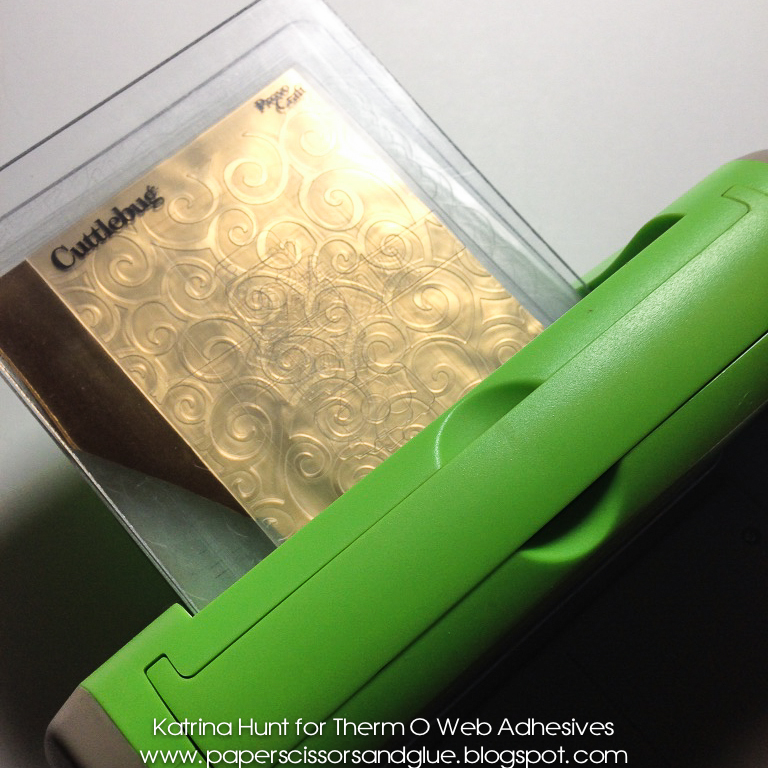
4. Run thru a manual die cutter, embossing the foam, but also adhering that foil onto the foam at the same time. I used a Cuttlebug and the sandwich I used was the A plate, B plate, Embossing folder with foam/foil, B plate.
5. Once you are done embossing, carefully peel away the foil transfer sheet from the foam shape. Find an area that will easily lift and peel the foil transfer sheet away from the foam adhesive. Apply to card base. Decorate to your heart’s content on your card front!
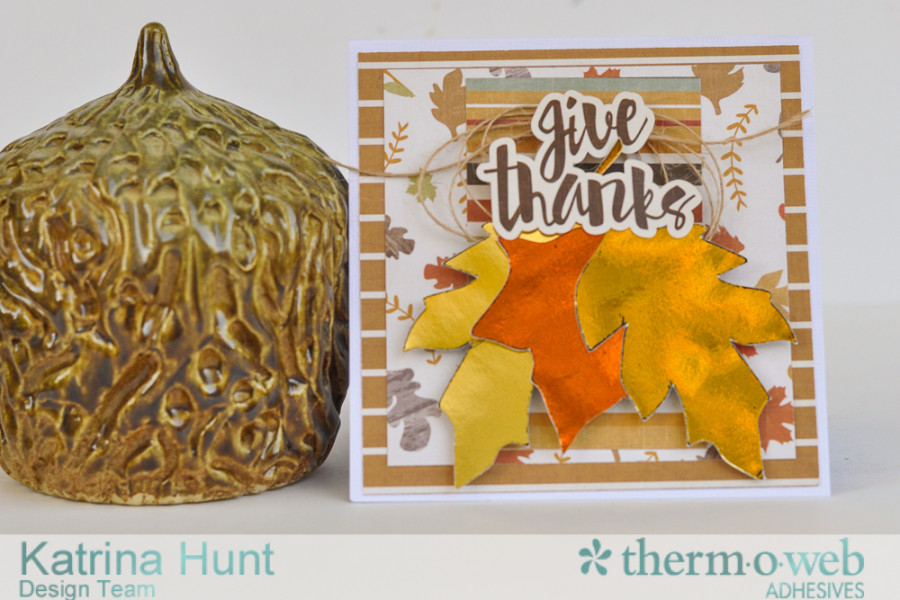
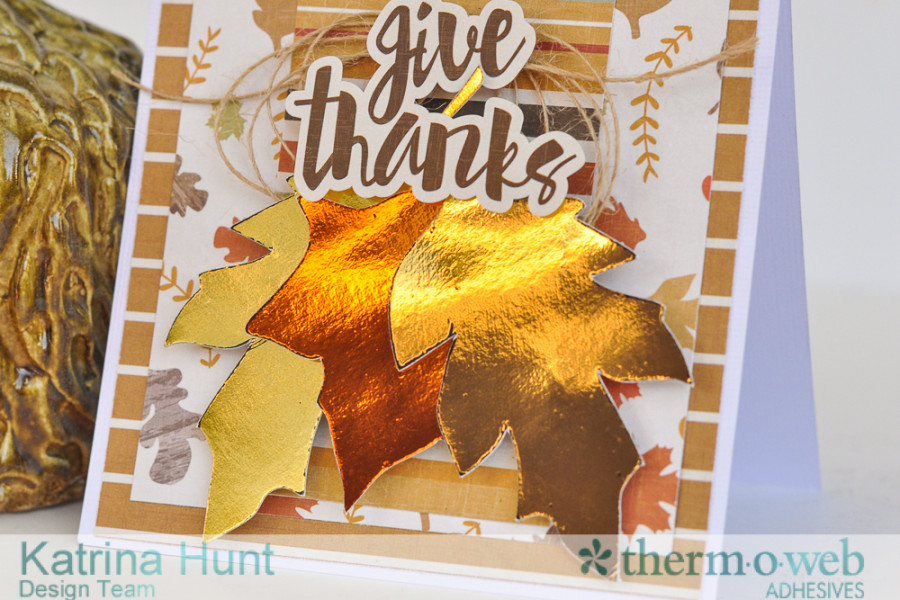
And now here is the other card with fun leaf shapes. I love clustering leaves together and the foil just makes them pop with that PhotoPlay paper!
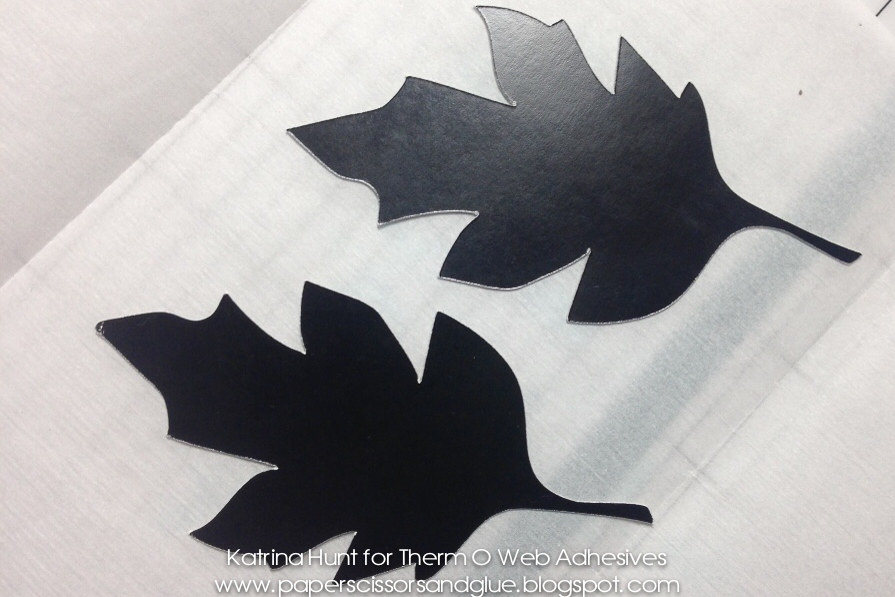
1. Turn laminator on and let warm up for about 20 minutes. While you are waiting create your card front. Cut a card base that is 5 inches x 5 inches and the cut your pattern papers to create a fun setting for your card. I kept things simple, for the leaves to be the focus. Cut leaves out of the DecoFoil™ PeelnStick Toner Sheets. Clusters of odd amounts work best. I used DecoFoil™ Transfer Sheets in Gold for two of the leaves and then Pumpkin for the other one. Run thru laminator with carrier sheet and foil placed on top of the leaves.
2. Cluster your leaves and adhere to your card front. You can lie them flat and use that adhesive back, or you can pop them up with some 3D Foam Adhesive Squares like I did here.
And I have a layout using this same collection along with DecoFoil™ and some different leaf shapes! You can find my post on my personal blog HERE. Thanks to PhotoPlay Paper for letting us play with some fun new collections! Don’t forget to look for ThermOWeb products, along with PhotoPlay paper at your crafting stores! Have a wonderful fall and Thanksgiving (for our US fans!).
Katrina Hunt

Allison CB
November 13, 2015 at 10:28 am (10 years ago)Very cute!
Dawn
November 13, 2015 at 10:33 am (10 years ago)Love the embossing acorn cap, so pretty!