Hey!
It’s Katrina from Paper, Scissors and Glue. It has been CHA madness in my house, creating projects for the trade show to get them there in time. One of my FAVORITES that I created this year, I am sharing with you today here on the Therm O Web blog. Have a box that is the perfect size for a small gift, but is ugly? I am going to show you how to change it up!
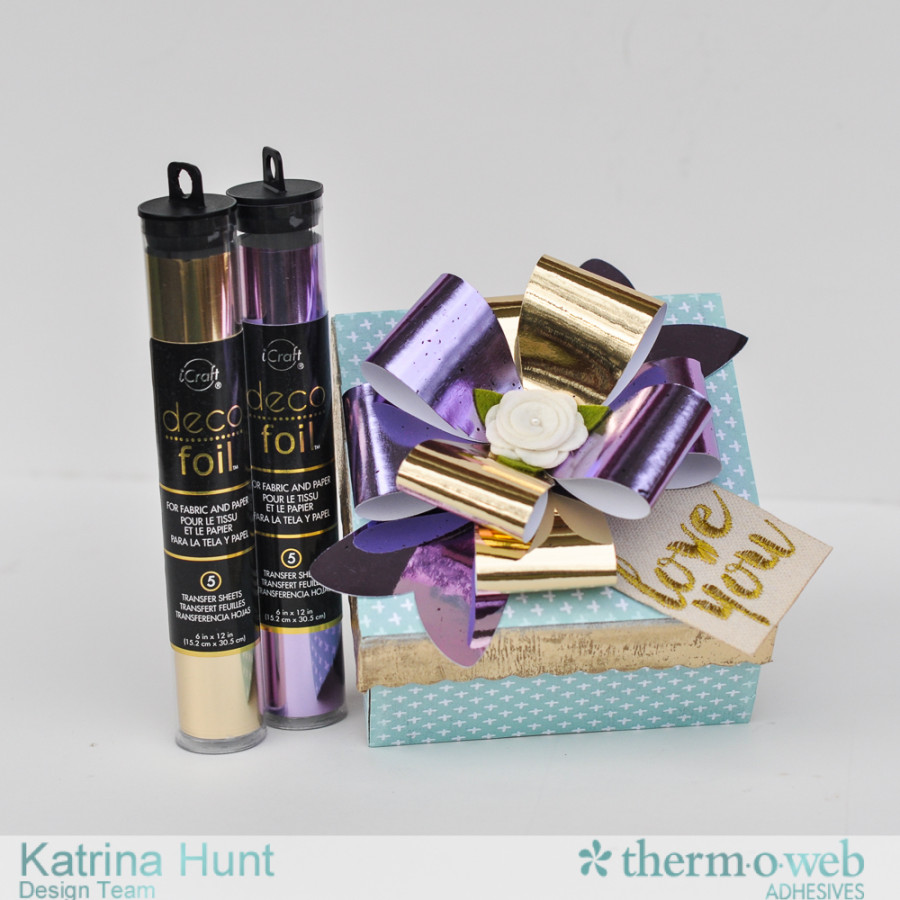
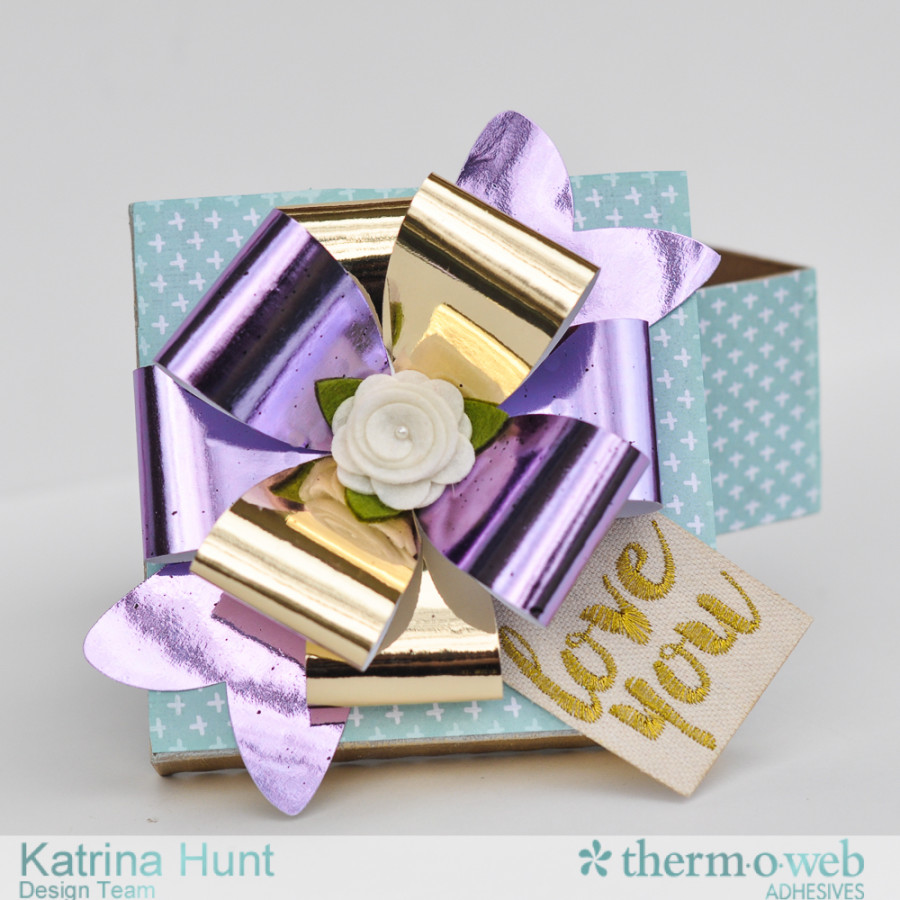
Love You Gift Package by Katrina Hunt
Therm O Web Supplies:
Therm O Web iCraft® Easy Cut Adhesive Sheets-Small
Therm O Web iCraft® Easy Cut Adhesive Sheets-Large-NEW
Therm O Web iCraft® DecoFoil™ Liquid Adhesive
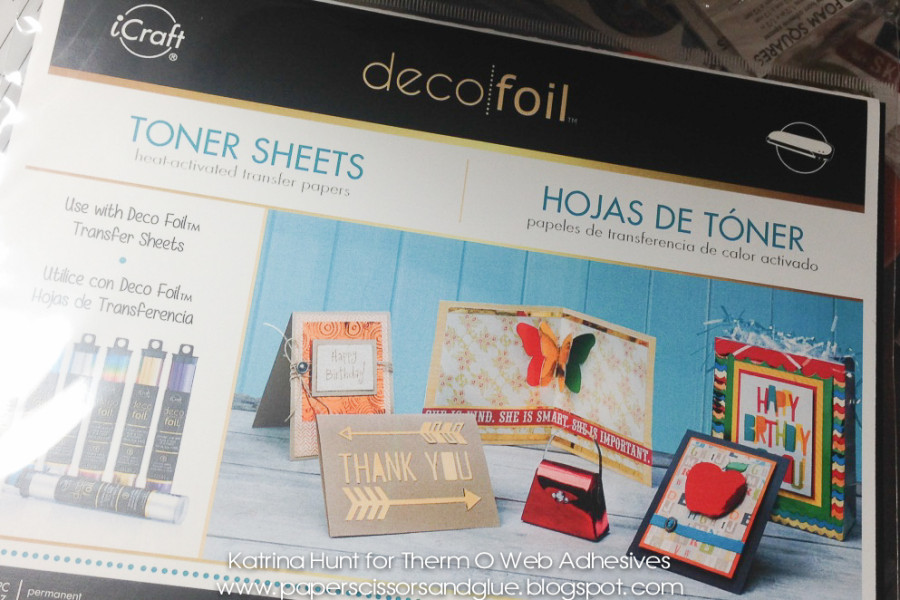
Therm O Web iCraft® DecoFoil™ Toner Sheets–NEW
Therm O Web iCraft® DecoFoil™ – Champagne-NEW Coming Soon!
Therm O Web iCraft® DecoFoil™ – Lilac-NEW Coming Soon!
Therm O Web Zots™ – Jumbo
12″ Inch Foil Laminator
Other Supplies-Bare Chipboard Box; Pattern Paper, “love you” tag-Pebbles; Felt Flower-Maya Road; Ink-Prima; Silhouette Cameo with cutting file
NOTE: I created my bow with an electronic die cutting machine. You could also do the same techniques with a manual die cutting machine OR you can find printable templates online by doing a search that you can use to cut bow pieces from the toner sheets.
I was so excited to start creating I forgot to take a picture of my bare chipboard box! It’s just something I picked up in my local craft store in the altered items section. There are several shapes and sizes to choose from.
Turn on laminator to let warm up at least 20 minutes before using to apply foil to toner sheets.
Start by covering the drop down edges of your lid with DecoFoil™ Liquid Adhesive and a brush. The adhesive will need to dry a bit, so move on to covering the sides and top of the box while the liquid dries to speed up your project.
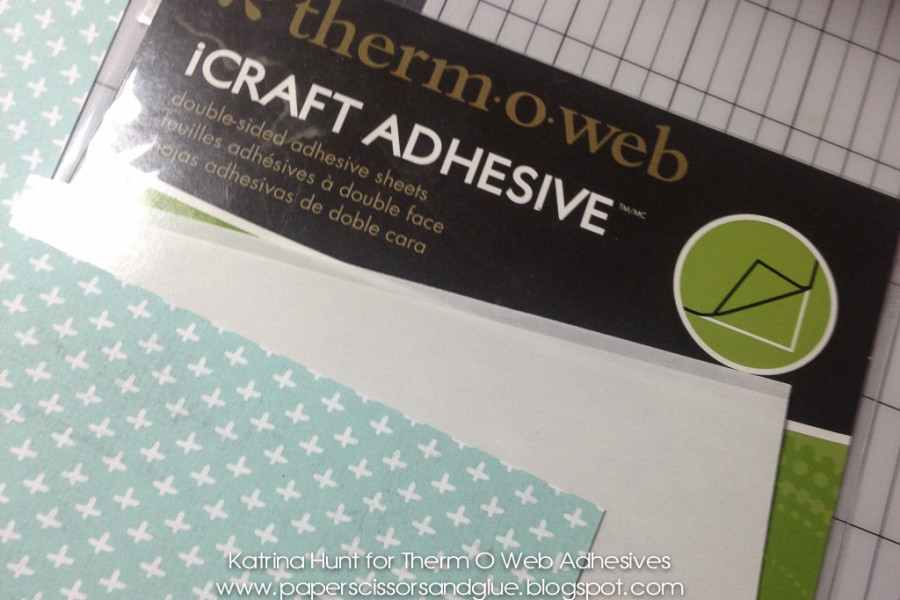
Measure the edges of your box and then cut a piece of pattern paper for each area that needs covered. Remove covering of an iCraft® Easy Cut Adhesive Sheet and place pattern paper on sheet. Cut sheet down to size of pattern paper, remove backing sheet and adhere to box. NOTE: I used the smaller iCraft® sheets, but there are now larger sheets that give you more of an option in size!
Cut bow out of the new iCraft® DecoFoil™ Toner Sheets. Use the non stick ones, as you do not want your bow to stick all together! Apply DecoFoil™ in Lilac and Champagne to your cut pieces by running thru a laminator. Piece bow together using Zots™ to adhere the sections together. Note: My bow was large enough that the Jumbo Zots™ worked great for doing this and did not show.
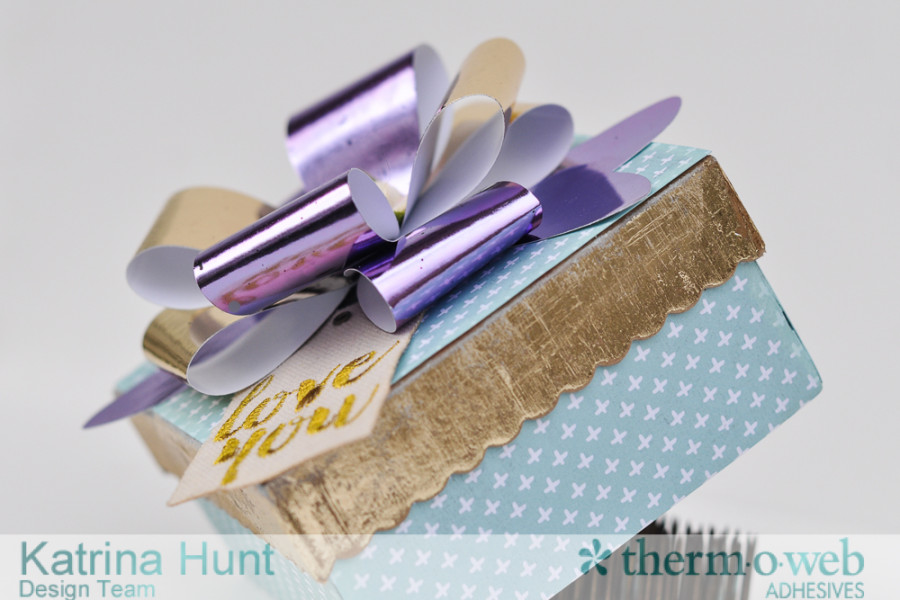
If your DecoFoil™ Liquid Adhesive is dry enough, you can apply your Champagne DecoFoil around the edges of your box. Use a bone folder to burnish the foil onto the sides.
Here you can see the the edges of the box, along with how the bow would have stuck to itself had you used the Deco Foil™ PeelNStick Toner Sheets for this project! Every project has products that work for it, you just have to find the right mix!
Before I placed the bow and tag on the box top, I lightly inked all the edges that were paper. I did ink the top of the box lid, but only the top edge. I used a soft white chalk ink, so it doesn’t really show up, but does cover and finish the project off.
To finish off the bow, I added this fun felt flower in the center. You could add whatever you have on hand, a button, brad, etc. Who wouldn’t want to get a gift in this?!
Lots more of great CHA projects and new products are heading your way on the blog here, so be sure to check them all out! Have a great day!
Katrina Hunt

Beth Williams
January 5, 2016 at 12:20 pm (9 years ago)This is super fabulous- I LOVE it!
Sonya Lemacks
January 9, 2016 at 9:15 pm (9 years ago)When will the new stuff hit the shelves. Too cool