Halloween is almost upon us, and if you’re looking for a fun and unique holiday home decor project, I have got a great one for you today. This is Giselle, and she is ready for the Ghost Ball, decked out in her princess wand and crown made from Therm O Web Mixed Media Art Tape.
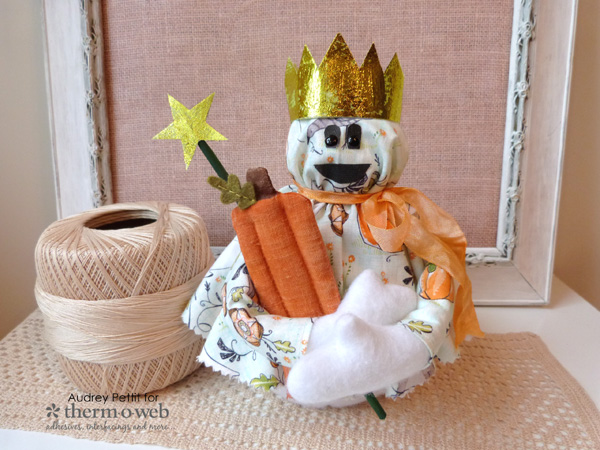
Giselle the Princess Ghost by Designer Audrey Pettit
Supplies:
Therm O Web Stitchn’Sew Fleece
Therm O Web Rebekah Meier Designs Mixed Media Art Tape
Therm O Web Gina K. Designs Fancy Foil- Jelly Bean Green
Therm O Web Gina K. Designs Ink- Sweet Mango, Jelly Bean Green
Therm O Web iCraft Deco Foil Liquid Adhesive
Therm O Web Fabric Fuse Liquid Adhesive
Blend Fabrics Best Day Ever Collection by Cori Dantini
Simple Stories Enamel Dots
Maya Road Ribbon
Ranger Ink Blending Tool
Other: muslin, felt, paint, polyfill fiber stuffing, rice, wooden skewer, 1/16″ hole punch
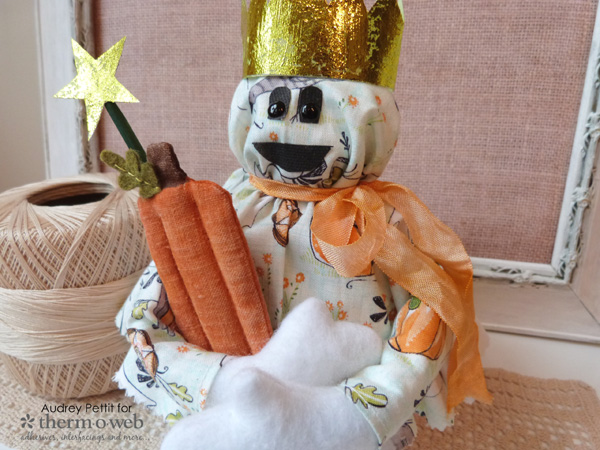
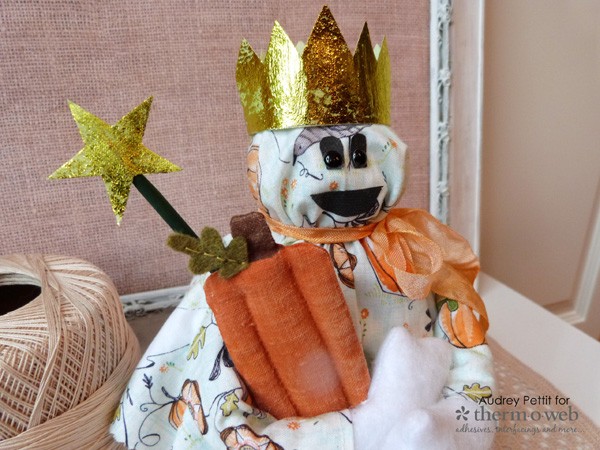
Let’s take a closer look.
Giselle the Princess Ghost Instructions:
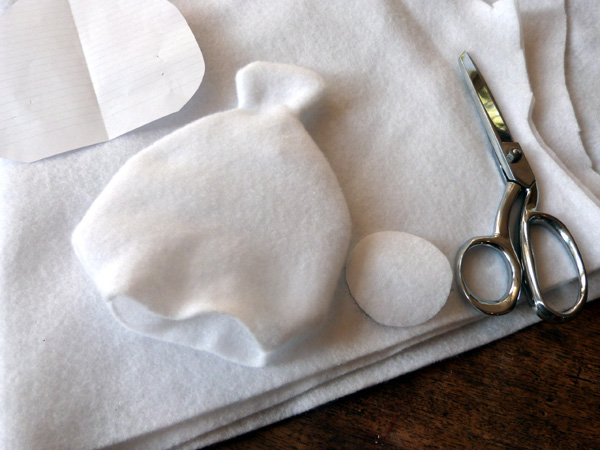
To begin, create a simple pattern from a piece of scrap paper for the body of the ghost, or download one for free from the internet. Just a simple bowling pin style shape will do. And be sure to save your pattern, as it will make a fabulous snowman come winter. Fold a piece of Stitchn’Sew Fleece in half, and pin the pattern to the fabric. Cut out the ghost shape.
Then cut out a 2″ circle from one layer of the fleece, and set it aside for now. Lay the two ghost shapes together, and machine stitch around the edge using a 1/4″ seam allowance, starting at one bottom corner and stitching around to the other corner. Turn the fabric right side out.
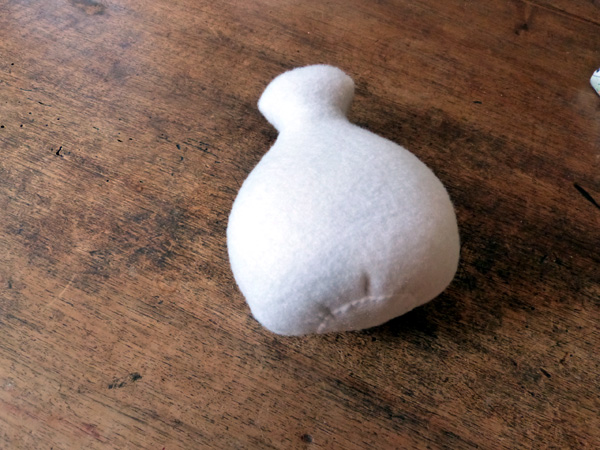
Stuff the body with polyfill fiber. Using a loose gathering stitch, stitch around the open bottom of the ghost, and pull the thread tight to close. Before you close the bottom completely, pour in a bit of uncooked rice to act as a weight to keep your ghost upright. Then pull the opening closed and tie it off. Stitch the fleece circle over the opening.
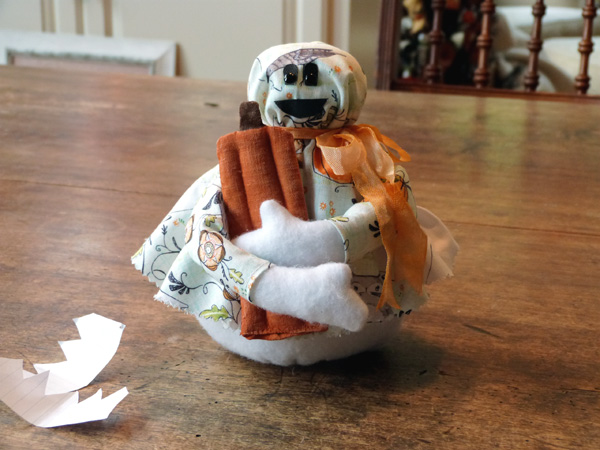
Now have fun dressing up your little ghost shape. I created a dress for mine from some favorite Halloween fabric. Simply trace a very large circle onto the back of your chosen fabric. I used my largest round platter. Then cut out the circle, and drape it over the ghost. Tie the neck to secure the fabric using your favorite ribbon or twine. I dyed some plain seam binding trim using Gina K. Designs gorgeous Sweet Mango ink.
Create arms and sleeves for the ghost using the fleece and printed fabric, and then stitch the arms to the sides of the body. Cut facial features from black fabric, muslin, or felt. I tend to create from muslin, and then paint my fabric to the necessary colors. Keeps me from having to have too many fabrics on hand. Adhere the face pieces using Therm O Web Fabric Fuse Liquid Adhesive. I added black enamel dots to the center of the eyes with the Fabric Fuse glue, too.
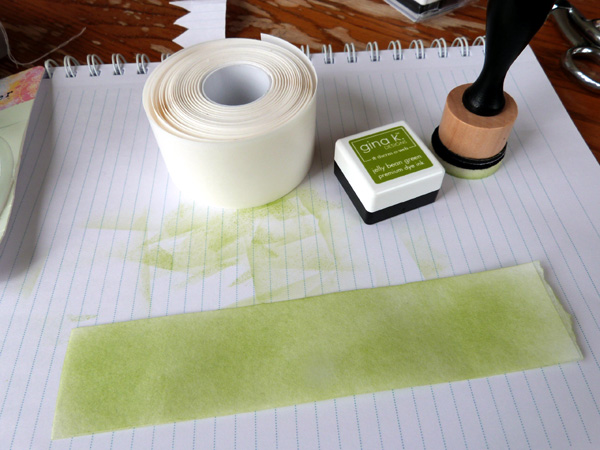
For the crown and wand topper, cut or tear two long pieces of Mixed Media Art Tape. Peel off the back liners, and adhere the two pieces together so that the sticky sides meet and the textures surface is on the outside. Ink both sides of the strip using Gina K. Designs Jelly Bean Green ink and an ink blending tool.
The Rebekah Meier Mixed Media Art Tape is perfect for the doll accessories, as it’s flexible enough to curve and bend to shape, and strong enough to hold up on its own.
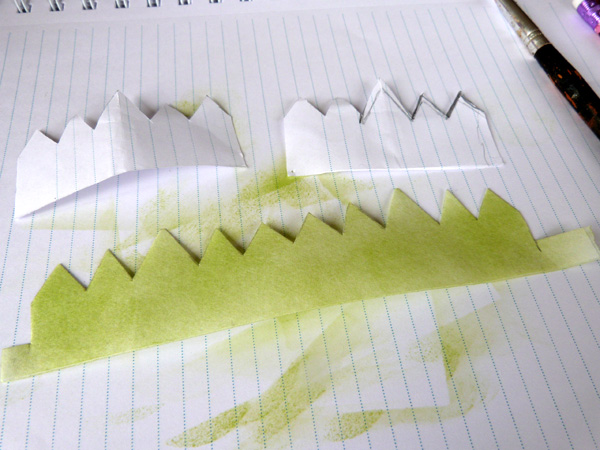
Cut a zig-zag crown pattern along the top edge of the strip. Cut a small star from another piece of inked tape. I left some small tabs on both sides of the crown to secure it into a circle.
Using an old junky paintbrush, paint iCraft Deco Foil Liquid Adhesive onto the crown and star, and set them aside until the adhesive is dry and tacky to the touch.
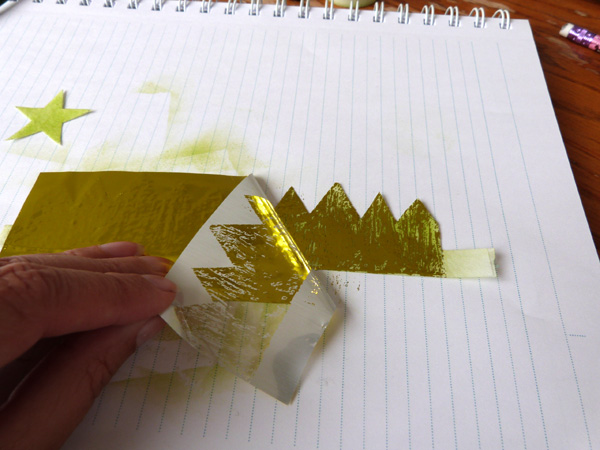
Cut a piece of Gina K. Designs Jelly Bean Green Fancy Foil that is slightly larger than the crown. Place the foil down onto the adhesive, with the shiny colored side up and the silver side down. Rub over the foil with the tip of your finger, and then pull up the sheet. Add a big of Fabric Fuse Liquid Adhesive to the side tabs, and then adhere the crown into a ring.
Repeat the foil process with the star. Adhere the star to the tip of a wooden skewer to create the wand. Punch a small hole in the sides of the base of the crown using a 1/16″ hole punch. Stitch the crown to the body.
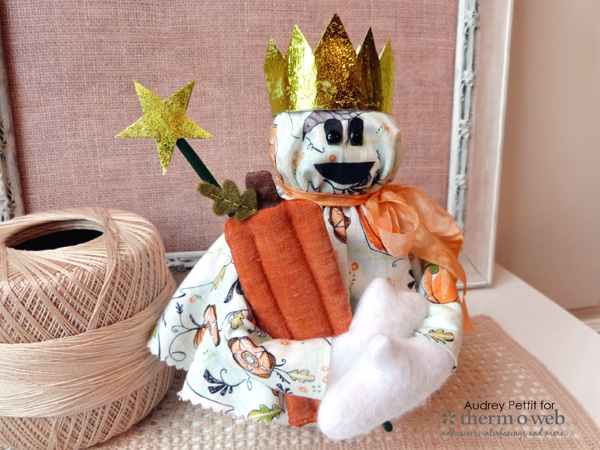
There you have it! One Halloween Princess ghost, ready for the ball!

slmrn1
October 19, 2017 at 8:38 am (8 years ago)So cute. Said I wasn’t doing any more Halloween décor as it is late in the season, but this is adorable. Gonna have to make one more thing.
admin
October 19, 2017 at 8:50 am (8 years ago)We’re still making Halloween goodies here..glad we could help inspire you to make one more! Julia
Marjorie
October 19, 2017 at 11:15 am (8 years ago)this is so fun !