Hi there, it’s Ellen here. The holiday season is the perfect time to let your creativity shine, and ThermOWeb’s new Deco Foil Toner Card Fronts are here to make your crafting easier and more fun than ever! Whether you’re designing festive cards or other paper crafts, these card fronts are an essential addition to your crafting toolkit. Today, we’ll show you again how to use these innovative Toner Card Fronts and share a fun tip to add even more color and personality to your projects with ink blending.
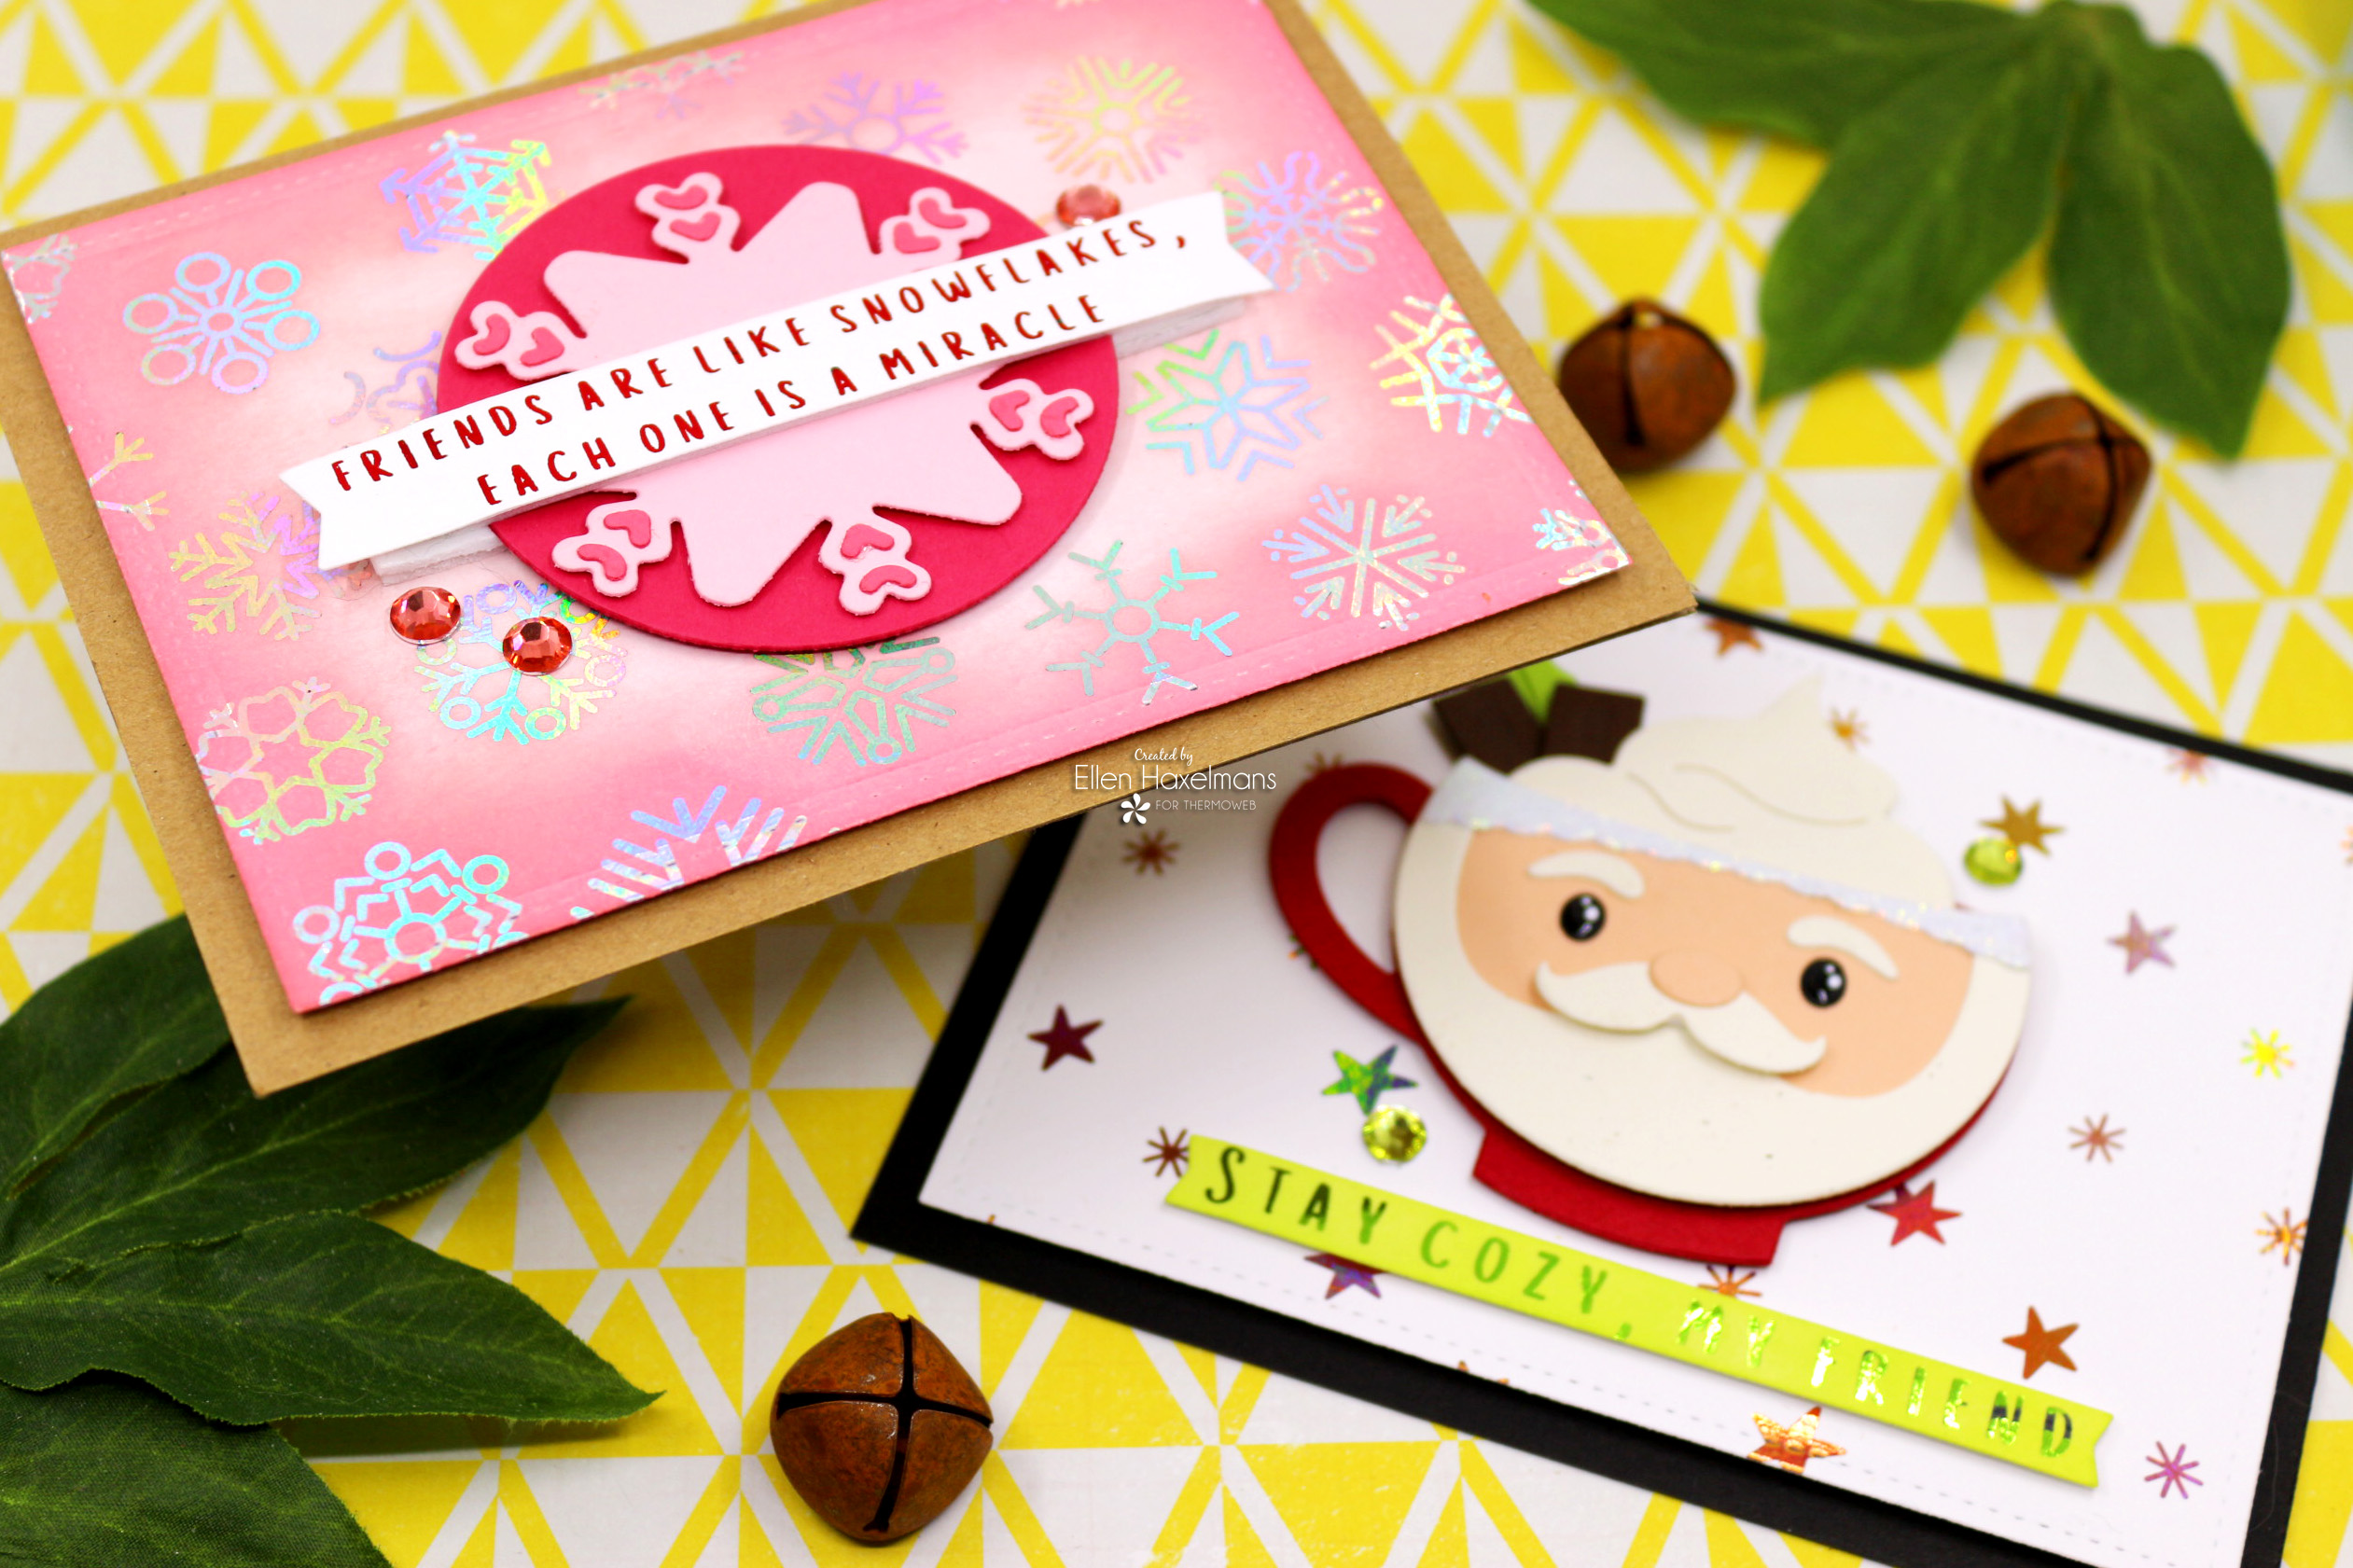
What Are Toner Card Fronts? Toner Card Fronts are pre-designed sheets that are perfect for foiling. Available in a variety of patterns and styles, these sheets are coated with toner ink, making them ideal for use with ThermOWeb’s Deco Foil Transfer Sheets.
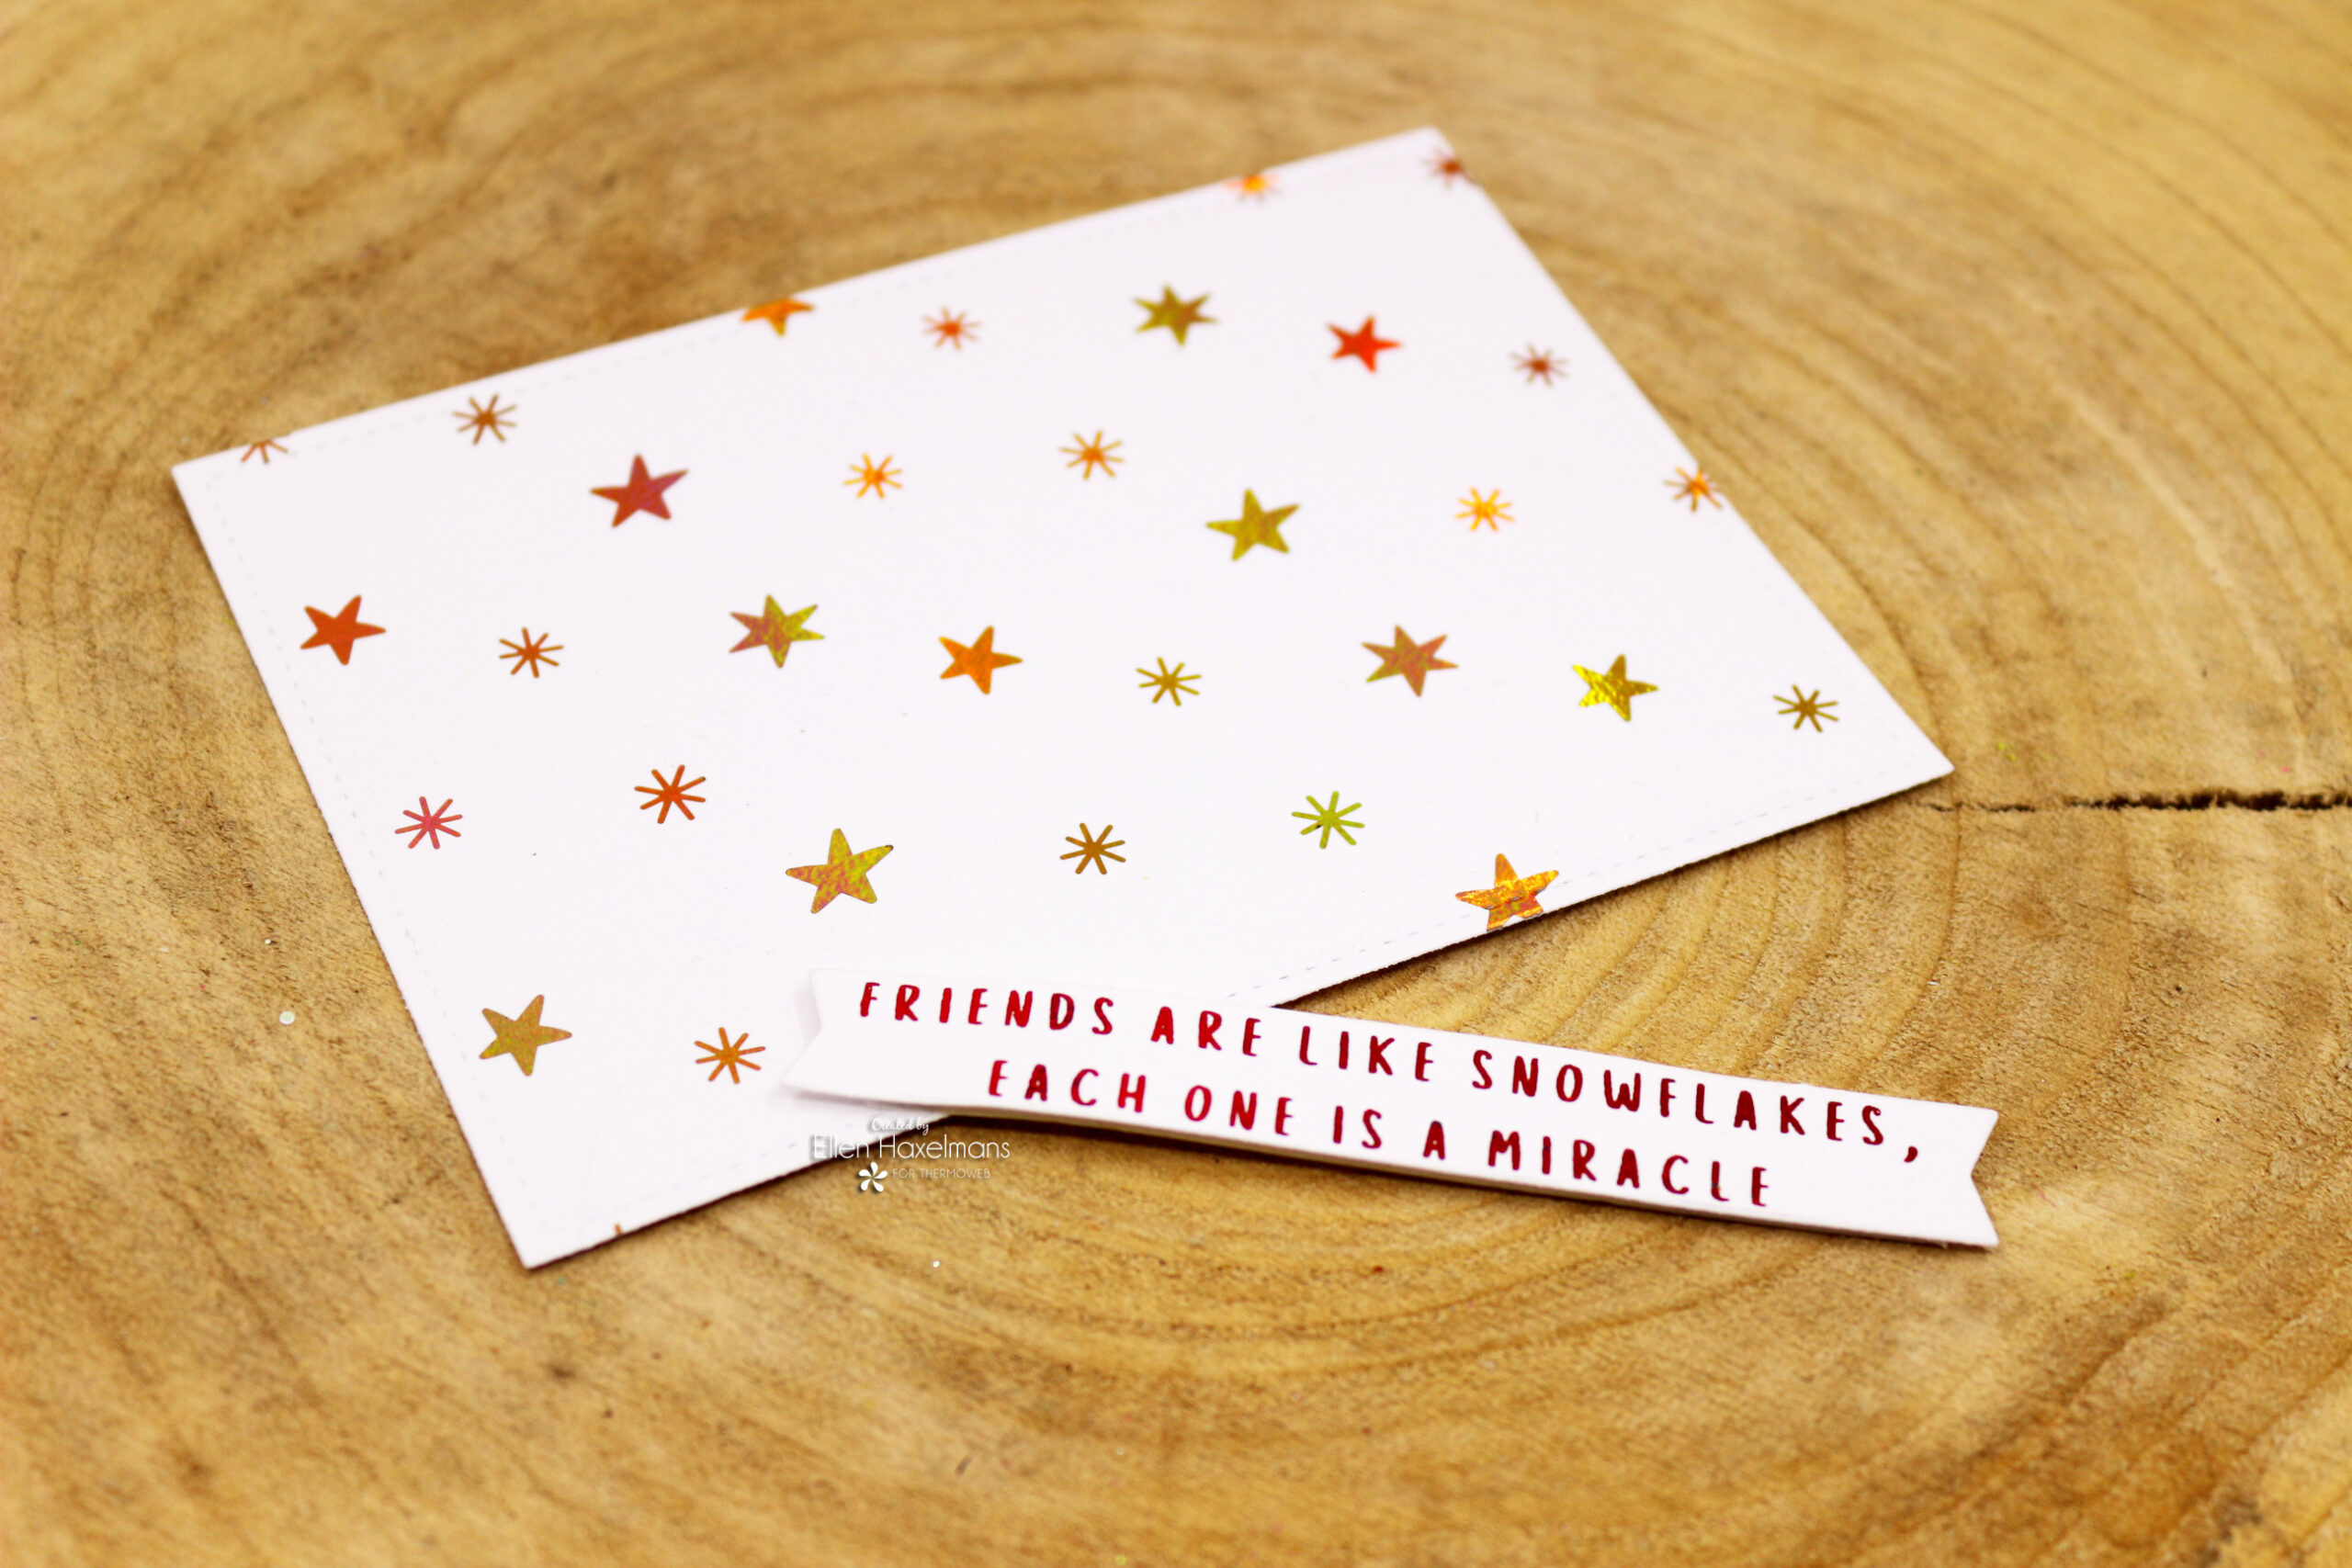
How to Use Toner Card Fronts with Deco Foil?
Follow these simple steps to create stunning, foiled designs:
- Choose Your Favorite Pattern: Select a Toner Card Front that fits your project. The snowflake patterns, like the one used in this tutorial, are perfect for wintry themes.
- Pick Your Foil: Match your Toner Card Front with a Deco Foil Transfer Sheet in your favorite color. For a seasonal vibe, Iridescent, Peach Princess, Red and Spring Green foils work beautifully!
- Layer and Laminate:
- Preheat your laminator and trim the foil and card front to your desired size.
- Place the foil (shiny side up) on top of the Toner Card Front.
- Sandwich the layers in a parchment paper Deco Foil Carrier Sheet.
- Run the sandwich through the laminator.
- Reveal the Magic:
- Once cooled, peel back the foil to reveal a stunning, vibrant design. The toner will adhere the foil only to the printed areas, creating a dazzling effect.

As you can see the text strip is colored, let me explain how I did that.
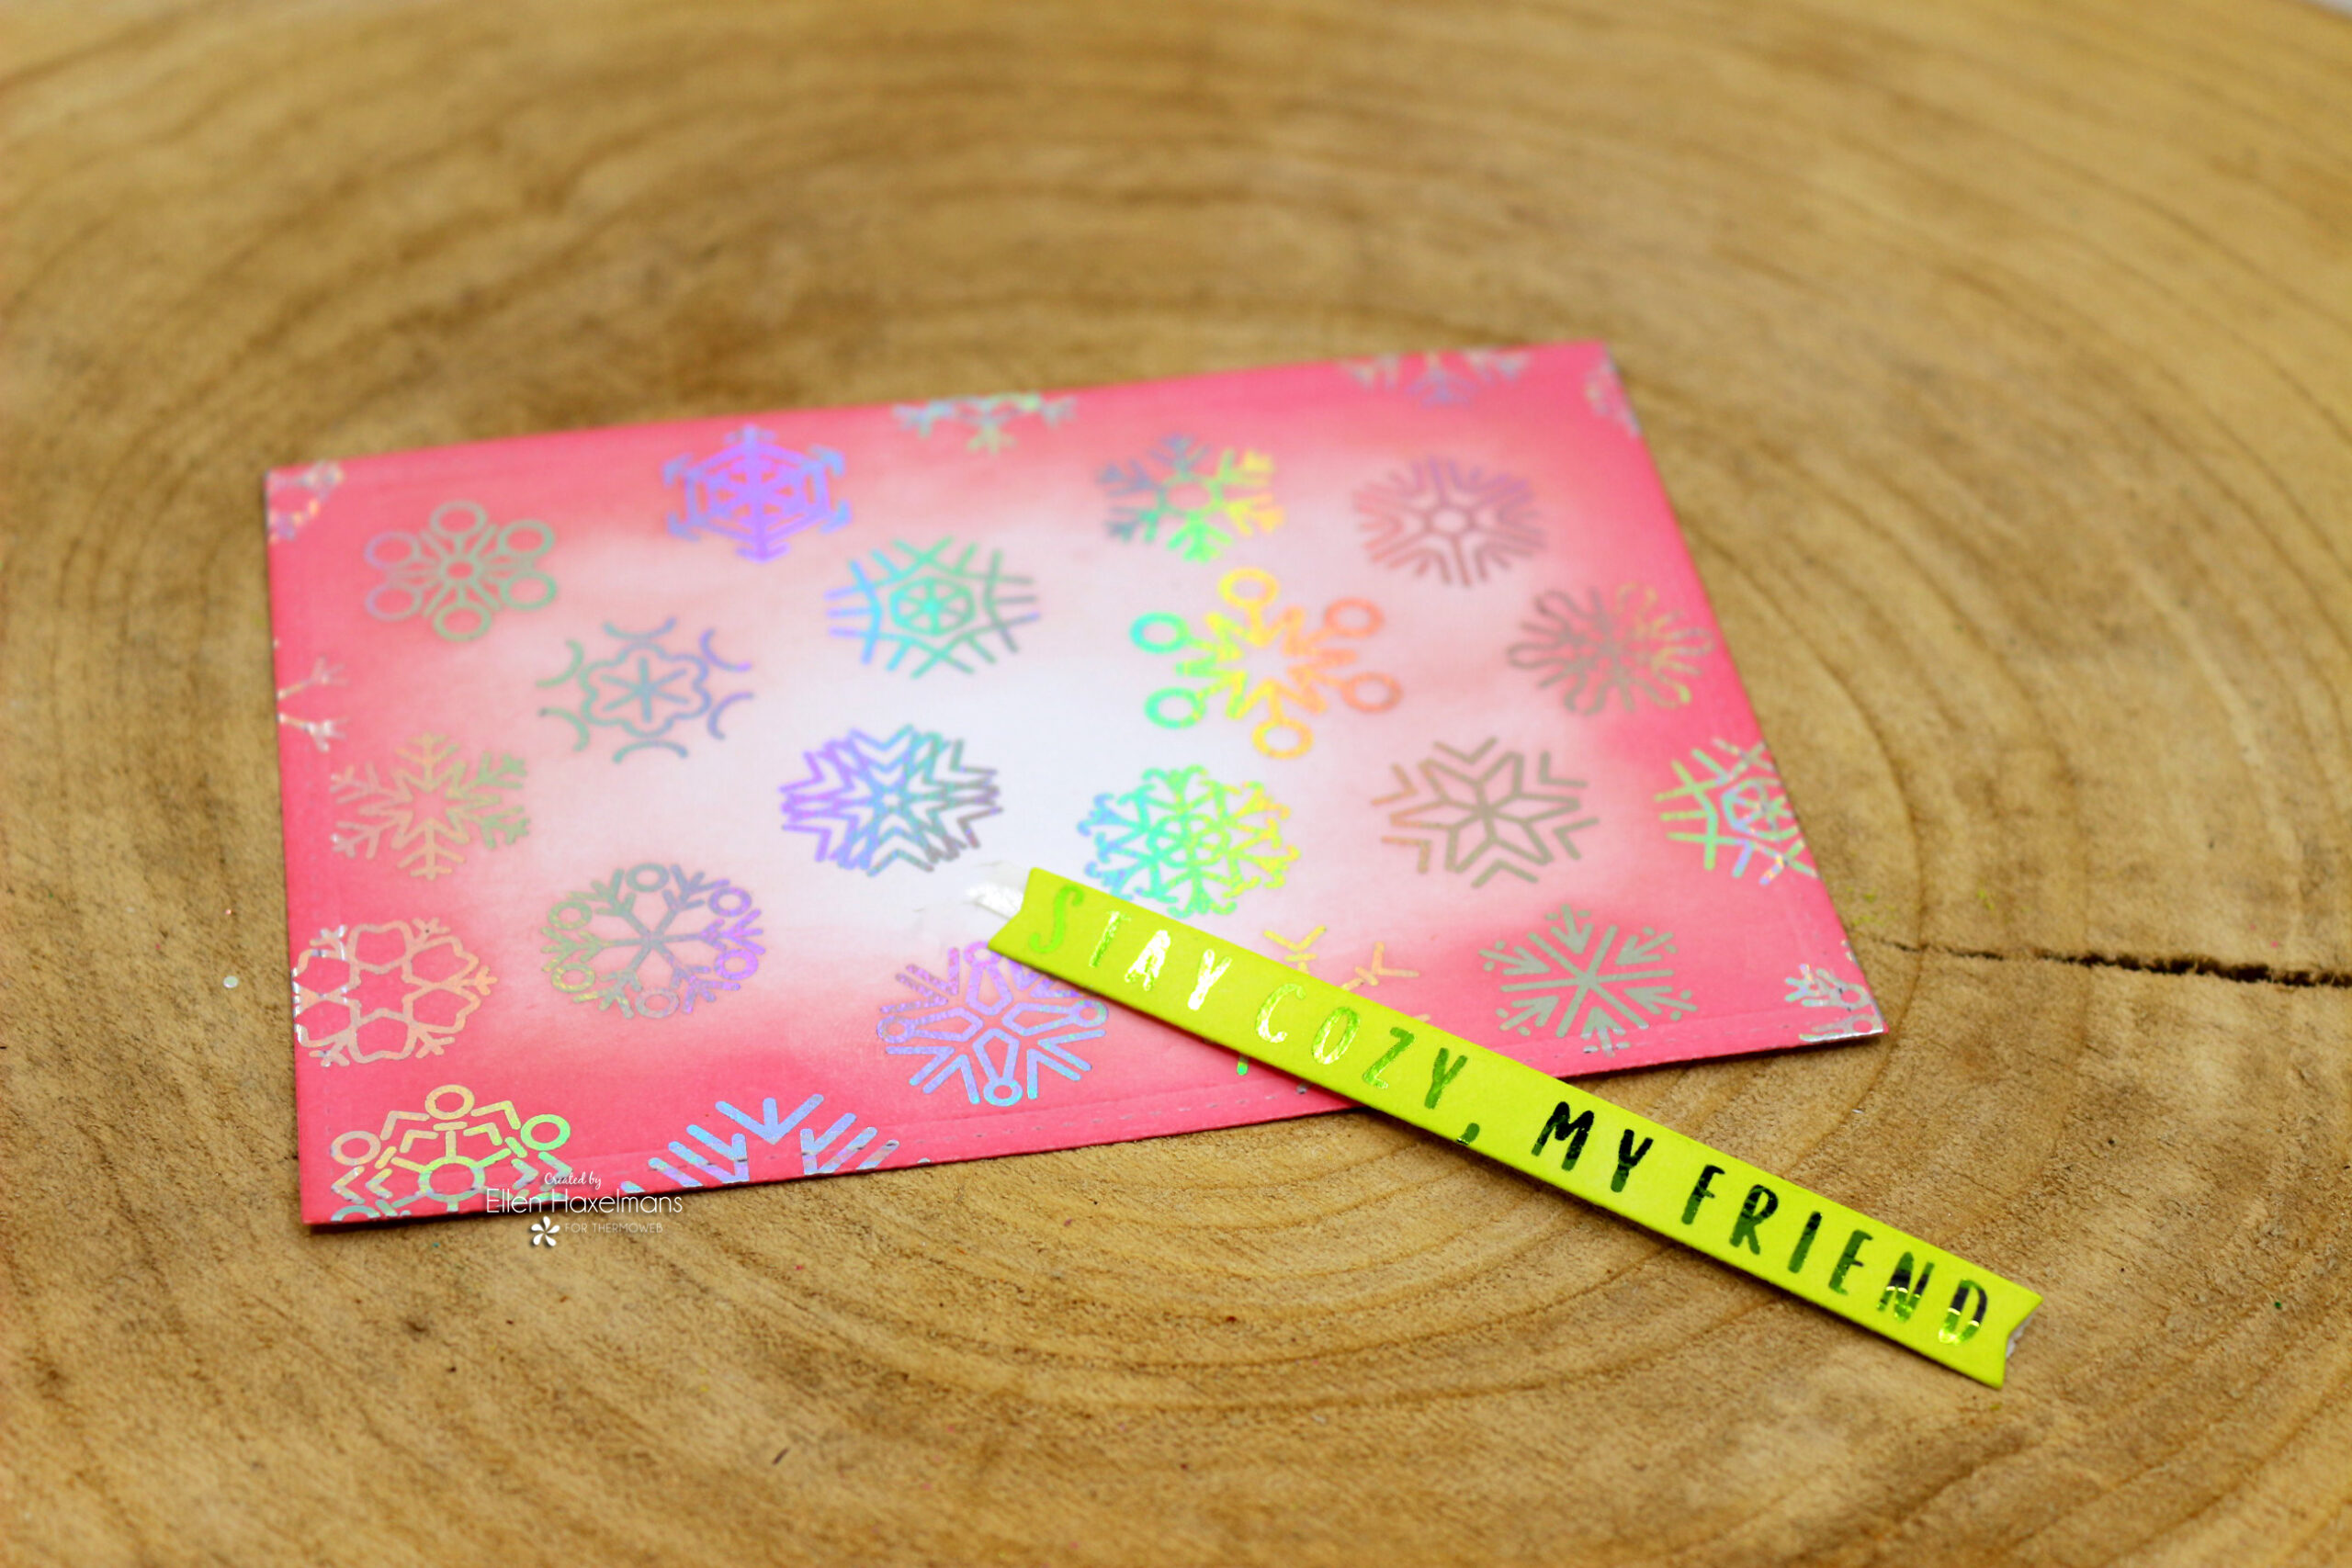
While the foil adds shine, you can make your card fronts even more dynamic by blending inks over them. This technique lets you add a custom background color to your design while maintaining the integrity of the foiled pattern.
It’s important to first foil the toner card front and then ink it. After inking, gently wipe the foiled areas with a dry cloth to remove any excess ink and make the foil shine even brighter.
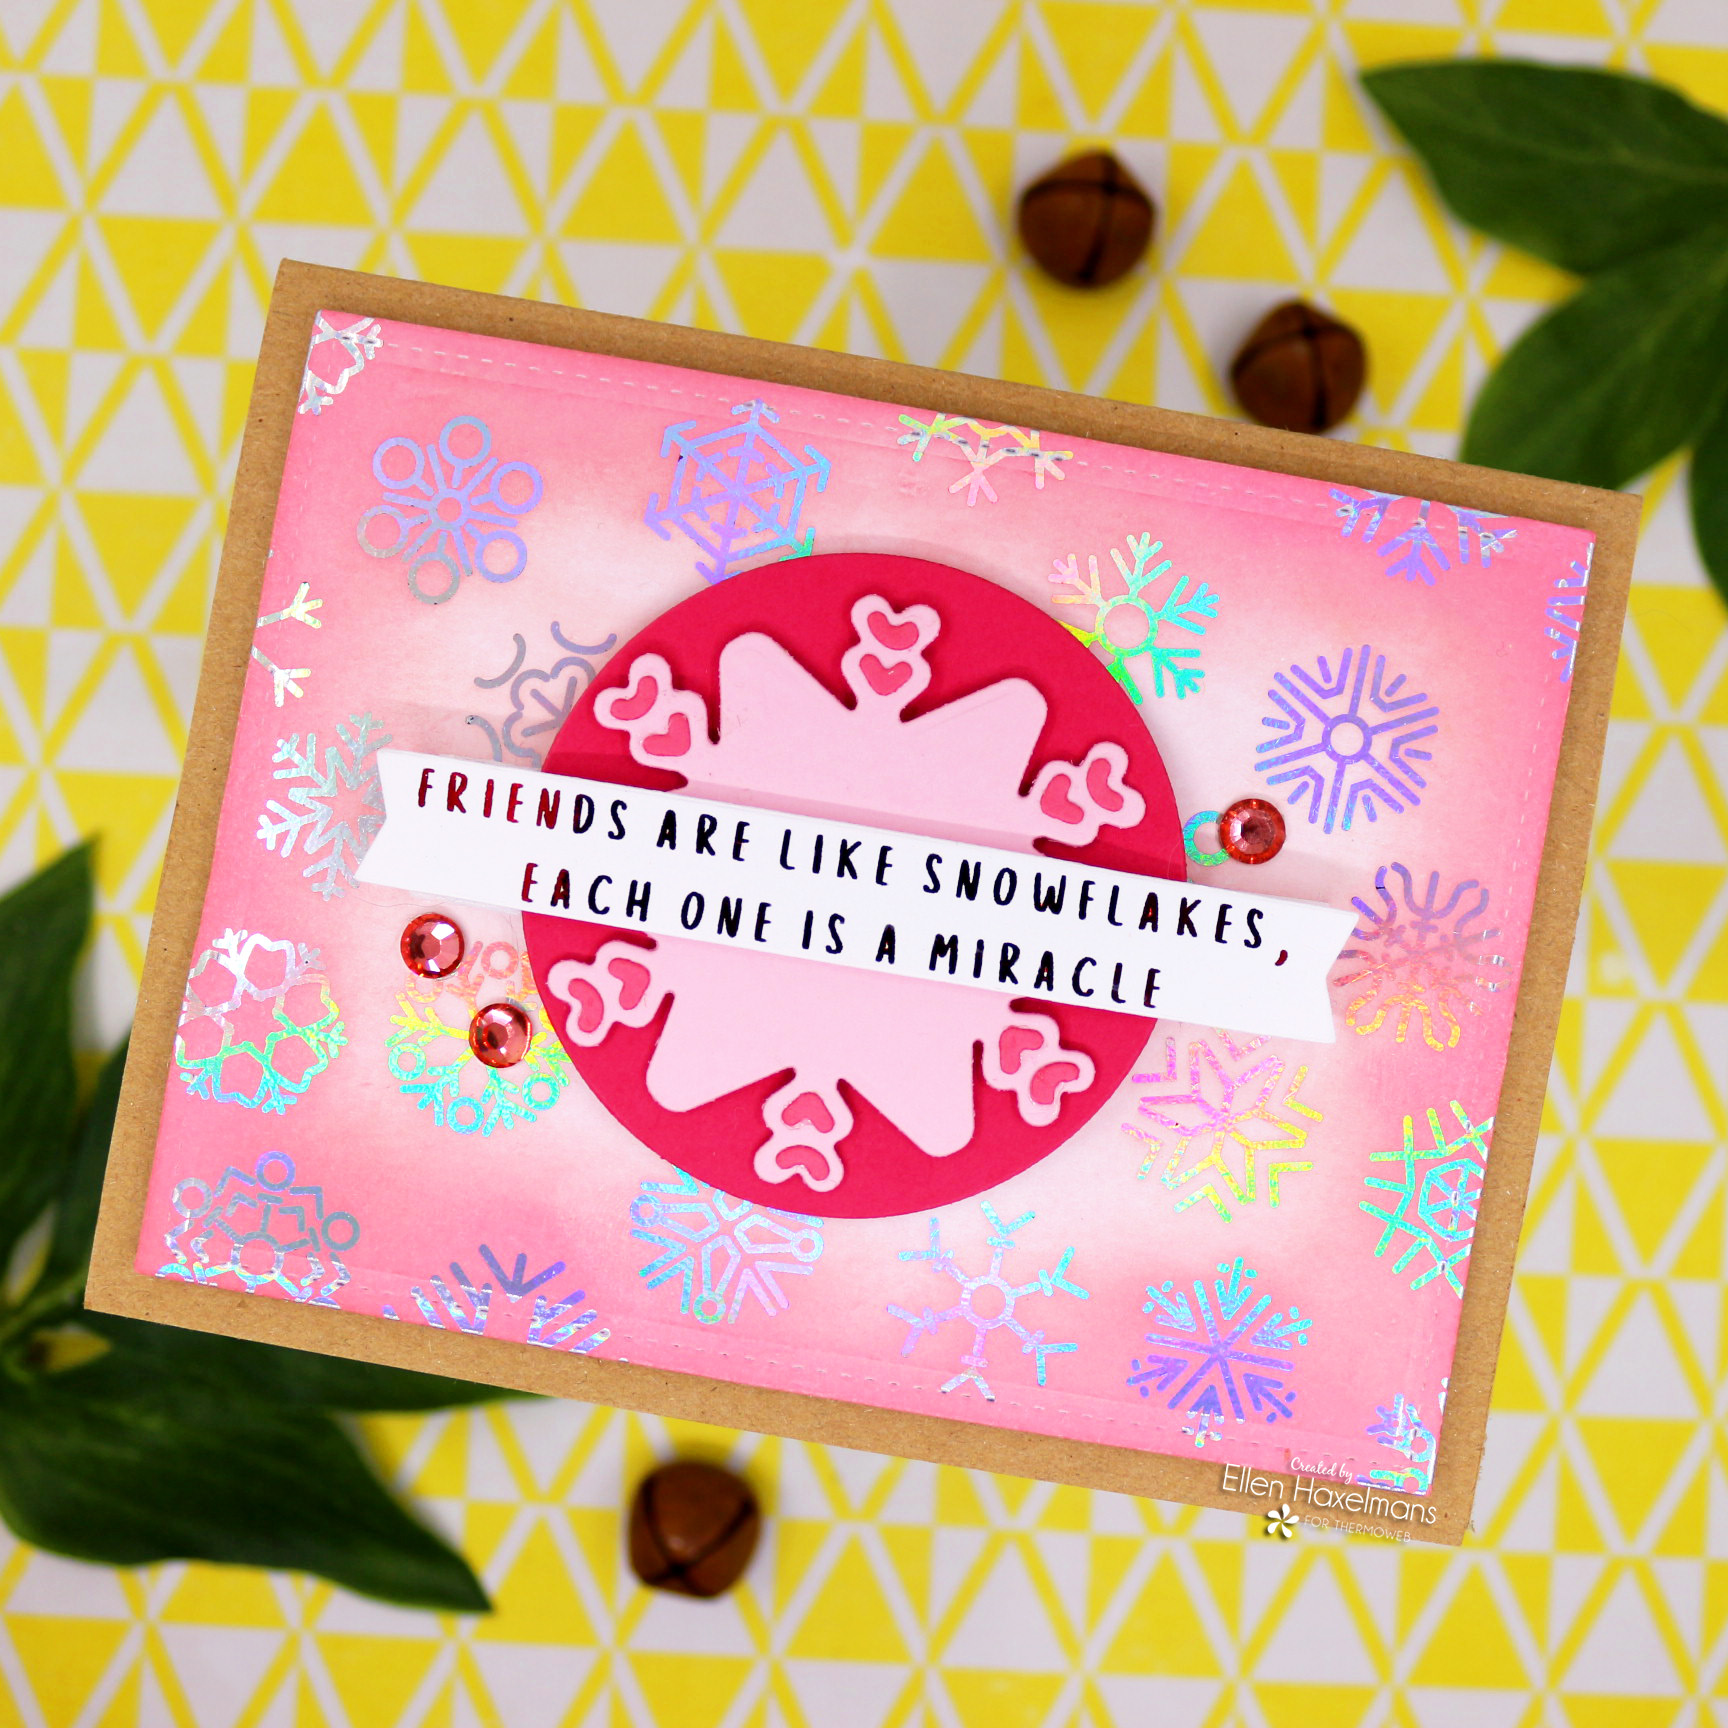
Foiling and inking together create a stunning layered effect. The shimmer of the foil contrasts beautifully with the softness of the inked background, resulting in a card that’s as unique as a snowflake. Plus, the process is easy and mess-free—perfect for both beginners and experienced crafters.
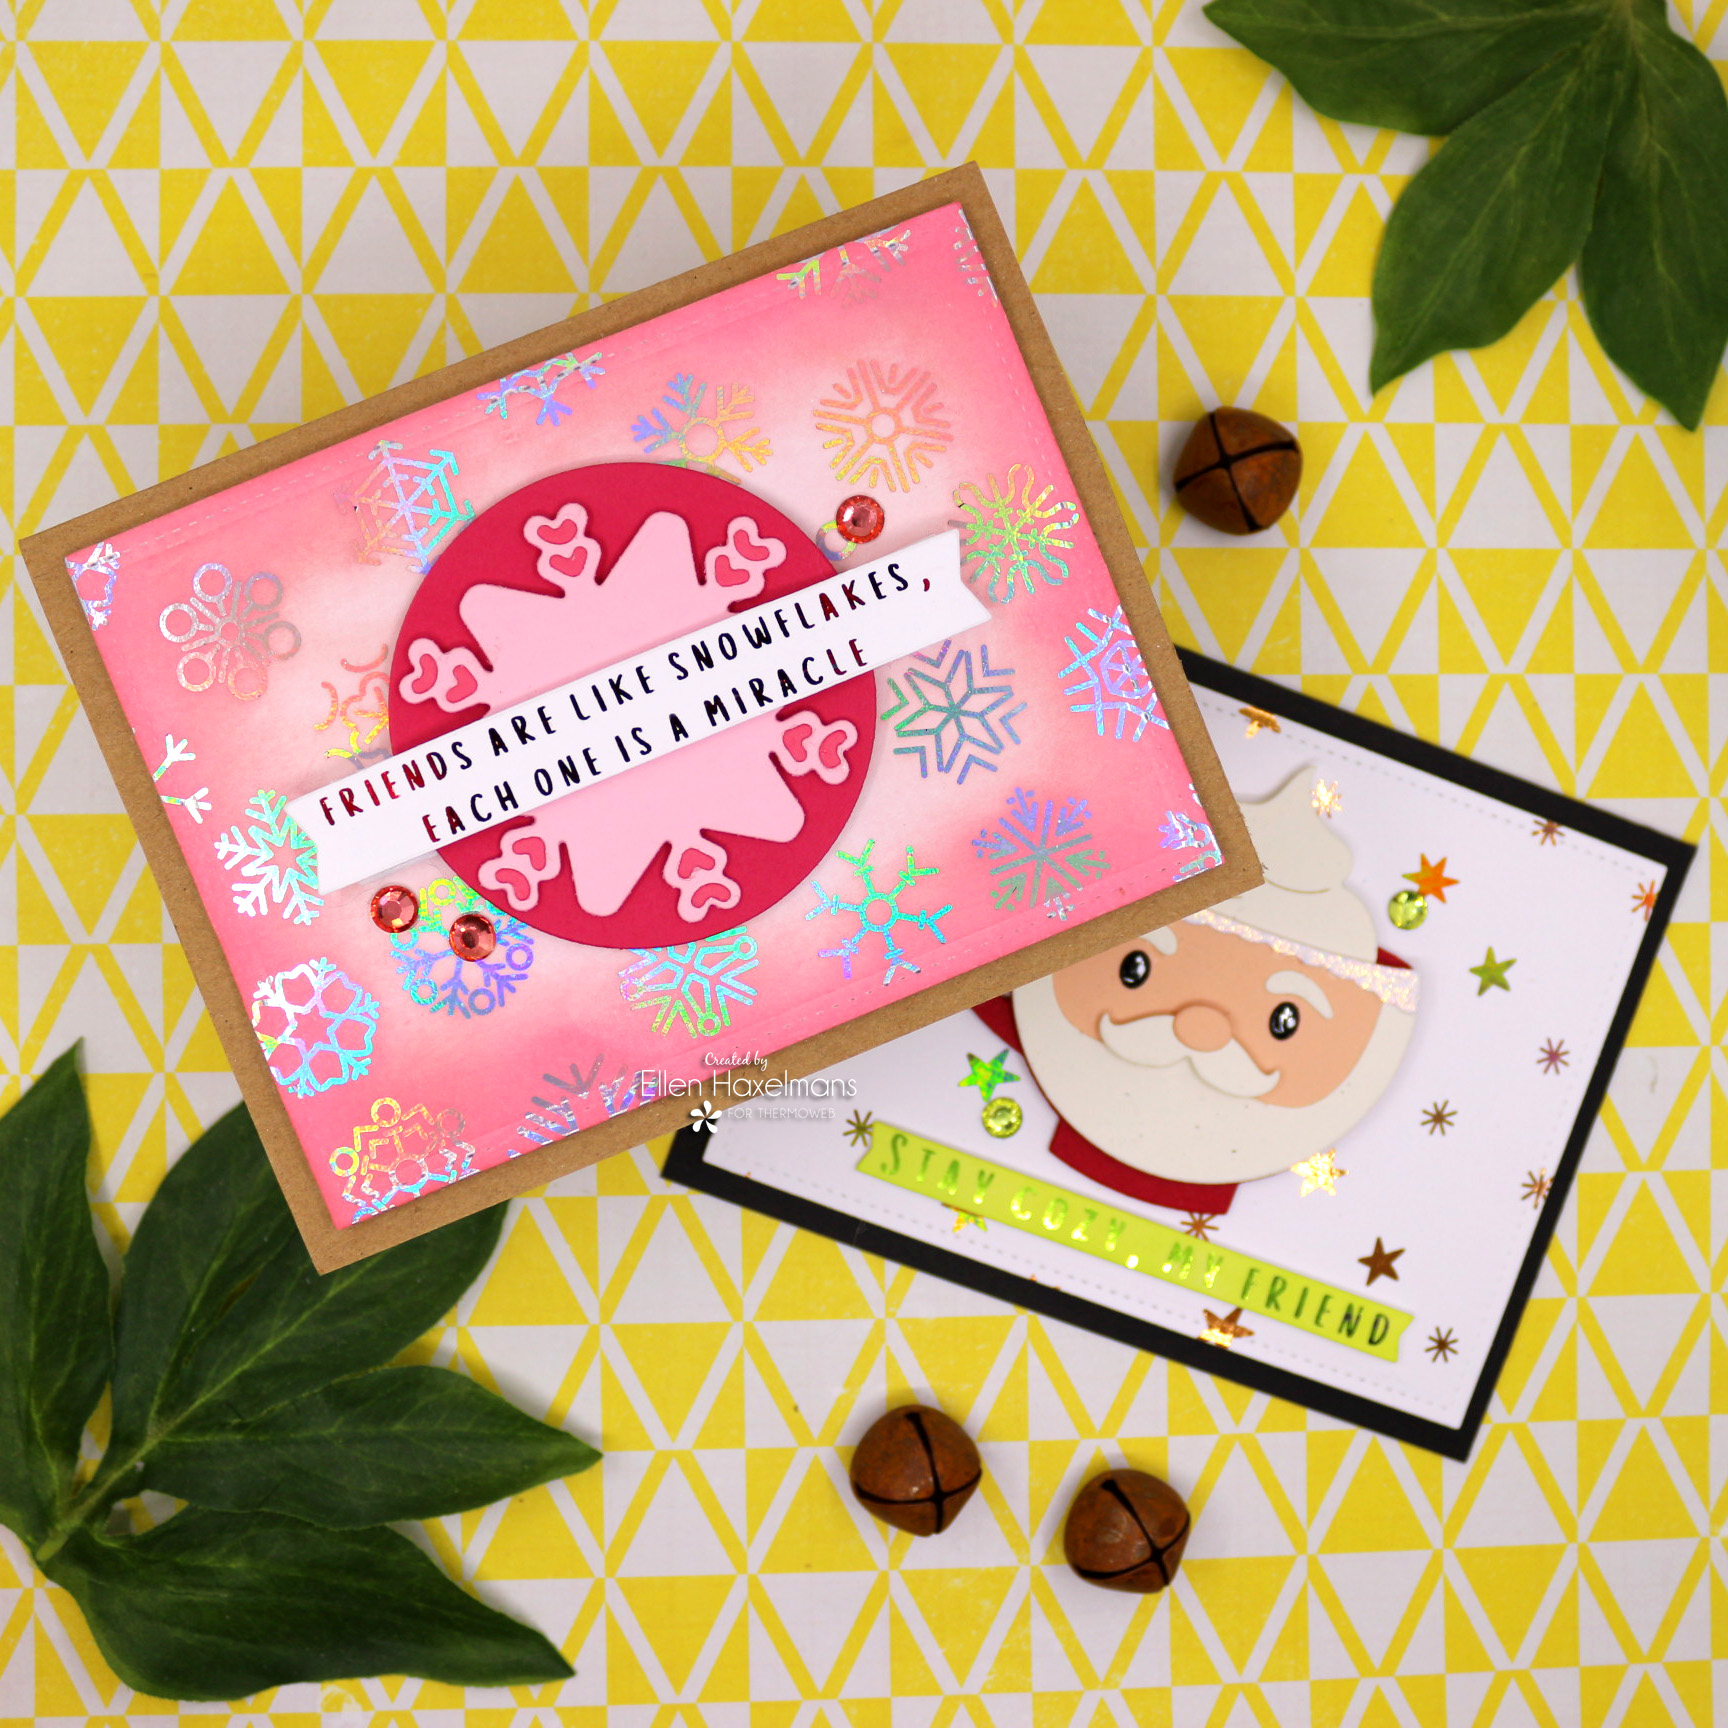
With ThermOWeb’s Deco Foil Toner Card Fronts, the possibilities are endless—so grab your favorite supplies, get creative, and spread some handmade joy this season! Happy Crafting!
Supplies:
Deco Foil Transfer Sheets, Spring Green
Deco Foil Transfer Sheets, Peach Princess
Deco Foil Transfer Sheets, Red
Deco Foil Transfer Sheets, Iridescent
Deco Foil Toner Card Fronts – Holiday Rush
Deco Foil Toner Card Fronts – Winter Sparkle
Deco Foil Toner Card Sentiments. – Merry Moments
Deco Foil Craft & Carrier Sheets 11 IN x 17IN (6 SHEETS)
iCraft 3D Foam Tape Jumbo Roll (White) 1/16 Thick x 108 ft
Zots Clear Adhesive Dots Roll 325 count, Bling
iCraft Mixed Media Multi-Purpose Adhesive, 2.1 fl oz
Other supplies: Jolly Jingles 1 Snijmallen CDJD-0041, Spellbinders – Merry Mug Creations Die by Nichol Spohr, Spellbinders – Santa’s Festive Circle Crew Die by Nichol Spohr
