Hello and welcome!
It’s Julia from Inflorescence Designs! I’m so joyful you are visiting today. For today’s tutorial, I am going to share with you how to make your very own fusible patches!
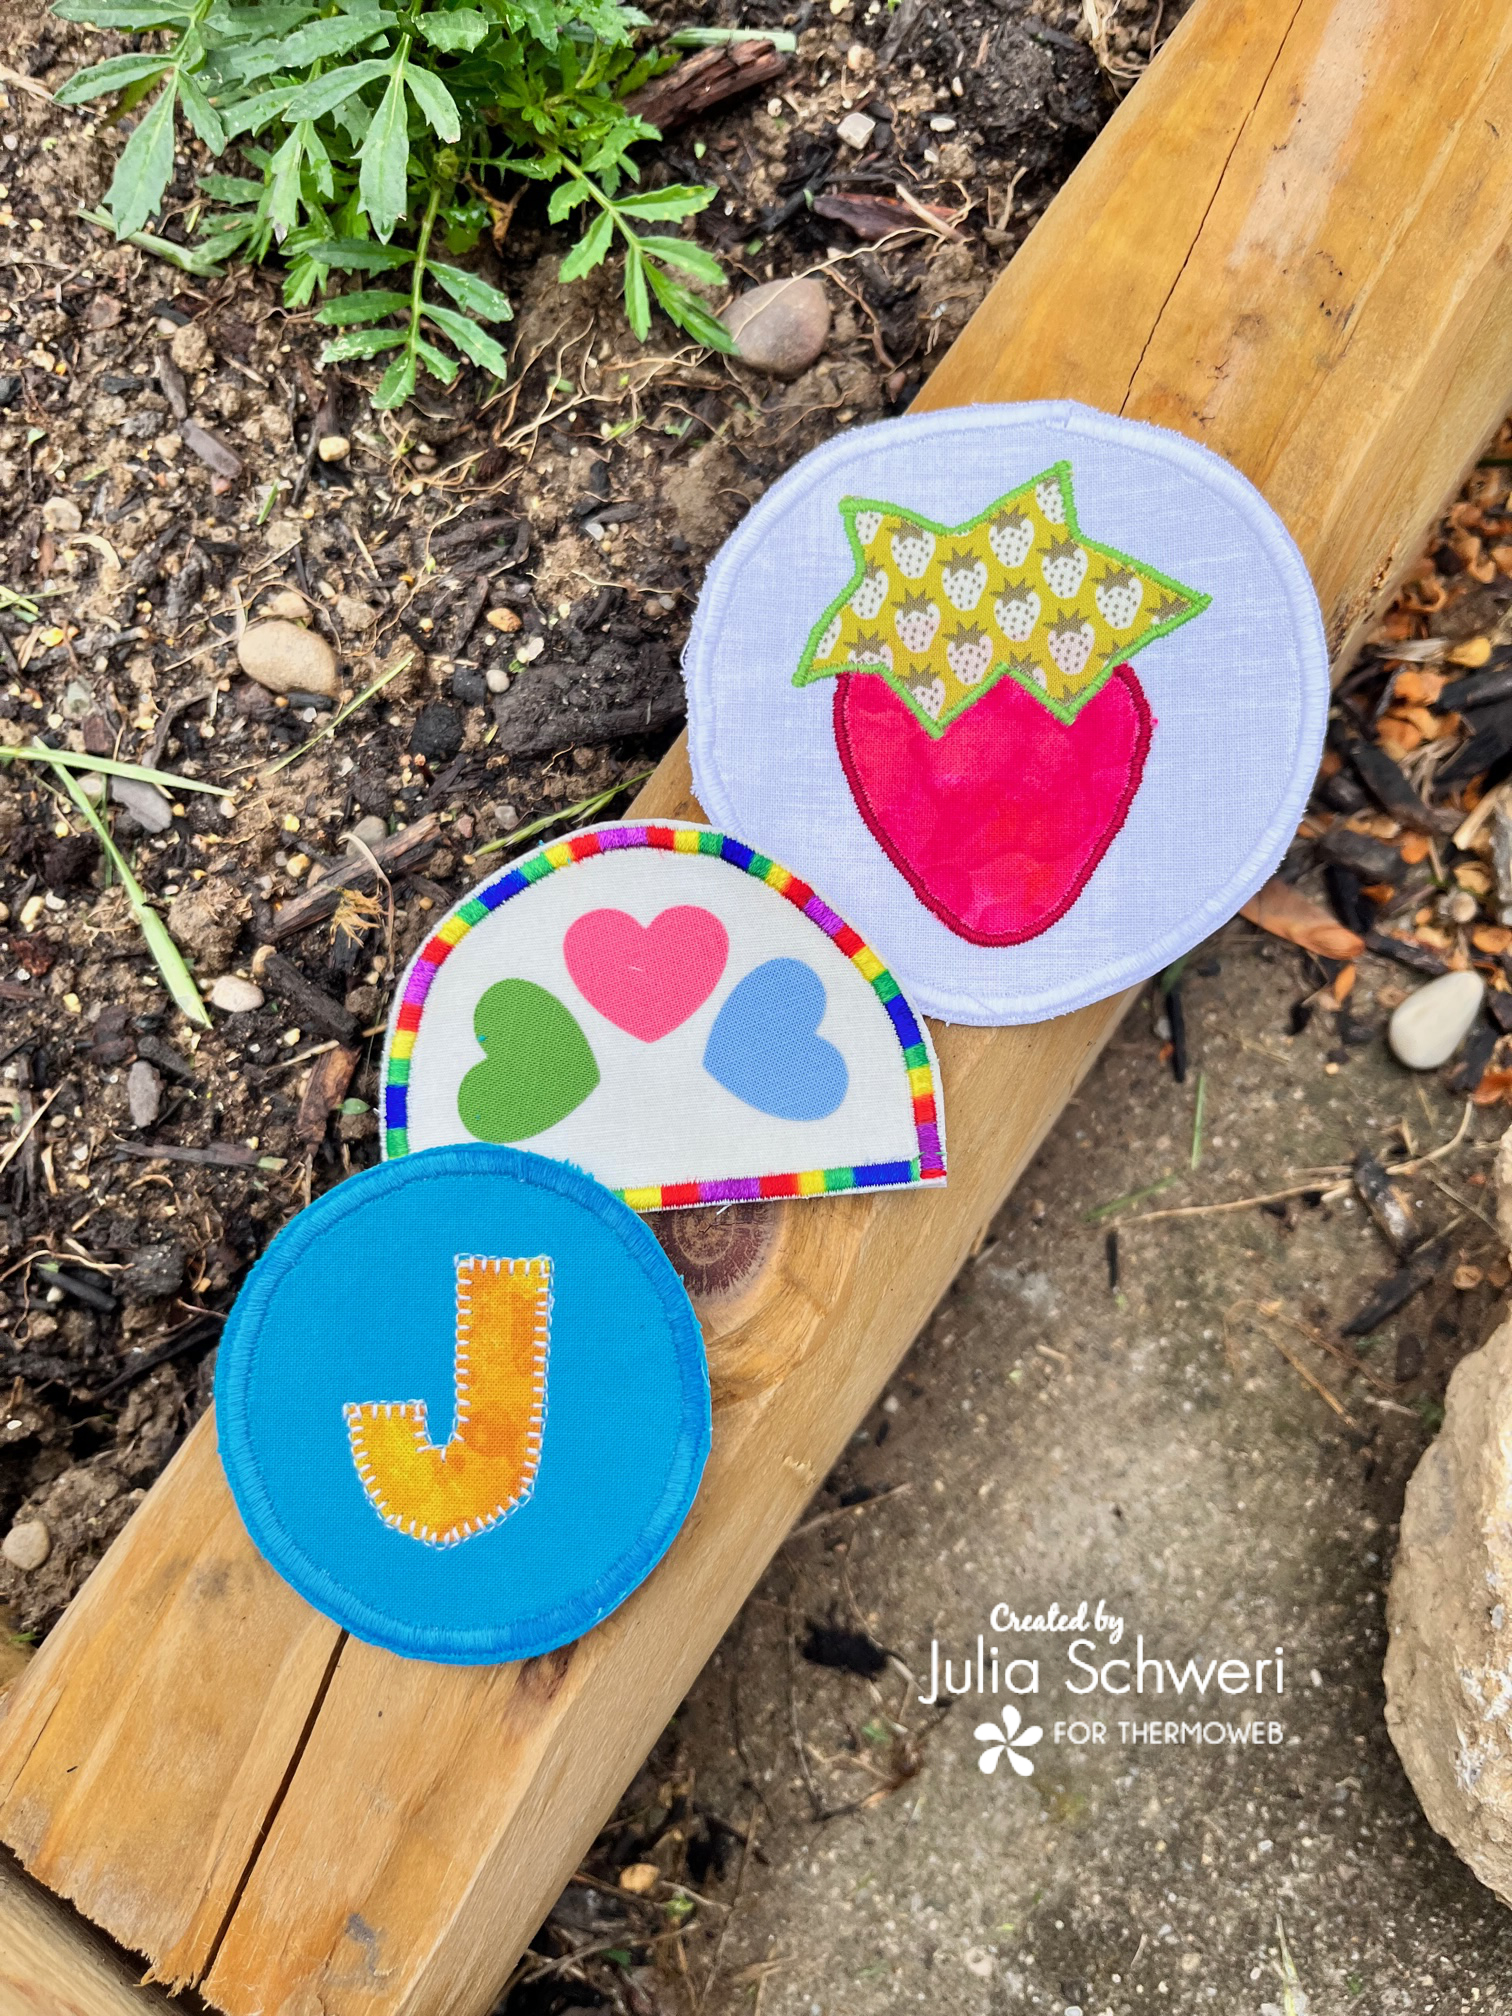
I love these make your own patches. They bring me back to my days as a Girl Scout earning badges and patches for all sorts of things! These patches can be made in all shapes and sizes and adhered to almost ANYTHING! You can fuse them on with HeatnBond Ultra or opt for sewing them on with or without HeatnBond.
I am also currently a Girl Scout leader to both my girls, and these would be super fun to make with my young scouts. Their imaginations and creativity are sure to make some fun and interesting patches.
There are several methods in which one can make these. My favorite was using my HeatnBond Lite scraps.
Fusible Patches with HeatnBond
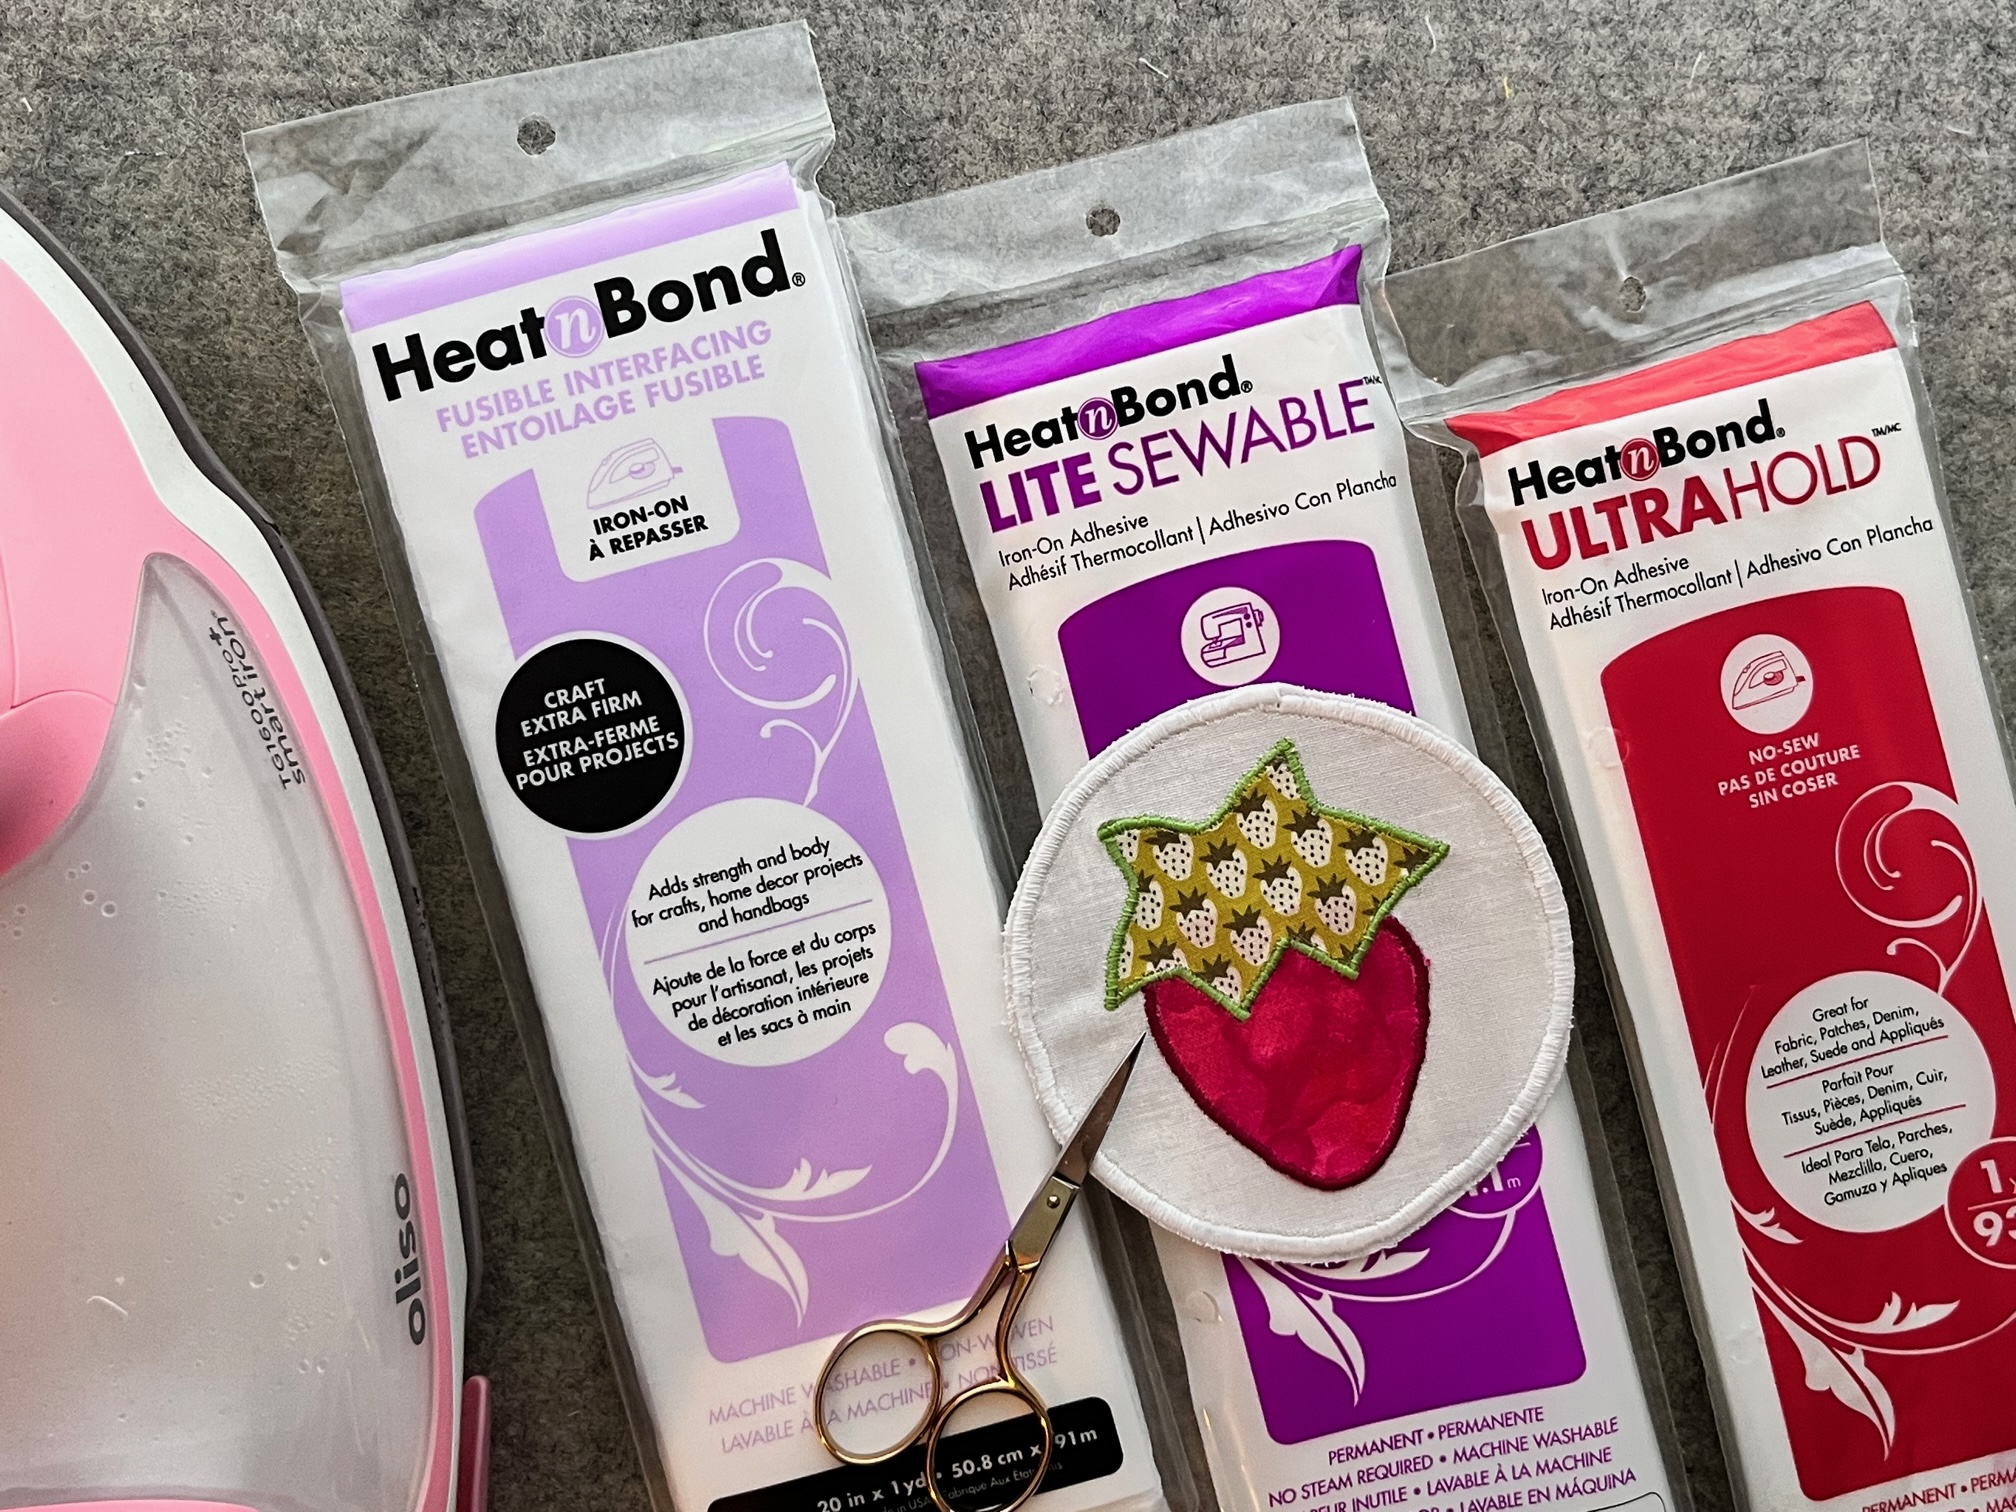
Supplies:
- HeatnBond Craft Extra Firm Non-Woven Fusible
- HeatnBond Lite
- HeatnBond Ultra
- SpraynBond Fabric Stiffener
- Background Fabric
- Assorted fabrics for designs
- Oliso Iron
- Basic Sewing Notions
Instructions:
Begin by…
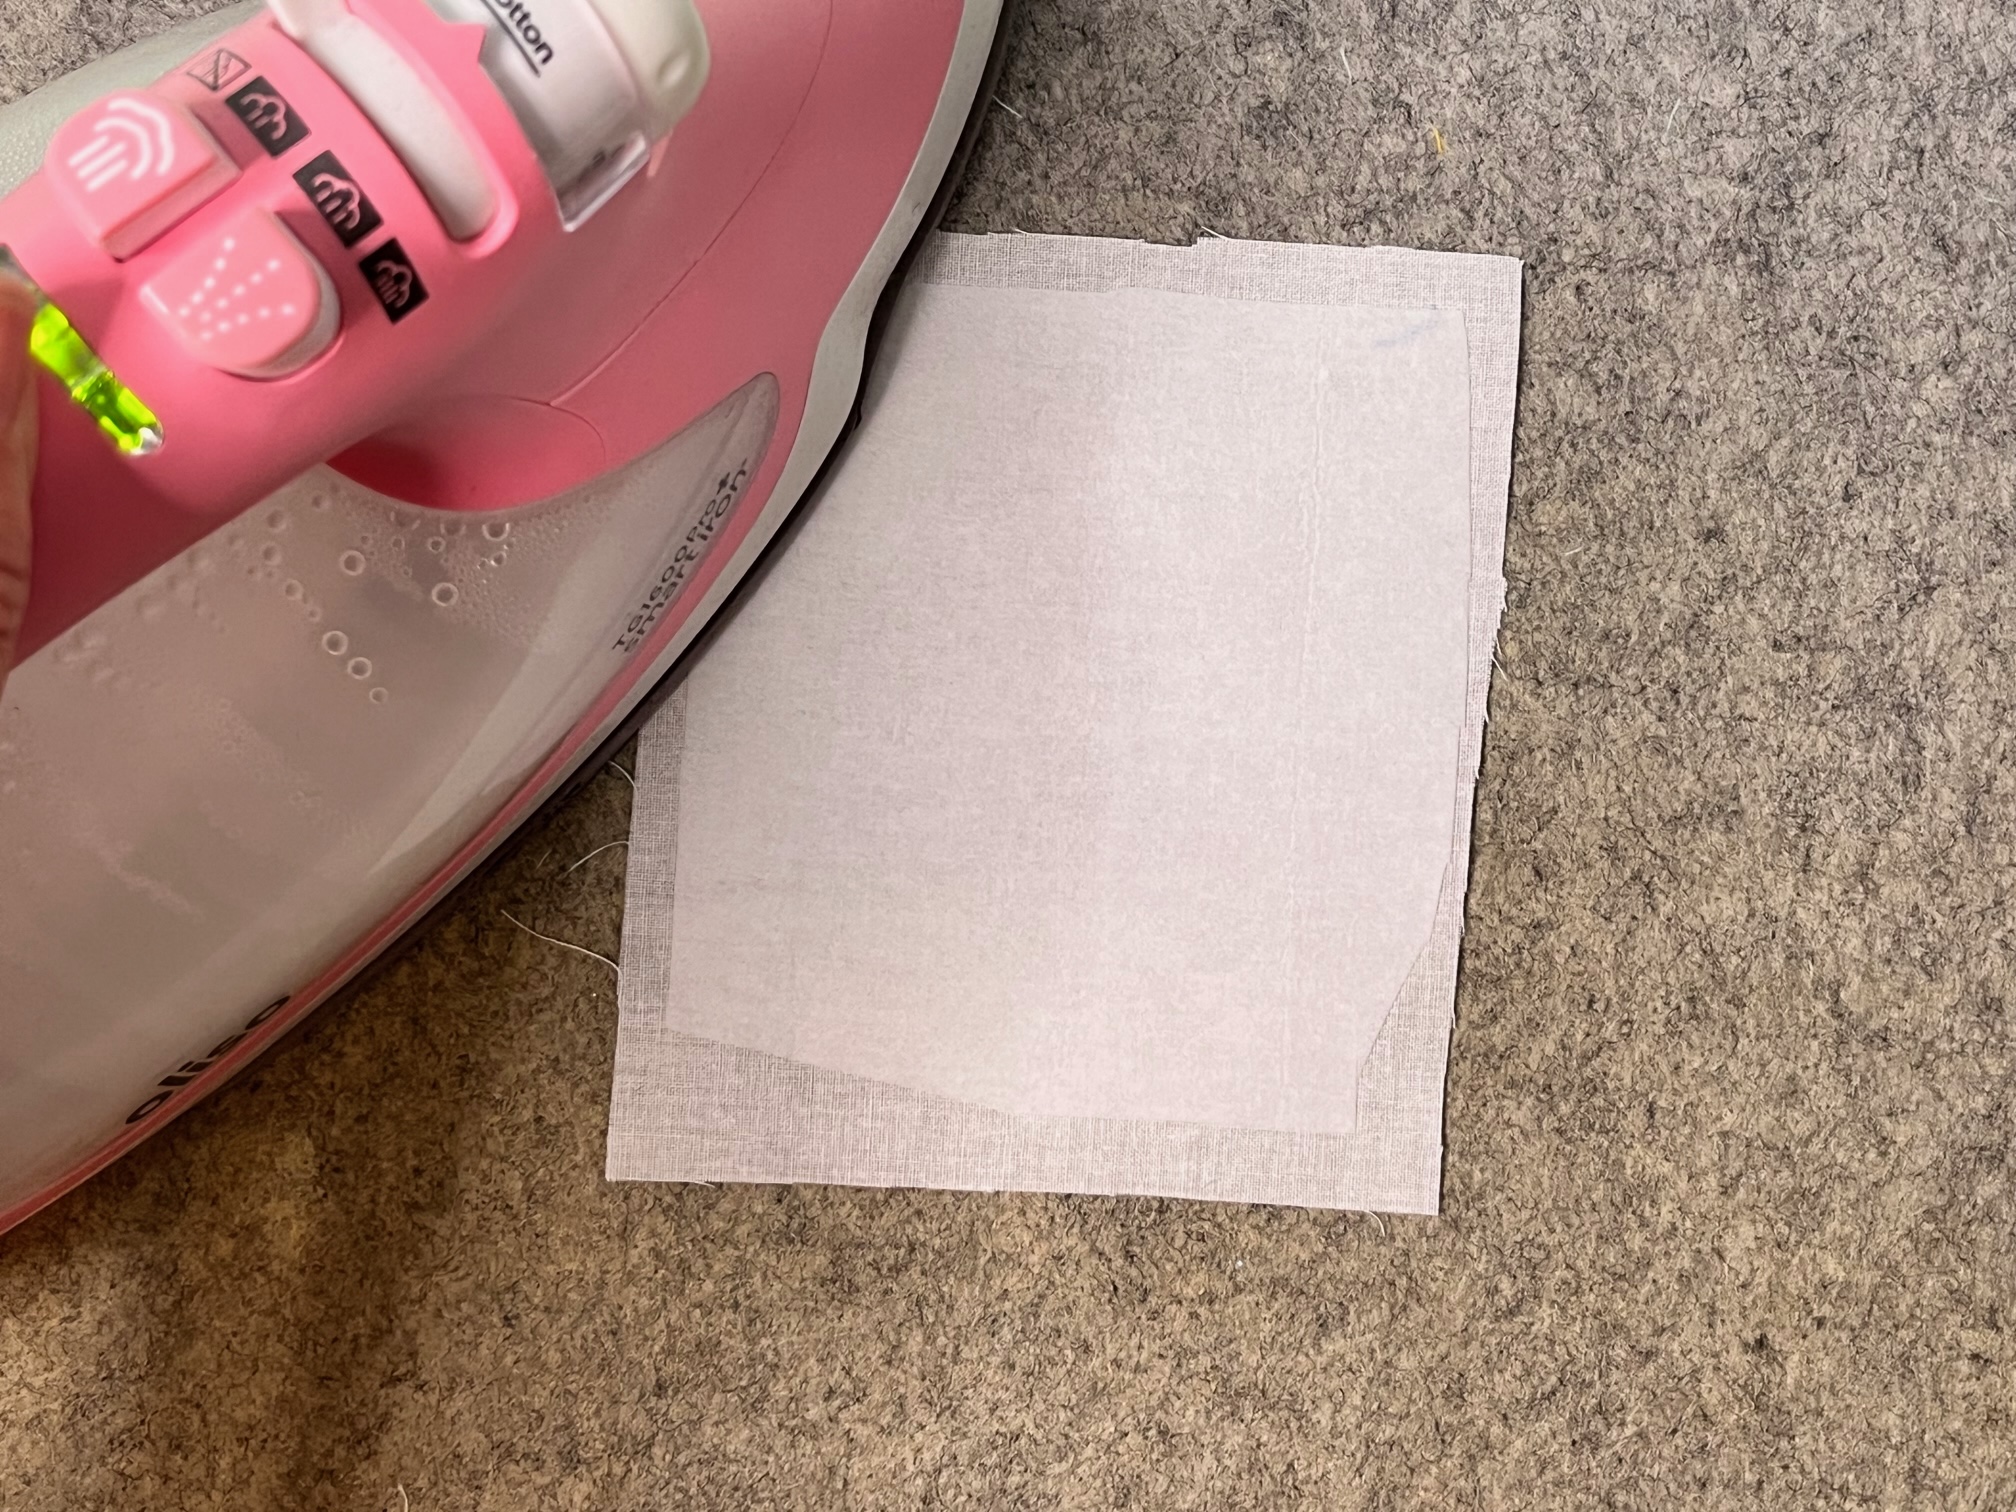
Fuse the craft extra firm interfacing to the wrong side of your background fabric.
Next…
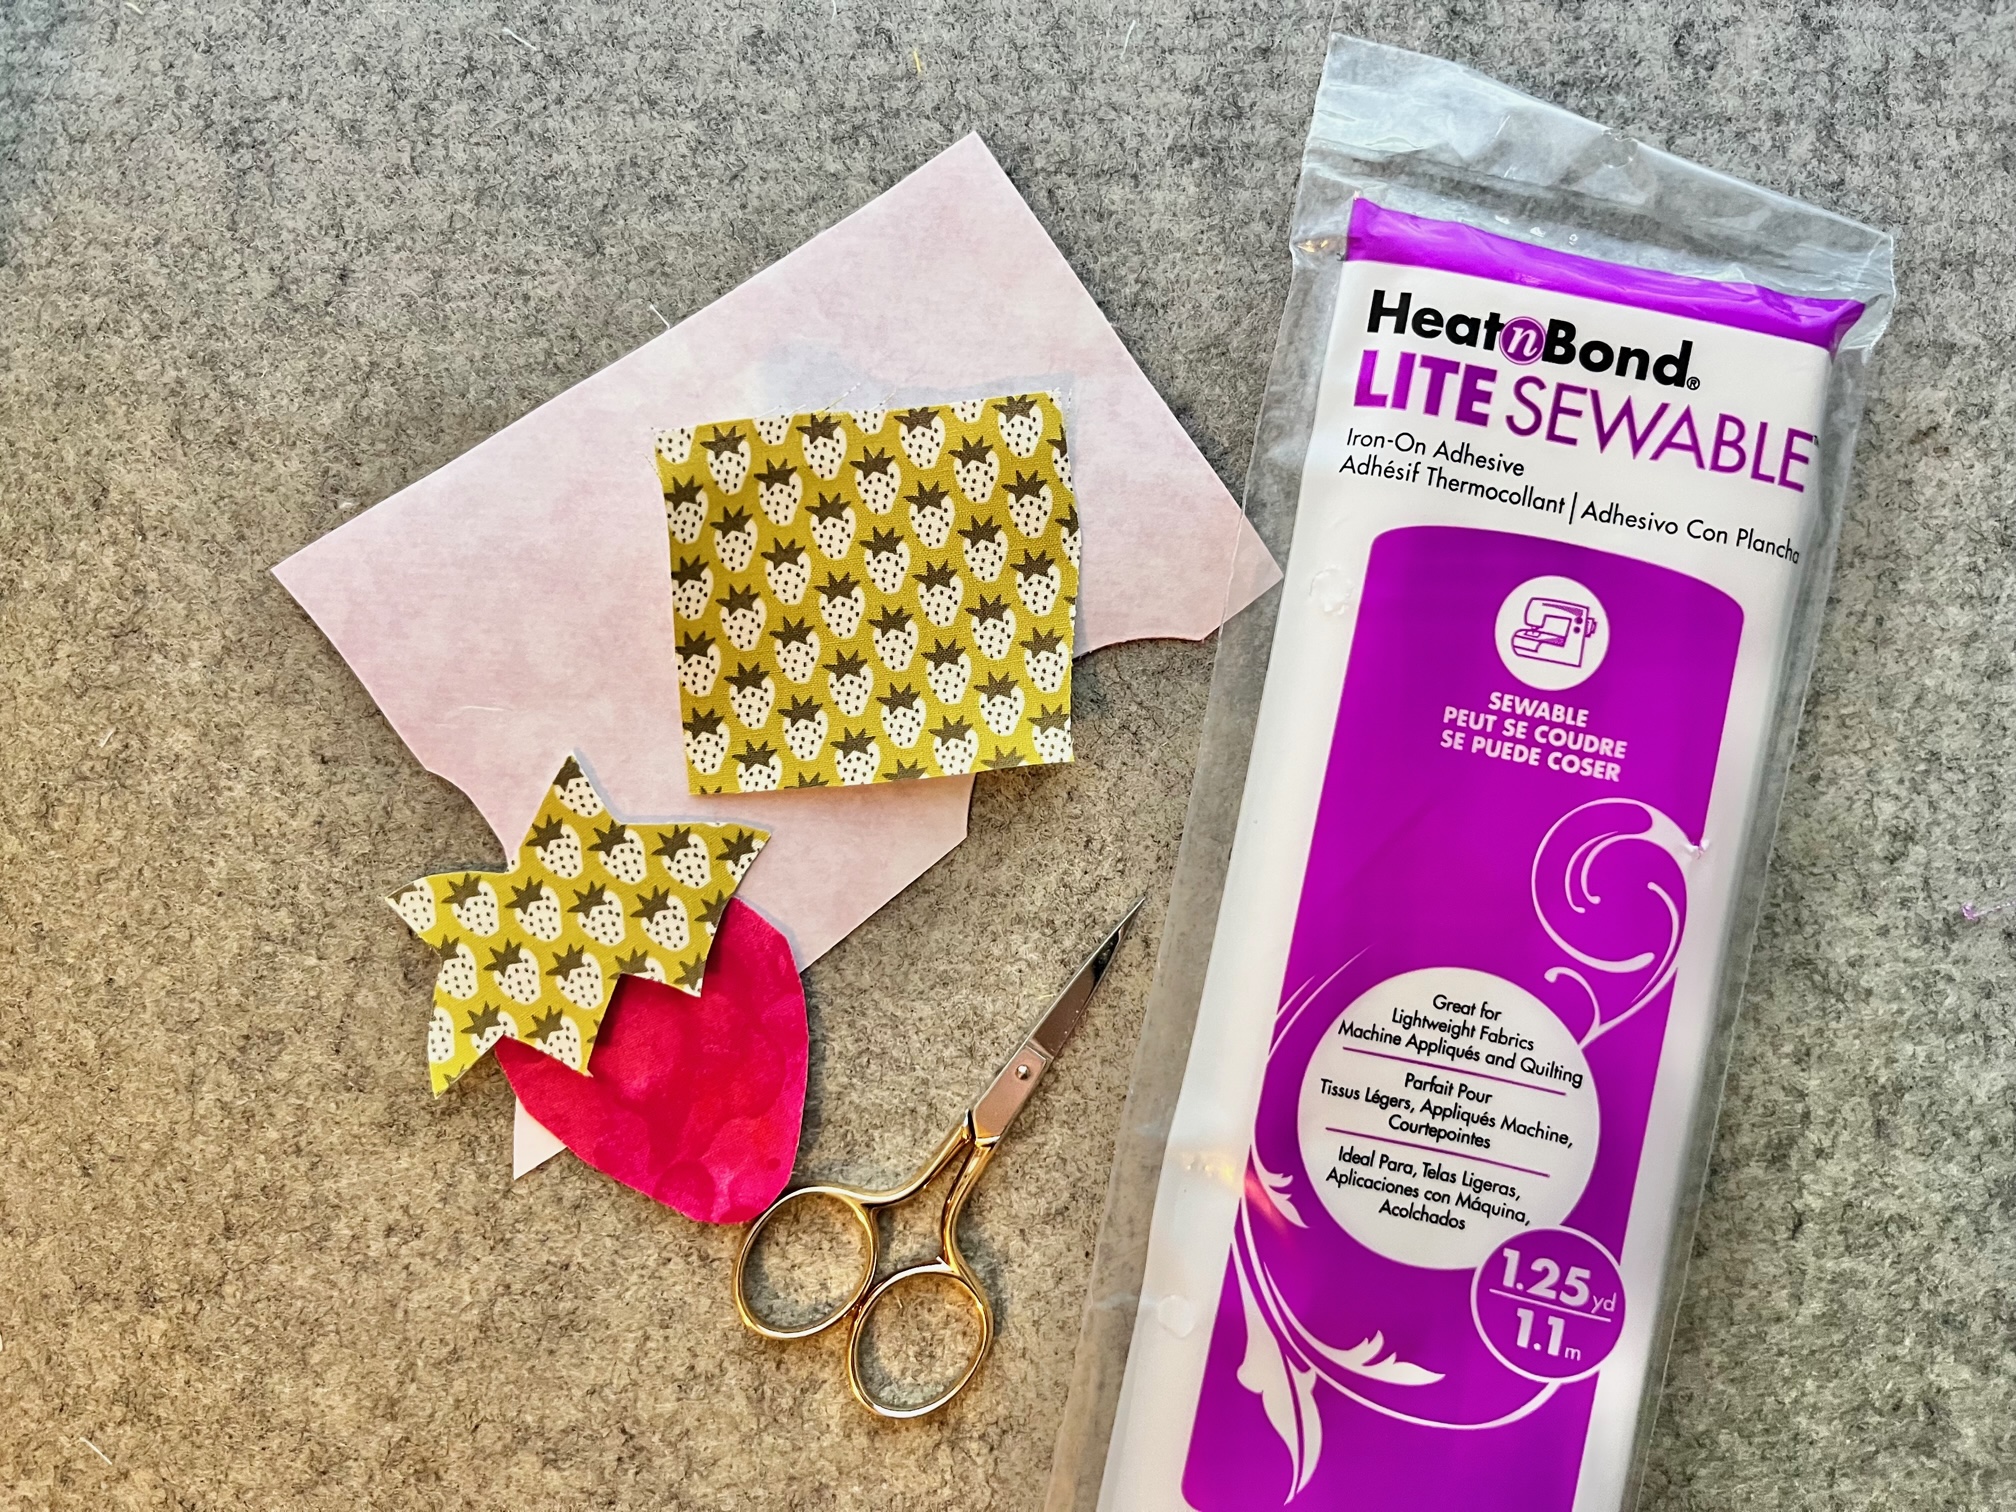
Fuse your design fabric to HeatnBond Lite. You can also use HeatnBond Ultra for a no-sew application. Once your design fabric is fused, cut out your shapes. This project also works great with all the HeatnBond Lite scraps you might have from other projects!
Then…
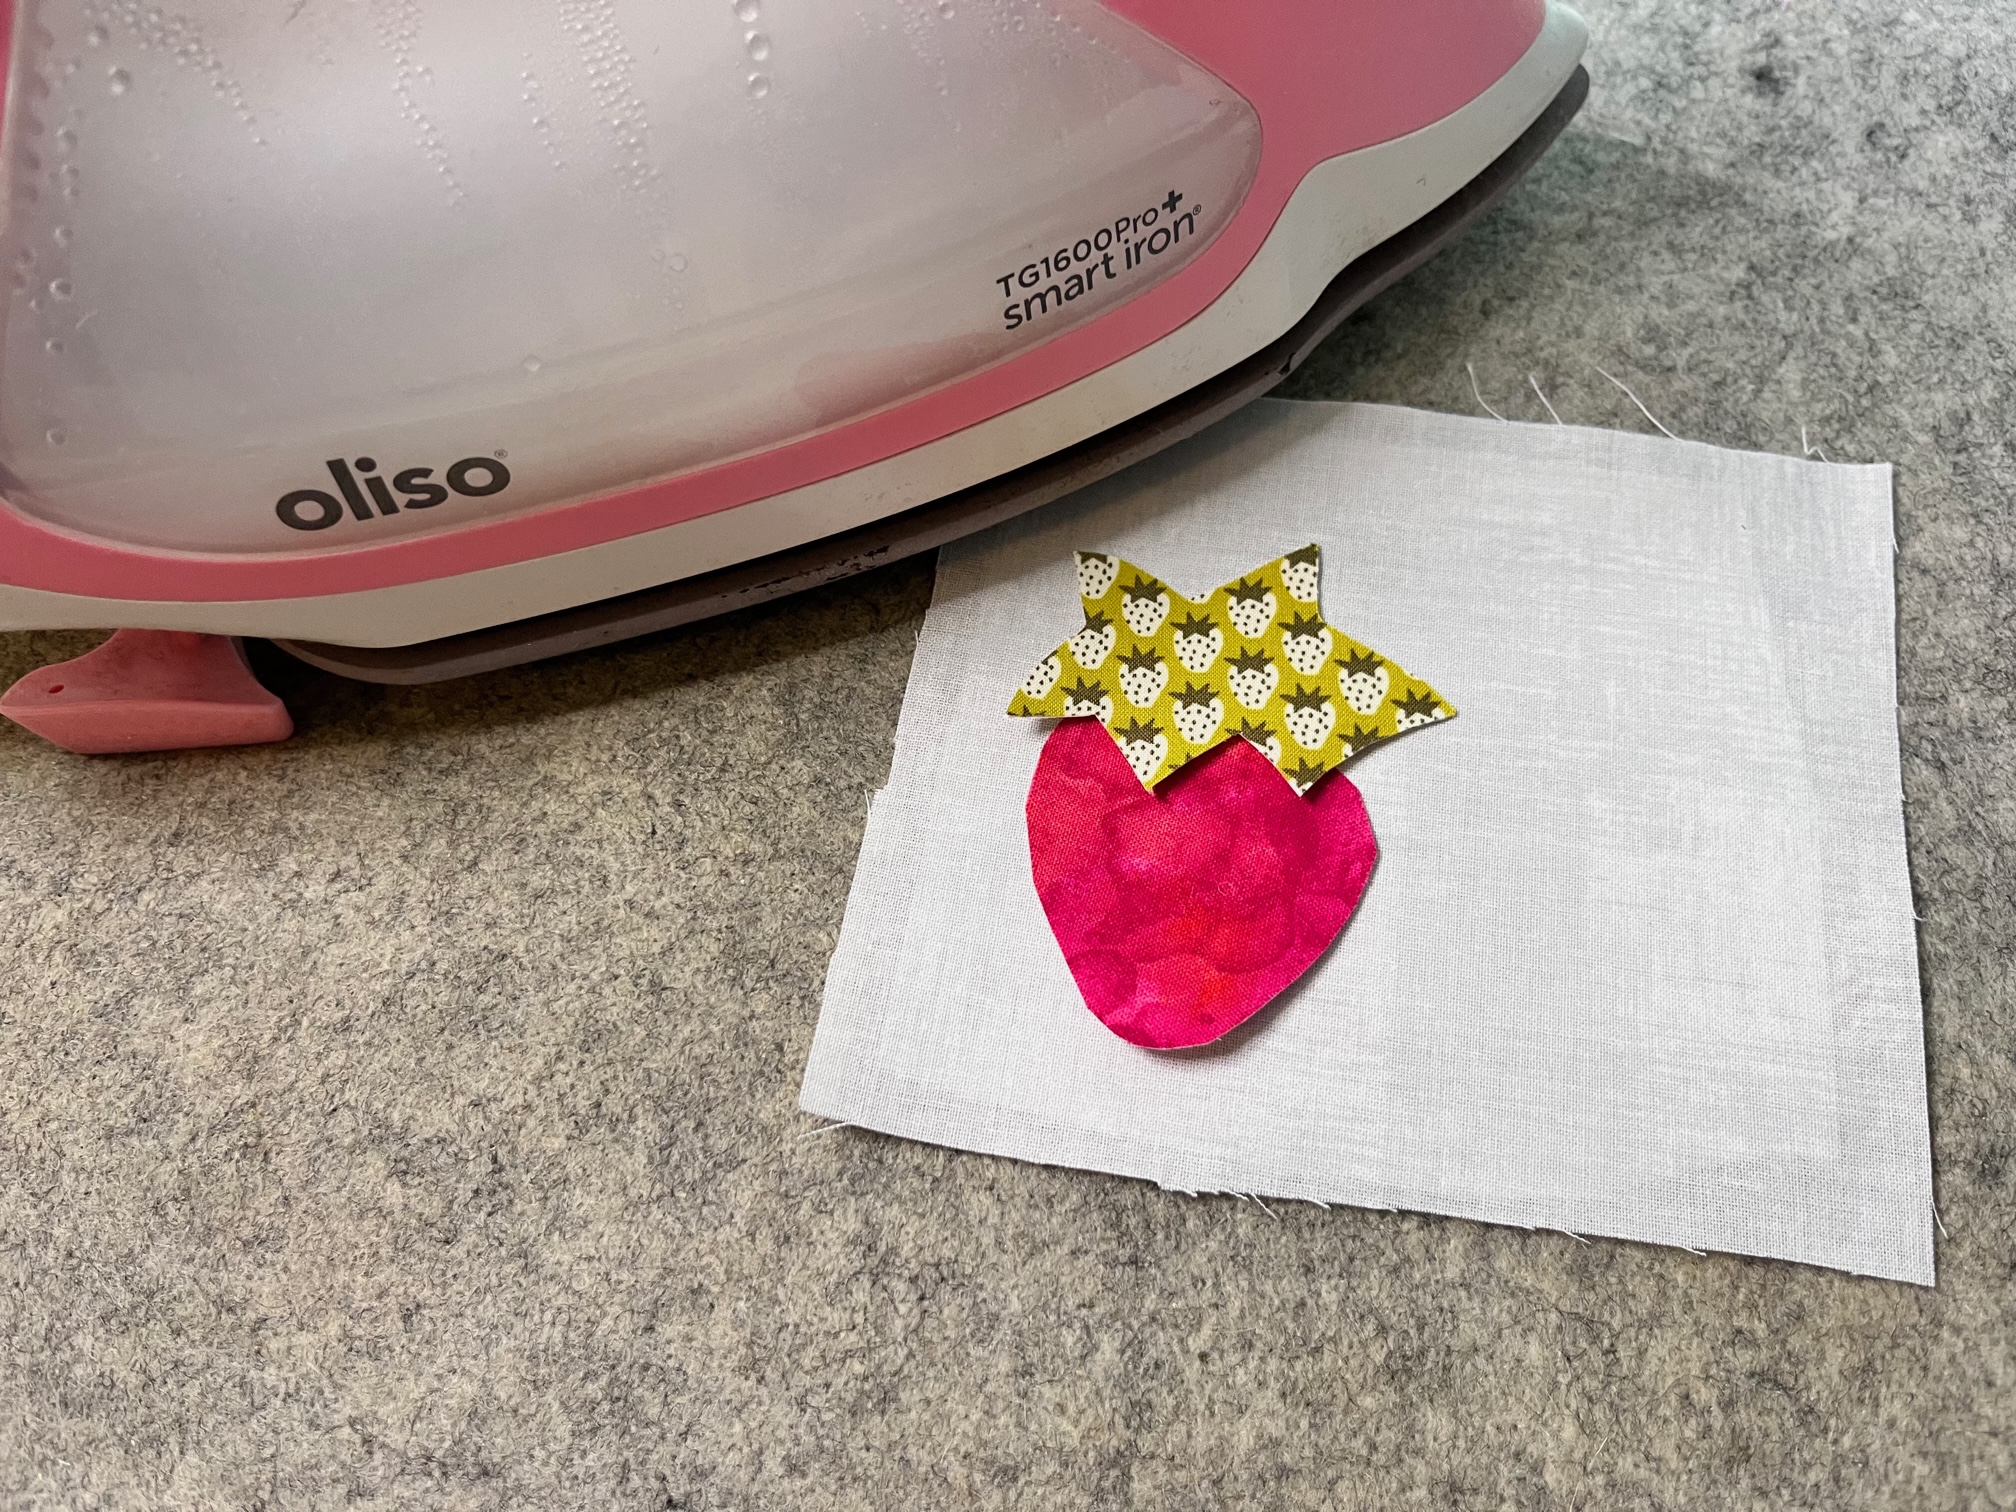
Fuse your design to the background fabric. Leave plenty of space around the edge for the final satin stitching of the patch.
Next…
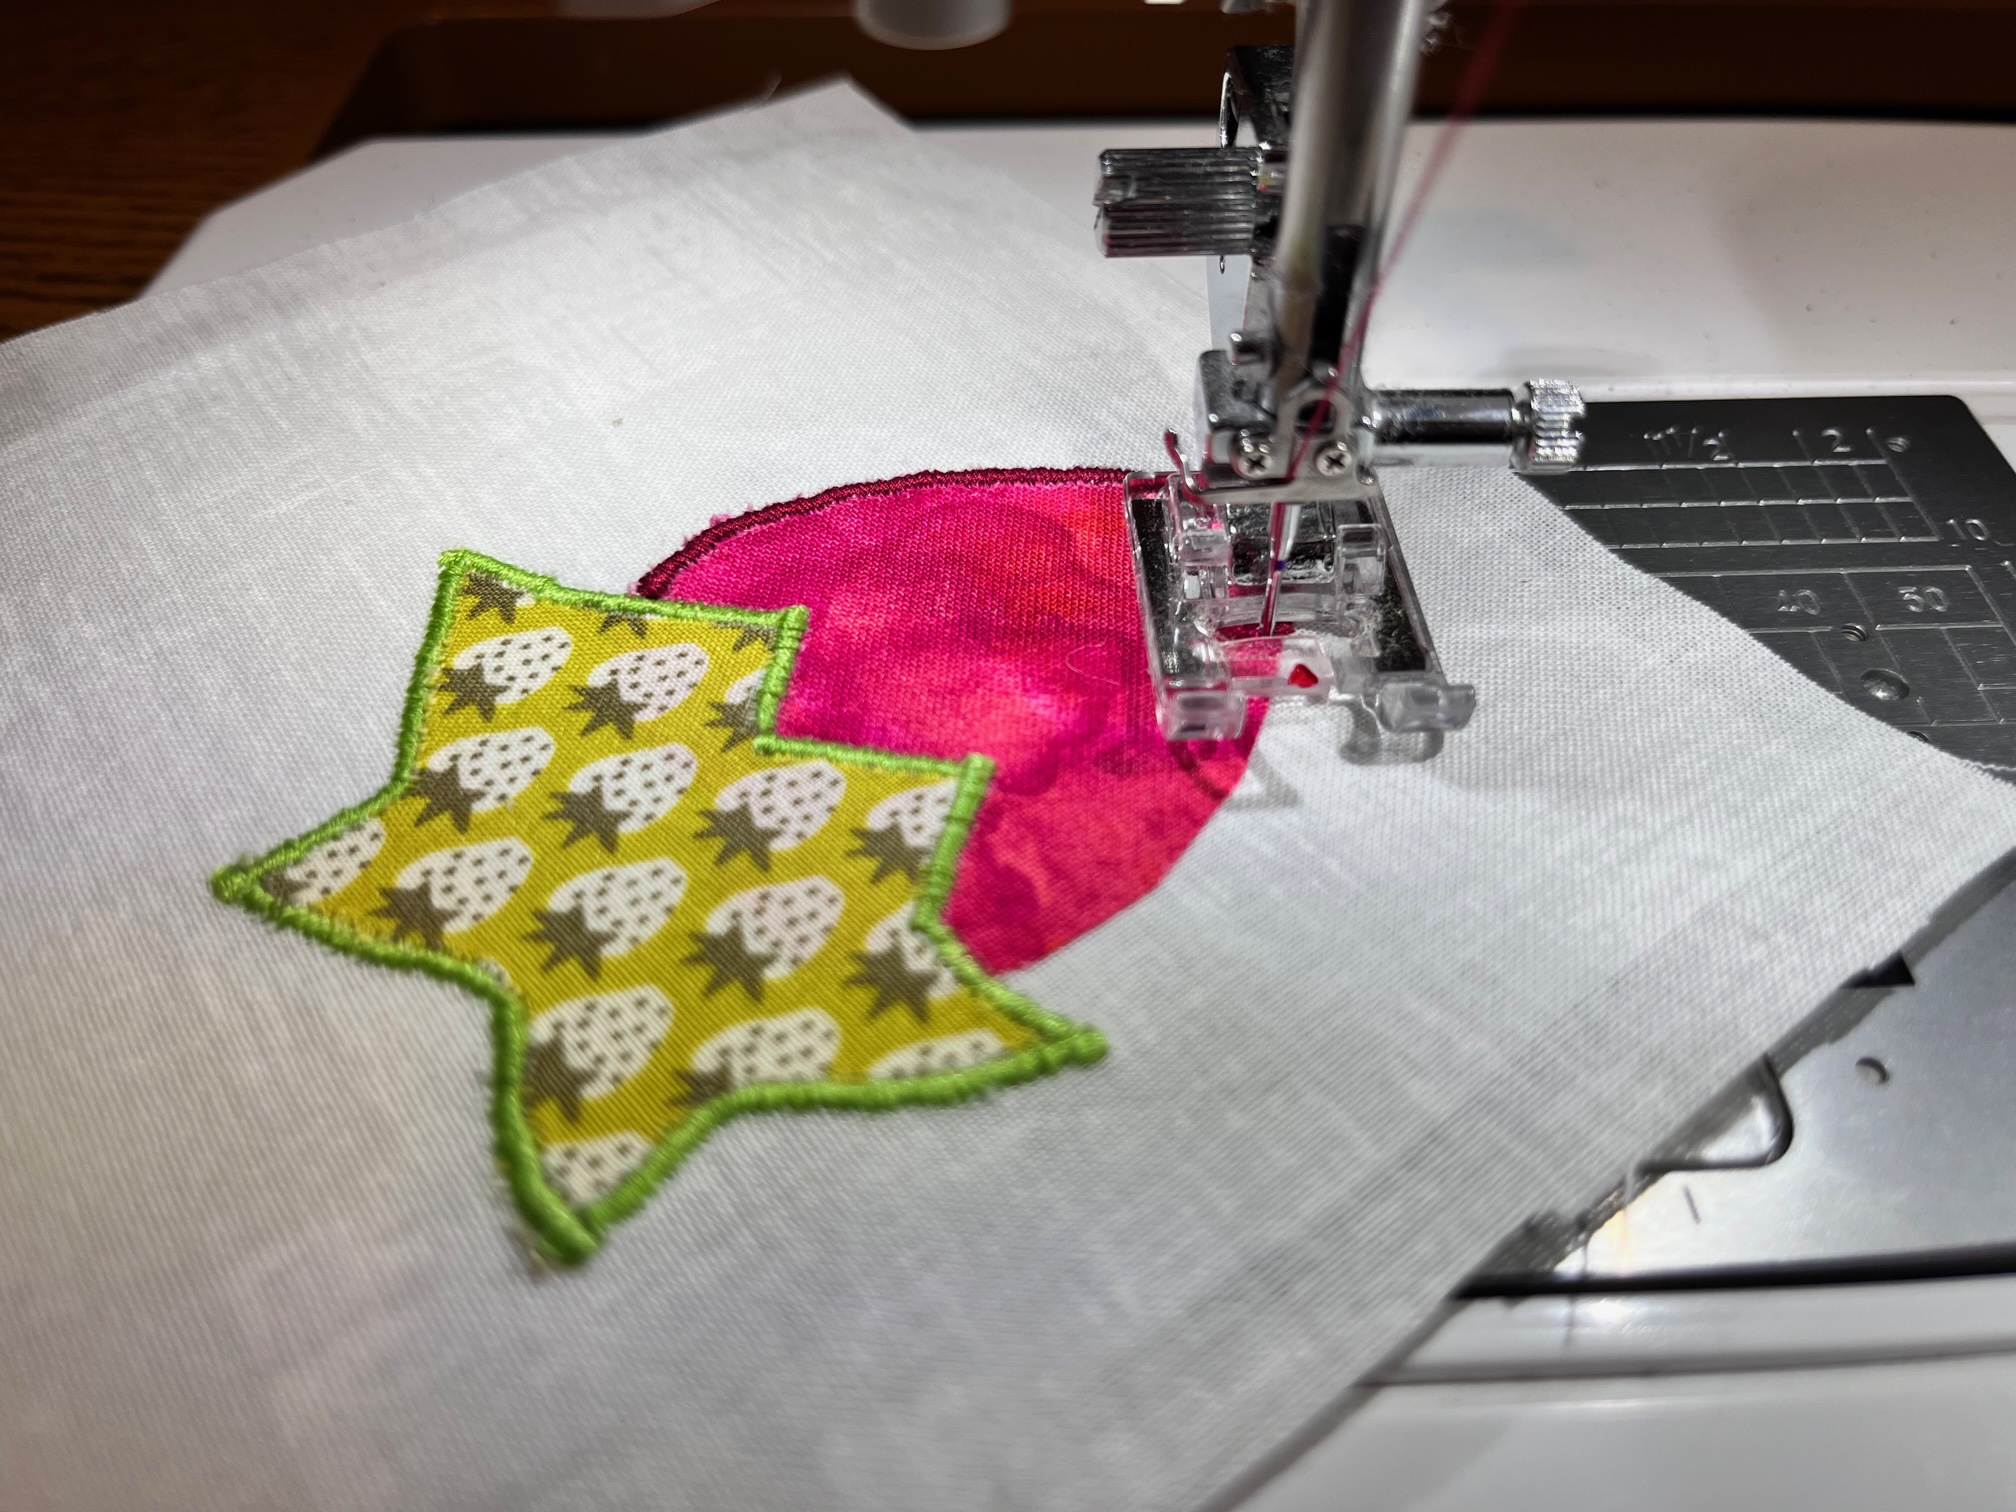
Applique your design using your preferred method. If using HeatnBond Ultra no sewing is required.
Continue by…
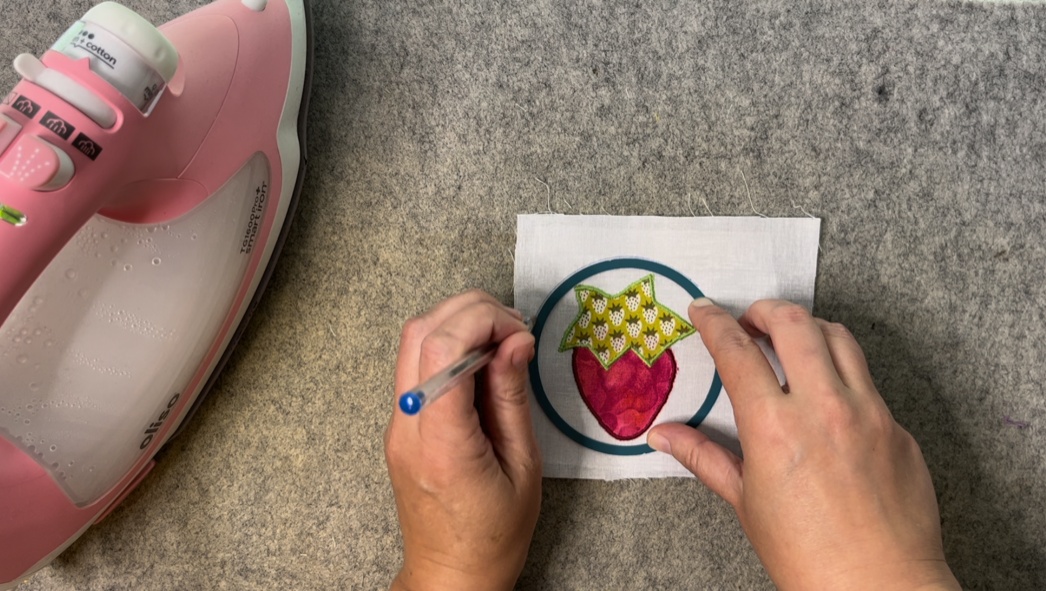
Once your design is sewn on, draw the outer shape that you want the patch to be. Sew a satin stitch around that shape.
 Then…
Then…
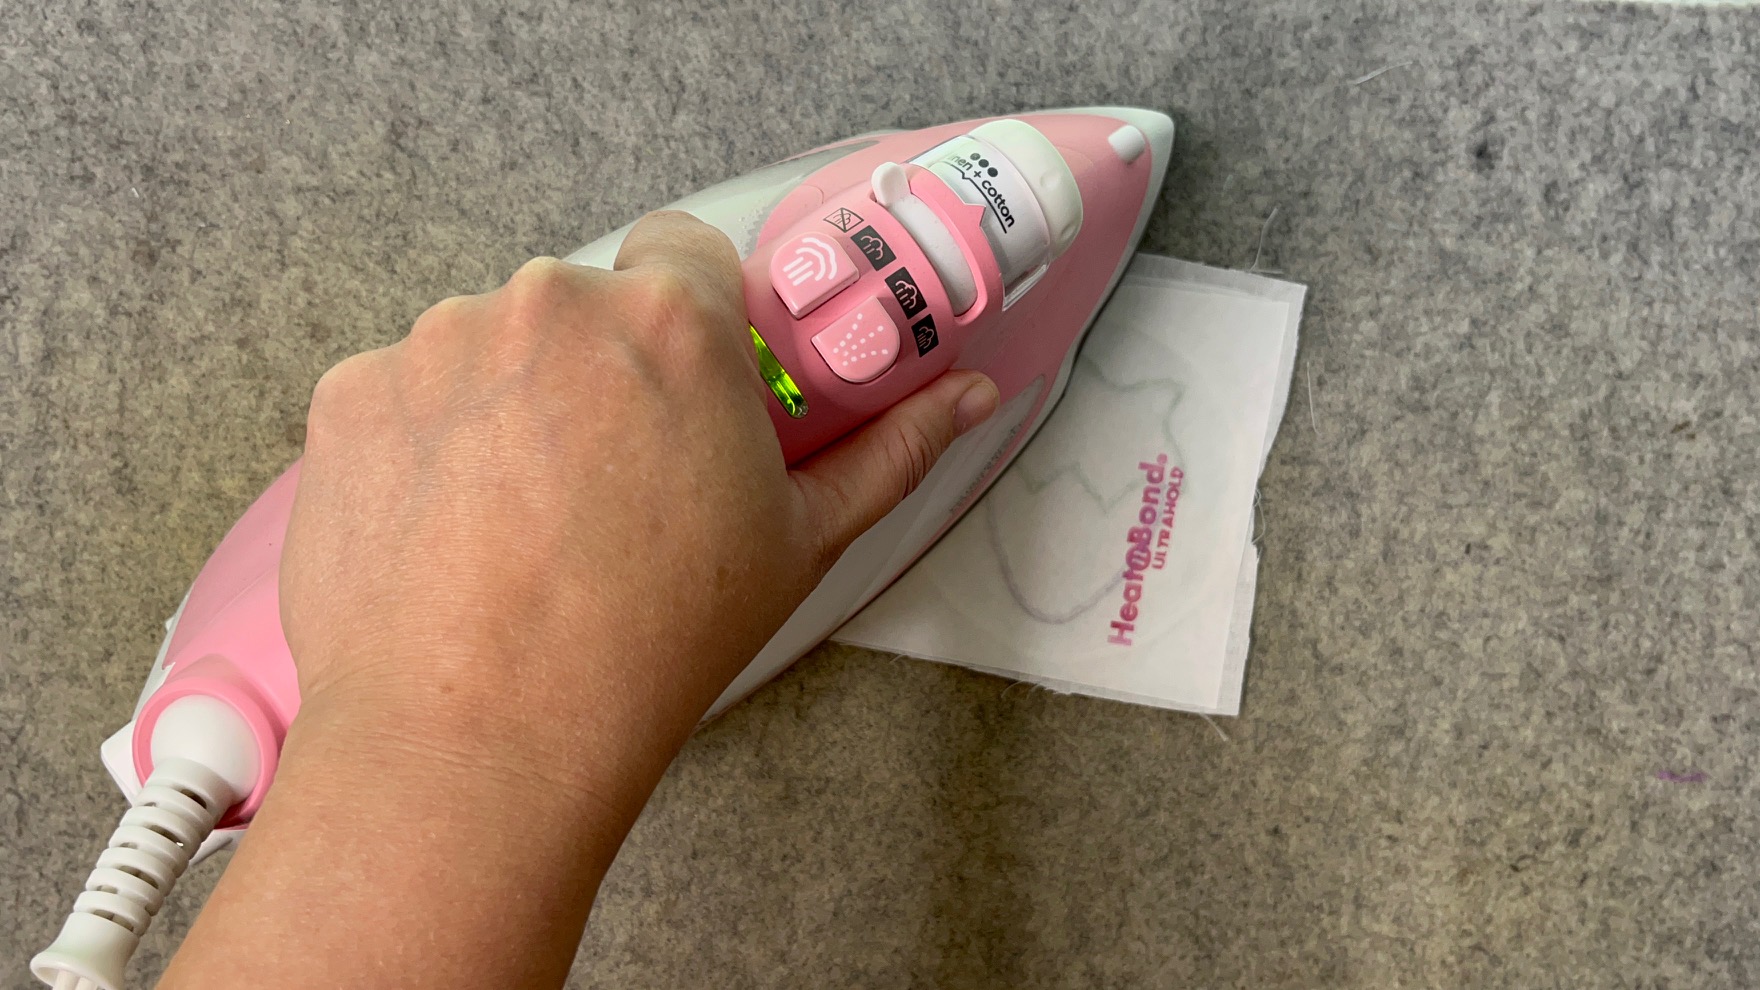
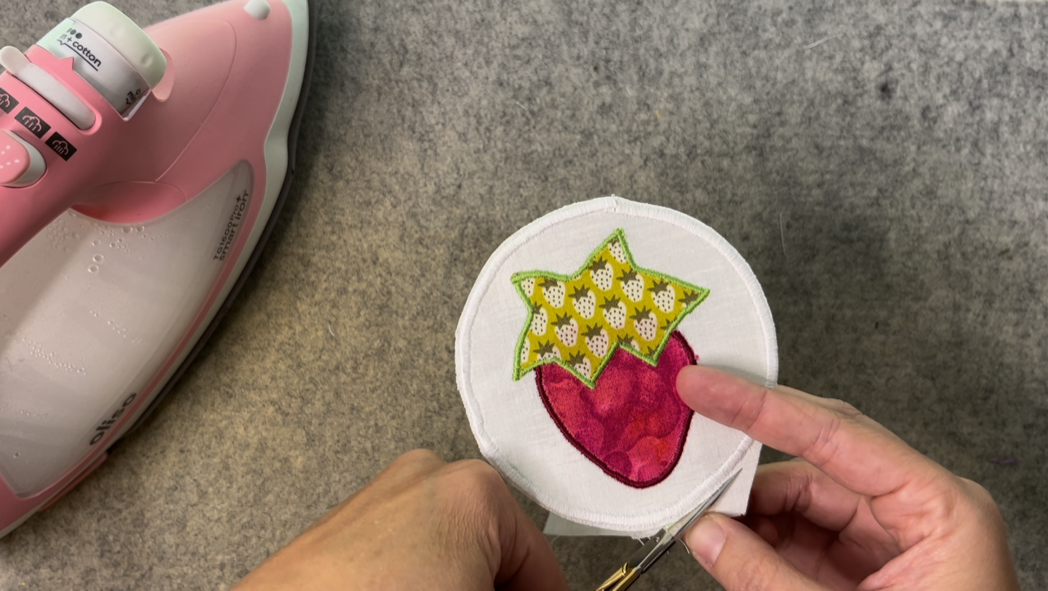
Fuse HeatnBond Ultra to the back of your piece and carefully cut out around the edges.
Finally…
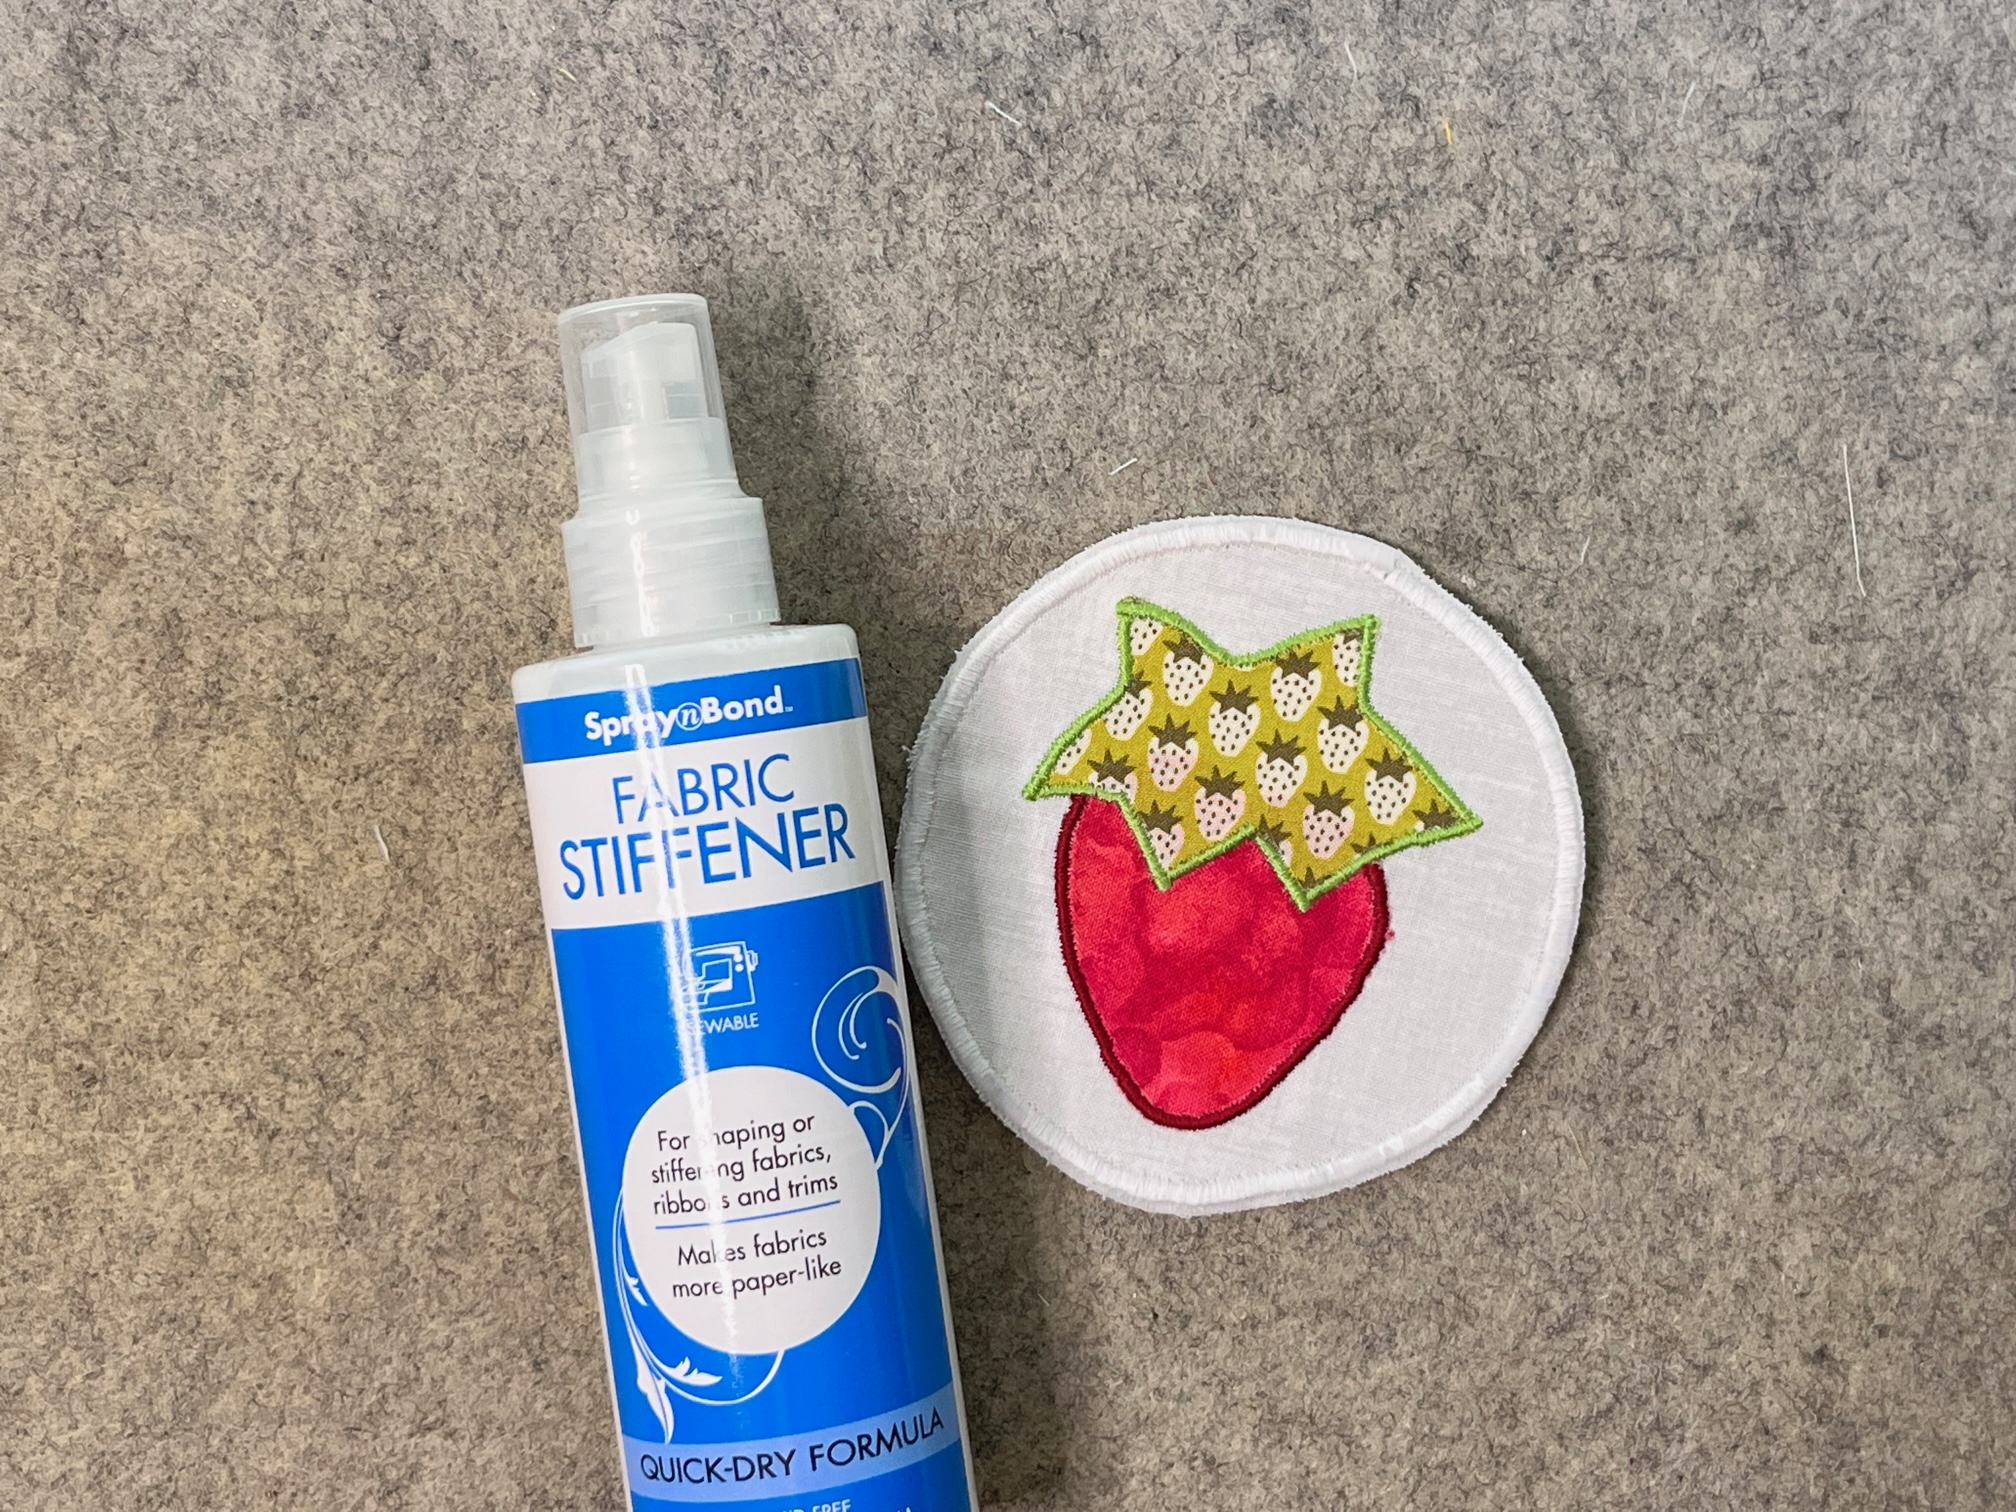
Apply some SpraynBond Fabric Stiffener Spray to the edges of your patch.
Finished!
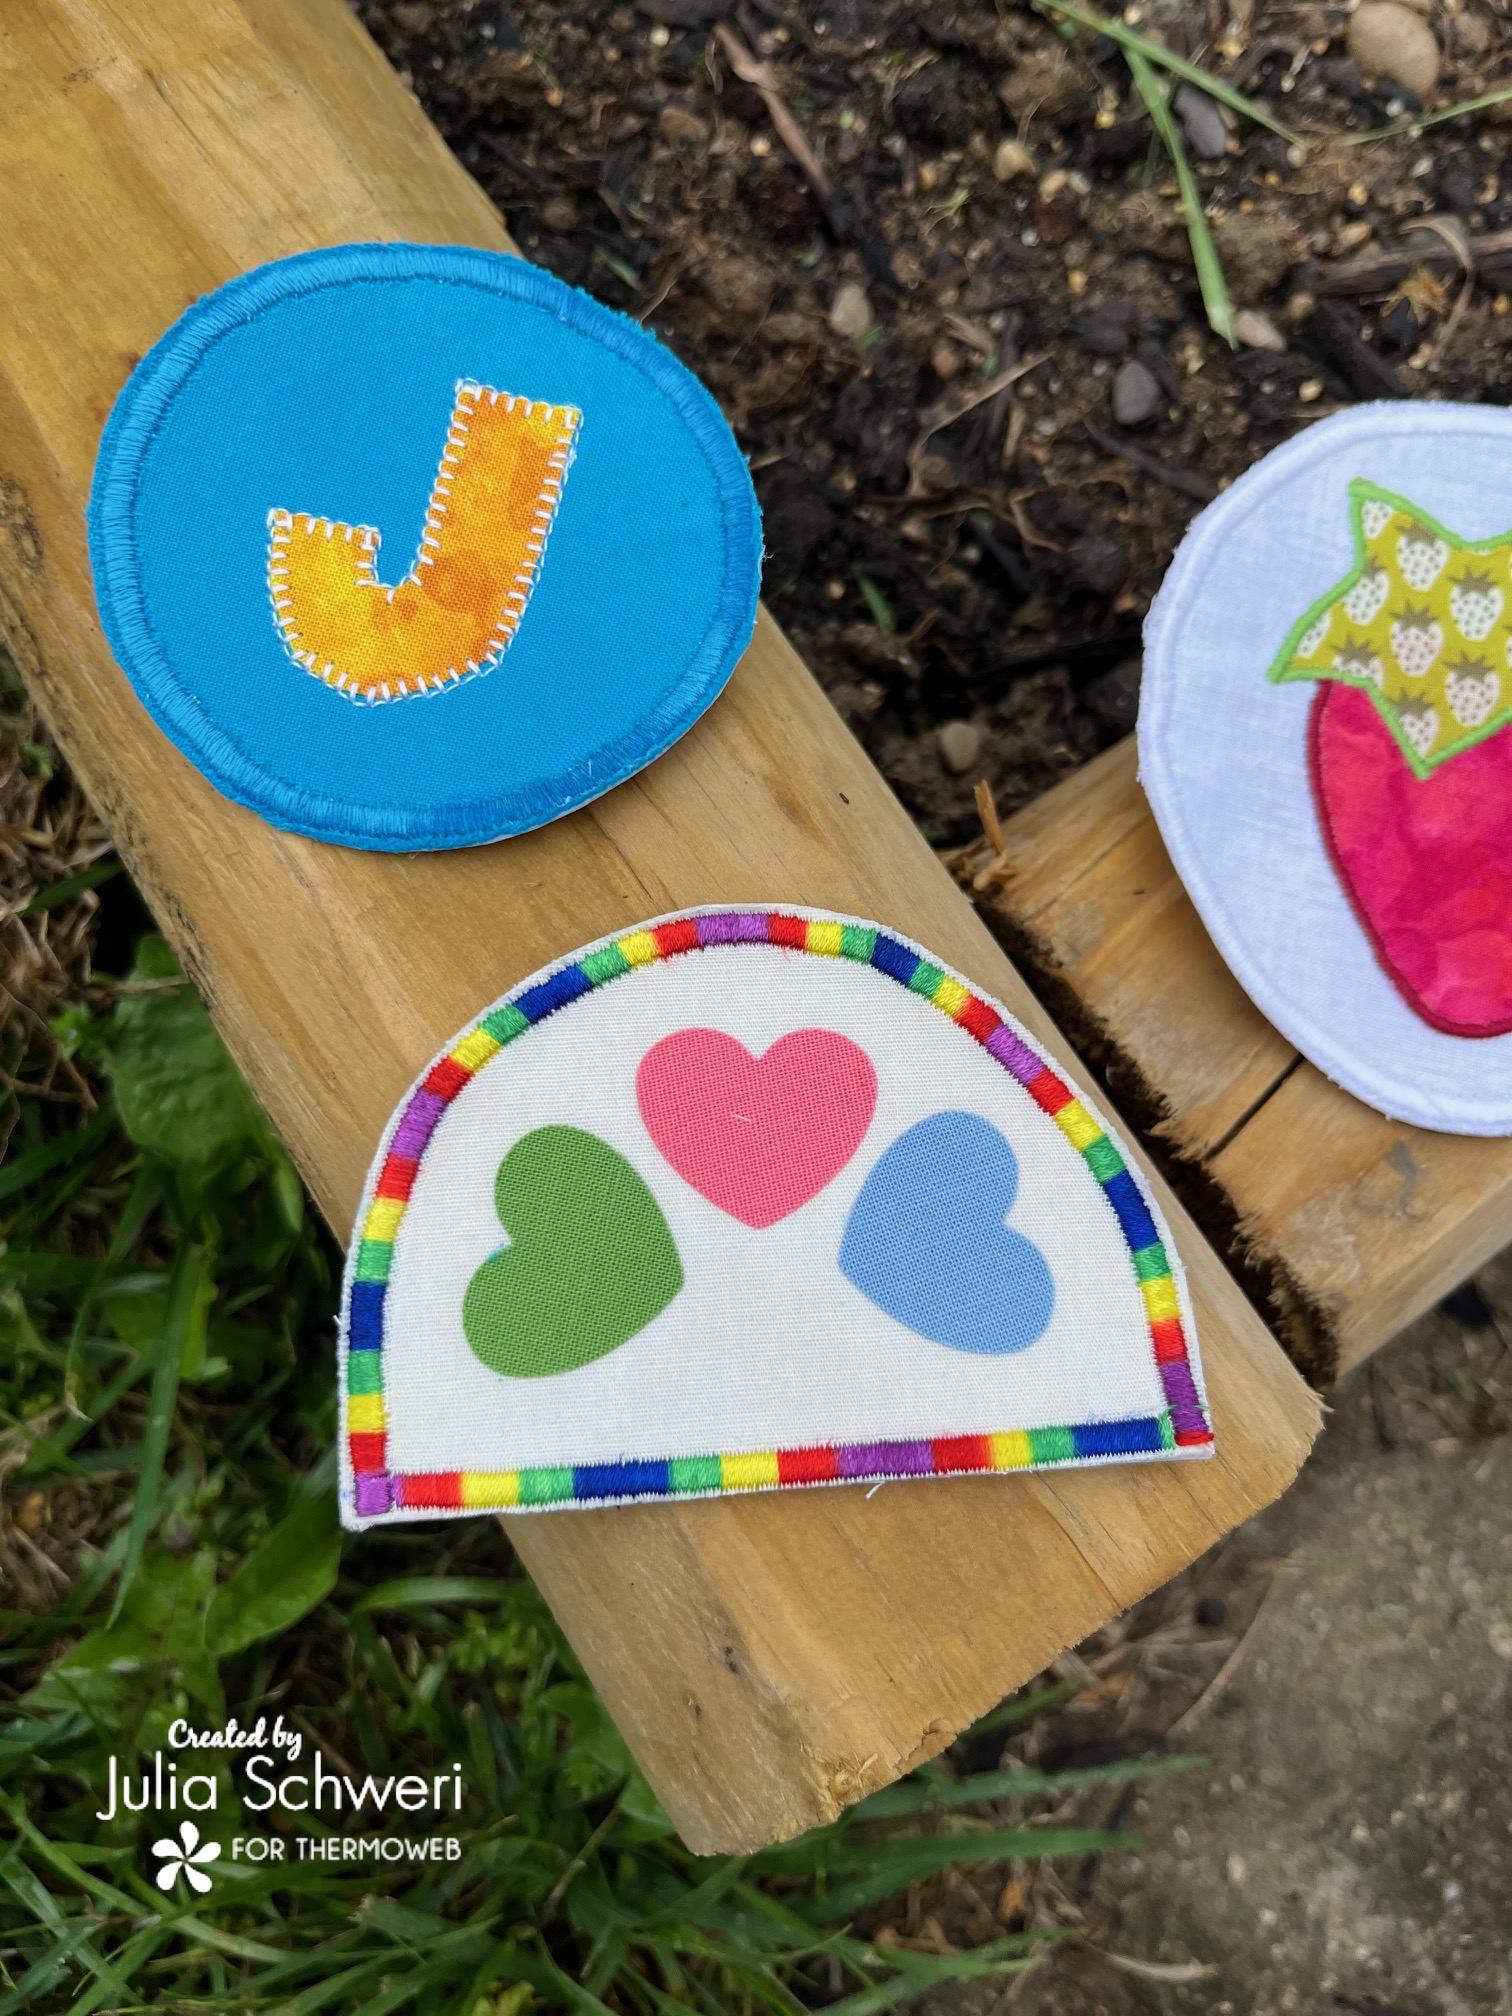
The 3-heart patch below shows the use of HeatnBond Ultra.
Let’s have some more FUN! Watch the video below to see how to use Thermoweb to easily attach all your scouts’ badges and patches! In the video, I compare different products and methods for badge application.
Comparison Video
Thank you for visiting today! Come back soon to see what else will be starting to bloom with Inflorescence Designs!
Starting to bloom by choosing JOY ~ Julia
