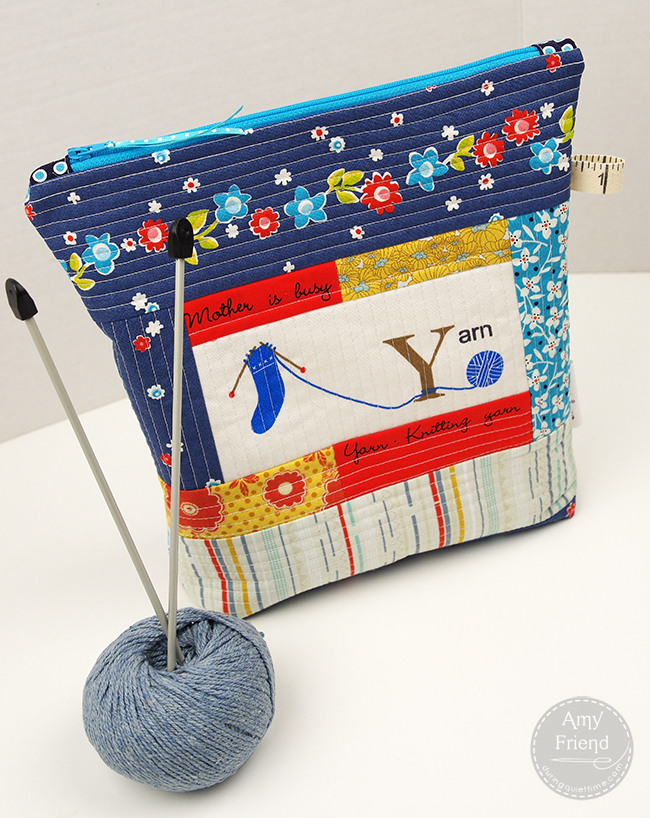
The new year is a time to get organized right? It’s Amy here today from During Quiet Time, sharing a Knitting Project Bag. It’s a convenient and super cute way to tote your latest knitting project and keep it organized; pattern, yarn and needles all in one place!
Let’s get started!
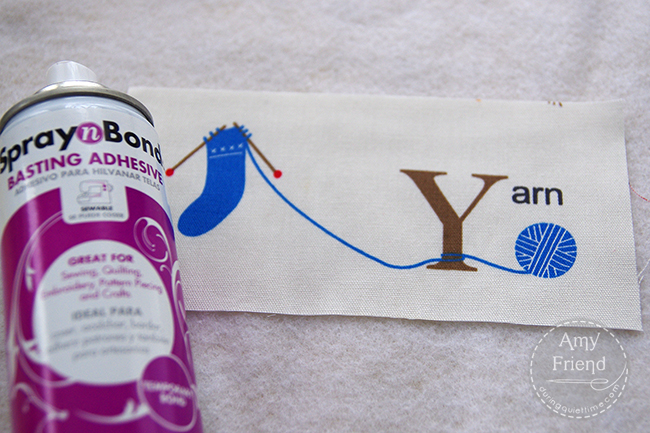
To begin, I fussy cut this cute “Yarn” print from an alphabet panel. I used SpraynBond Basting Adhesive to hold it in place on a 15″ square piece of StitchnSew Sew In Fleece.
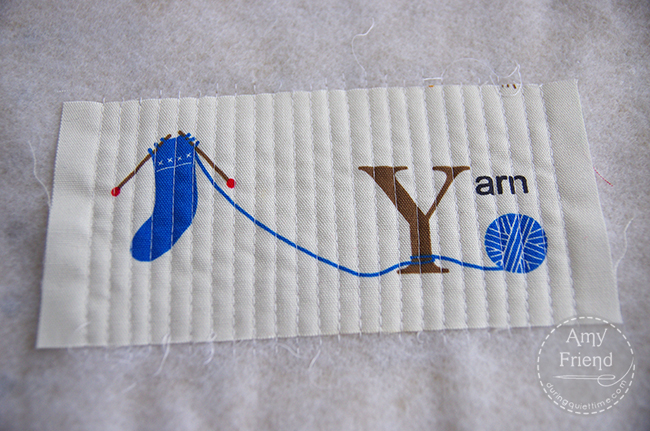
I used the popular “quilt as you go” technique to piece the front of the bag. To begin, I quilted this piece with lines 1/4″ apart.
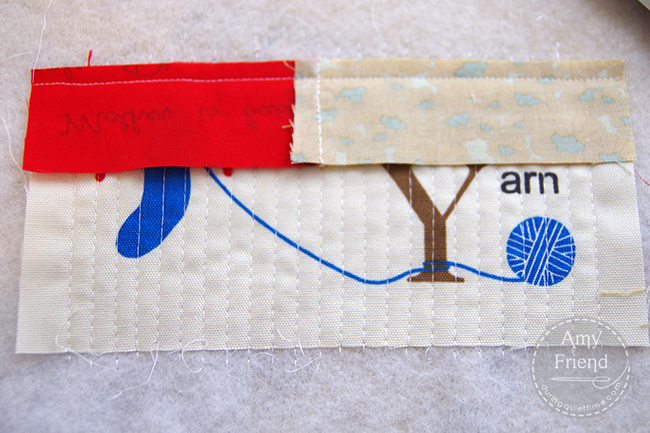
With right sides together, I stitched a piece along the upper edge. I pieced this strip first because I wanted to fussy cut some words. Then I pressed it open.
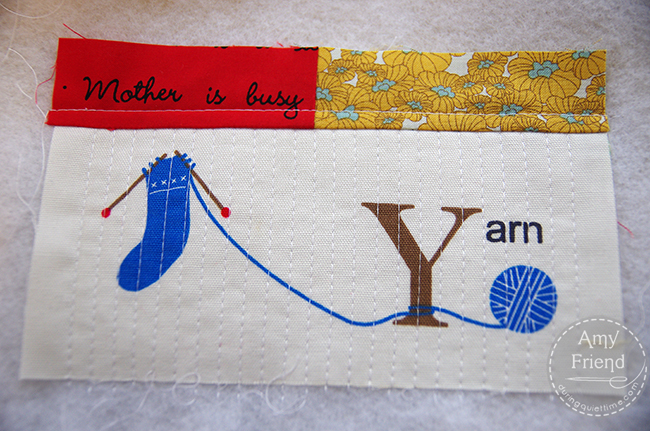
Next, I quilted this piece. I only stitched one line this time because of the lettering on the fabric. I didn’t want to interfere with it too much.
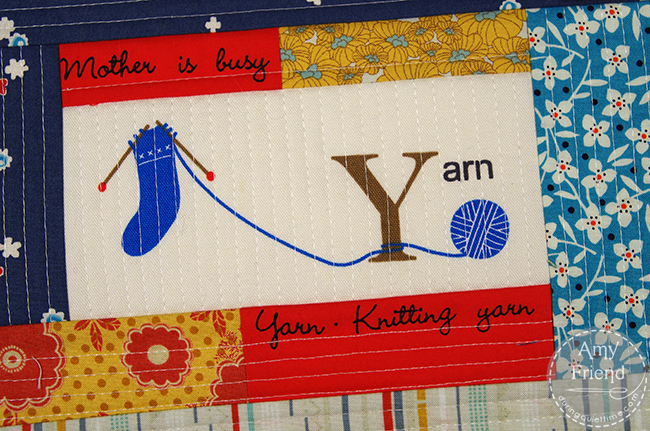
I continued working in this manner, working around the center block in a log cabin quilting style till the front of my fleece was nearly covered.
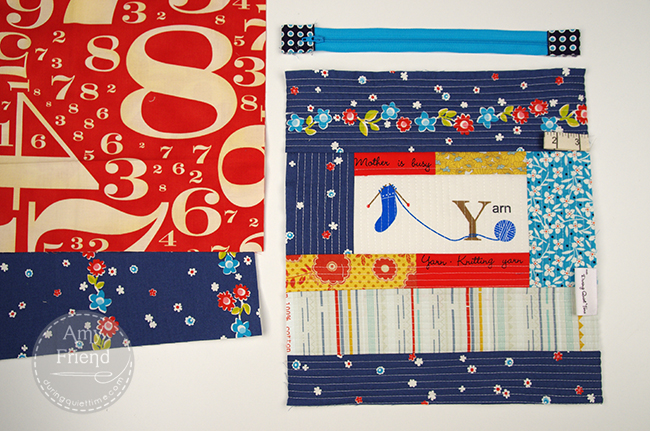
I then trimmed my panel down to 11 1/2″ wide x 12 1/2″ high. I cut another piece of fabric with the same dimensions for the back of the bag and fused it to a piece of HeatnBond Fleece Fusible. It’s also necessary to cut two pieces for the lining (in this case the red with numbers). Finally, I took a 10″ zipper and added tabs to the end so that it measured, from end to end, 11 1/2″.
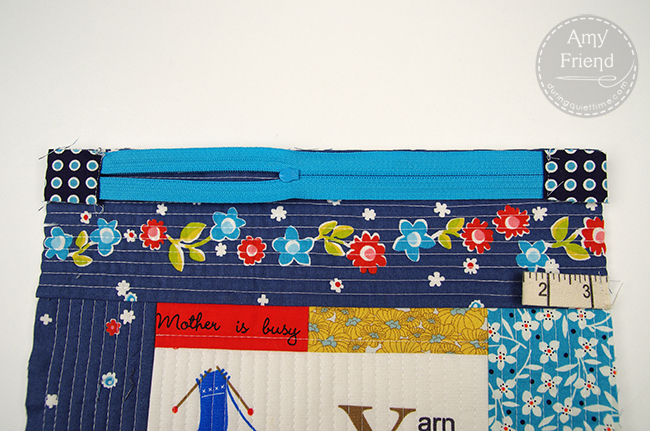
To assemble the bag, place the bag front face up with the zipper face down.
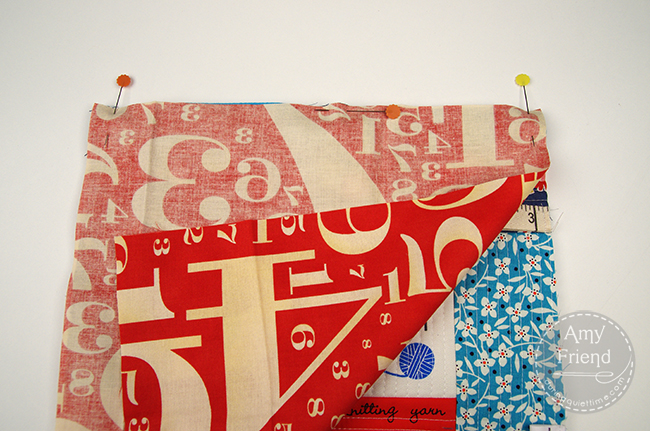
Then add the lining fabric, right side down. Stitch along the upper edge with a 1/4″ seam. Open out, flipping the lining to the back.
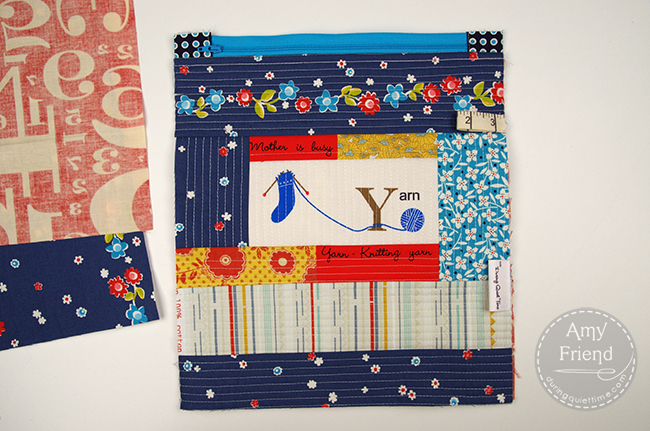
Top stitch along the upper edge through all layers. In this case, I hid my row of stitching along the uppermost row of “quilt as you go” quilting.
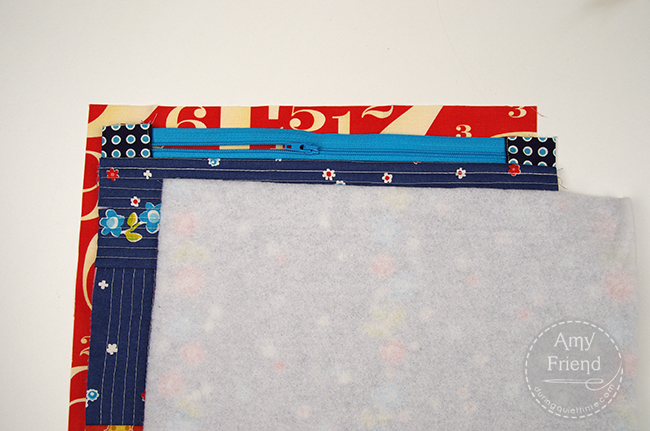
Next, place the remaining piece of lining fabric with right side up, followed by the bag piece you were just working on, right side up. Top with the backing fabric, right side down. Stitch along the upper edge with a 1/4″ seam.
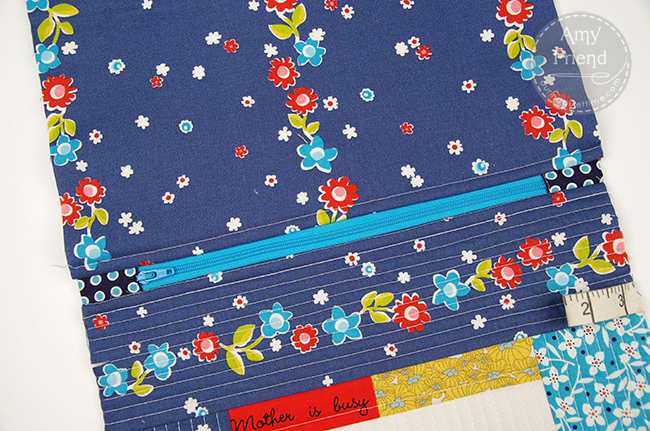
Again, topstitch 1/4″ along the edge.
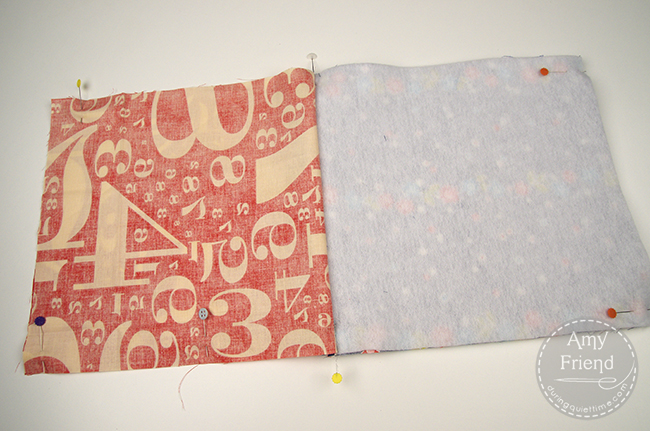
In preparation for stitching the side seams, match the lining pieces right sides together and the bag front and back, right sides together and pin. Start sewing at the bottom edge of the lining, leaving and opening for turning. Stitch around the perimeter.
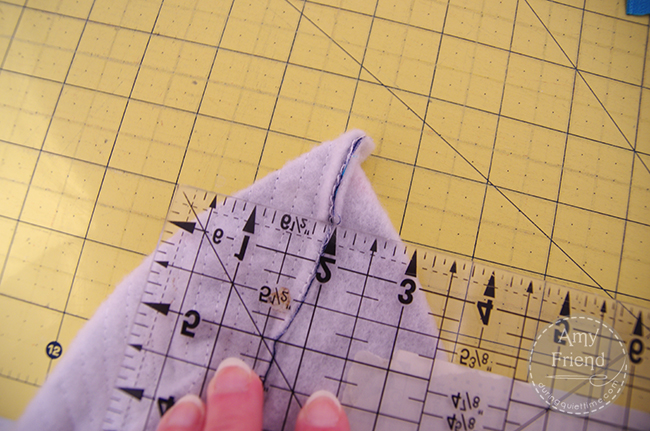
To create gussets, pinch the bag front and back together so that the side seams and bottom seams are matching. Cut off one inch and stitch with a 1/4″ seam. Do this on both corners. Turn the bag through the opening in the lining. Finally, handstitch the lining closed.
Now it is time to fill the bag with your latest project, socks maybe?


Nancy
January 31, 2014 at 9:21 am (11 years ago)Thanks for sharing Amy, another great project!!
Vicki H
January 31, 2014 at 10:06 am (11 years ago)I think I’ll make one for my Mom’s crochet. Thanks for the tutorial
Jeannie
February 1, 2014 at 7:54 am (11 years ago)Totally adorable and perfect fussy cuts! I’ve not seen the Spray and Bond so will look for that next time and pick me up some. Beats using pins!
Kay
February 4, 2014 at 11:48 am (11 years ago)Thanks for a fun and easy tutorial.
The Funster
February 6, 2014 at 3:28 pm (11 years ago)Any
This is a simple yet very adorable project bag. Thank you for the easy tutorial.