


 Whoo hoo!!!! It’s Katrina, from Paper, Scissors and Glue today to share a couple of fun layouts with Deco Foil Metallix, Flock and some fun Ink Road Stamps! Honestly, I love a fun, snarky stamp set and this first layout just paired with the stamp set so well. So, warning…there may be some language that if you think you might not be comfortable with, then you might want to skip this!
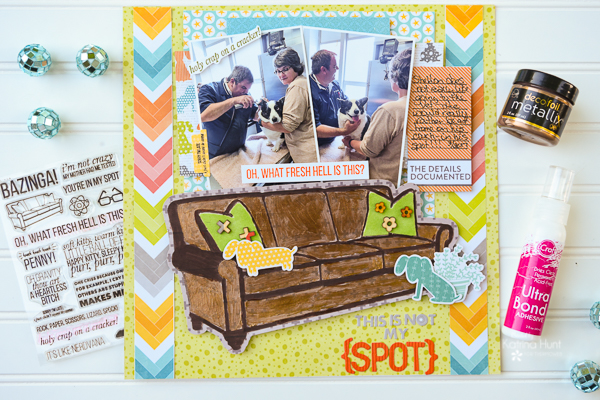
A backstory on the layout, this is our dog Sheldon, and yes, he is named after Sheldon Cooper on Big Bang Theory! His daddy’s name is actually Cooper, but we didn’t think of that when we named him! And he DOES have a spot on the couch.
Both of my layouts today feature our products without having to use a laminator to create with. Sometimes it’s fun just to let stuff air dry!
Therm O Web Supplies Used:
Deco Foil Foam Adhesive Sheets
Therm O Web Memory Runner XL
Therm O Web 3D Foam Squares-1/2 inch
iCraft Deco Foil Metallix – Aged Copper
Deco Foil Flock Transfer Sheets-Green Envy
Deco Foil Stencil Pal
iCraft Purple Tape -.5 inch
iCraft Ultra Bond Liquid Adhesive
Therm O Web Adhesive Pick Up Square
Therm O Web Zots – Medium
Ink Road Stamp Set and Cut Files Bazinga Stamps and Cut File
Other Supplies: Cathrine Pooler Inks, Jillibean Soup paper/die cut collection, Silhouette Cameo
THIS IS MY SPOT LAYOUT
Start with determining which stamps you want to use and where you might use them. Stamps can add a lot to a layout, but I have to plan since they are based on card size and not layout size most of the time. I knew I wanted the larger two phrases for sure and I added the smaller one at the end.
Now you will want to work on items that will take some time to dry. During the drying time, you can work on other parts of your layout. I used the cut file of the couch for the stamp set and enlarged it. At the same time, I created an offset for the couch, so that it would stand out. I knew I would lose details since I wasn’t using the small stamp, but I wanted a big impact!

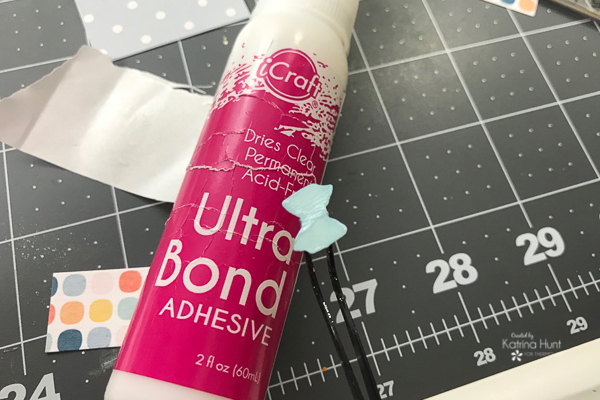
To adhere the cut file to the offset, I used a small paintbrush and the Ultra Bond liquid adhesive. You could also use a fine tip applicator, but I had misplaced my bottle! Once you have your outline attached to your offset, let dry for a short time.
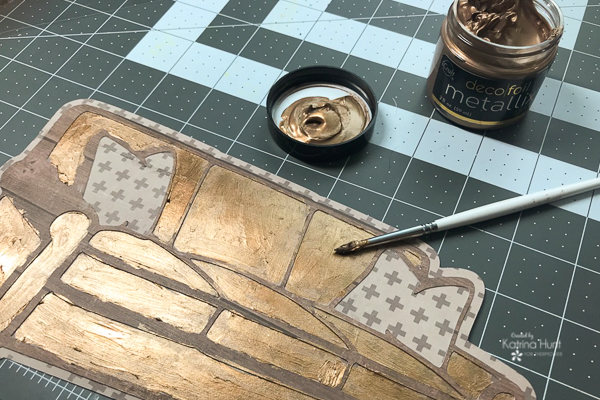
Next, grab the Deco Foil Metallix in Aged Copper (perfect couch color!) and use the paintbrush again to apply the Metallix inside the open areas of the cut file. Leave the area where the throw pillows are on the couch because we are going to flock those! Let dry. Once mine I was dry, I decided that the outline needed to be a darker brown, so I just used a marker to go around the cut file. Ekk! How fun is that shiny couch!?! And the stamp saying too!!! LOL
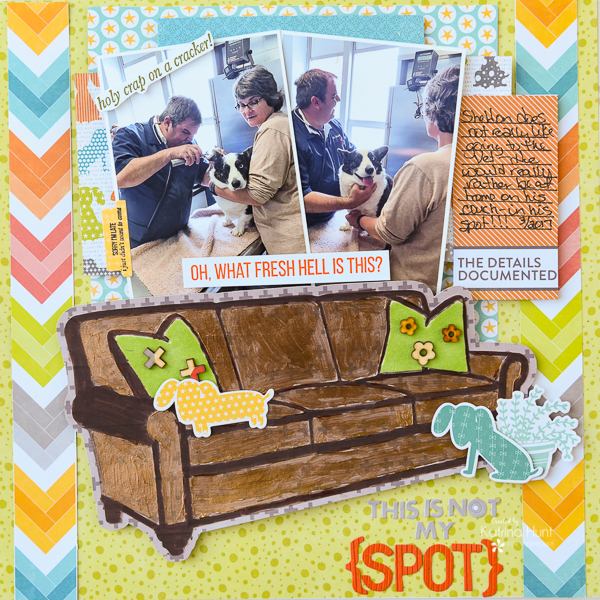
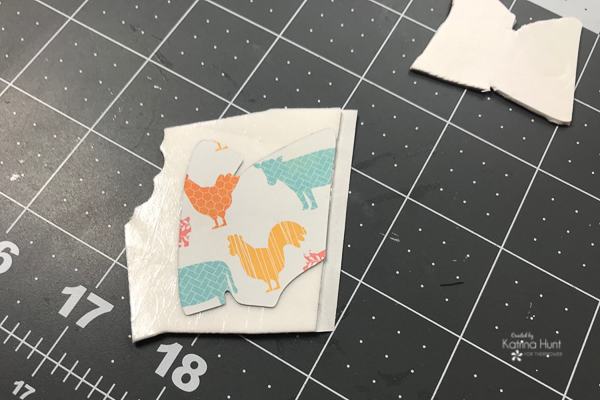
After the Metallix has dried, it’s time to do the pillows. Use the cut piece that was left over from the cut file, along with a piece of the Deco Foil Foam Adhesive to create a dimensional pillow.

To apply the foam adhesive to your pillows so that they are in the correct direction, you will place your “pillow” upside down on the foam adhesive. And then peel off the second layer of protecting covering and then apply your flock, just by using your hand for pressure and rubbing to transfer the flock to the die cut.
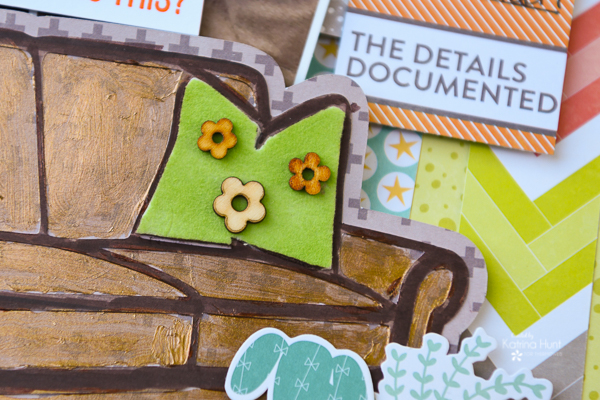
Once you have the pillows flocked then you can adhere them to the couch with the Ultra Bond adhesive. After I flocked the pillows, I decided to decorate also, by using some small wood veneer that was part of the paper collection. In addition, the Deco Foil Foam Adhesive gives them a little “poof” on the couch!
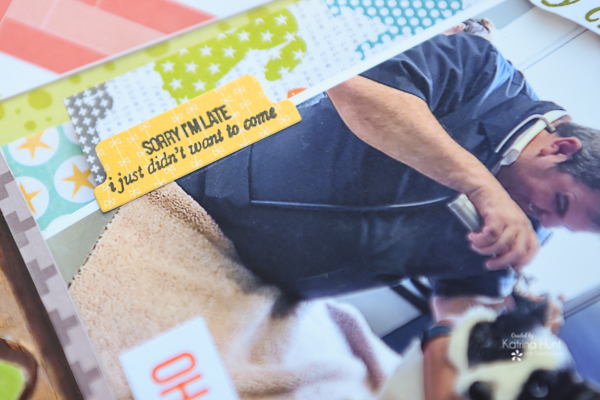
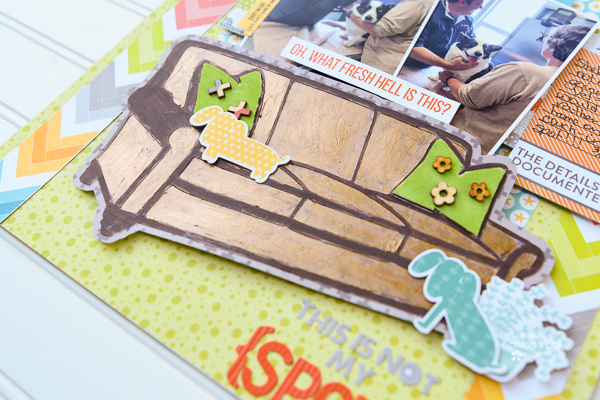
Finish up your layout by using lots of the 3D Foam Squares, Memory Runner XL and stamping. Accent your stamping bits by using the foam squares to give dimension and draw attention to the details of your layout.
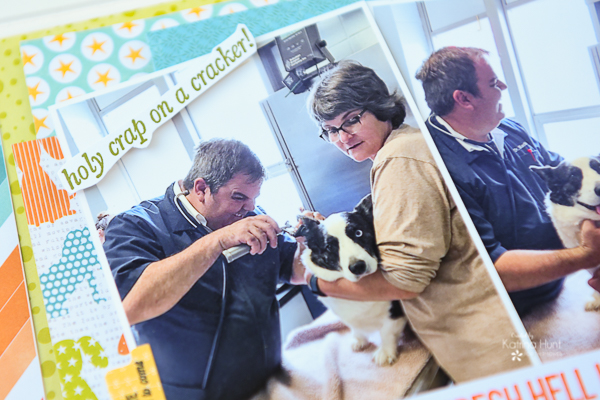
The look on Dr. B’s face just cracks me up with the stamped phrase!!! FYI, we love our vet and I am definitely showing him this layout!!
And now a hybrid layout! The product I used for the layout comes from a digital kit that is available at The Lilypad. It’s by Becca Bonneville. I have a wide format printer, so that’s why I can do a 12×12, but you could also use your regular printer to do a hybrid layout of your own! I used print and cut with my Silhouette Cameo for the elements in the kit.

Therm O Web Supplies Used:
Deco Foil Foam Adhesive Sheets
Therm O Web Memory Runner XL
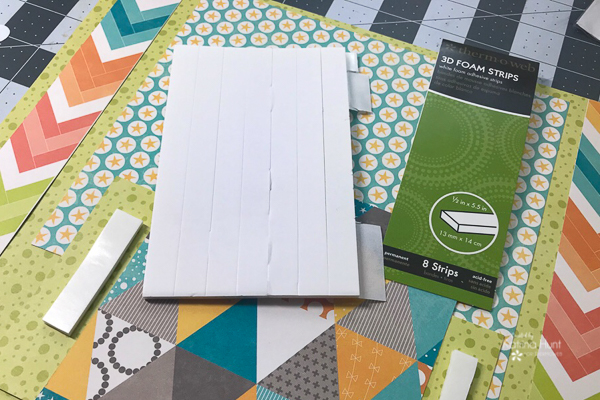
Therm O Web 3D Foam Strips
iCraft Deco Foil Metallix – Champagne Mist
Deco Foil Stencil Pal
iCraft Purple Tape-.5 inch
iCraft Ultra Bond Liquid Adhesive
Therm O Web Adhesive Pick Up Square
Therm O Web Zots-Medium
Ink Road Stamps and Cut Files- Fur Babies Stamps, Fur Babies Cut File, and Ink Road Embellishment Gems
Other Supplies – Becca Bonneville Digital Scrapbooking Kit, Catherine Pooler Inks, Misti Stamping Tool, Silhouette Cameo
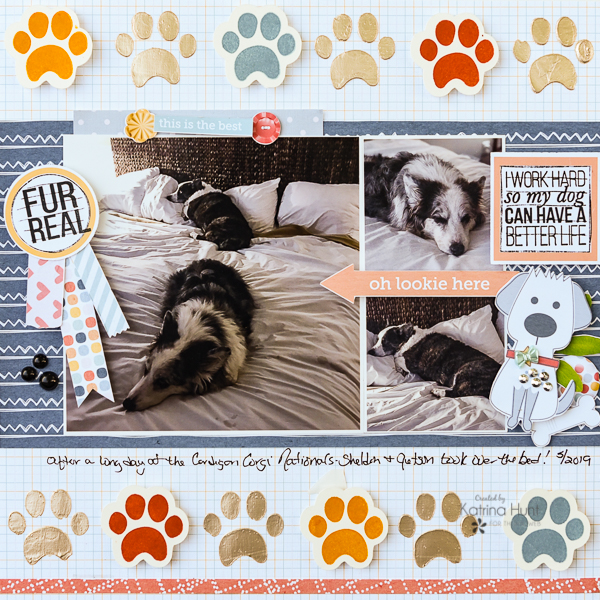
FUR REAL LAYOUT
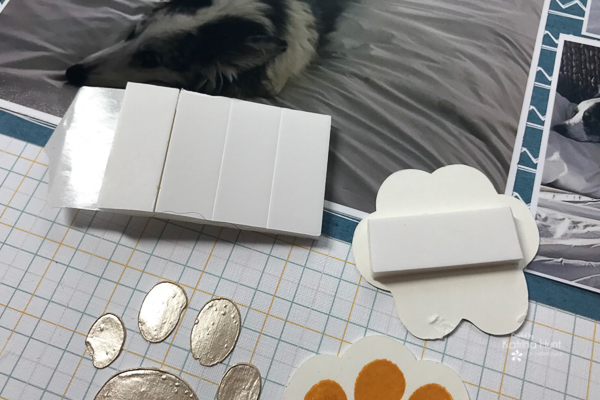
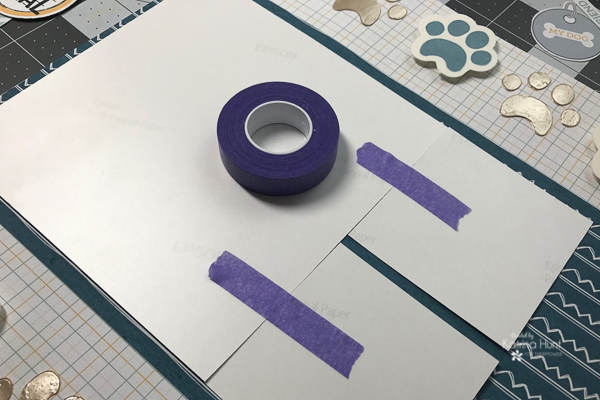
Begin by creating a stencil with the cut files for the stamps using either heavy cardstock or thin chipboard. Tape the chipboard down using the 1/2 inch Purple Tape. In addition to creating the stencil, I created a cut file of the paw that I could stamp on.

Once you have your stencil taped down, apply the Metallix using the Stencil Pal tool. Using the tool will create an even distribution of product and in addition, will keep you from wasting product because you can transfer it back to your container! Let dry.
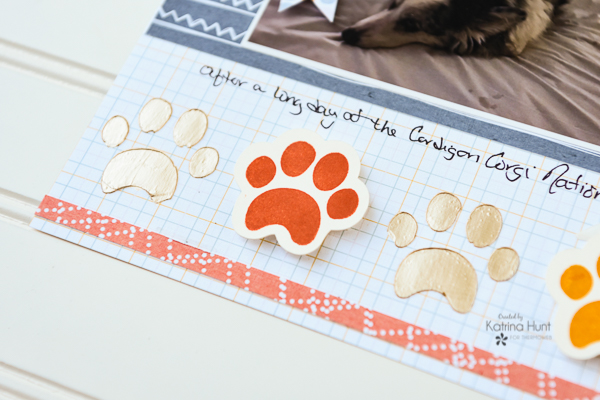
As shown above, I stamped the paws on the die cut I created while making my stencil. I used my Misti tool, to keep the die cuts in place while stamping.

To emphasize a fun border for the top and bottom of the layout, I alternated the stamped paws, with the stenciled paws. With this idea in mind, I also used the 3D Foam Strips to give the stamp paws some height. Just trim them down to fit the die cut.
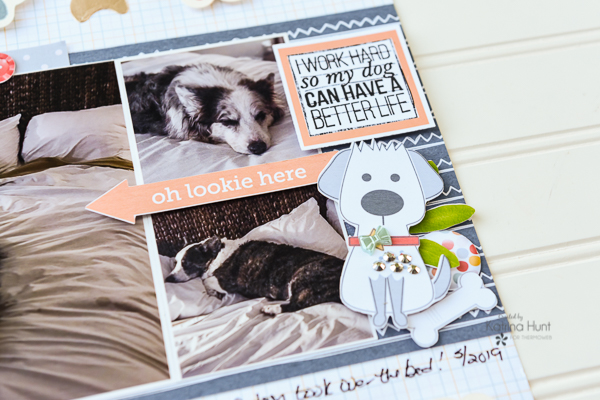
That stamp was too perfect for these photos!

Because the ability to line pictures up straight on a layout is beyond me, I came up with a solution that I will be using a lot if I am going for that linear look. PURPLE TAPE!! I just applied it to the back of my photos to hold them all together and in place! Then I used my Memory Runner XL to adhere the collage to my layout.
Finally, start adding small details to your layout. I used some fun gems, die cuts etc. As you can see above, I had a “space” between my smaller pictures. I covered that up with a die cut! The Ultra Bond adhesive is great for adding gems and small embellishments to your layout. Just put a small dab on a scrap piece of paper and then you can just dip your embellishment into it to get a little adhesive. I added gems to the dog, along with a bow (or bow tie) in this case!
Well, that is all I have for you today. I hope you have gotten inspired to use stamps and Metallix on your next layout or project. They are so fun paired together! Thanks for stopping by!!!
Sue D
May 20, 2019 at 2:42 pm (5 years ago)Fun dog layouts!
Shari Czerwinski
May 20, 2019 at 3:11 pm (5 years ago)Great layouts! I LOVE that couch! Thanks for showing us your process 🙂
Sharon Gullikson
May 20, 2019 at 4:29 pm (5 years ago)I would love to try that out. It’s new to me…
Denise Bryant
May 20, 2019 at 6:58 pm (5 years ago)Such fun pages! Love your Purple Tape and want to get it in the 1/2 inch width!
Cassandra D
May 26, 2019 at 3:30 am (5 years ago)Lacey’s DIY Window Dies – Stitched Edge