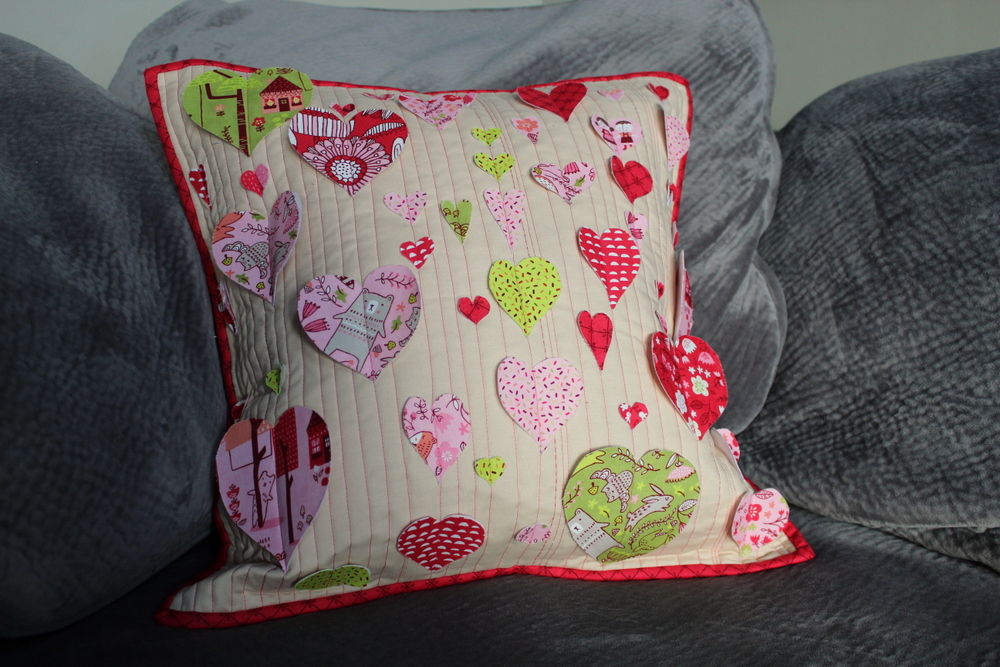
Hello everyone! This is Kim Lapacek from Persimon Dreams! I’m excited to share with you a fun tutorial for a decorative heart pillow that shares the LOVE. These days there is never enough love to go around so I figured this would be perfect.
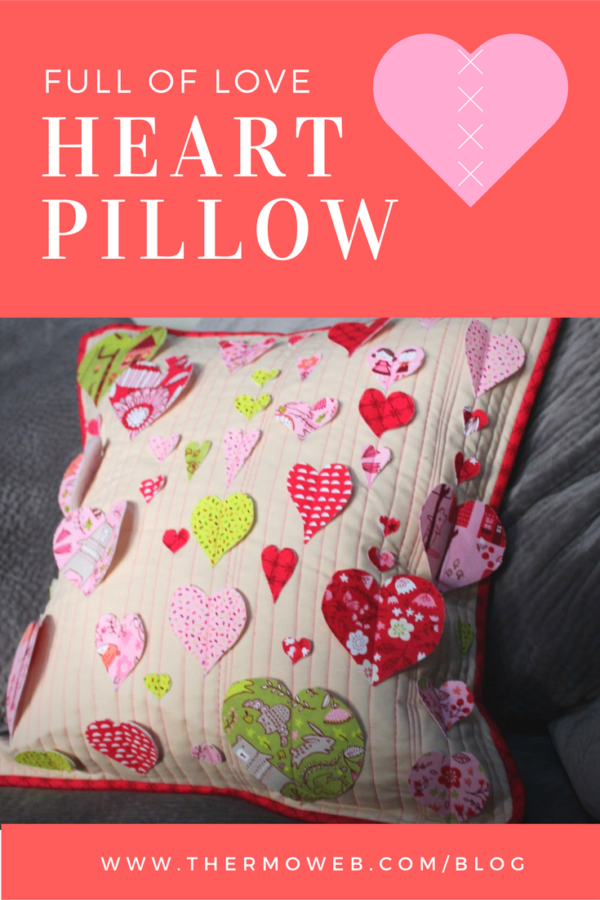
Full of Love – A HeatnBond Heart Pillow Tutorial
Like the majority of my projects, this project is fun and free flowing. I’m going to give you the basics to enable you to create it but I hope you take the tools and ideas I give you and create a pillow full of hearts and love.
Project Supplies:
- (1) 18.5” square of a solid neutral fabric
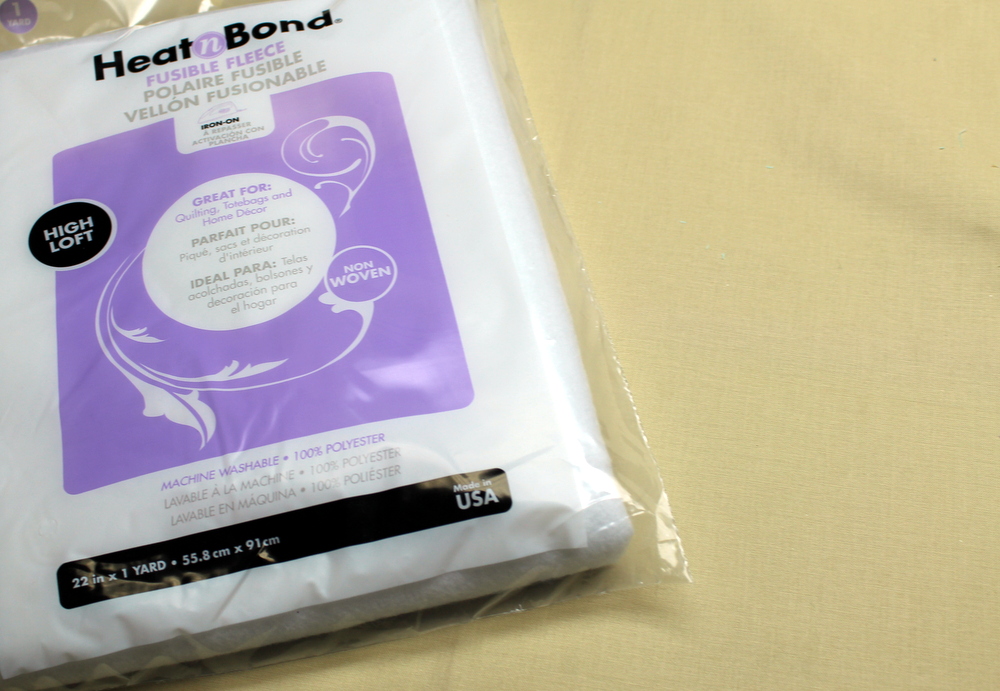
- 20″ square of high loft HeatnBond® Fusible Fleece batting
- 20″ square of fabric for back of pillow top
- Assortment of charm squares from “Just Another Walk in the Woods” from Moda Fabrics
- (5) 2.5″ jelly roll strips from “Just Another Walk in the Woods” from Moda Fabrics (for the envelope back)
- (2) 2.5″ jelly roll strips from “Just Another Walk in the Woods” from Moda Fabrics (binding)
- Heat N Bond® Non-Woven Craft Fusible Extra Firm Interfacing
- Full of Love Heart Templates
- Aurifil Thread 2530
- Pressing Sheet
Heart Pillow Project Instructions:
Prepare the “base” of your pillow – sandwich the 18.5″ square of fabric with the 20″ square of high loft HeatnBond® Fusible Fleece and the 20″ square of fabric for the back. A neutral fabric choice allows the adorable-ness of the “Just Another Walk in the Woods” fabric to really pop out at you.
Press the three layers so they are fused together. Technically only one of the fabric fuses to the batting but I’ve found with pieces this small further basting isn’t necessary if you’re careful as you move the fabric. Feel free to baste more, either pin or spray, if you aren’t comfortable.
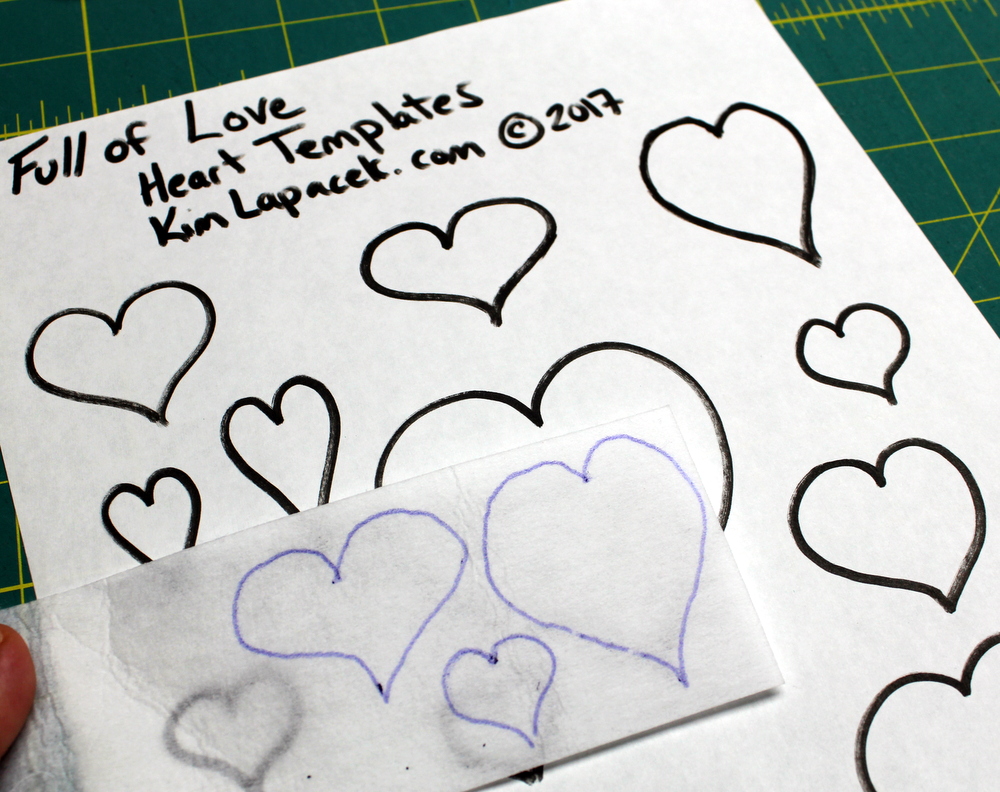
Next download the “Full of Heart Templates” from Craftsy HERE.
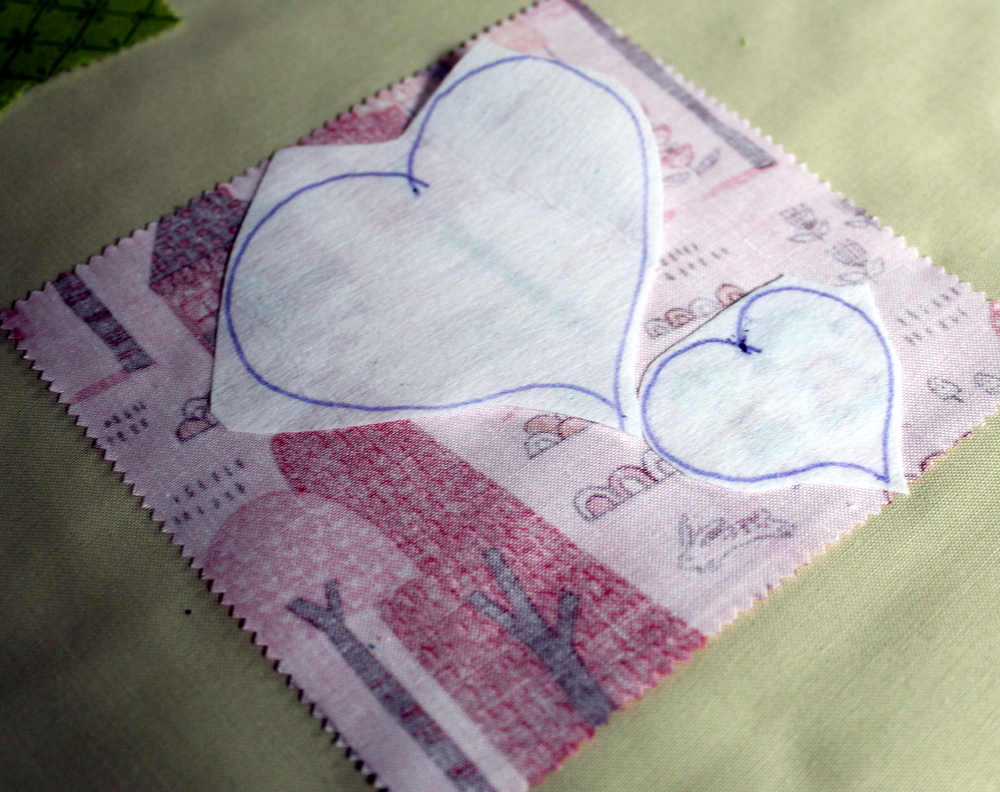
Print the templates onto a regular sheet of paper. Take the Heat N Bond® Non-Woven Craft Fusible Extra Firm with the shiny side down (towards the paper) and start tracing hearts. You’re going to need AT LEAST 3 of each heart … if not more. This is where the creative part comes in – feel free to use the template hearts or make your own! Have fun with it!
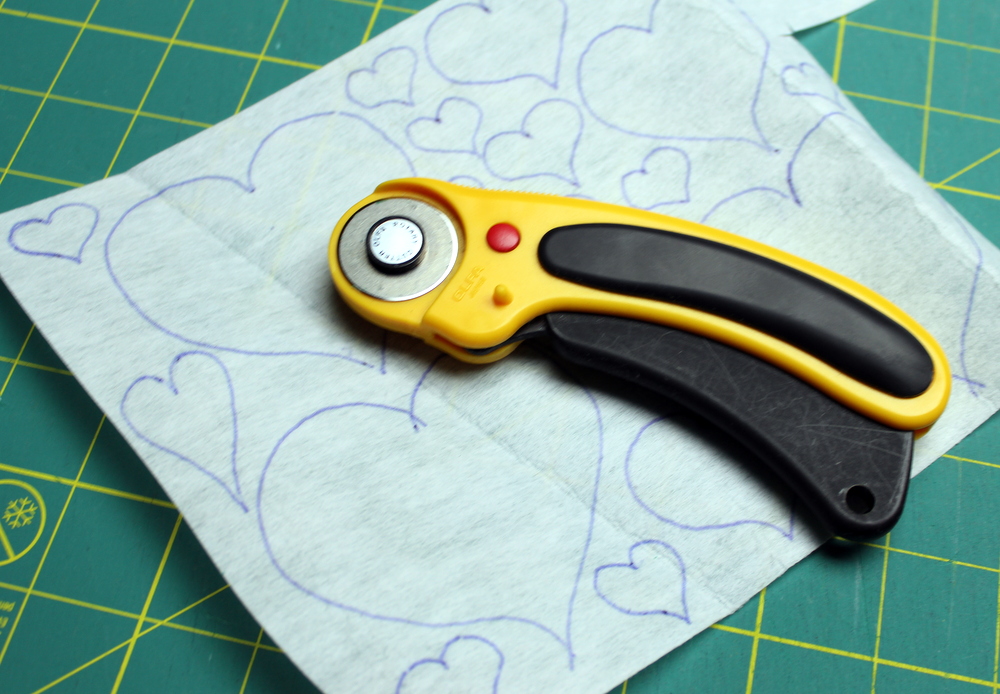
Once a decent section of Heat N Bond® Non-Woven Craft Fusible Extra Firm is covered in hearts take a mini rotary cutter to loosely trim around the hearts. 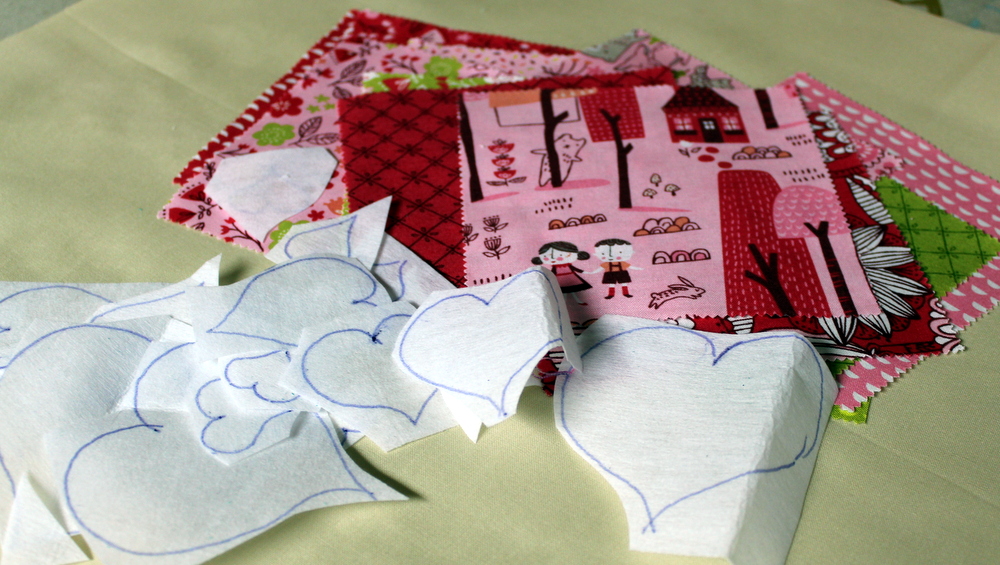 Roughly trim the hearts … just enough so they were all cut out separately with room to spare on the edges.
Lay the hearts out on the WRONG side of the fabric charms! You can see through both kind of so have fun placing the hearts “just right” to show off some of the cute things on the fabric.
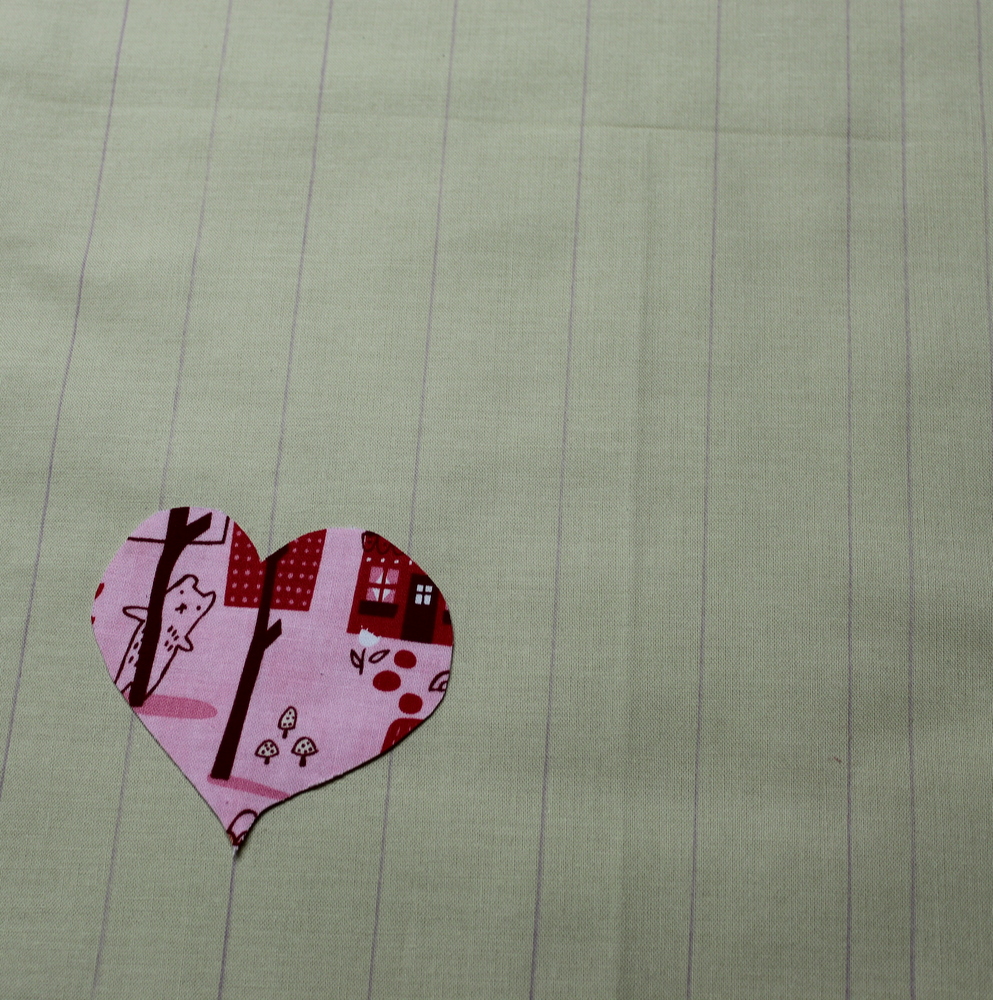
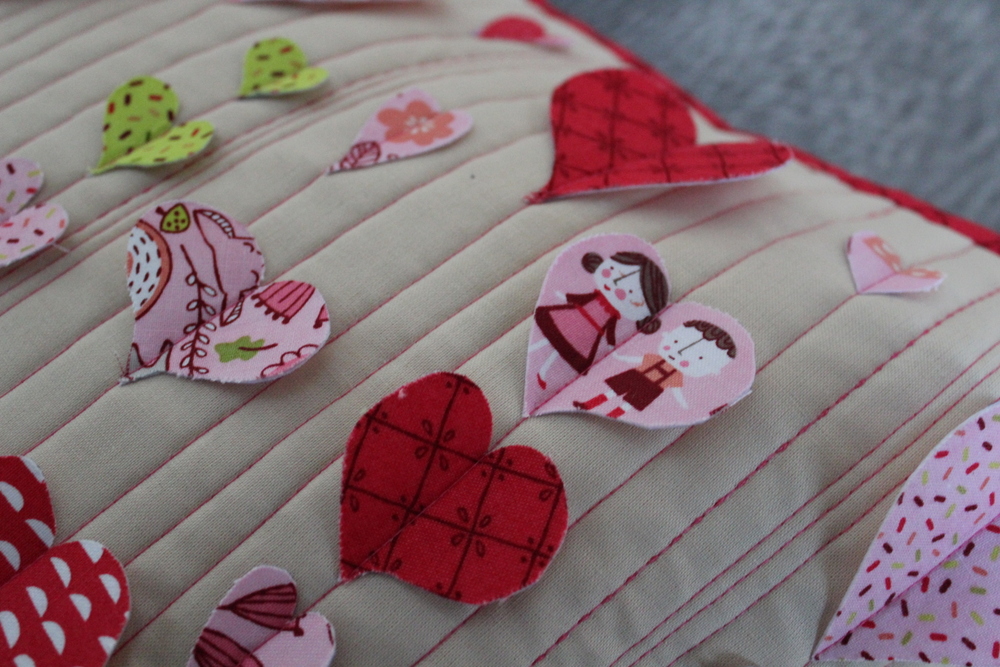 psst … here’s a sneak peek at my favorite fussy cut heart!
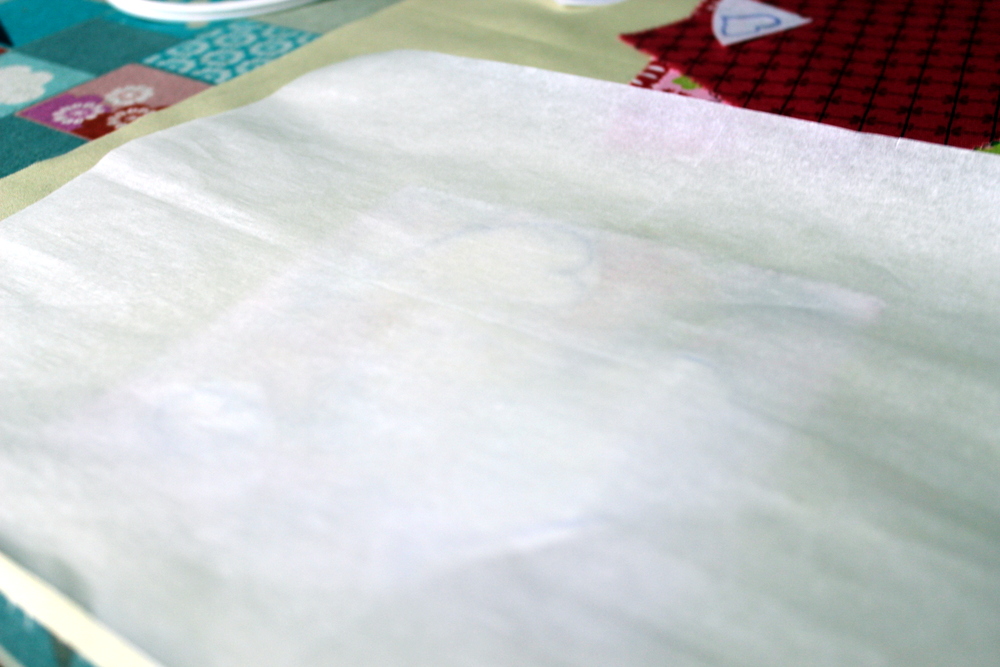
Once your hearts are placed how you’d like them on the WRONG side of the fabric, cover with a Pressing Sheet and iron in place.
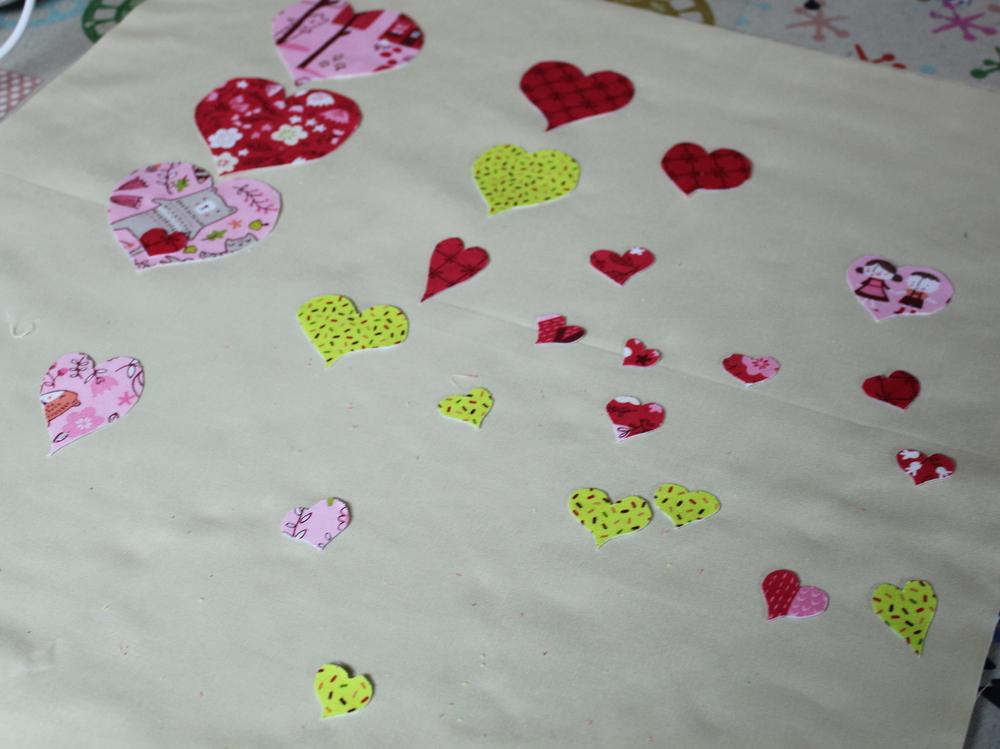
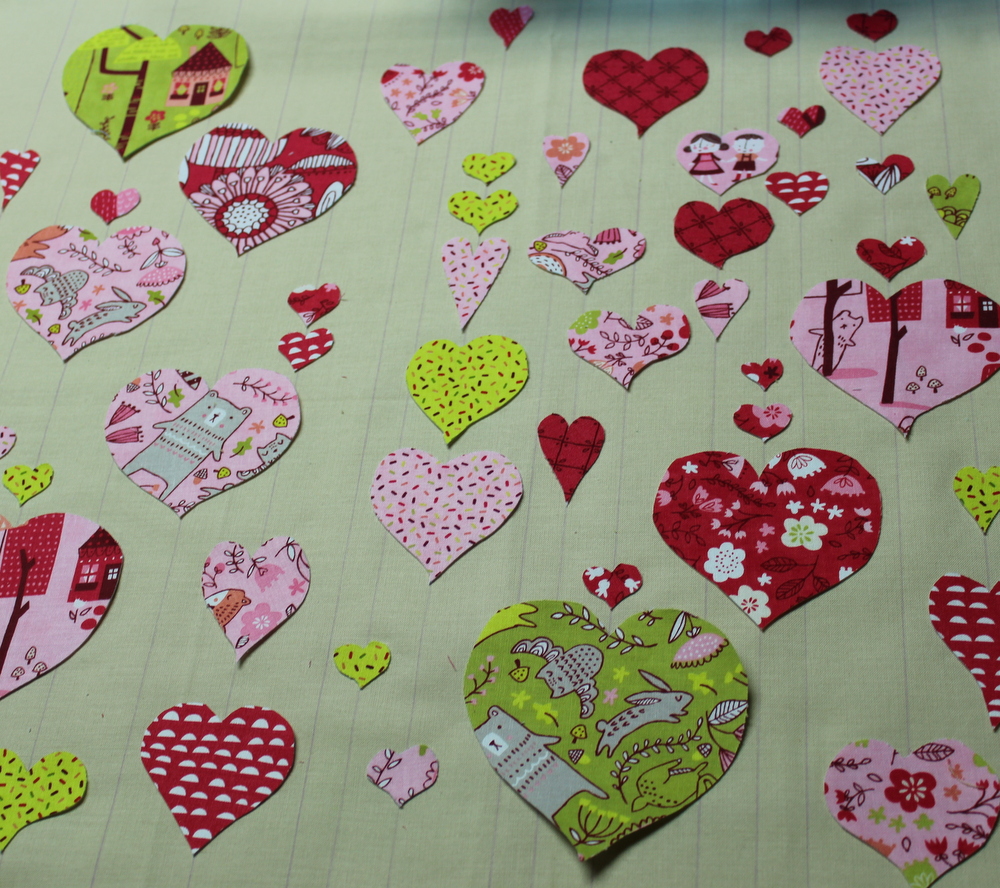
Continue to do this with other charm squares. Get as many hearts as I could on each charm square so as to not waste any fabric.
The first round of “heart cutting and fusing” left room for plenty more so repeat the steps above to create enough hearts to properly fill the fabric.
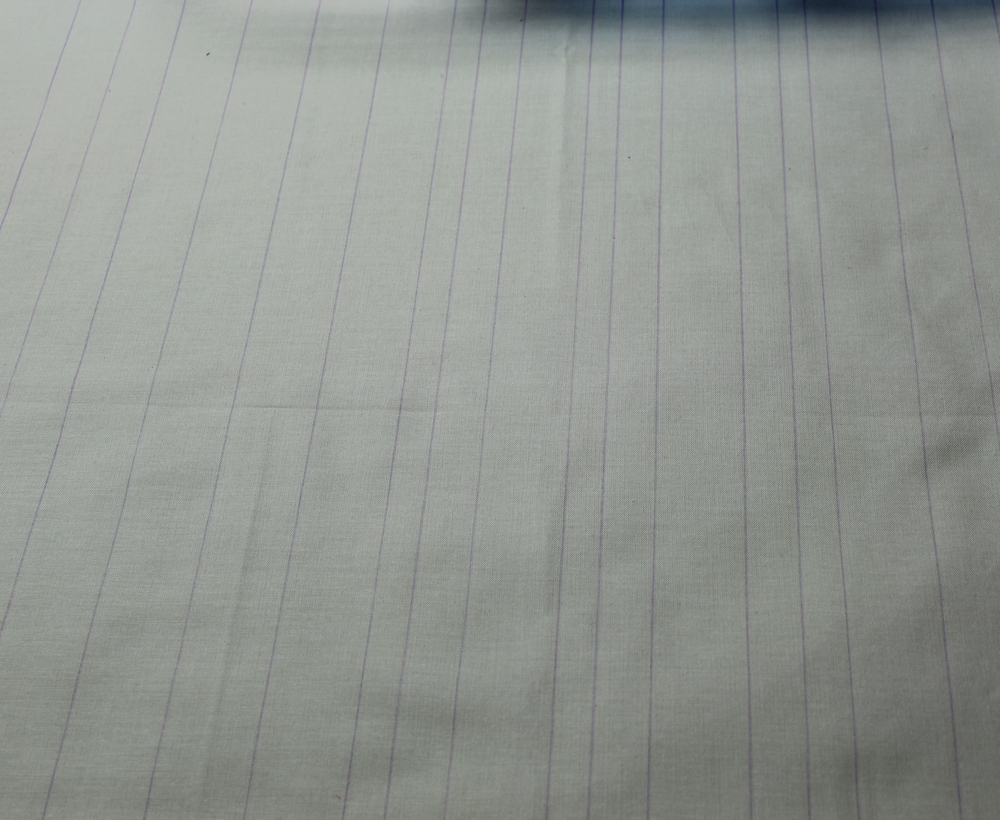
Take the pillow “Sandwhich” and use the purple end of a Dritz Dual Purpose Marking Pen and a ruler to mark vertical lines on the top of the pillow – 1 to 2.5 inches apart.
These lines will be the guides for placing the hearts on the pillow. The purple lines disappear with time so make sure to place the hearts before they fade too much.
Once the hearts are all in the perfect spot it’s time to stitch them in place. But WAIT! How are they going to stay just where you want them?
It’s time to pull out our Liquid Fabric Fuse™. Put a small dab of glue on the back of each heart and stick the heart where you want it. It will be enough stickiness to keep the hearts in the right spot but still allow for the “folding” step later on.
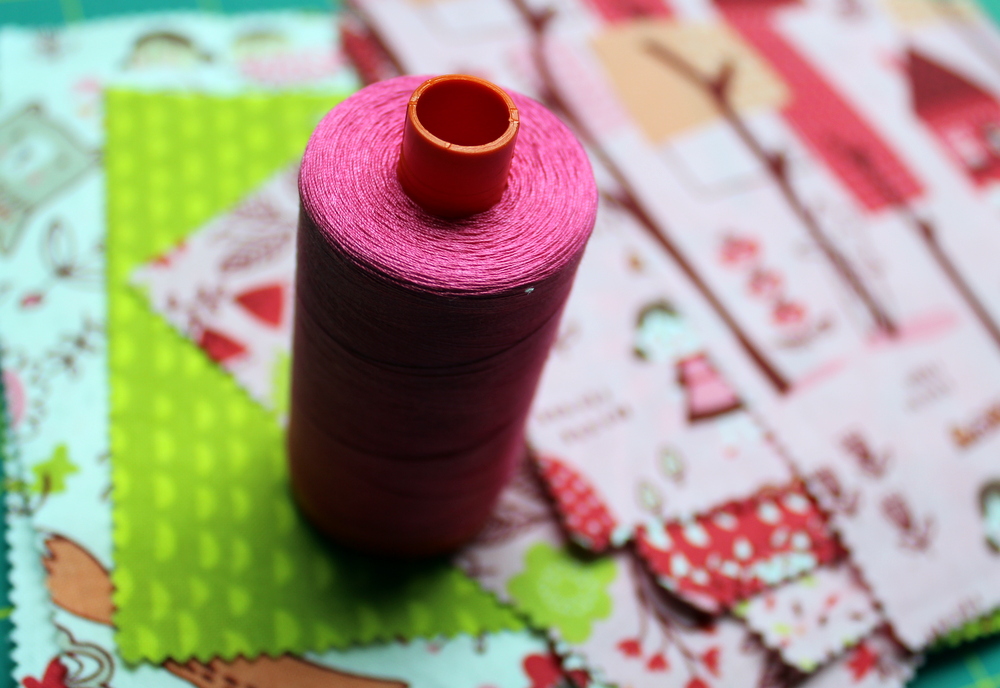
For the quilting use Aurifil Thread 2530 to compliment the fabric nicely.
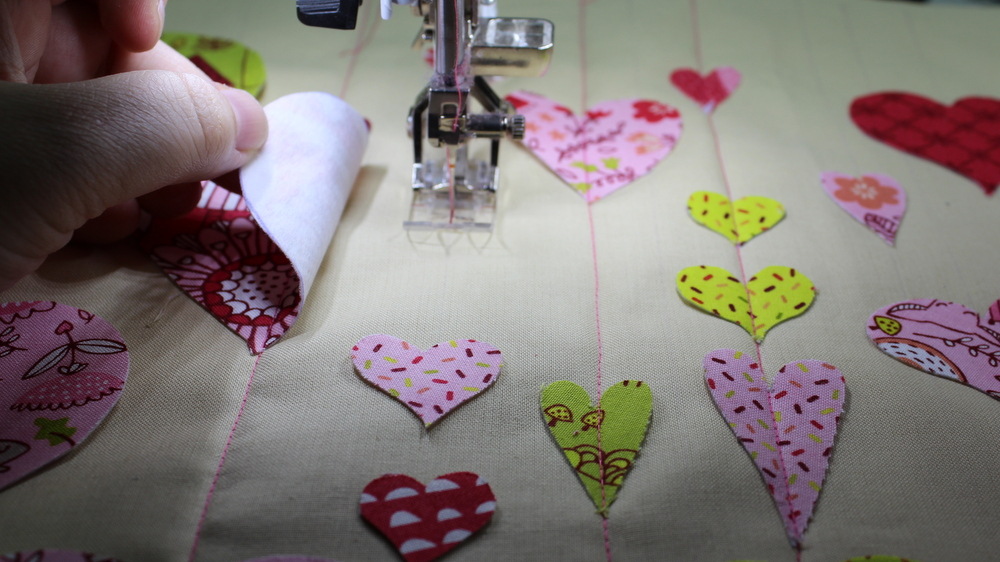
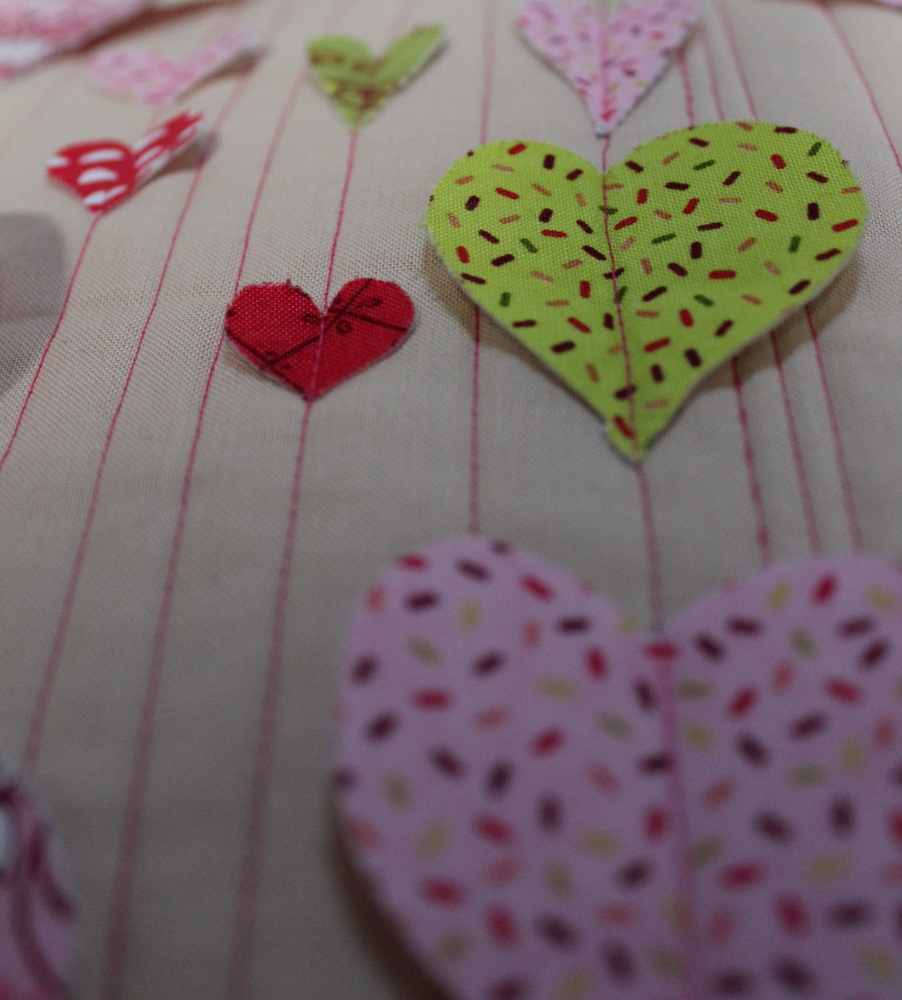
With a walking foot and a straight stitch, quilt the hearts down. Just quilt right down the center of each heart. Be sure to quilt from the top of the heart to the bottom (bumps to the point) – things run more smoothly this way. If you go the opposite way the points of the heart tend to bunch up under the foot. Above you see how you can just fold over bigger hearts if one of the stitch lines needs to go under it.
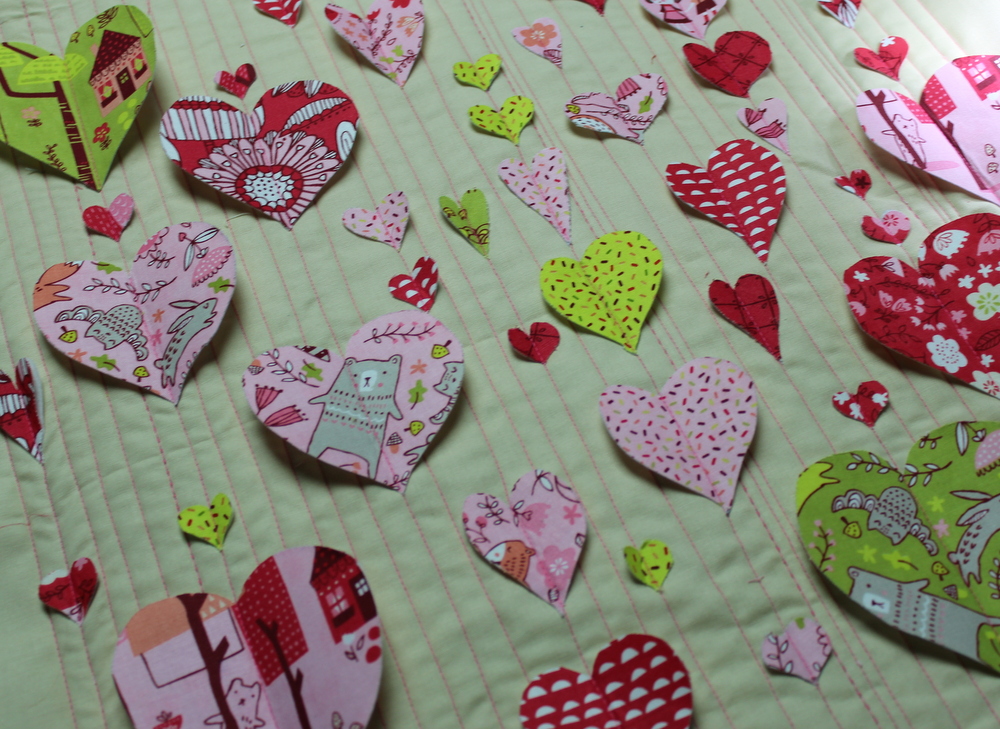
Once all the hearts are quilted down the centers go back through and add more straight lines to fill in (as desired). Be sure fold the hearts up so you don’t stitch any of the edges down.
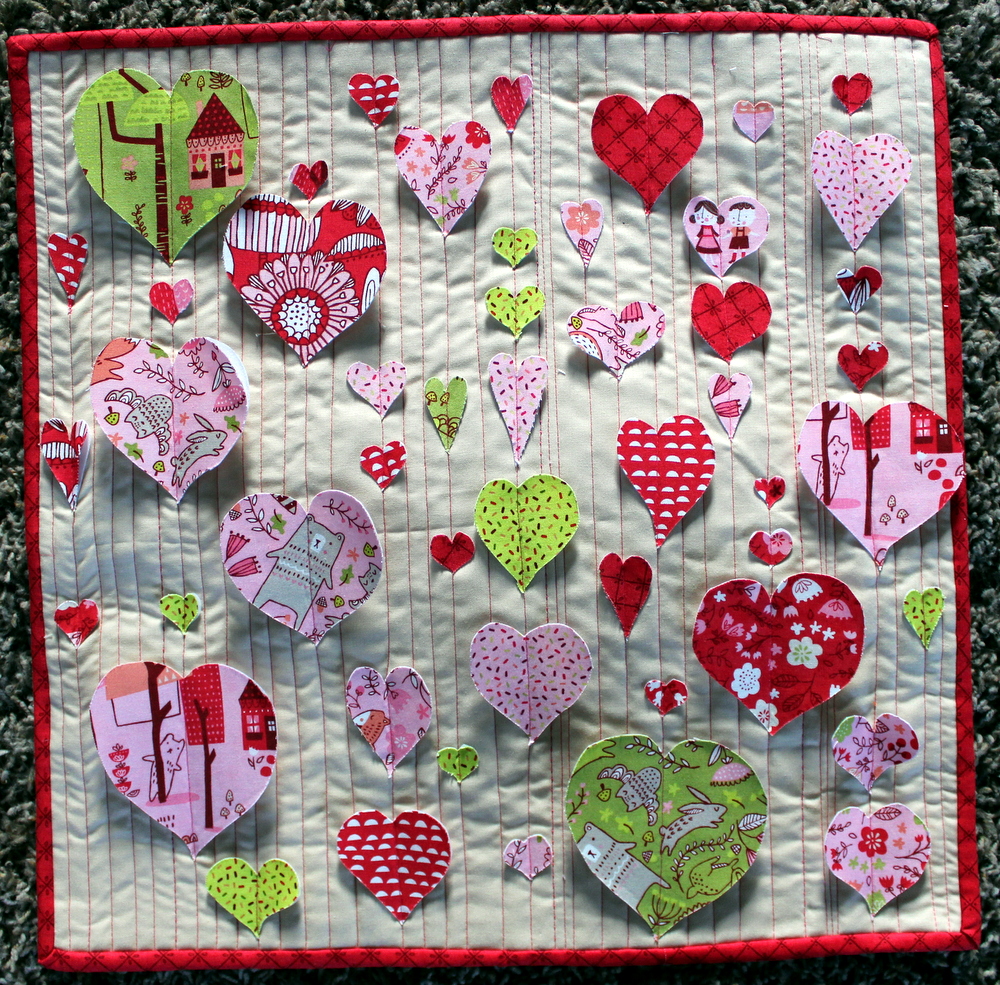
Once you have your top quilted, trim the excess batting and backing fabric so your heart pillow top is 17″ square. At this point – if you don’t want a pillow you could just bind as desired and have a fun little mini quilt.
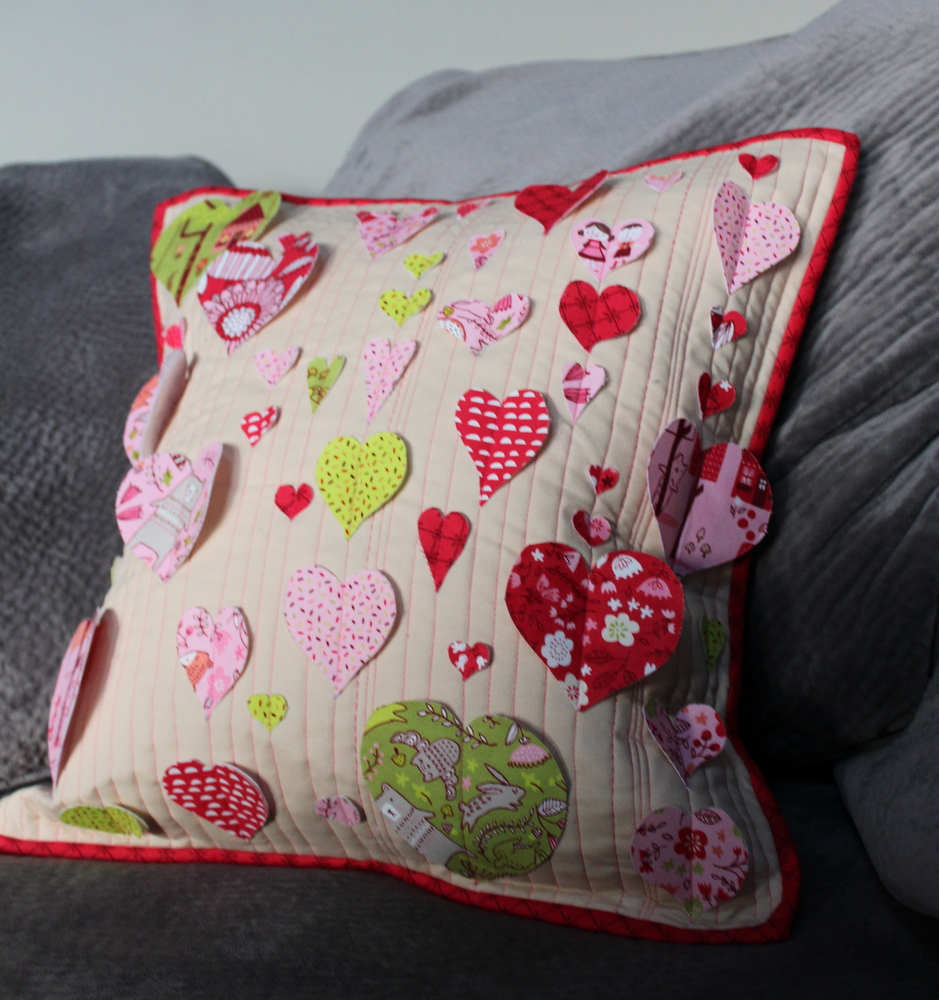
Follow the Finishing a Pillow with Binding tutorial on Sew Mama Sew (it’s the last one on the post) to finish off your piece and make it into a great pillow – perfect for winter! I purchased a 18″ – 20″ pillow form to stuff into my pillow. A pillow form slightly larger than your pillowcase will fill it out and make it even more poofy and cozy!
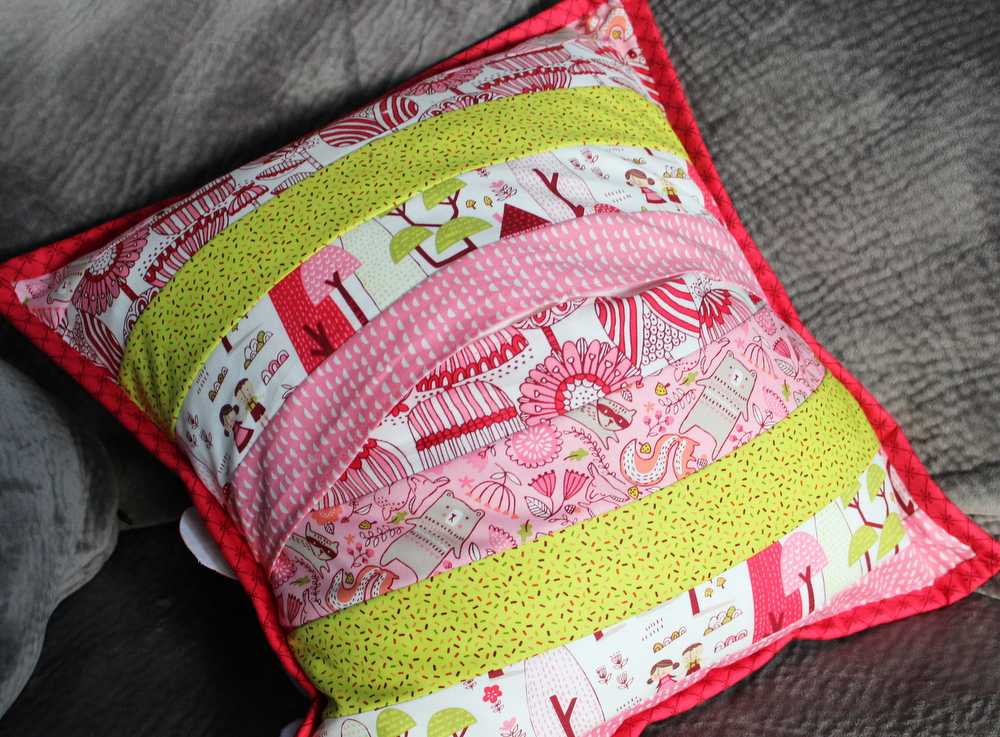
To add just a little extra, chain stitch five jelly roll strips together and trim them down to 10.5″ x 17″ for the envelope of the pillow. Roll the exposed edges in a quarter inch, press, and stitch 1/8″ from the edge to make a clean enveloped back.
Each “Full of Love” heart pillow is going to be different and fun! It’s a 3-Dimensional pillow and is intended to be a decoration and not washed. If you do need to wash I recommend spot cleaning it – not soaking it in water.
I hope you enjoyed this tutorial and if you decide to make one I would love for you to share your creations in my facebook group! Enjoy!

[…] here to share with you another fun way you can use the Full of Love Heart Templates from the “Full of Love Heart Pillow” I shared with you earlier this year to create a unique patchwork […]