Sew a Cheery Cherry Fruit Themed Tote
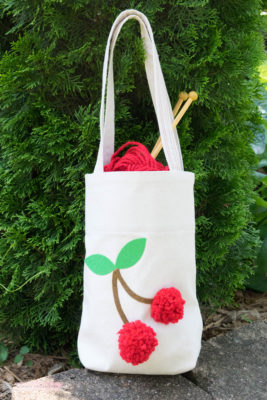
Hello! It’s Lorrie here with a Cheery Cherry Tote Bag for you! This comes together really quickly and uses very little materials
Let’s get started.
Cut 2 pieces of outer fabric 12 x 15″
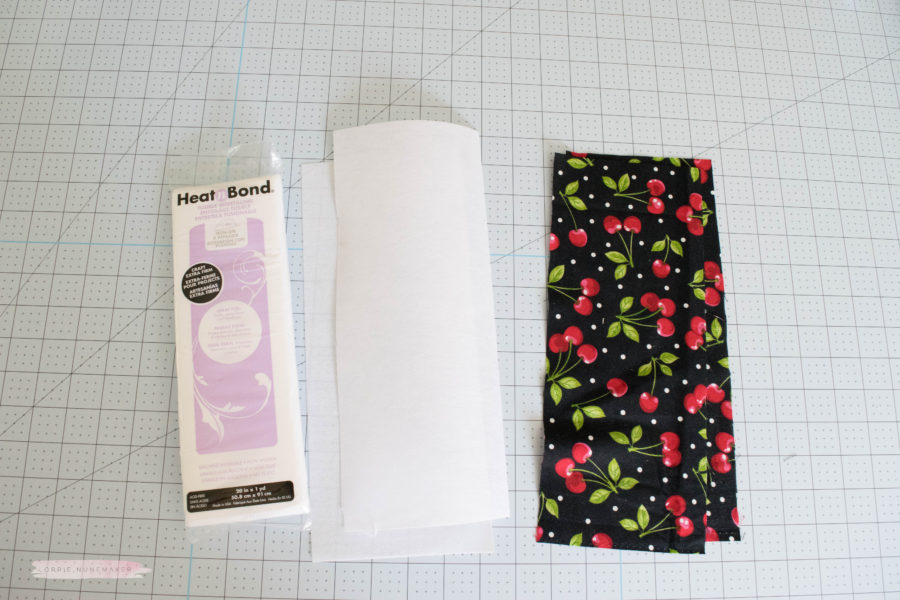
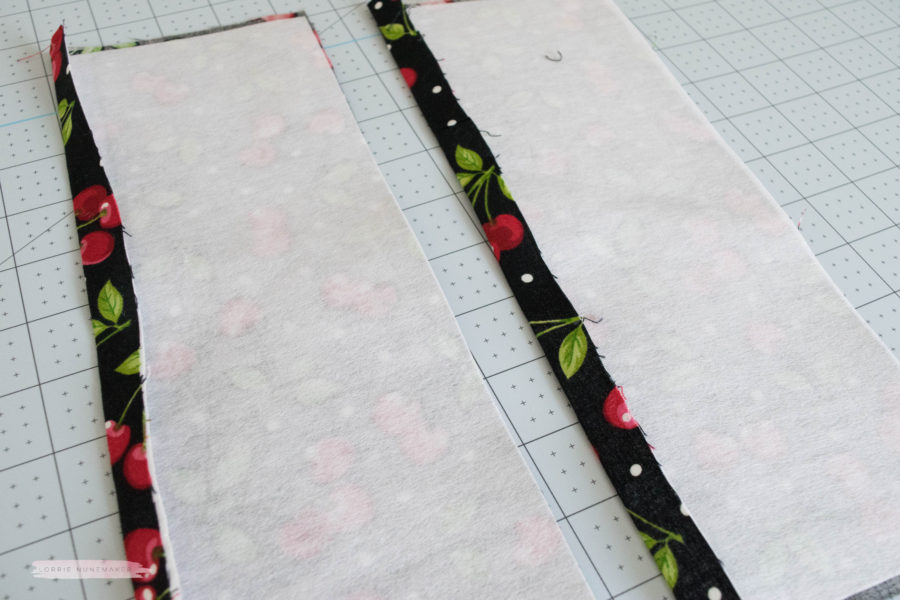
Cut 2 pieces of inner fabric 12 x 5″ and line with HeatnBond Extra Firm Interfacing
Cut 2 pieces of outer fabric 24″ x 4″ for the handles
HeatnBond Non-Woven Craft Extra Firm Interfacing
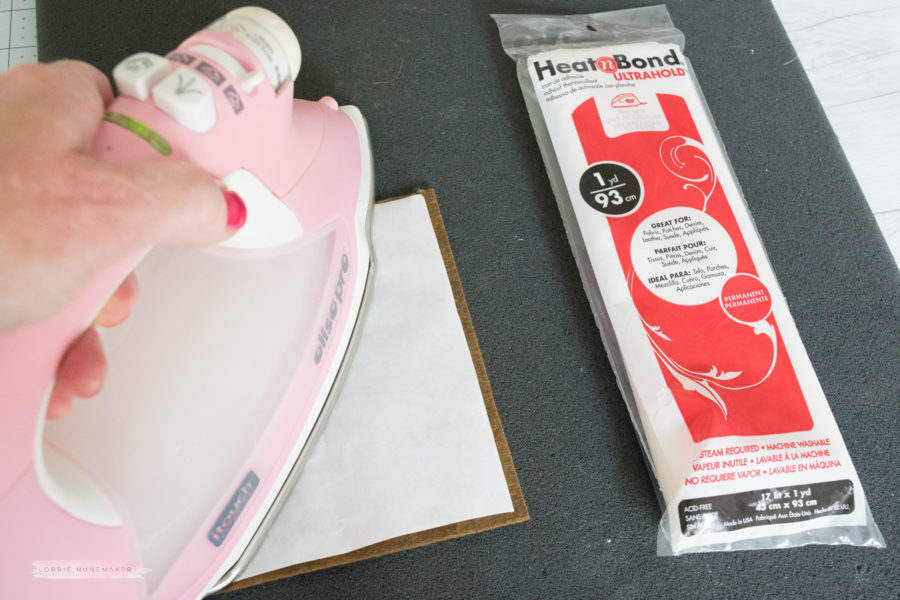
Heatnbond Ultrahold Fusible Adhesive
Sew a Cheery Cherry Fruit Themed Tote Instructions:
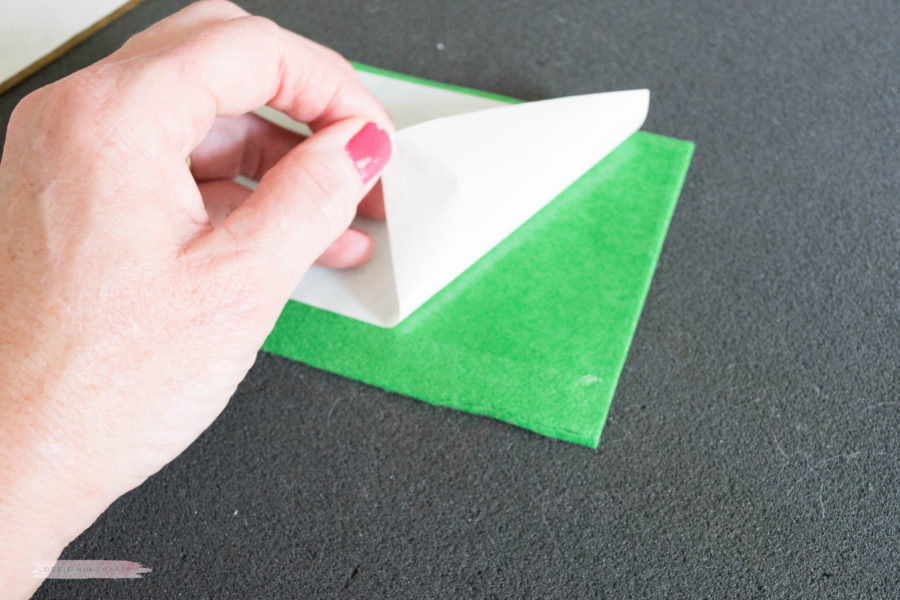
Adhere HeatnBond UltraHold Adhesive to Felt
Begin by applying felt shapes to the bag. You can cut them by hand or with a digital die cutting machine. I used my Cricut to cut the cherry leaves and stem. Apply the HeatnBond Adhesive to the felt before cutting using your iron on a cotton setting.
Once cooled, lift the paper backing and cut your shape(s).
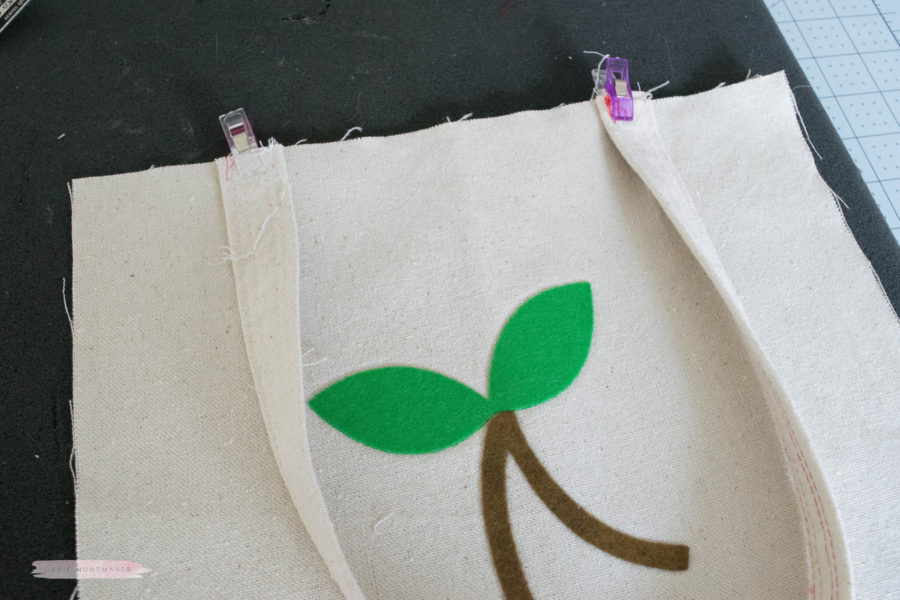
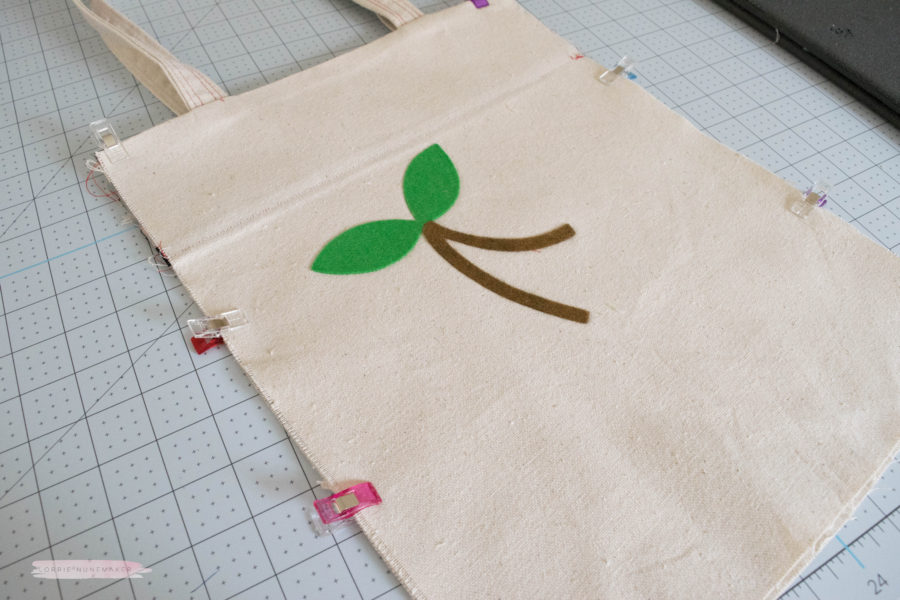
 Using a hot iron, adhere the shape(s) to one of your 12 x 15″ outer fabric pieces. (Hint: Be sure and apply the iron on design at least 5″ down from the top of the bag to avoid sewing through the design in a later step.
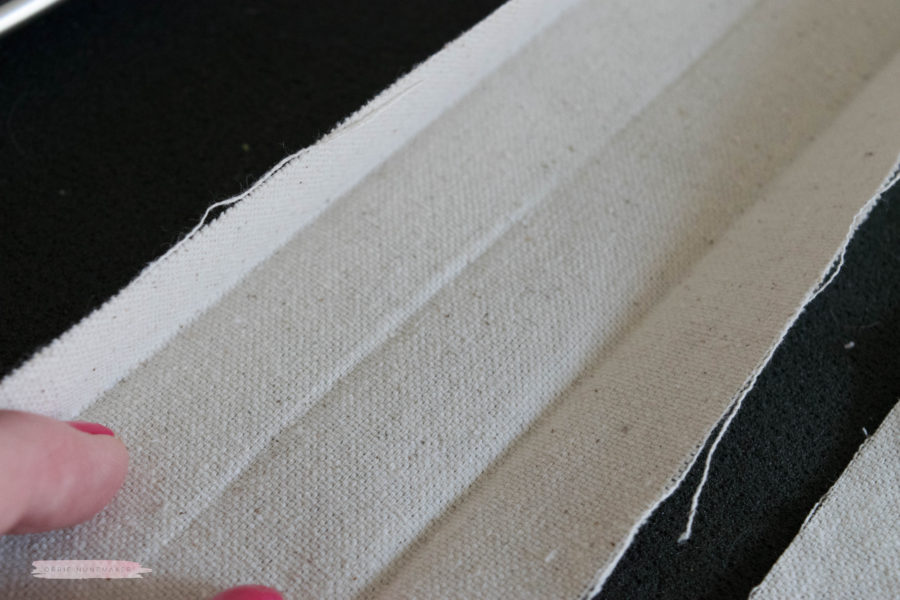
Next, iron one of the handle strips in half lengthwise to establish a center point, then fold the outer edges to the center and press
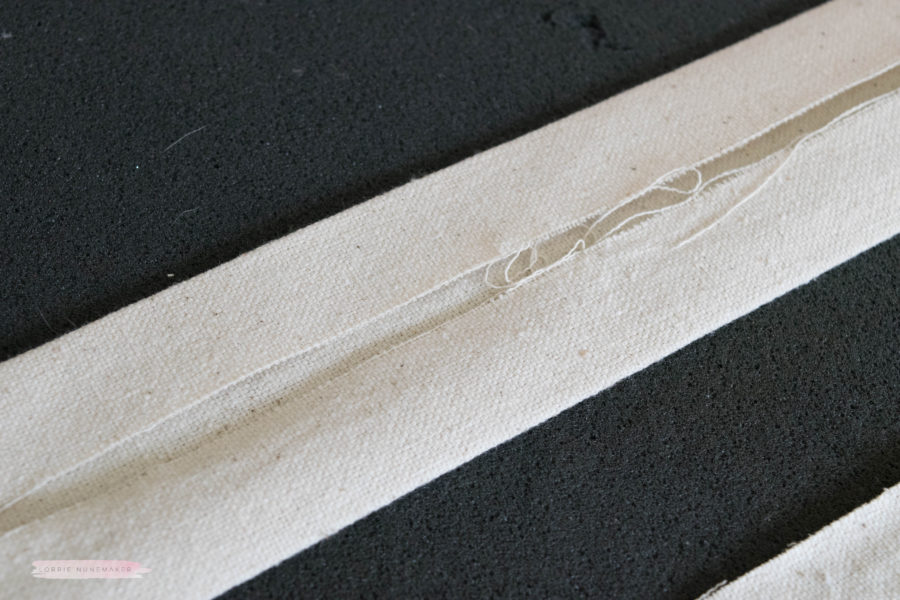
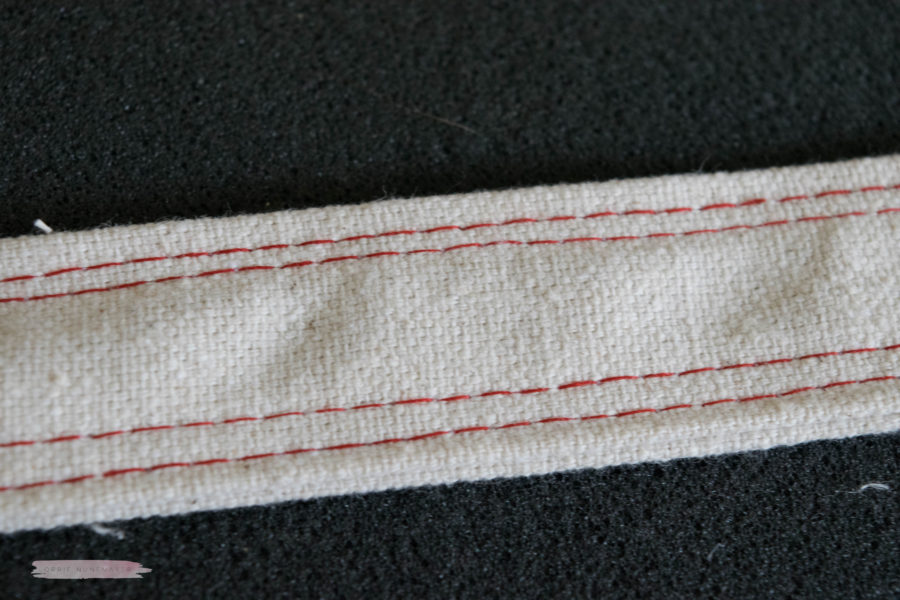
Fold the above piece in half lengthwise and stitch along the long sides. You can do one or two rows of stitches along each long side.
Set handles aside and prepare the 5 x 12″ strips by adding HeatnBond Extra Firm Interfacing to the wrong side of the fabric using a hot iron.
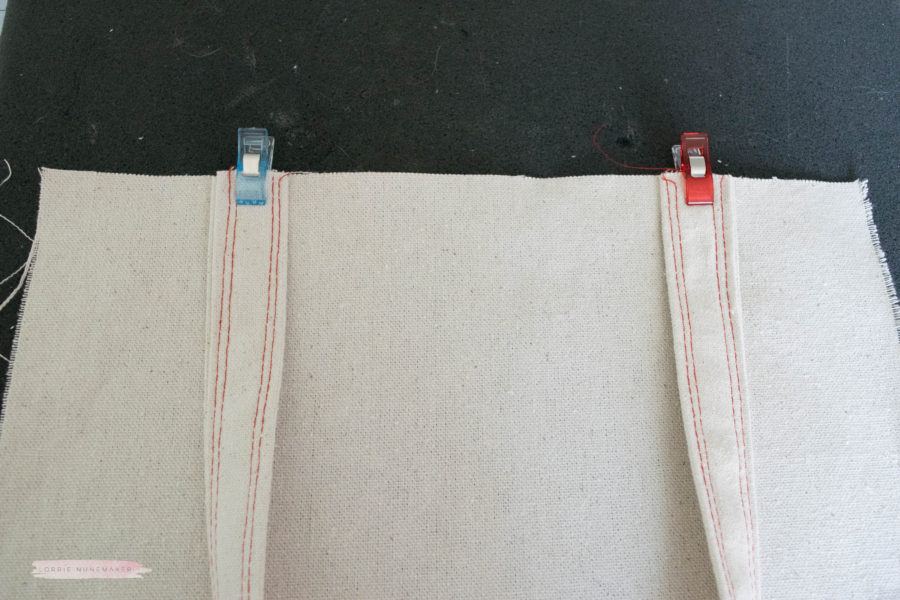
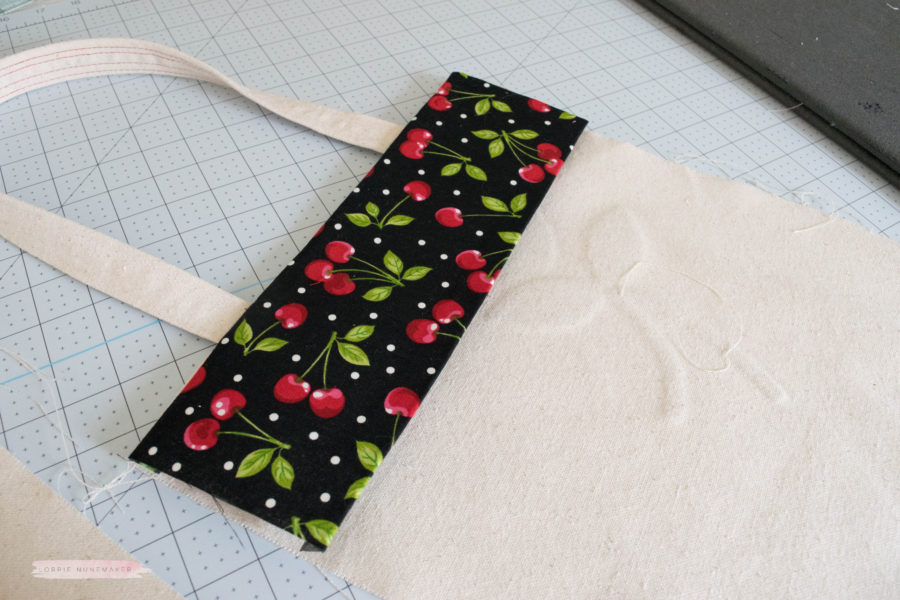
Line the handle up 3″ from the outside of the outer fabric edges. (Note the handles will be clipped to the 12″ side of the fabric). Repeat with both of the outer fabric pieces.
Lightly tack into place using 1/8″ seam allowance
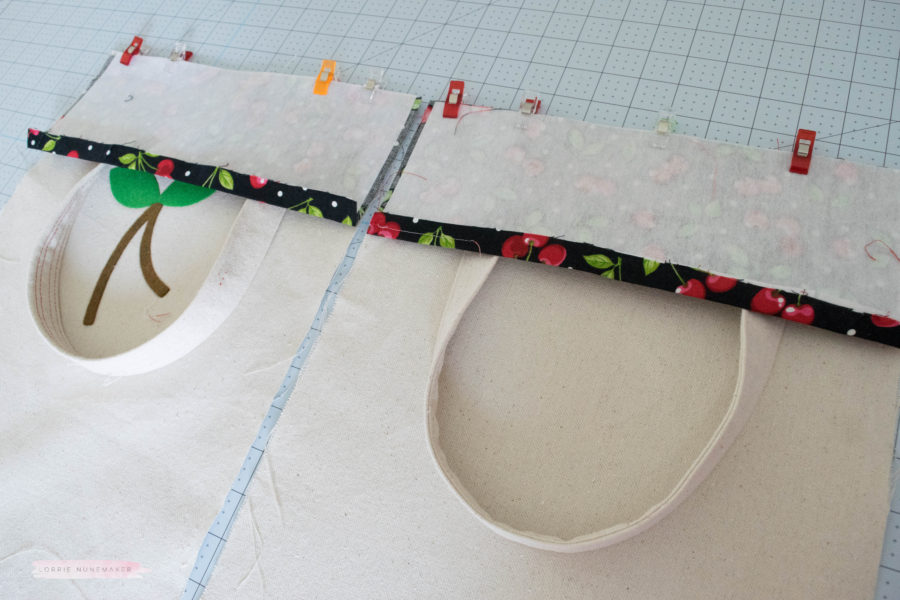
Fold one long side of the (2) 5 x 12″ strips 1/4″ and press.
Add to handle front pieces with right sides together. Stitch along the top edge using 1/4″ seam allowance.
Flip and press into place as shown above.
Clip wrong sides together and sew along the left, right and bottom sides using 1/4″ seam allowance.
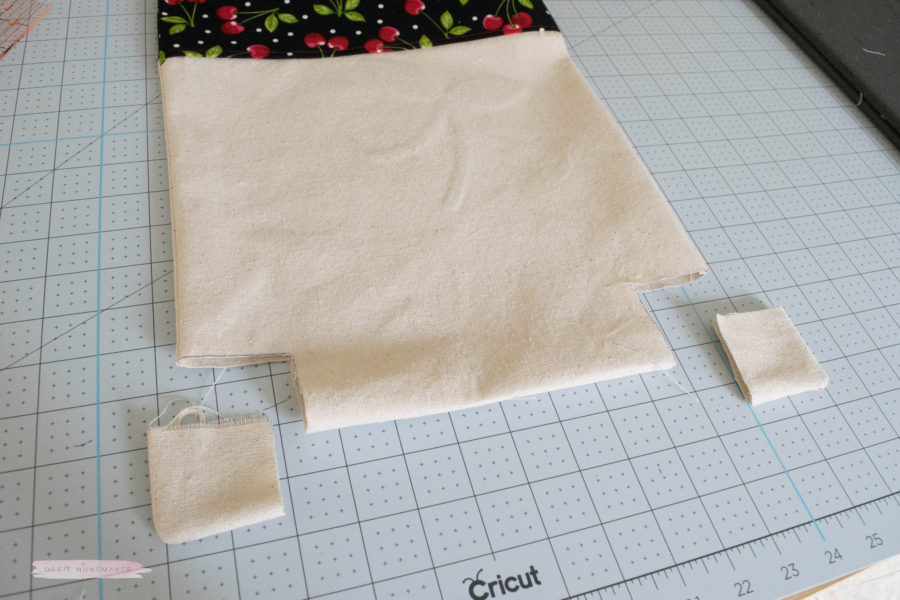
Trip Seam allowances and flip the wrong side out. Cut 2 x 2″ square into each bottom corner. Sew around the left, right and bottom edges using 1/2″ seam allowance.
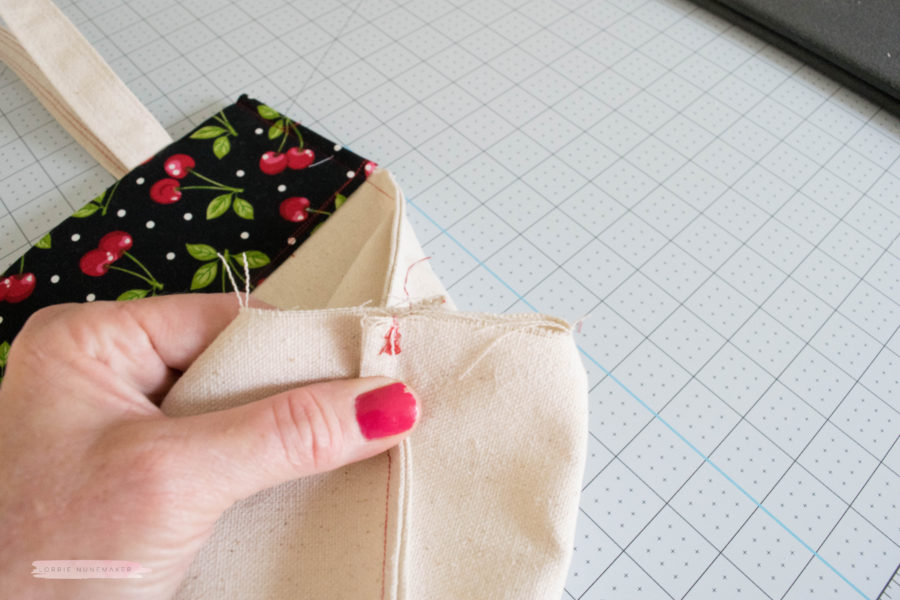
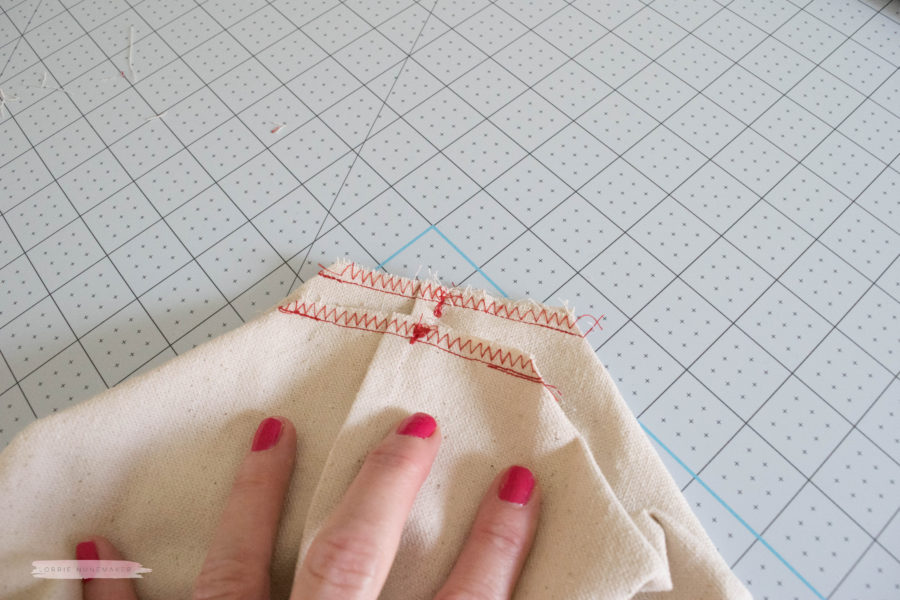
Gather the bottom corners as shown and stitch 1/4″ along the straight edge. Secure raw edge with a zig zag stitch
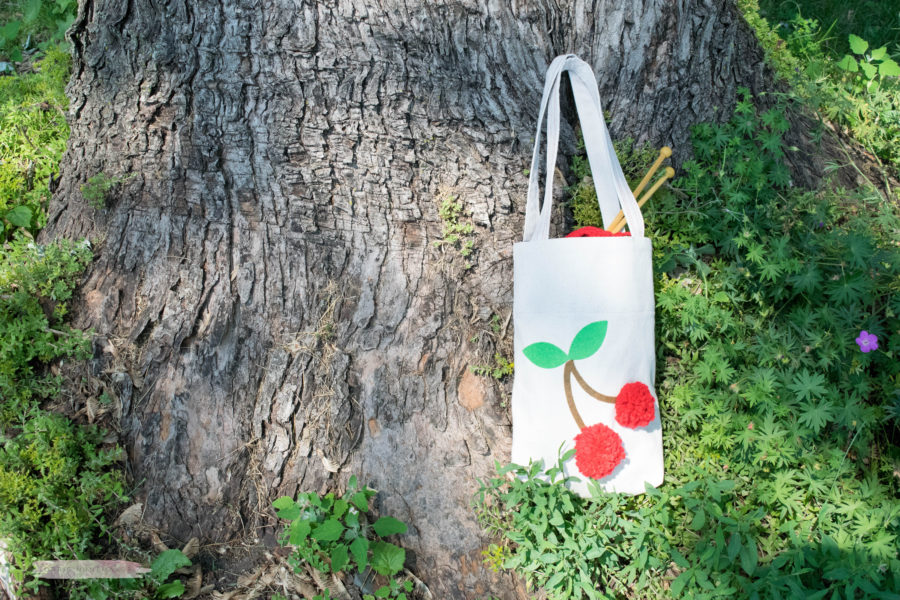
Next – I hot glued yarn pompoms on as my cherries, but you could also cut felt cherries, use felt balls or store bought pom poms.
Now… sit back and give yourself a thumbs up! You just created a cheery Cherry Tote!

