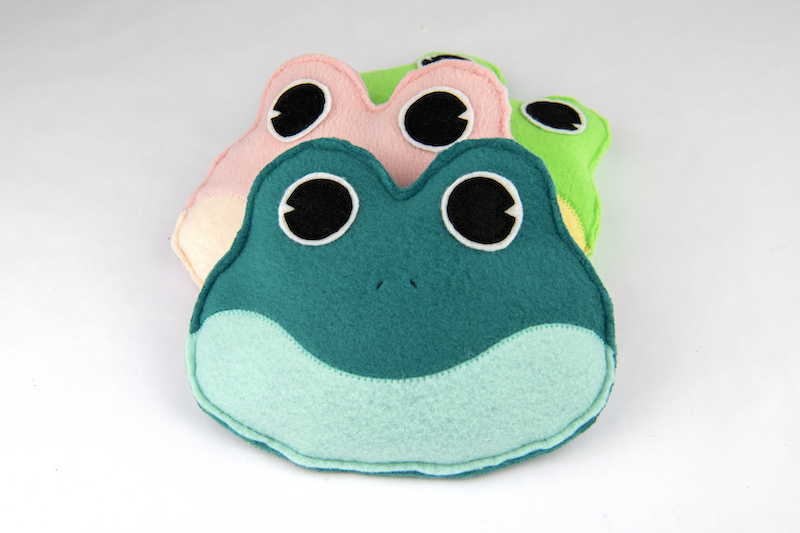
Hi, friends! I’m Lisa from Stubbornly Crafty back to share another fun project with you. Today we have a fun frog bean bag to whip up. It’s a super quick project that’s also simple enough for kids. I have a seven-year-old little girl who is always asking for a project to do. This frog can be made without a sewing machine, too. Of course, if they are really little, some glue instead of hand-stitches will do the trick for his (or her!) face. I’ll be showing the machine-sewn way, but there are other options if you, too, have a little crafter.
Fabric Frog Bean Bags
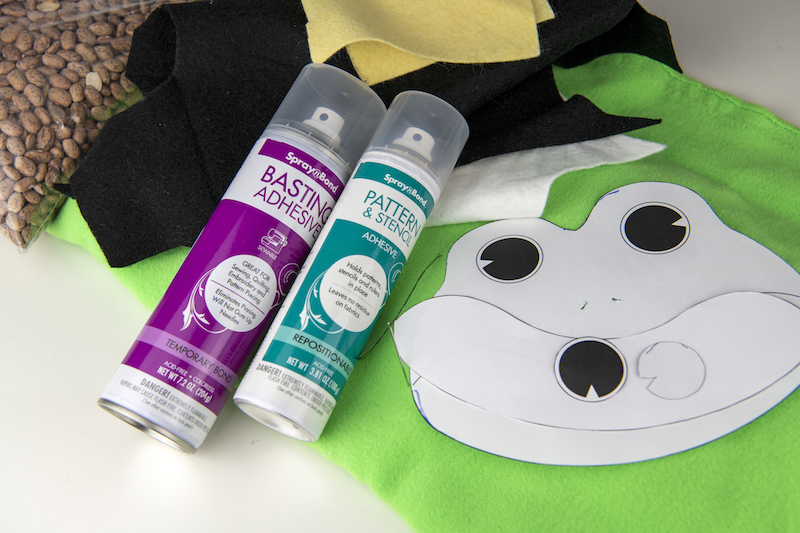
Supplies:
- Pattern (DOWNLOAD HERE, THEN PRINT)
- Felt and/or fleece
- SprayNBond Pattern & Stencil Adhesive
- SprayNBond Basting Adhesive
- Dry Beans or Rice (you can stuff it with Poly-fil if you prefer a stuffed friend, too!)
- Hand needle and thread
Fabric Frog Bean Bag Instructions
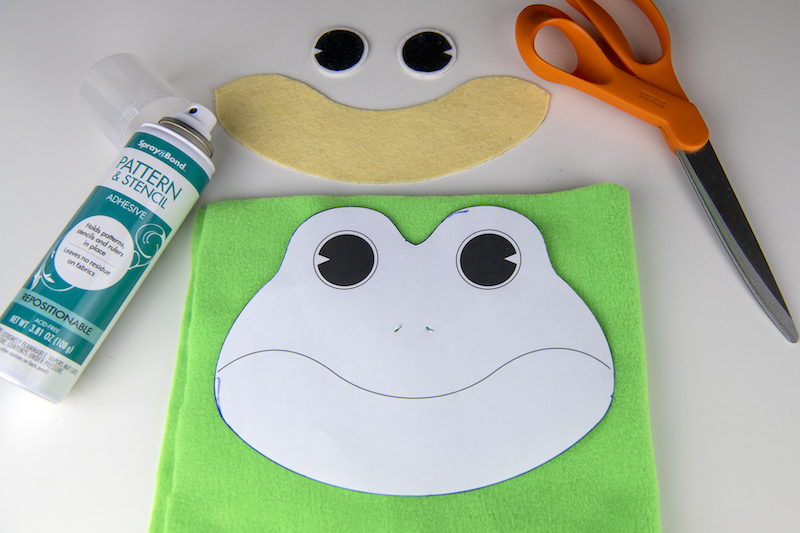
Grab all of your supplies. Print and cut out your pattern. Use your Pattern & Stencil Adhesive to adhere your pattern to your fabrics to make them easier to cut out. Fleece moves on you. Cut out two of each piece except the mouth. You’ll only need one mouth.
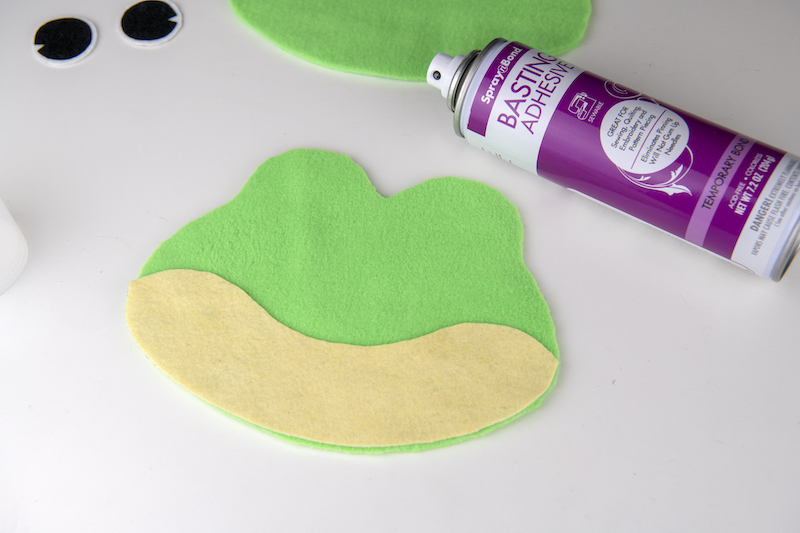
Once your pieces are cut out take one face and the mouthpiece. Use the Basting Adhesive, spray the back of your mouth, and adhere it in place along the bottom of the frog’s face.
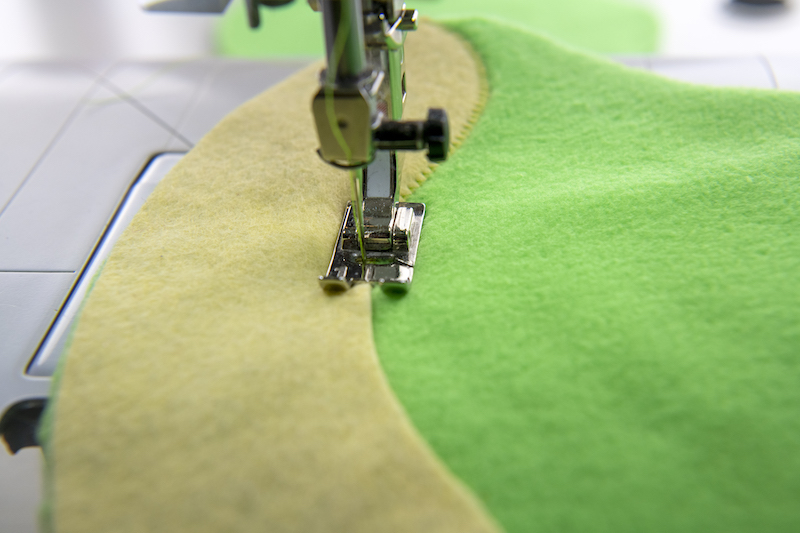
Topstitch along the top of the mouth. I prefer a zig-zag stitch.
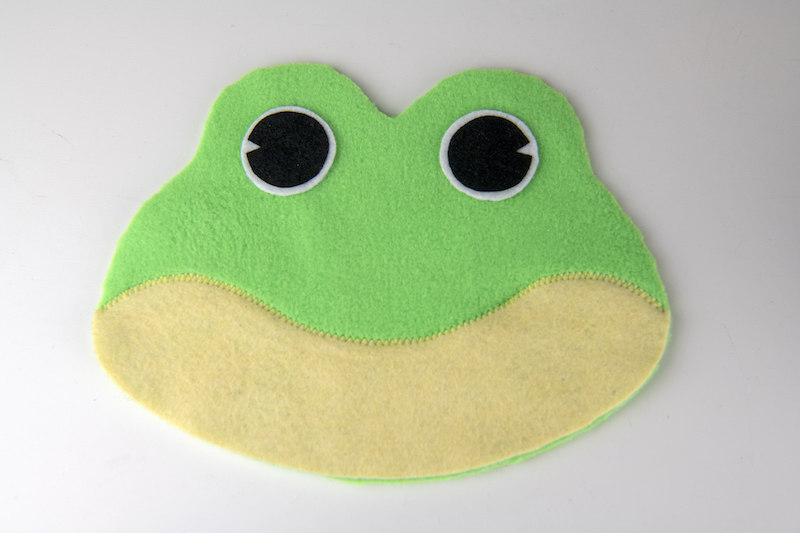
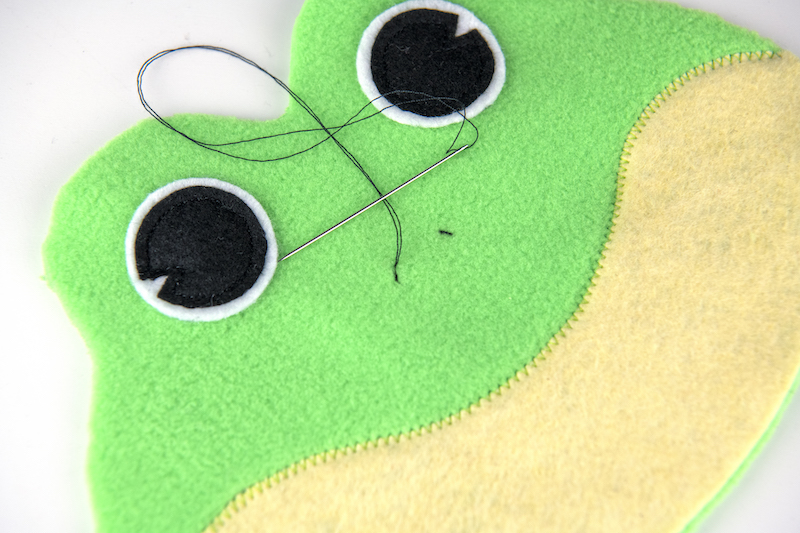
Next, take your eyes. Layer them with the whites below the pupils adhering to the layers with the basting spray. Adhere in place on your frog’s face.
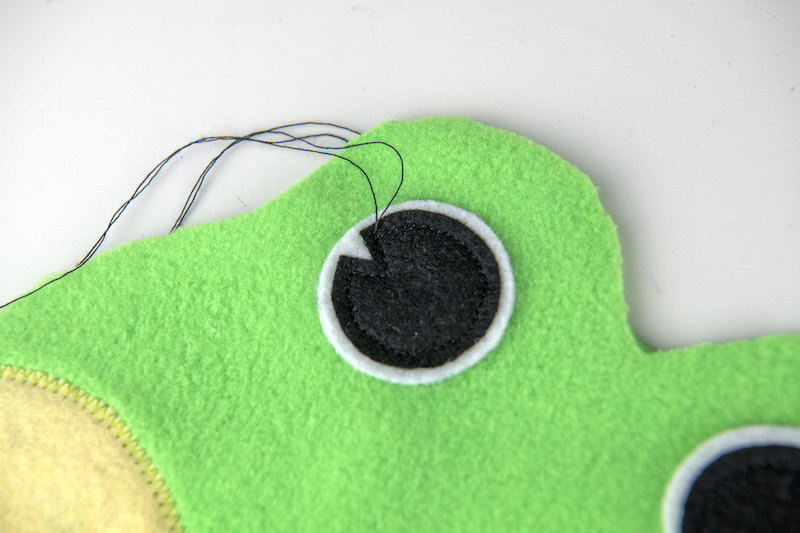
Topstitch around the perimeter of the pupil.
Pull your threads to the back to tie off instead of backstitching for a cleaner look.
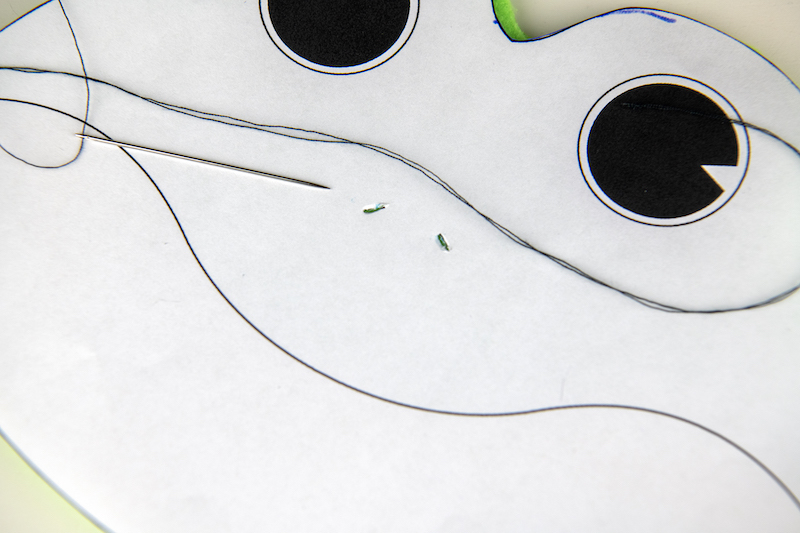
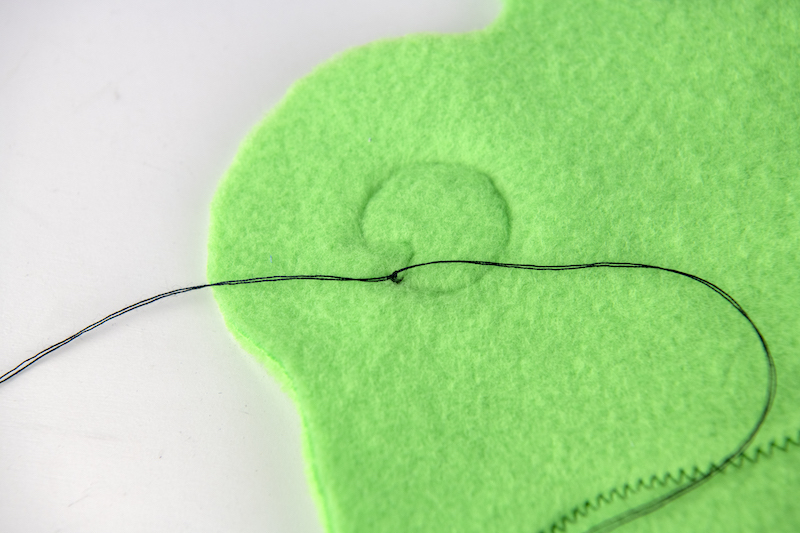
Ok, now grab your needle and thread. Use scissors to cut little marks over your pattern’s nose holes. Use a pencil, Frixion pen, or pin the pattern to your face to find the placement of the nose holes on your frog’s face.
Use your needle and thread to stitch a few stitches for each one and tie off in the back.
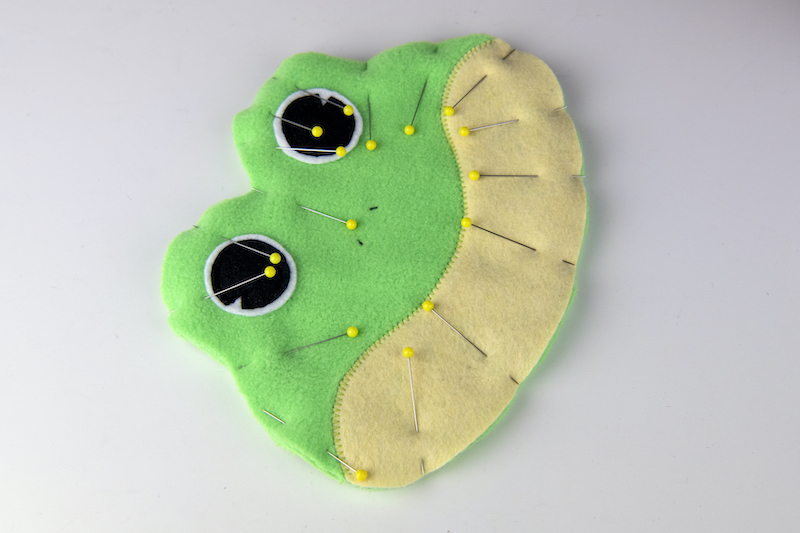
Grab the back to your frog’s face and pin it to the top of your frog, the wrong sides together. We will not be turning our frog right side out. The edges are raw but will not fray. The vertical pin is where I’ll leave my opening for filling.
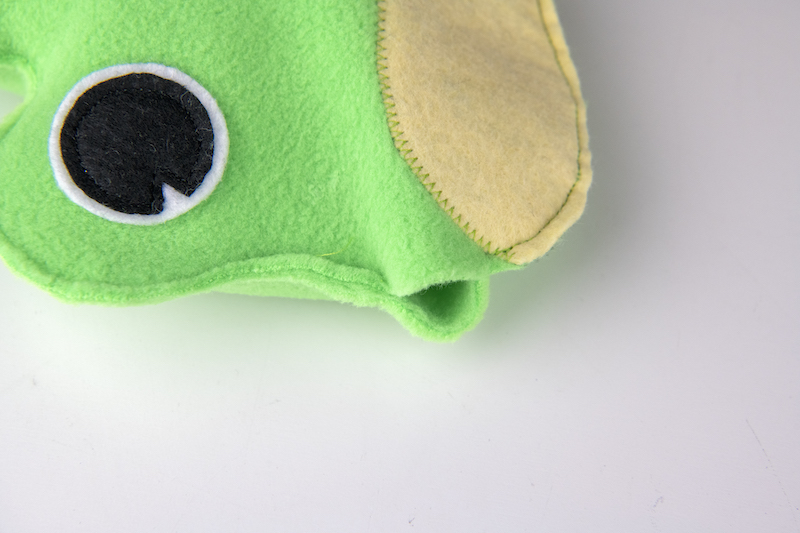
Topstitch around your frog’s face leaving a small opening for stuffing. Finally, stuff your frog. If using rice I recommend using a funnel. Mine took approximately 1.5 cups to fill. Once your frog is stuffed sew your opening closed and clip your tails.
That’s it! You are done and have a fun little froggy for your littles to throw around and love.