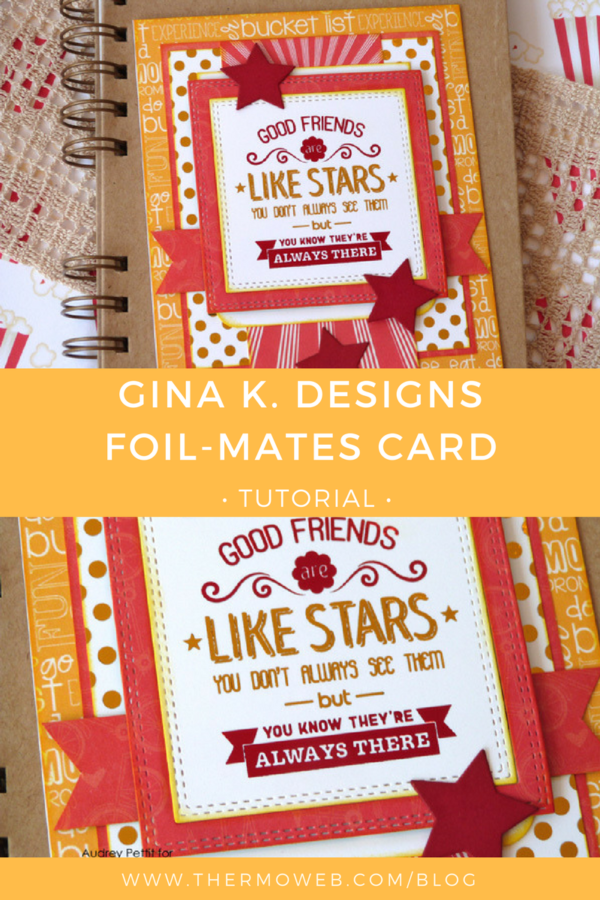
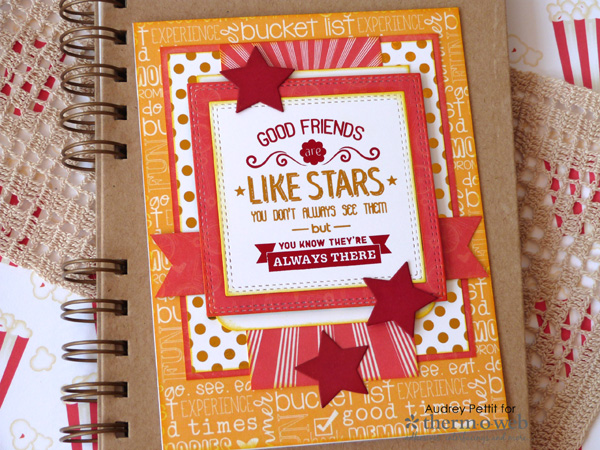
I love the shiny bright look of Deco Foil! It’s such a beautiful accent for any crafting project, and now with the new Fancy Foils and Foil-Mates product line by Gina K.™ Designs, adding the glamorous touch of foil is easier than ever. Today I have a sweet friendship card to share featuring lots of new goodies from the Therm O Web GinaK Designs line, and the adorable new summer paper collection from Photo Play Paper called Bucket List.
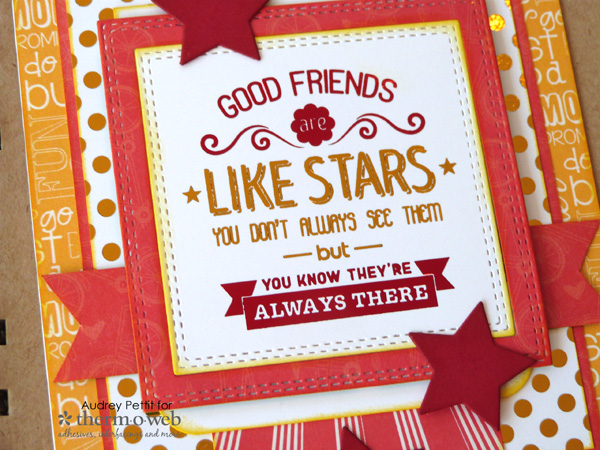
Good Friends are Like Stars Card by Designer Audrey Pettit
Friends Card Supplies:
Therm O Web Gina K. Designs Premium Cardstock: White, Prime Time
Therm O Web Gina K. Designs Foil-Mates: Polka Party, True Friend
Therm O Web Gina K. Designs Fancy Foils: Wild Dandelion, Red Velvet
Therm O Web Gina K. Designs Die Sets: Square Small Set, Rectangle Large Set
Therm O Web Gina K. Designs Ink Pad Set: Prime Time
Therm O Web XL Memory Tape Runner
Therm O Web 3D Adhesive Squares
Therm O Web Zots™ Clear Adhesive Dots: Medium
Therm O Web Royal Sovereign Laminator
Patterned Paper: Photo Play Paper Summer Bucket List 6×6 Paper Pad
Ink Blending Tool: Ranger
Corner Rounder Punch: Marvy Uchida
Let’s take a closer look at this fun Friends Card.
Friends Card Project Instructions:
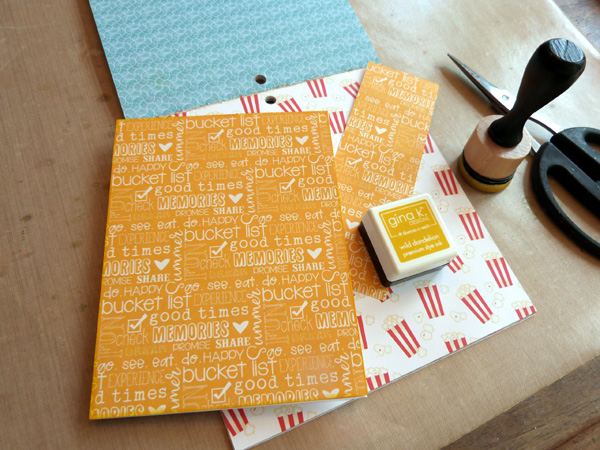
Before I begin, I always turn on my laminator and let it get good and hot while I’m working on the rest of my supplies.
Create a standard A2 card base from white cardstock, and cover the front of the card with patterned paper.
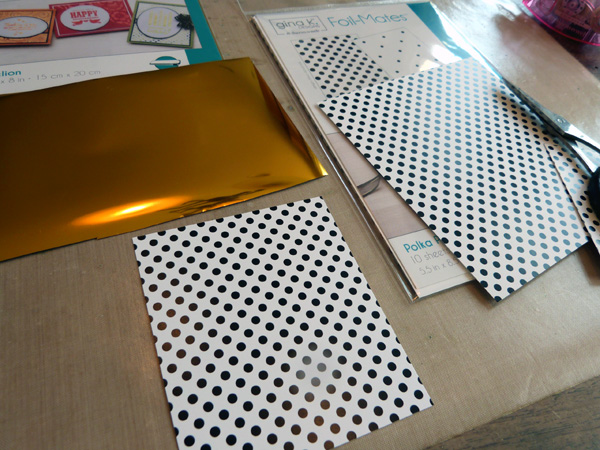
Trim a 3.5″ x 4″ piece of dotted Polka Party Foil-Mates sheet, and a piece of Wild Dandelion Fancy Foil that is slightly larger.
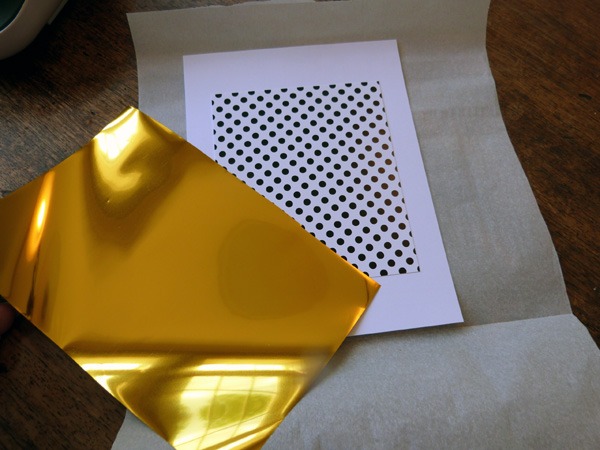
For best foiling results, I like to add a bit of scrap cardstock behind my Foil-Mates sheet for extra stability. Place the foil on top of the Foil-Mate, with the colored side up and the silver side down. Sandwich this combo between the sheets of a folder piece of parchment paper.
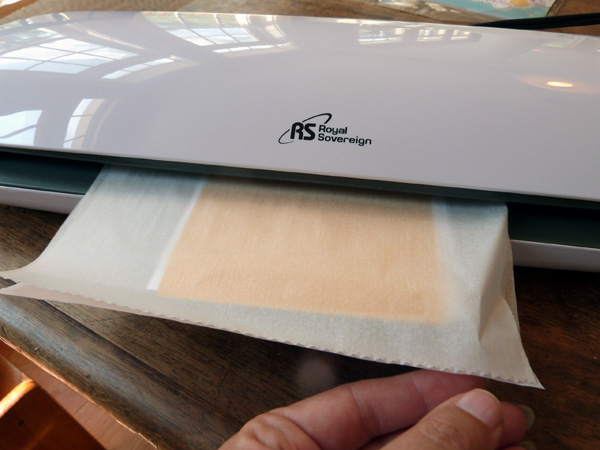
Place the folded end of the parchment into the laminator first, and run it through the machine. Repeat the process to make sure all the foil has transferred.
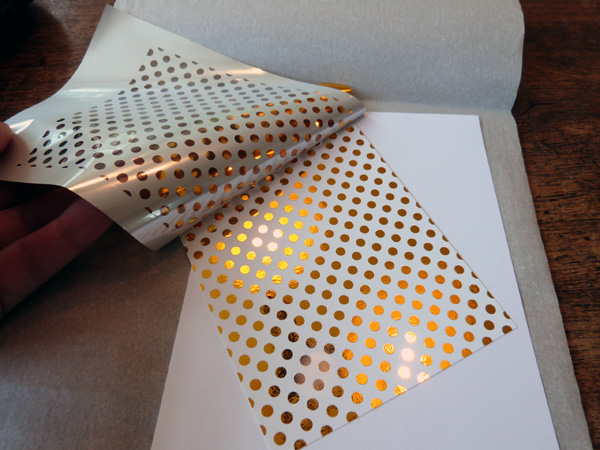
Then peel up the foil sheet and check out your amazing foiled pattern!
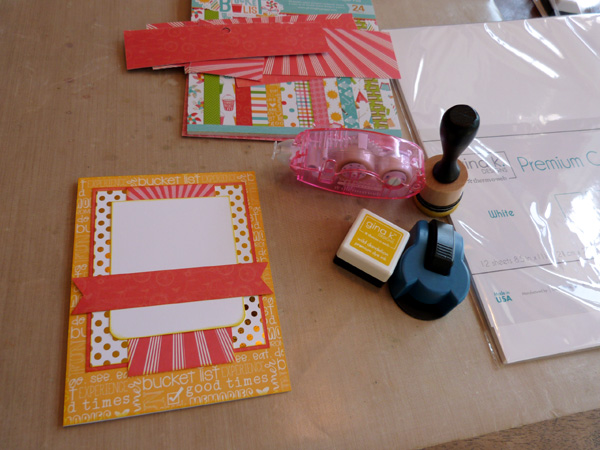
Trim some additional patterned papers and cardstock to add to your card design. Now we’re ready for the sentiment.
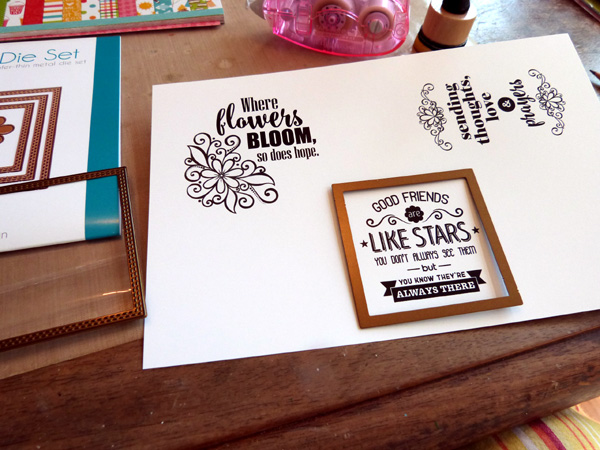
Select a sentiment from the True Friend Foil-Mates, and die cut it into a square shape using a die from the Square Small Set die set.
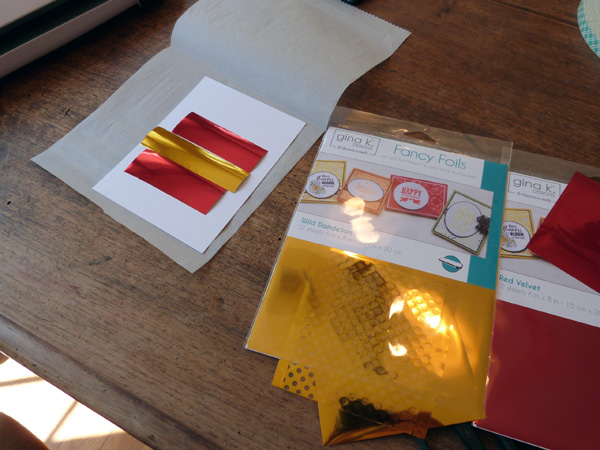 Add foil to the sentiment block in the same way as before, this time using two different colors of Fancy Foils to create a two-toned look.
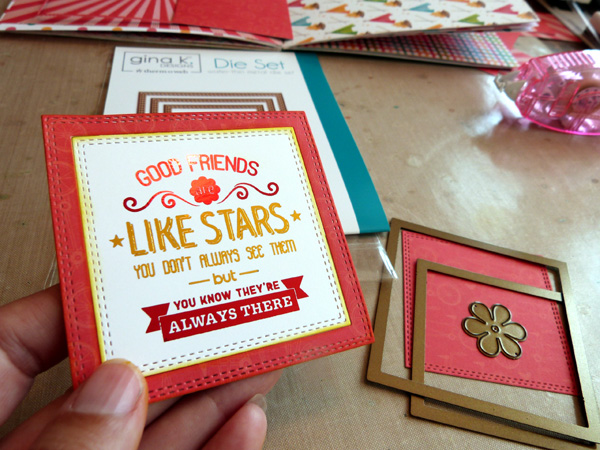
Nest two of the square shape dies together and secure them on the backside with a bit of washi tape. Die cut a frame to fit the sentiment block from matching patterned paper. Layer the two pieces together and secure them on the back with a bit of cello tape.
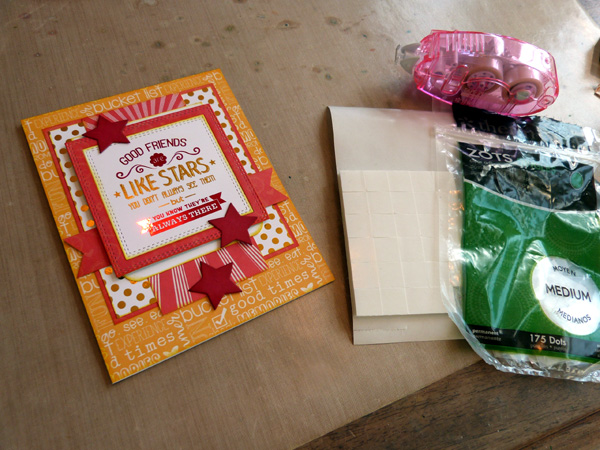
Add 3D Adhesive Squares to the back of the sentiment frame, and adhere it to the card base. Die cut three stars from Red Velvet Premium Cardstock using the Rectangles Large Die set, and attach the stars to the card using 3D adhesive and Zots clear adhesive dots.
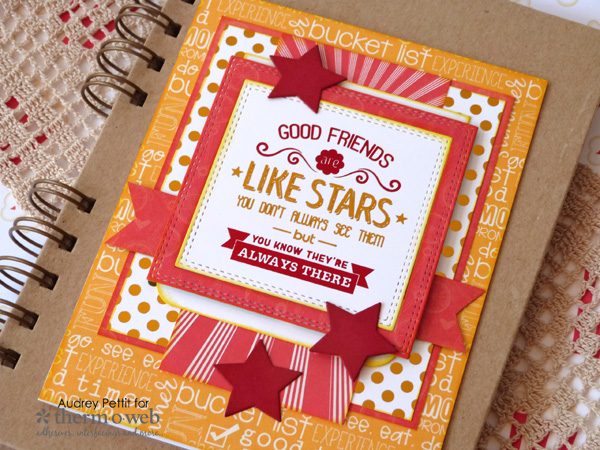
Enjoy!
Save
