


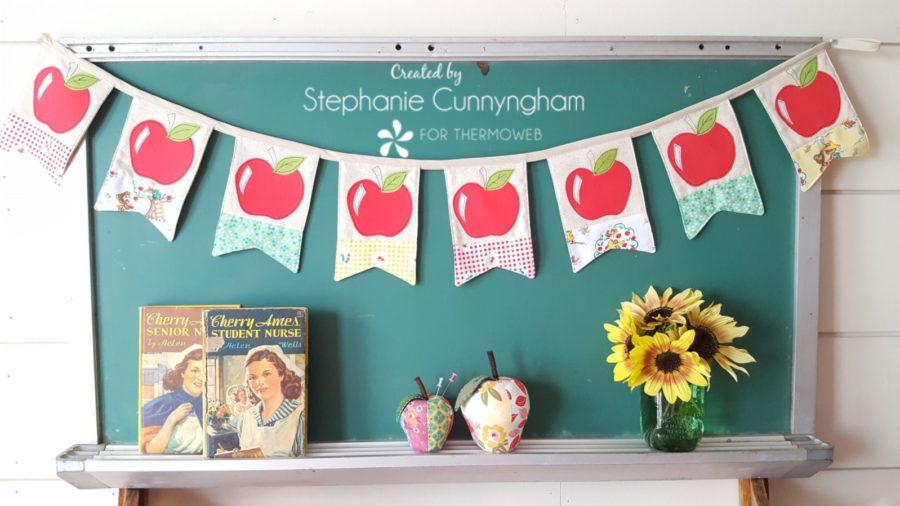
Apple Banner
It is finally starting to feel like fall in Indiana! Our days are still hot, but our mornings and evenings are cool. And our midwestern sunsets over the harvested wheat fields can’t be beaten. My boys have been in school for about a month, and I am settling into a new routine of being home by myself during the days for the first time. Ever. I look forward to them coming home every afternoon, and we are getting accustomed to sitting down and doing homework together each evening and using our new (to us) chalkboard. I love to decorate it as much as I like to use it, and with fall quickly approaching, I thought it needed a little something new. So, I got to work and made this cute apple banner, and I’m happy to share the quick and easy tutorial with you so that you can make your own!
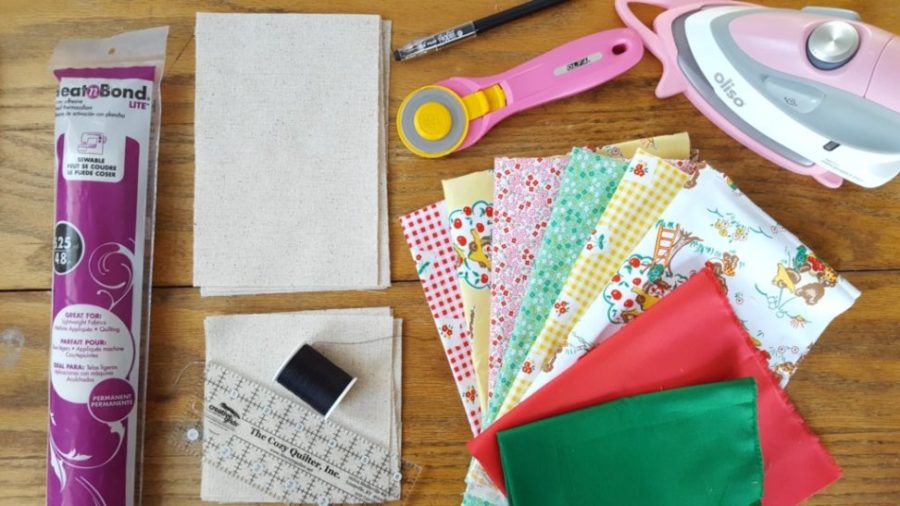
Supplies Needed
-
- HeatnBond Lite Fusible Adhesive
- Fabric for the apples, leaves, and shiny spot
- 1/2 of a fat quarter for the apples, scraps for the leaves and shiny spot
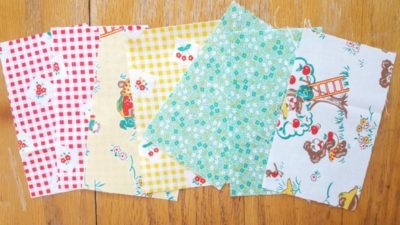
- Cute fabrics for the bottom of the flags
- Black thread
- 1/2 yard muslin or linen for the background
- 1 package of double-fold bias tape
- Rotary cutter, small ruler, fabric-safe marking pen, and iron
Apple Banner Sewing Instructions
- Cut the background fabric into eight 5″ squares.
- Cut the backing fabric into 5″ x 7″ rectangles.
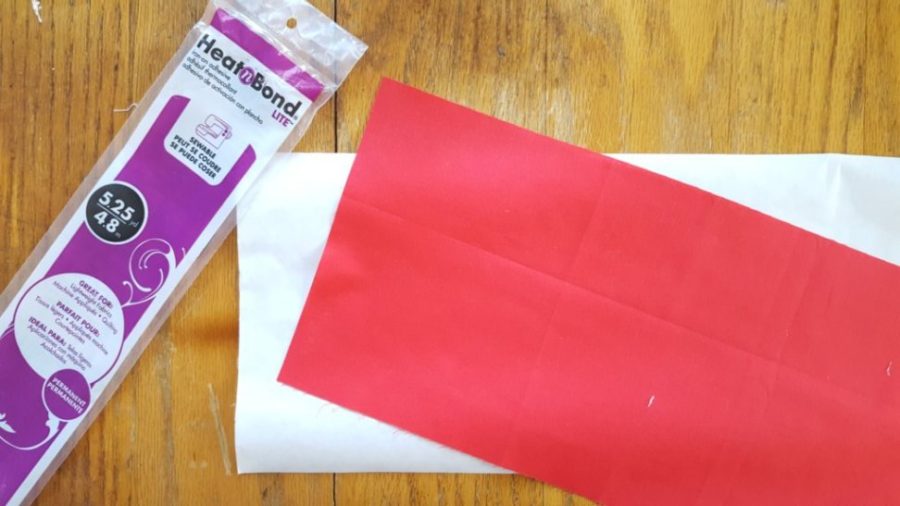
- Cut the apple fabric into a 7″ x 15″ piece. Cut a piece of HeatnBond to the same size. Fuse the HeatnBond to the back of the red apple fabric. (This will allow you to make all of your apples at once!)
- Repeat this process for the leaf and shiny spot fabric.
- Cut a 1.5″ x 11″ piece of green fabric and HeatnBond
- Cut a 2″ x 4″ piece of white fabric and HeatnBond
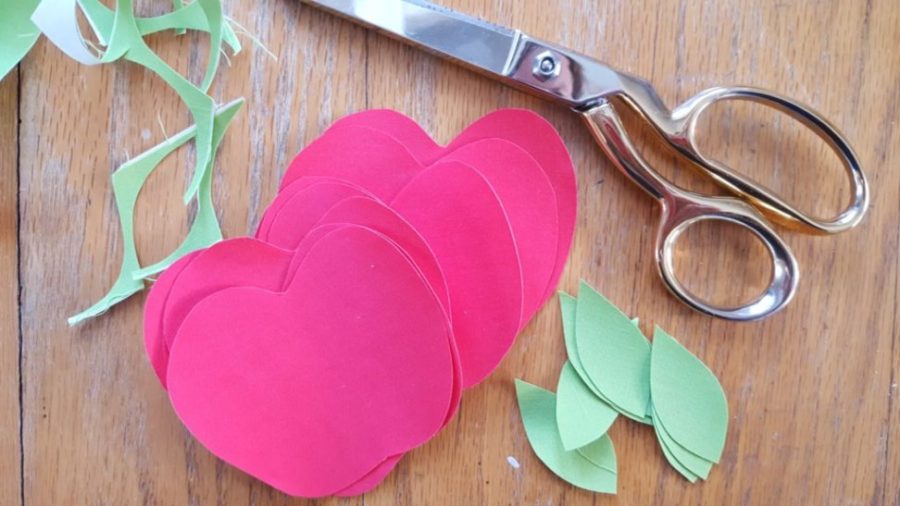
- Trace the apple template on the paper side of the HeatnBond. Trace the leaf template on the back of the green, and trace the shiny spot template on the back of the white.

- Cut out each shape along the drawn lines. Remove the paper backings.
- Place one apple shape on each of the 5″ background squares, lining up the bottom of the apple about 1/2″ from the bottom of the square.
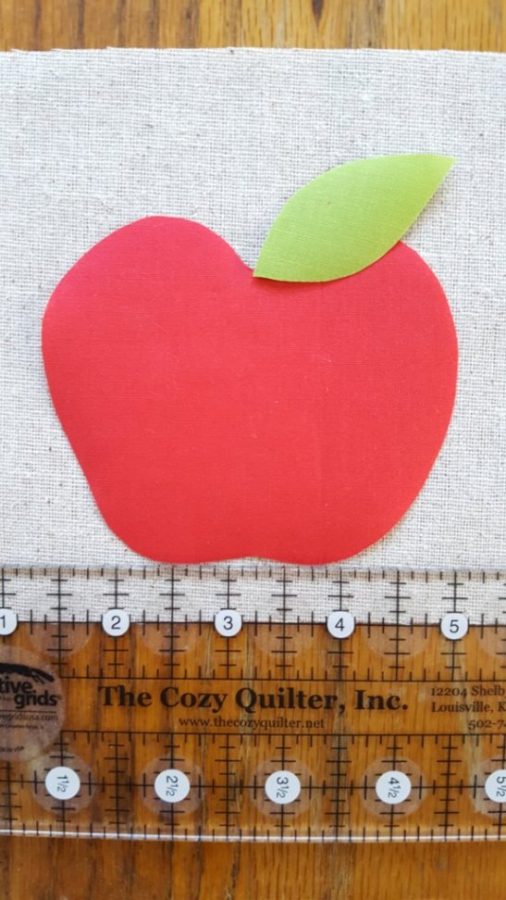
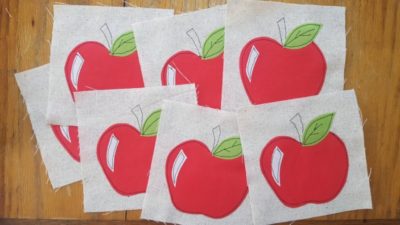
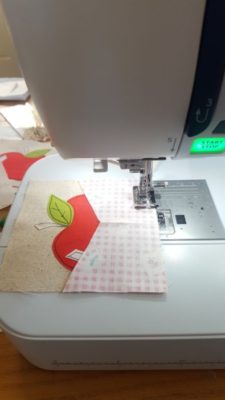
- Place the leaf on the right side of the apple and the shiny spot on the left. Using your black thread, stitch around each shape and add a stem if desired.
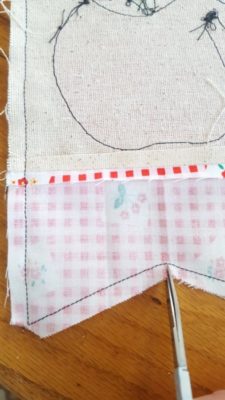
- Next, make the bottom of the flag. Cut your cute fabric into eight 3″ x 5″ rectangles.
- Fold each rectangle in half, matching up short ends, and make a mark ON THE FOLD 1″ from the bottom.
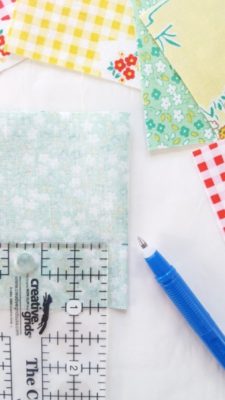
- Draw a line from the mark to the opposite corner.
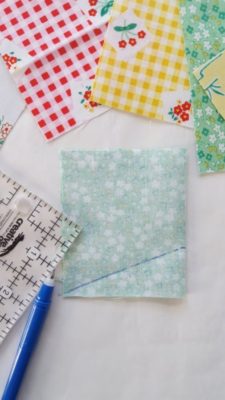
- Cut along the line.
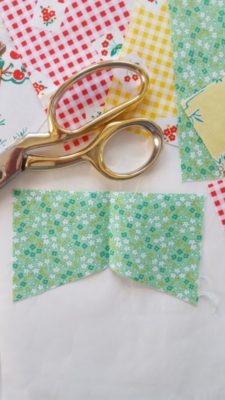
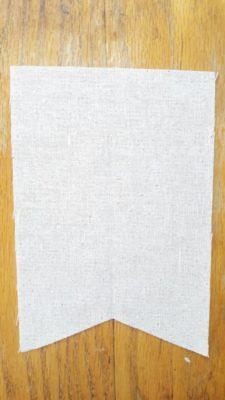
- Repeat this process for the backing rectangles so they look like this:
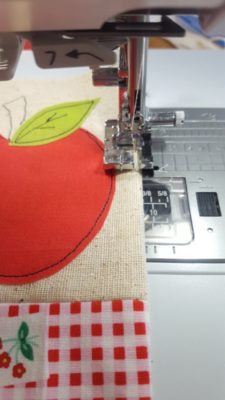
- With right sides together, sew the colorful flag bottoms to the apple squares.
- Press seam open. Repeat for the other seven apple squares.

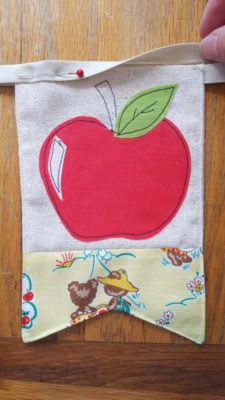
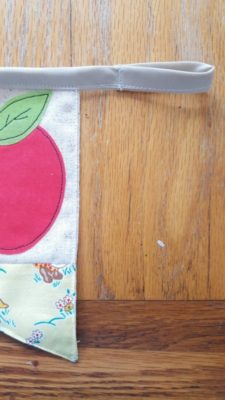
- With right sides together, sew the flag fronts and backing together along three sides, leaving the top open. Clip corners and clip center of flag bottom as well.
- Turn right side out and press. Topstitch close to the edge.
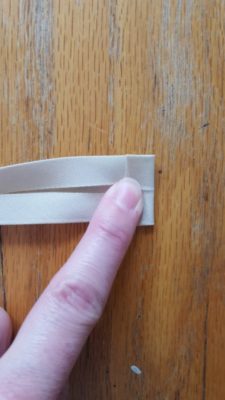
- Cut the bias tape into a 54″ strip. Leaving a 5″ tail on each end, insert the flags into the fold, leaving about 1″ in-between, and pin them in place.
- Fold in the ends of the bias tape, then stitch along the entire length of the banner.
- If desired, make a loop with each end of the bias tape for hanging.
- Hang your banner and enjoy!

I hope you enjoyed this tutorial. Happy fall!
-Stephanie-
Mary Holshouser
September 26, 2019 at 4:49 pm (5 years ago)It’s apple picking season here in my area.
This would be a cute decoration for the
kitchen. thanks for sharing
txmlhl(at)yahoo(dot)com