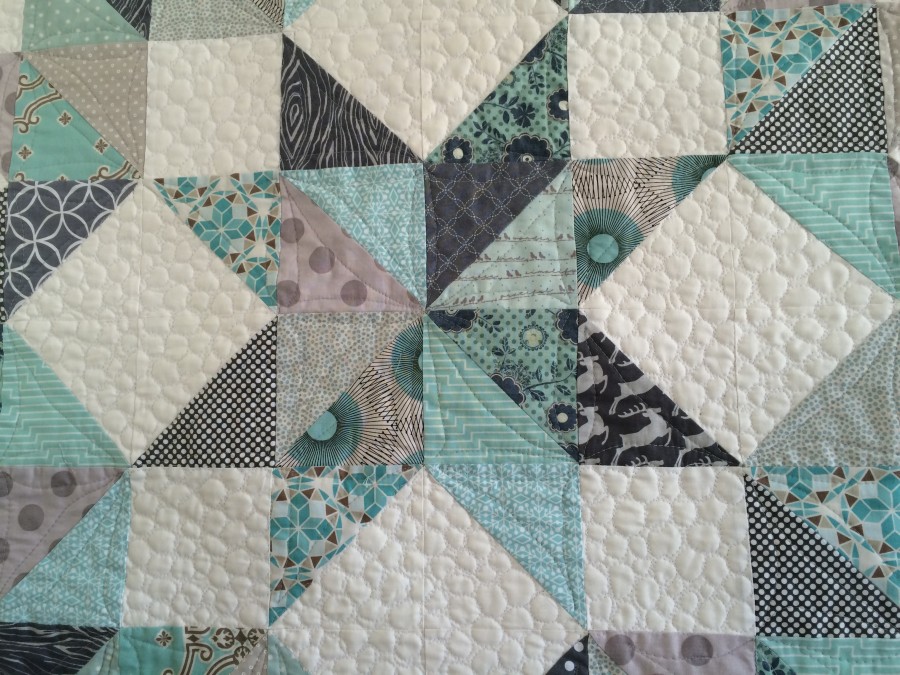
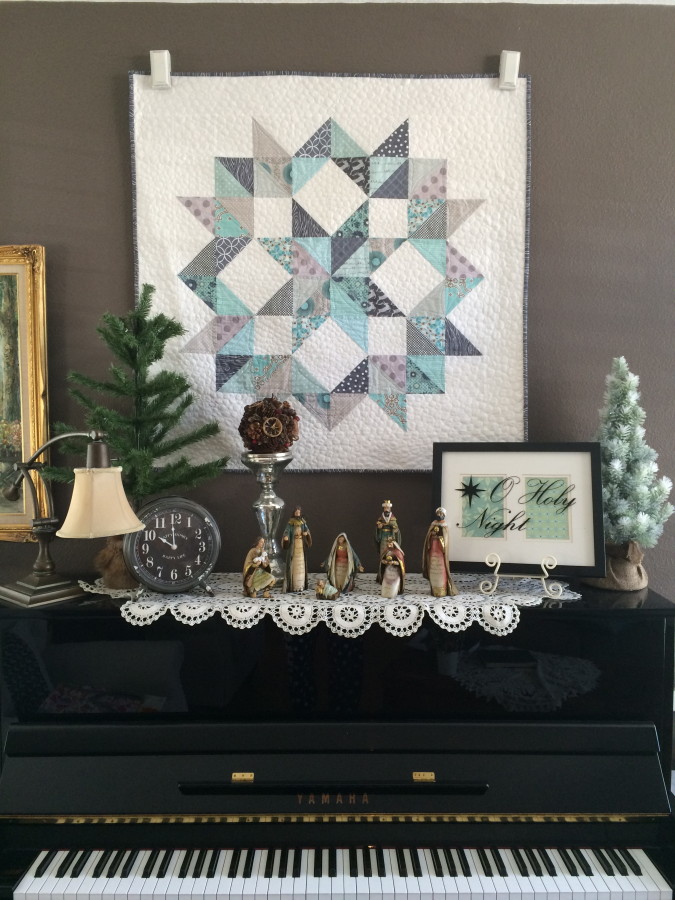
Hi! It’s Amanda from Jedi Craft Girl. I recently finished pouring over Molly Hanson’s book, Free-Motion for Beginners. While I don’t consider myself a beginner (I’ve been FMQing for 16+ years) I found that reading this book gave me courage to break out of my quilting comfort zone – you all know what that is! Mine is stippling and loop-de-loos! I decided to try something new and try “pebble” style. Beginning a free motion quilt pattern is like curling your hair – once you start you have to finish the job weather you like it or not!! I am super happy with the way it turned out and my family was in awe at my creation! Here are the details of the project:
Finished Size 39″ square
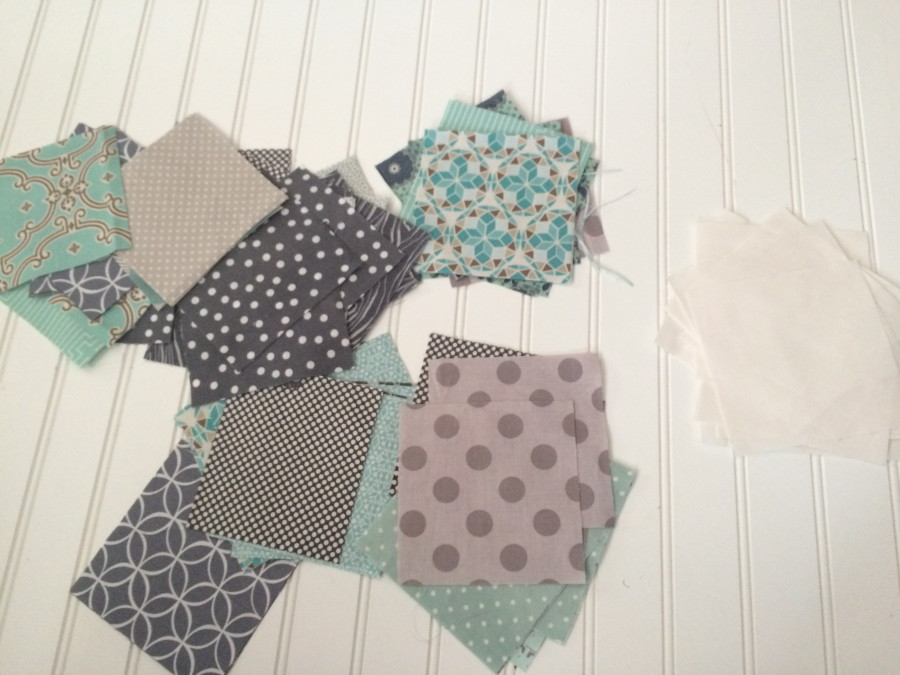
The wall hanging consists of half square triangles (HST) and solid squares. To make the HST cut 5″ squares, or charm squares, in various colors of dusty aqua, grey, and off white.
Cut:
off white (16) 5″ squares, (16) 4.5″ squares, (4) 4.5″ x WOF strips for boarder
Light print (8) 5″ squres
Dark print (8) 5″ squares
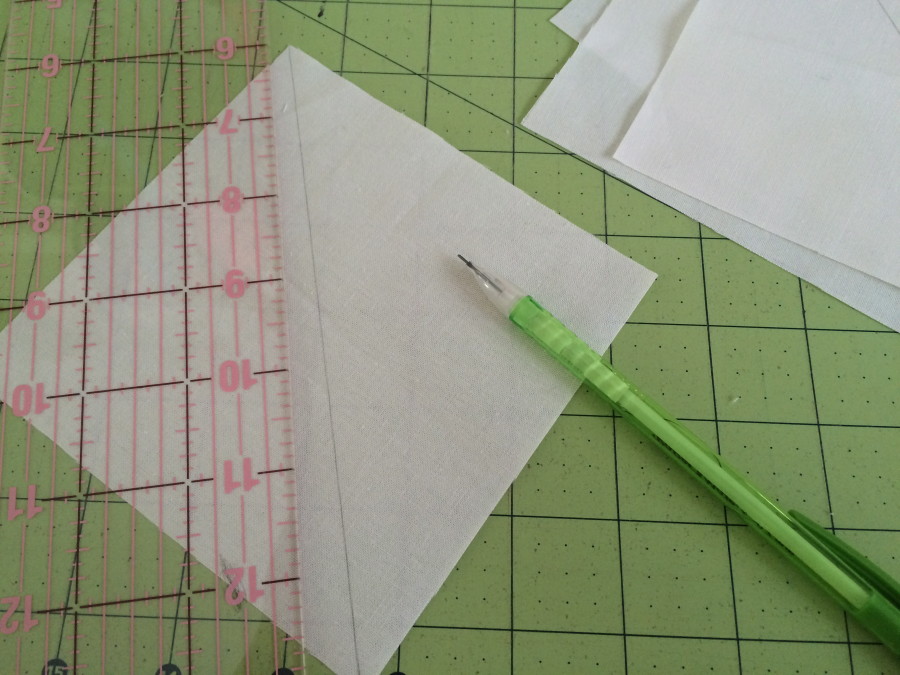
 Draw a diagonal line on the back of half the squares.
 Then match up the squares in sets, right sides together and pin.
This is how to match up the square sets:
8 light/dark print sets
16 print/cream sets
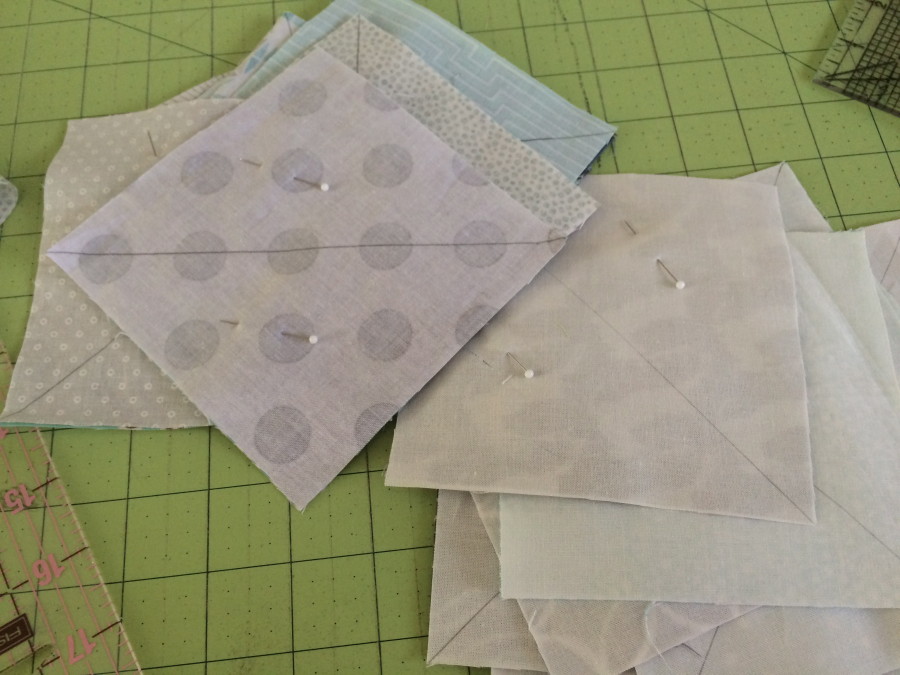
Sew 1/4″ away from both sides of the pencil line.
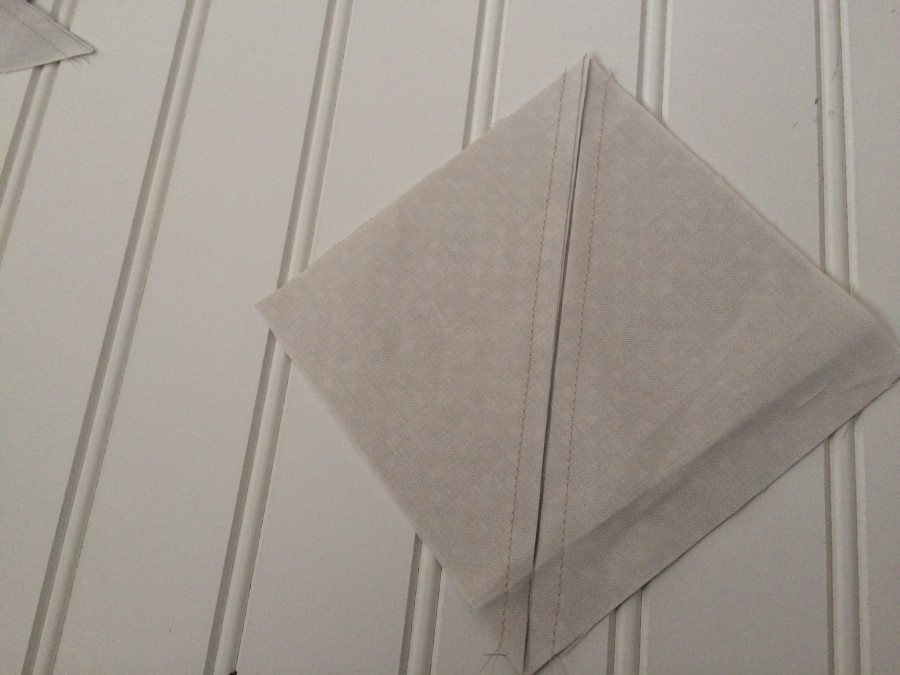 Cut along the pencil line after sewing.
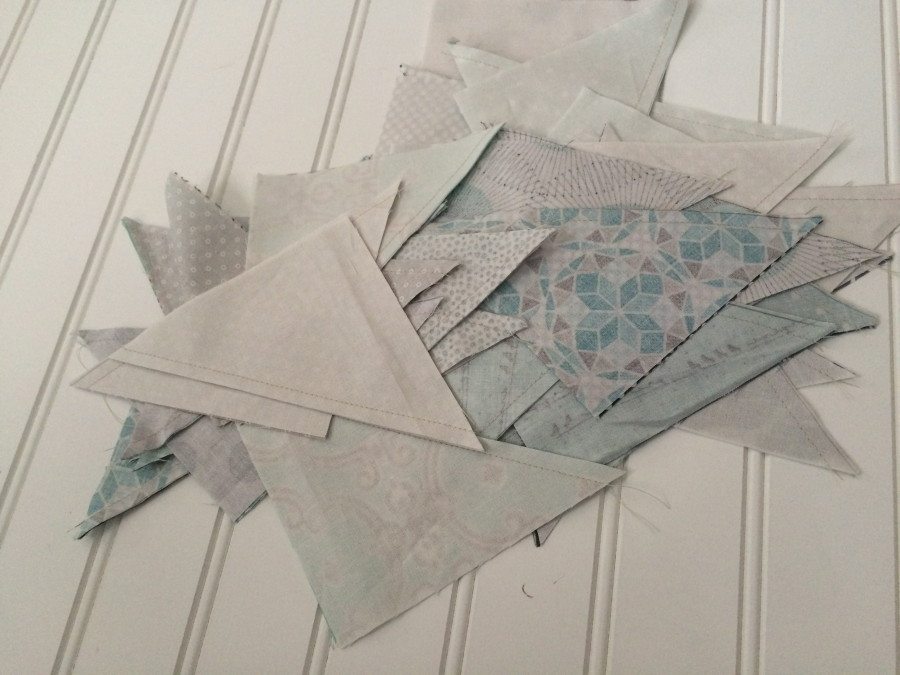 Press toward the dark. Each square set yields (2) HST units.
Once the HST blocks are pressed, you will need to “square them up”. Line the block up on your cutting mat and align the 45 degree angle of the block with that of the mat. The block should finish 4.5″ and should only need to be trimmed off slightly. This allows the blocks to be perfect and makes for a quilt that goes together nicely.
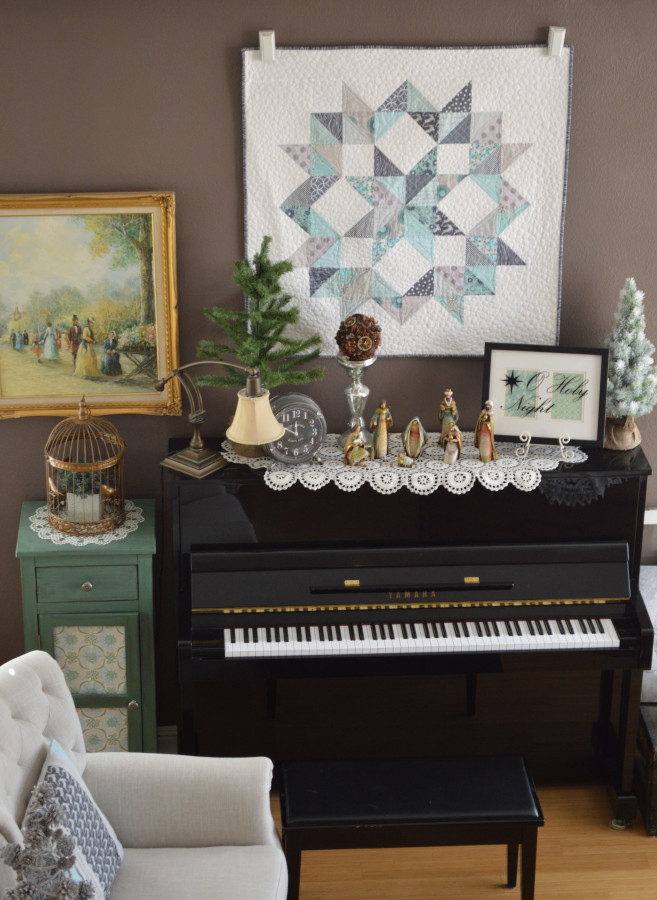
Arrange the HST units as shown in the picture. You may need to play around with it – I didn’t plan out my colors ahead of time – I just went for it!
Once you have your quilt laid out, sew each row together, block to block, pressing the seams of each row opposite. I always press away from the odd row and toward the even row, if that makes any sense.
Add the off-white boarders and press, squaring off excess.
now on to the quilting…..
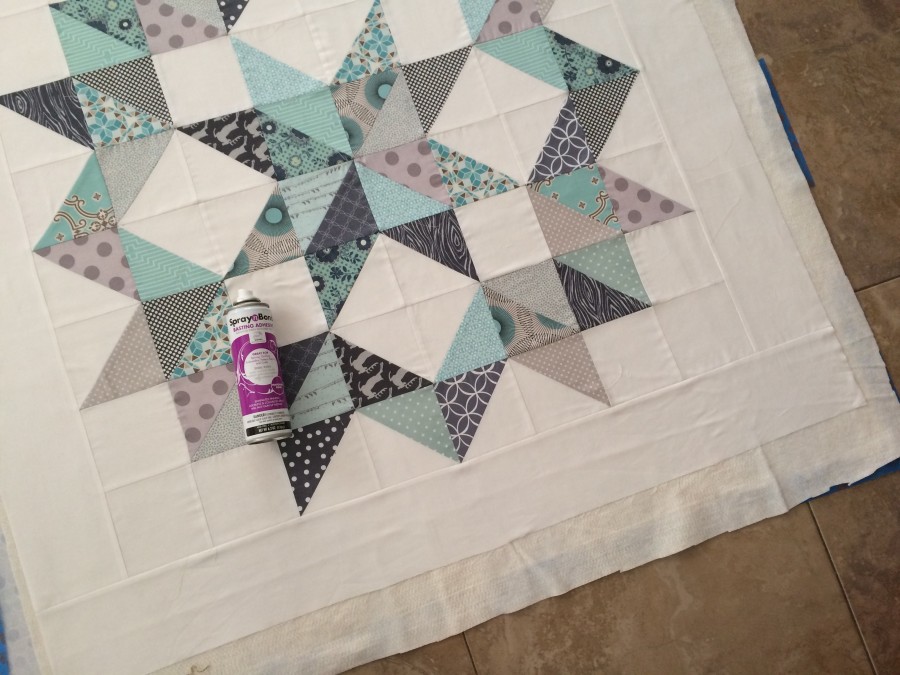
I followed Molly’s instructions for spray basting and I don’t think I would “pebble” quilt if I had pin basted. I taped the backing fabric to the floor, used Spray n Bond® basting spray and coated the back in sections. I laid the batting on the top and smoothed out any wrinkles. I then sprayed the batting and placed the top on. It worked PERFECTLY! Now shifting or puckers whatsoever.
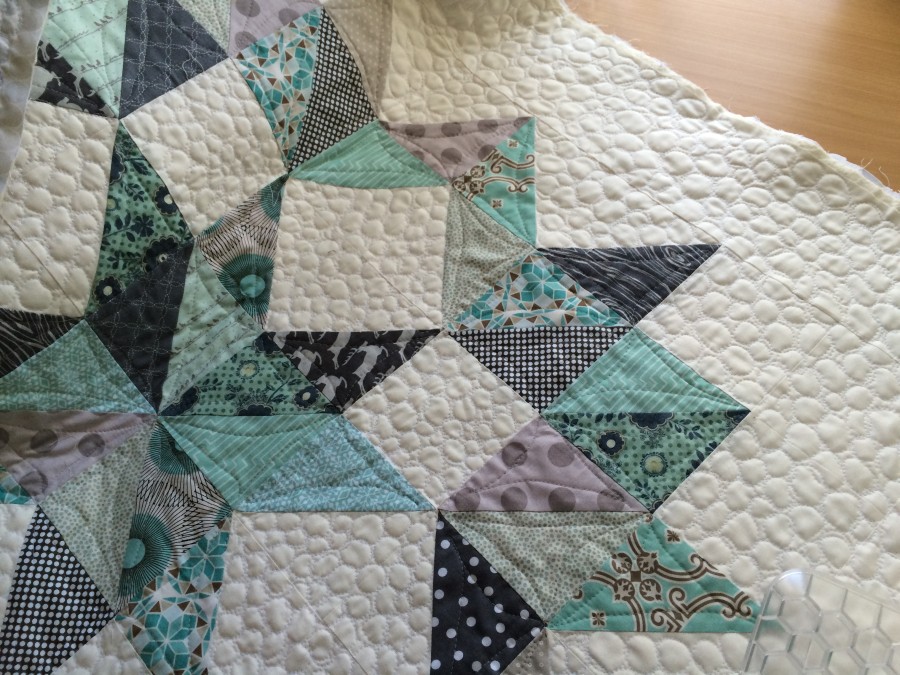
I first did a freehand triangle inside each triangle – giving it a little curve to hide the imperfections. I could really use some practice on this technique – from a distance it looks good 🙂 I quilted the prints in a light grey.
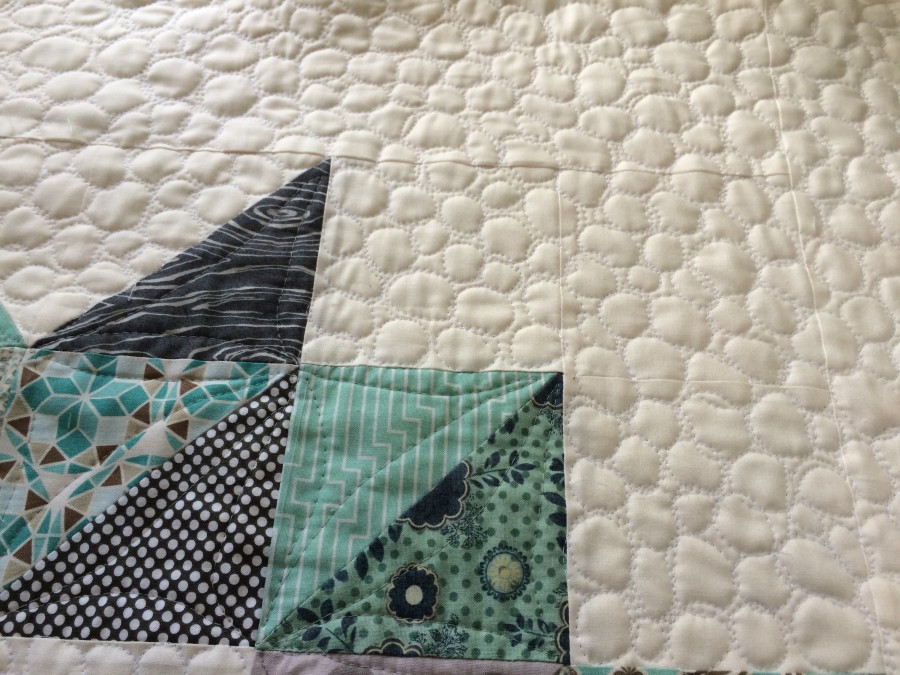
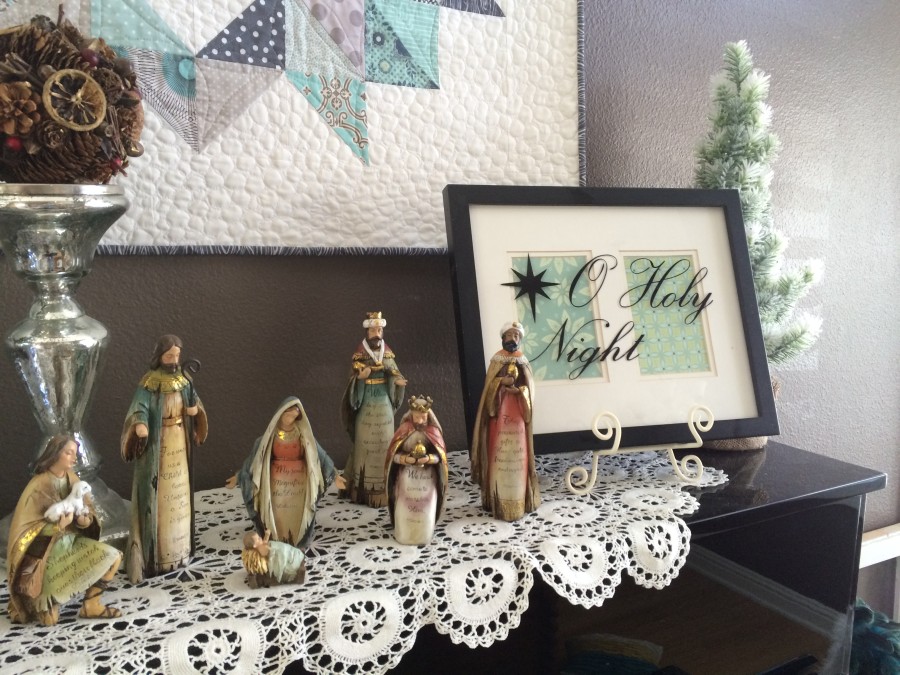
For the pebbles, I switched to white thread – I like the effect the white thread on off-white fabric gave. I started in with the defined center spaces to build my confidence. I should mention that I did practice drawing the pebbles first and I re-read Molly’s section on Pebbles. I love how it turned out. My pebbles are not perfect – probably from so many years of loop-de-loos – it was hard to break the habit. This technique used a lot of thread and was tiring – If you were to do a large quilt, you would need to schedule breaks. I kept stopping to look at my work and I was pretty excited with the result! Once it was quilted, I added the binding and hung it on my wall.
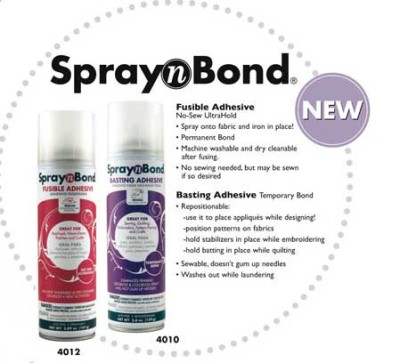
Molly’s publisher, Martingale, has generously offered to give an e-book to one lucky reader. Plus we’re going to include some of our Designers favorites..our SpraynBond® Basting Spray and our HeatnBond® Fusible Fleece to help you with your next Free-Motion Quilting project!


Beautiful quilting and great patternk
November 25, 2014 at 10:39 pm (11 years ago)Great place to visit!
Vicki H
November 26, 2014 at 1:51 pm (11 years ago)I need lot of practice with FMQ. I can do meandering.
Linda Chidster
November 27, 2014 at 1:23 am (11 years ago)Something New to Me!!!
Would LOVE to learn!!!!