Hello friends, this is Jennifer Long from, Bee Sew Inspired, fabric designer with Riley Blake Designs and a doll and quilt pattern designer. I am so excited today to be sharing with you this “Oh so sweet”, adorable and super simple project tutorial!
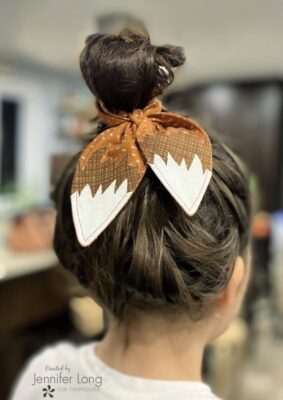
The scrunchie: The basic scrunchie is such a popular first project for young sewists. It’s easy and quick to make, and it’s also a very practical item for those with long hair. The hair scrunchie is also an amazing stash buster!
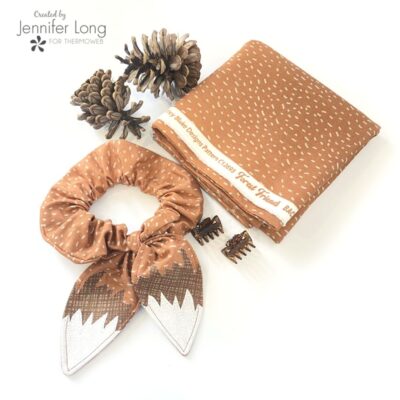
We hope you enjoy our take on the scrunchie, we gave it a little of a foxy vibe.
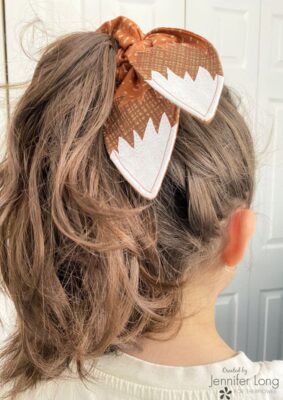
Let’s get creative! Just gather the supplies below, then download the pattern/files. Don’t forget to share your project on social media using the hashtag #BSImakersclub and tag @beesewinspired.
What You Need:
Tools
- Download the Fox Tail Scrunchie Pattern Template at http://www.beesewinspired.com/download-codes and use the code “FOXTAILPDF”
- Download the Fox Tail Scrunchie SVG Cut Files at http://www.beesewinspired.com/download-codes and use the code “FOXTAILSVG”
-
Sewing Machine
-
Rotary Cutter
-
Quilting Ruler
-
Self-Healing Mat
-
Iron and Wool Mat
-
Scissors
-
Hand sewing needle
-
Turning tool (hemostat)
Materials
-
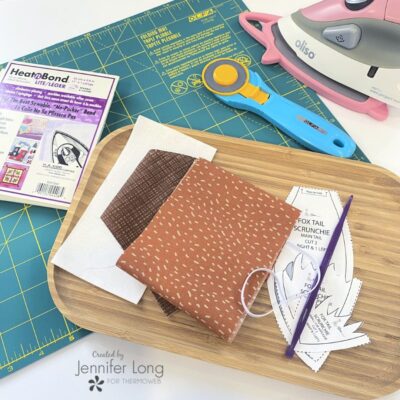
Small pieces of Heat n Bond LITE SEWABLE
-
Scraps of your favorite cotton fabric (we used Riley Blake Designs Forest Friends as the main with scraps from the basics line)
-
1/4″ elastic (6″ long)
-
Embellishments
-
Embroidery Thread in matching colors
-
Thread
Instructions:
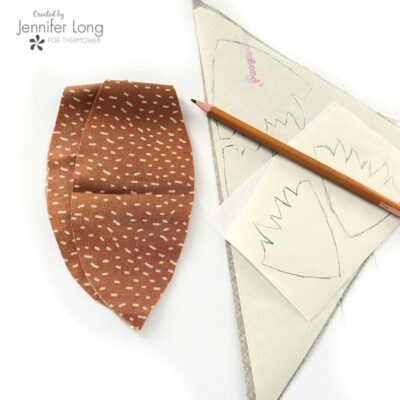
1. Download the Fox Tail Scrunchie Pattern designed by Bee Sew Inspired. You can choose either the PDF Pattern to hand cut your shapes, or the SVG Cut File and follow the directions to have your Cricut Maker cut the felt shapes. Make sure to use your rotary blade and set the fabric to felt.
2. Fuse the Heat-N-Bond to the wrong side of your accent fabrics BEFORE cutting the shape. This will help keep the fabric stable while cutting out all those curved edges.

3. Using the templates trace the tail tip templates out on the paper side of the Heat n Bond Lite, cut out two main tail shapes on the fold and cut out the two accent tail tip shapes making sure to cut out two each for a back and front.
4. Remove the paper backing for the Heat n Bond Lite and press them into place.
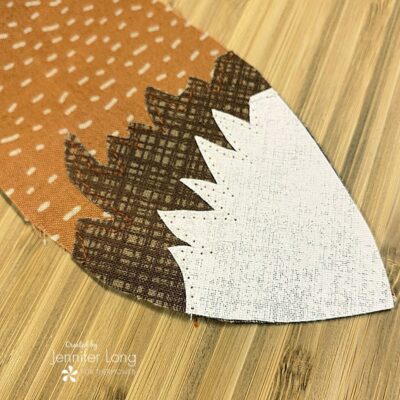
5. Using a small stitch length stich out the edge of the accent fabrics. With the Heat n Bond Lite on the back of the fabric your accent fabrics should not fray.
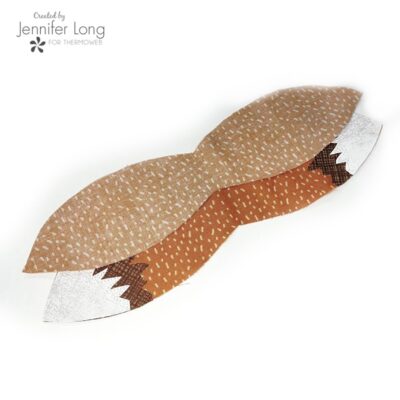
6. Lay the two tail shapes with right sides together. Pin in place and sew around the perimeter using a 1/4″ seam allowance leaving a 3″ opening to turn your work right side out. Clip curves and trim corners for nice smooth curves and pointed corners. Turn your work right side out with the help of a turning tool or a knitting needle if needed. Press the edges and top stitch at 1/8″ around the entire perimeter.
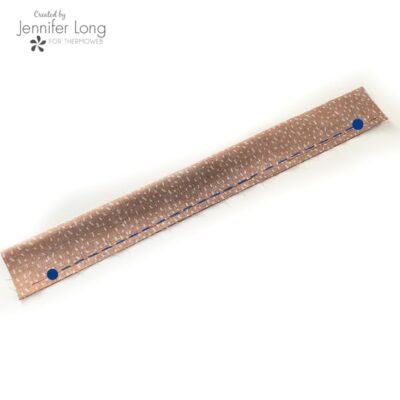
7. Cut out a 4″ x 16″ piece of the orange fabric. Fold in half lengthwise. Using a 1/4″ seam allowance, start with a backstitch 1″ away from the edge and finishing with a backstitch 1″ away from the edge. Turn your work right side out.
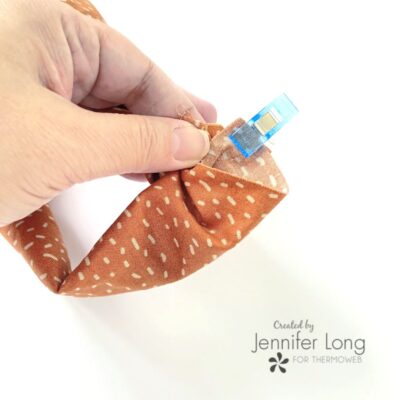
8. Match up the short edges right sides together to form a loop, stitch using a 1/4″ seam allowance. Go slowly, this step can be a little tricky.
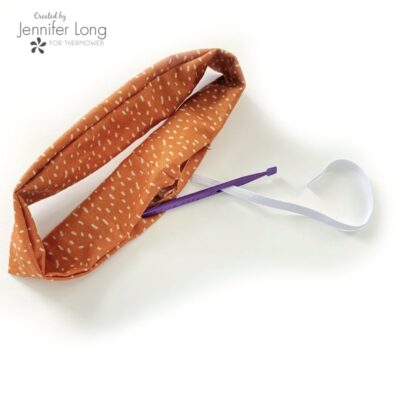
9. Using a safety pin or tool, insert the elastic through the opening. Pin or use a clip to keep the ends of the elastic together.
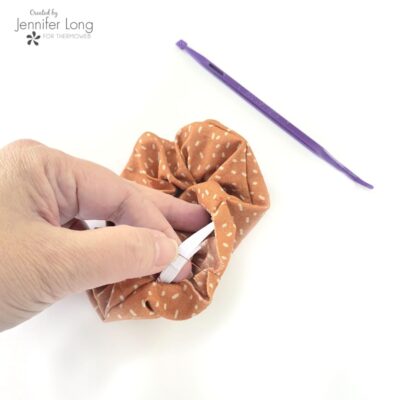
11. Stitch the elastic ends together securely.
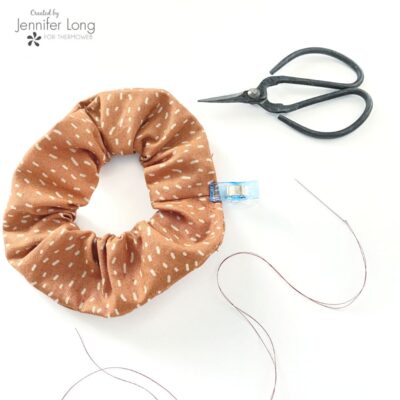
12. Using a tight ladder stitch, close up the opening
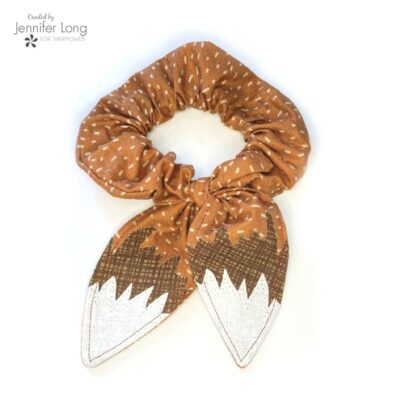
13. Tie the tail ends to the scrunchie arranging the decorative side to the front.
