


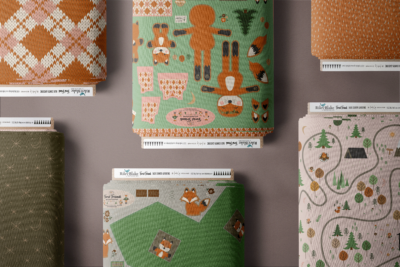
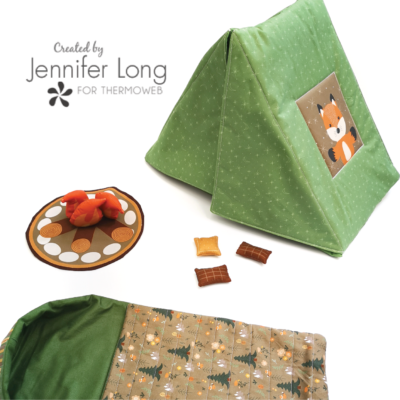
 Hi friends, this is Jennifer Long from Bee Sew Inspired. Today I am teaching you how to make a Doll-sized Tent & accessories using my new fabric panel Forest Friends Back Country Adventure with Riley Blake Designs.

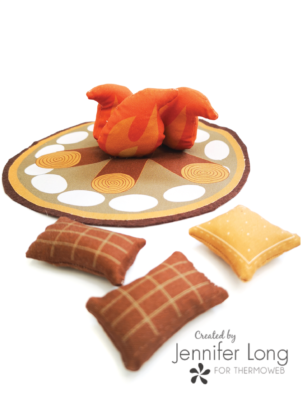
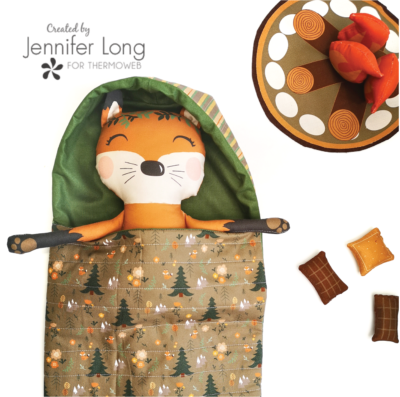
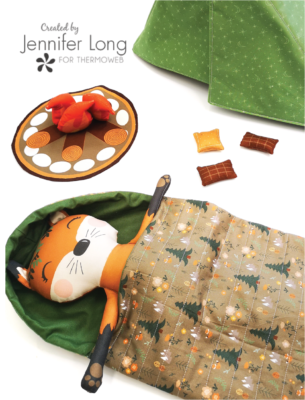
The Fox dolls go on an adventure of make-believe. They camp, they hike, they make some s’mores. They get dressed in their cozy, knitted sweater vests, and wrap themselves with scarves. They enjoy the heat of the glowing campfire and sleep under the stars.
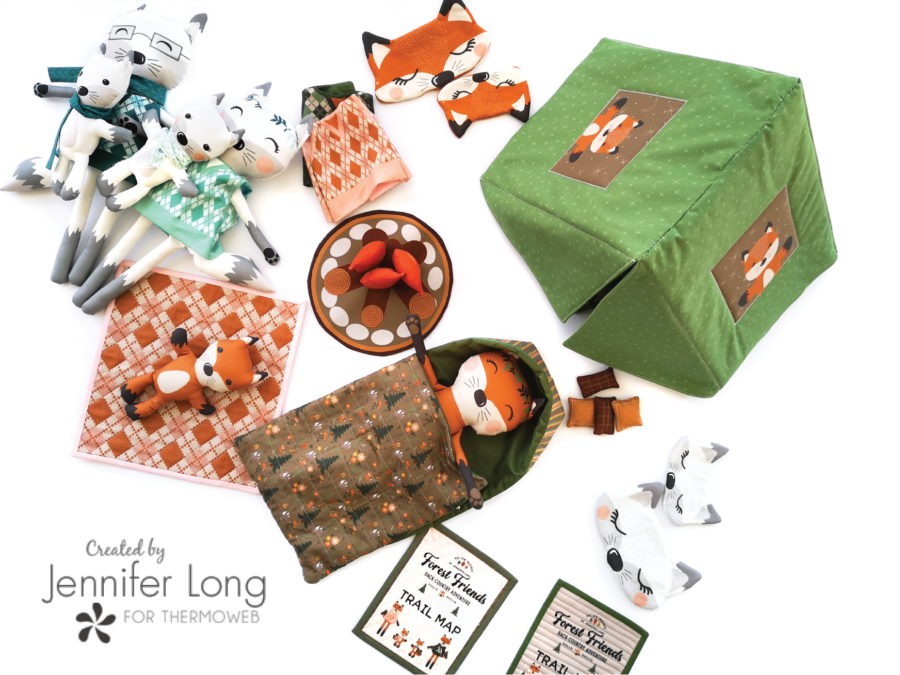
On their family hike, they hear the crunch of all the leaves at their feet and take in the fresh air and the changing colors of the Autumn woods. Come use your imagination and join the Fox family on a back-country adventure!
Build your child’s imagination with a wonderful and simple, homemade 3D tent. This is the perfect resting place for the Fox Doll Panel’s back-country adventure.
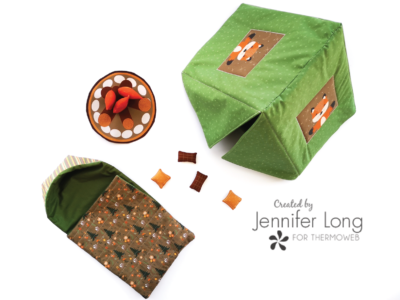
The Forest Friends Back Country Adventure panel includes an outer tent and sleeping bag and patterns plus a stuffed campfire, s’mores and a fox friend! The tent is supported with multiple layers of Heat n Bond Craft Extra Firm Non-Woven Fusible so is completely safe for children with no poles or sharp supports.

Don’t forget to complete the set with the coordinating Fox Doll Family panels and the Child Sleeping Bag panel project as well! Check out http://www.beesewinspired.com/fabric for other projects using these doll panels such as: quilt patterns, pillow patterns and more.
What You Need:
Download Free, Full Instructions for the Forest Friends Panel at http://www.beesewinspired.com/fabric
(1) Forest Friends Doll Tent & Sleeping Bag Panel designed by Jennifer Long, Bee Sew Inspired for Riley Blake Designs PD12700-WOODLAND or PD12700-ARCTIC (Fabric Ships October 2022)
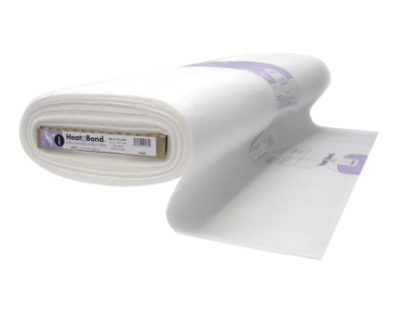
• 1 yard Heat n Bond Craft Extra Firm Non-Woven Fusible Stabilizer to support the tent
• 20” x 20” square of Heat n Bond Fusible Fleece for Sleeping Bag
• Polyester Fiber Fill for stuffing
• 1 1/4” yard of lining fabric for inside of Tent and Sleeping Bag.
• Heat n Bond Medium-weight Fusible
• Hand sewing needle and thread
Instructions:
Please Note: The instructions are for TENT only. If you would like the full instructions for the Forest Friends Panel, you can download them for free at http://www.beesewinspired.com/fabric
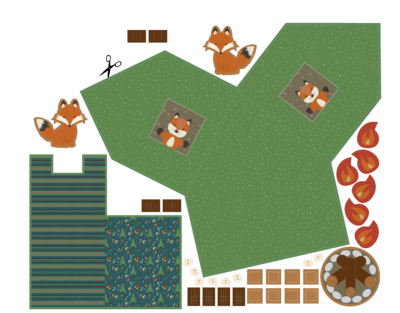
1. Carefully cut out all the pattern pieces on the dotted cut lines. All pieces are designed with a 1/4” seam allowance. If you wish to have a larger seam allowance, please cut out wider than then cut lines.
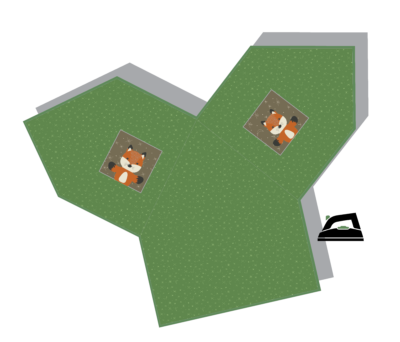
2. Prepare the Tent: Adhere the entire
wrong-side of the Tent shape
with Heat n Bond Medium-weight Fusible
following manufacturers’ direction.

3. Layout the prepared Tent shape
onto the lining fabric with RST.
Pin and cut out the lining using the
prepared outer tent as a pattern
piece.
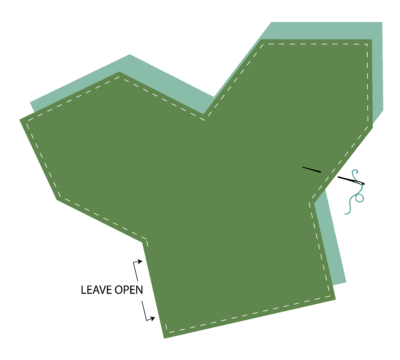
4. Sew the outer and lining tent
pieces together using a 1/4” seam
allowance and ensure that your
stitch-line is slightly inside the
drawn panel stitch-line. Leave (1)
short side of the rectangle shape
open for turning as shown.
5. Using a small pair of scissors,
carefully clip around the
the perimeter of the entire seam
allowance and notch out all the
inside corners.
6. Turn the tent shape RSO using
a point turner for best results.
Do NOT press with your iron
yet or you will fuse the tent
together prematurely.
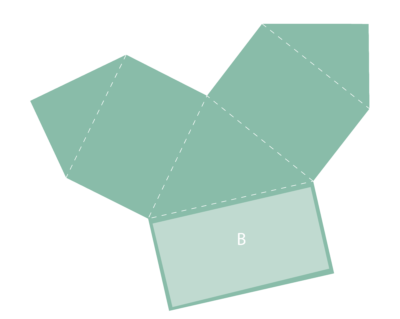
7. Next, cut out the following shapes and sizes from the Heat n Bond Craft Extra Firm Non-Woven Fusible Stabilizer r for the Tent inserts as follows:
• (2) 9 1/2” x 14” rectangles (Label as A)
• (1) 10” x 17” rectangle (Label as B)
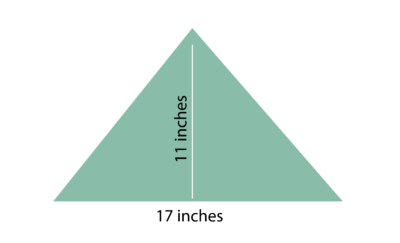
• (1) triangle 11” tall x 17” wide at the base (Label as C)
8. Using your quilting ruler and a pencil, draw the following lines from corner to corner as shown:
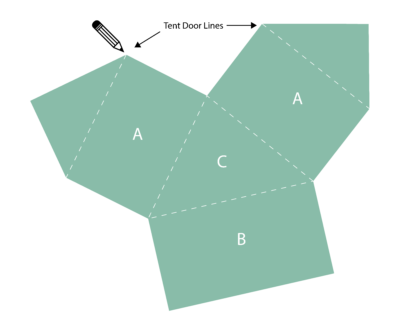
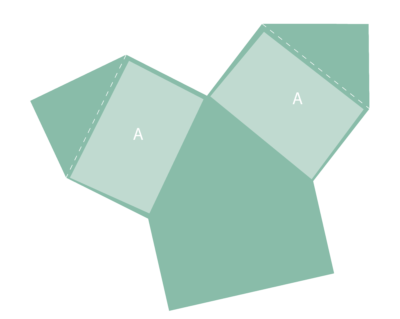
9. Using a coordinating thread color, stitch along the
(2) Tent door lines. Insert an A-rectangle stabilizer piece into both side panels of the tent. Push the pieces right to the seam allowance line and check that they are laying flat inside and do not overlap with the center triangle seam. If any adjustments need to be made, pull out the piece and trim as needed. Once both A-rectangles are positioned correctly, press with an iron to fuse them to the tent. This will prevent them from shifting to the next steps. You can also press the door flap sections at this time. DO NOT press the rest of the tent yet.
10. Sew a seam on both sides of the
TOP part of the main triangle
body as shown.
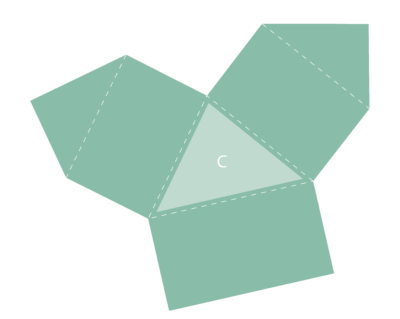
11. Next repeat step 9 instructions to
insert the triangle stabilizer into the main triangle part of the tent. Fit the stabilizer against the step 10 seams and fit and trim the insert as necessary. Once fitted, press in place.
12. Again, sew a seam on the bottom
side of the main triangle.
13. Insert the final B-rectangle stabilizer into the rectangle section of the tent. Adjust and fit as necessary. Press and hand sew the opening closed.
14. Fold the tent to the correct shape and hand sew the top and bottom edges closed with an invisible ladder stitch.
Note: The door flaps will remain loose and movable.
Your Doll Tent is Complete!
If you would like the full instructions for the Forest Friends Panel, you can download them for free at http://www.beesewinspired.com/fabric
Happy Camping!!!