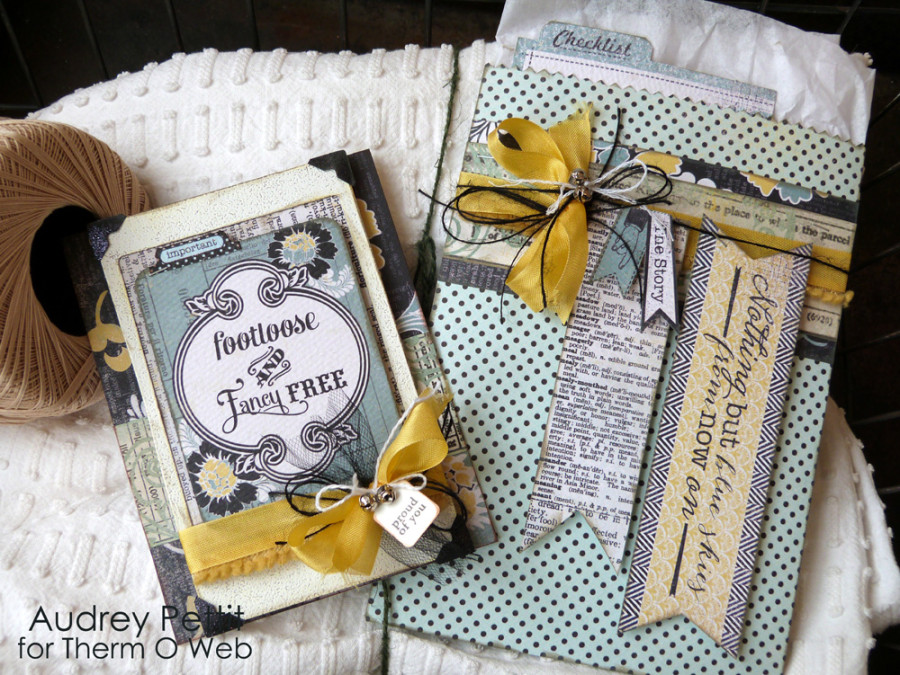
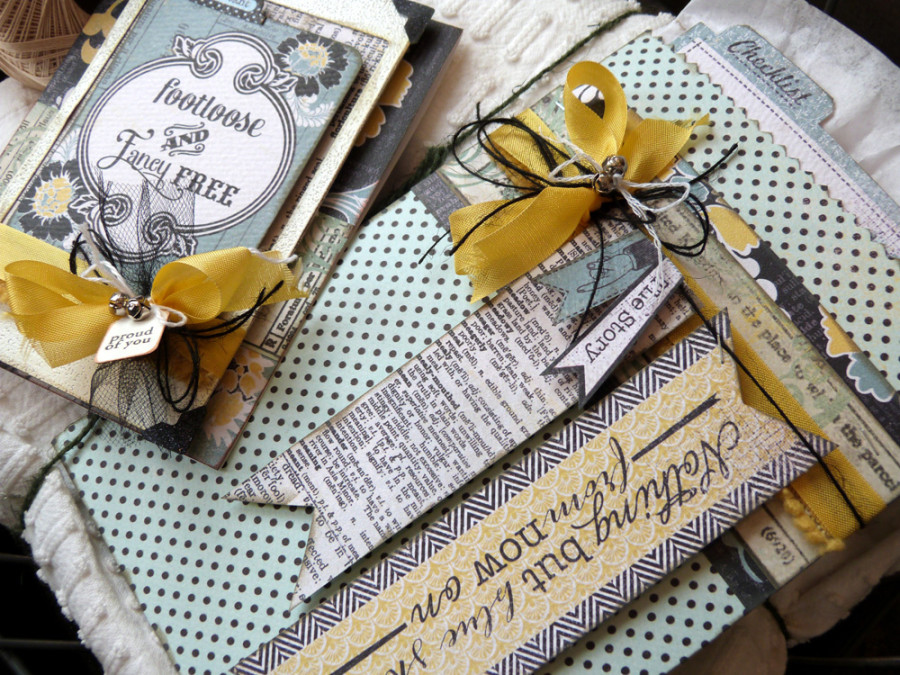
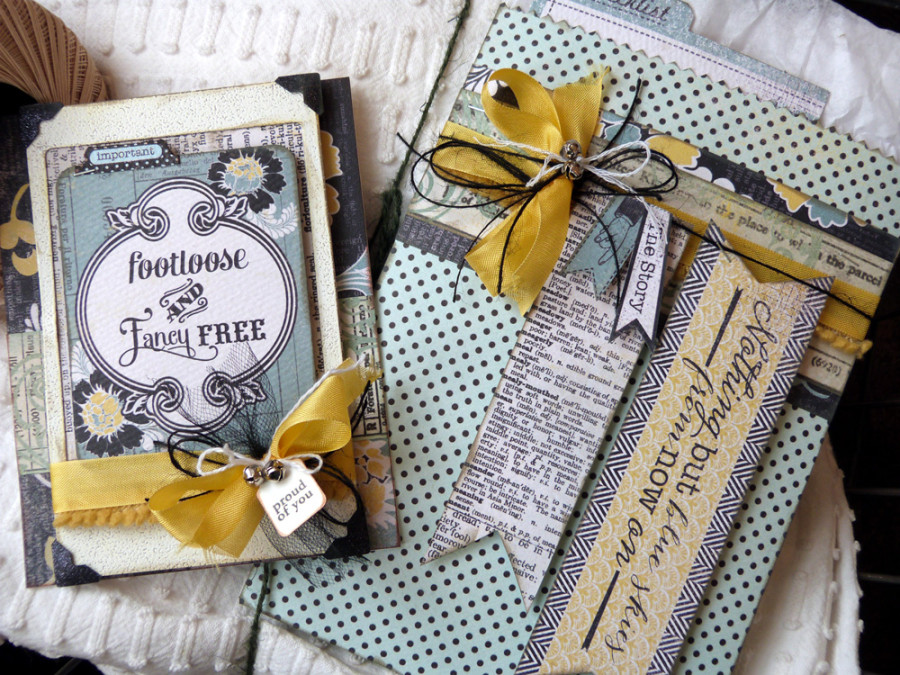
Footloose and Fancy Free Graduation Set by Audrey Pettit
Supplies:
Therm O Web Mini Tape Runner
Therm O Web iCraft Adhesive Sheets
Therm O Web Glitter Dust Photo Corners Black
Therm O Web 3D Adhesive Squares
Therm O Web 1/2″ SuperTape
Therm O Web Medium Zots Singles Clear Adhesive Dots
Authentique Renew Collection: Patterned Paper, Titles & Phrases Die Cuts, Hinges & Tabs Die Cuts, Mini Notes Die Cuts
Stamp: Stampin’Up
Die: Papertrey Ink
Tag: Avery
Trim: Stampin’Up, Webster’s Pages, American Crafts, Glitz Designs, Craft Supply
Embossing Powder, Ink: Clearsnap
Mini Staples: Tim Holtz
Bells: Craft Supply
Score-Pal, Pinking Shears
For the Card:
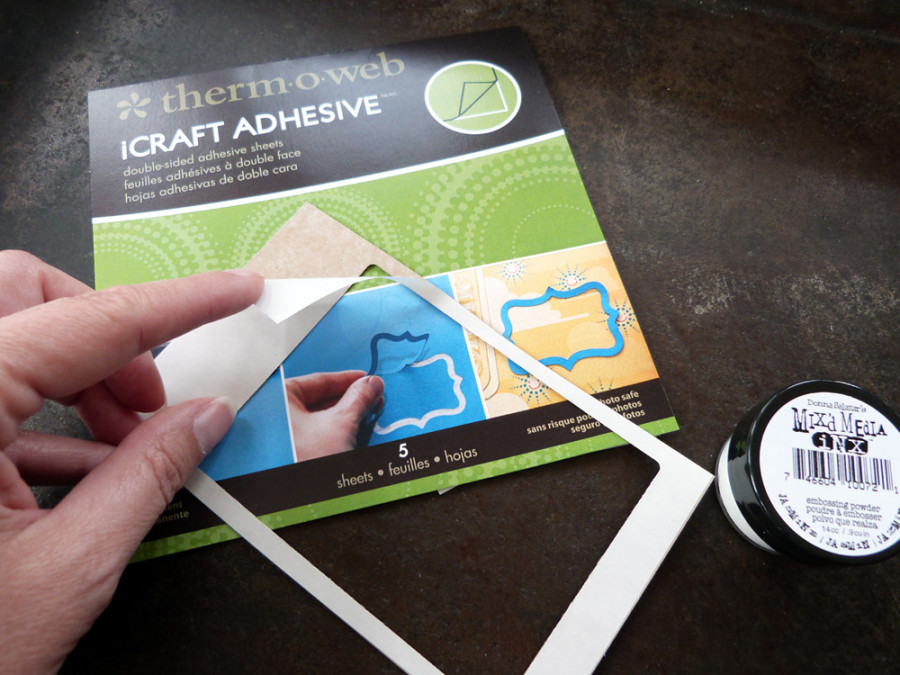
Apply iCraft adhesive to a piece of scrap cardstock and then die cut a frame from it.
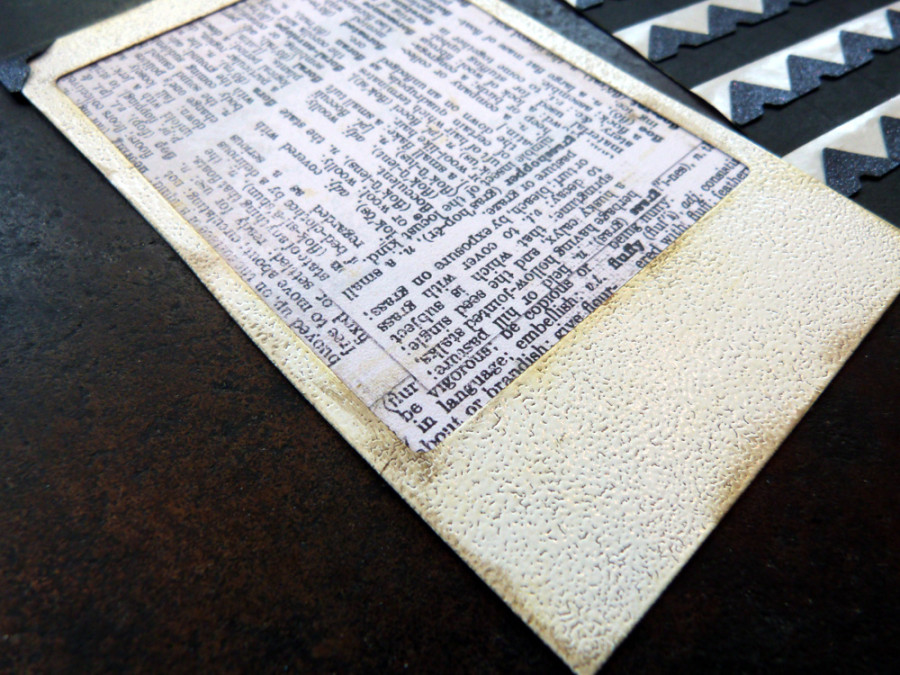
Peel back the top protective sheet and cover the adhesive with white embossing powder. Heat set the powder using an embossing tool, then ink the edges.
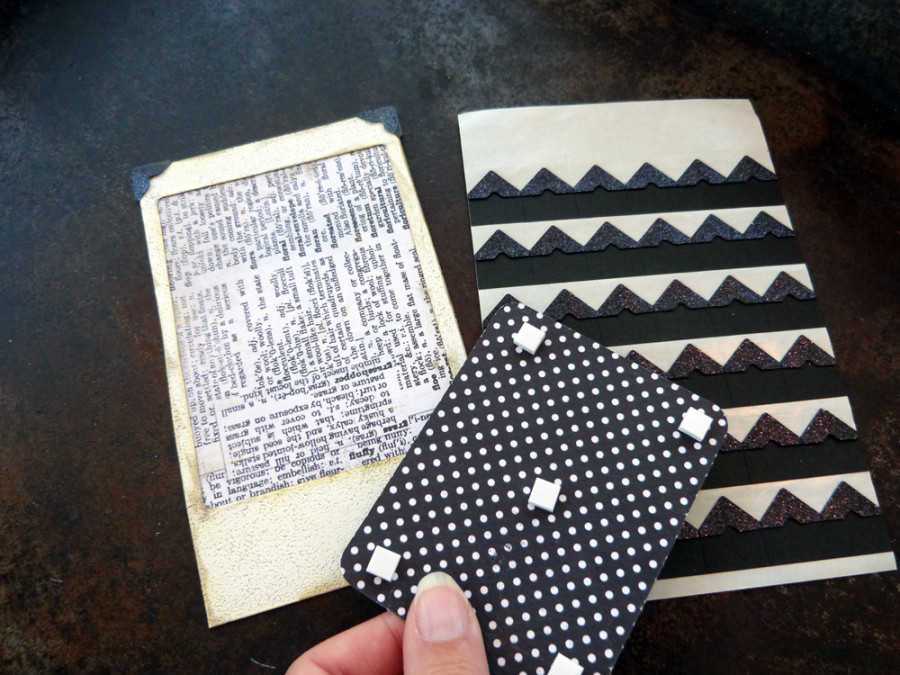
Apply Glitter Dust Photo Corners to the frame. Add 3D Adhesive Squares to the back of a Title & Phrases die cut, and adhere to the center of the frame.
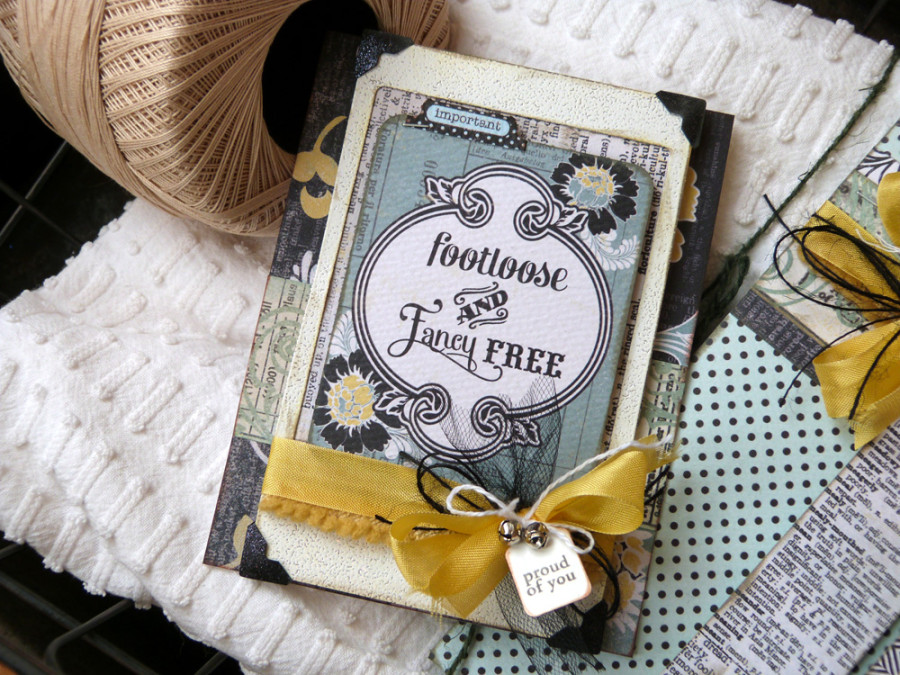
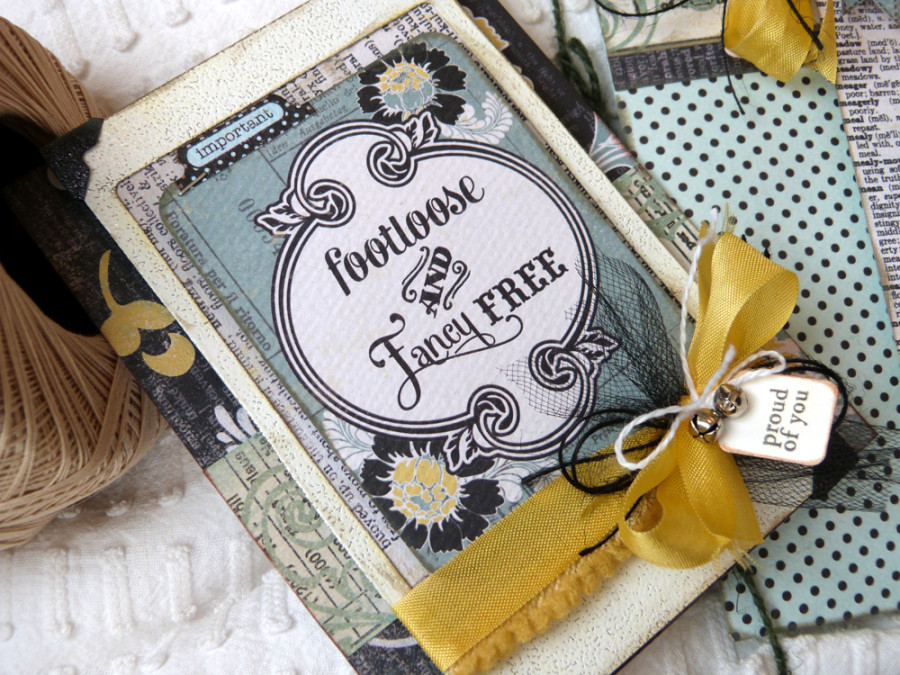
Tie trims around the bottom of the frame and adhere frame to a card base using more 3D Adhesive Squares.
Stamp sentiment onto a small jewelry tag. Tie tag with string and silver bells and adhere tag to bow using Zots Adhesive Dots. Add a tab die cut to the top of the frame. Staple in place.
For the Gift Bag:
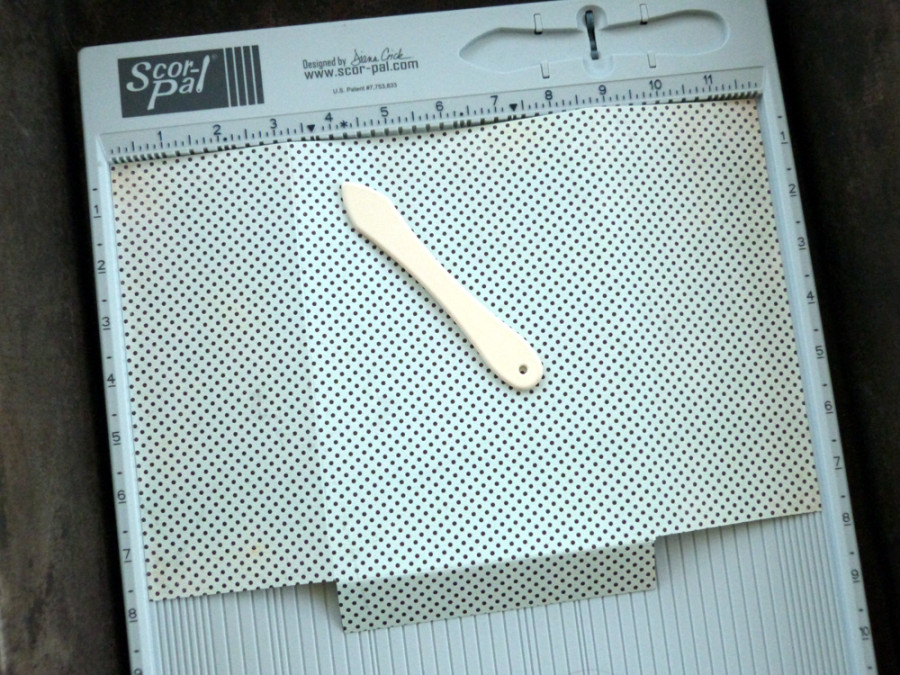
Cut a 12″ x 8.5″ piece of patterned paper. Using a Scor-Pal or bone folder, score the long side at 3.25″ and 8.75″. Turn the paper on its side and score at 1″. Trim away the small flap pieces, as shown.
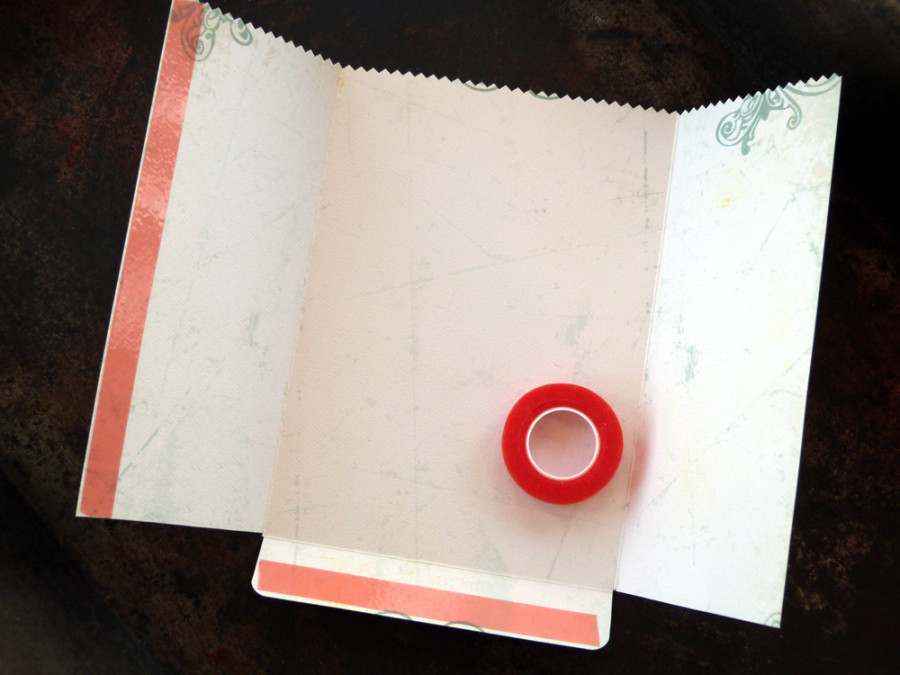
Flip the paper to the backside and apply 1/2″ SuperTape to the edge of one of the side flaps and the bottom flap. Cut a fancy edge across the top using decorative scissors, if desired.
Adhere the side flaps first, then fold up the bottom tab and secure.
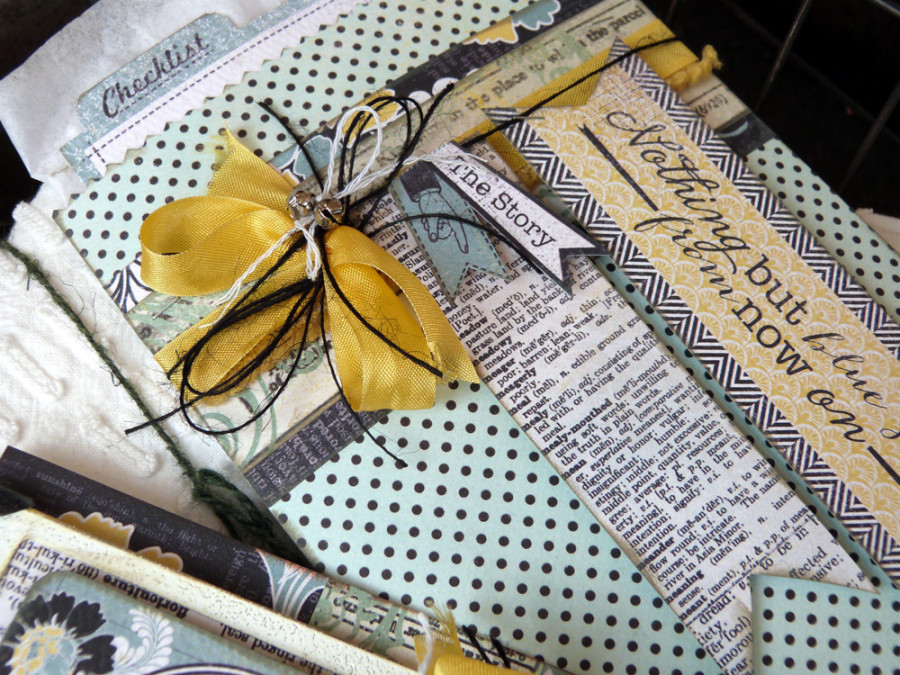
Add strips of patterned paper to the front of the gift and tie with trims and bells. Add banners to the gift bag using 3D Adhesive Squares. Tuck tissue paper and a die cut journaling card into the bag.
* Note: edge all paper pieces with ink, if desired.
Be sure to enter to win! We have a fantastic assortment of products from Authentique from their Grace, Strong and Renew collections along with a fun EK Success Paper Edger punch!! You don’t want to miss it!

And we’d like for you to stop and visit the Authentique blog too to see their creations with our adhesives and their products..it’s a win win!
a Rafflecopter giveaway
7 Comments on Footloose and Fancy Free with Authentique
1Pingbacks & Trackbacks on Footloose and Fancy Free with Authentique
-
[…] have the directions for creating the gift bag and card up on the Therm O Web blog, if you’re interested in taking a […]

Buffy Esser
April 26, 2013 at 2:09 pm (12 years ago)Oh wow the card is fabulous,and the gift bag will have to be on my list of thing to try! thank you so much for all the inspiration this week its been fabulous and I ‘ve added to my list of things to try!
Jean Bullock
April 26, 2013 at 7:12 pm (12 years ago)Very cool combinations of papers, layers and embellishment. Thanks for the great tutorial!
Carla Hundley
April 26, 2013 at 11:08 pm (12 years ago)Lovely project. Enjoyed
learning all about it.
Carla from Utah
Rosann Barnes
April 27, 2013 at 2:59 am (12 years ago)Oh I so love those Renew papers, and this Graduation Gift set is gorgeous! The colors and prints of rejuvenate, flourish, and transform work so well together. Amazing details, those black corners, the banners, and that gold ribbon just pop !! Thanks for tutorial (may have to scraplift) 🙂 !
jpscraps
April 27, 2013 at 3:22 am (12 years ago)Fabulous gift set!!
Kelli Smith
April 27, 2013 at 6:20 am (12 years ago)Beautiful card & gift bag,