Spring Card Set featuring products by Authentique designed by Alice Golden
Supplies:
iCraft sheets
iCraft tape
3D Zots
Mini Tape Runner
Foam Squares
Paper and die cuts – Authentique
Aqua Mist cardstock – Papertrey Ink
Taglines stamp set – Flourishes, Ink
Onyx Black VersaFine ink – Tsukineko
Enamel Dots – My Mind’s Eye
Ribbon and trim
Vintage button
Instructions:
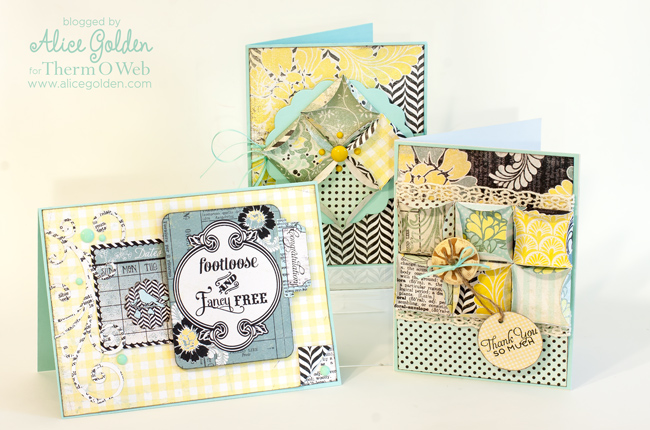
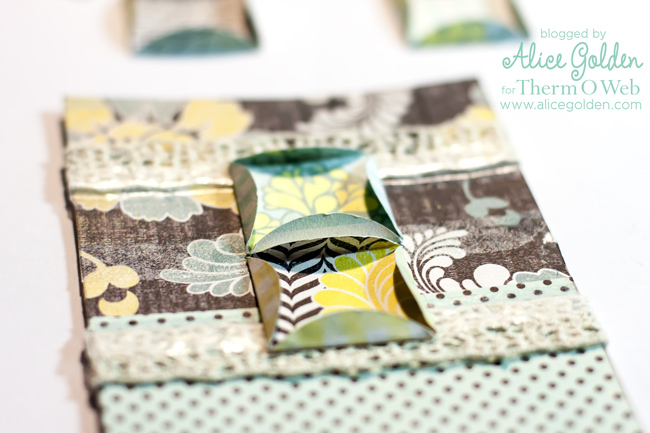
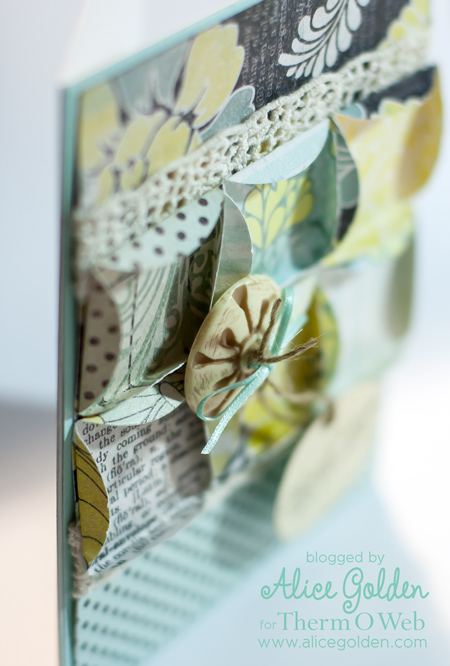
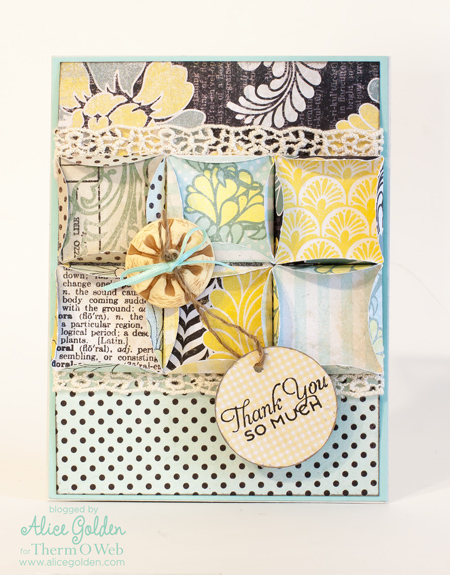
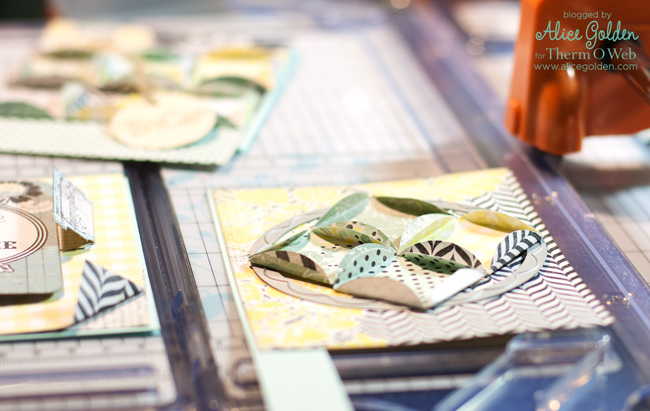
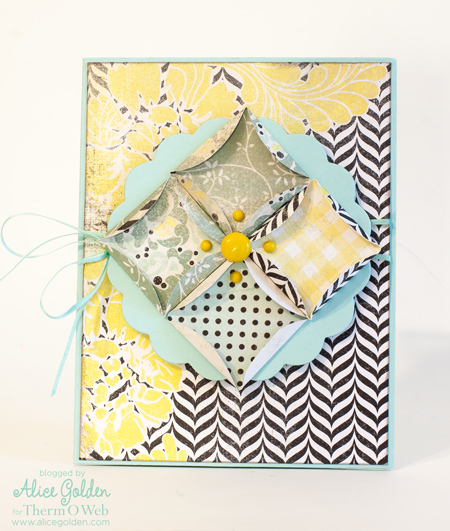
To create the folded circle element used on two of the cards, die cut several circles from double sided paper and use a square of cardboard or metal die as a template to fold the edges of the circle up, creating a square shape.
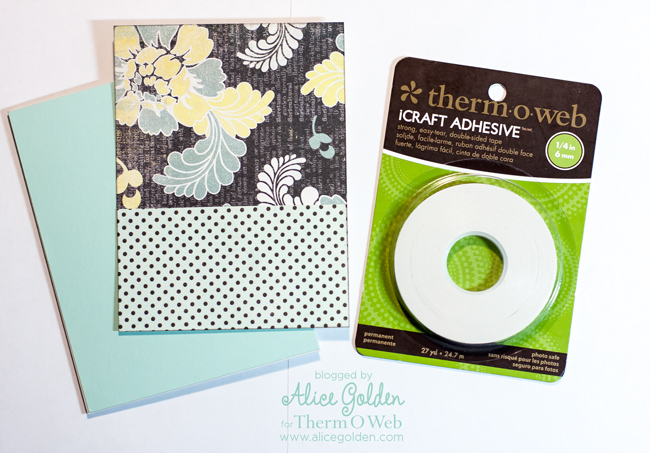
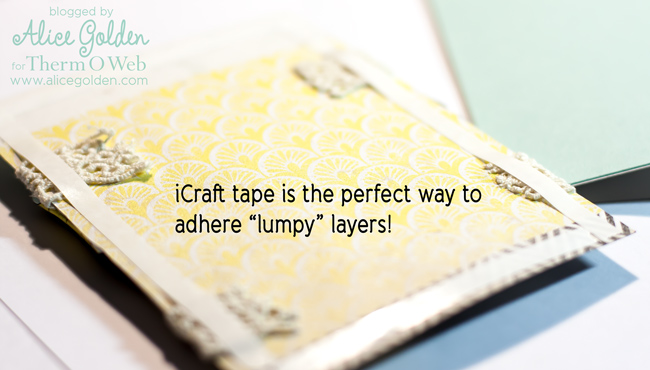
1. Use iCraft tape to adhere the background papers together.
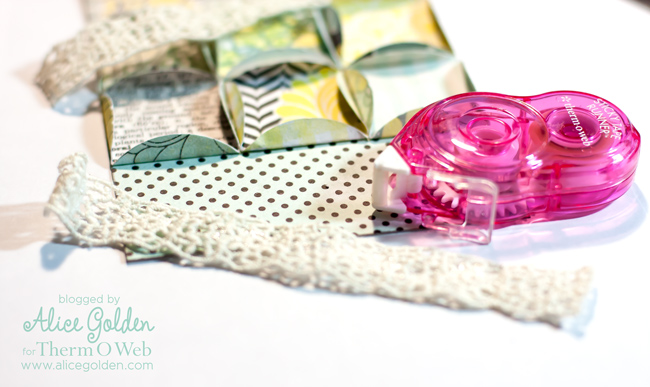
 2. Use a mini tape runner to apply adhesive to the crotched trim; tuck ends behind paper.
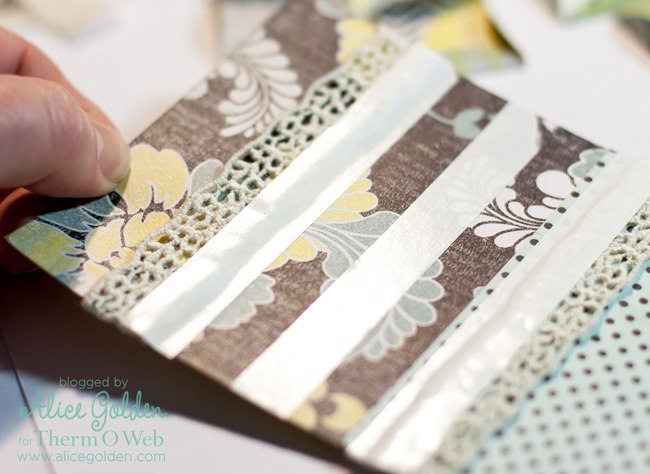
 3. Apply strips of iCraft tape on the front of the card – these will be used to hold the folded circle elements in place.
4. Remove the liner from the iCraft and adhere the folded circles to the card, beginning in the center.
5. Use iCraft tape to adhere the papers to the card front.
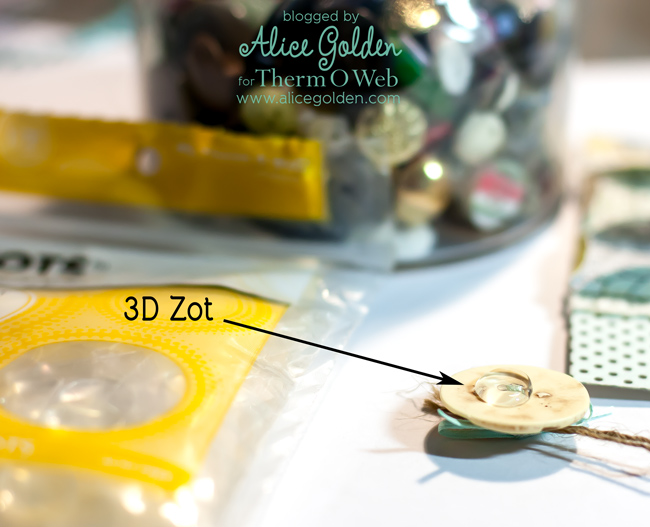
6. Adhere a 3D Zot to the back of a vintage button.
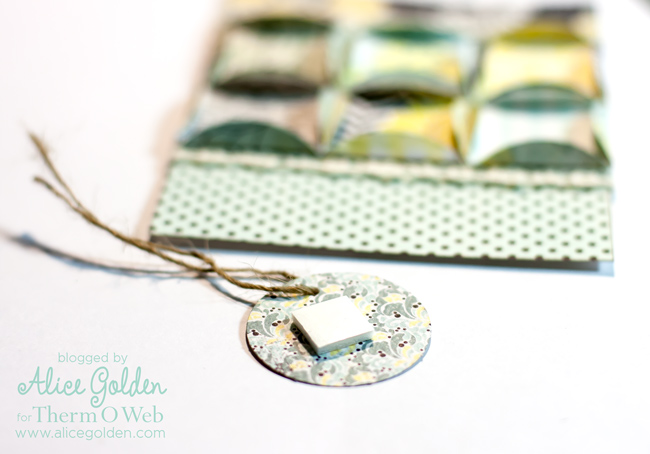
7. Use a foam square to keep the stamped tag in place.
8. Tie thin ribbon through the button and secure the strings on the tag.
Here is the view straight on:
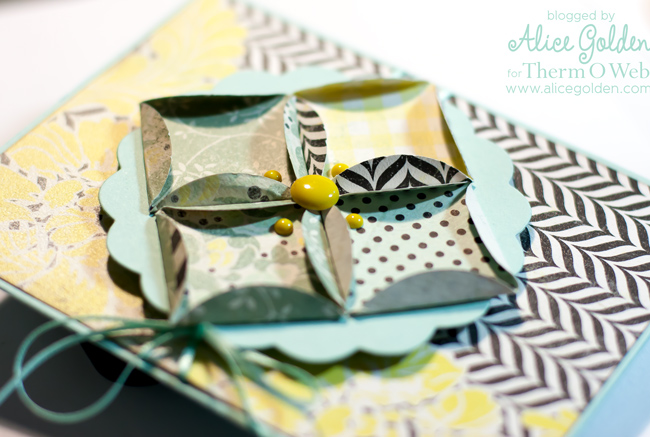
Create a second card using leftover folded circles on top of a die cut scalloped circle.
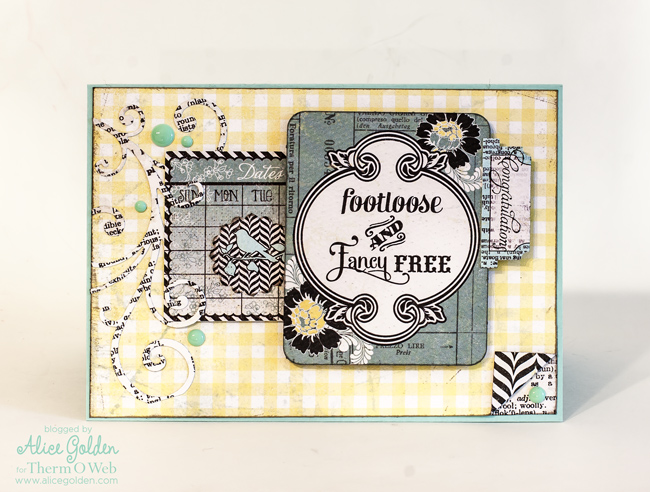
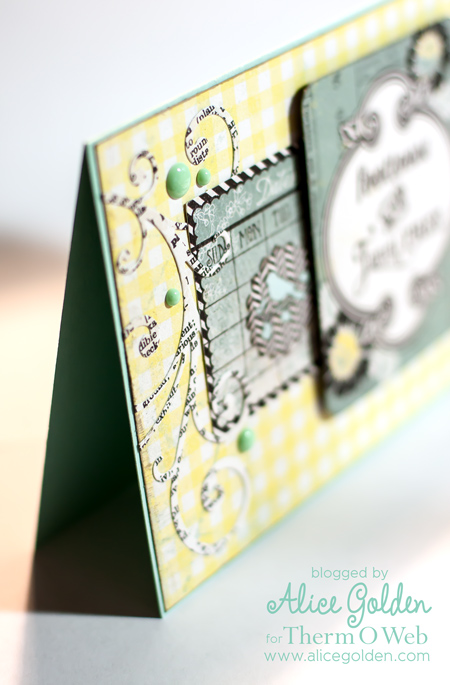
The last card uses foam adhesive to give dimension to die cut pieces.
When cutting intricate shapes, cover the paper with an iCraft sheet first and then die cut as usual. Peel off the backing and viola!
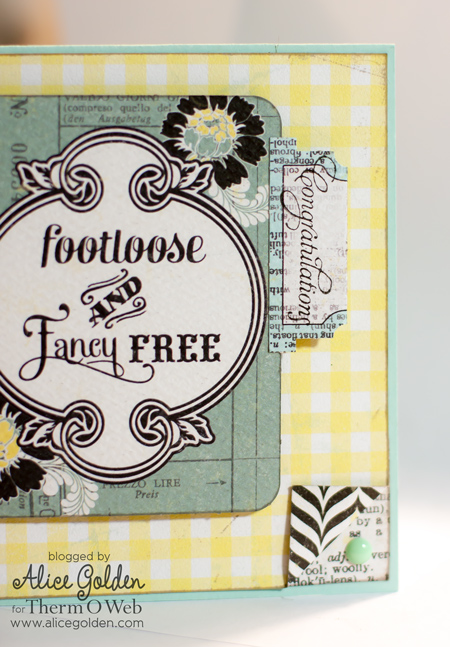
iCraft tape was used on the file folder tab element and to attach the paper under the folded corner.
Be sure to enter to win!
We have a fantastic assortment of products from Authentique from their Grace, Strong and Renew collections along with a fun EK Success Paper Edger punch!! You don’t want to miss it!

And we’d like for you to stop and visit the Authentique blog too to see their creations with our adhesives and their products..it’s a win win!
a Rafflecopter giveaway


marylouh
April 27, 2013 at 2:03 pm (12 years ago)I have a Stampin’ Up punch that would make those little windows. Never thought about using it like these cards. Thanks for sharing.
Buffy Esser
April 27, 2013 at 9:10 pm (12 years ago)I love what you’ve done with the circles….just another idea to try :o) Beautiful cards! thank you so much for all the inspiration this week!
Jean Bullock
April 27, 2013 at 10:15 pm (12 years ago)Very cool! These cards have a sophisticated artsy feel to them. Great tutorial. Definitely going to try those techniques. Thanks so much.