 It’s Halloween Week here on the blog and we’re quite certain you’re going to love all the amazing projects we have for you. Pillows, home decor, cards….there’s truly something for
  everyone!
And remember…you can always use our SEARCH feature to go back to search prior year’s projects. Costumes, quilts..scrapbook pages…just type in HALLOWEEN to see all the amazing goodies. OR click here!
Kicking this week off Wendy Cuskey has one of the most incredible Halloween projects…just wait till you see all the details.
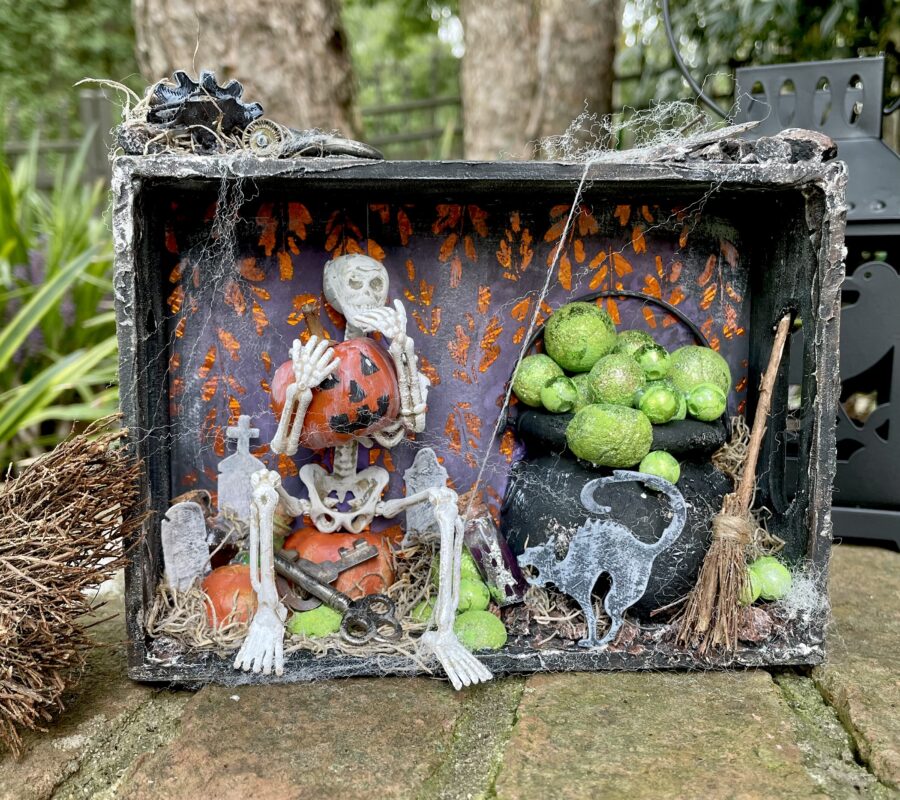
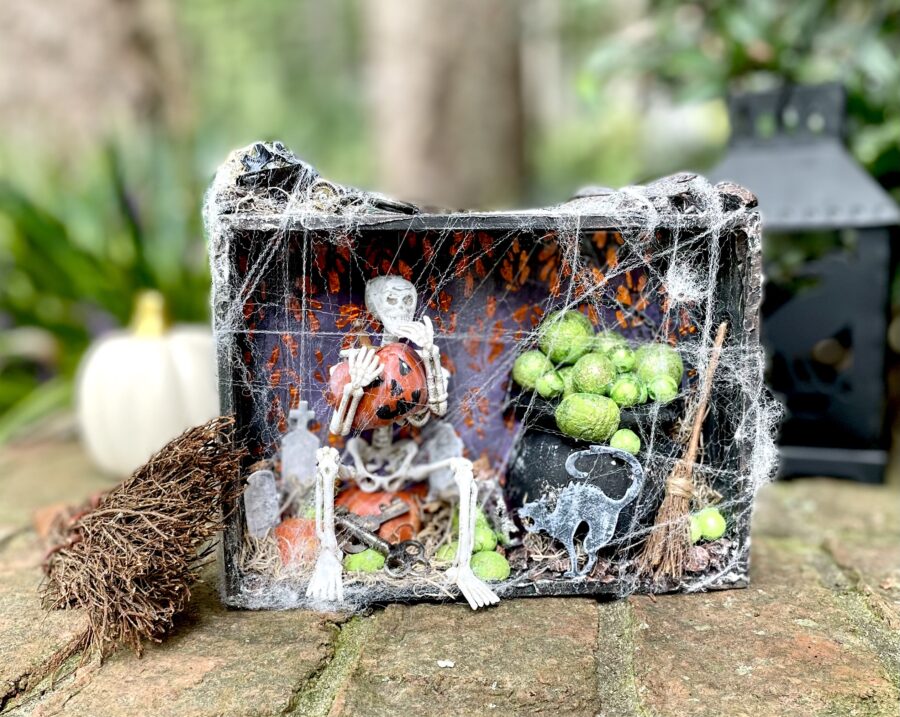
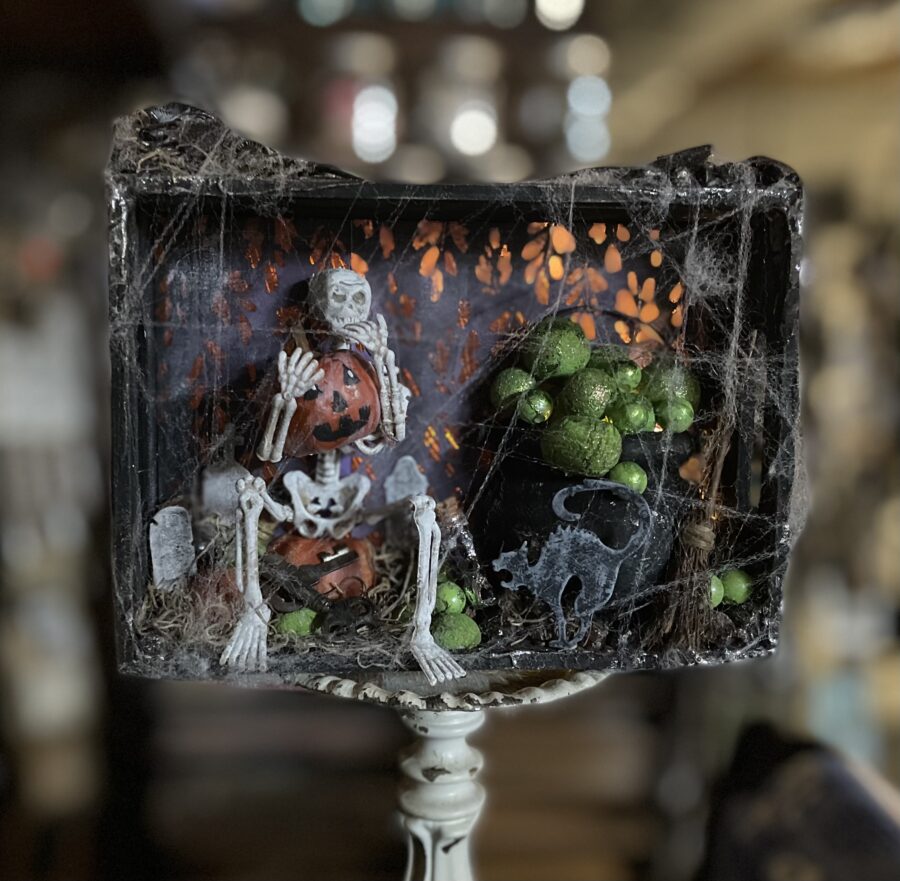
Hello crafty friends and Happy Fall! Today I am here to share my mixed media Halloween Shadow Box highlighting Brutus Monroe Toner Sheets and Foil. While I love making cards, this project is just one example to show that the toner sheets aren’t just for cardmaking. So settle in and let’s make a shadow box.
Shadow Box Supplies:
Brutus Monroe Deco Foil Toner Sheets
Brutus Monroe Deco Foil Transfer Sheets – Orange Sketch
iCraft Deco Foil Transfer Sheets – Lilly Pad, Black, Pewter and Silver
iCraft Ultra Bond Liquid Adhesive
Double-Sided Adhesive Foam Tape
iCraft Super-Tape Adhesive Roll
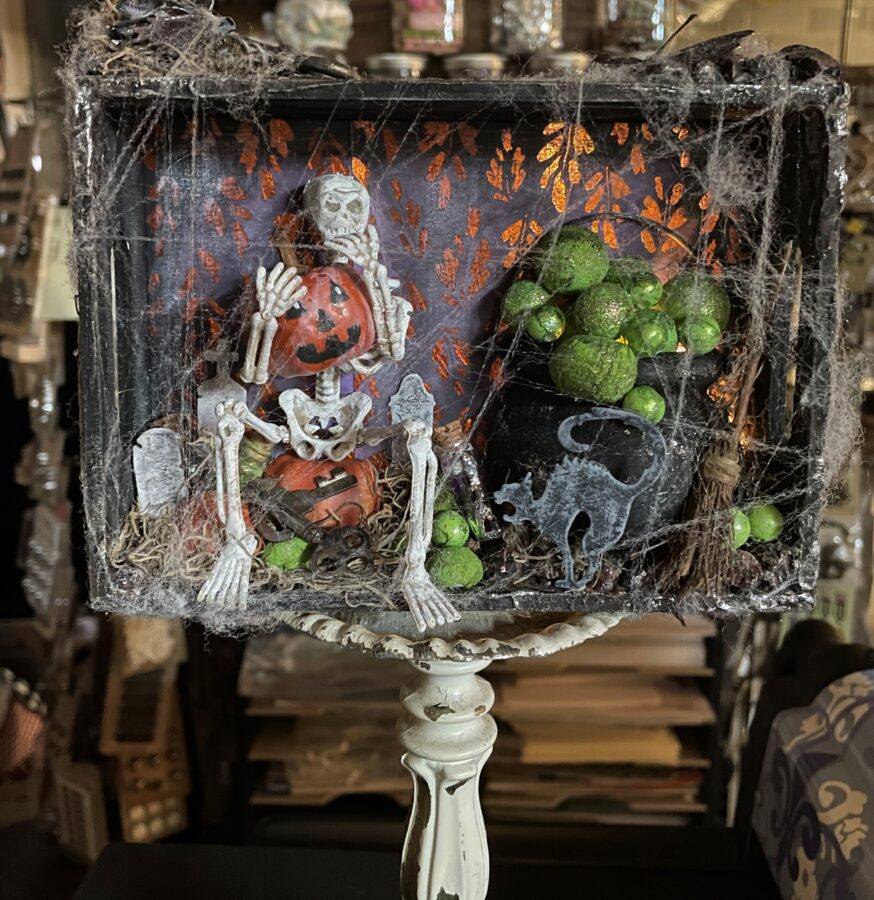
Other Supplies: Wood box, modeling paste, rocks, paint, paintbrushes, scissors, toy skeleton, small foam balls, and beads, dies and die-cutting system (or purchased die-cuts), ink and blending tool, stick from the yard, broom bristles, tiny glass vials with corks, mini foam pumpkins, moss, fairy lights, and metal embellishments.
Mixed Media Shadow Box Step One
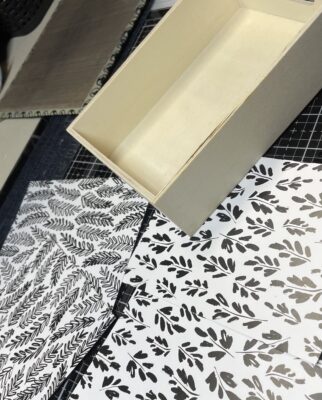
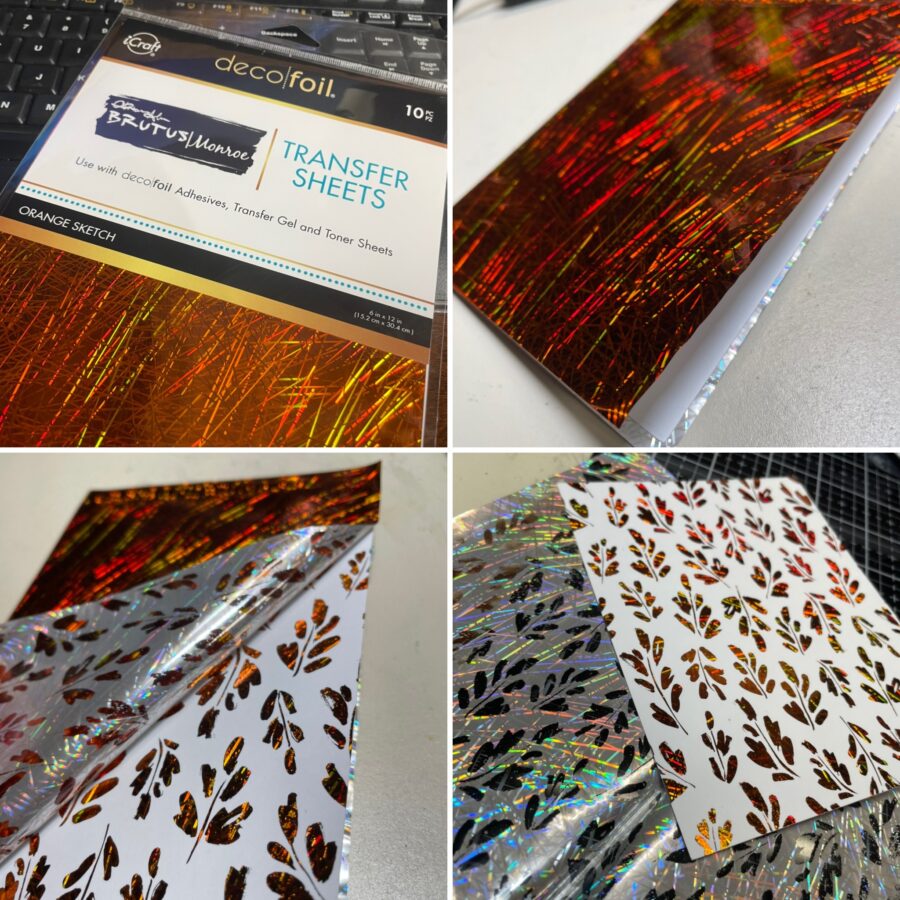
 Begin by choosing your “wallpaper” and foiling it. You will need to check your foiling machine instructions, but I find that mine works just fine without a carrier sheet. I took two of the Brutus Monroe card front Toner Sheets and placed them back-to-back inside of a folded piece of Orange Sketch Deco Foil Transfer Sheet (pretty side out) and ran them through my machine. This color is the perfect Halloween Orange!
Hint: When you are foiling an all-over, repeated pattern such as this, keep the negative transfer sheet after you are finished. I used this one inside of a junk journal for added interest on a page.
Mixed Media Shadow Box Step Two
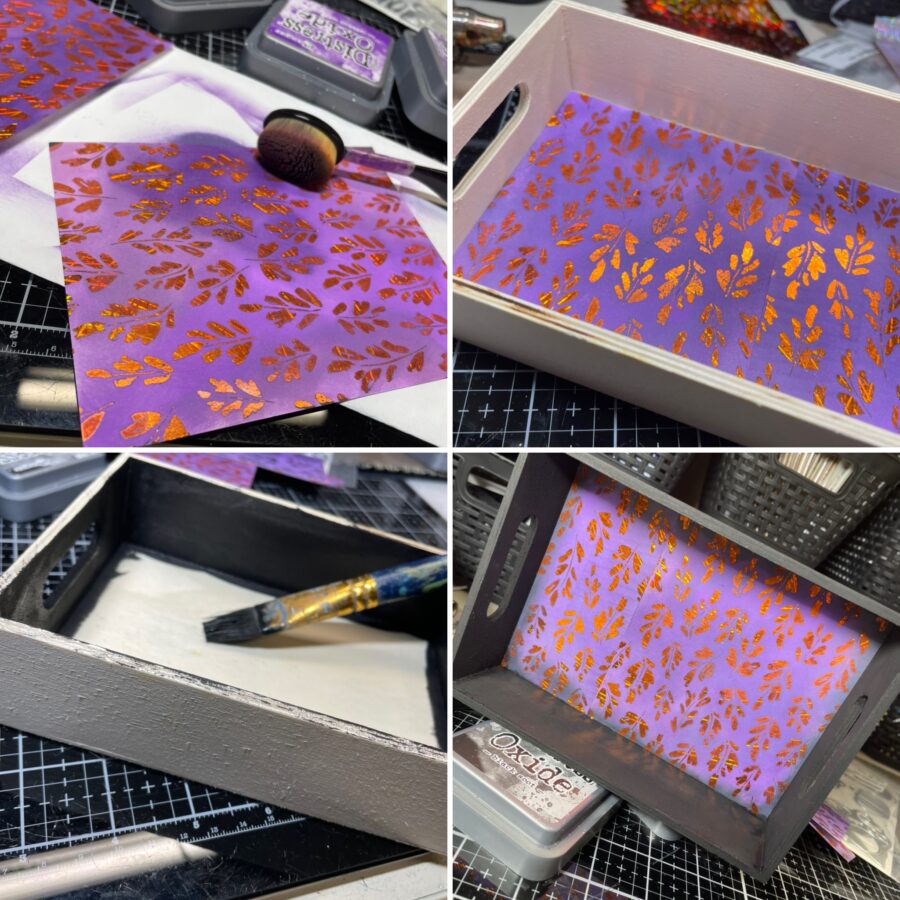
Next, ink up the background of your “wallpaper” blending in any colors you choose and paint the rest of the wood box black. With a damp cloth, gently wipe over the Toner Sheet to remove any ink from your foiled areas. Adhere your wallpaper into the box as pictured.
Hint: This ink was rather bright and I did have to go back later after everything was glued in to darken it up with some watered-down black paint. You might want to darken yours without obstacles 😊.
Mixed Media Shadow Box Step Three
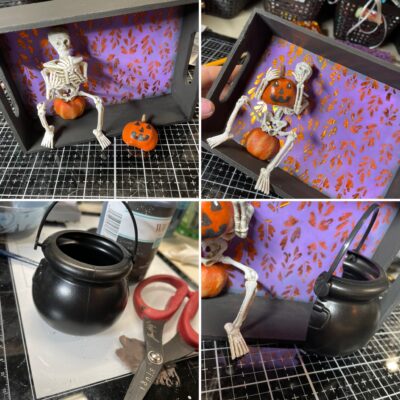
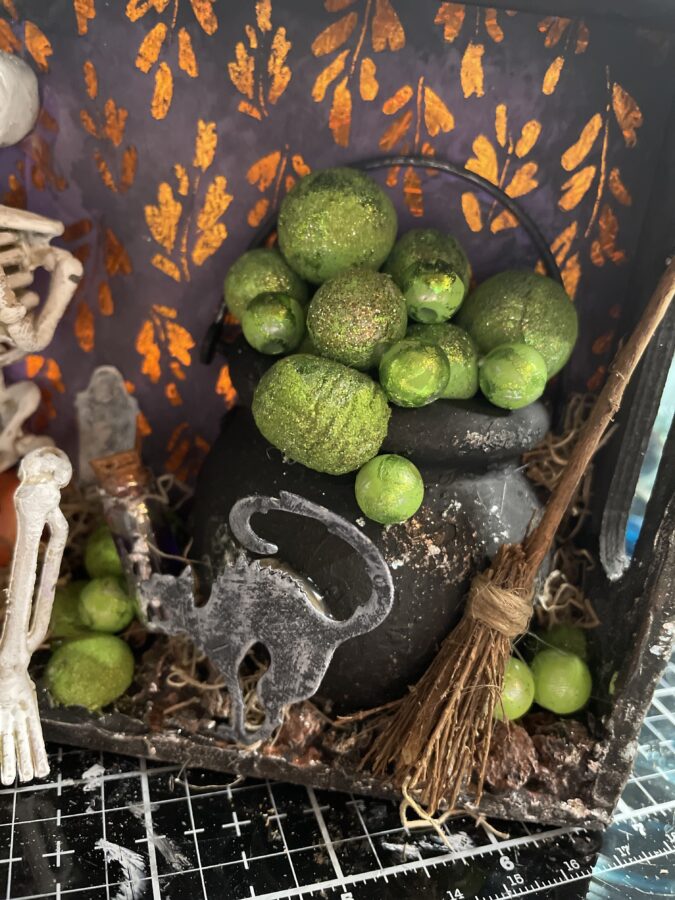
Next, let’s install the main features of the shadow box. I used a skeleton, some foam pumpkins and a cauldron; all from a local dollar store. The cauldron was a leprechaun pot of gold I bought in the spring, but I’ve seen similar treat containers out for Halloween. Cut your cauldron in half and keep the half with the handle. To cut down on the shiny, plastic look, give your cauldron a coat of black chalk paint. Use double-sided black Foam Tape to adhere your cauldron to the shadow box.
Hint: I adhered some black felt into my cauldron so that I wouldn’t need as many foam balls to fill it up. Black tissue paper would work just as well.
Mixed Media Shadow Box Step Four
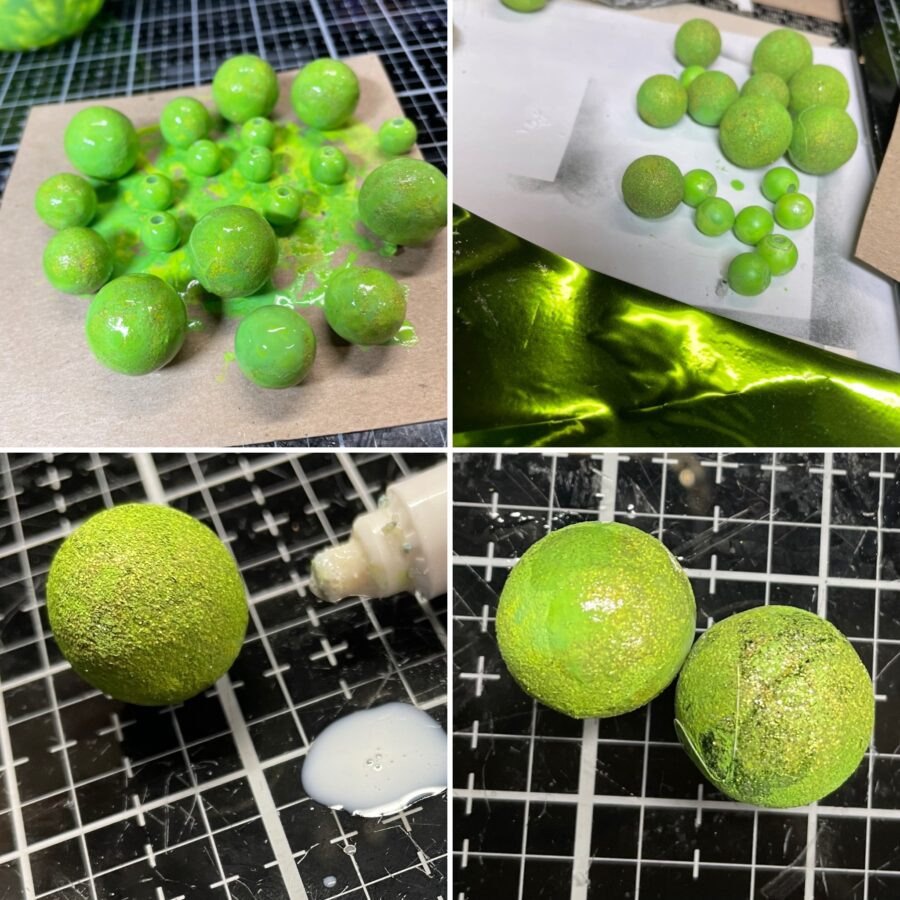
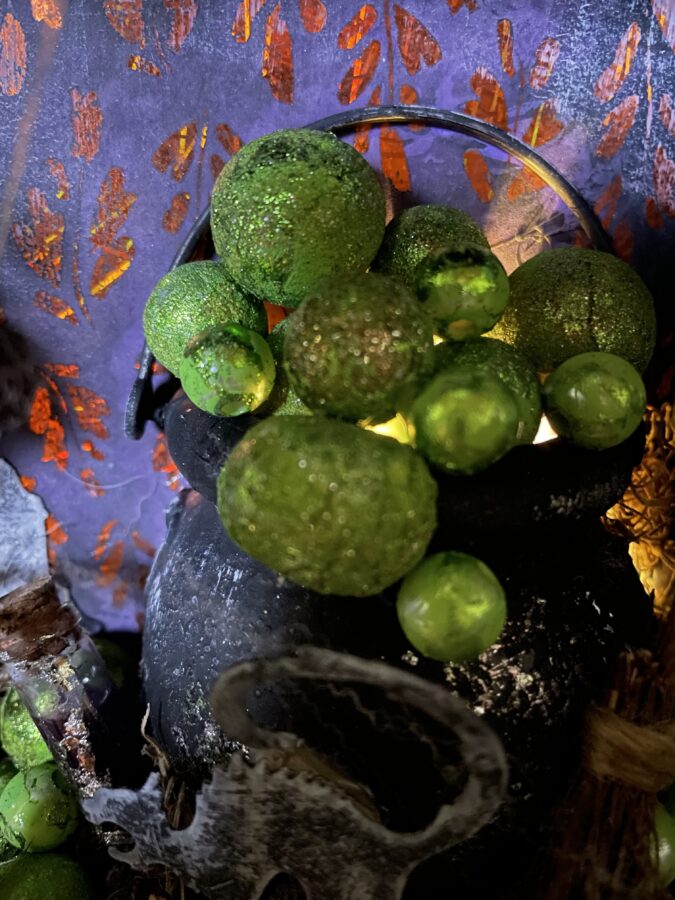
Continue by painting your foam balls and beads. The dollar stores seem to have these varied size foam balls for every holiday. To paint the foam and beads green, place them in a plastic cup with the paint, place a piece of cardboard over the top and shake until completely coated. I chose green paint that would give the best background for my Lilly Pad foil.
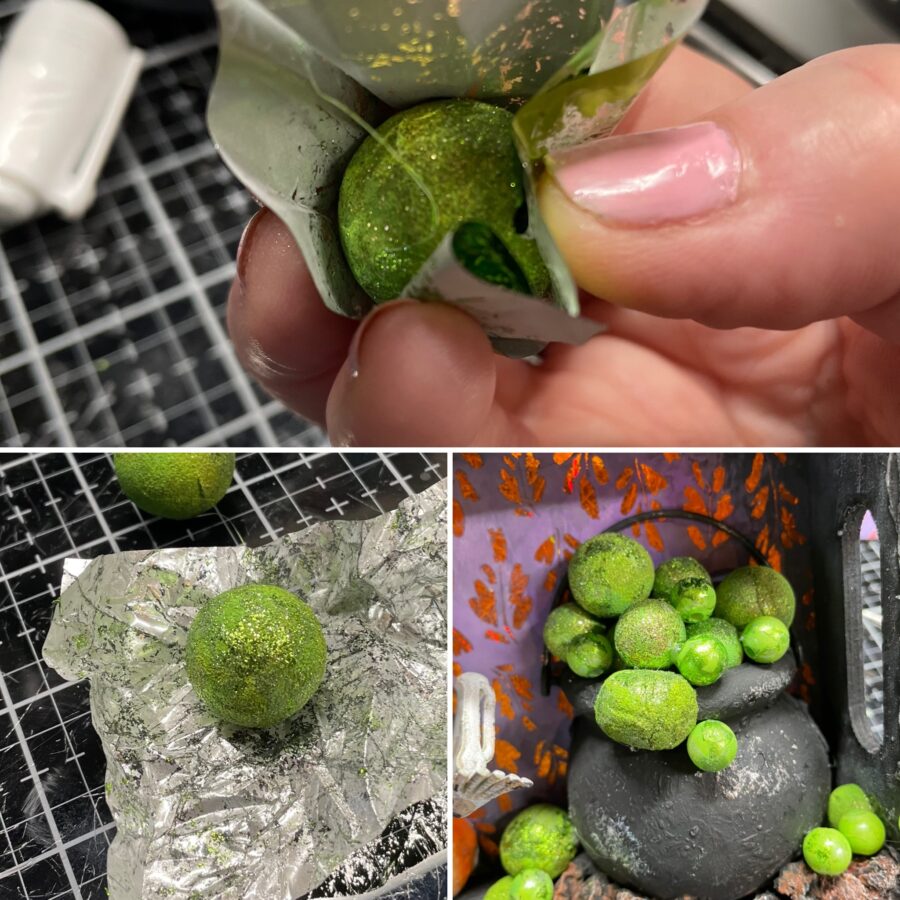
Using an Adhesive Glue Pen, add glue randomly to all balls and beads. Allow the adhesive to come to tack (clear with no milky color) and then wrap each ball and bead in a small piece of foil, rolling it around between your fingers. The result is amazing! Photos do not do this justice at all. Each one has so much gorgeous shimmer and shine. Add your “bubbles” to the cauldron and inside your shadow box.
Hint. USE YOUR SCRAPS! If I foil a small item or even several small items using a piece of foil, I still keep that piece of foil for a project like this. Because you are not trying to get a clean impression or foiled area, used scraps are perfect for this technique.
Mixed Media Shadow Box Step Four
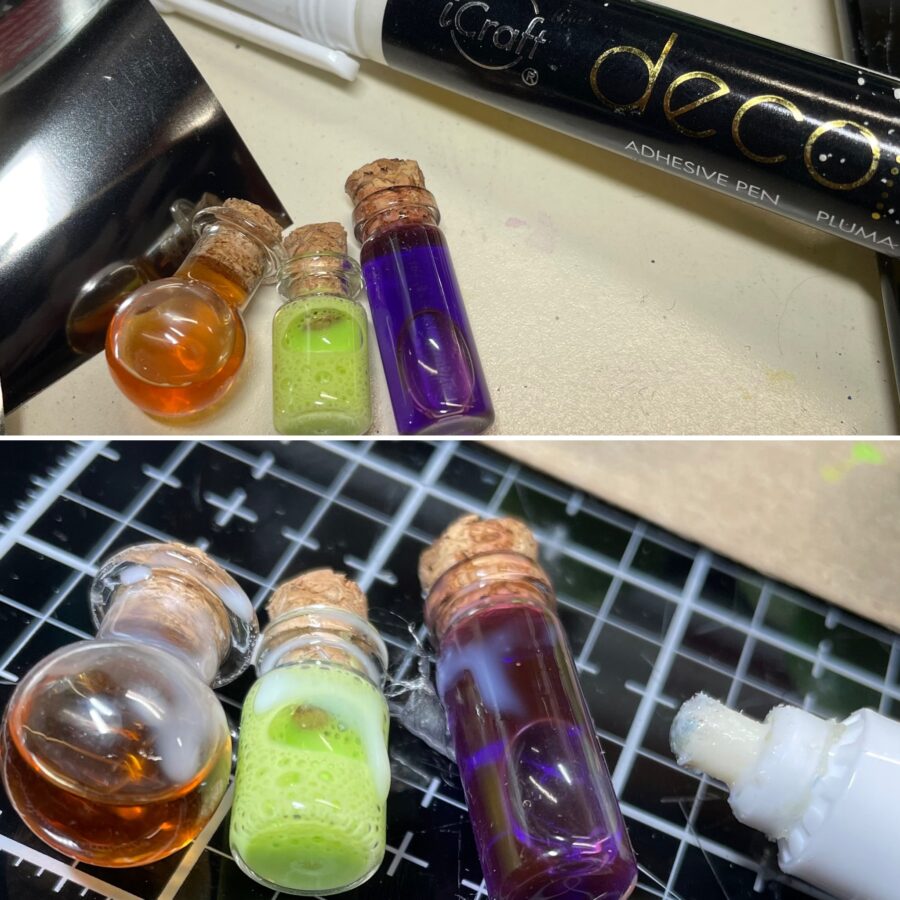
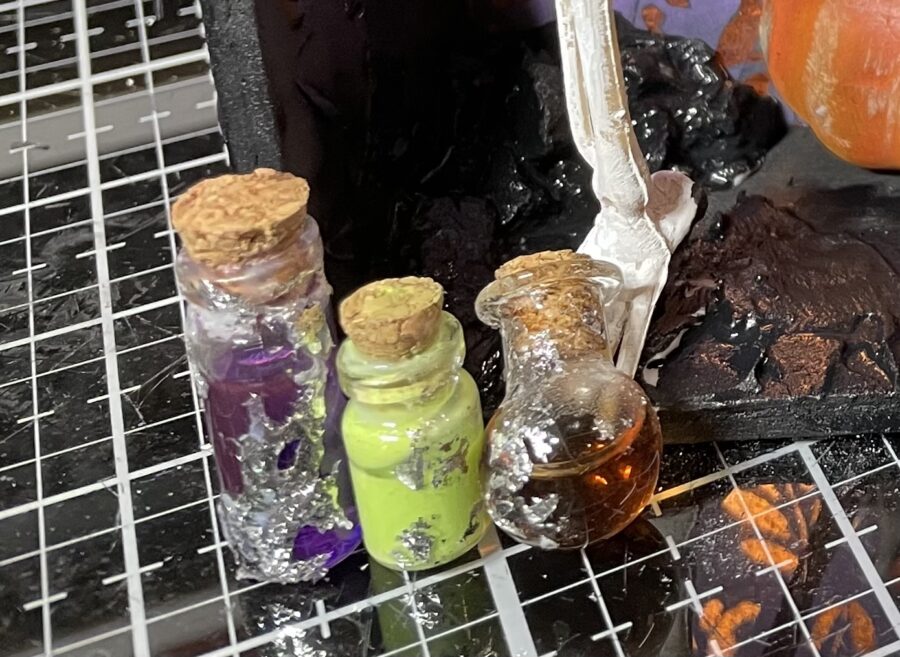
Next, we’ll make some potion bottles. Well give them a bit of grunge and shine using the same technique as we did on the foam balls and beads. Add adhesive, allow to dry until clear, and then press the dull side of foil onto the sticky areas. I love how you can make them look both grungy but still sparkly using the black and pewter foils.
Hint: If you are having trouble with the glue peeling off, adhere a bit of tissue to the areas you want to foil, allow it to dry, and then try the technique above again.
Mixed Media Shadow Box Step Five
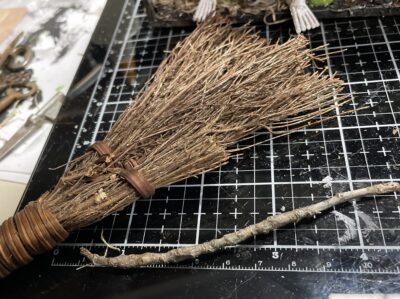
For a long time, I have tried to find whisk brooms or something I could make mini witch brooms from. This year my local dollar store had this little fall, cinnamon-scented brooms. I bought 5 of them and I wish I had gotten more! Using a stick from the yard, some twine, and some of the broom, I had a quick and easy broom. You could easily make 3-4 mini brooms from this little fall décor piece.
Hint: It’s easier to tie the twine if you add a little Ultra Bond Liquid Adhesive to hold the bristles onto the stick first and let it set up.
Mixed Media Shadow Box Step Six
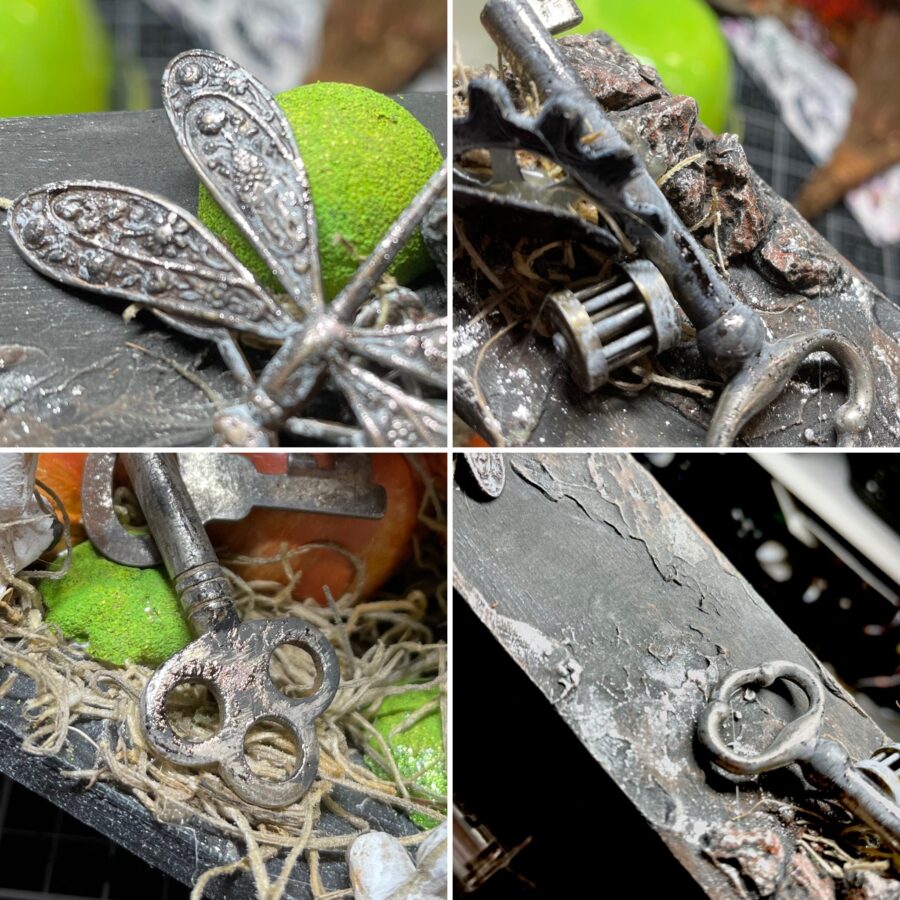
Next, add some fun embellishments. I knew I wanted metal embellishments because I love, love, love to add foil accents to metal. It’s really hard to get it to photograph in a way that shows just how amazing it looks. Use your Glue Pen to add foil accents to all of your metal embellishments. Again, I used the black and pewter foils because I love the grungy shine they add. Adhere these along with some Halloween die-cuts and your potion bottles to your shadow box.
Hint: I mix a little Ultra Bond Liquid Adhesive with modeling paste to stick down my heavier metal pieces.
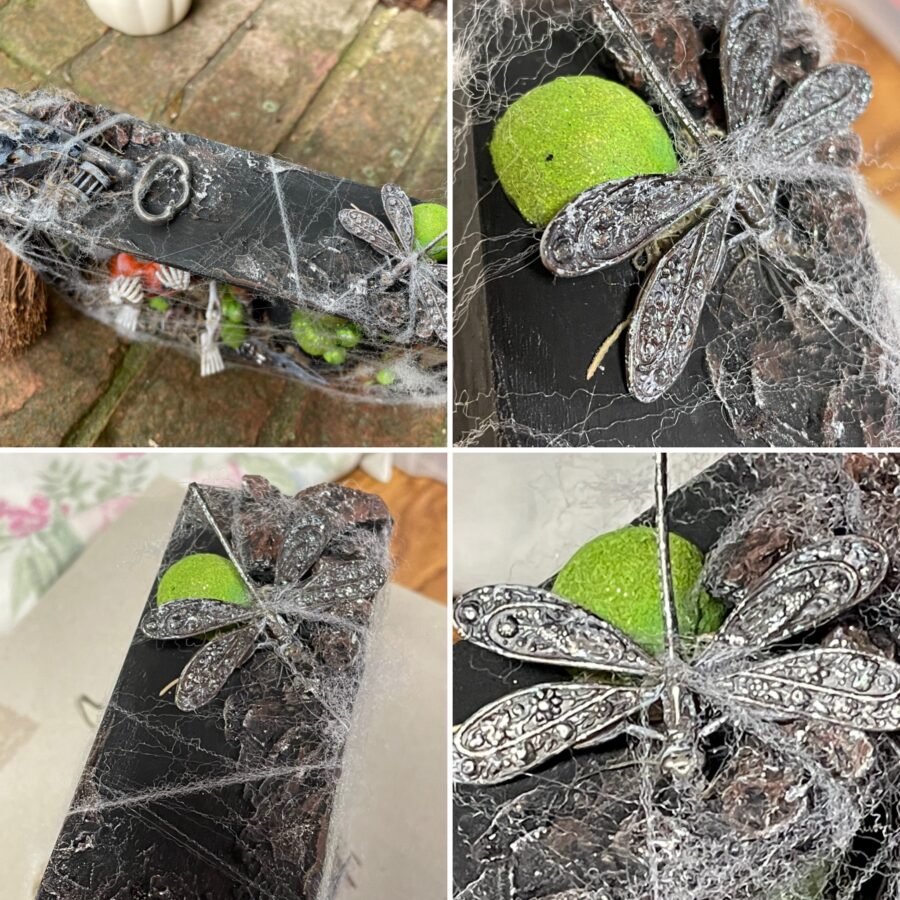
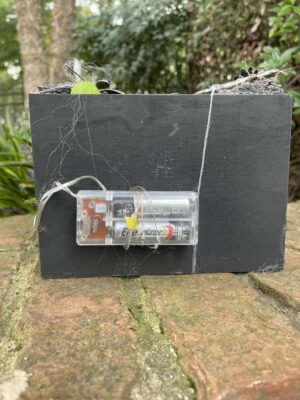
Lastly, If you want to add lights to your bubbling cauldron, just drill through the back and feed the lights through.
I had so much fun with this project (mixing glitz and grunge) and I can’t wait to add it to my Halloween décor. I hope this project inspires you to mix things up a bit!
