


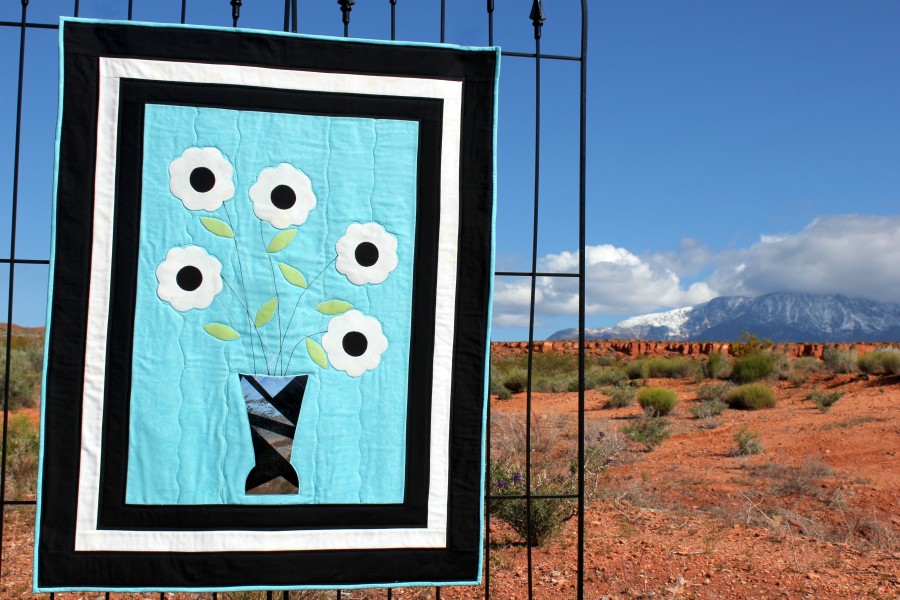
It’s me, Carol from Just Let Me Quilt, sharing a project made with appliqued flowers and a vase made with iCraft® Deco Foil™. The vase is layered with two different foils to add a little bling to this 33” x 42” wall hanging or small quilt. It’s up to you to decide which design you want to use on the vase. Cut the foil in random shapes with scissors or a rotary cutter, or use a machine to cut out an image of your choice. Be creative! Either method makes for a fun flower quilt to hang on your wall or as a table topper. The iCraft® Deco Foil™ catches the light and brings a little sparkle to everything it decorates. Plus, it is so fun to play with!
Flower Vase Quilt
![]()
Flowers in a Vase by Carol Swift
What you’ll need:
Therm O Web Heat N Bond® EZ Print Lite sheets, 8½” x 11”
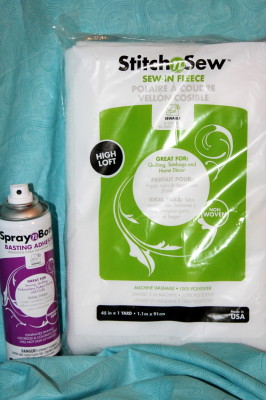
Therm O Web Stitch N Sew Fleece Sew-In High Loft Interfacing/Batting 45″ x 1-yard pack
Therm O Web Spray N Bond® Basting Adhesive
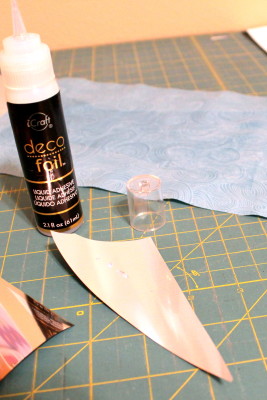
iCraft® Deco Foil™ Hot Melt Adhesive
iCraft® Deco Foil™ Liquid Adhesive (optional)
Iron or laminating machine
Pattern Instructions Flowers in a Vase
Fabric
Fabric Yardage:
2 yards – quilt center, backing, and binding
1 yard – flowers, one border
1 yard – two borders, center of flowers
1 fat quarter – leaves
Fabric Cutting Instructions:
Cut 3 for quilt center – 7½” x 30½”
Cut 4 for binding – 2 ½” x WOF (cut of selvages)
Cut 1 for the quilt back – 36” x 45” (this is a little larger than quilt front)
Border A:
Cut 2 – 2½” x 30 ½” and cut 2 – 2½” x 25½”
Border B:
Cut 2 – 2” x 34½” and cut 2 – 2” x 28½”
Border C: Cut 2 – 3” x 37½” and cut 2 – 3” x 33½”
Sewing Instructions (sew all seams ¼” wide):
Step 1: Applique flowers and iCraft® Deco Foil™ vase to each 7½” x 30½” fabric strip using instructions below. (Fabric leaves will go on later.)
Fabric Applique Instructions:
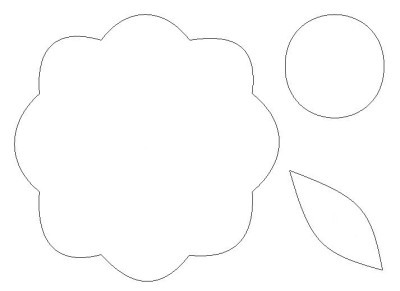
Using your inkjet printer, print out applique pattern pieces with Heat N Bond EZ Print Lite sheets, or trace designs on the iron-on adhesive of your choice. Follow the manufacturer’s directions to iron adhesive pieces to the wrong sides of desired fabrics. Let cool. Cut out applique pieces. Iron pieces to the right side of fabric following manufacturer’s directions. Blanket stitch or zigzag around all pieces.
Deco Foil Instructions:
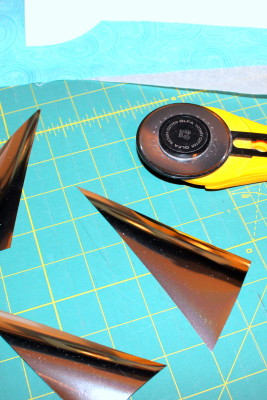
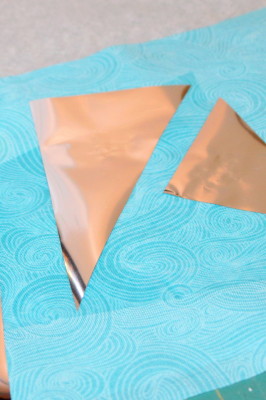
Draw vase pattern on the smooth side of iCraft® Deco Foil™ Hot Melt Adhesive and cut out pieces (or use cutting machine.)


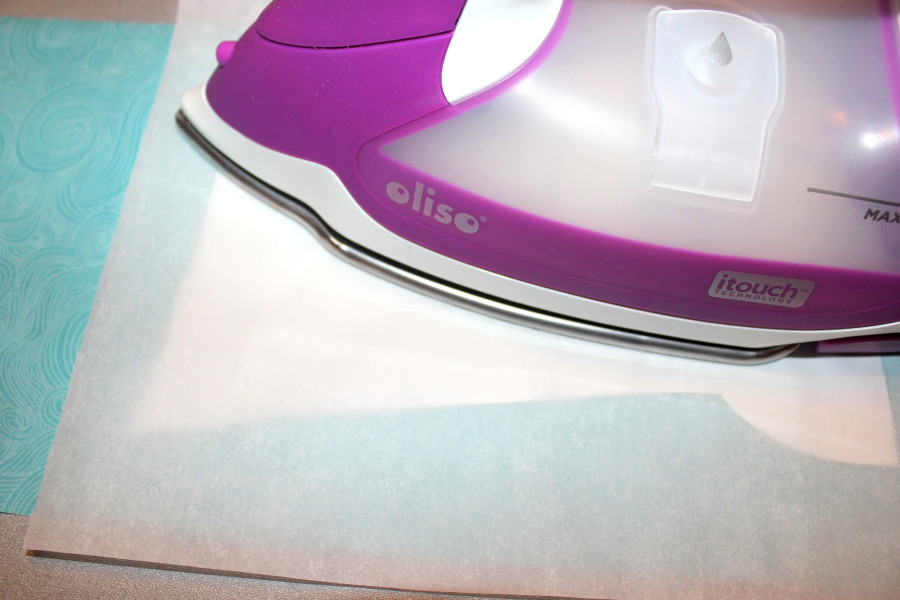
Remove paper backing and position on the right side of the fabric. Iron to fabric following manufacturer’s directions. Let cool.
Randomly cut the desired color(s) of iCraft® Deco Foil™ into pieces or cut out a design with a machine and position on top of adhesive. It is okay if the foil overlaps the adhesive…you’ll peel that off after ironing.
*Tip: Use a very small dab of iCraft® Deco Foil™ Liquid Adhesive to hold smaller foil pieces in place on top of adhesive.
Position a larger piece of foil over the layer of smaller foil pieces. Press with iron following iCraft® Deco Foil™ directions. If using a laminating machine, place fabric and foil between parchment paper and run through laminator following your machine’s directions. It’s important to let it cool completely. Rub the foiled area gently with a soft cloth to loosen the foil.
Tip: A piece of card stock between back fabric and parchment paper will help to stabilize it when it goes through the laminator.TooltipText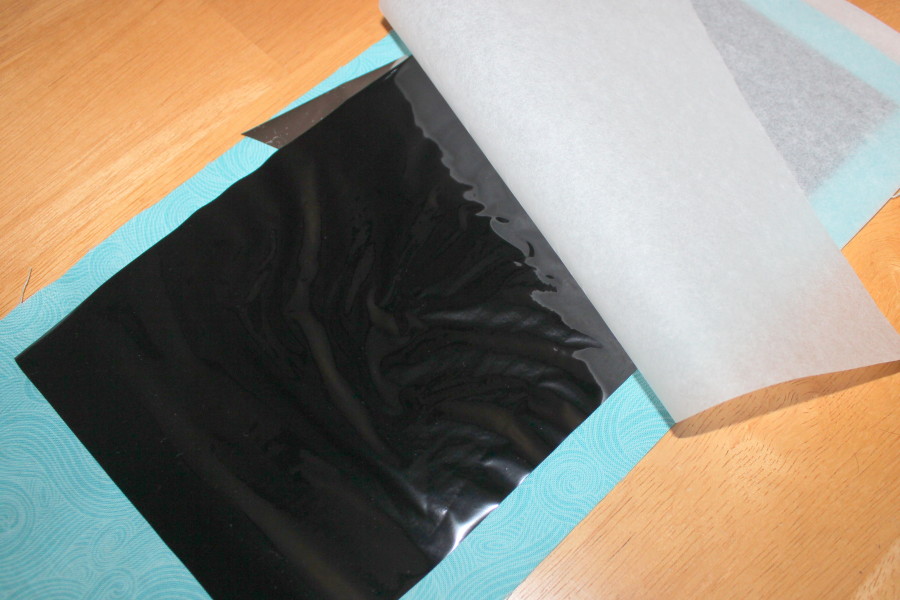
Step 2: Sew 7½” x 30½” fabric strips together. Press seams to the right. Be VERY careful not to let the iron touch Deco Foil vase applique!
Step 3: Machine or hand embroider stem lines. You can add more stem lines if desired.
Step 4: Applique leaves following the applique instructions above.
Step 5: Sew Border A strips, 2½” x 30 ½”, to sides of sewn pieces; press seams towards borders. Sew Border A strips, 2½” x 25½”, to top and bottom; press seams towards borders.
Step 6: Sew Border B strips, 2” x 34½”, to sides of sewn pieces; press seams towards borders. Sew Border B strips, 2” x 28½”, to top and bottom; press seams towards borders.
Step 7: Sew Border C strips, 3” x 37½”, to sides of sewn pieces; press seams towards borders. Sew Border C strips, 3” x 33½”, to top and bottom; press seams towards borders.
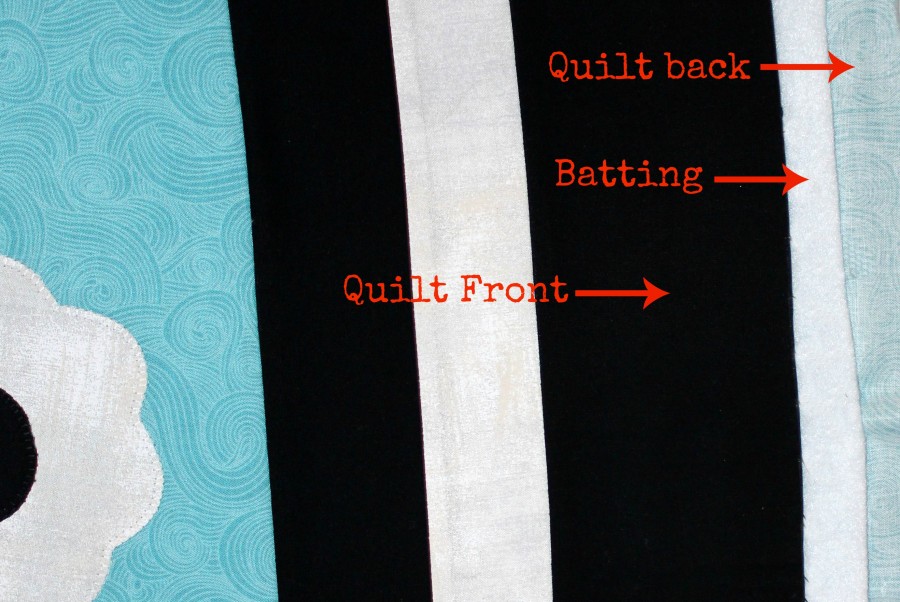
Step 8: Quilt backing–this is an easy way to prepare a quilt for quilting using Spray N Bond Adhesive and Stitch N Sew Sew-In Fleece or batting of your choice.
Protect the area where you will be working by placing an old sheet of paper under and around the area you’ll be spraying. Place the quilt backing wrong side up on your working surface. Using the Spray N Bond Adhesive, spray about 6-8 inches across the top portion on the wrong side of fabric from one edge to the other. Place batting on top of the wrong side of the quilt back over the sprayed surface. Smooth fleece/batting to ensure it adheres to the sprayed fabric. Continue this method of spraying and smoothing just 6-8 inches at a time until you reach the bottom of the quilt back. Check for creases or folds. Add quilt front to quilt back using the same spray and smooth method as the backing. Trim edges and square-up quilt. Quilt as desired.
Step 9: Bind quilt edges using your favorite method.
I hope you enjoy adding some sparkle to your life with iCraft® Deco Foil™ Sheets!

Mary
May 19, 2016 at 10:09 am (8 years ago)That looks beautiful, Carol