


Flocked Cupcake Gift Tags with Deco Foil Flock
This post uses affiliate links at no additional cost to you! By clicking the links in this post, I earn a small commission should you make a purchase. Thank you in advance!
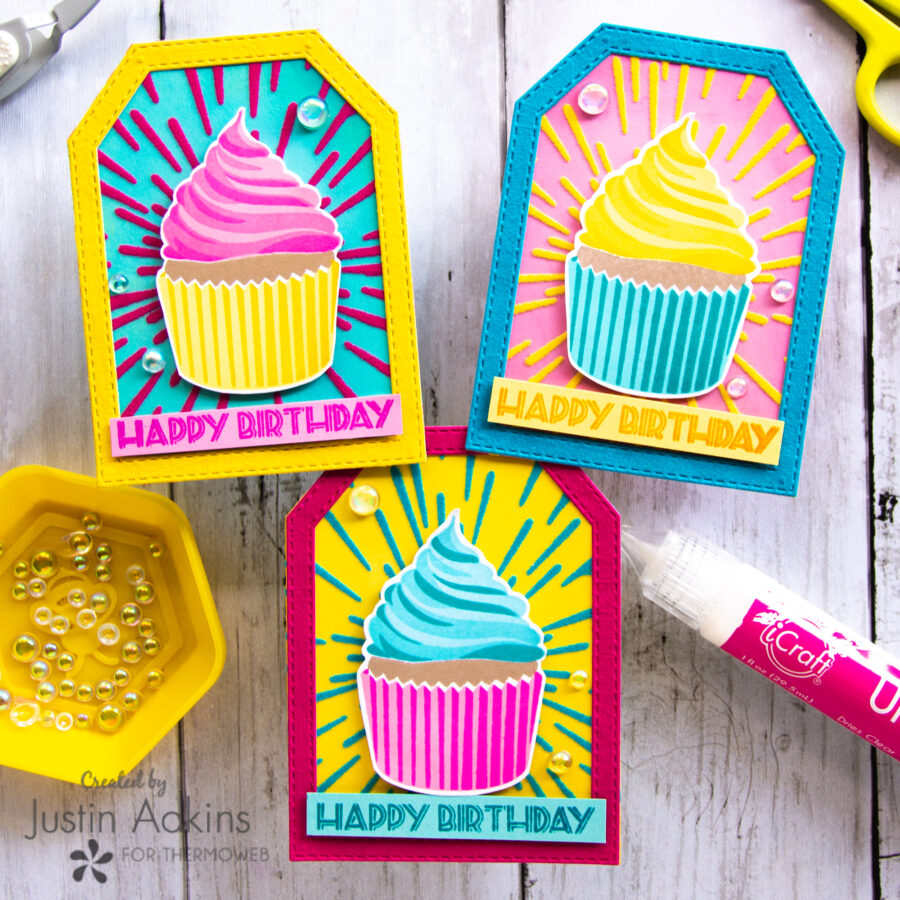
Hello everyone! Justin here, and today I have baked up a trio of flocked gift tags that fit so perfectly into our Cake Week fun!
Before we get into the Step by Step Process, I have a list of products below that were used when creating these tags!
Therm O Web Products Used:
Transfer Gel Blanco
Deco Foil Flock Transfer Sheets – Think Pink
Deco Foil Flock Transfer Sheets – Yellow Sunshine
Deco Foil Flock Transfer Sheets – Blue Diamond
UltraBond Permanent Adhesive
iCraft 3D Foam Tape 1/16″, White
Other Key Products Used:
Layered Cupcake Stamp Set by Altenew
Warp Speed Stencil by Altenew
Catherine Pooler Inks: Chiffon, Tiara, Glitz, It’s a Boy, Cummerbund, All That Jazz, It’s a Girl, Be Mine, Pucker Up & Sand Castle
Distress Oxide Inks: Mustard Seed, Picked Raspberry & Peacock Feathers
Shaker Basics 2 Builder Dies by Stamp Anniething
Colored Cardstock
Clear Iridescent Bubbles by Studio Katia
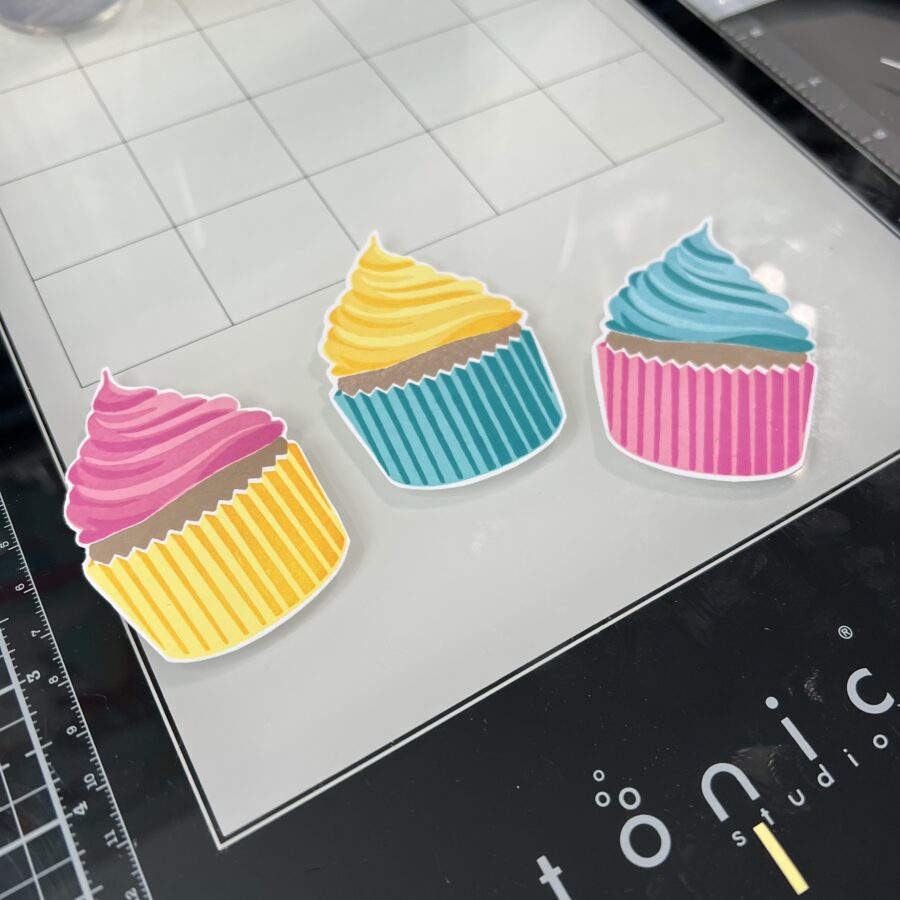
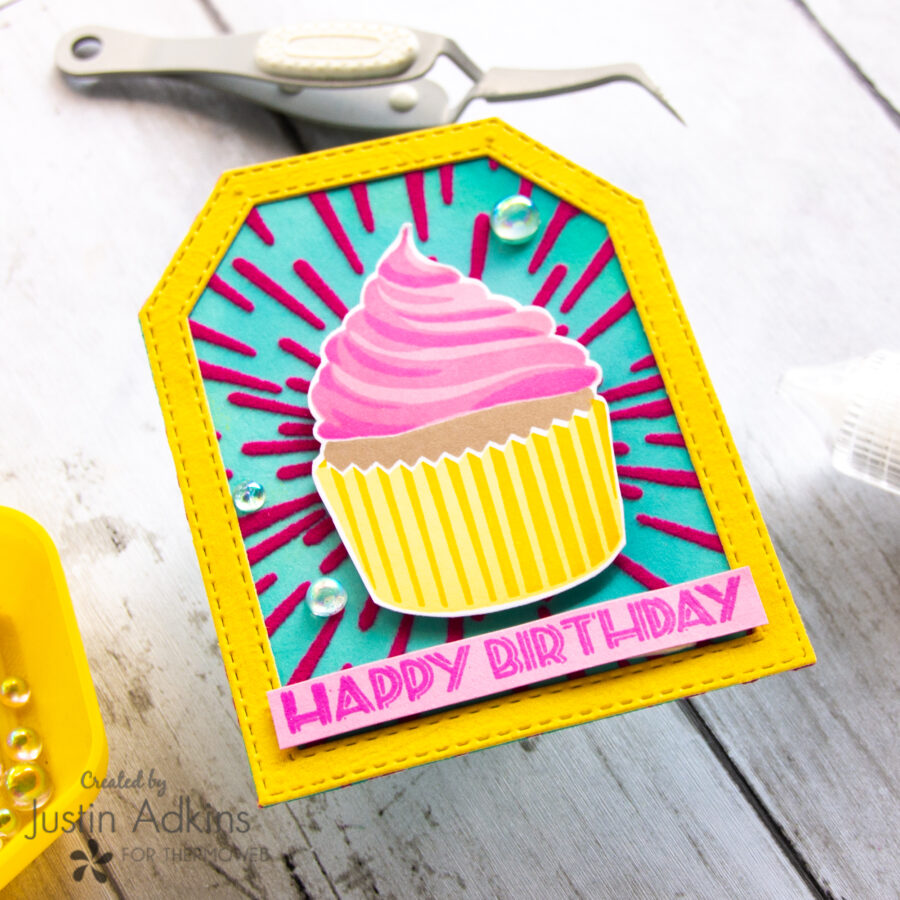
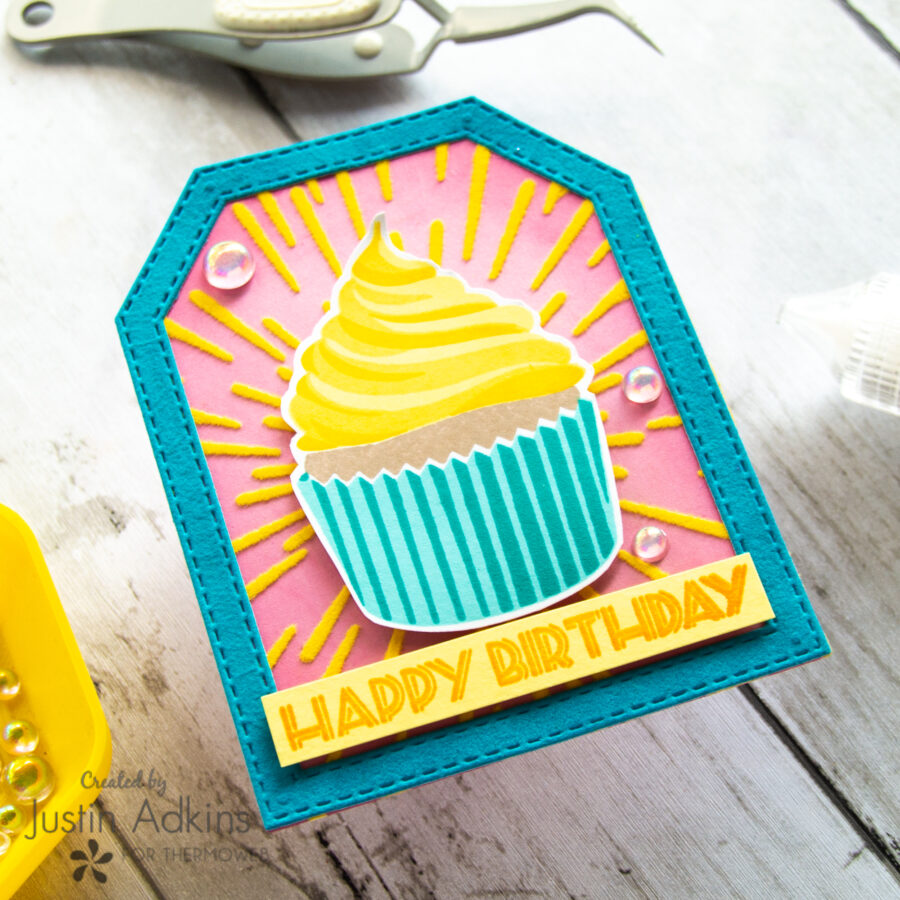
Using my Cupcake Layered Stamp Set by Altenew, I stamped out 3 cupcakes. The color combos used are:
Yellows: Chiffon, Tiara & Glitz
Blues: It’s a Boy, Cummerbund & All That Jazz
Pinks: It’s a Girl, Be Mine & Pucker Up
Tans: Sandcastle
I fussy cut out my cupcakes and set them aside.
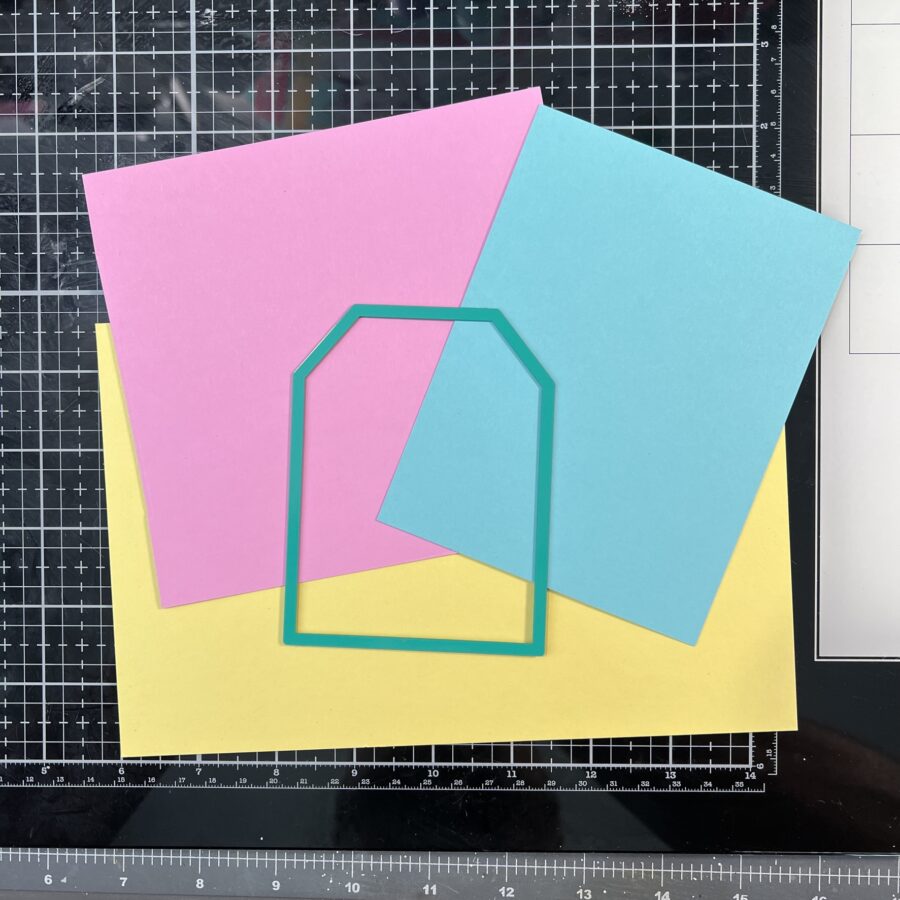
Using the tag die from the Shaker Basics 2 Builder Die set, I die cut a tag from light blue, light pink & light yellow cardstock.
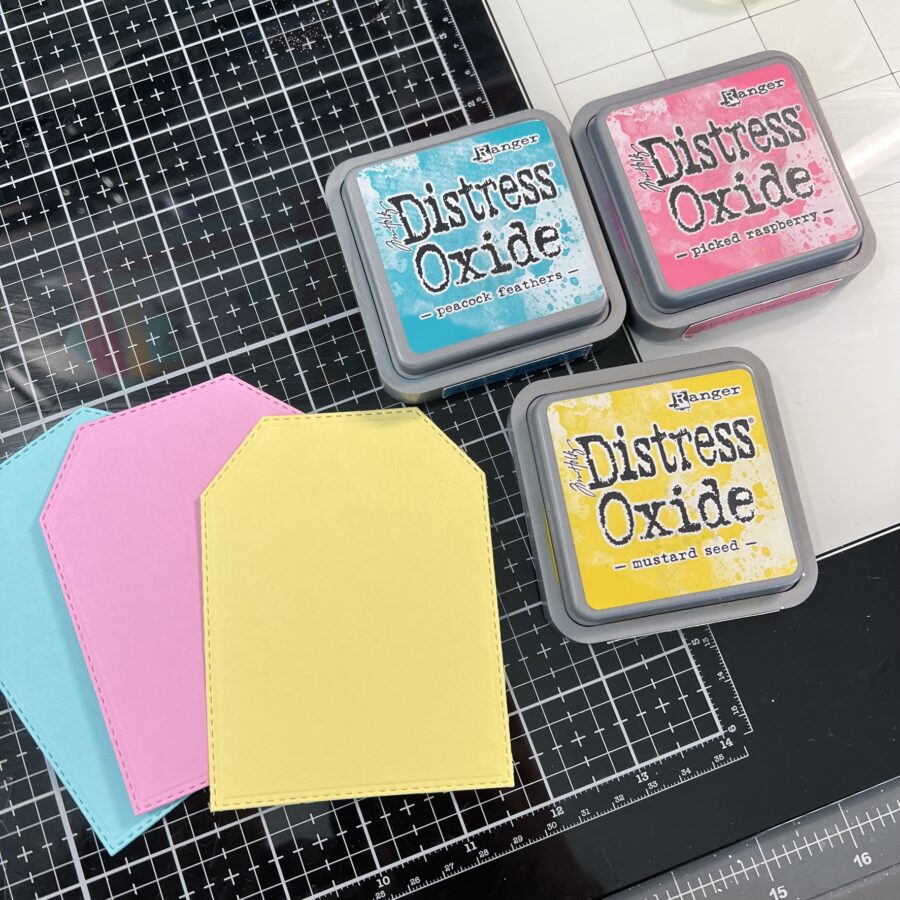
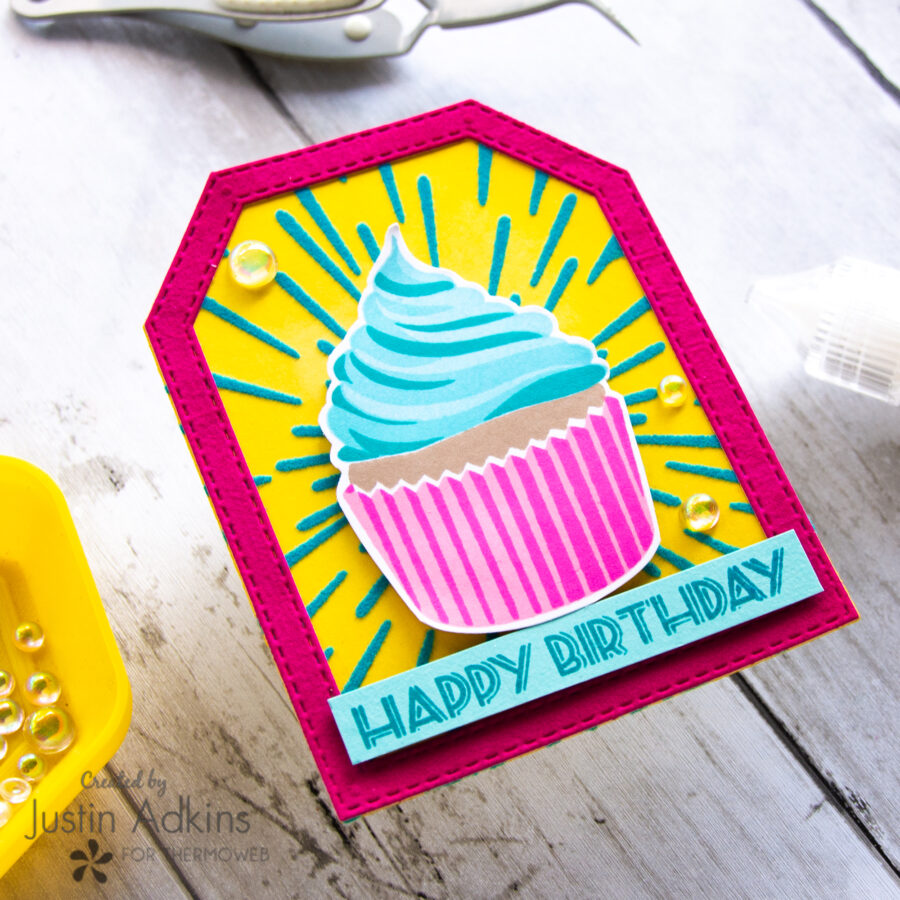
I distressed the edges of the cardstock with a corresponding Distress Oxide color. I used Mustard Seed for Yellow, Picked Raspberry for Pink & Peacock Feathers for Blue.
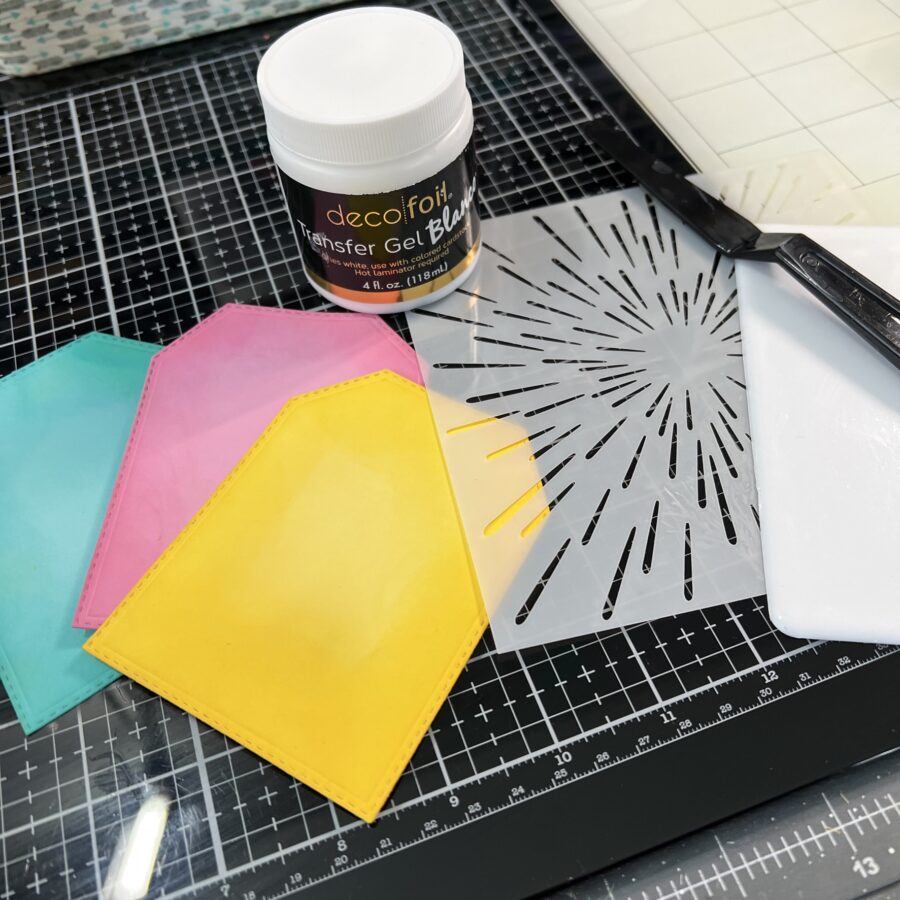
Using Deco Foil Transfer Gel Blanco & my stencil pal, I placed the Warp Speed Stencil over each die-cut tag, and spread a solid layer of Blanco gel. I set the tags aside to dry completely.
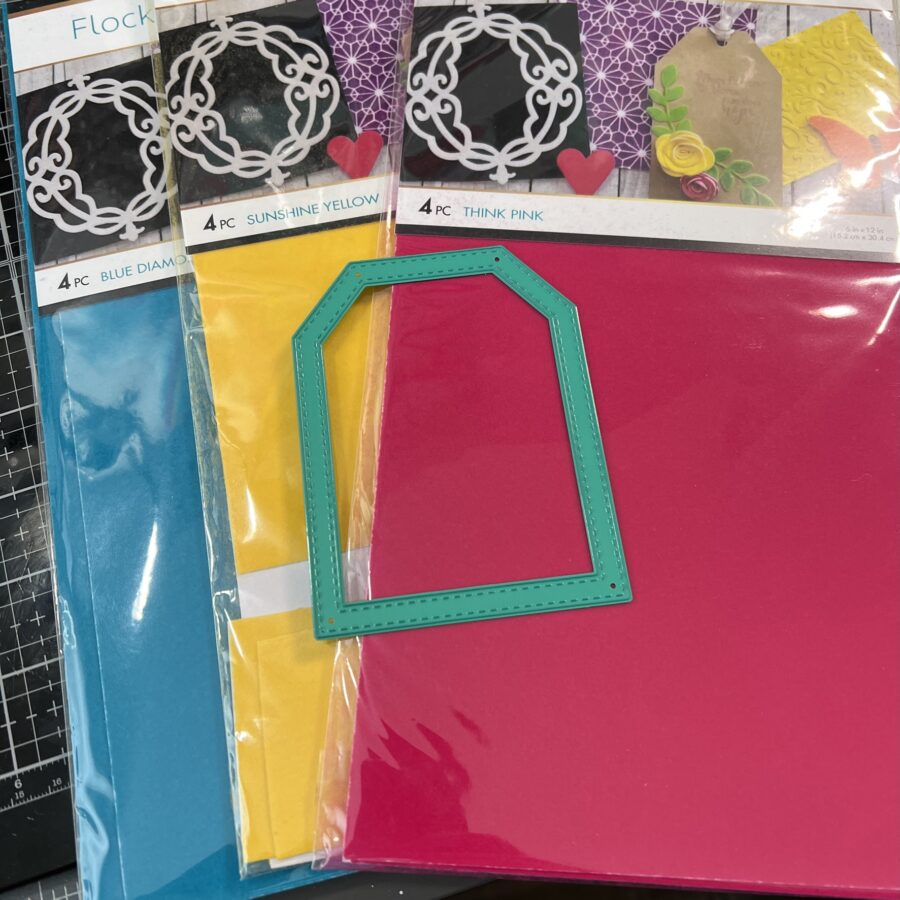
Meanwhile, I used the Shaker Basics 2 Builder Die Set’s Tag Outline Die to die cut a frame from Think Pink, Sunshine Yellow & Blue Diamond Flock Transfer Sheets.
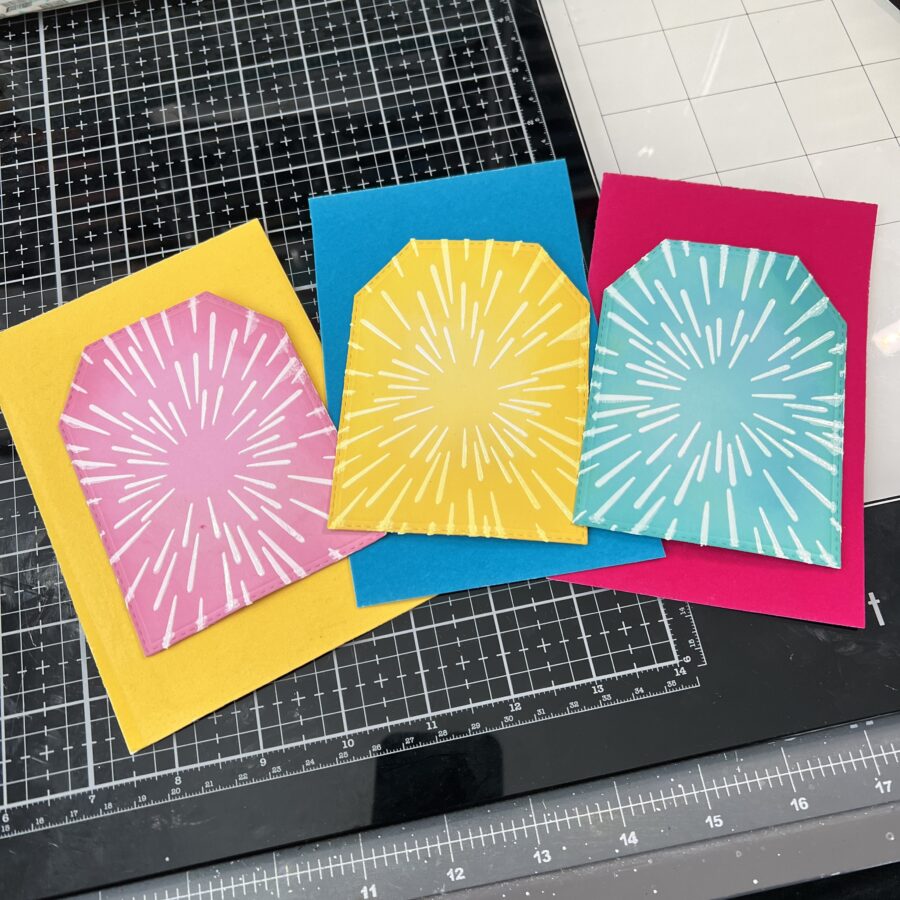
Once my Transfer Gel Blanco was entirely dry, I processed each tag through my laminator with Think Pink, Sunshine Yellow & Blue Diamond Flock Transfer Sheets.

Using Ultrabond Permanent Adhesive, I adhered the flocked frame die cut to each tag.
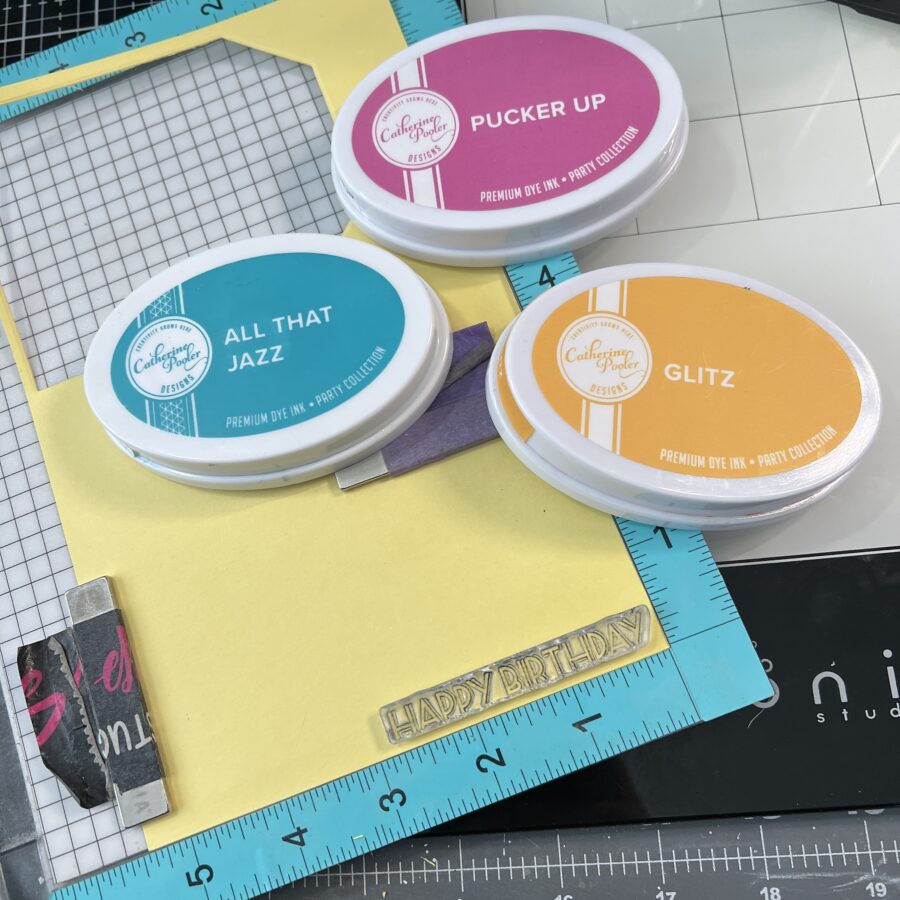
I stamped out the sentiment “Happy Birthday” onto a piece of corresponding colored cardstock, using All That Jazz, Pucker Up, and Glitz ink. I then cut the sentiments into banners.
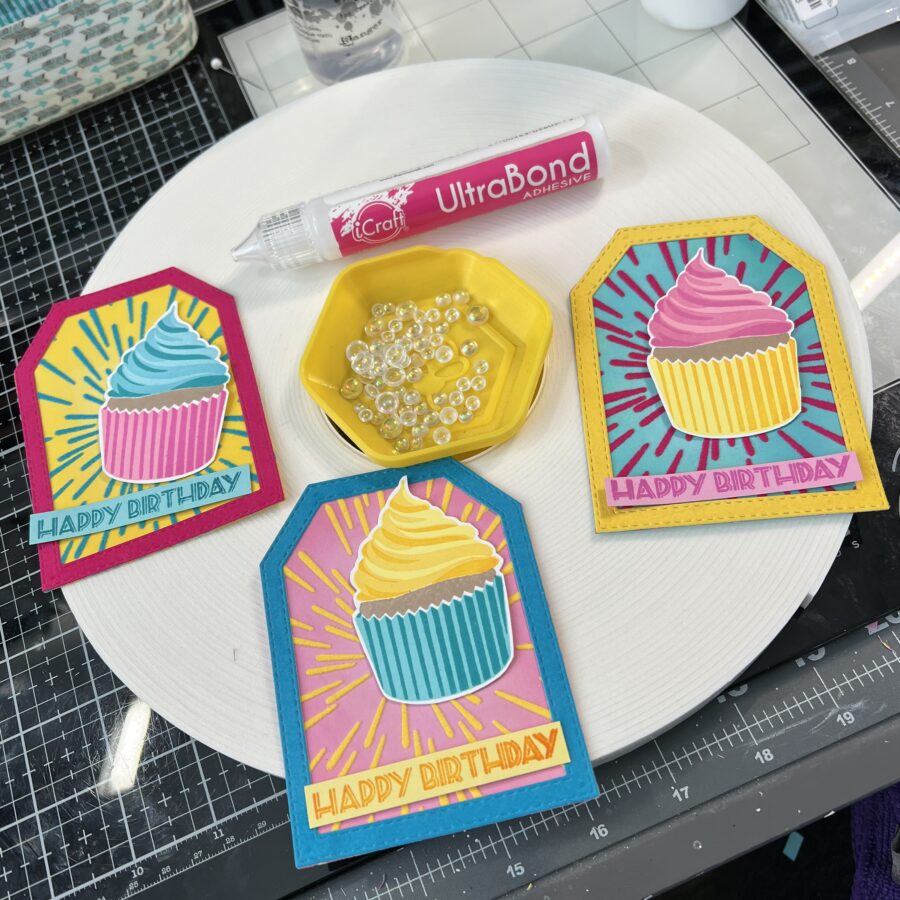
Finally, it was time to put all the pieces together. I adhered my sentiment banners and cupcakes using iCraft 3D 1/16″ White Foam Tape, and some iridescent embellishments with UltraBond Permanent Adhesive!
And there you have it! 3 cupcake tags that are ready for you to punch a whole in to tie onto a gift bag, or even use a Pixie Dot to just adhere to your next wrapped gift!
Below are a few more images of my final tags!
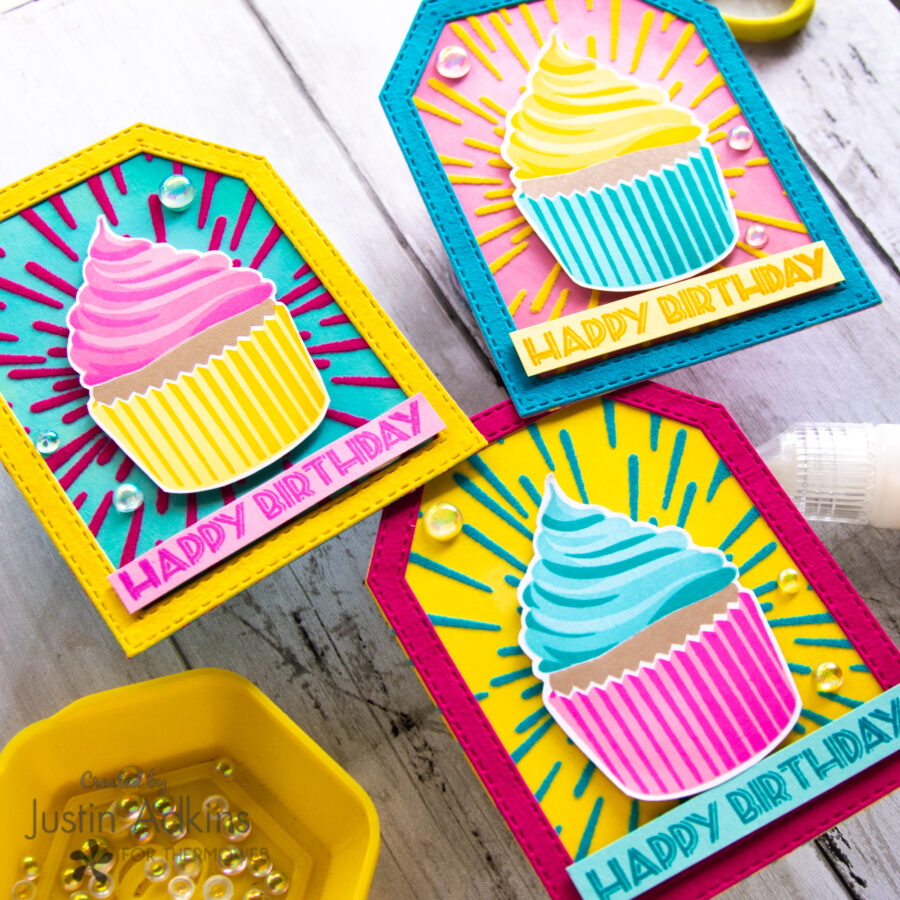
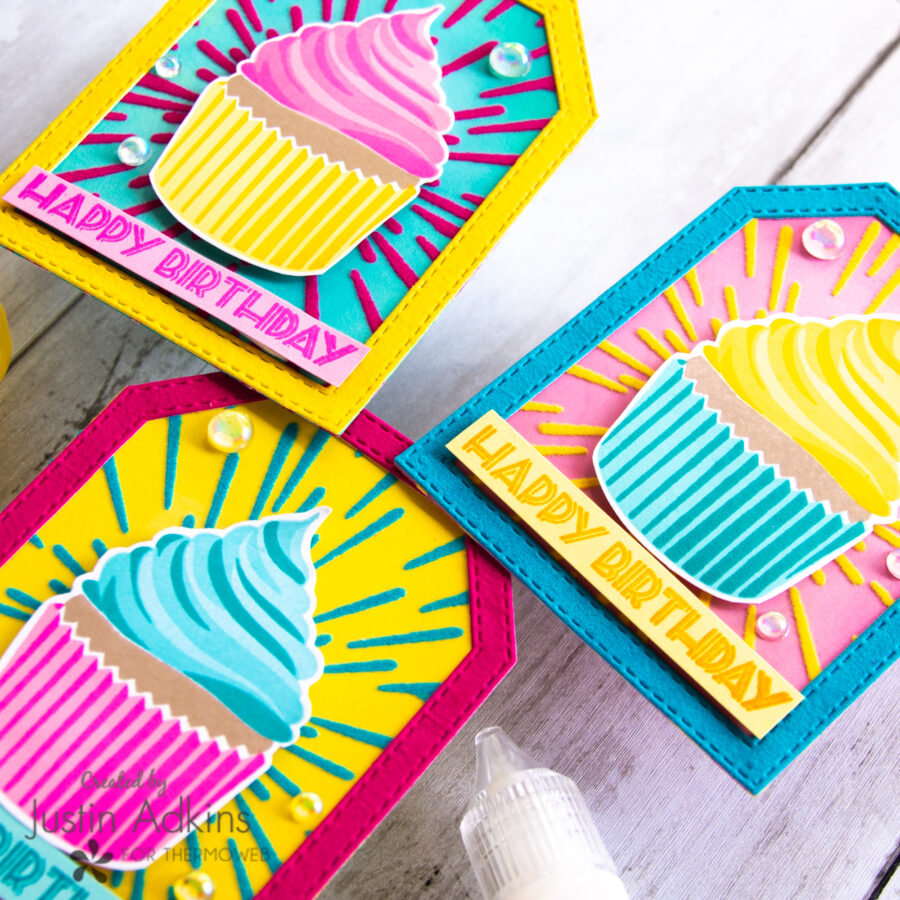
Thank you so much for stopping by the Therm O Web blog today! I hope these gift tags leave your sweet tooth craving a baked-goods-inspired crafty session with your favorite Therm O Web goodies!
For more crafty inspiration, please follow me on Instagram and check out my personal blog as well!
Thank you again and happy crafting!
Justin