


Hi, crafty friends! It’s Andrea with you to share some inspiration combining Photo Play Paper’s Fern & Willard collection and Deco Foil Flock Transfer Sheets.
Flocked Cards with Photo Play Paper’s Fern and Willard Line
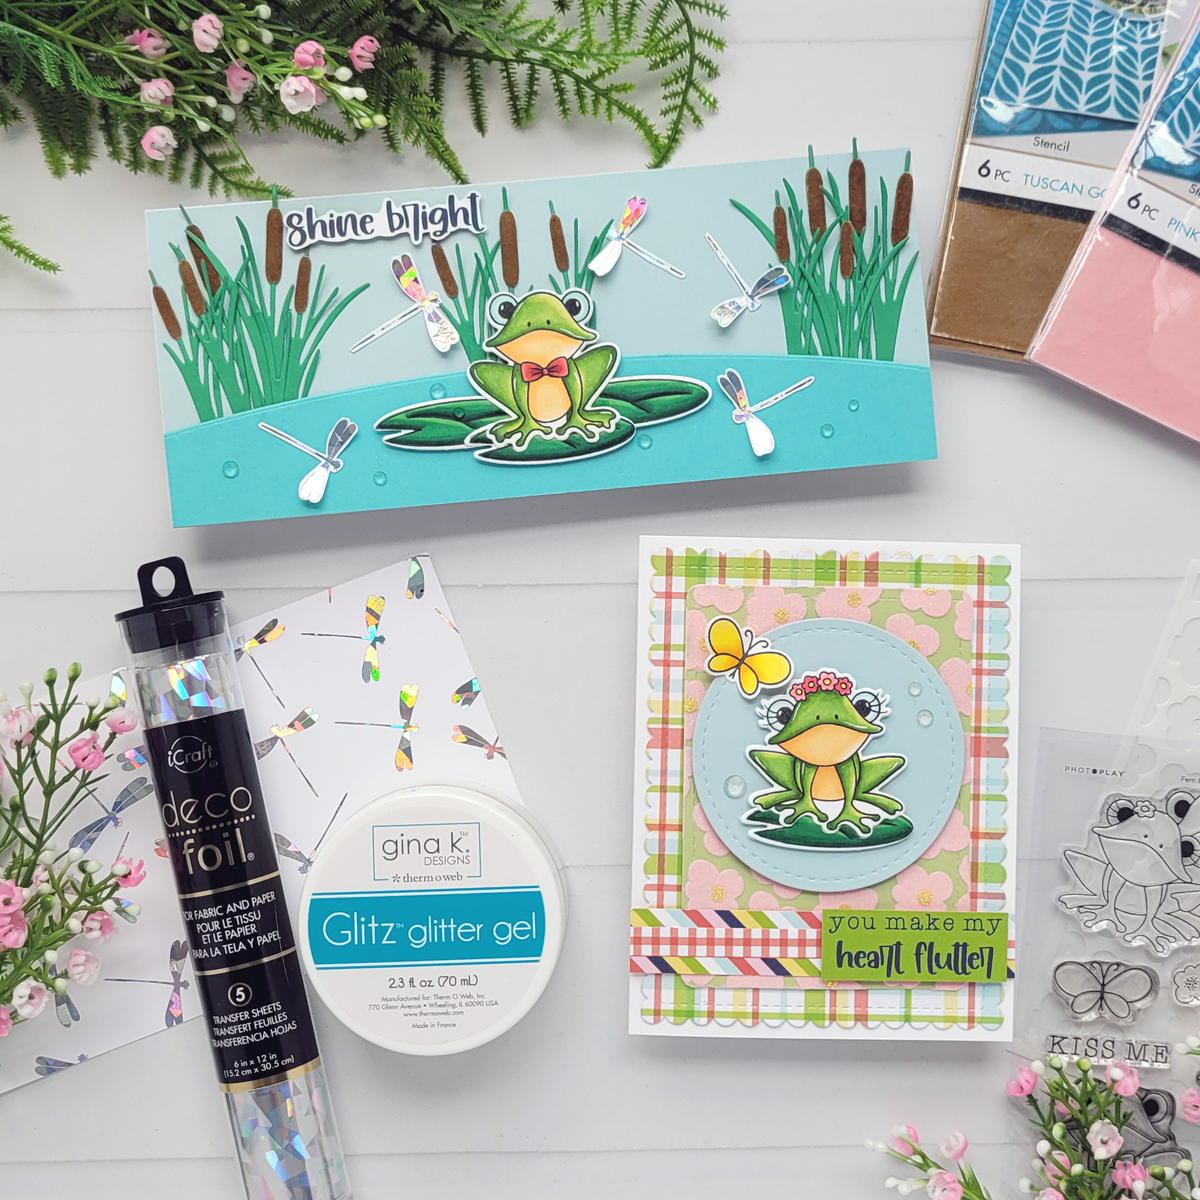
How cute are those frogs from the Fern & Willard stamp set?! I colored them with Copics and cut them out with the coordinating dies.
Slimline Scene Card
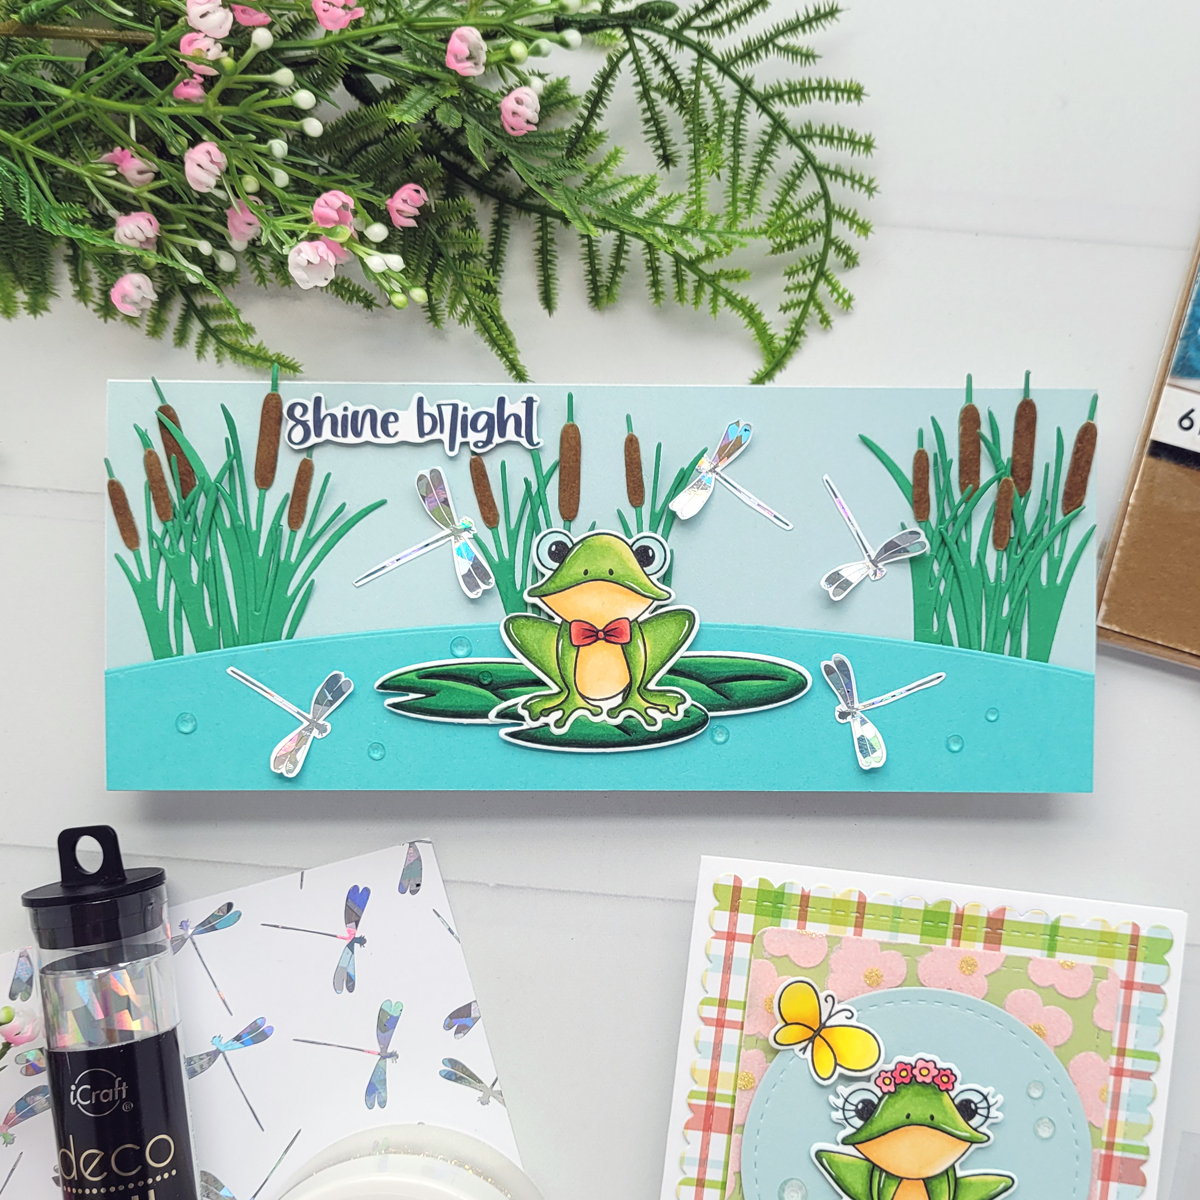
My first card is a slimline one that features that dapper boy frog from the set. I couldn’t resist making a scene for him, and the cattail dies from Whimsy Stamps Build-a-Pond Dies were perfect for that – and for embellishing with flock!
Adding Flock to a Diecut
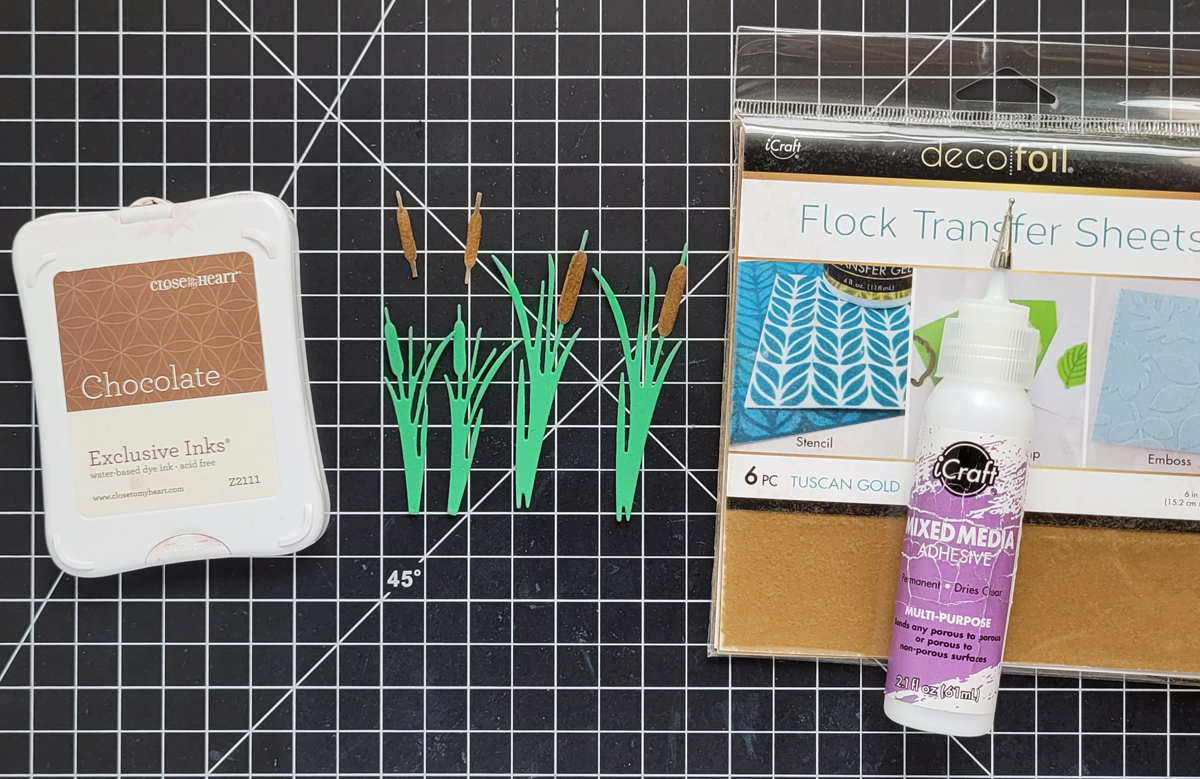
I die-cut the cattails from green cardstock and then cut just the top portions from Tuscan Gold Flock. I sponged brown ink onto the flock die-cuts to darken them. After trimming off the excess, I adhered the flocked pieces to the green die cuts with Mixed Media Adhesive.
Creating Foiled Dragonflies
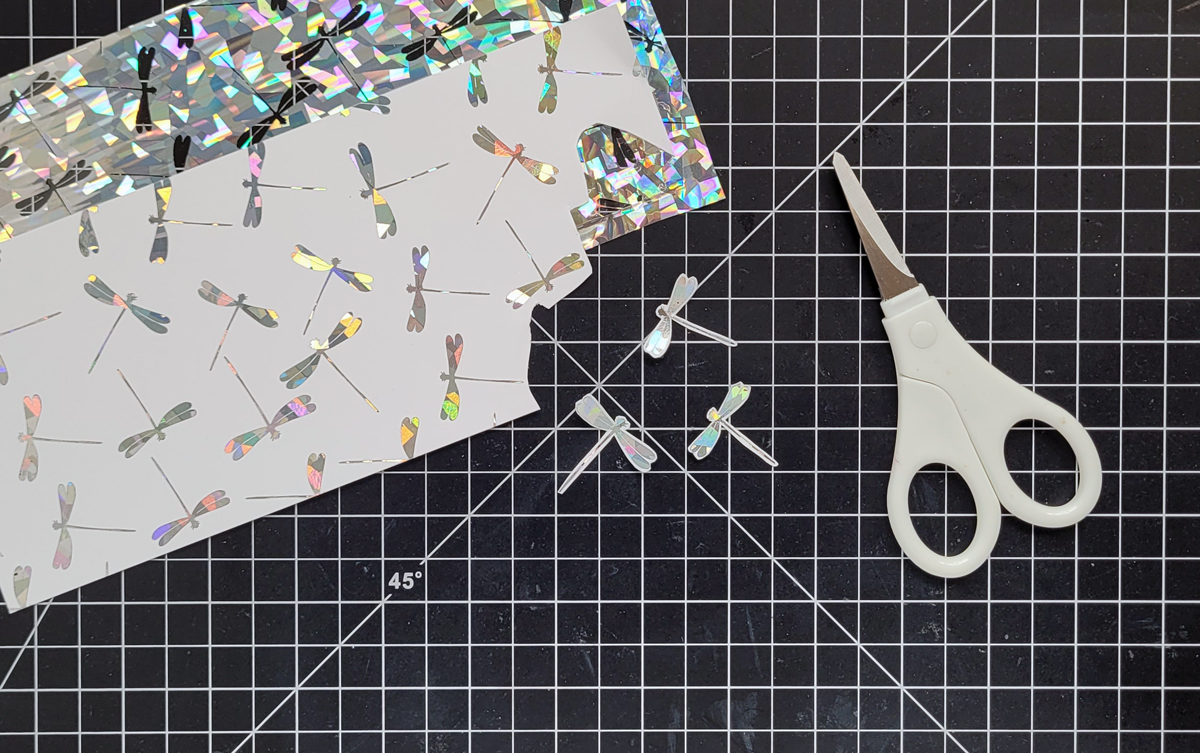
The dragonflies from the Time To Fly Toner Card Fronts were the perfect accessory for my pond scene. I used my laminator to transfer Silver Shattered Glass Deco Foil to the dragonfly panel and then fussy-cut the bugs with my scissors.
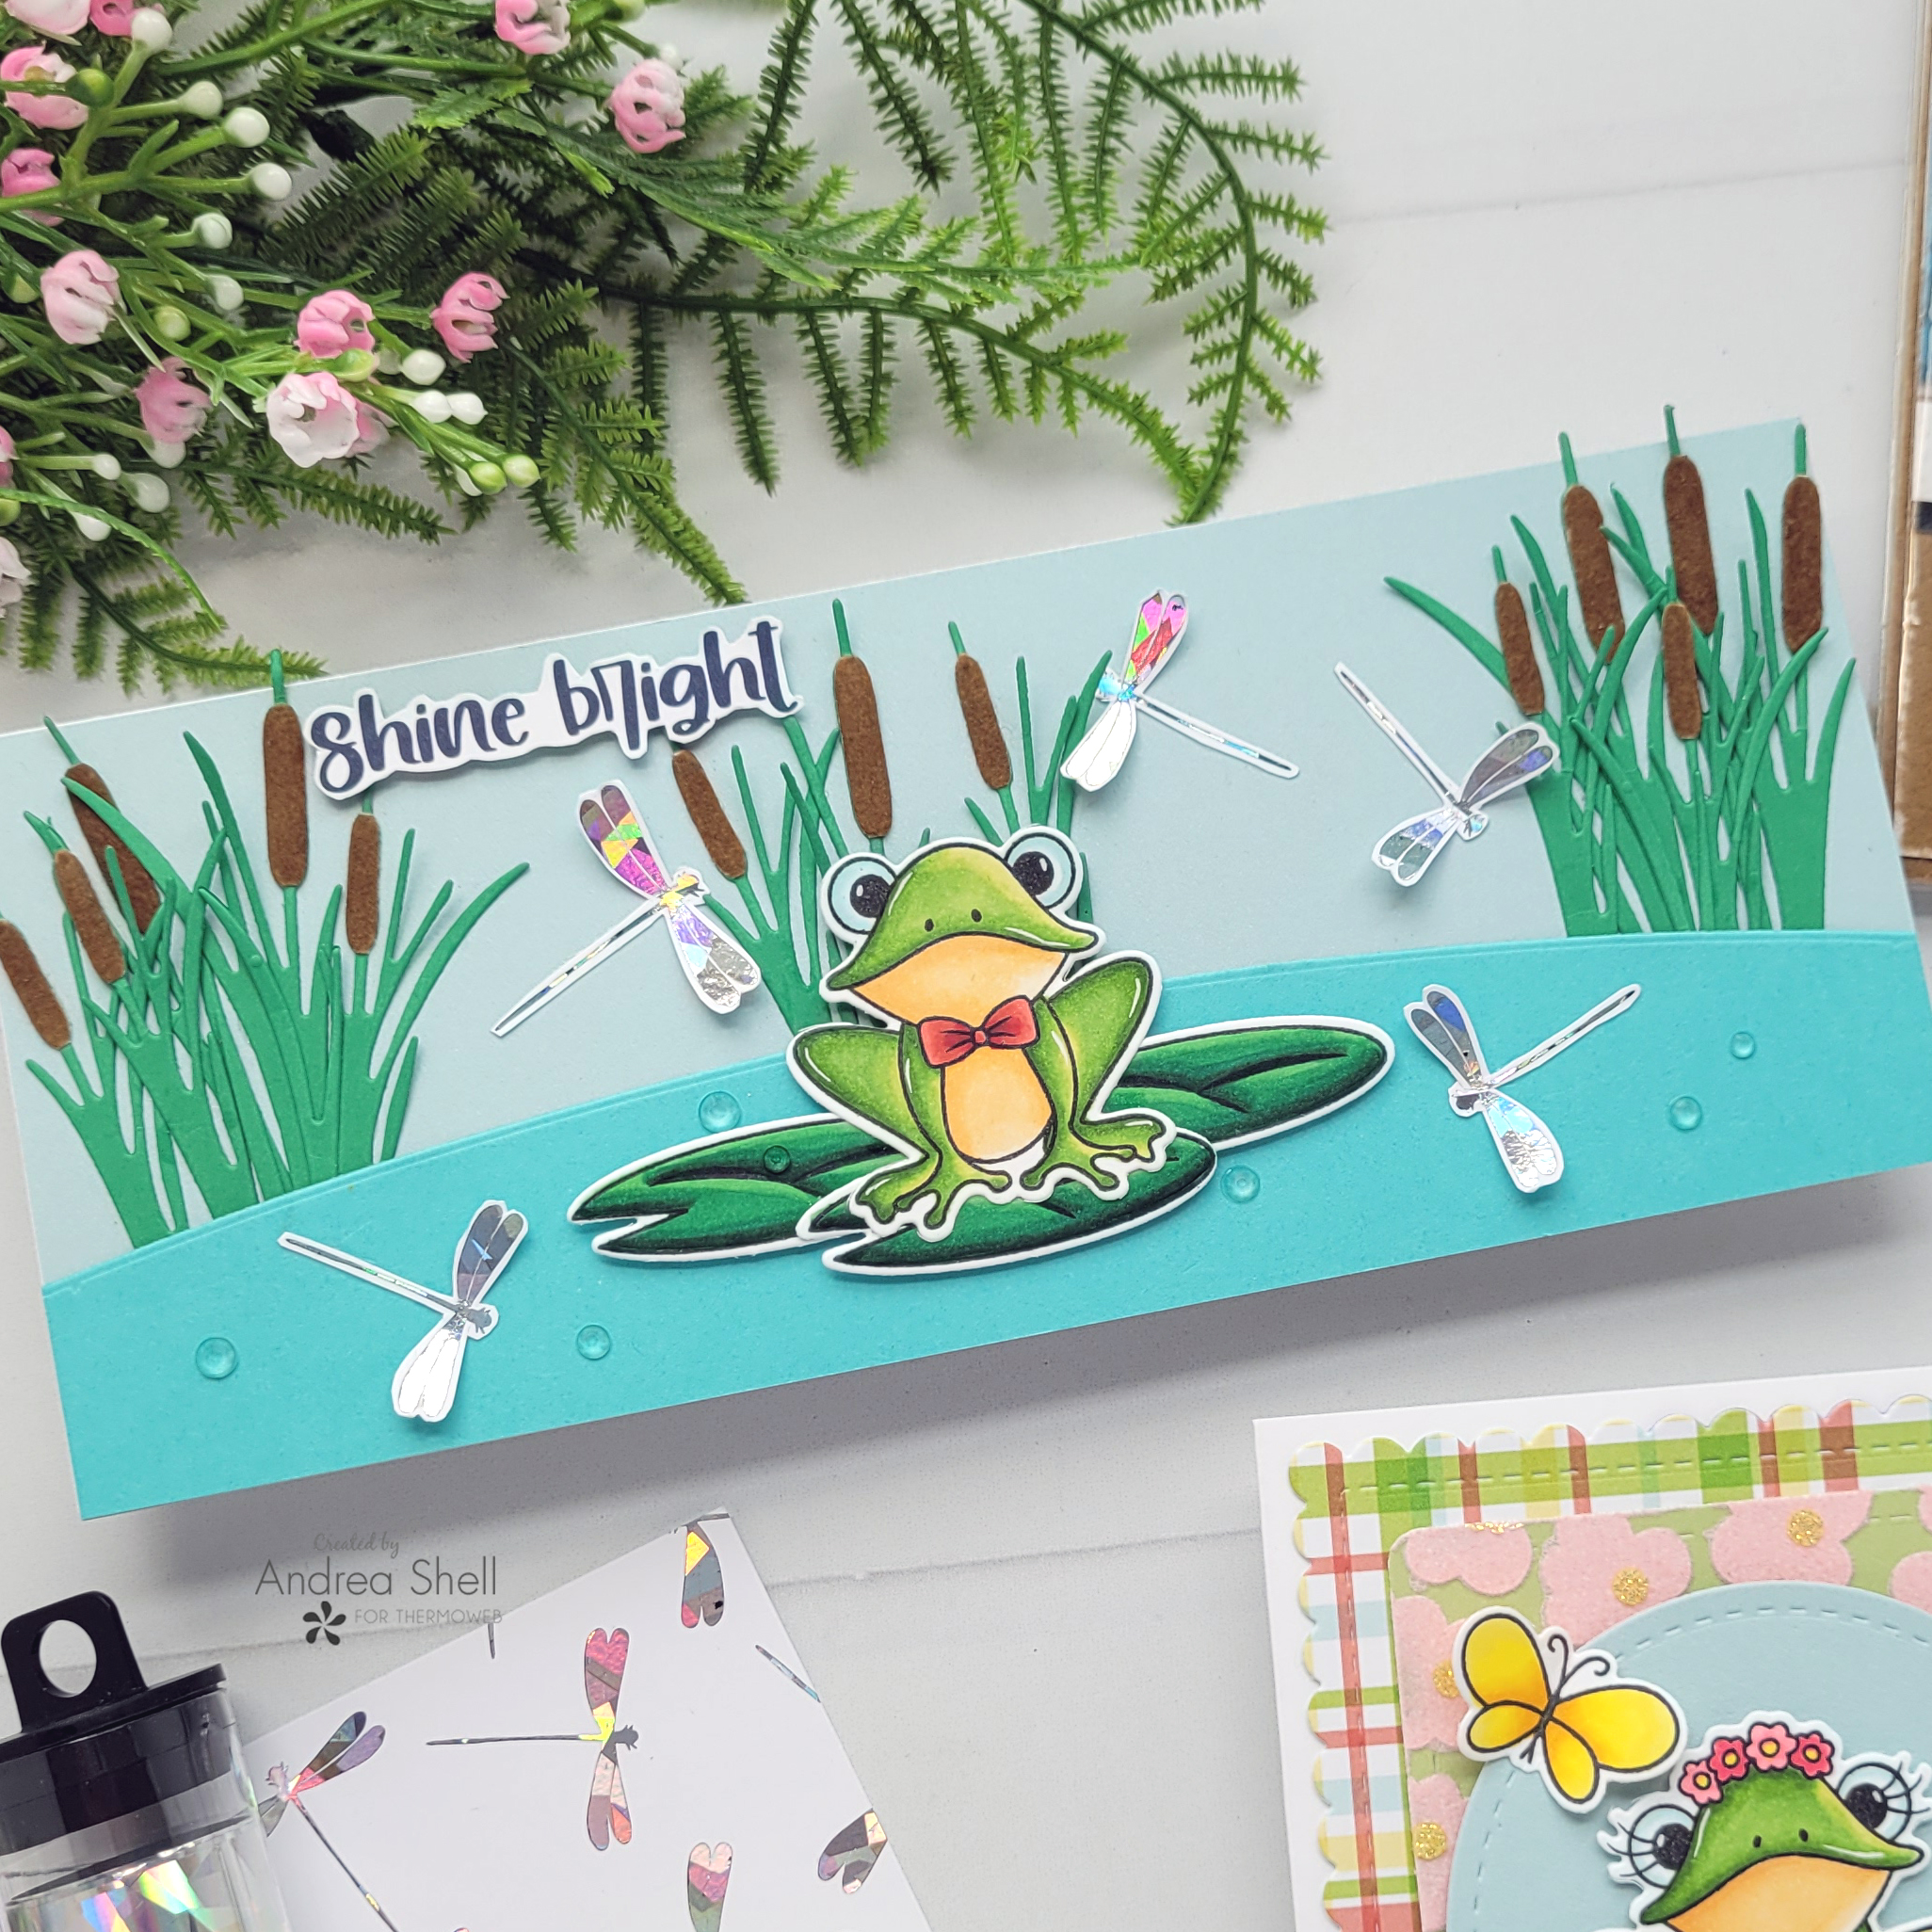
I trimmed light blue cardstock to 3.5″ x 8.5″ and die-cut darker cardstock with Whimsy Stamps’ Slimline Scenic Countryside Dies. I adhered the curved piece to the background with the Memory Tape Runner XL and attached the panel to a white card with Gina K. Designs Terrific Tape.
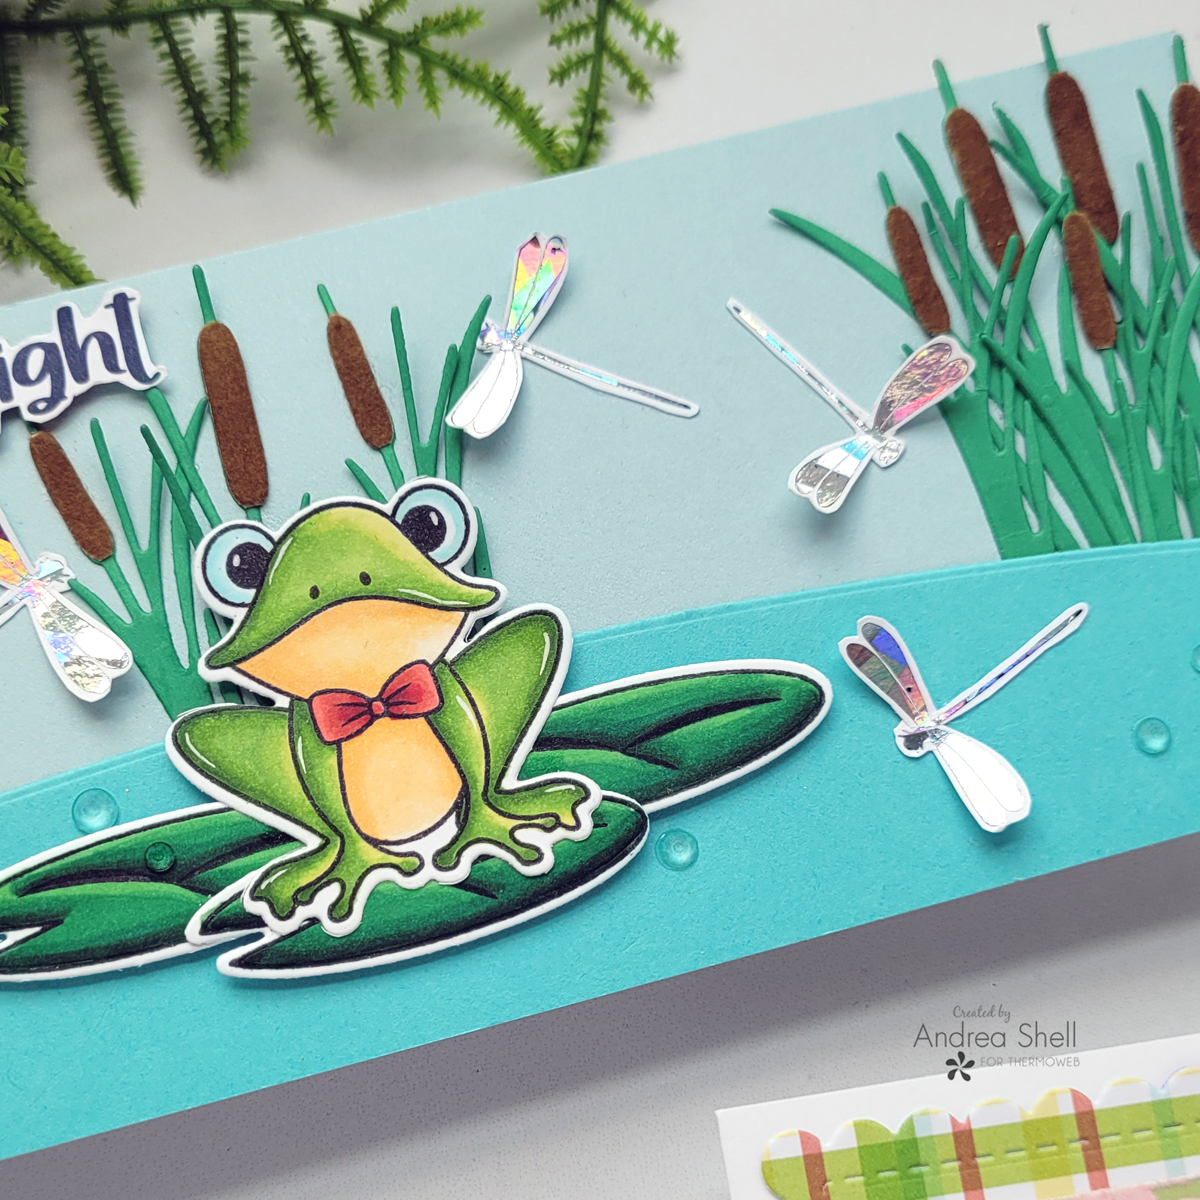
I tucked my cattails behind the curved piece, adhering them with Mixed Media Adhesive. After attaching my colored images together with liquid glue, I affixed them to my card with Gina K. Designs White Foam Squares. I placed adhesive down the bodies of the dragonflies and attached them to the card, bending up their wings for dimension.
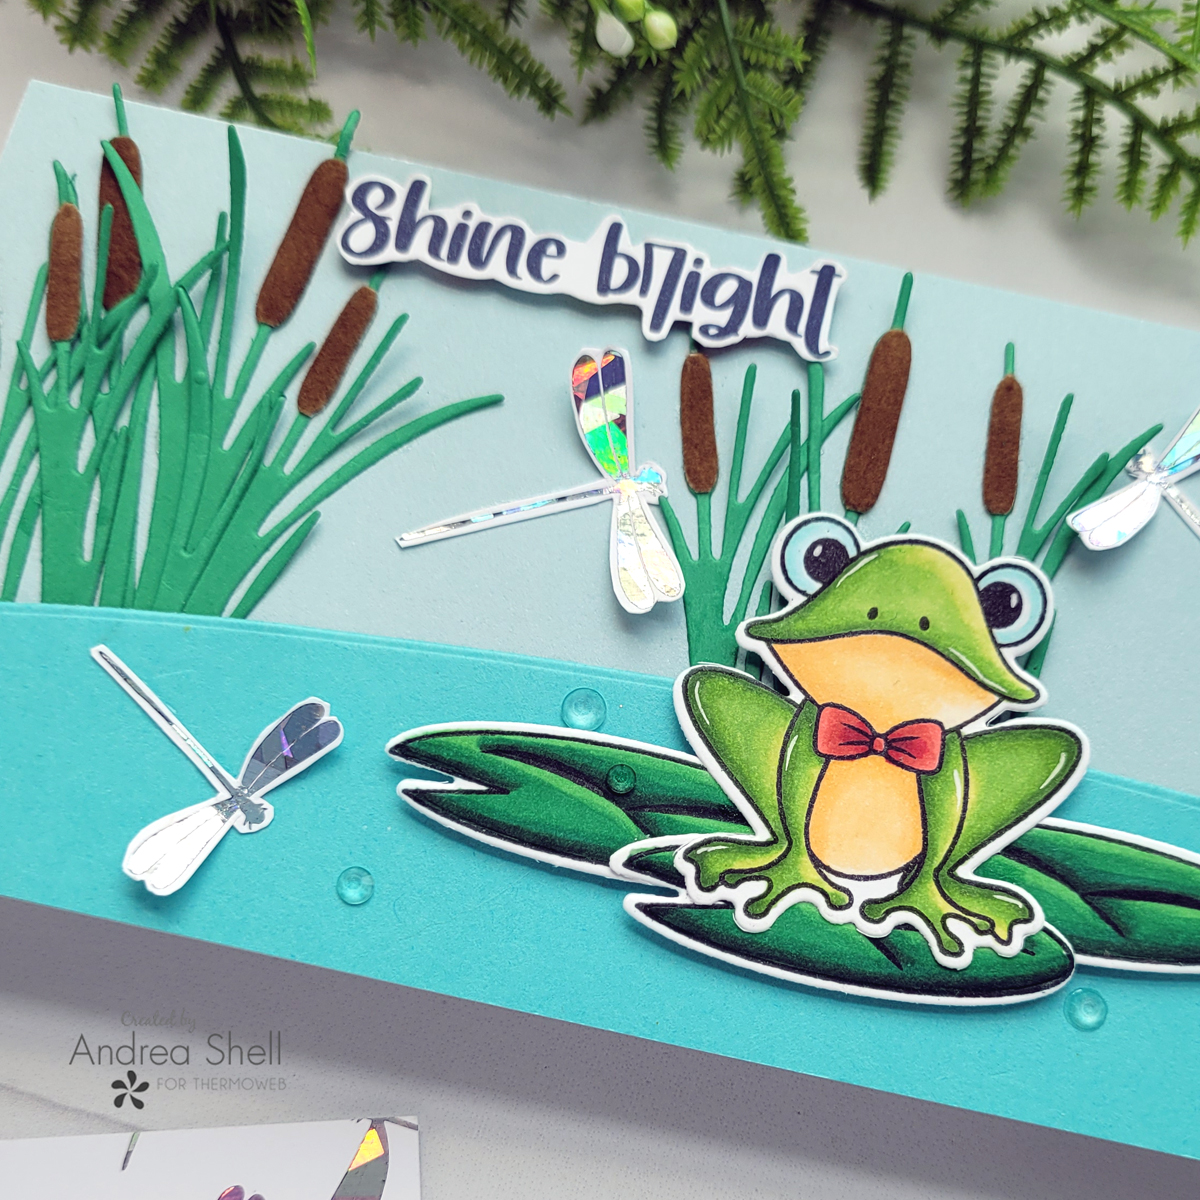
I fussy-cut my sentiment from one of the patterned papers in the collection and attached it with foam squares. I finished with a scattering of clear gems, which I adhered with Mixed Media Adhesive.
A2 Card
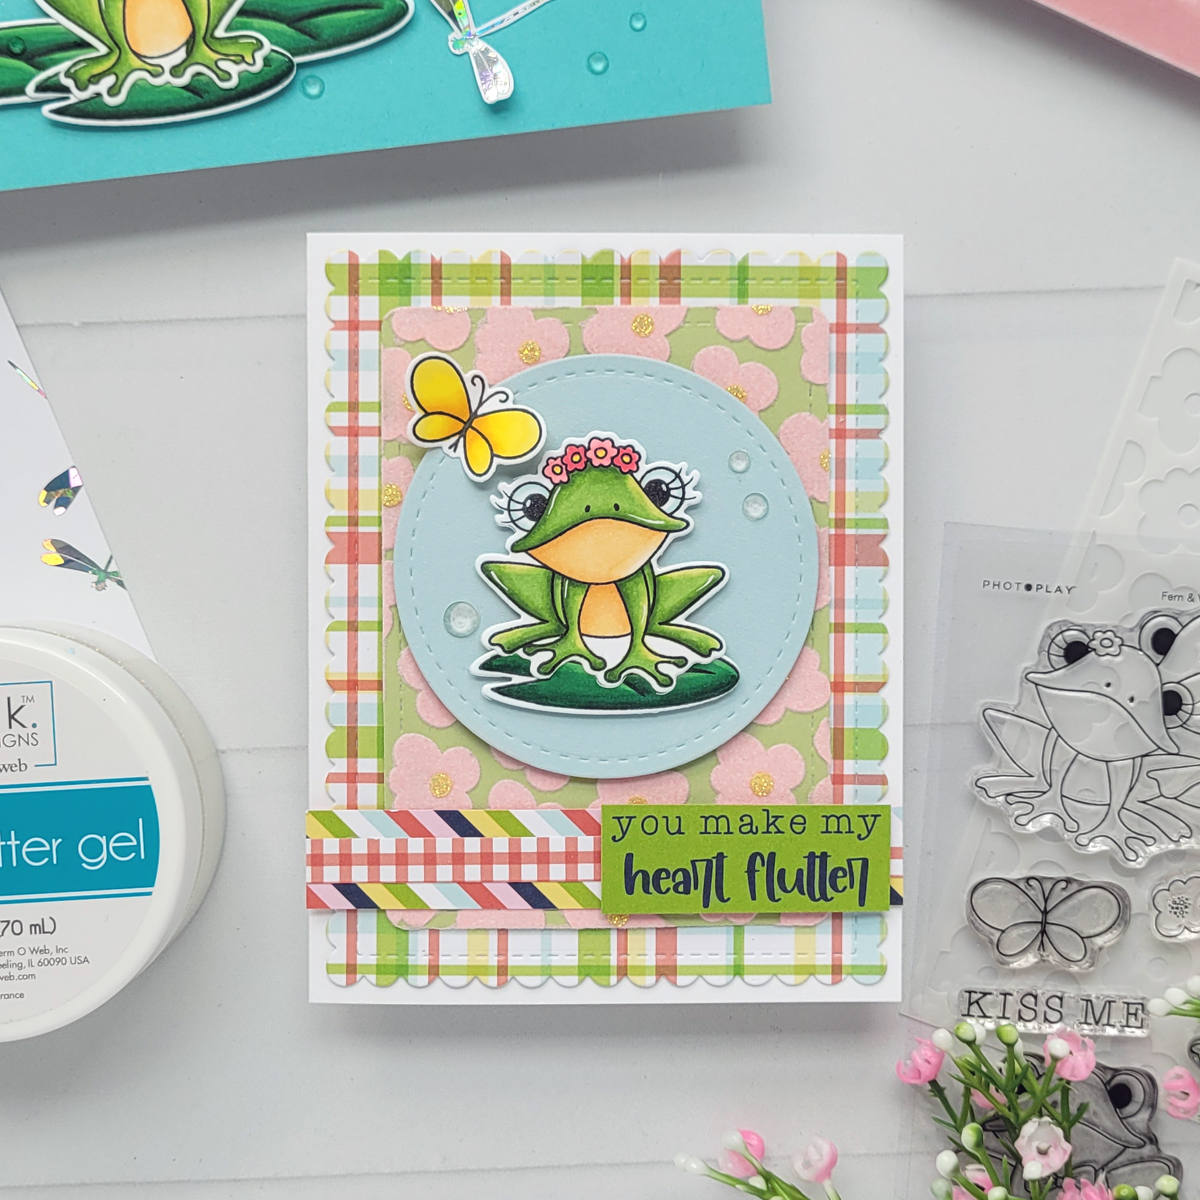
Well, I couldn’t ignore that sweet girl frog, now could I? And I knew I had to pair her with the stencil from the collection, as it coordinates perfectly with her flower crown.
Creating a Flocked Background
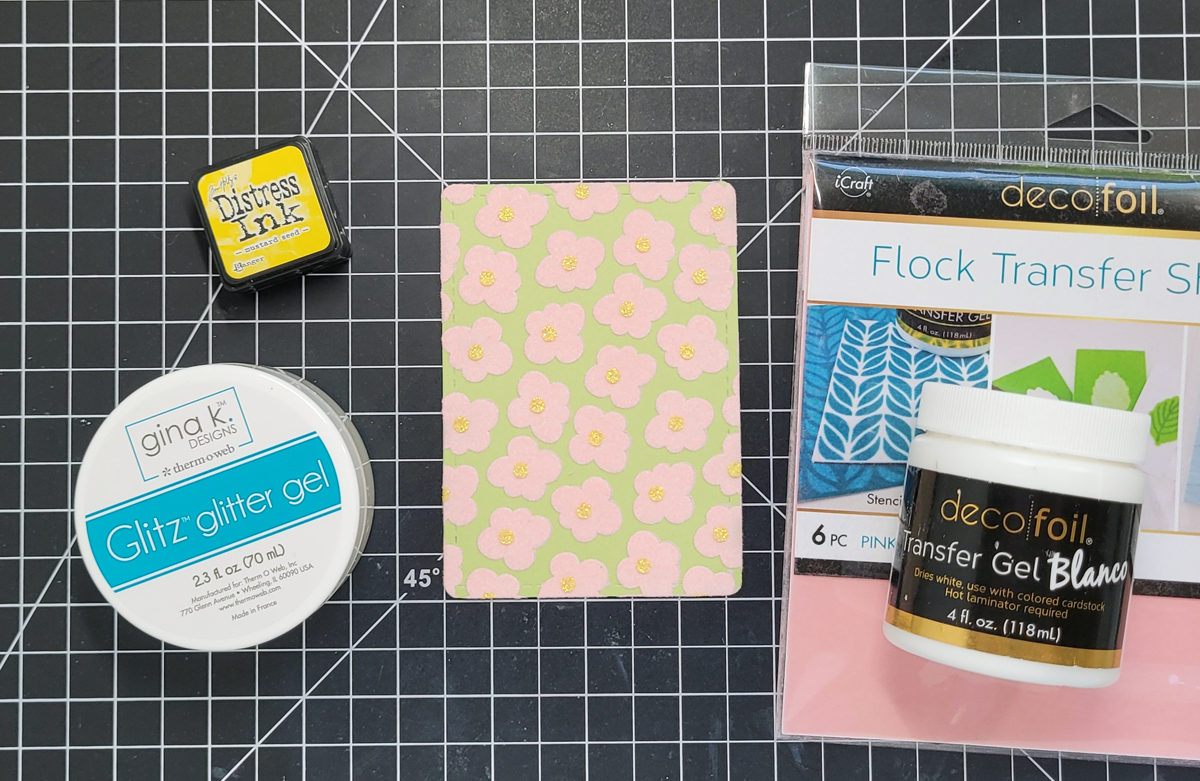
After diecutting green cardstock, I placed the first stencil layer down and applied Transfer Gel Blanco with the Stencil Pal. Once the gel was dry, I used my laminator to transfer the Pink Carnation Flock to the panel. For the second stencil layer, I mixed Iridescent Glitz Glitter Gel with Mustard Seed Distress Ink. I love the combination of flock and glitter!
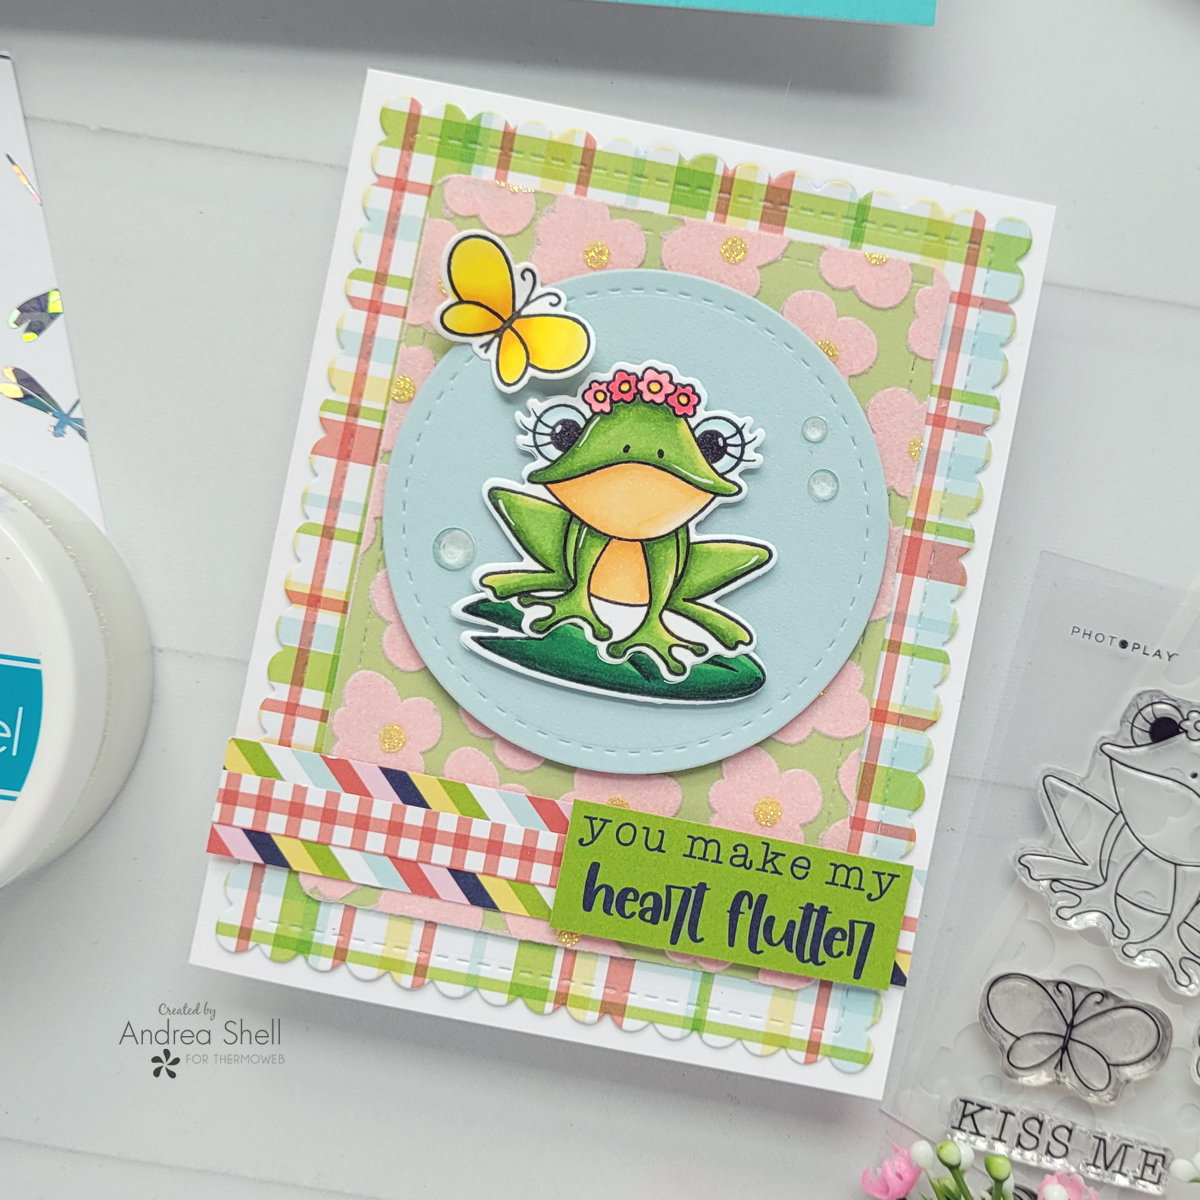
I die-cut the plaid paper from the collection and adhered it to a white card with the Memory Tape Runner XL. I affixed the flocked rectangle with the tape runner and added strips cut from other papers with Terrific Tape. I trimmed my sentiment from the cut-apart sheet and popped it up with foam squares
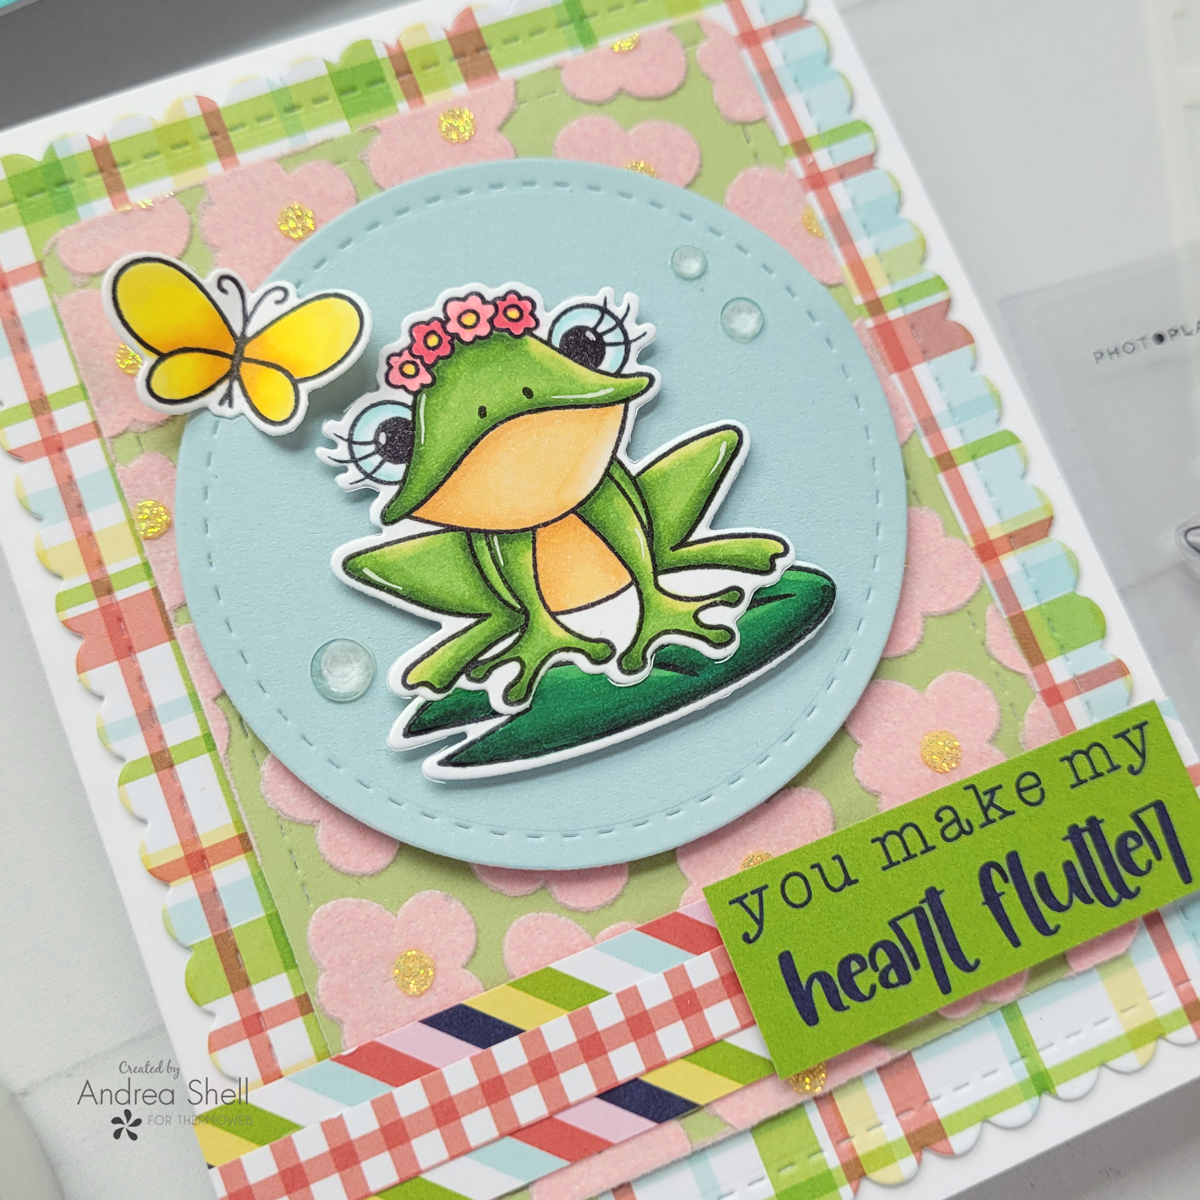
After die-cutting a blue circle, I popped up it and the frog with foam squares. I attached the butterfly with Mixed Media Adhesive down the center and bent up her wings. I finished with a scattering of clear gems.
Thanks for stopping by!
*Affiliate links used at no cost to you.
Therm O Web Products:
Tuscan Gold Flock Transfer Sheets
Pink Carnation Flock Transfer Sheets
Silver Shattered Glass Deco Foil Transfer Sheets
Time to Fly Slimline Toner Card Fronts
Deco Foil Transfer Gel Blanco
Iridescent Glitz Glitter Gel
Gina K. Designs White Foam Squares
Gina K. Designs Terrific Tape, 1/2″
Memory Tape Runner XL
Mixed Media Adhesive
Metal Tips for Liquid Adhesive
Stencil Pal
Purple Tape
Photo Play Paper Products:
Fern & Willard stamp set
Fern & Willard die set
Fern & Willard stencil
Fern & Willard patterned paper
Other Products:
Whimsy Stamps’ Build-a-Pond Dies
Whimsy Stamps Slimline Scenic Countryside Dies
Newton’s Nook Designs’ Frames & Flags Dies
This post contains affiliate links. For more information, see our disclosure HERE.
[…] friends! Today I’m on the Therm O Web blog with these cards featuring the adorable Fern & Willard collection from Photo Play Paper. To […]