


 Festive Flurries Week – Snow Adventures Mini Album
by Jessica Michaels
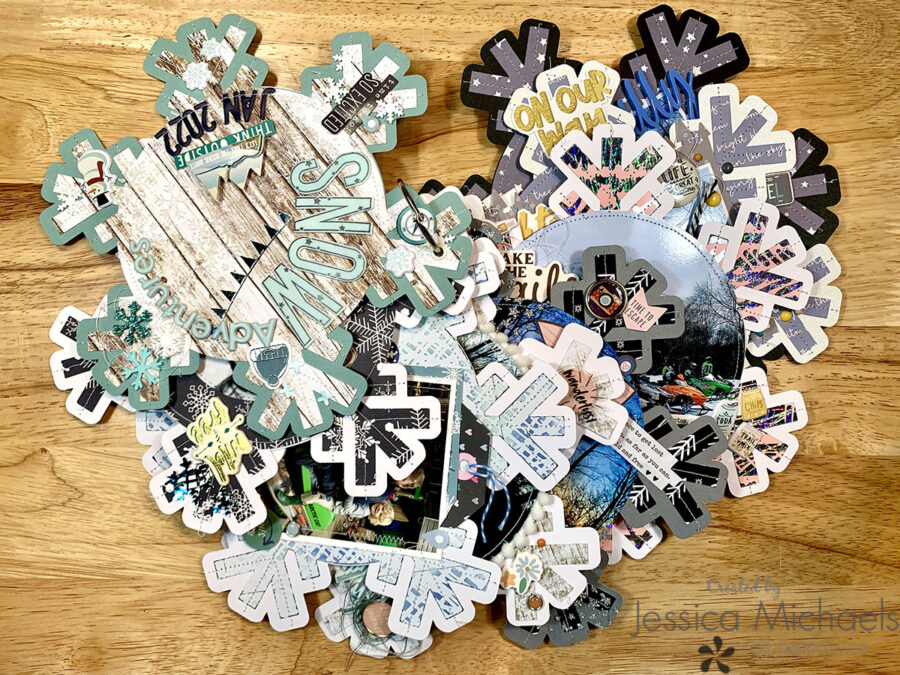
Hello Everyone! Jessica here bringing you something a little different today- a mini album tutorial! I had a lot of fun pulling in all things Thermoweb in this little snowy album and I’m here to share it with you!
Therm O Web Supplies Used
Memory Runner XL
Memory Runner XL Refill
Easy Tear Tape 1/4″
3D Foam Tape 1/16”
iCraft UltraBond Permanent 2 fl oz
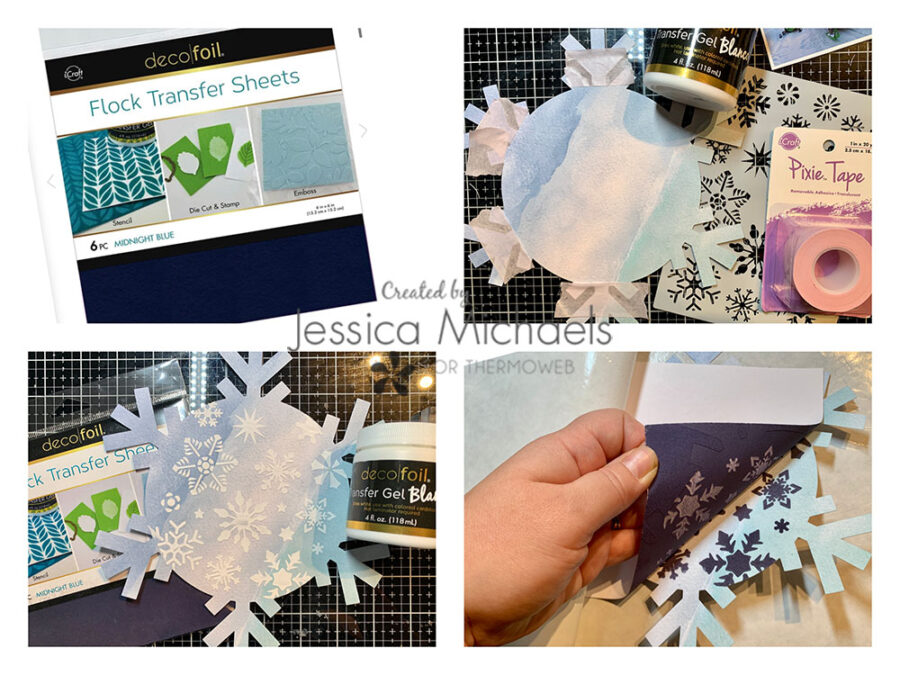
Deco Foil Flock Transfer Sheets, White Latte
Deco Foil Flock Transfer Sheets, Midnight Blue
Deco Foil Flock Transfer Sheets, Blue Sky
Glitter Dust, Gold
Bling Zots
Zots Clear Adhesive Dots Roll 300ct, Medium
3D Adhesive Foam Sheets
3D Foam Squares white box
Gina K Fancy Foil Transfer Sheets, Sparkling Silver
Maker Forte Deco Foil Transfer Sheets, Snow Day
Brutus Monroe Deco Foil Transfer Sheets, Silver Sketch
Deco Foil Transfer Sheets, Lapis Water
Brutus Monroe Kaleidoscope Toner Sheets, white
Brutus Monroe Static Toner Sheets, white
Gina K Birthday Bliss Adhesive Transfers
Craft and Carrier Sheets
Blanco Duo Transfer Gel
Pixie Tape
Glitter Glitz Silver(out of stock)
Glitter Glitz White
iCraft Self-Adhesive Photo Corners, Black
Other Supplies Used
Peartree Pieces- Acrylic Snowflakes, felt snowflakes, acrylic winter words
Epoxy Flair from Scrappin’ Happy Studio
Snowflake punches, Border punch tablet design
Distress Oxides in Speckled Egg, Faded Jeans, Saltwater Taffy
Catherine Pooler Christmas Tree Farm Stamp & Die Set
Black Archival Ink
Collections: Simple Stories Feelin’ Frosty, Simple Stories Simple Vintage Lakeside, Simple Stories Safe Travels, Simple Stories Let’s Go, various others from my stash.
Echo Park Nesting Stitched Circle Dies
Elle’s Studio Winter Tabs stamp set & coordinating tab die
Elle’s Studio Star Alphabet stamp & die set
Manual Die Cutting Machine and Laminator
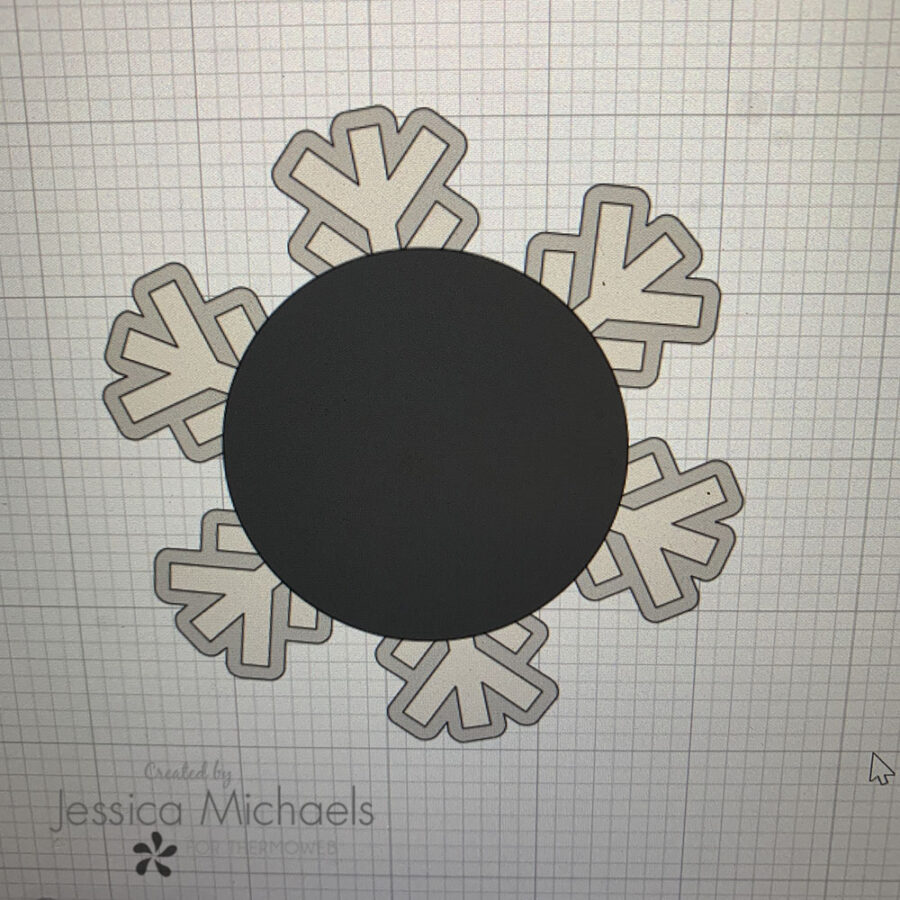
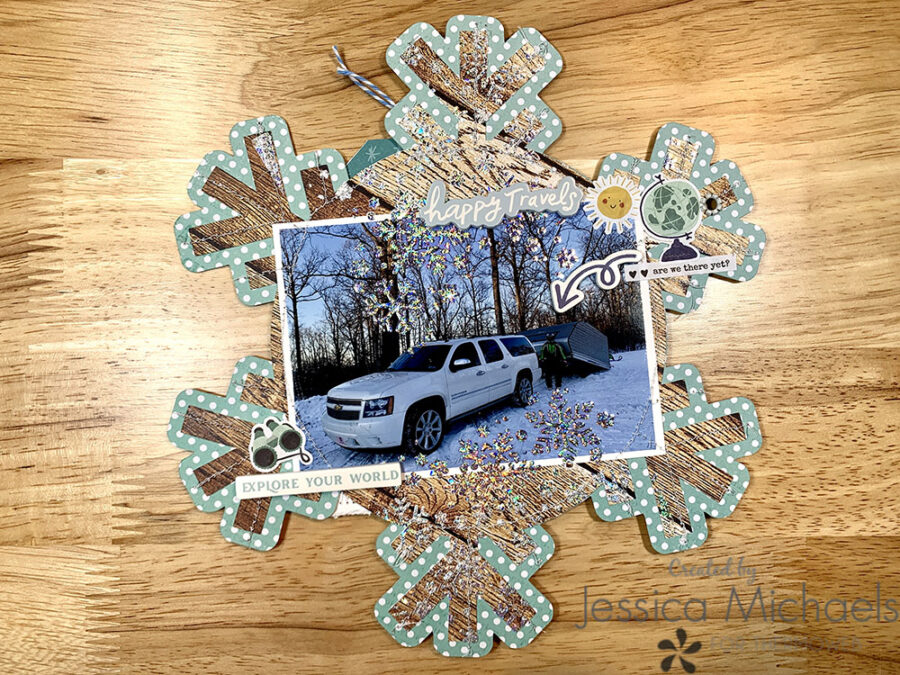
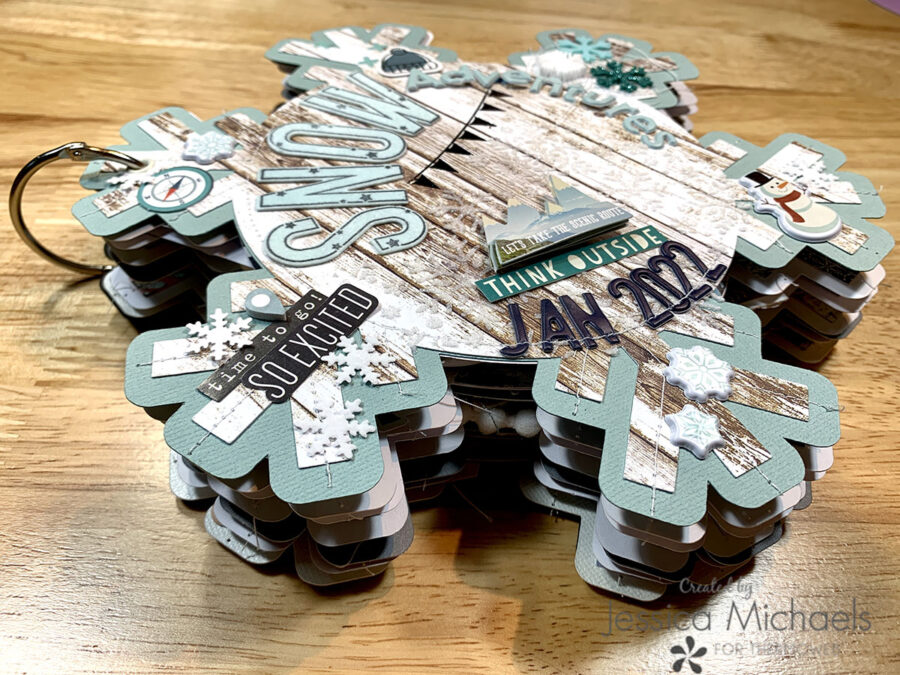
Let’s start with the cover, shall we? I designed my album into a snowflake shape by pulling one of my snowflake files from my Cricut Design space from the “Family Album” cartridge that I own. You could also use whatever shape or file you have instead of the snowflake I used. I liked this one though because it had two layers, the snowflake and the shadow outline, already in the file.
Then I simply pulled in a 5.5″ circle for a template for my large photos, and duplicated it and welded it to each of the cutfile layers to make a circle base for my pages in the middle of the snowflake. I cut all the layers for all the pages and figured out which photos I wanted to go with each page, that took a while!
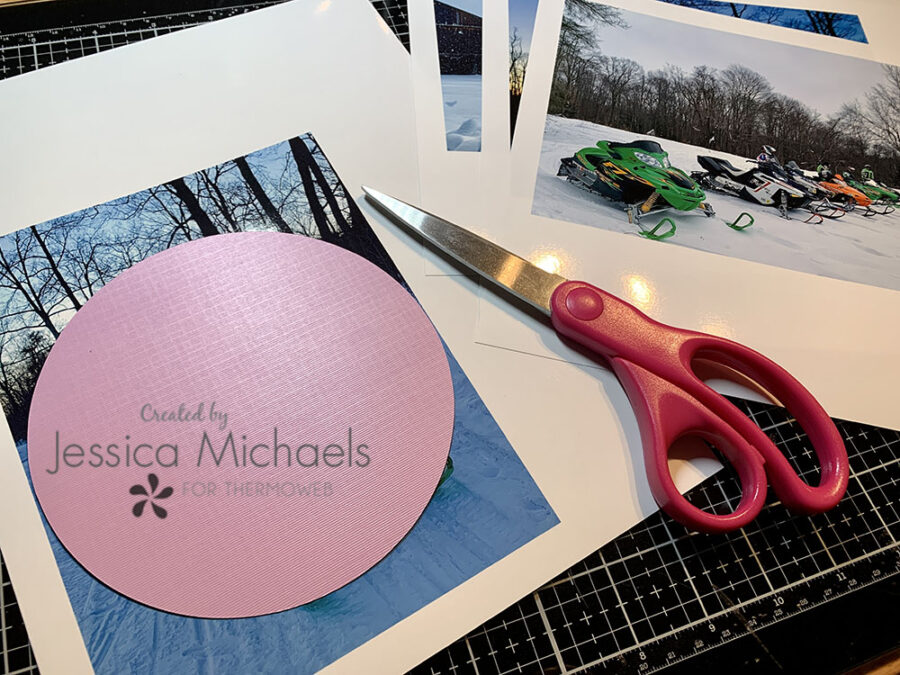
I used one of the 5.5″ circle templates I cut as my template for my larger photos. To print my large photos, I inserted each one in Microsoft Word, then resized each one to be a little over 5.5″ at the smallest side. I then printed onto photo paper with my Canon Pixma iP8720 and Canon glossy 8.5″x11″ photo paper. I just held my circle template on my photos as I cut with scissors, quick and easily.

I attached the snowflake layers together for both the cover and the first page with my Memory XL Tape Runner lightly, and then machine-stitched the circle and the edges of the snowflake. I did this for all the snowflake pages. I wanted to create my title out of the Blue Sky flock, so I pulled out my Elle’s Studio star alpha stamp and coordinating die set along with the flock and 3D Adhesive Foam Sheets.
Next, I cut a piece of the flock and 3D Foam sheet and attached the flock side down to one side of the adhesive after I peeled off the backing. I did run this through my manual die-cutting machine with a sheet of cardstock as a shim to add pressure for a good transfer. Then I simply stamped my letters and cut them out using the dies and my manual machine again.
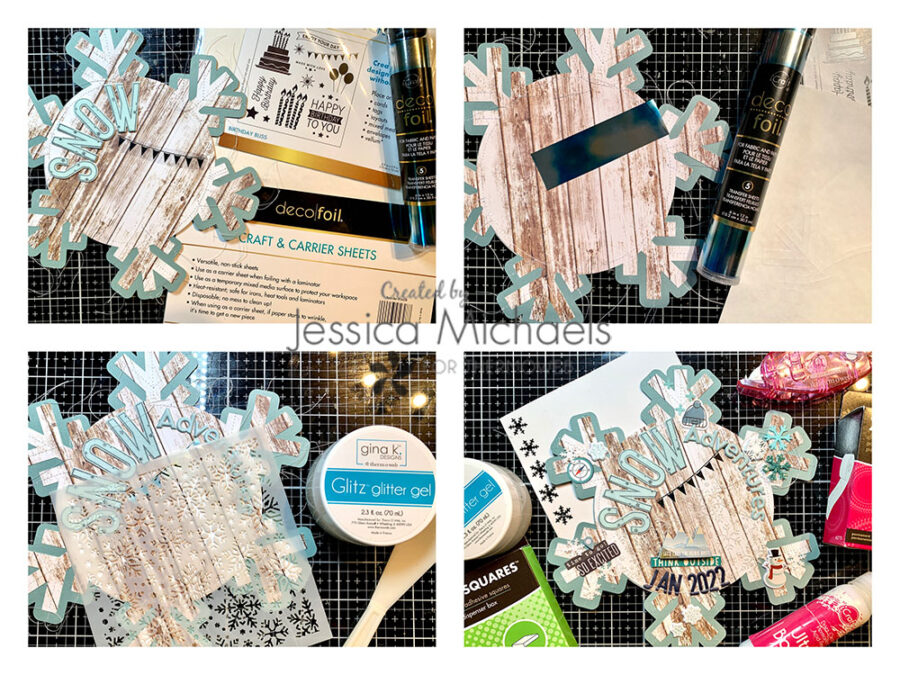
The next part of the cover was really fun as I pulled out the Gina K Birthday Bliss Adhesive Transfers and cut out the little banner piece to add to my cover. I actually did this part before physically attaching my “Snow” letters so I wouldn’t have any added dimension when running it through my laminator. I just set the Snow letters on so I knew where to place my banner, then peeled the backing off the already cut-out banner transfer and lightly pressed it onto my page. I ran this through my hot laminator to adhere, sandwiching the entire page inside a craft & carrier sheet.
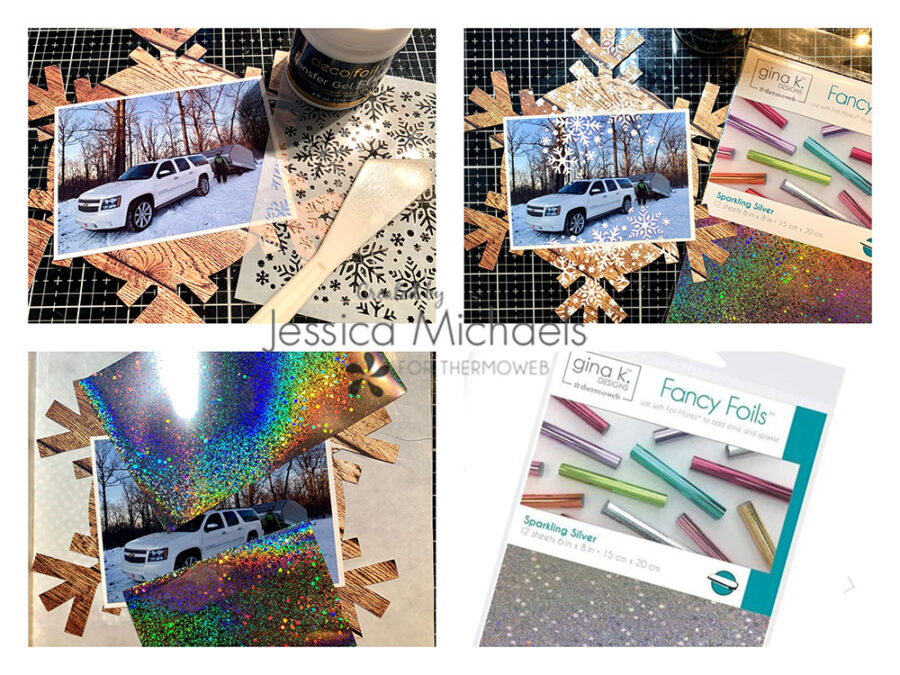
I then peeled off the top clear piece, and cut a strip of Lapis Watercolor Deco Foil Transfer sheets to gently press onto the banner design and ran it through my laminator again to adhere the foil. Next, I really thought it needed a bit of shimmer so I grabbed a snowflake stencil from my stash and used a spatula to apply Gina K Glitter Glitz Gel in White. Let me tell you, this is GORGEOUS in person! It added just the perfect touch of texture and shimmer to the cover.
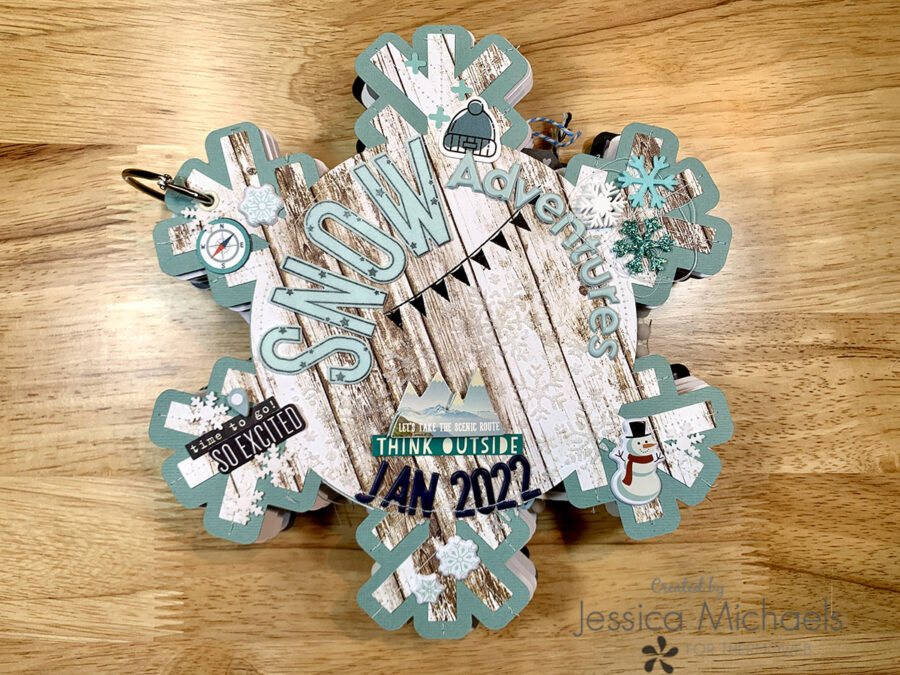
I finished off the cover by adding the Adventure letters from my stash, reinforcing them with Bling Zots, and added a few embellishments from my stash, adhering with the zots and my tape runner. I also decided to punch out some small snowflakes from white flock sheets and scatter them about the page as well using the bling zots again to adhere. The zots really stick so well and those aren’t going anywhere for a lifetime! Here’s the finished cover:
Next we are onto page 2, which is the back of this cover. I cut the hole using my crop-o-dile tool for my metal hoop clasp before moving on so I knew what area to avoid with embellishments. I also set a white eyelet for durability over the long run so it didn’t rip while flipping the pages.
This page is pretty simple. I added various embellishments from my stash and made sure to reinforce using Medium Zots, easy tear tape, and my Memory XL Tape Runner. I also did some stamping on this page and made a tab for the top of my sweet photo of my boys playing in the snow.
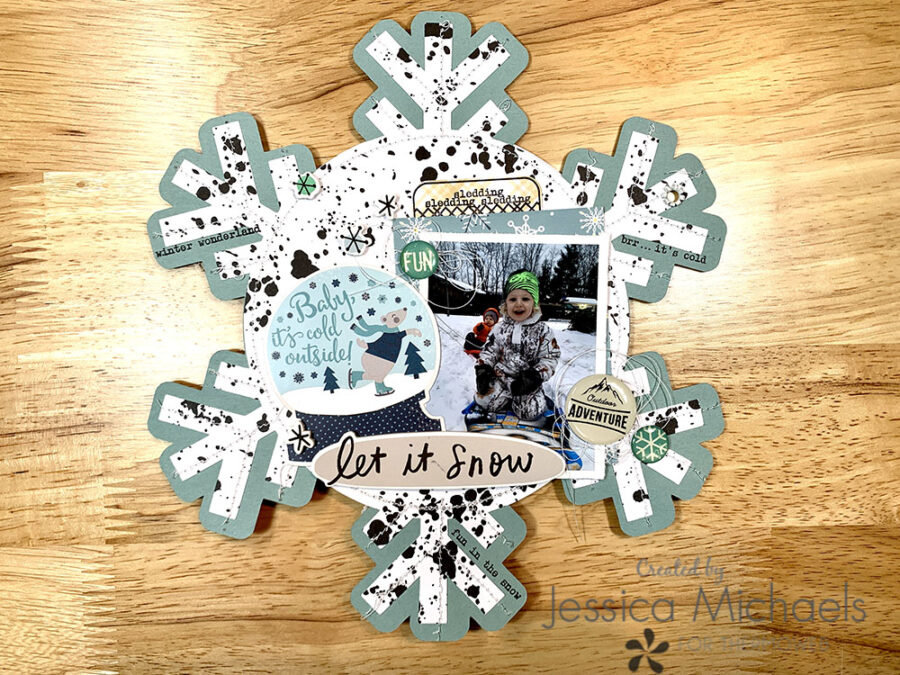
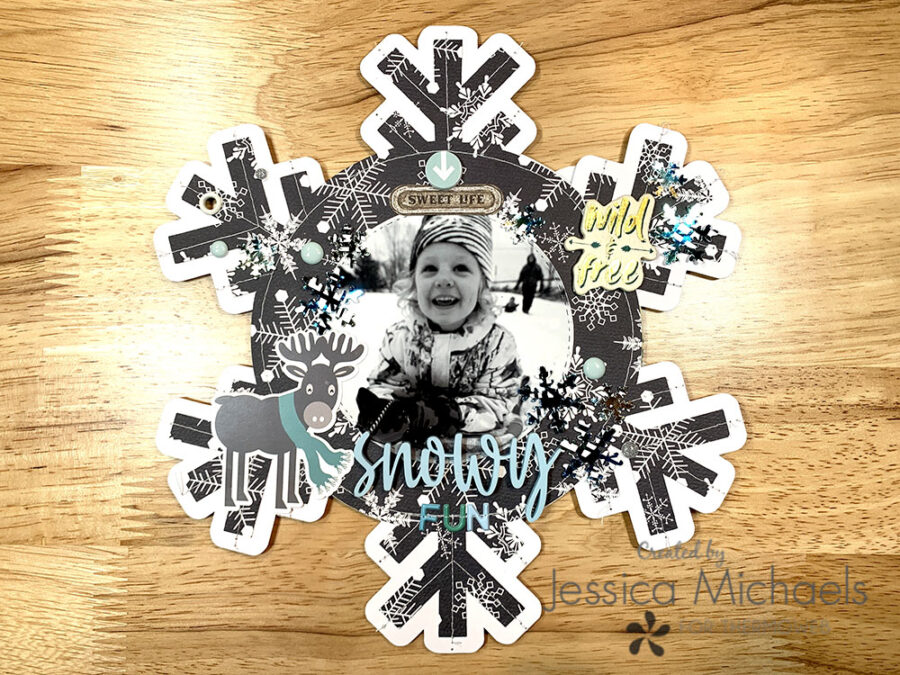
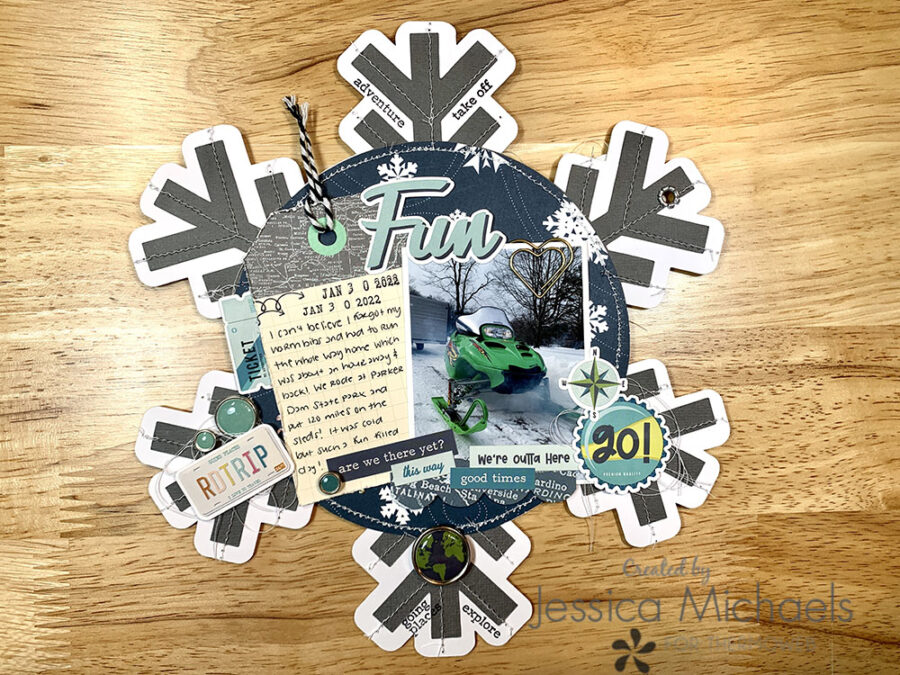
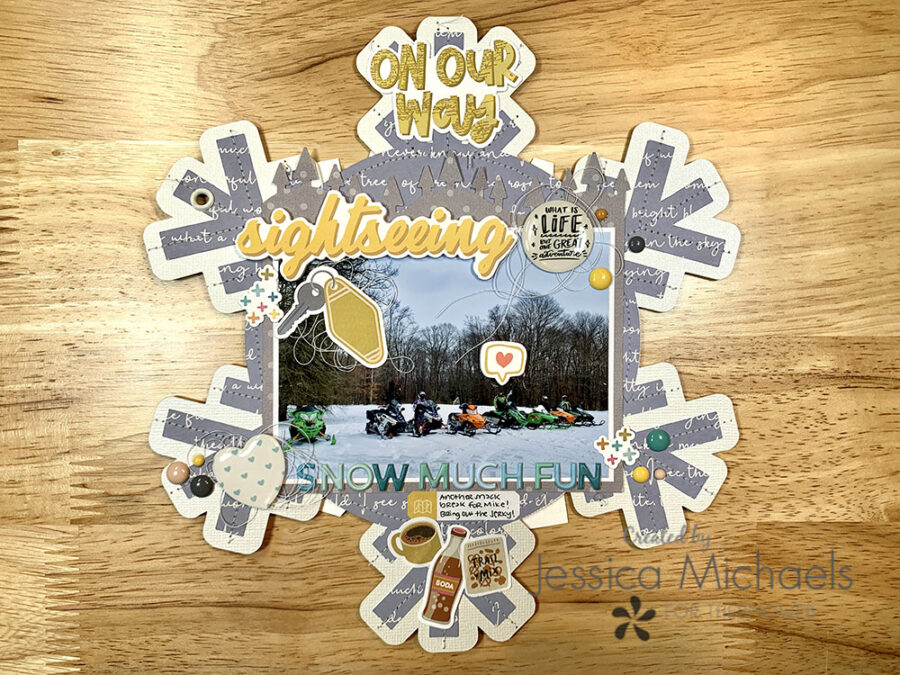
Page 3 is pretty simple also. I had the base finished since I already adhered the layers together using my tape runner and machine stitching. I cut this adorable photo of my oldest son into a circle using nesting circle dies by Echo Park. I adhered my photo using easy tear tape. I added various embellishments from my stash, including this fun “snowy” acrylic piece from Peartree Cutfiles.
I adhered that to the page with the bling size zots. I added the word “fun” below, and machine stitched through it so it would stay put. The last thing I did on this page was pulled out one of the white Brutus Monroe Static Toner Sheets and ran it through my laminator with the same Lapis Water Deco Foil I used on the cover. I then punched some small snowflakes using my handheld punches and stuck them down with bling zots. I added a few enamel dots for some bling as well.
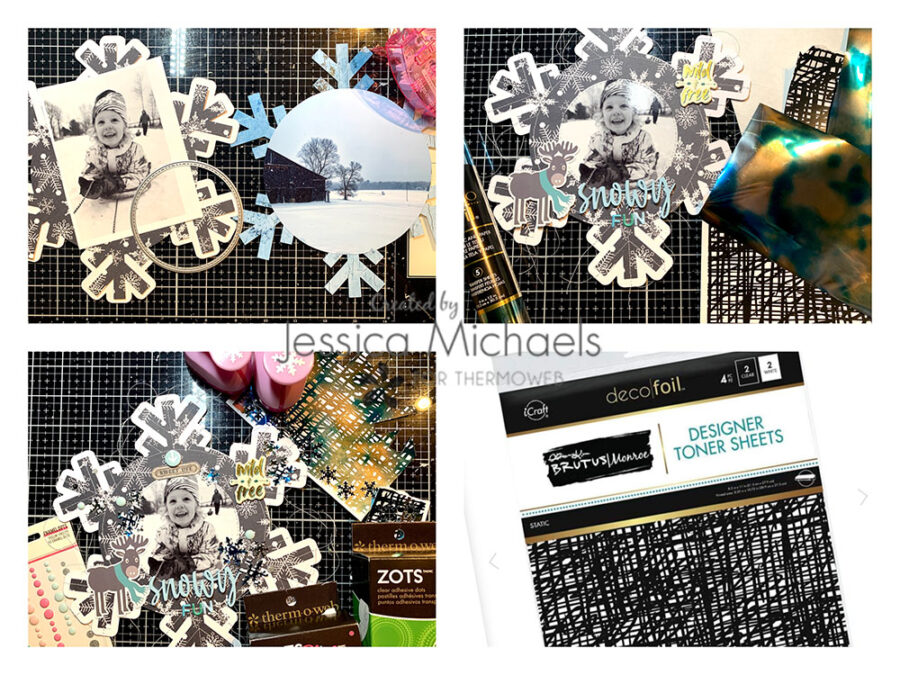
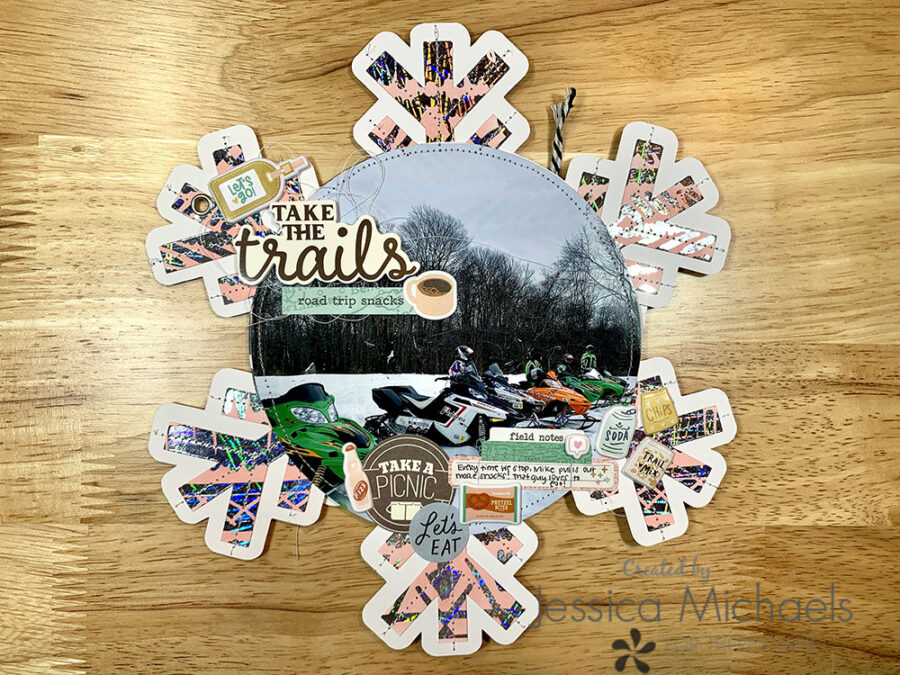
Here is one of the large photos that I used my tape runner to adhere to before sewing around the page. I embellished lightly and added more of the snowflakes I punched from the white flock, using bling dots again to apply. I also found the cute tag in my stash that will go through the ring hoop as part of the album too.
As you can see below, I sprayed the white flocked snowflakes with some Glitter Dust Gold spray which is in the last photo just to give them some extra sparkle!
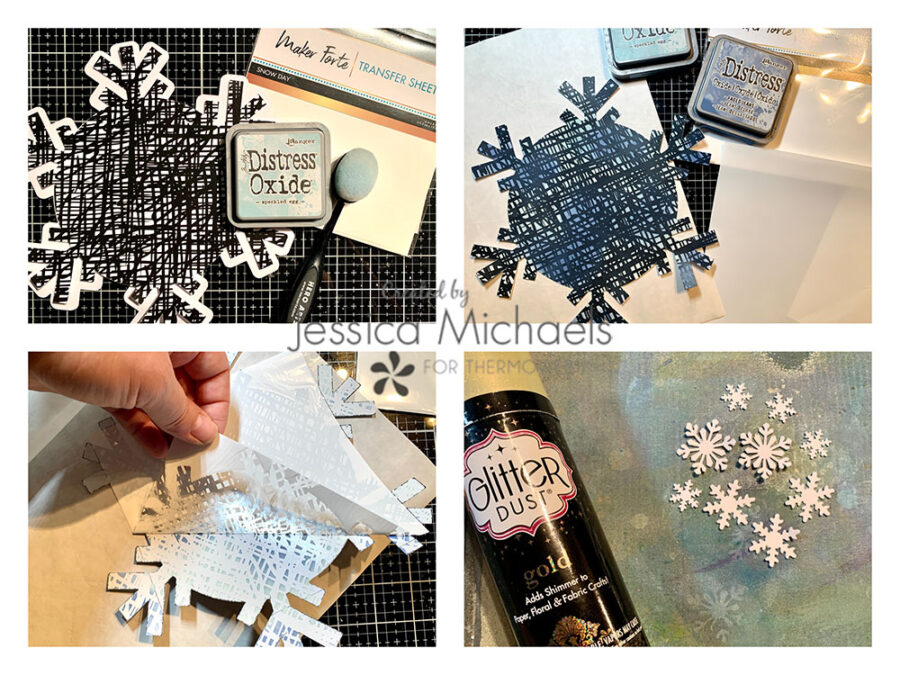
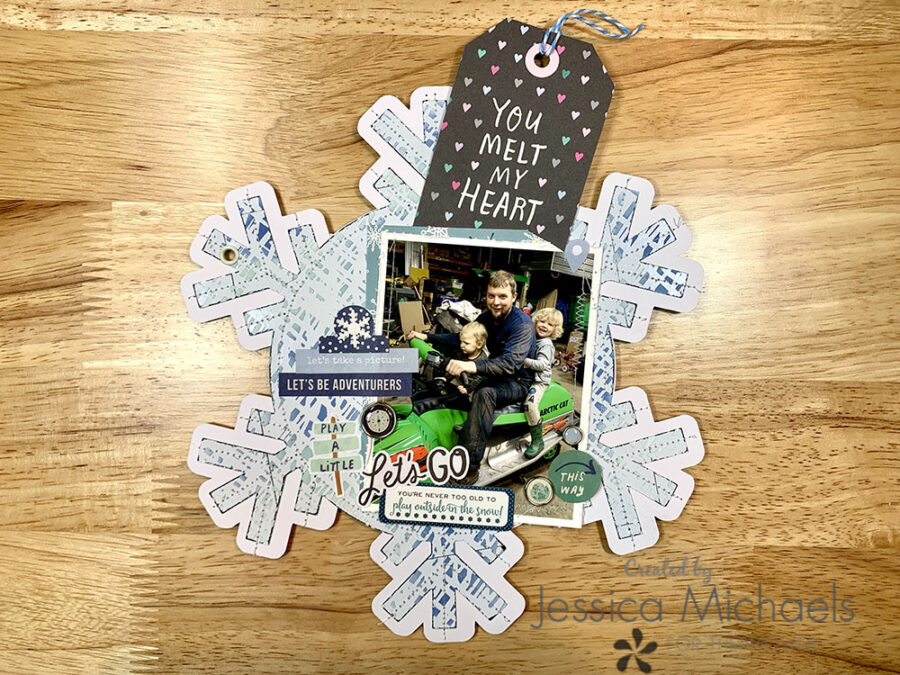
Page 5 started out before machine stitching by cutting out my inner snowflake from a piece of the white Brutus Monroe Static Toner Sheets. I then used distress oxides in Speckled Egg and Faded Jeans and blended some ink all over the design. I then applied the Maker Forte Deco Foil Transfer sheet in Snow Day and ran it through my laminator to apply, sandwiching between the craft and carrier sheet again.
To finish this one off I matted my photo and machine stitched around 3 of the edges to create a pocket to hold a tag that reads “You melt my heart” and added some embellishments, of course. I also added one simple white flocked snowflake beside my photo on the little tab sticker since it was looking a little plain. I did reinforce all the elements with zots and my tape runner again just to be sure it holds up over time with people handling it.
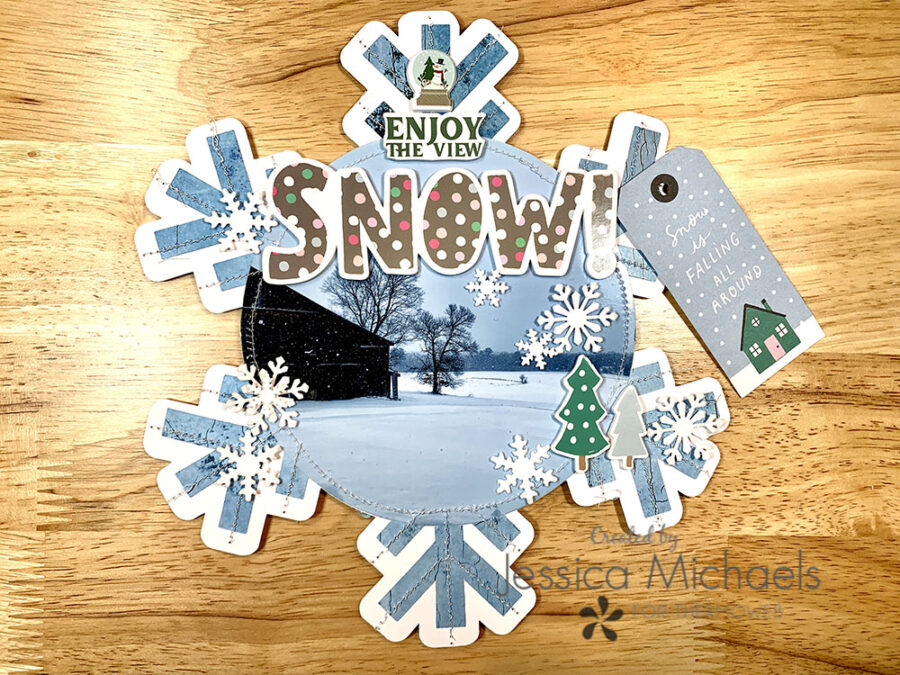
Page 6 begins with matting another large photo I already had printed with smooth white cardstock with easy tear tape. This tape is one of my favorites because it really does tear easily and it’s SUPER sticky! Make sure you have it exactly where you want it because if you peel it up, chances are your paper is coming with it. I love it though because I know it won’t break down over time or come apart. I pulled out my snowflake stencil and spatula again along with the Deco Foil Blanco Transfer Gel. I applied the gel on the top and bottom of the snowflake, over the photo. Then I ran it through my laminator with a sheet of Gina K Fancy Foil in Sparkling Silver, again with the craft and carrier sheet. I added embellishments from Simple Stories to finish this one off.
I wish the photos did this one justice. The shimmer from the foil is absolutely stunning!
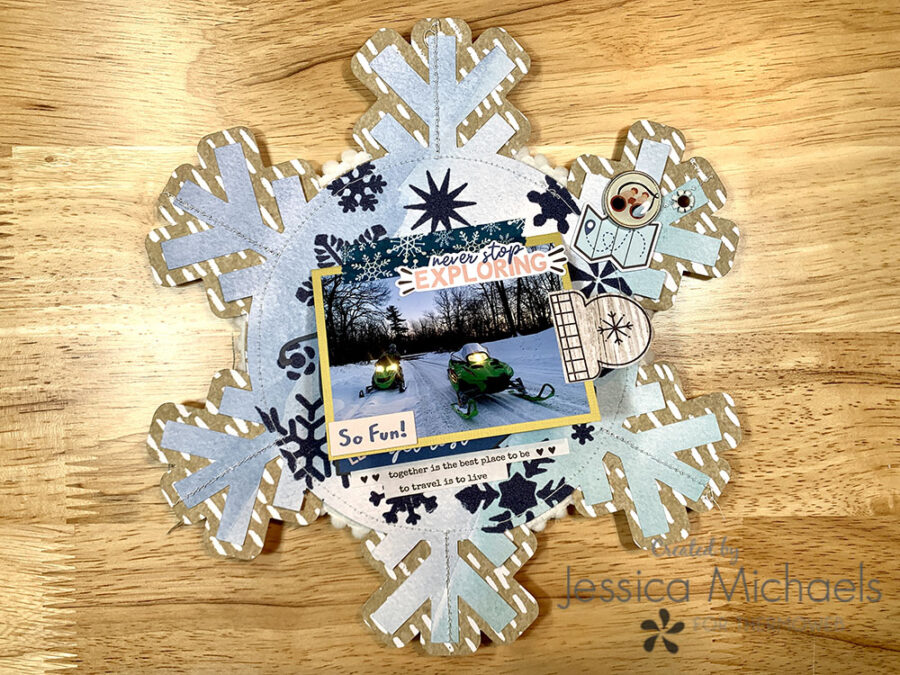
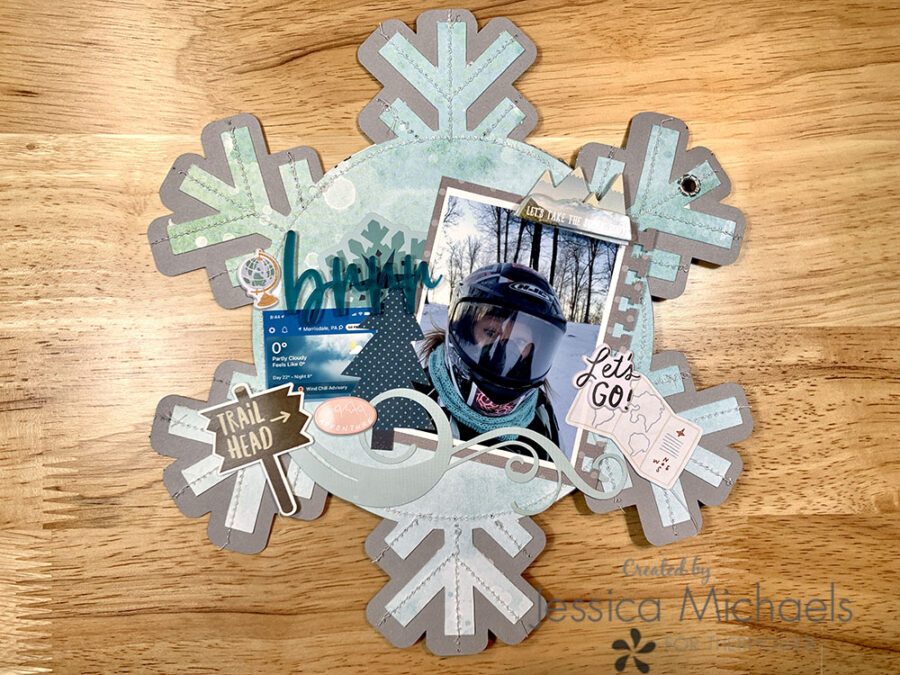
Page 7 began with yet another large photo, this one of me! We really love to snowmobile when we have snow and can get a babysitter. I think it’s harder to find a babysitter than it is to find snow in the winter here in Pennsylvania! After adhering my photo down with my tape runner and machine stitching the page I wanted to add some cute trees with 3D foam adhesive and blue sky flock. I had the perfect stamp and die set in my stash by Catherine Pooler called Christmas Tree Farm to use for this! I used the same technique as I did for the Snow letters on the cover for my little trees.
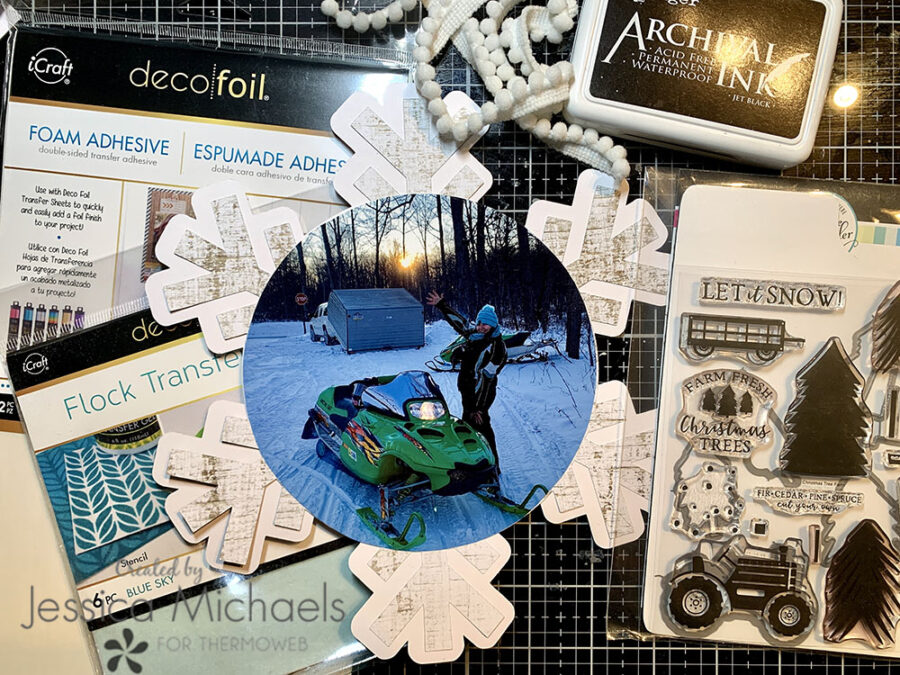
I finished by embellishing with most elements from Simple Stories Safe Travels, which is one of my all-time favorite collections.
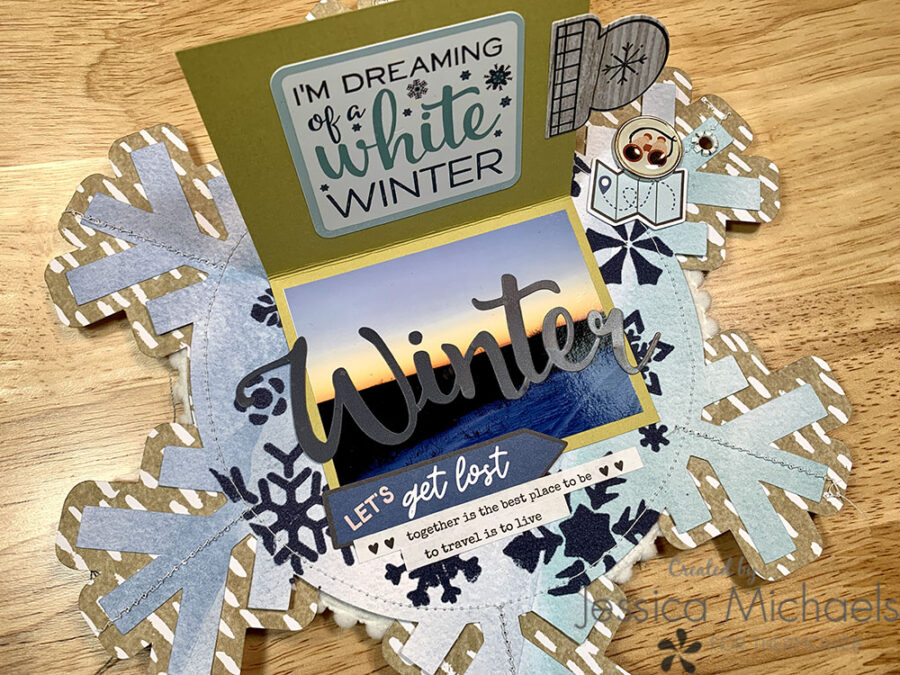
For page 8 I wanted something different so I grabbed a different snowflake stencil, the Blanco transfer gel, and Midnight Blue Flock Transfer Sheets, to add some fuzzy snowflakes to this page. I did focus just on the circle part of the page so I taped off the other parts with pixie tape. After applying the Blanco gel with the stencil and my spatula, I waited for it to dry before placing the flock(color side down) on the page and ran it through my hot laminator between the craft and carrier sheet for a good transfer. After peeling off the sheet I had some amazing and beautiful snowflakes!
I decided on this page I would do two photos as a flip up, so I cut a piece of yellow cardstock with a length double the size of one photo, so I could fold it in half and hold both photos on it.
I finished embellishing it and adhered everything with my tape runner and a medium glue dot on the metal flat brad at the top right.
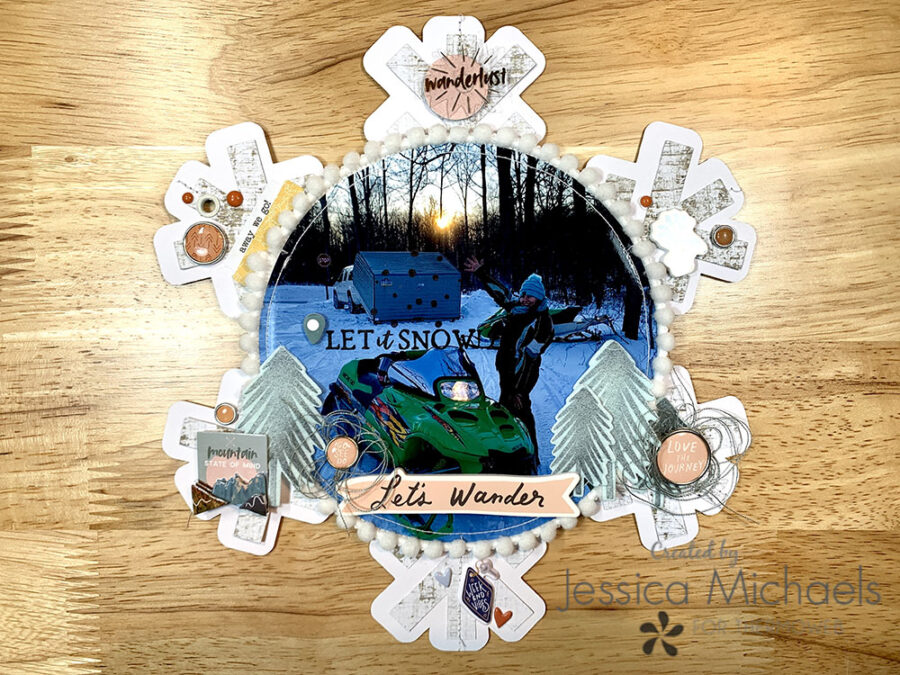
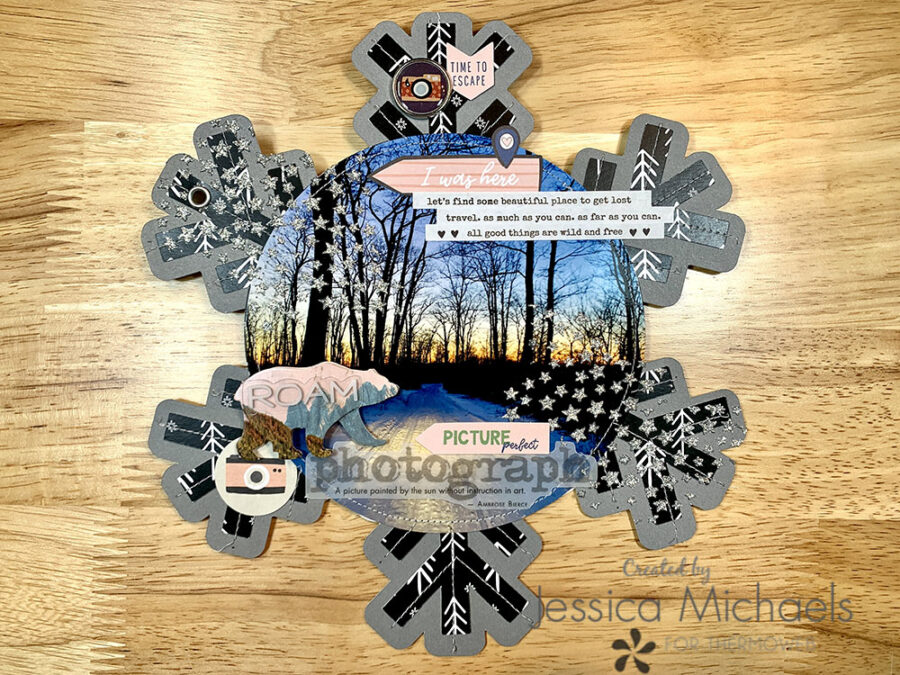
The next page is my favorite in my entire album! I added this beautiful sunset photo from our snowmobile ride using the tape runner and then machine-stitched the page as I did on the others. Next I grabbed the silver Glitz Glitter Gel by Gina K and stenciled some stars across the page. It added such sparkly goodness and I absolutely love it!
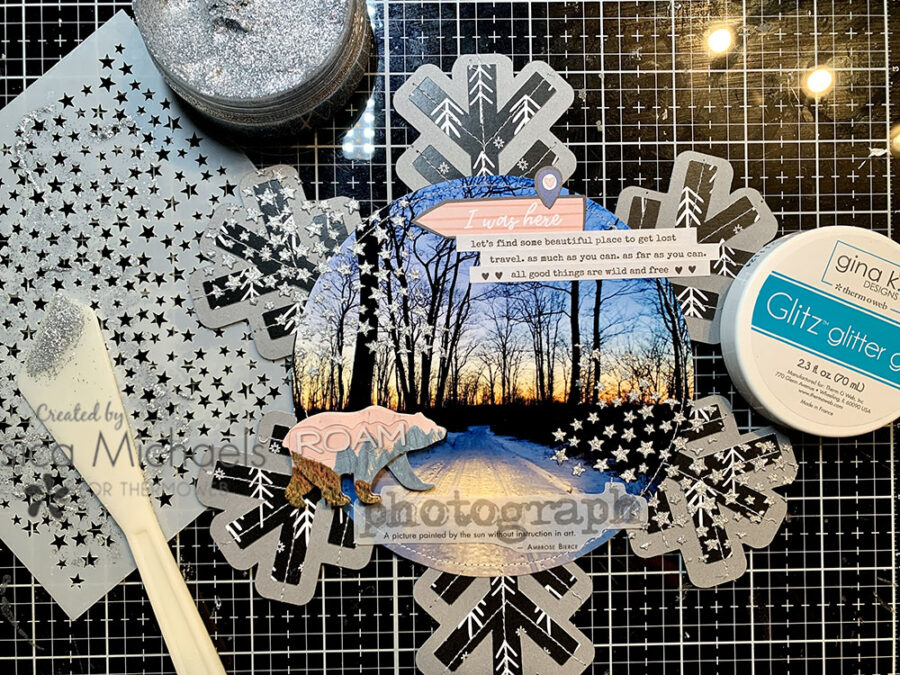
Here is the finished result of page 9 after embellishing:
Page 10 is assembled just like the others and just added my photo and embellishments using my tape runner, easy tear tape(on the photos), and medium and bling glue dots on the rest.
I used the same technique as page 5 on this next one by pulling out the Brutus Monroe Kaleidoscope Toner Sheet in white and transferring on Brutus Monroe Silver Sketch foil using my laminator after applying Saltwater Taffy Distress Oxide to it. Then I did my machine stitching and embellishing. I added a bit of journaling to this one as well.
This next one is fairly simple as well. I cut a different piece of background paper for my center circle and just added a tag with journaling to go with my photo. I embellished and used the tape runner again and medium and bling glue dots to strengthen everything. I also added some stamping on the page and a little heart clip to my photo.
This one is more of the same. Embellishments, tape runner, zots, and some flair and thread.
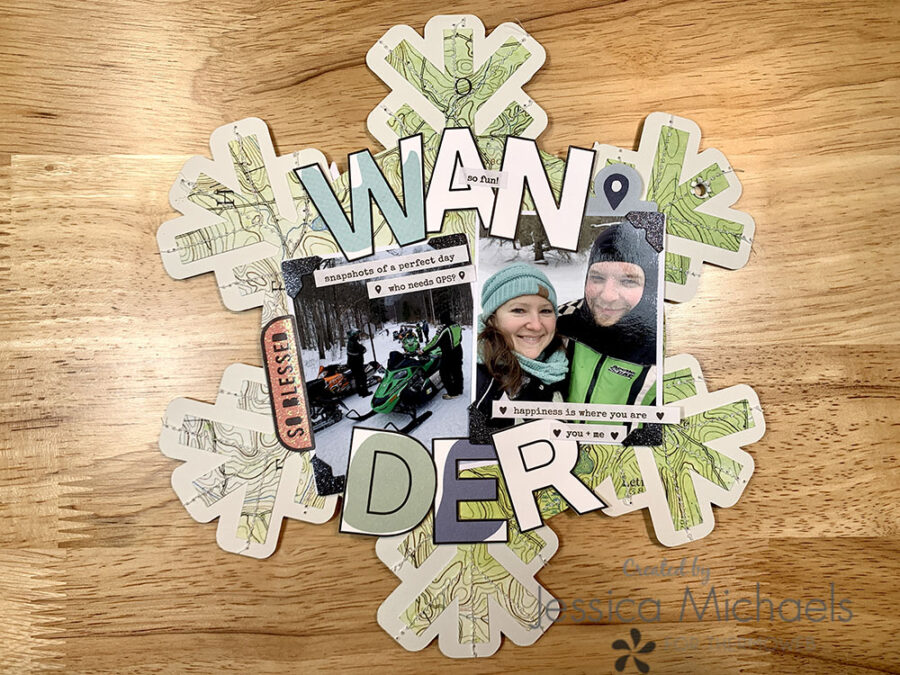
This one is also pretty basic using this gorgeous map paper and Wander letters as my title. I applied everything using easy tear tape and my tape runner. I also added some Thermoweb photo corners to my photos.
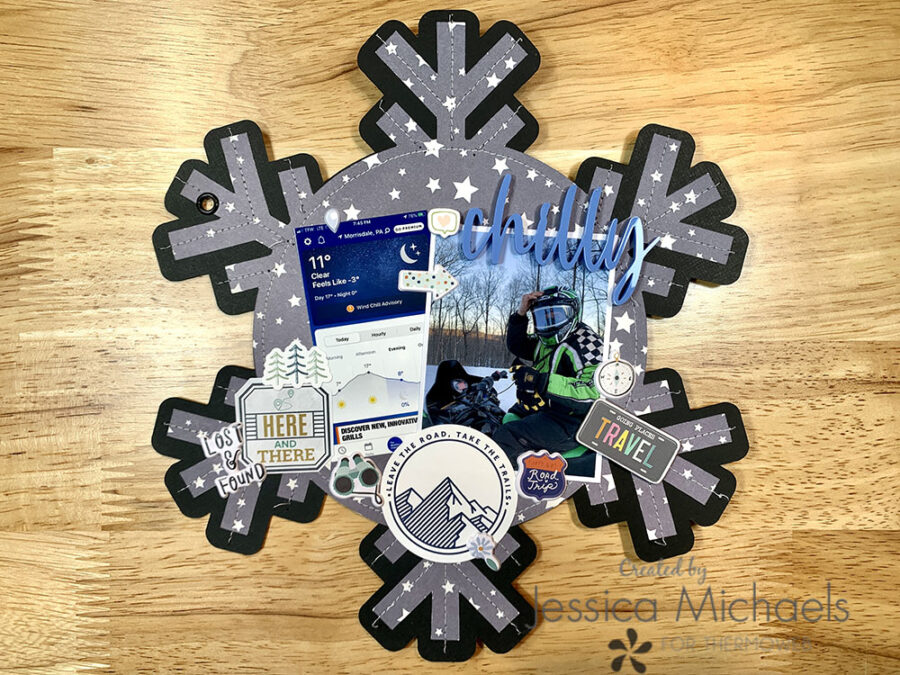
I adhered everything on this page using the memory XL tape runner and zots again. I just love that sweet little “chilly” acrylic piece from Peartree Cutfiles. It really was a chilly day/night!
My back cover was completed by applying more glitter glitz gel in white with yet another stencil. I then die cut SNOW letters again and embossed with my manual die-cutting machine using an embossing folder and running it through. Once the glitz gel was dry(about 15 minutes), I applied the letters over my Nature sticker with the iCraft Ultrabond Liquid Adhesive which dries clear and is super sticky. The only other thing I had to do was add the journaling strips at the bottom and add all the pages to the metal hoop!
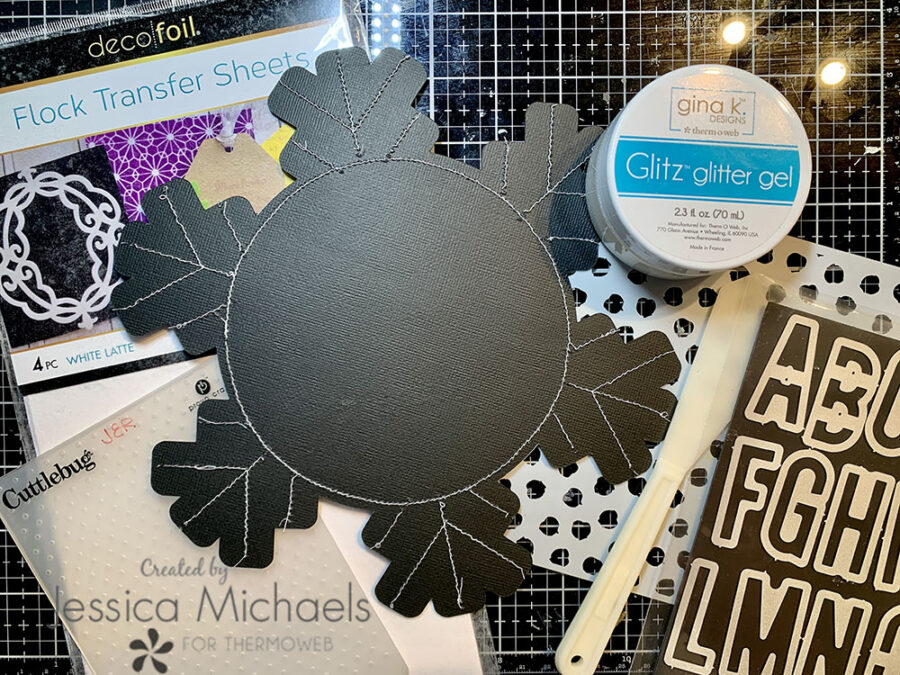
Here’s the finished back cover:
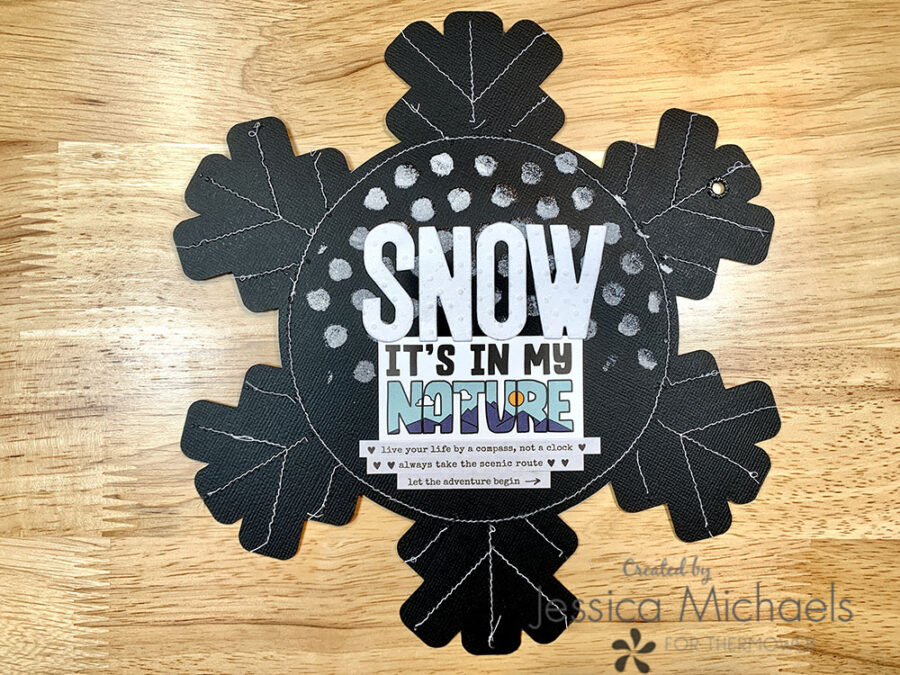
I just love how this album came together and chunky the finished product is!
I really hope I have inspired you to create a beautiful mini-album today! This was so fun and easy using Thermoweb products to ensure durability and add a bit of sparkle and texture. Thank you so much for tuning in today!
Jessica
This post contains affiliate links. For more information, see our disclosure HERE
Kelly
December 21, 2022 at 12:21 am (1 year ago)These are just beautiful!!!